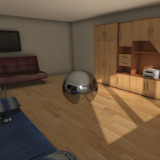
This article explains post-effects, which are effects that are applied to video and images, and Post Processing, which is an asset for implementing post-effects in Unity.
Notes on operation
About the assets available in STYLY
- Postprocessing Stack V2
- Available in the STYLY app for Steam (VR for PC) and the STYLY mobile app.
- Not available for the standalone VR version of the STYLY app.
- Post Processing is reflected in the scene not only by Scene uploads, but also by Prefab-only uploads.
- PostProcessLayer attached to Camera will only be activated if an object with PostProcessVolume is present.
If you want to know more details, please refer to the STYLY DOCUMENT here.
Post-Effects refers to applying effects (filters) to “the result of rendering the information (3D model, lights, etc.) that is reflected in the camera”.
Think of a camera application such as “SNOW” or an image editing software such as “Photoshop”.
In Unity, you can use its Post Processing Stack by downloading and importing it from the Package Manager.
In summary:
- post-effect
- The filters and effects themselves
- Post Processing Stack v2
- Assets needed to recreate post-effects in Unity and STYLY
I think it’s easier to understand if you imagine it as
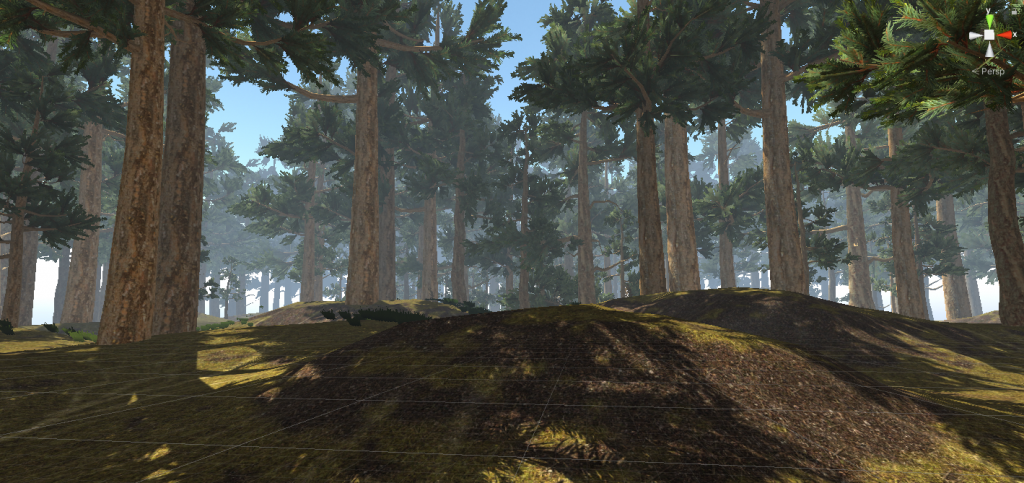
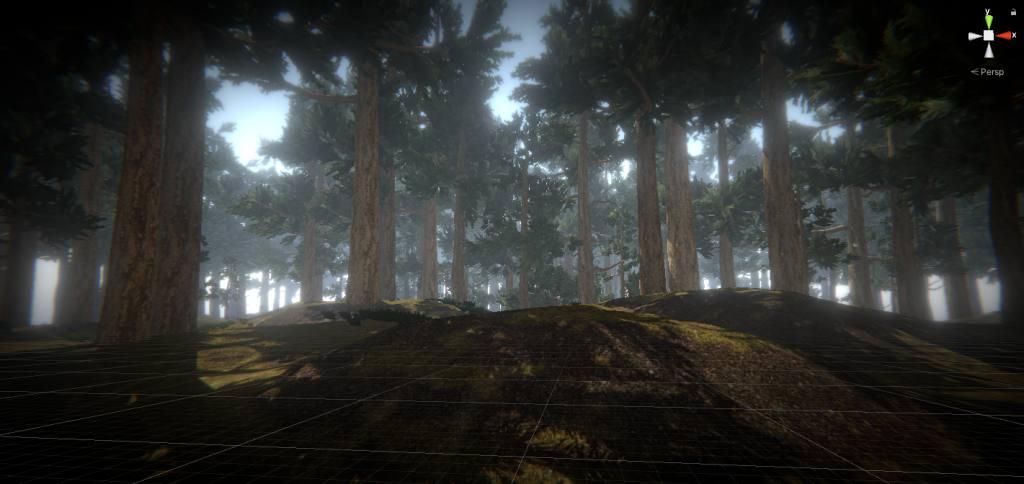
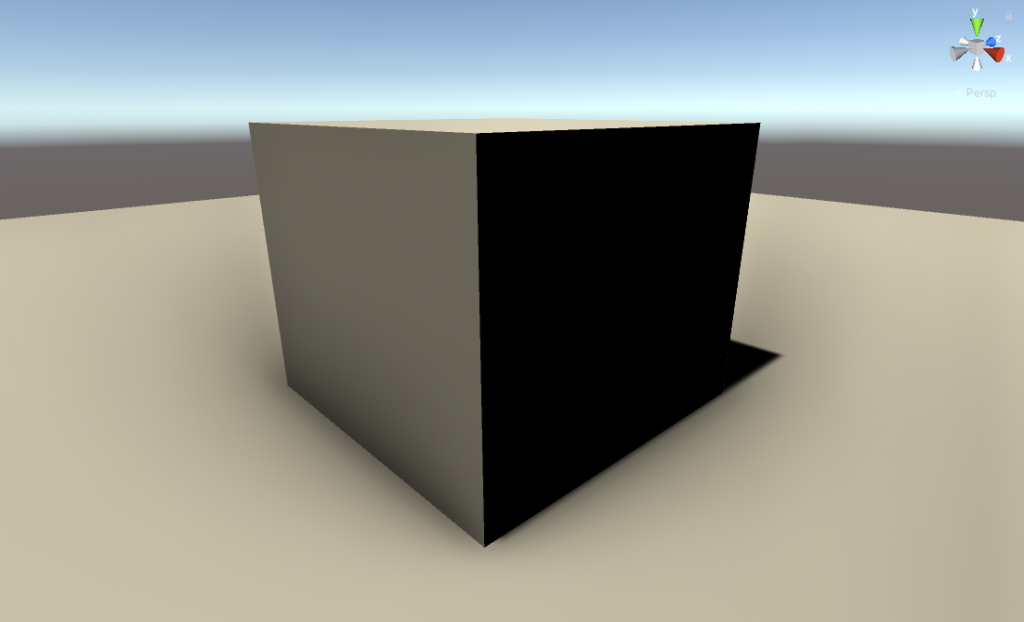
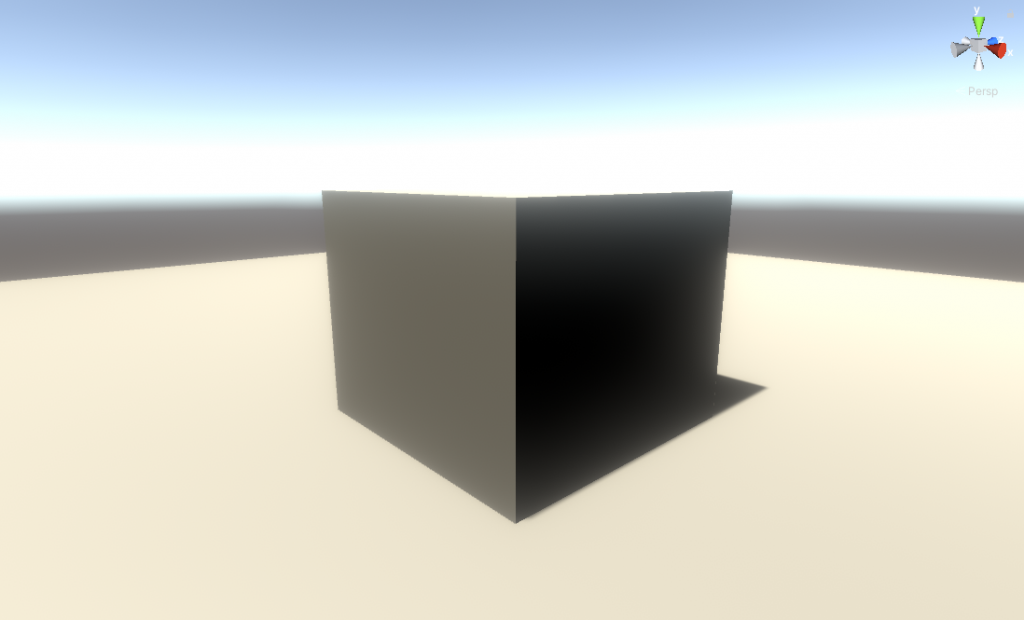
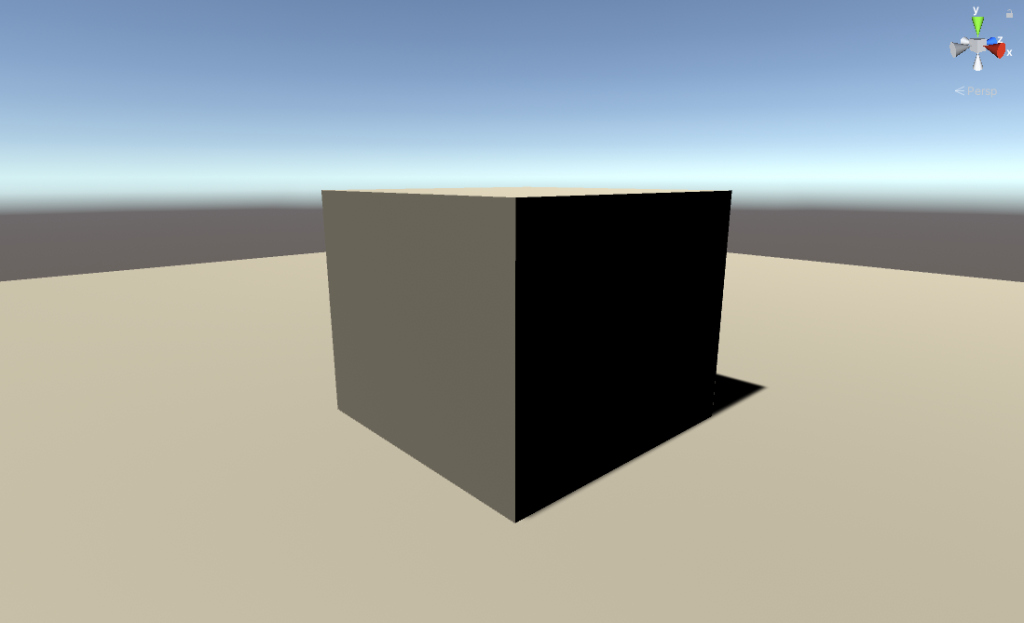
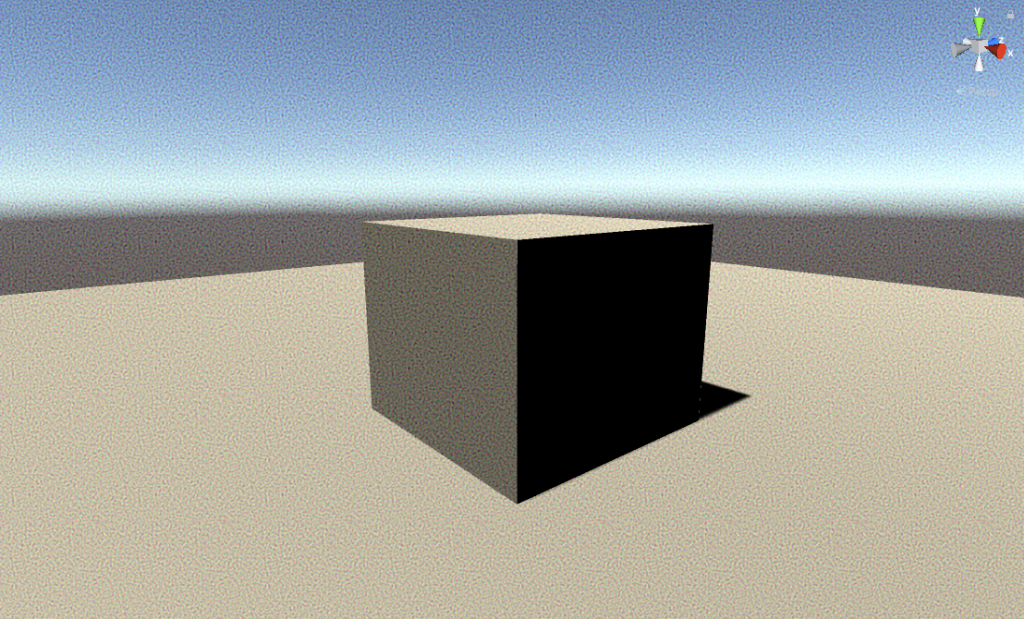
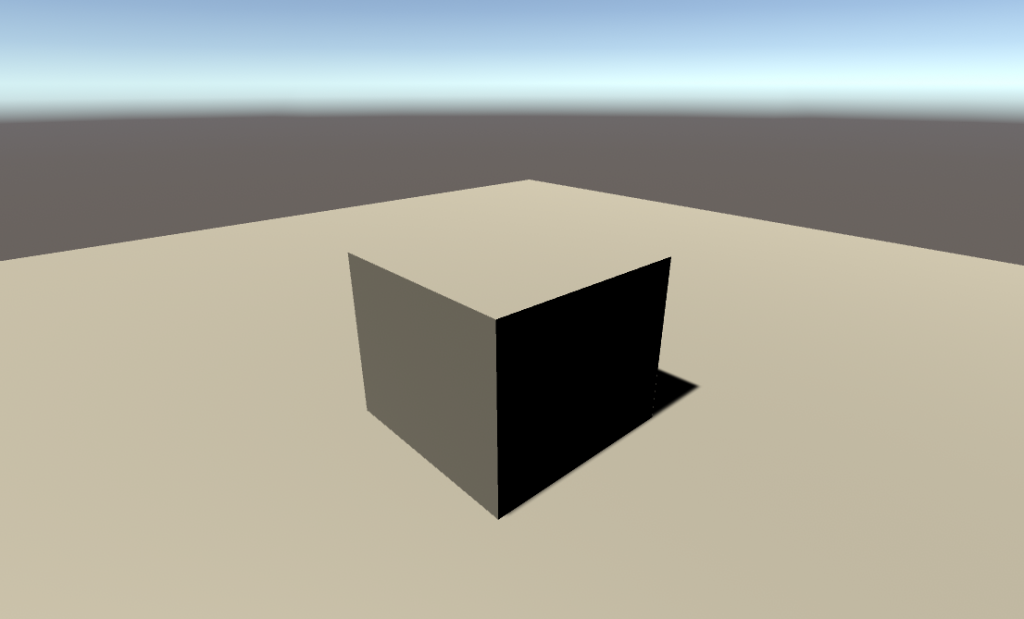
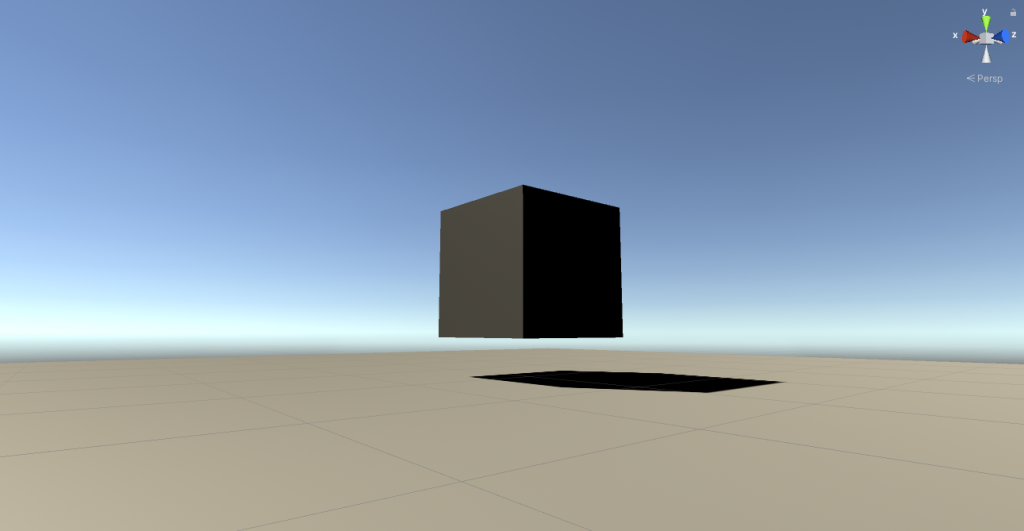
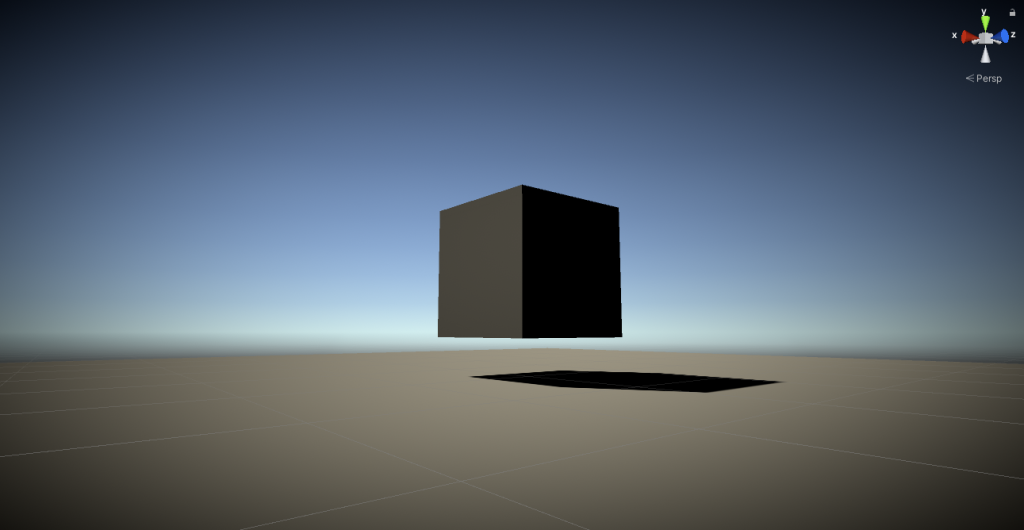
To be more specific, you can add a screen effect like the one in the image below.
Post Effect None
Post-Effects Yes
(The 3D model of the trees is a free asset from Unity, Dream Forest Tree)
Master the simple steps that will instantly improve the quality of your graphics!
Sample
This is a space that uses Post Processing. Experience it.
Import to Project
Import using the Package Manager.
First, import the Post Processing Stack v2 into our project.
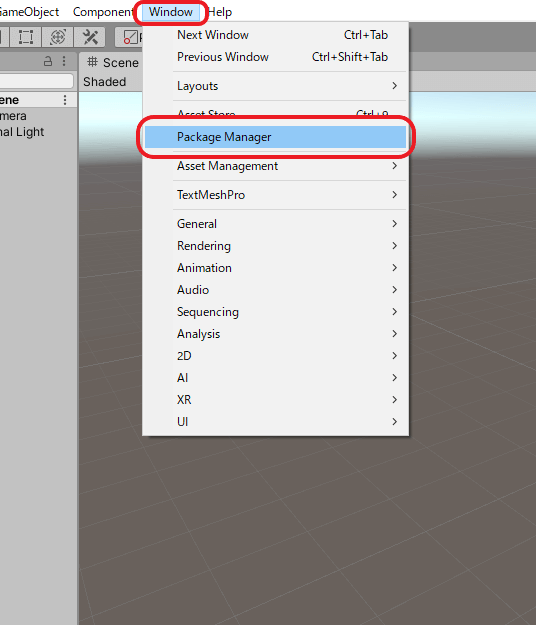
Click on the Package Manager from the Window tab at the top of Unity.
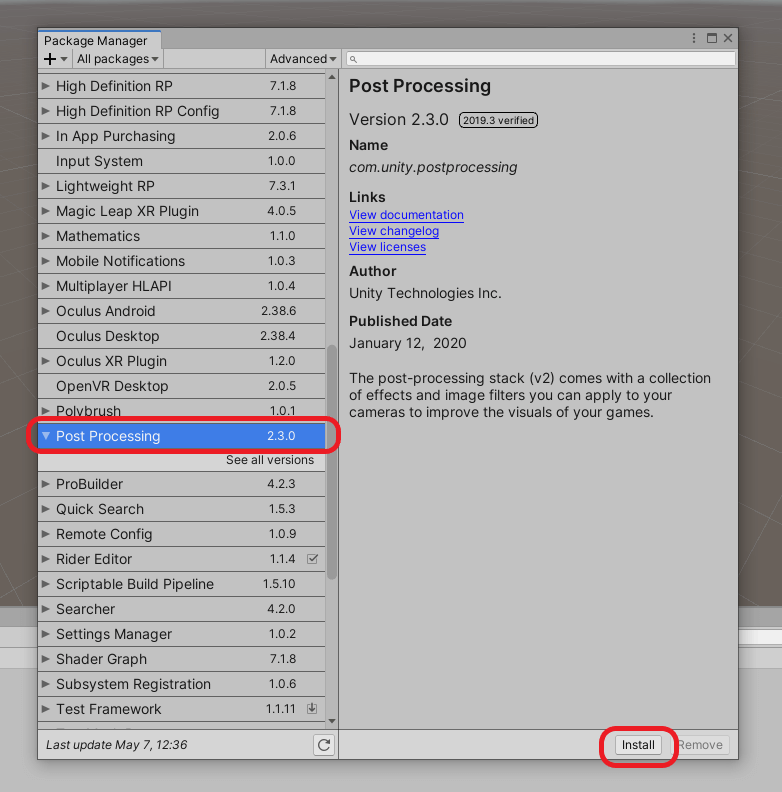
When the Package Manager opens, select Post Processing from All Packages and click the Install button at the bottom right corner to install it.
When the installation is completed, a check mark will appear on the screen.
Try the Post Processing Stack in action
Requirements in advance
Introduce the Post Processing Stack v2 into our scene.
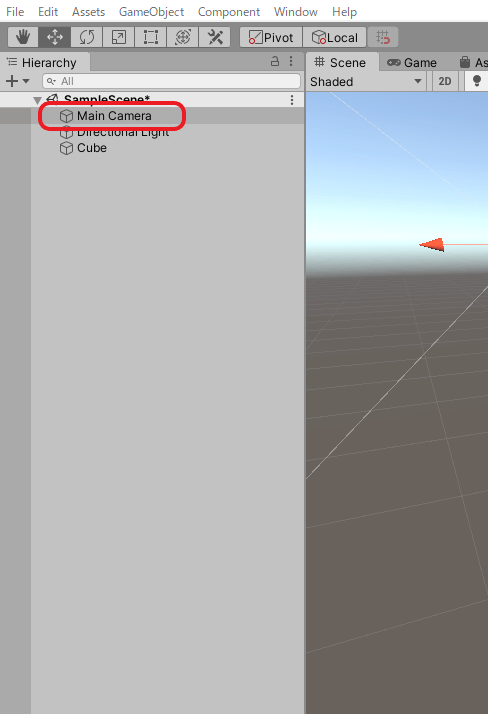
Select MainCamera on the Hierarchy window (hereinafter referred to as the Hierarchy).
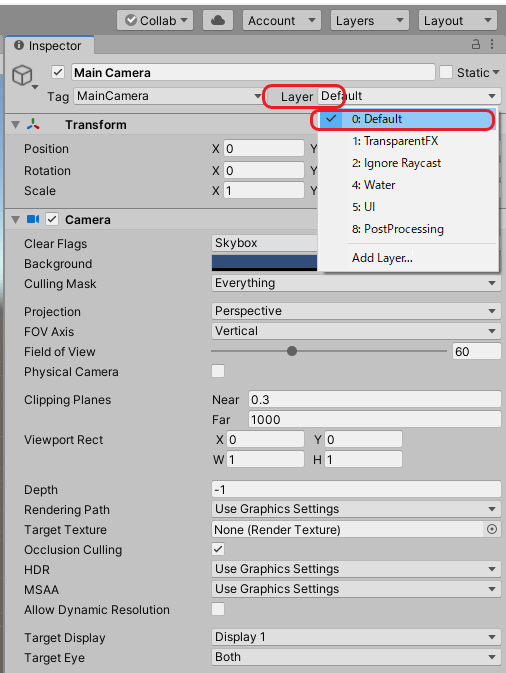
Click on Layer at the top of the MainCamera inspector window (“Inspector”) and then click Default from the list that appears (Default is selected by default).
Return to the MainCamera inspector, click on add Component at the bottom, type Post in the search bar that appears, and then click Post-Process Layer.
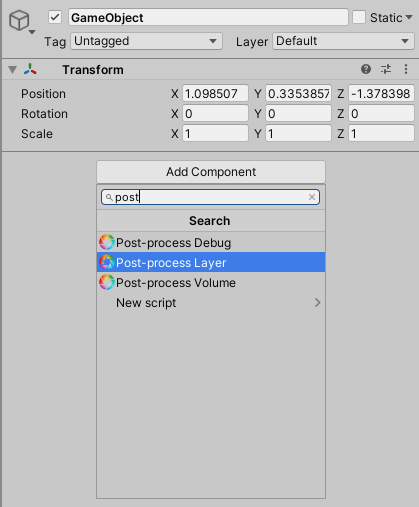
Post Processing Layer only.
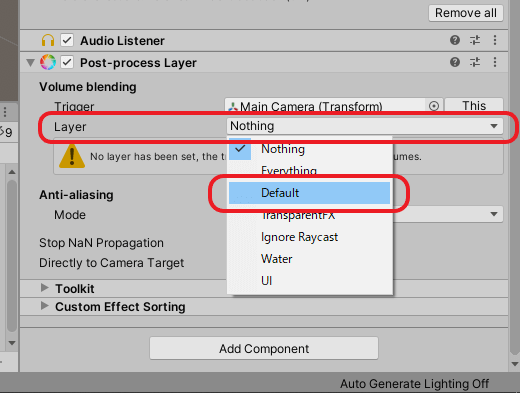
This will add a Post Process Layer component to the inspector.
Change the Layer tab in the Post-Process Layer to Default.
(*2020/05/18 Generally, it is best to prepare a separate layer for Post Process, but due to STYLY specifications, it is not possible for users to create a new layer. However, there is a good chance that STYLY will provide a new layer for PostProcess layers in the future with an update. In that case, we will add a note).
The next step is to create an object to manage the screen effects for PostProcess.
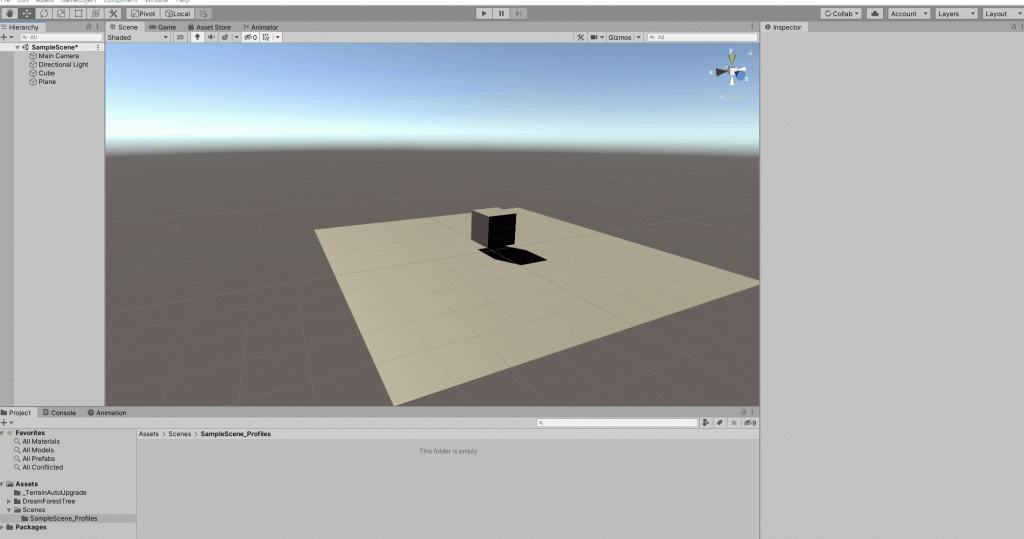
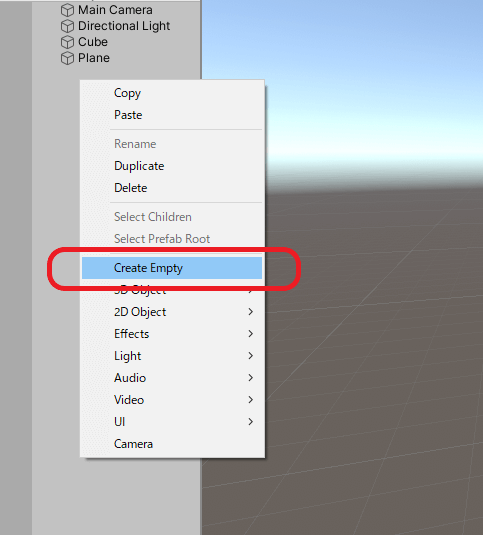
Right-click on the hierarchy and select Create Empty to place the new GameObject
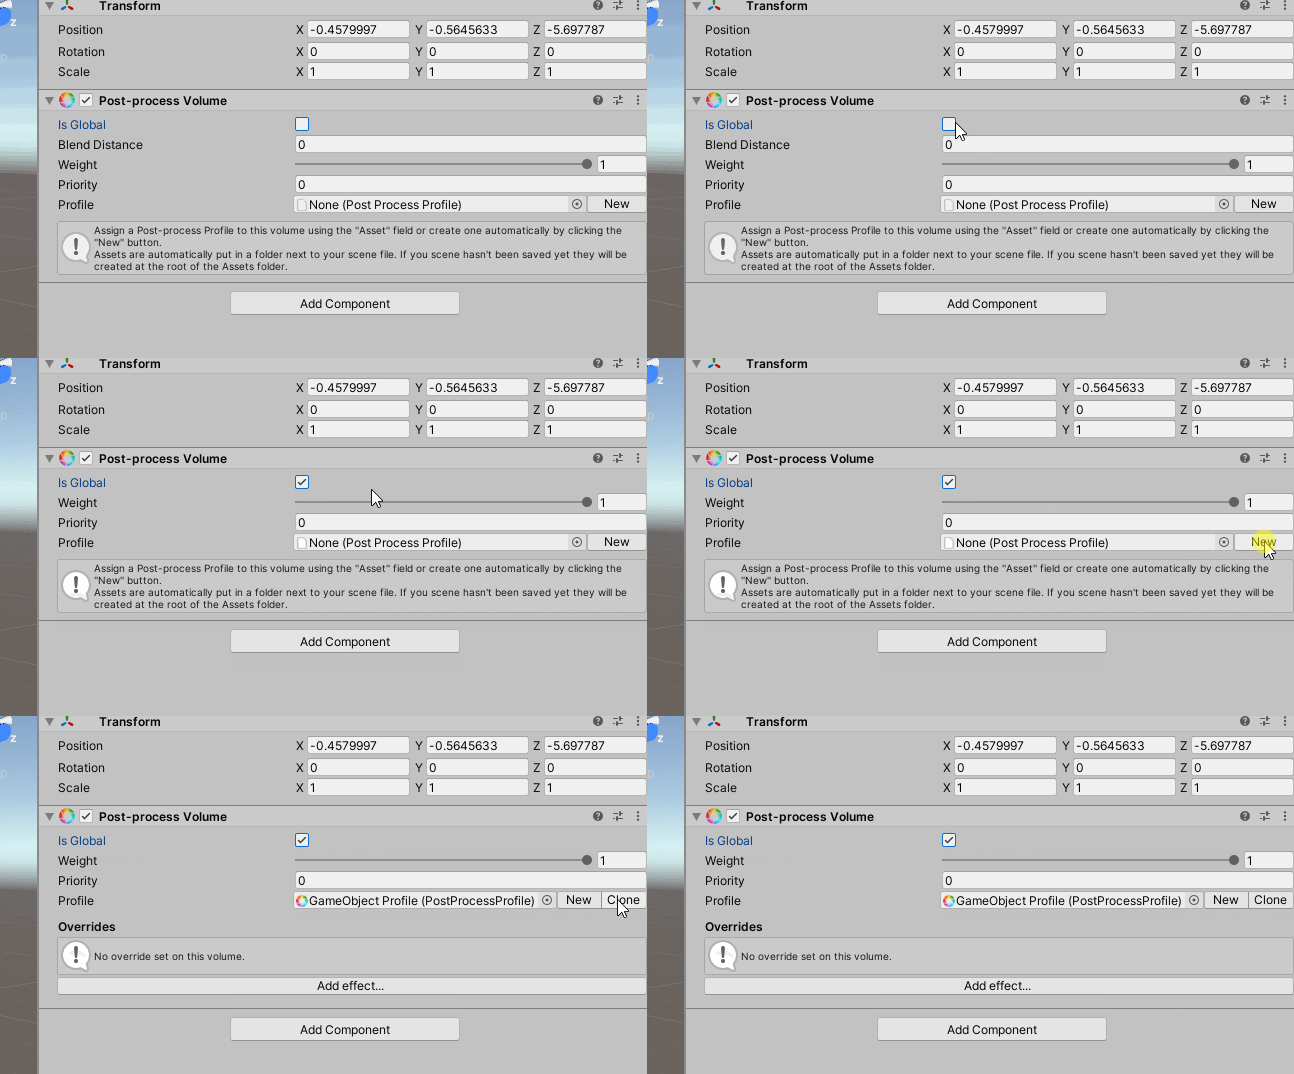
Click on add Component in the Inspector of the generated GameObject.
Type Post in the search bar to add the Post-Process Volume component.
Check the “Is Global” checkbox in the Post-Process Volume you added.
Click the New button on the right side of the Profile item.
That’s all the prep work done.
Now let’s add some post effects!
Introduction to Effects
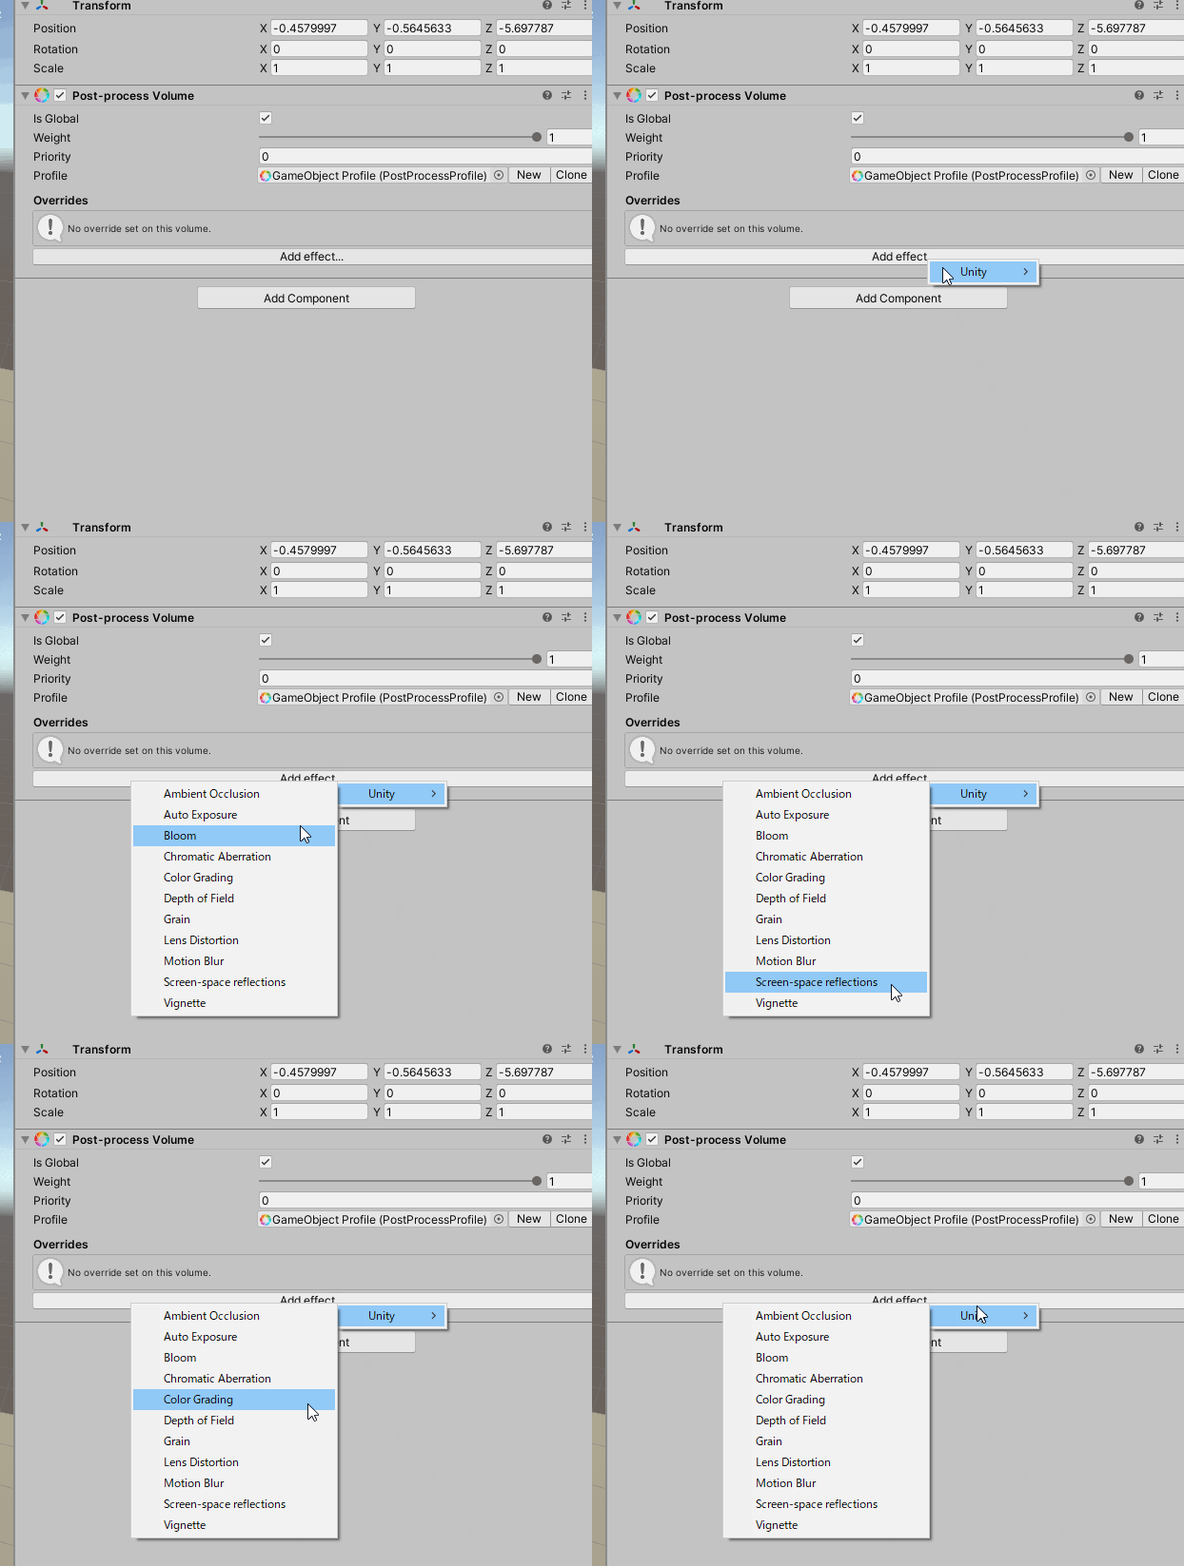
The Post Processing Stack v2 has several on-screen effects: in the Post-Process Volume, click “add effect… in the Post-Processing Volume, and then select Unity to see the various effects.
There are some profiles that are incompatible with VR, as I will show you one by one.
- Depth Of Field
- Motion Blur
- Chromatic Aberration
- Grain
- Vignett
Note that some settings are not compatible with VR.
Also, you can’t use ‘Screen Space Reflection’ in STYLY.
Let’s see the effect of each effect keeping the above in mind!
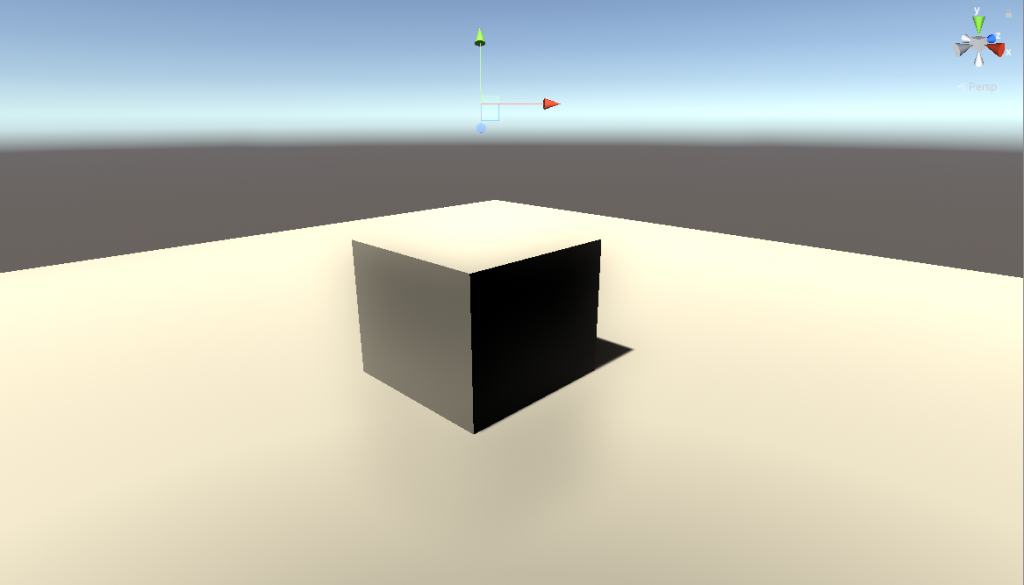
【Ambient Occlusion】
It is a screen effect that casts a shadow on the corner of an object to make it look like “reality”.
This effect is useful for recreating a real space in VR, such as a school classroom or town.
【Auto Exposure】
This effect is capable of automatic exposure adjustment. This effect can express the dark and light acclimation that occurs when moving from a dark room to a light room.
【Bloom】
This is an effect that can emphasize light. This effect is good for making certain objects glow in dark spaces and “neon” effects.
It’s probably one of the most frequently used effects, and once you master it, any space can look pretty good.
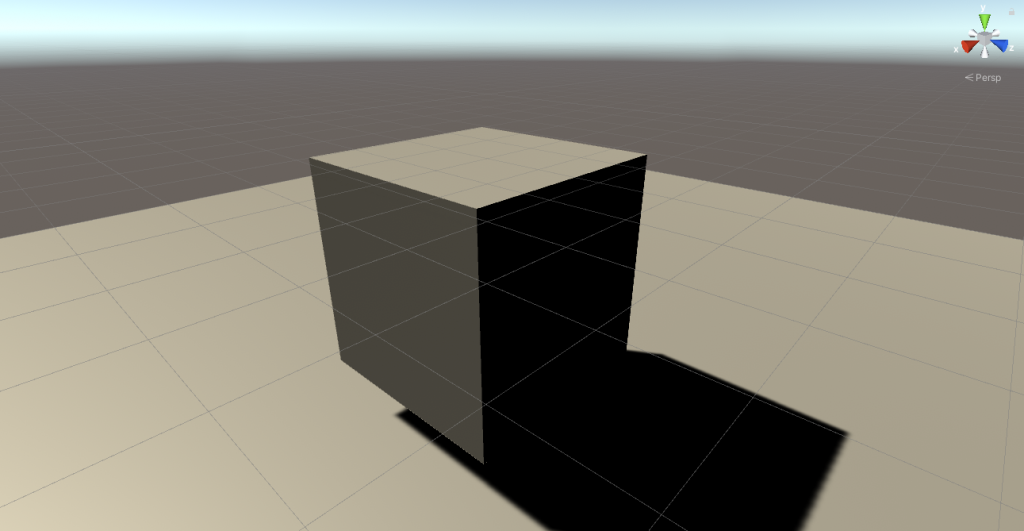
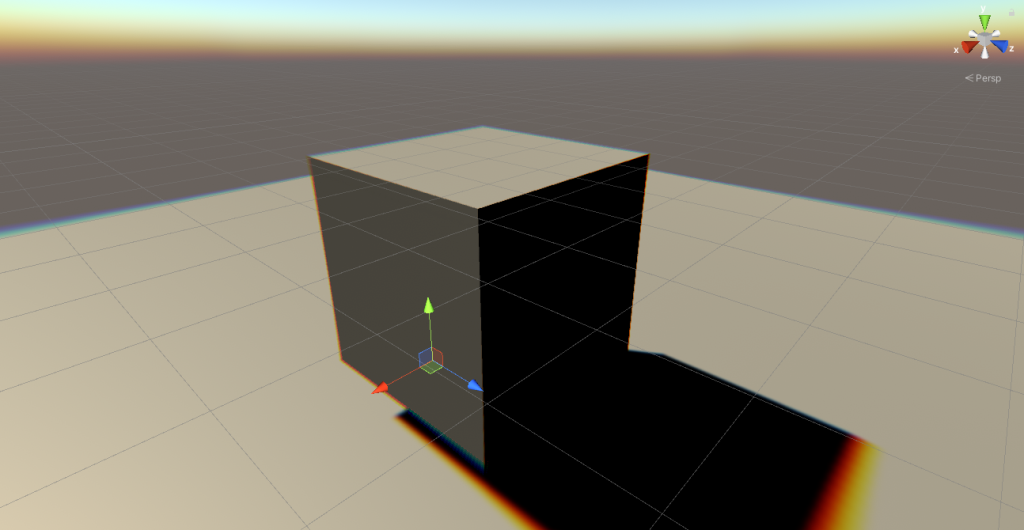
【Chromatic Aberration】
Chromatic Aberration effect
【Color Grading】
This is a color correction function. You can add a reddish tint to the screen in the sunset space and a blackish tint in the night space.
【Depth of Field】
It can represent the “focus” of an image taken with a real camera, also known as “depth of field”.
(*It is not recommended to use it in VR)
【Grain】
This effect can add noise to the screen. This effect replicates the noise that real cameras make in dark places.
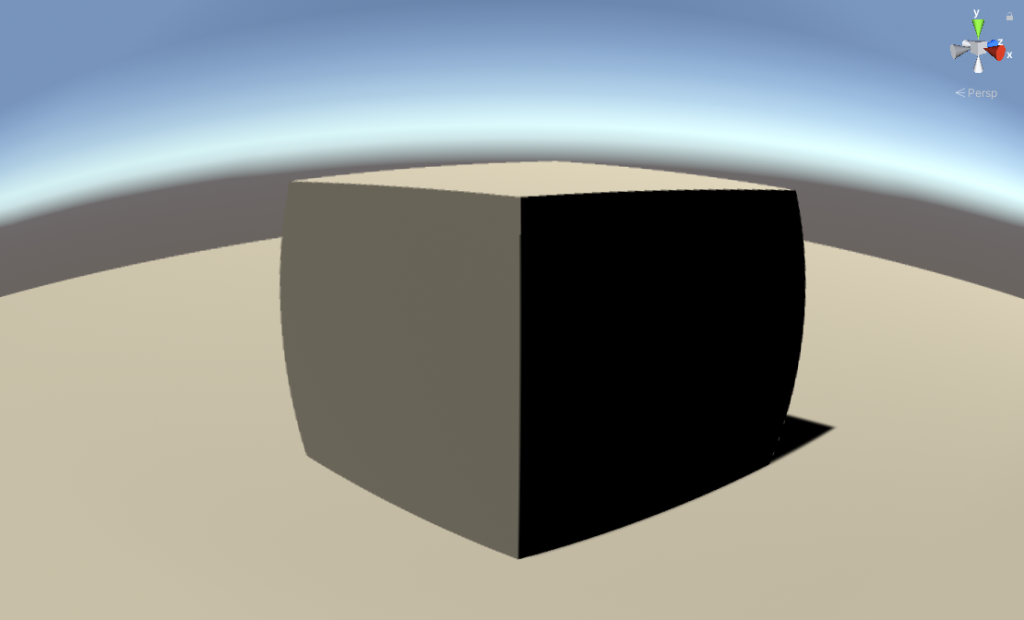
【LensDistortion】
This effect can reproduce the distortion of the lens. You can create a fisheye lens-like effect.
(*It is not recommended to use this effect in VR)
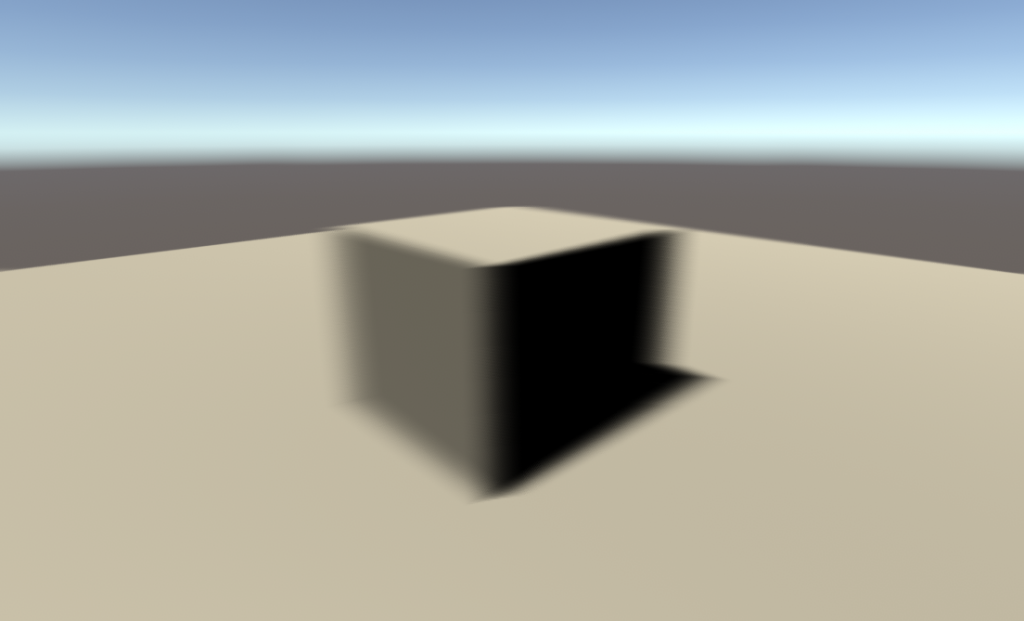
【Motion Blur】
An effect that adds blur to a moving part of the image. This effect is used to express a sense of speed.
(*It is not recommended not to use this effect in VR)
【Screen Space Reflection】
(*Not available in STYLY)
This effect is designed to create a “reflection” of an object in real time.
Note that this effect can only be used when the rendering setting is DeferredRendering, and objects that are not reflected in the camera will not be reflected.
【Vignette】
This effect darkens the edges of the screen. You can use this effect to create a slightly retro look or to blend in with a space.
This is a brief introduction to the effects available in PostProcessing Stack v2.
These effects can improve the look and feel of your images, so make sure to use them!
Introduction to Bloom
Let’s take a look at the actual effect settings.
Select the Bloom with the best screen effect.
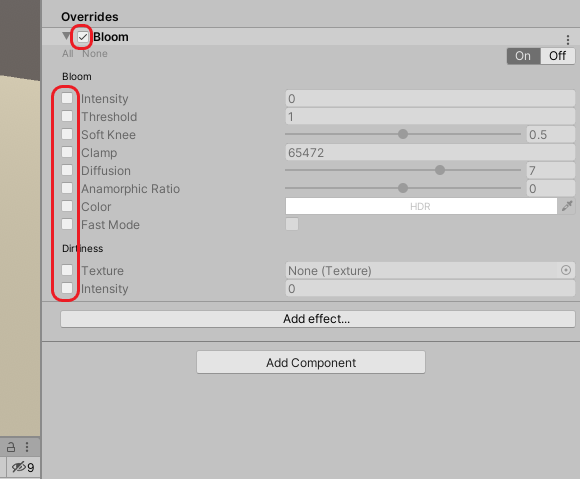
When you add Bloom to PostProcessVolume, it looks like this.
First of all, check the checkboxes in the red frame.
(*You don’t have to turn on all the checkboxes in the red frame. You can lighten the load by turning on only the items you want to use.)
The following is an overview of the “Intensity” settings, starting with “Intensity” at the top.
【Intensity】
The intensity of the light. You can increase the intensity of the Bloom by raising this value. Set the value to your liking.
【Threshold】
This is the threshold item. Bloom will not be applied to light whose brightness is less than the value you set here.
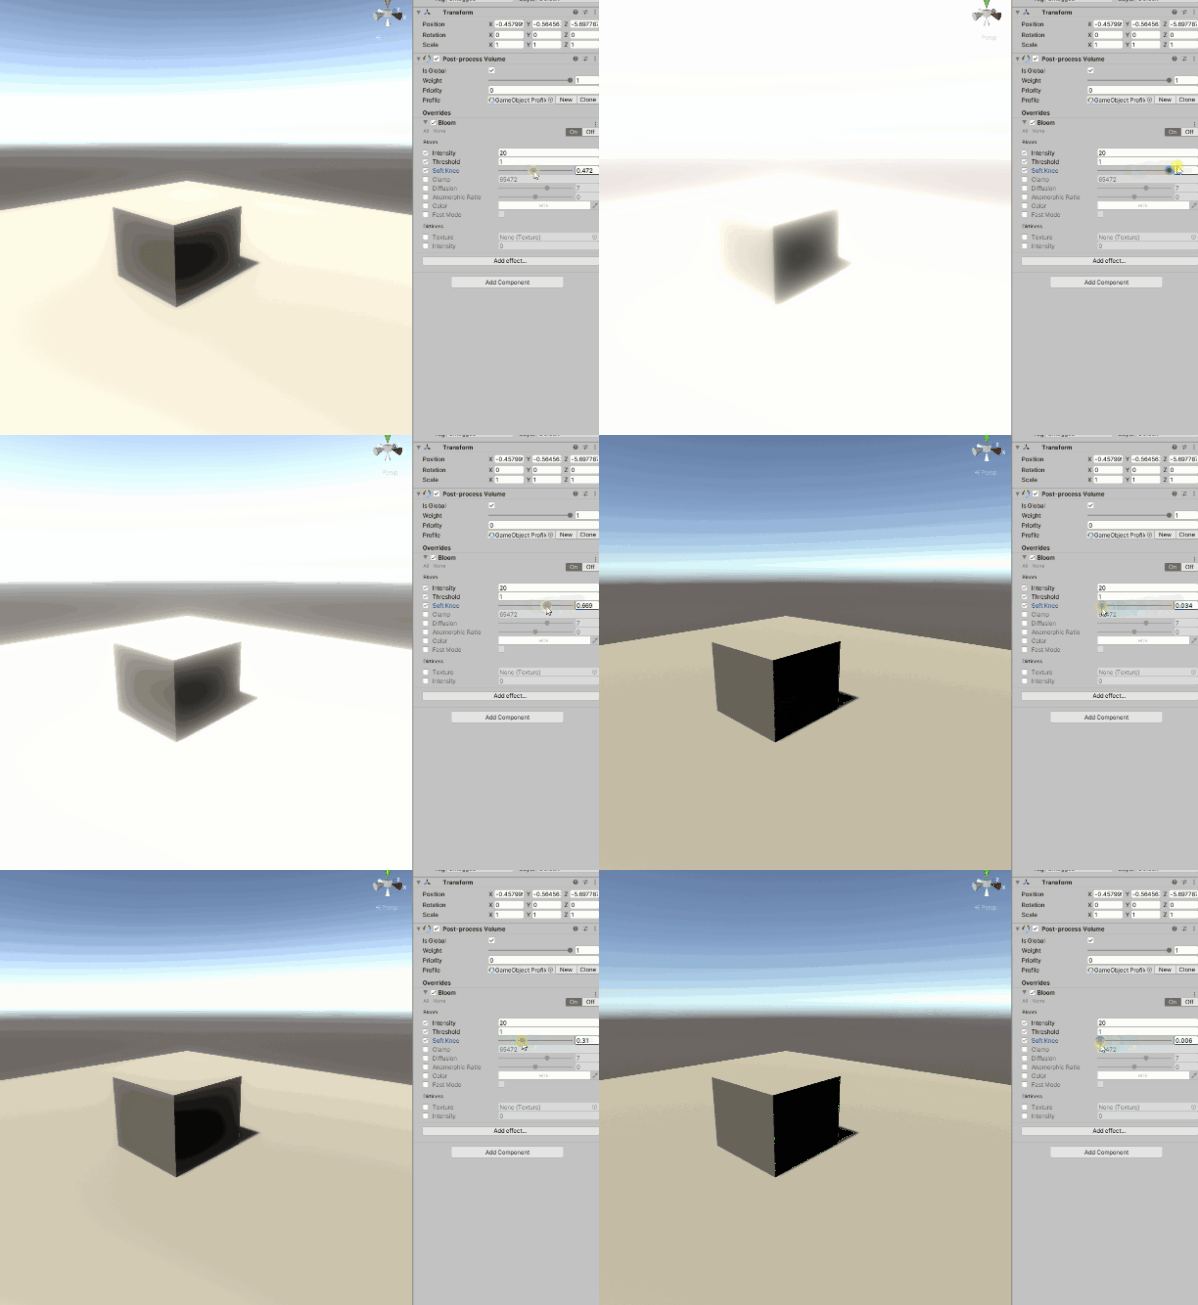
【Soft Knee】
This is called “Soft Knee” and the value can be changed between 0 and 1.
The closer the value is to 1, the closer the effect is to the threshold even if it doesn’t exceed the threshold, the more the effect is applied.
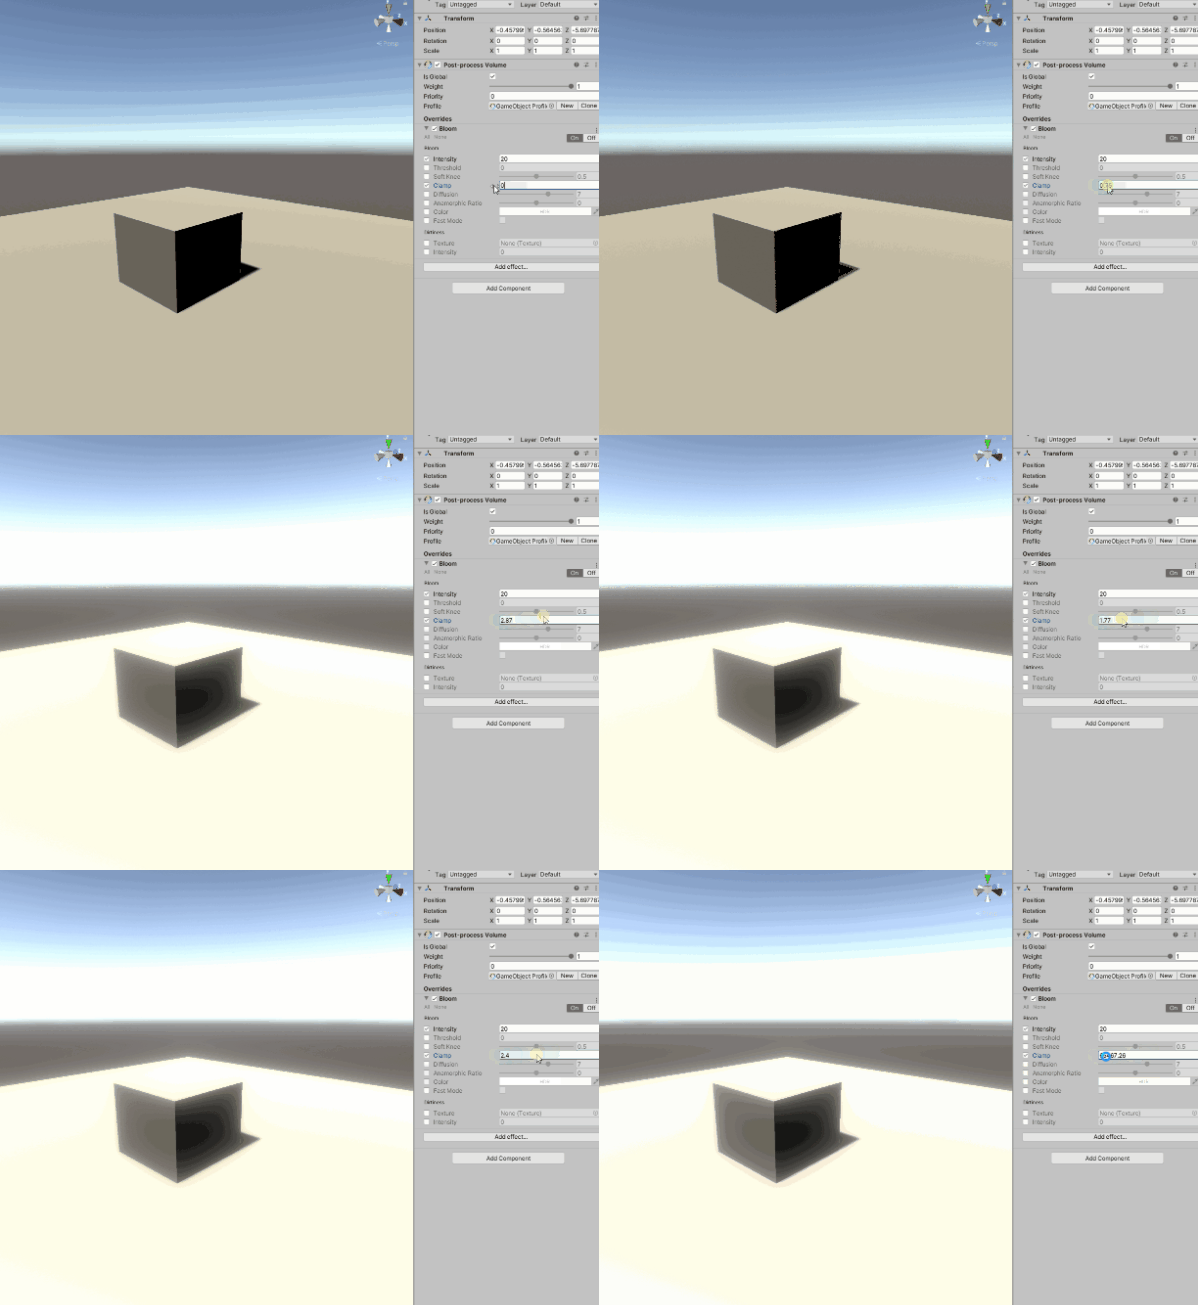
【Clamp】
This is the item to set up the amount of Bloom per pixel.
【Diffusion】
It can be adjusted on a scale of 1 to 10. The closer to 1, the less diffuse the light is, and the closer to 10, the more it spreads across the screen.
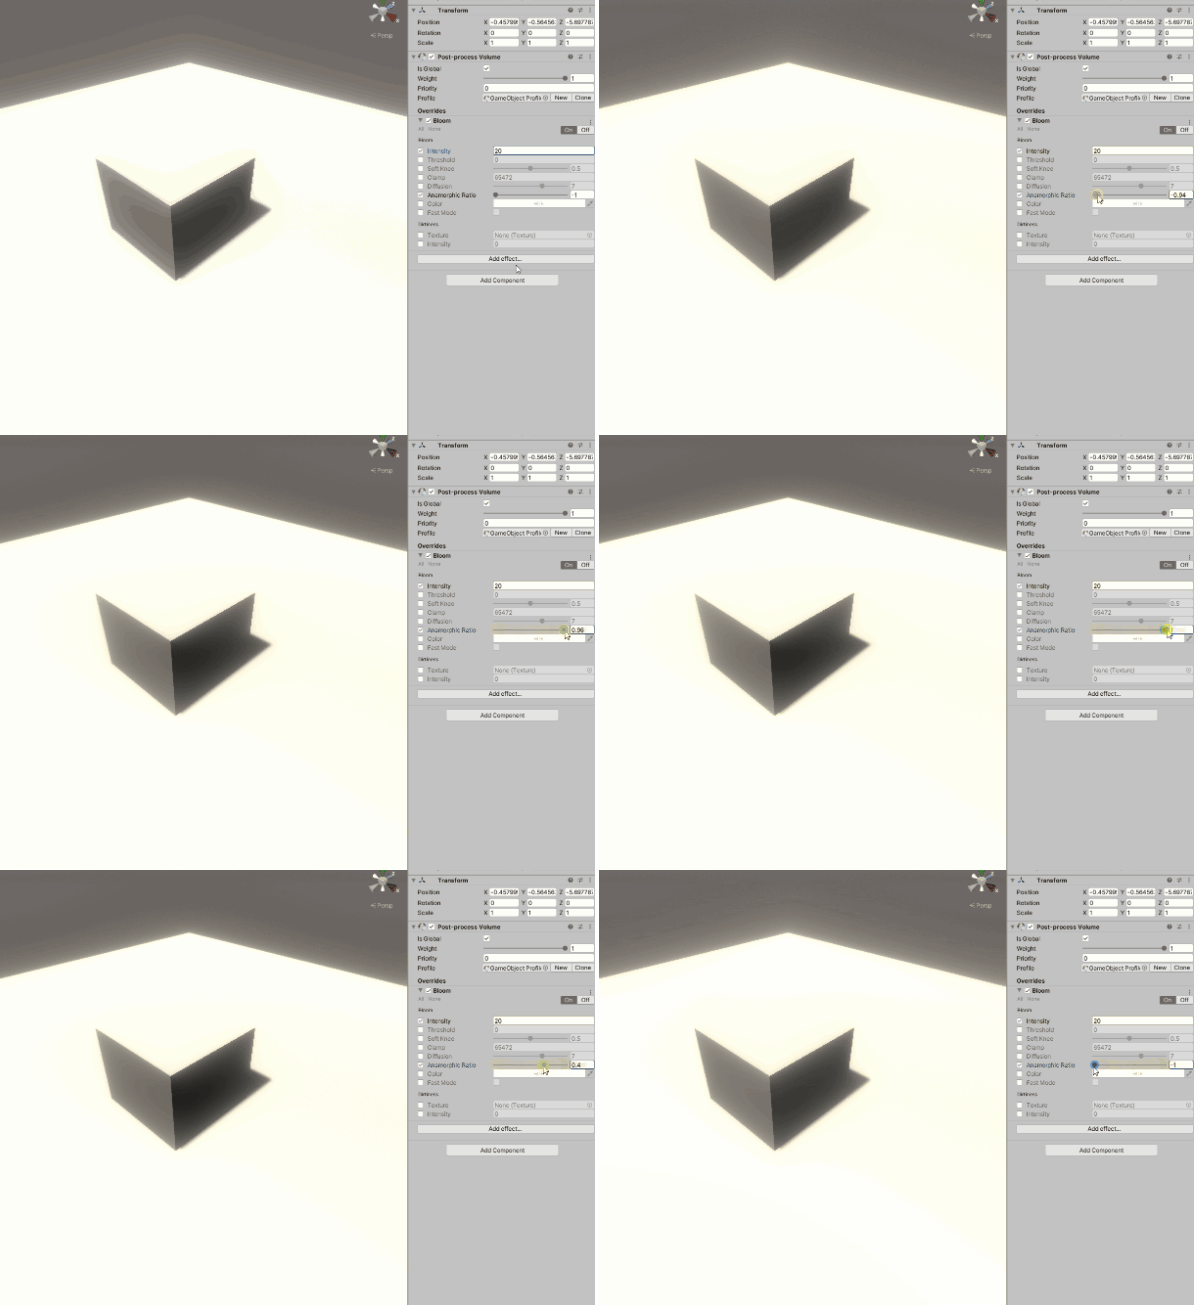
【Anamorphic Ratio】
You can set up the distortion rate of Bloom, with -1 to 0 being the vertical direction and 0 to 1 being the horizontal direction.
【Color】
You can set up the color of Bloom, which uses HDR color picker to give the specified color tone.
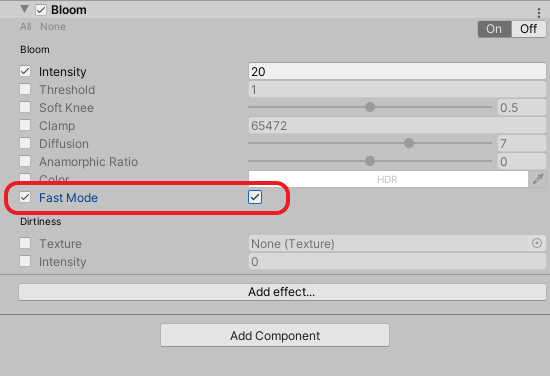
【Fast Mode】
Diminishes Bloom’s rendering quality and prioritizes performance.
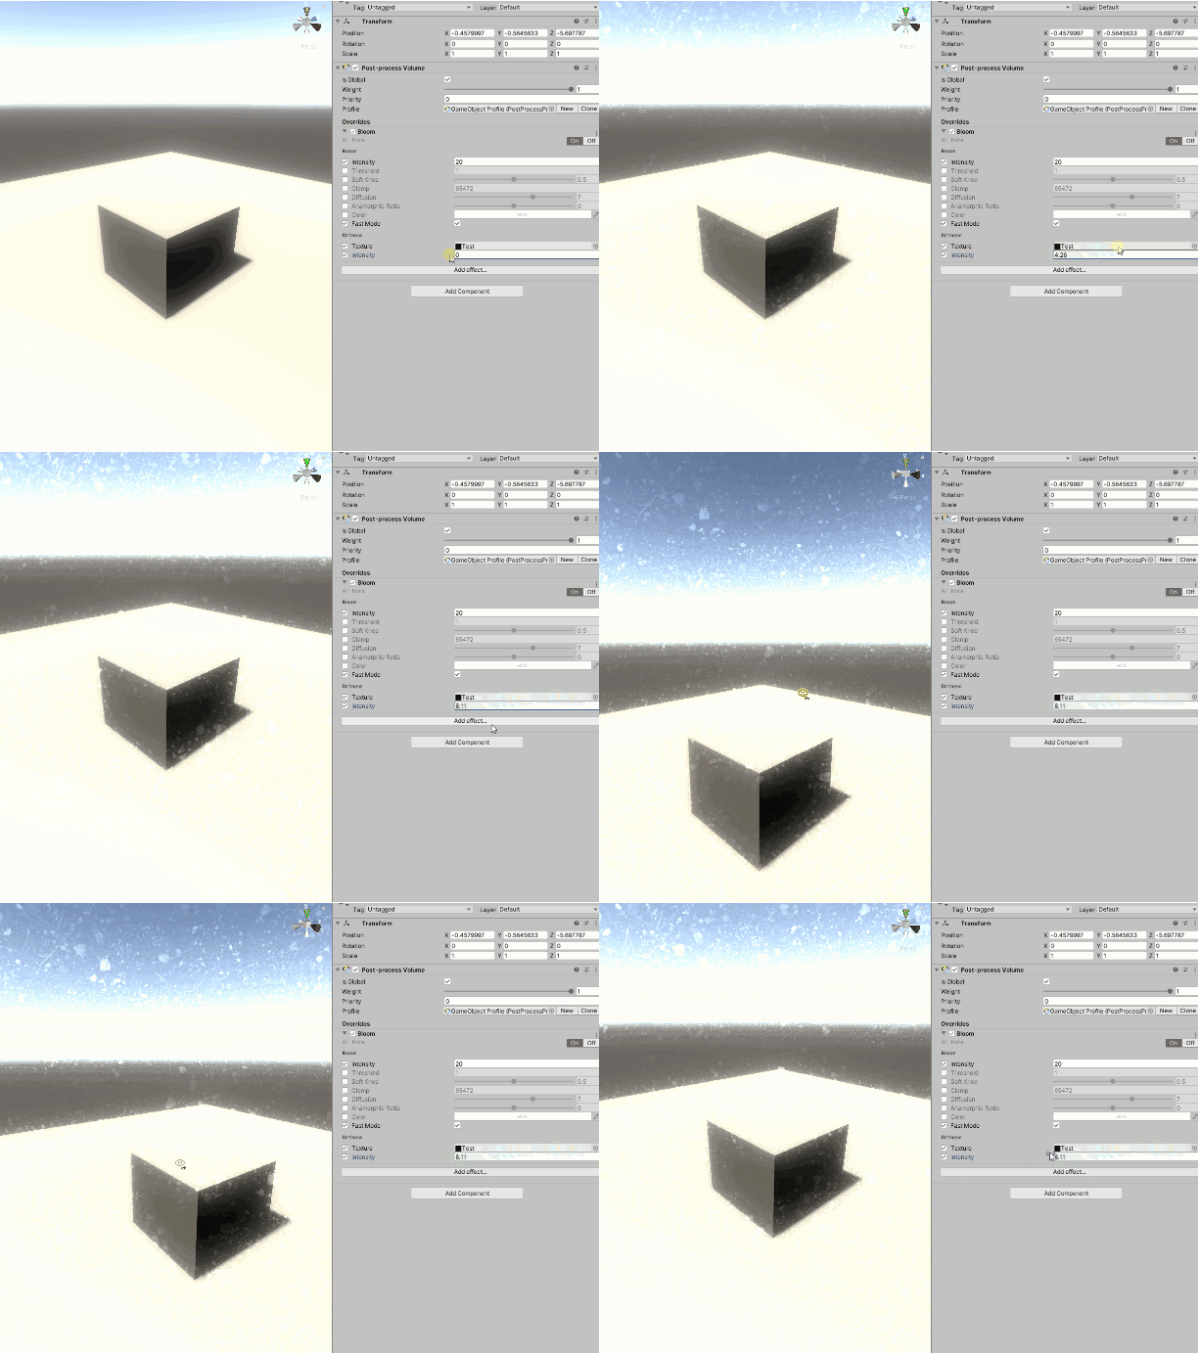
【Dirtiness】
It expresses the dirt and dust on the lens.
You can refer to the image file with Texture and adjust the intensity of the dirt with Intensity.
That’s all about Bloom.
Upload to STYLY
Upload the Post Processing scene you created, pre-fab, to STYLY.
Here’s how to create a STYLY account
Here’s how to upload a pre-fab from Unity to STYLY
Here’s how to upload a scene from Unity to STYLY
What to do when a scene or prefab is too heavy to upload to STYLY
You can use STYLY FORUM to solve the problem. STYLY FORUM is a place where people can discuss a service or technical issue on STYLY, or provide bug reports on STYLY.
https://en.forum.styly.cc/support/discussions
