Unity has ‘Terrain (Engine)’ to create a terrain as the base for VR spaces. However, it has a few problems. For example, it is memory-intensive and it could slow down the Scene and it can not be resized or rotated once it’s uploaded to STYLY.
This time, I will show you how to separate the mesh and the texture of a terrain, reduce the size and upload it to STYLY by using a Unity asset, ‘Terrain to Mesh’.
In this article, I won’t explain how to create a terrain with ‘Terrain’ so please refer to the following article if you want to learn how to use Terrain itself.
https://gametukurikata.com/terrain/makefield
We begin with the ground that has already been created with Terrain.
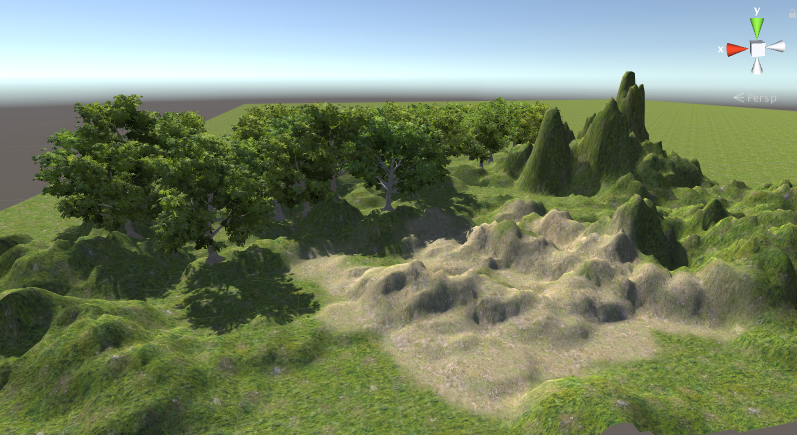
A Terrain has been completed
Terrain to Mesh
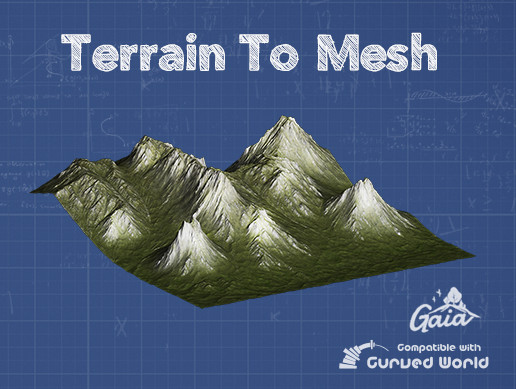
Terrain To Mesh
Total file size: 20.2MB
Supported Unity Version: 5.6.4 or higher
Price: $25
Website:
https://assetstore.unity.com/packages/tools/terrain/terrain-to-mesh-47276
Export Mesh and Texture
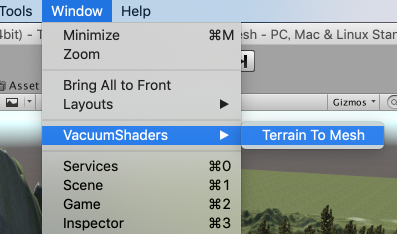
After importing the ‘Terrain To Mesh’ asset to Unity, select ‘Window > VacuumShaders > Terrain To Mesh’ in the menu bar.
Then, the following window will be displayed.
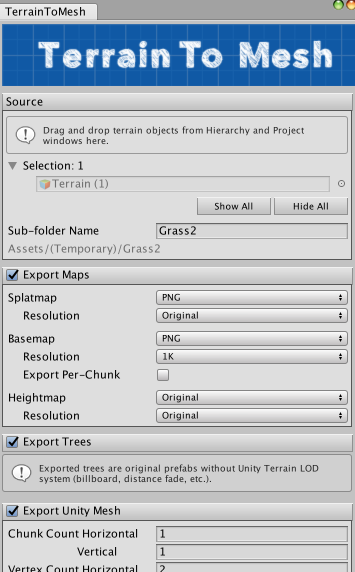
The settings for ‘Terrain To Mesh’ #1
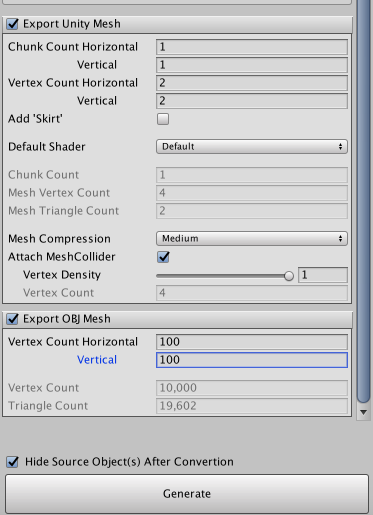
The settings for ‘Terrain To Mesh’ #2
Set each parameter as shown above.
From the HIerarchy window, drag and drop the Terrain you use.
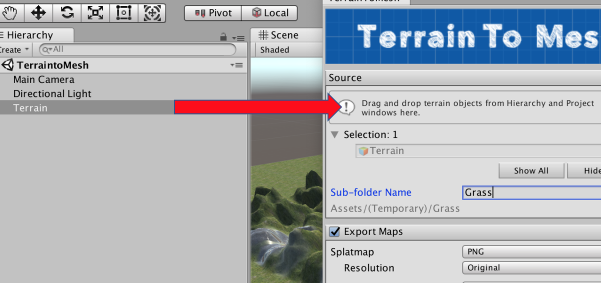
Drag and drop the Terrain you use
After the setting is finished, press “Generate’ to start exporting.
Integrate the Exported Files in Unity
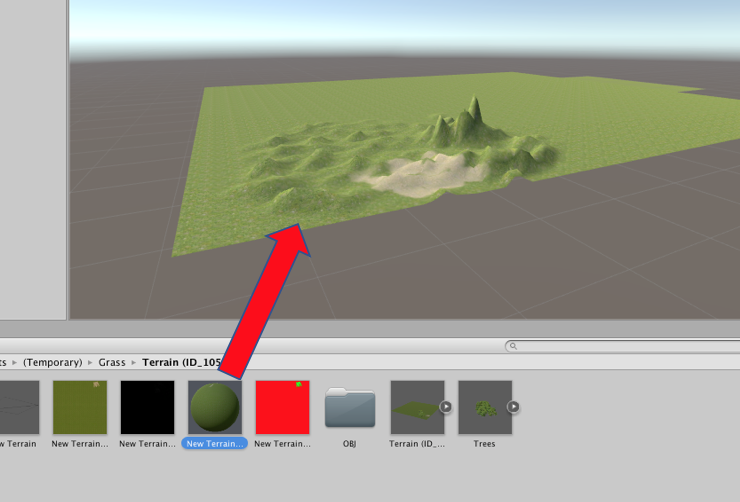
Once the export is completed, a new folder ‘(Temporary)’ will be created in the Asset folder.
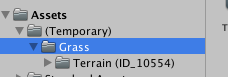
Check the Project window
Open the ‘OBJ’ folder under the Temporary folder to find the exported mesh.
Add it to the Scene.
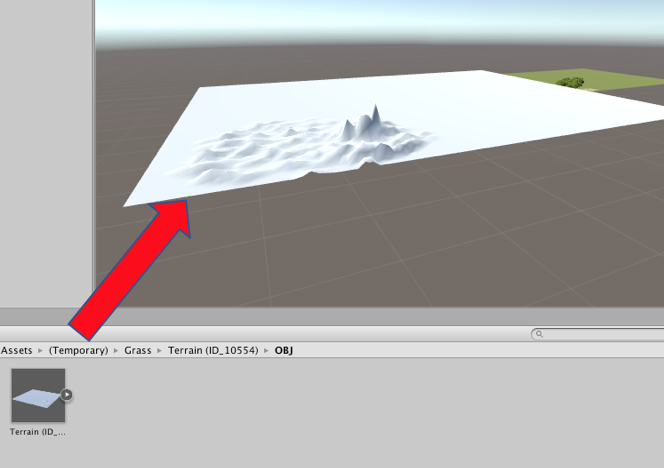
Add the mesh to the Scene
Next, there is a Material called ‘New Terrain_Material’, apply it to the mesh in the Scene.
Apply the material to the mesh
As the 3D models of trees are not exported, transfer the trees from the Terrain you first created in the Scene to the new Terrain you added to the Scene now.
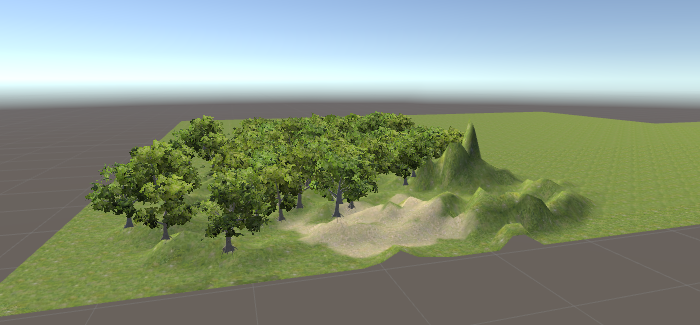
Transfer the trees
In the Hierarchy window, the 3D models of trees are separated from the Terrain, store them in the new Terrain.
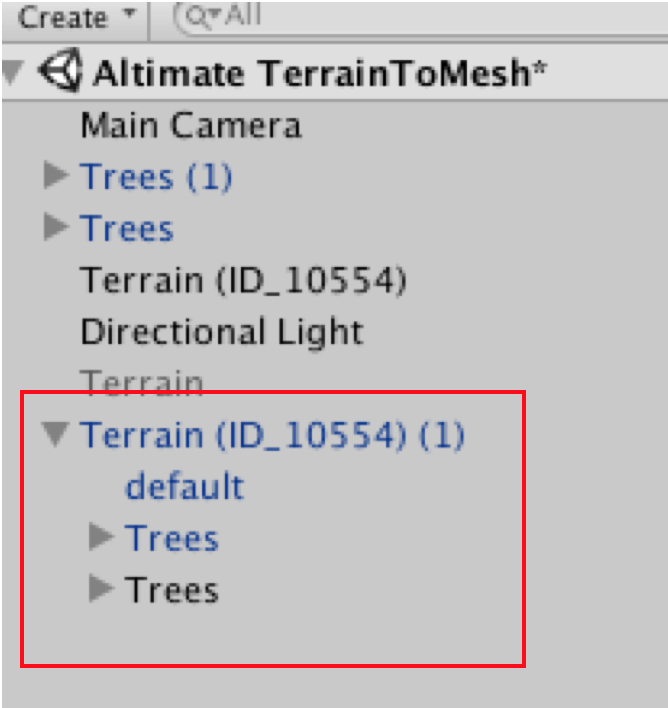
Store the trees in the new Terrain
Now, the terrain created with “Terrain’ has been converted into a 3D model with a reduced size, which can be resized and rotated after uploading to STYLY.
Upload to STYLY
Please refer to this article to learn how to upload a Terrain from Unity to STYLY.

Now, the Terrain has been uploaded to STYLY.
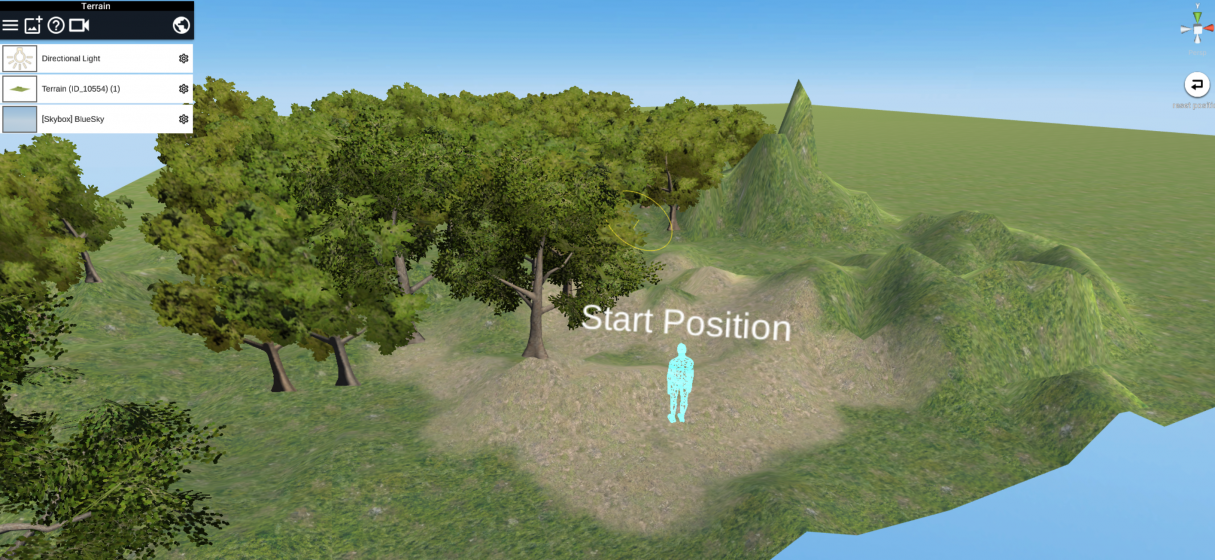
Place the Terrain in STYLY Web Studio