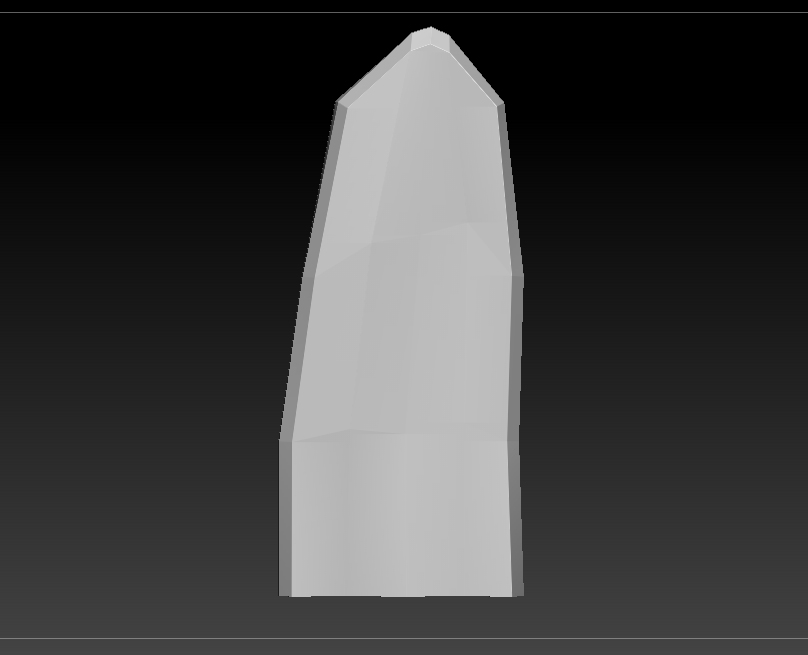
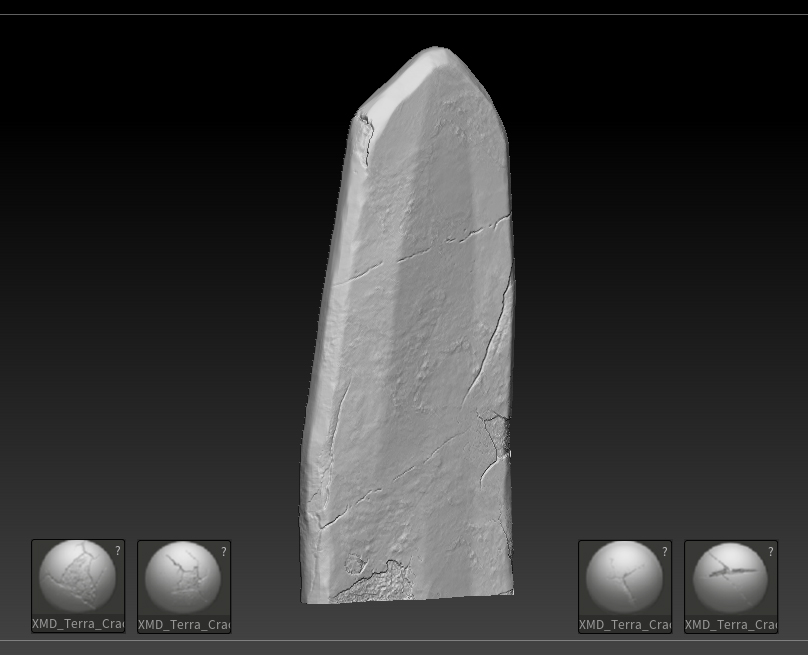
This time, we will sculpt a large rock towering in the centre, which is an eye-catching feature in this VR Scene.
I take the approach similar to what I have done in previous articles, but I sort the tasks into those of Zbrush and those of Substance Painter beforehand as I have some details to be created in Substance Painter after sculpting.
I want to add the details of carving some words on this object but I also want to make them glow. So I need to use Substance Painter that allows me to apply ‘Height’ and ‘Emissive’ at the same time.
Squash the edges by using ‘Divide’
Like the other objects we created earlier, divide the polygons to make the mesh finer.
Tidy up the edges by the ‘TrimDynamic’ brush here again.
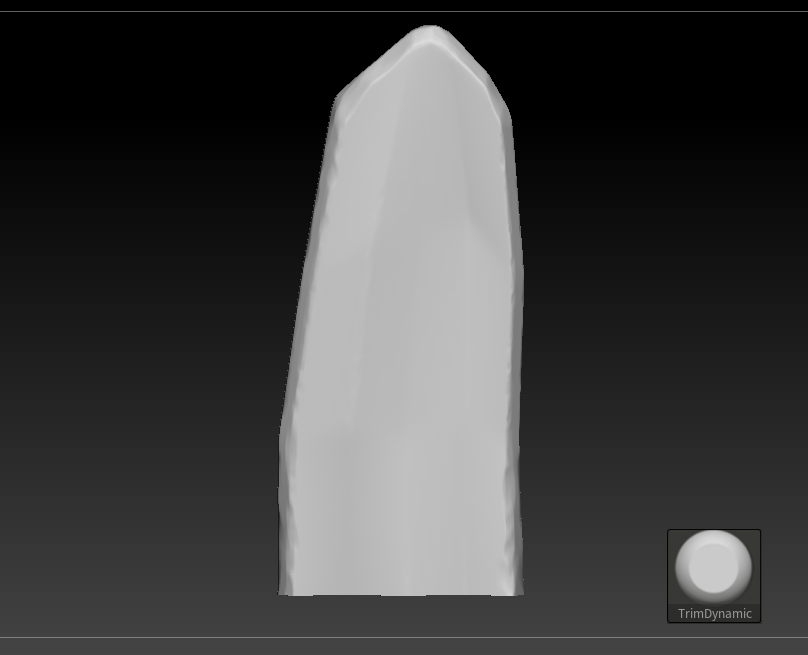
Sculpt the object to express large-rock surface.
Create rock-like surface by using various brushes in combination.
The images of stone and rock are frequently used as Alpha images and textures so it’s a good idea to stock a lot of them for future use in various situations.
By changing the size and angle of brushes, avoid making the details tasteless.
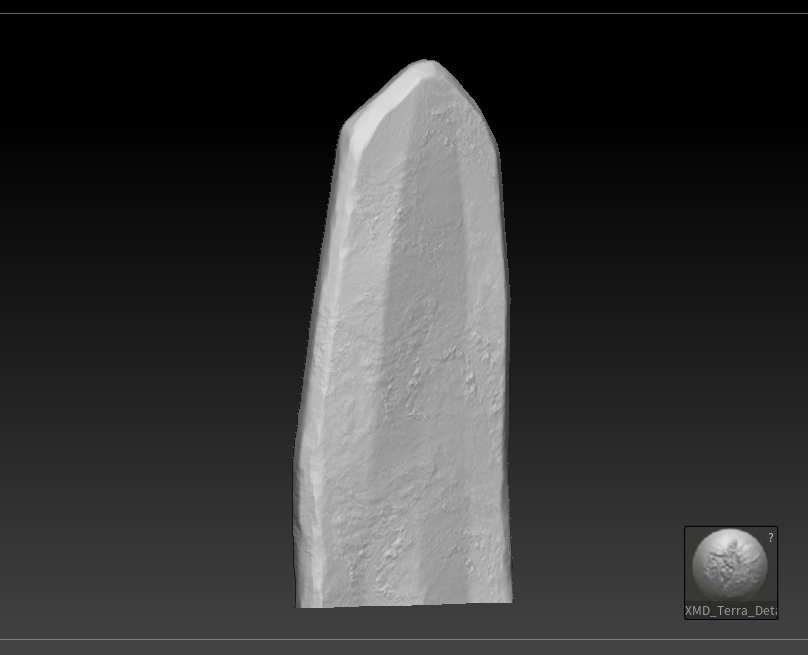
Add cracks
Adding cracks is a common task in ZBrush.
Let’s add a taste to the rock surface by some ‘Crack’ brushes.
For this kind of task, ‘Drag Rect’ is handy.
Try to adjust the size of brushes and the depth repeatedly until you get a convincing detail.
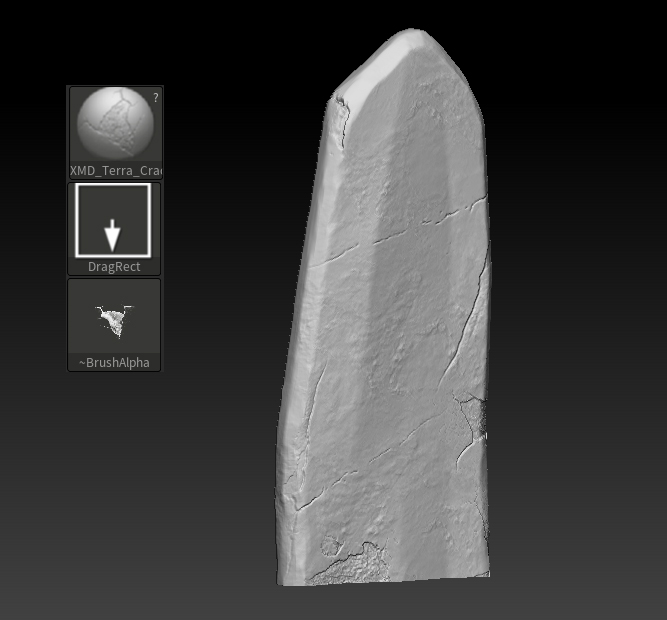
This time, I used the four brushes as shown below.
Those brushes are also useful in various situations.
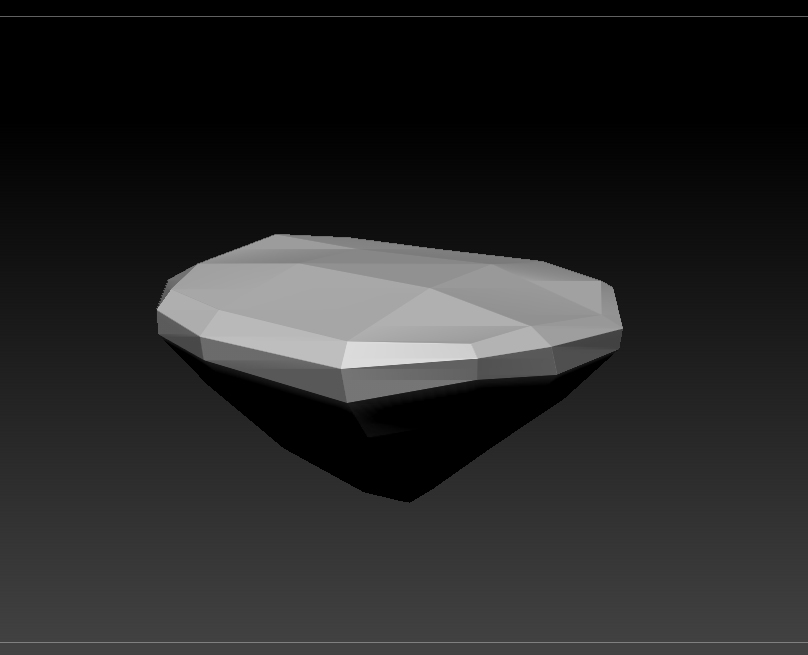
Sculpt other stone objects
Let’s sculpt other stone objects.
The basic workflow is the same, but I used a different brush to make the details on the surface.
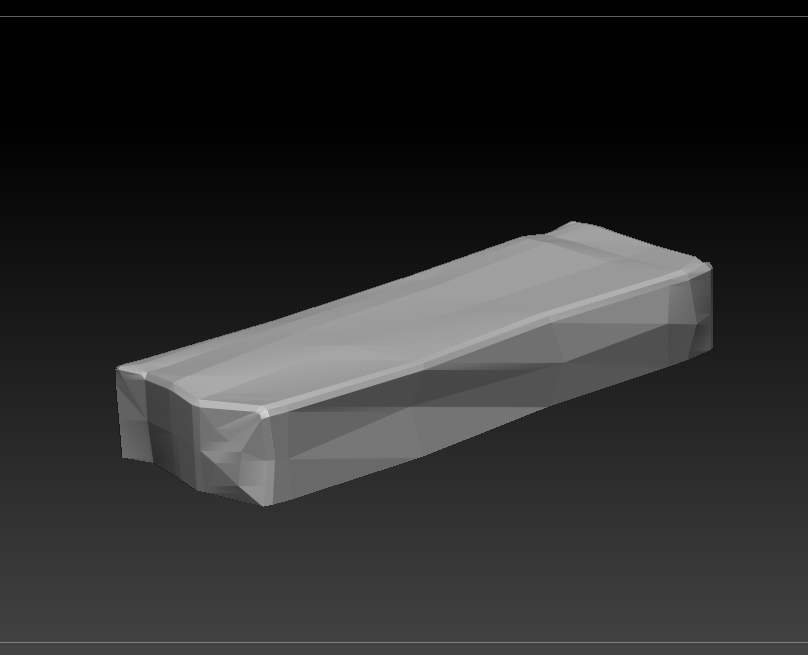
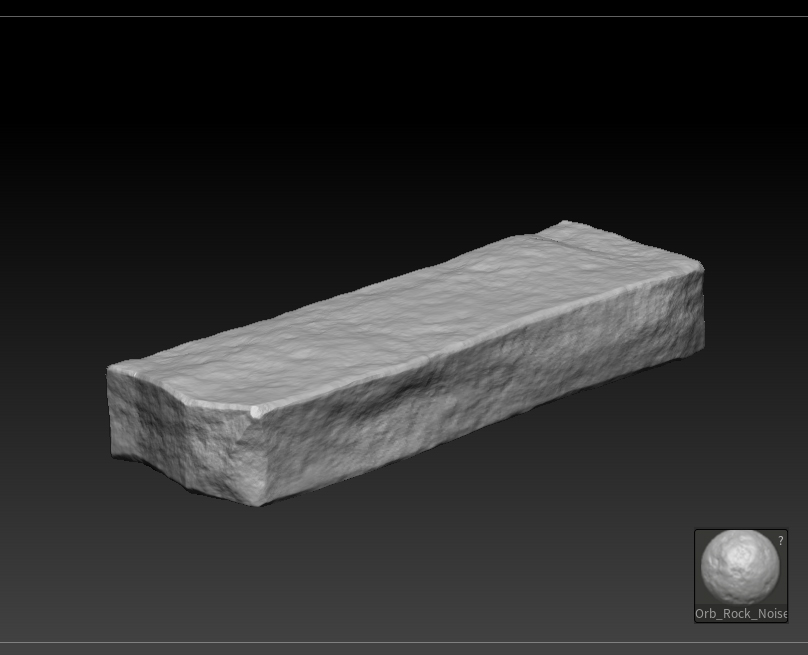
The high-poly mesh of the rock where the casket is placed.
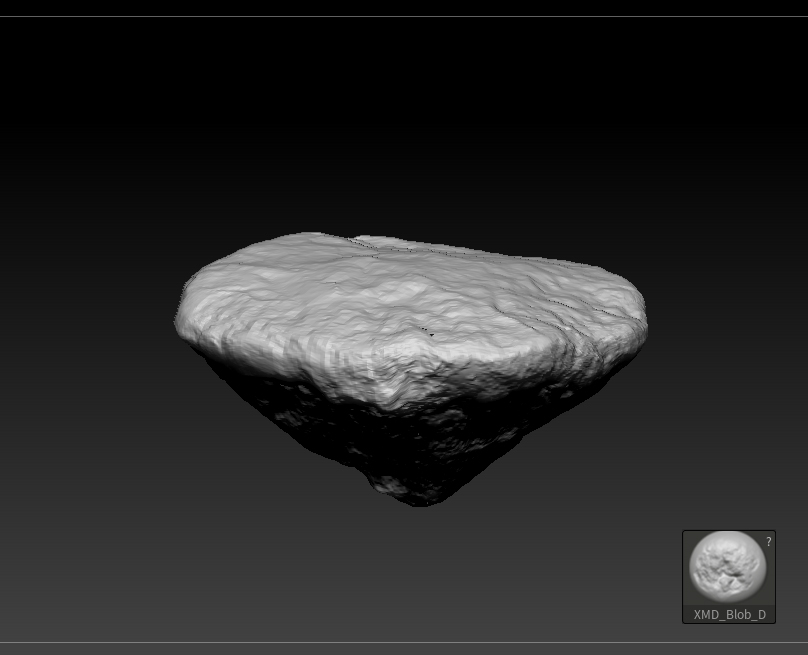
The high-poly mesh of the rock floating in the air
The high-poly meshes I created in ZBrush so far will be used for the baking in Substance Designer or Substance painter later.
Export the mesh with the largest number of polygons as an obj file.
The mesh with a large number of polygons sometimes takes time to export so wait with patience if it’s the case.
In many cases, the baking could fail at first. If it failed, we sometimes need to go back to Zbrush to adjust the high-poly mesh again or go back to Maya to modify the low-poly mesh. 。
After this, we bake the mesh in Substance Designer and create textures.