In this article I’ll show you how to use ZBrushCoreMini, the free version of the sculpting modeling software ZBrushCore, which allows you to model as if you were kneading clay.
Completed Image
What is ZBrushCoreMini?
ZBrush is a sculpting-based modeling tool that allows you to create 3DCG models as if you were kneading clay.
ZBrush is a 3DCG software used by professional artists, and its price exceeds 100,000 yen. On the other hand, ZBrushCore is the entry-level model of ZBrush and although it has some limited features, it is priced at around 20,000 yen.
ZBrushCoreMini is a free version of ZBrushCore, newly released in June 2020, which offers even more limited features than ZBrushCore, but still allows you to experience the main feature of ZBrush, which is the engraving brush.
To learn more about the differences between ZBrushCore and ZBrushCoreMini, please refer to the following website.
https://pixologic.jp/zbrushcoremini-comparison/
Basically, ZBrushCoreMini does not have any features aside from the brushes. The interface of ZBrushCoreMini is very different from that of ZBrushCore, so be careful when referring to ZBrushCore tutorials.
Screenshot of ZBrushCore
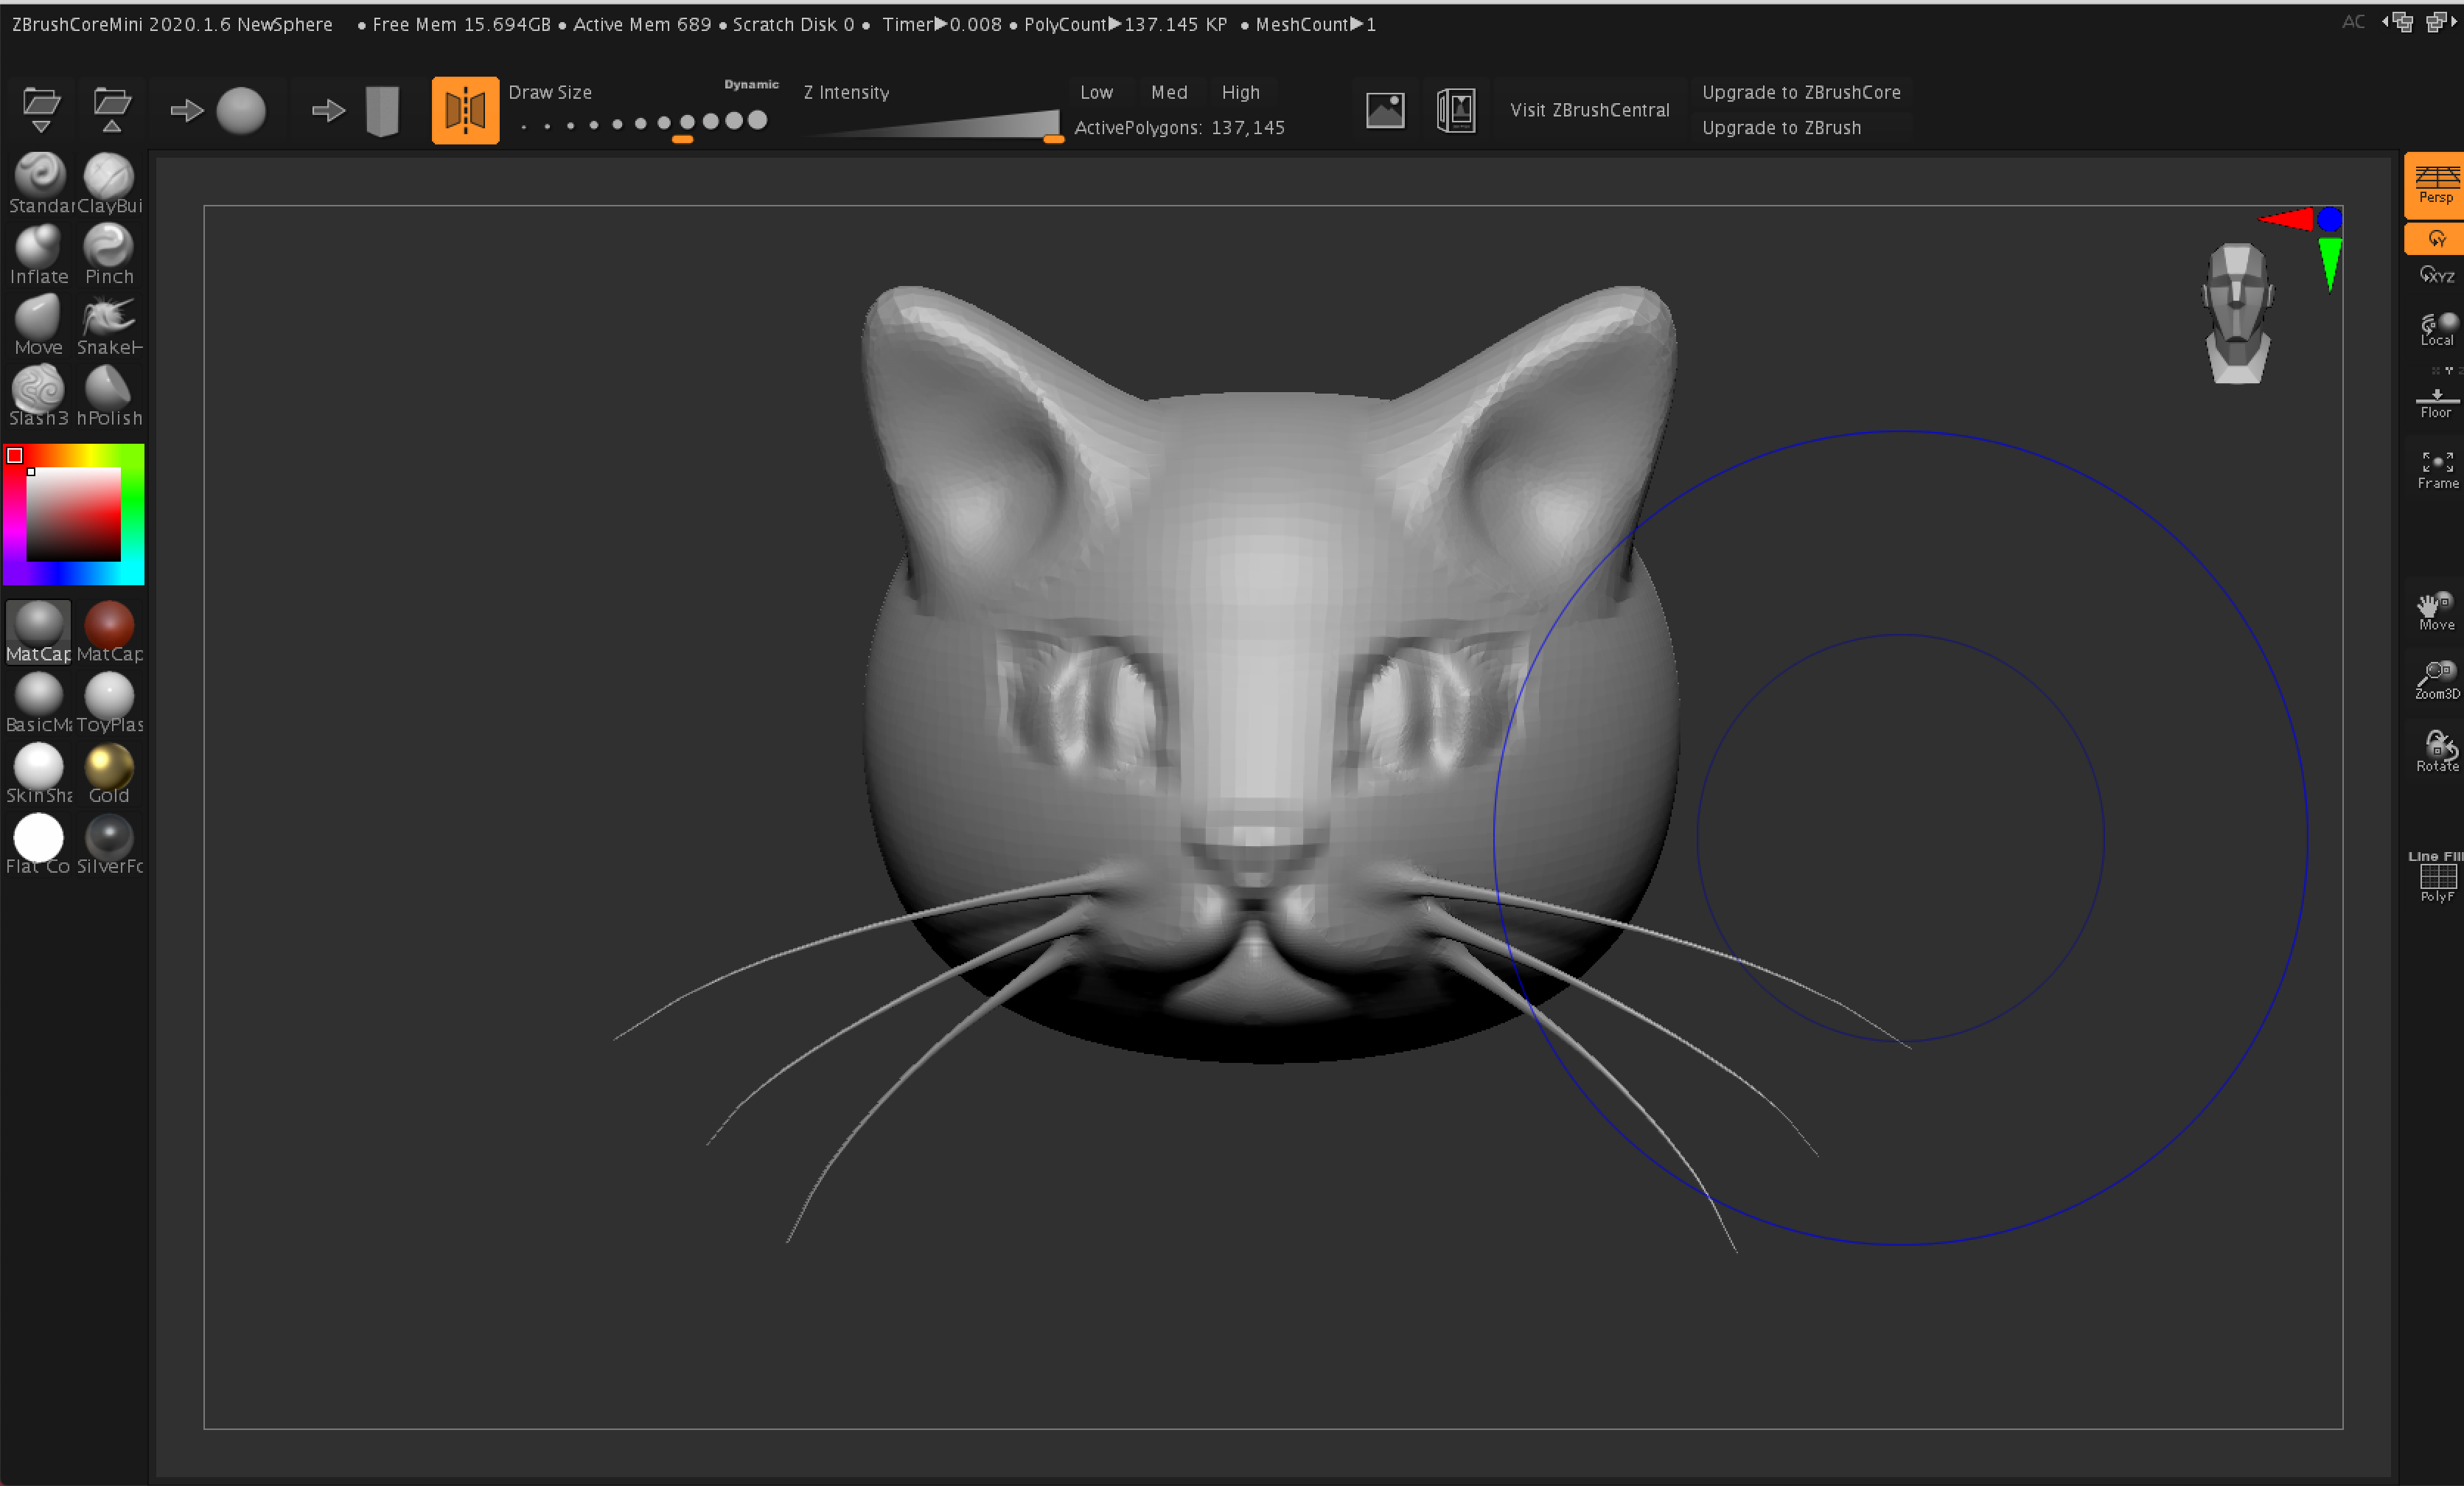
Screenshot of ZBrushCoreMini
Download
ZBrushCoreMini is available for download for both Windows and Mac OS.
You will need to register for a free Pixologic account to download it.
After registering, log in and select “My License” from the menu that appears.
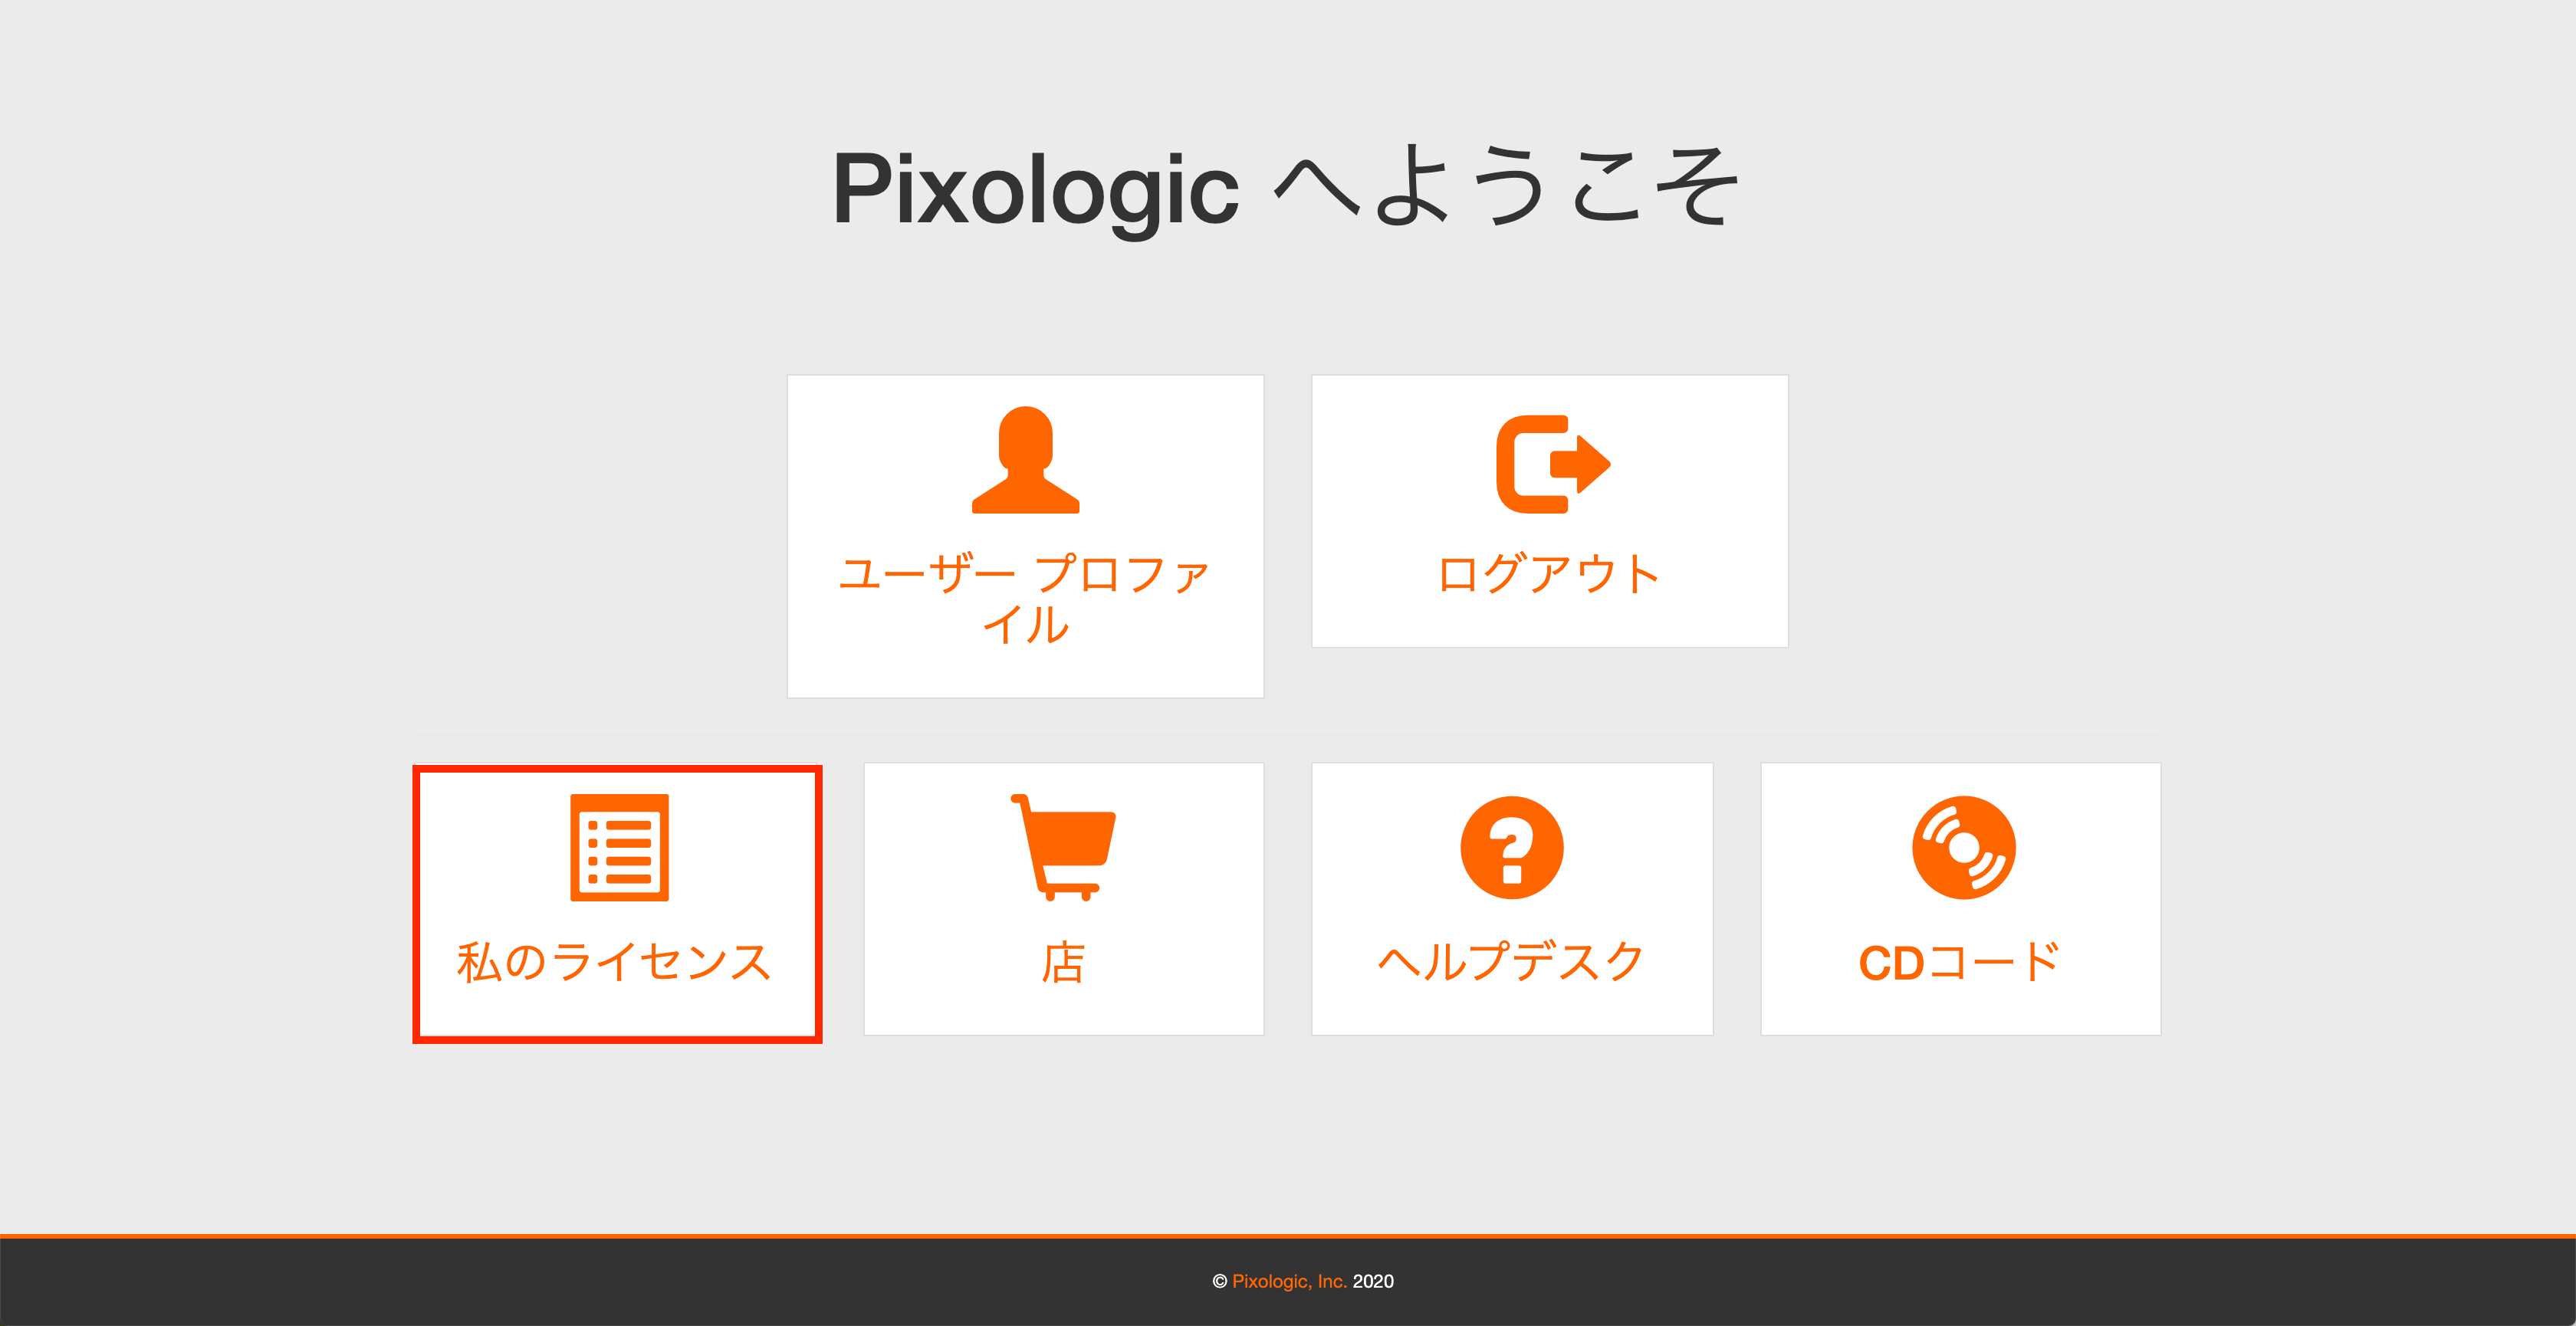
Pixologic’s menu screen
You will be prompted to log in again and you will be taken to the following page.
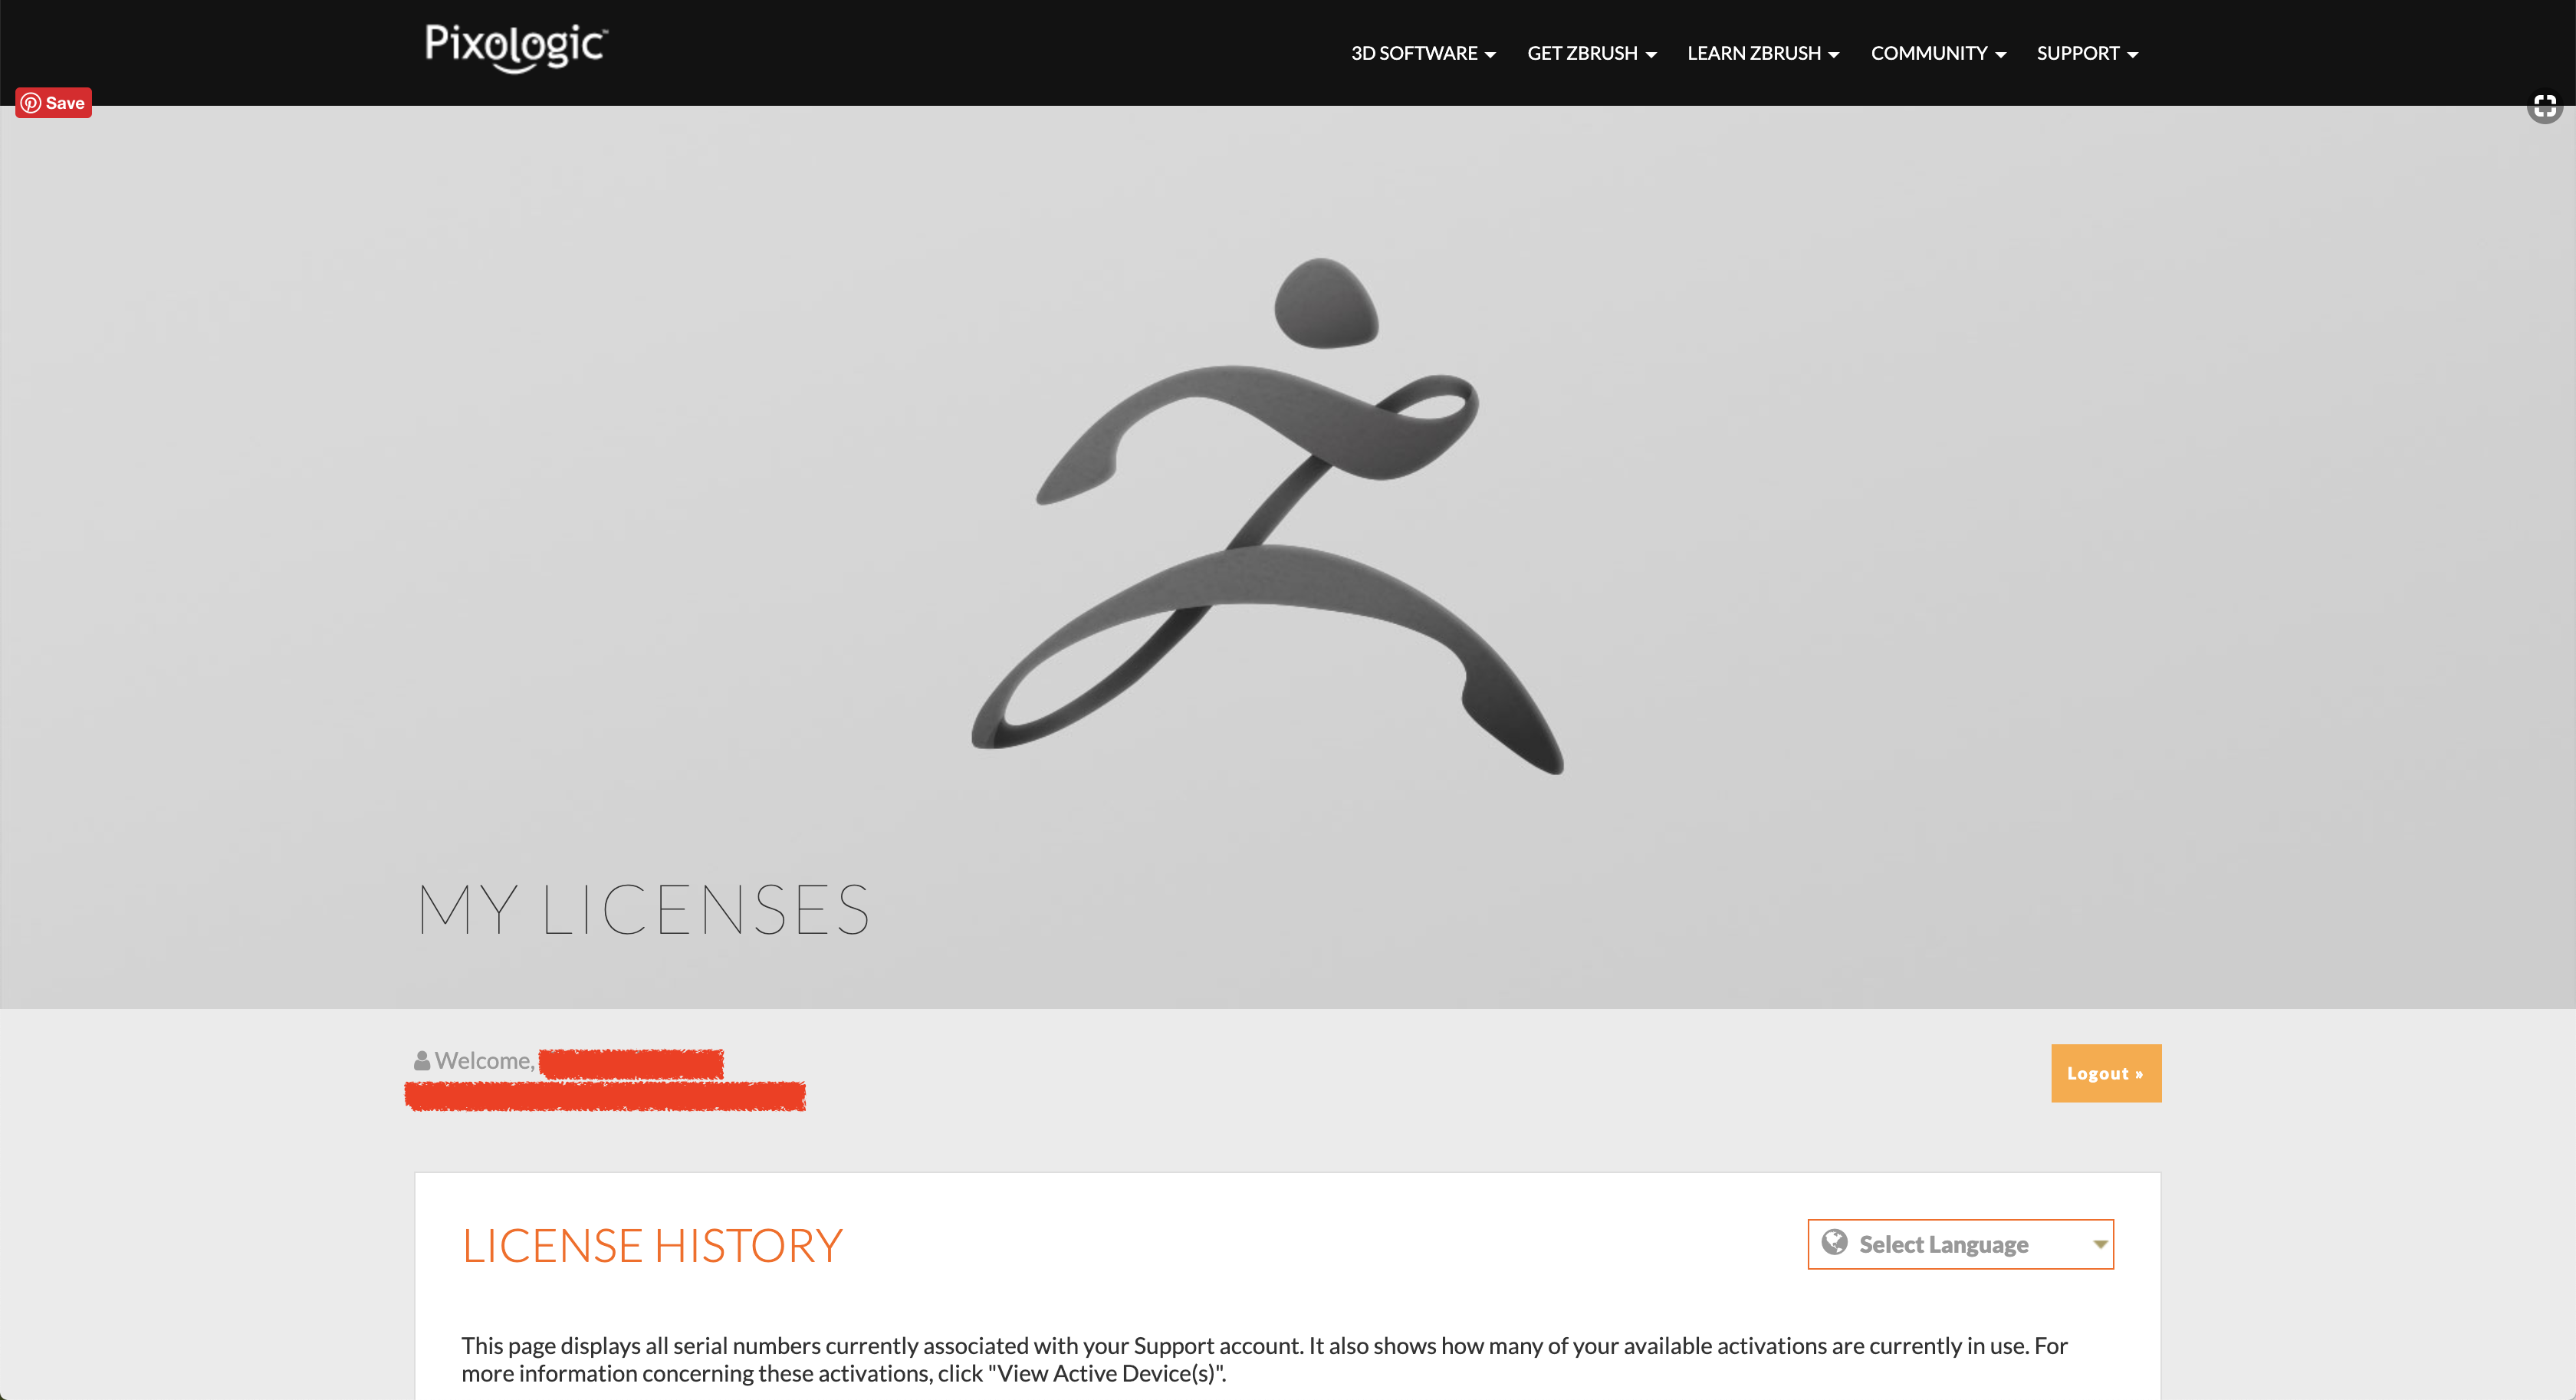
MY LICENSES page
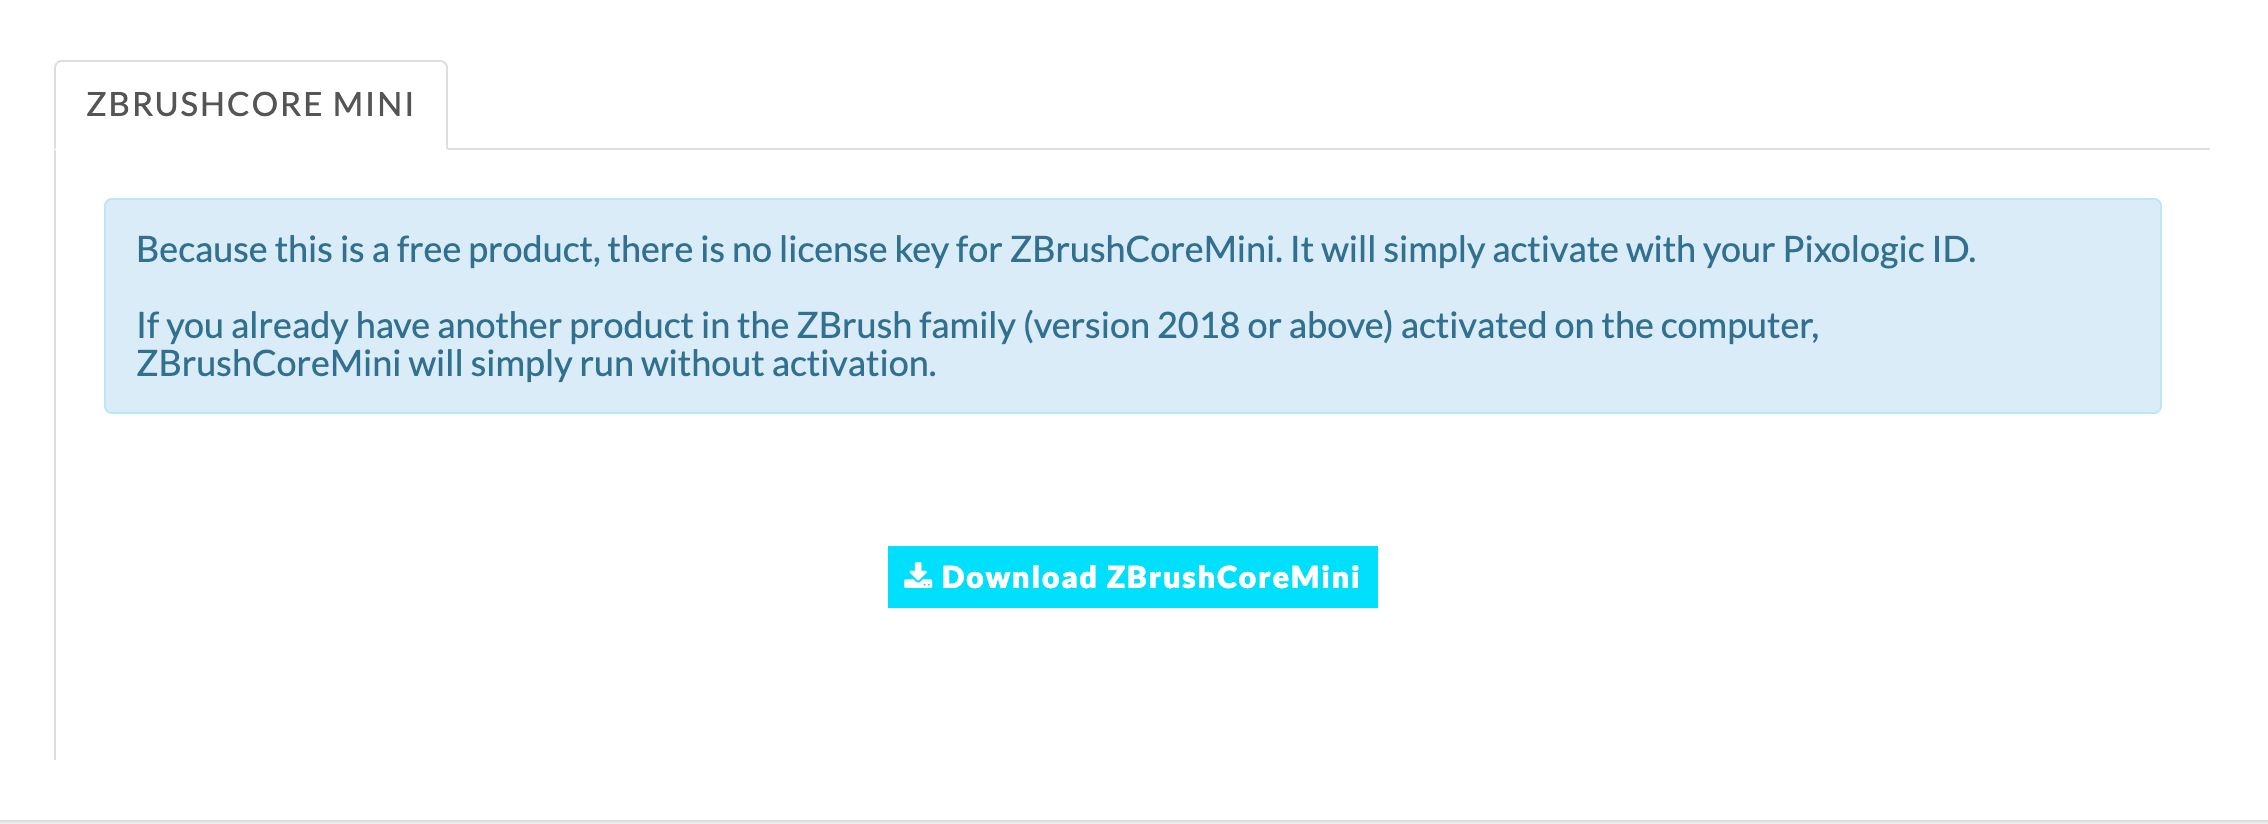
Download ZBrushCoreMini button
Scroll down to the bottom and you will find the listing for ZBrushCoreMini.
Click on “Download ZBrushCoreMini” and download the software.
Sculpt Modeling
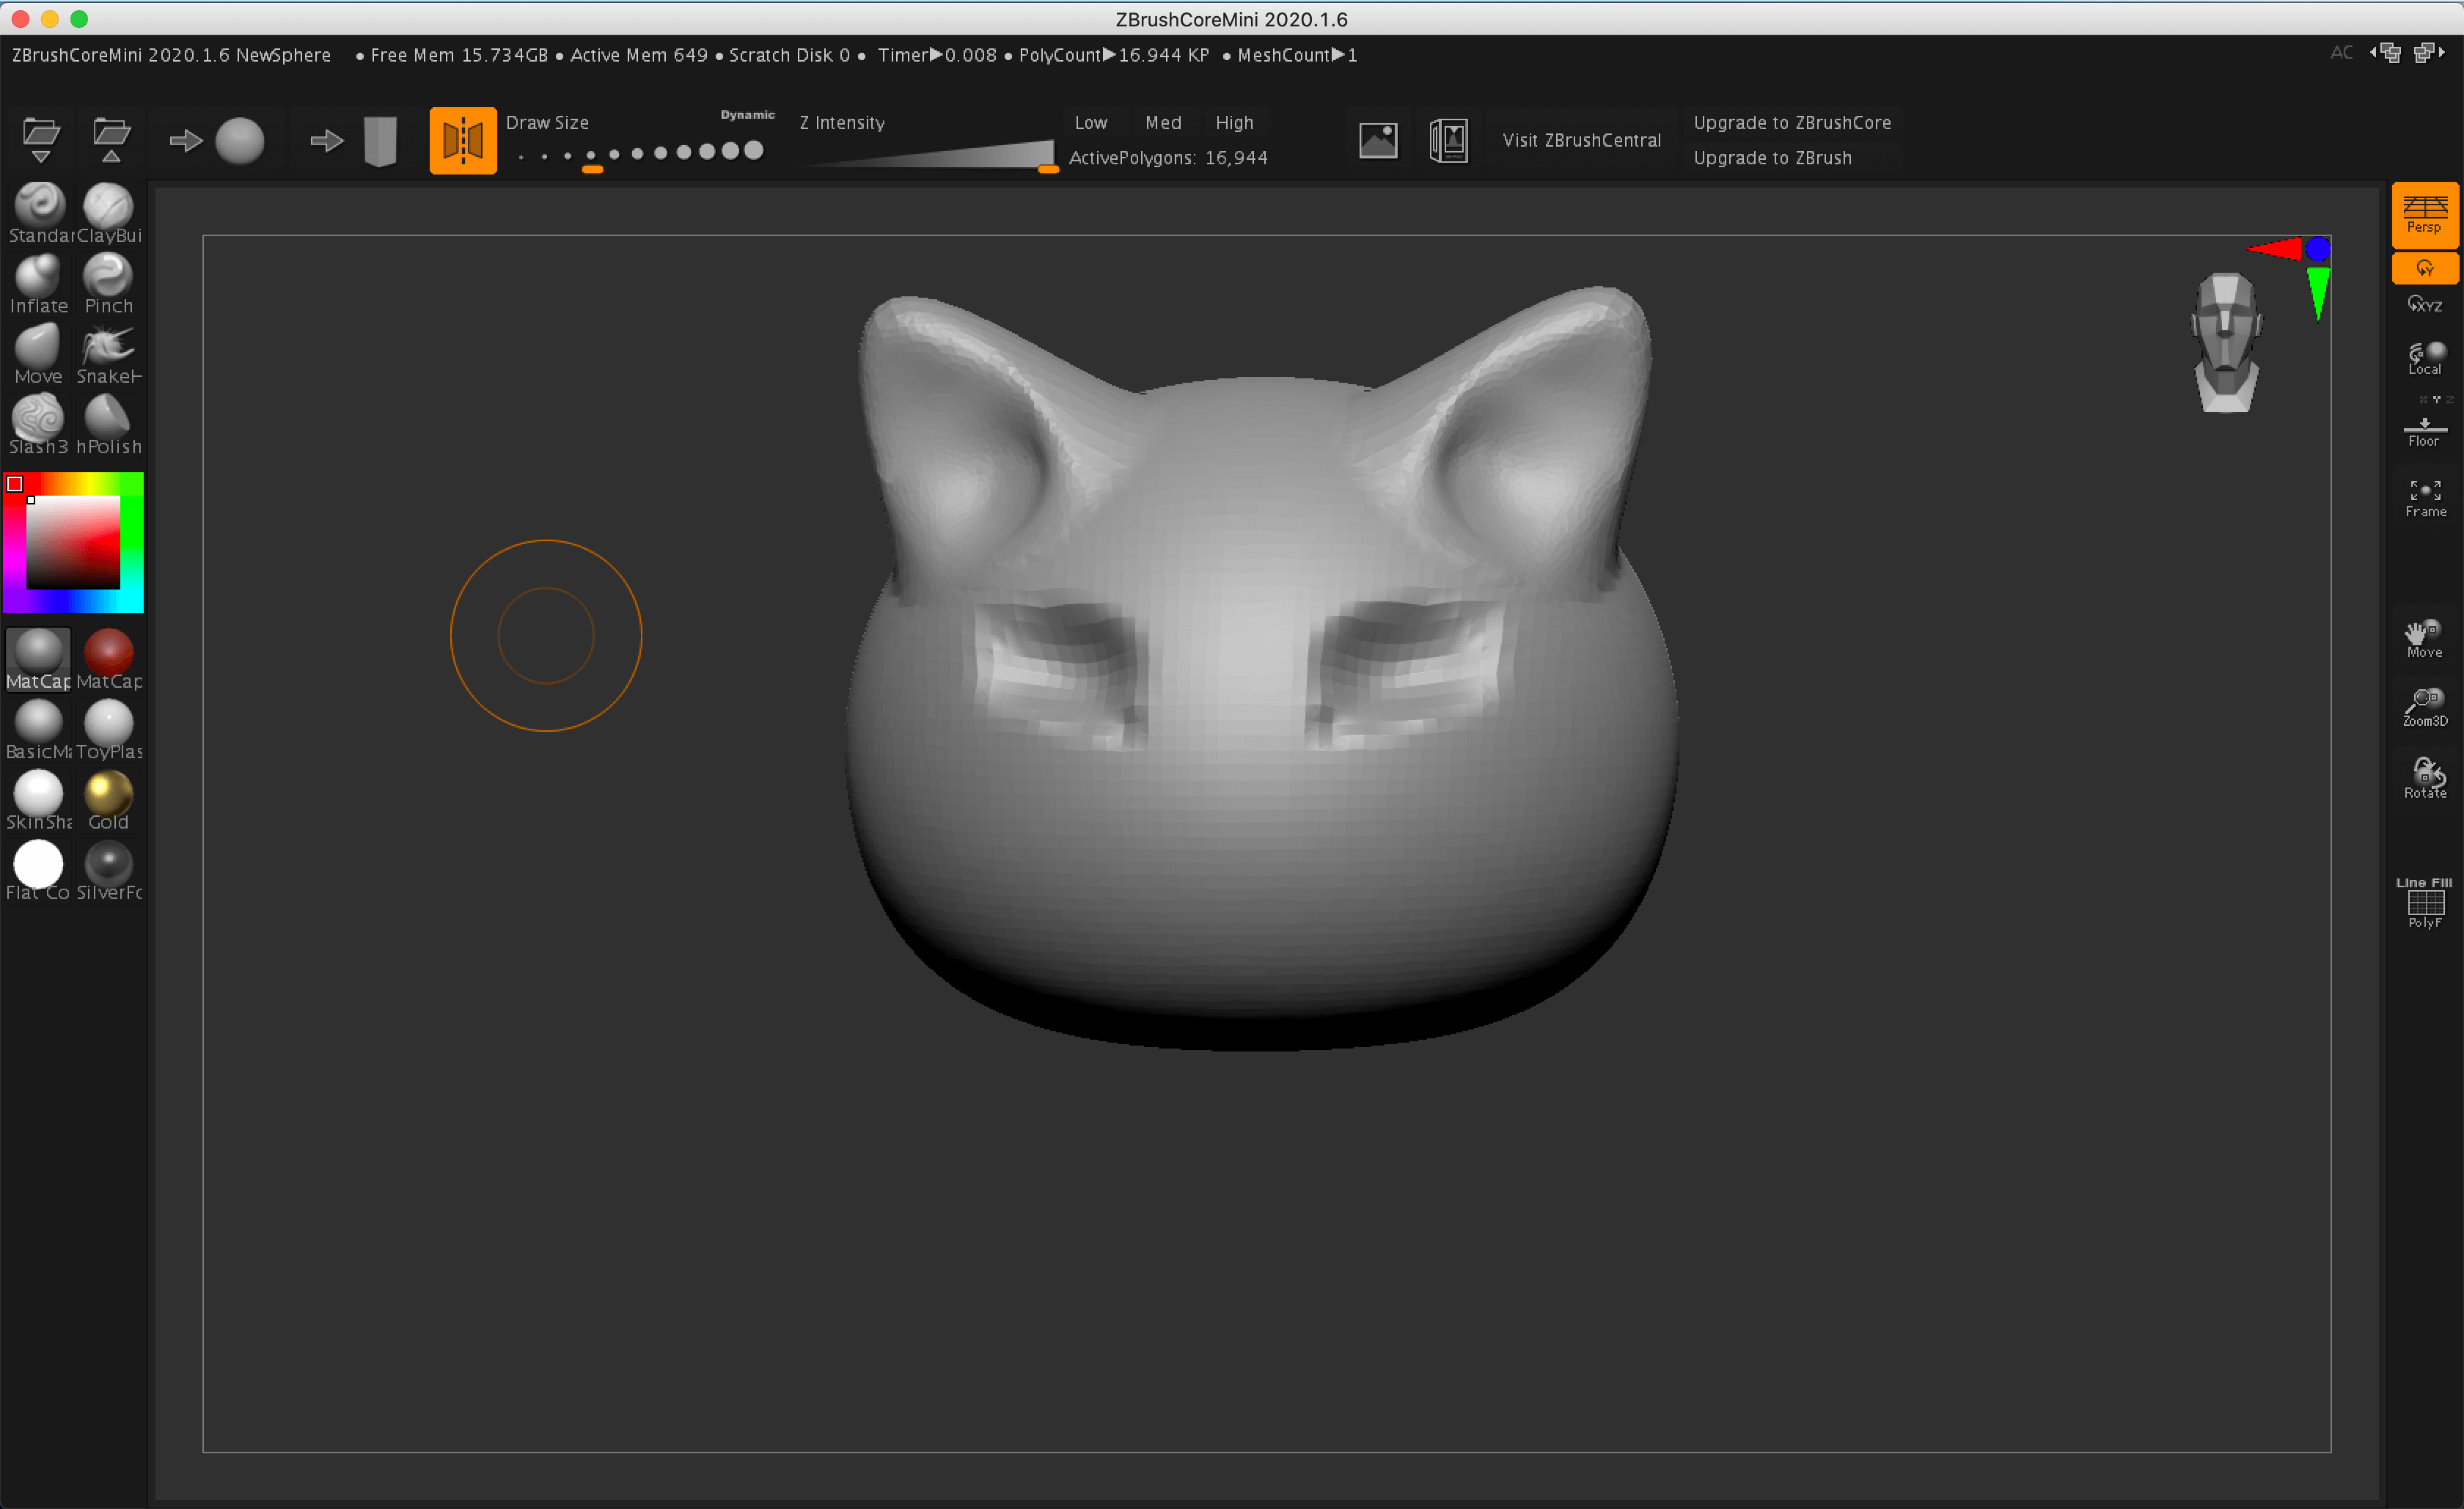
I will model the following cat face.
Completed Image
Making the Ears
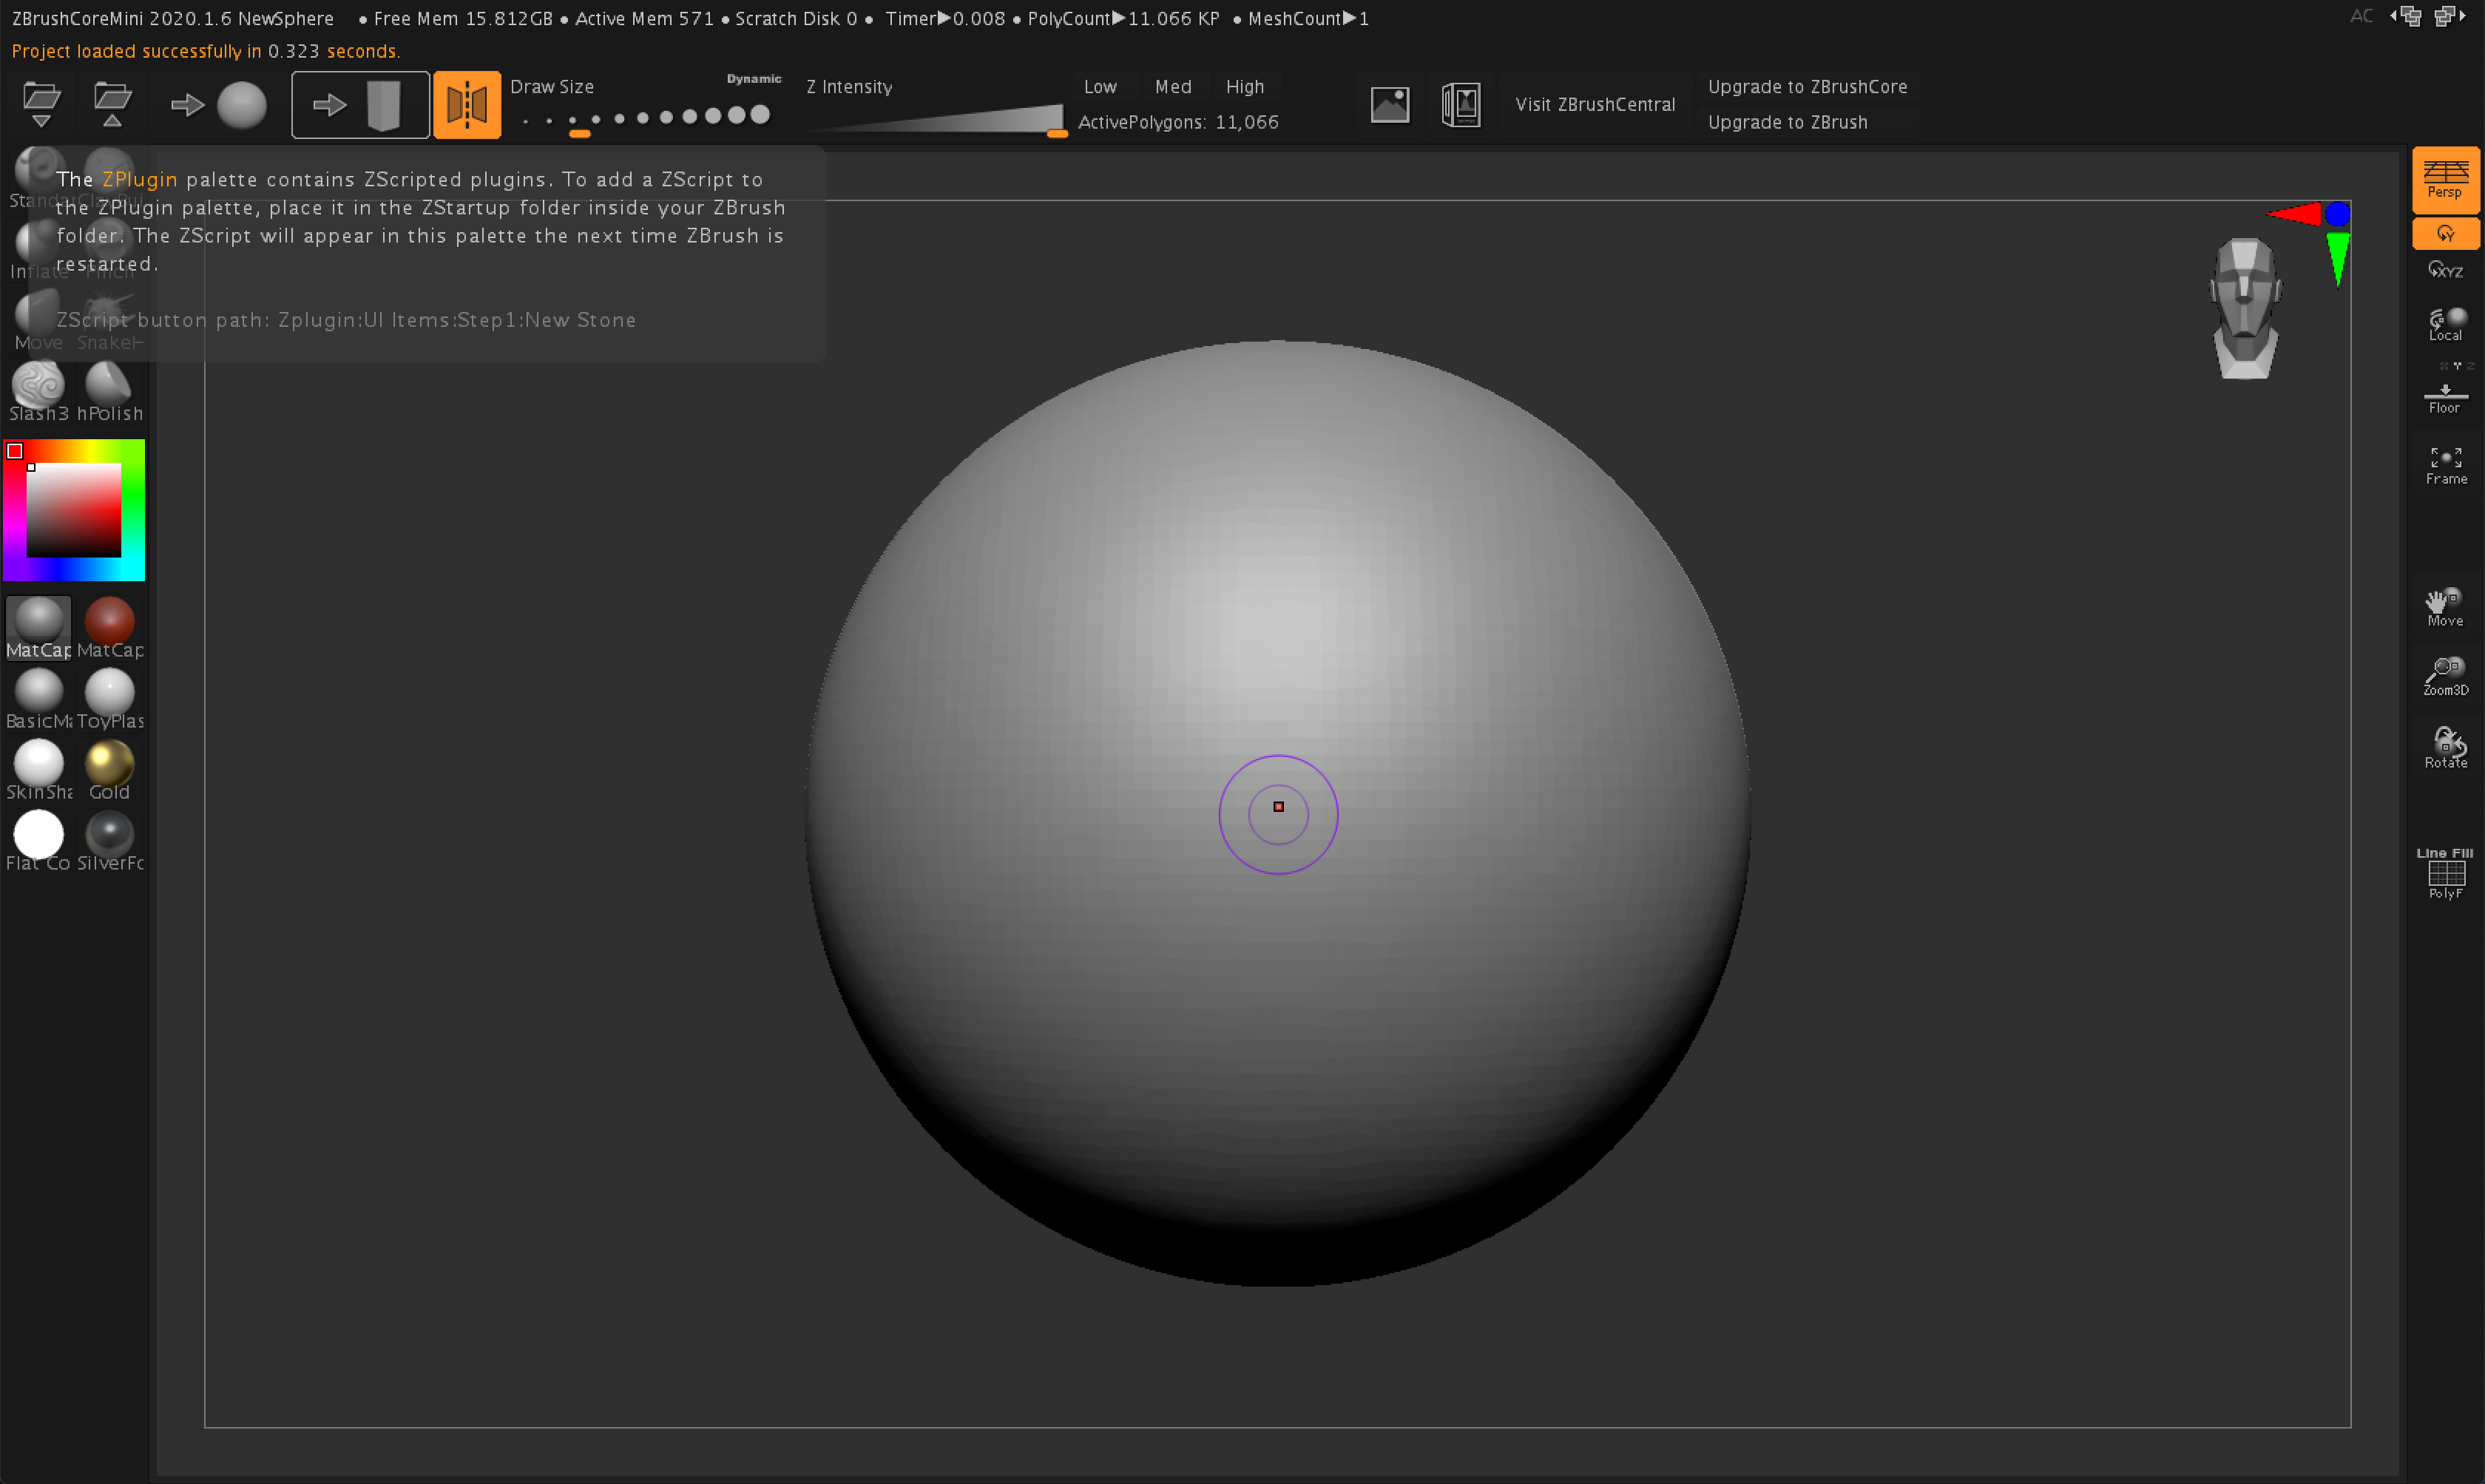
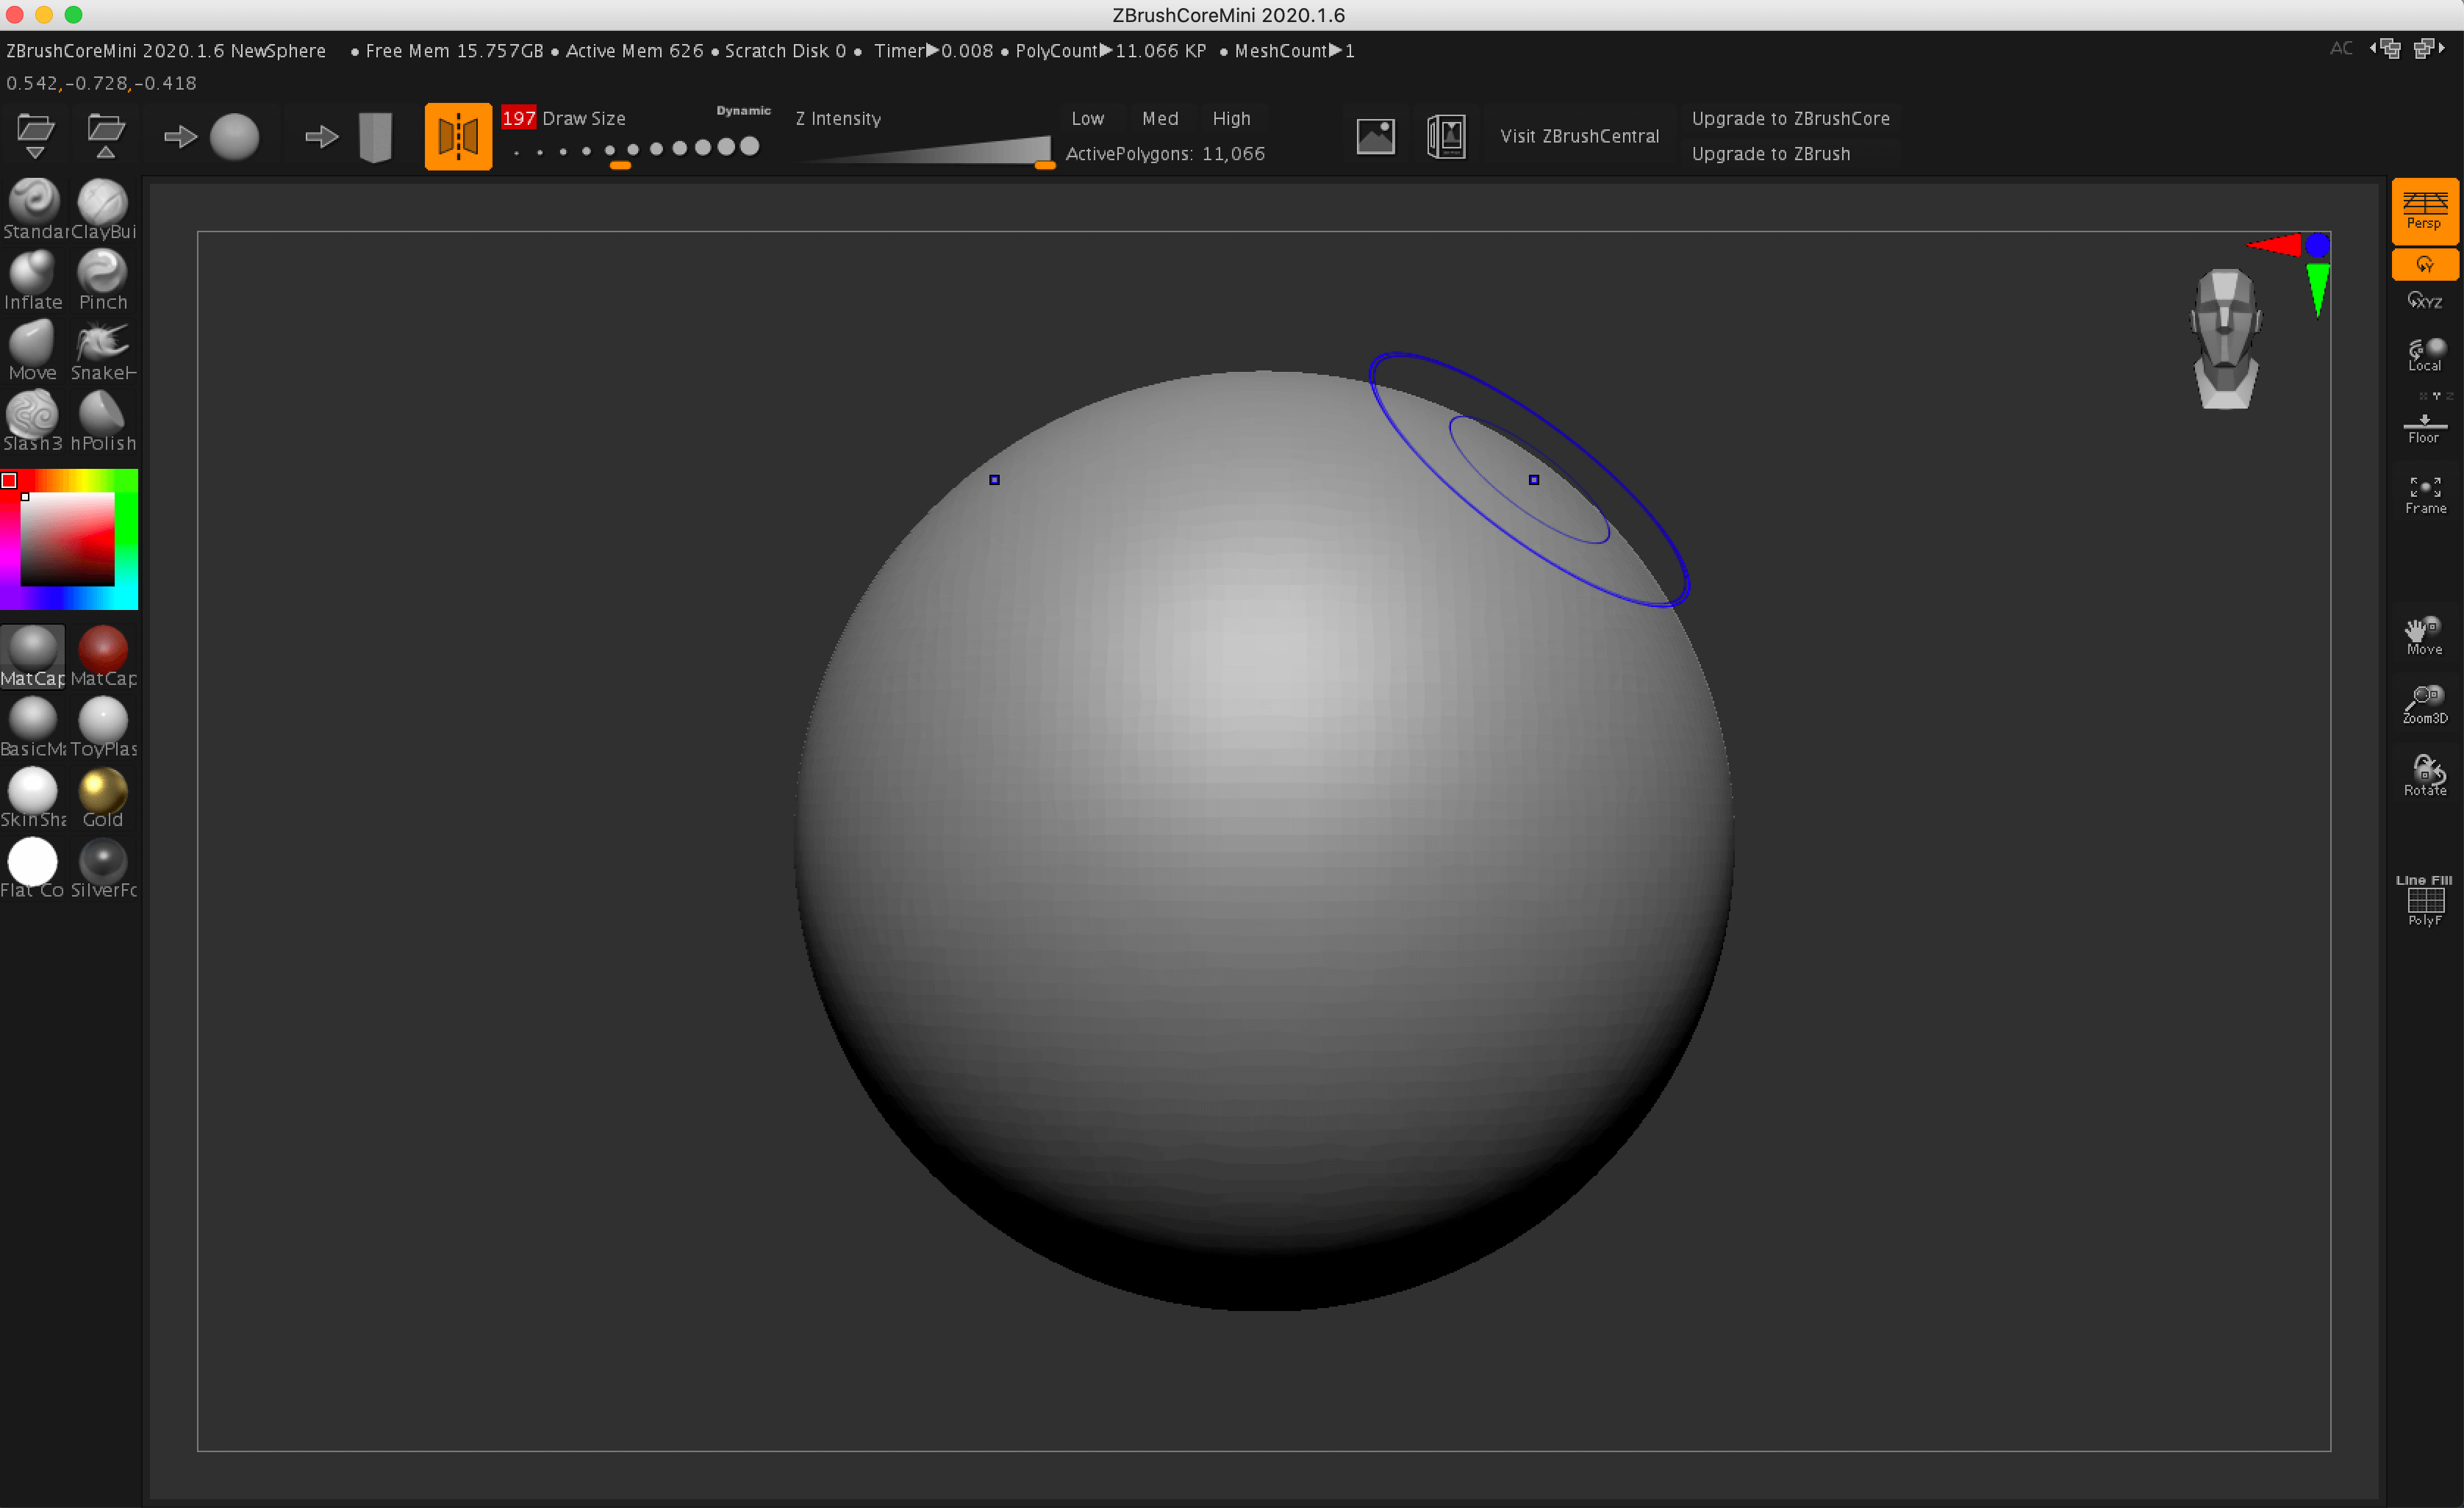
First of all, when you launch the app, make sure that a ball is placed in the center of the screen. If not, click the button in the red frame. (You can start modeling from a rectangle by clicking on the rectangle symbol to the right of that button.)
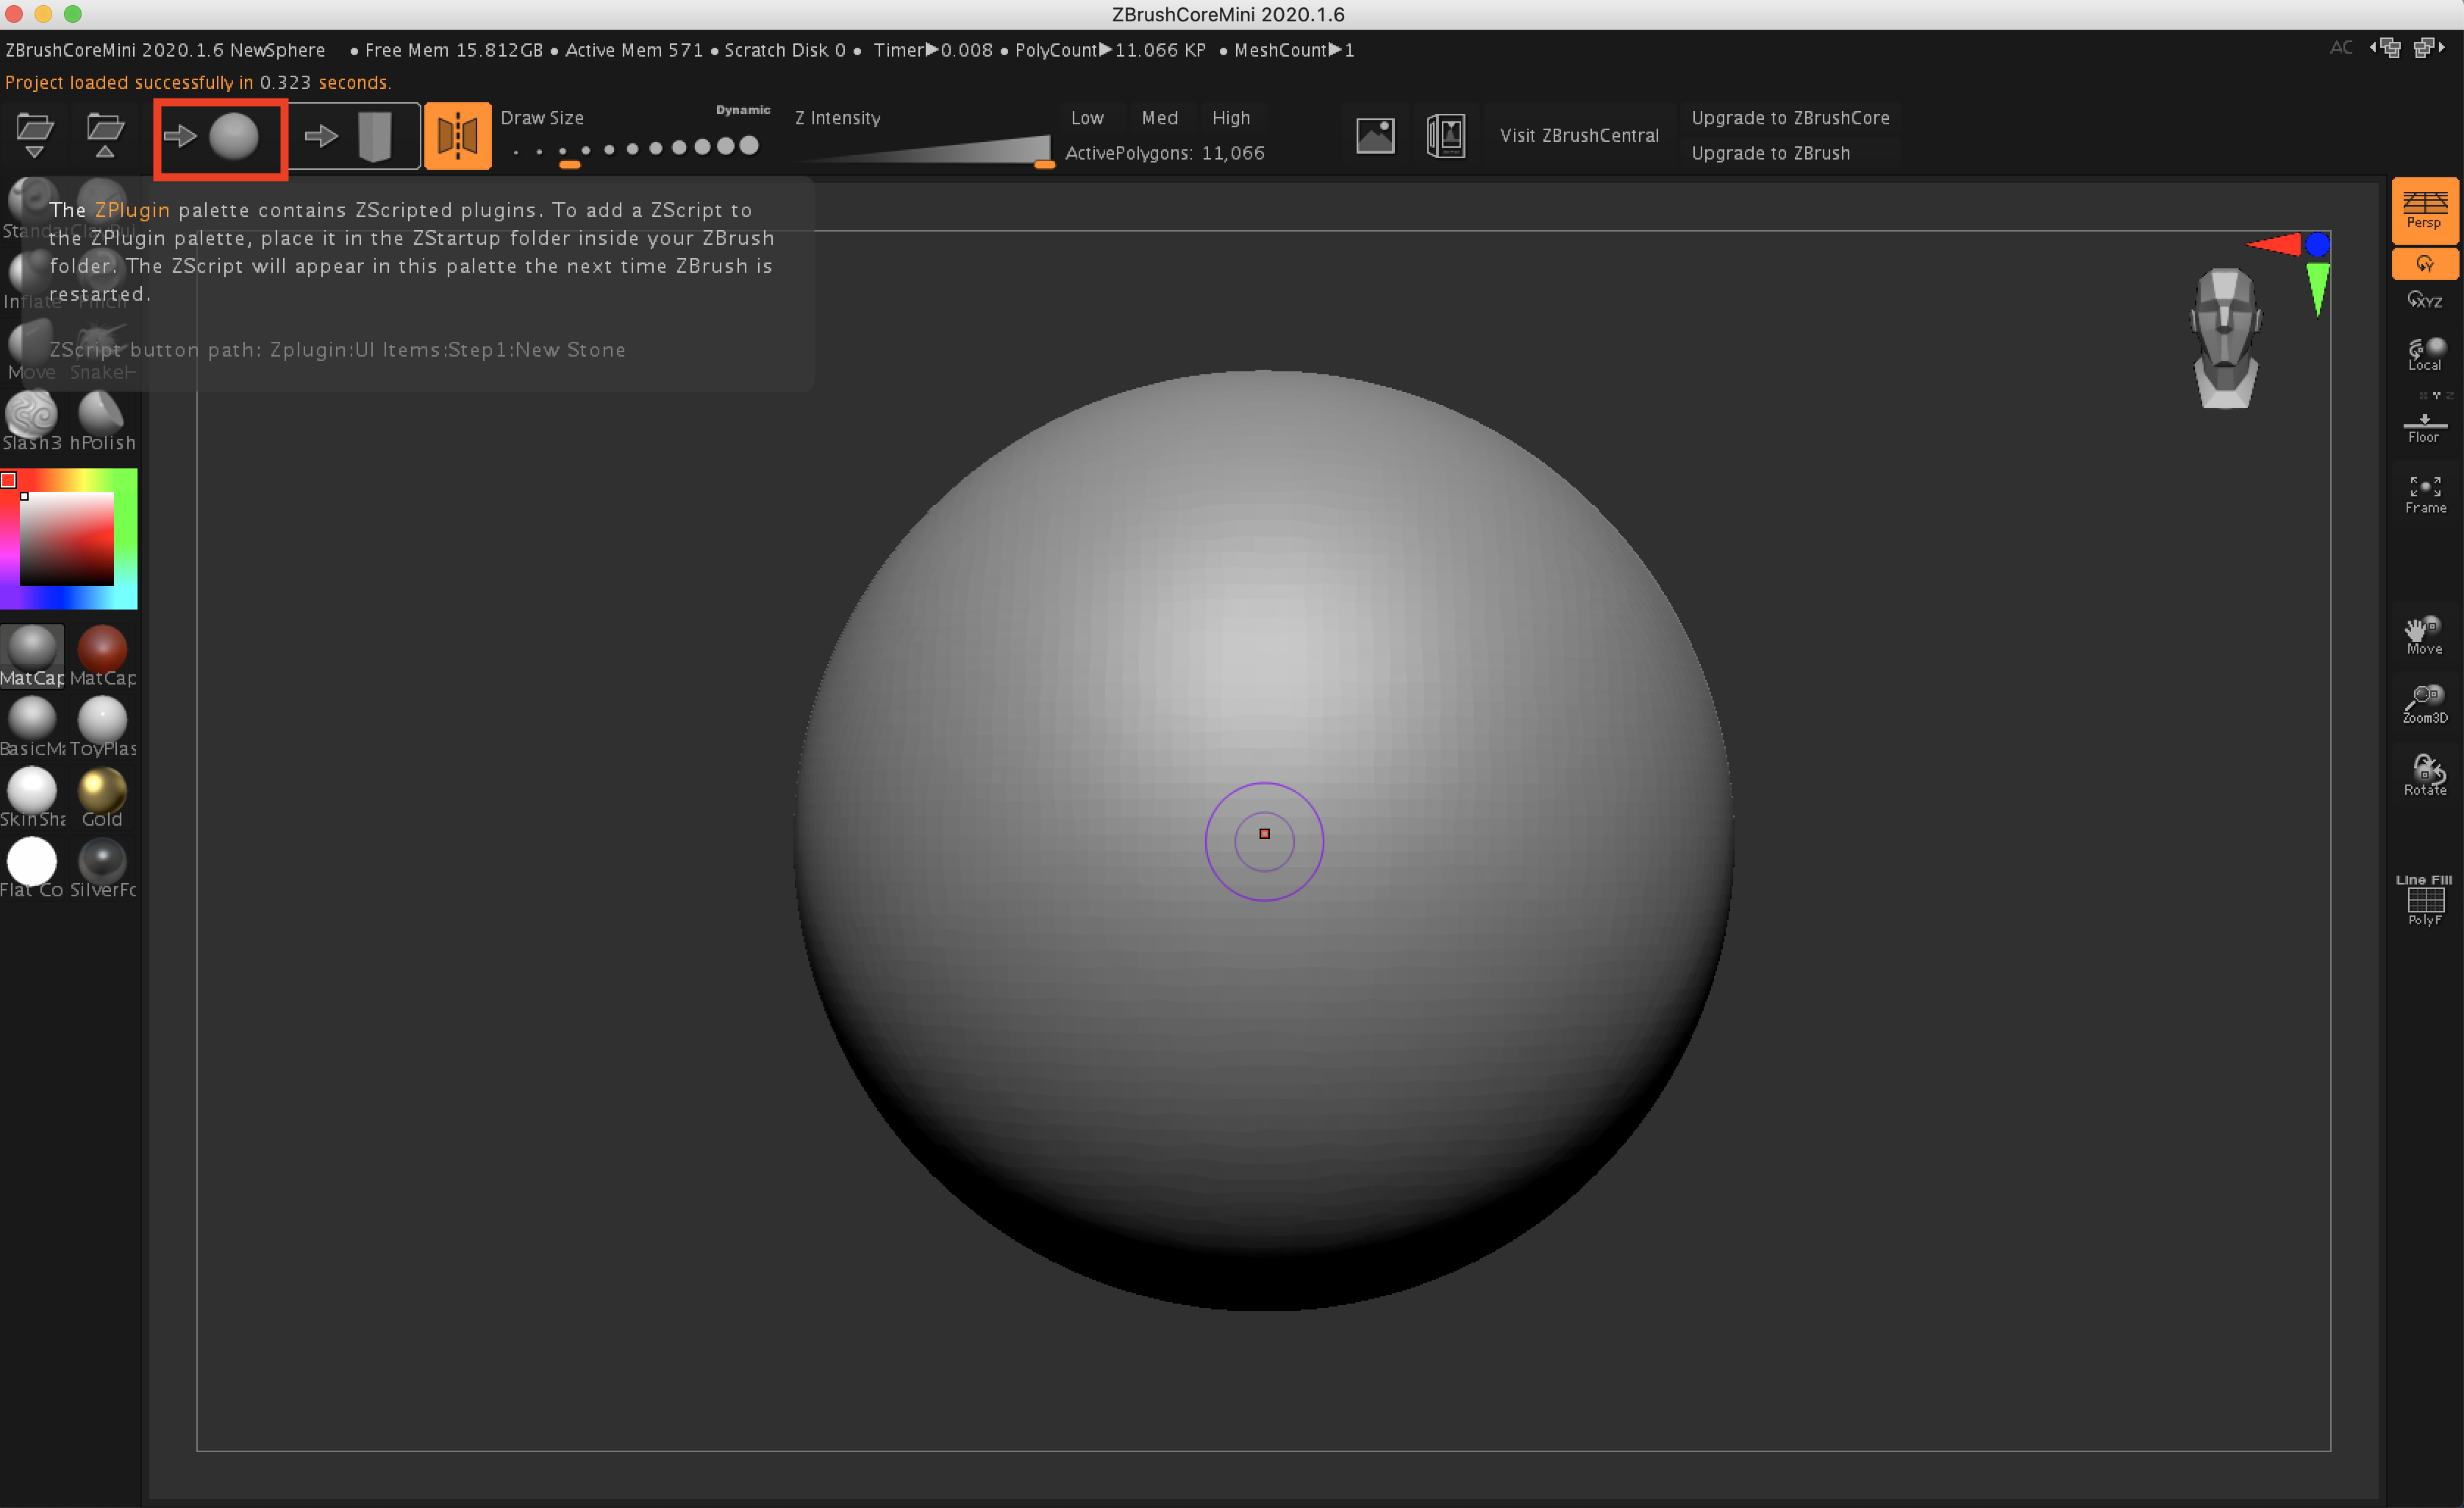
Initial screen
There are eight brushes to use for sculpting, as listed below, found in the menu on the left. Each one has its own characteristics, but let’s observe them through the process of modeling.
The 8 brushes
First, select the “Move” brush and look at the top bar.
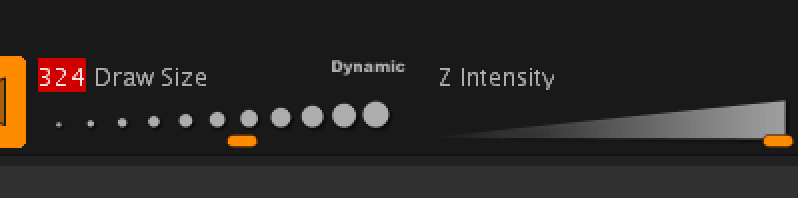
Brush size and strength
You can see that there are two property bars: “Draw Size” and “Z Intensity”, where Draw Size is the brush diameter and Z Intensity is the intensity of the brush effect. You can also use the [S] and [U] keys to position them near the cursor and immediately adjust the value.
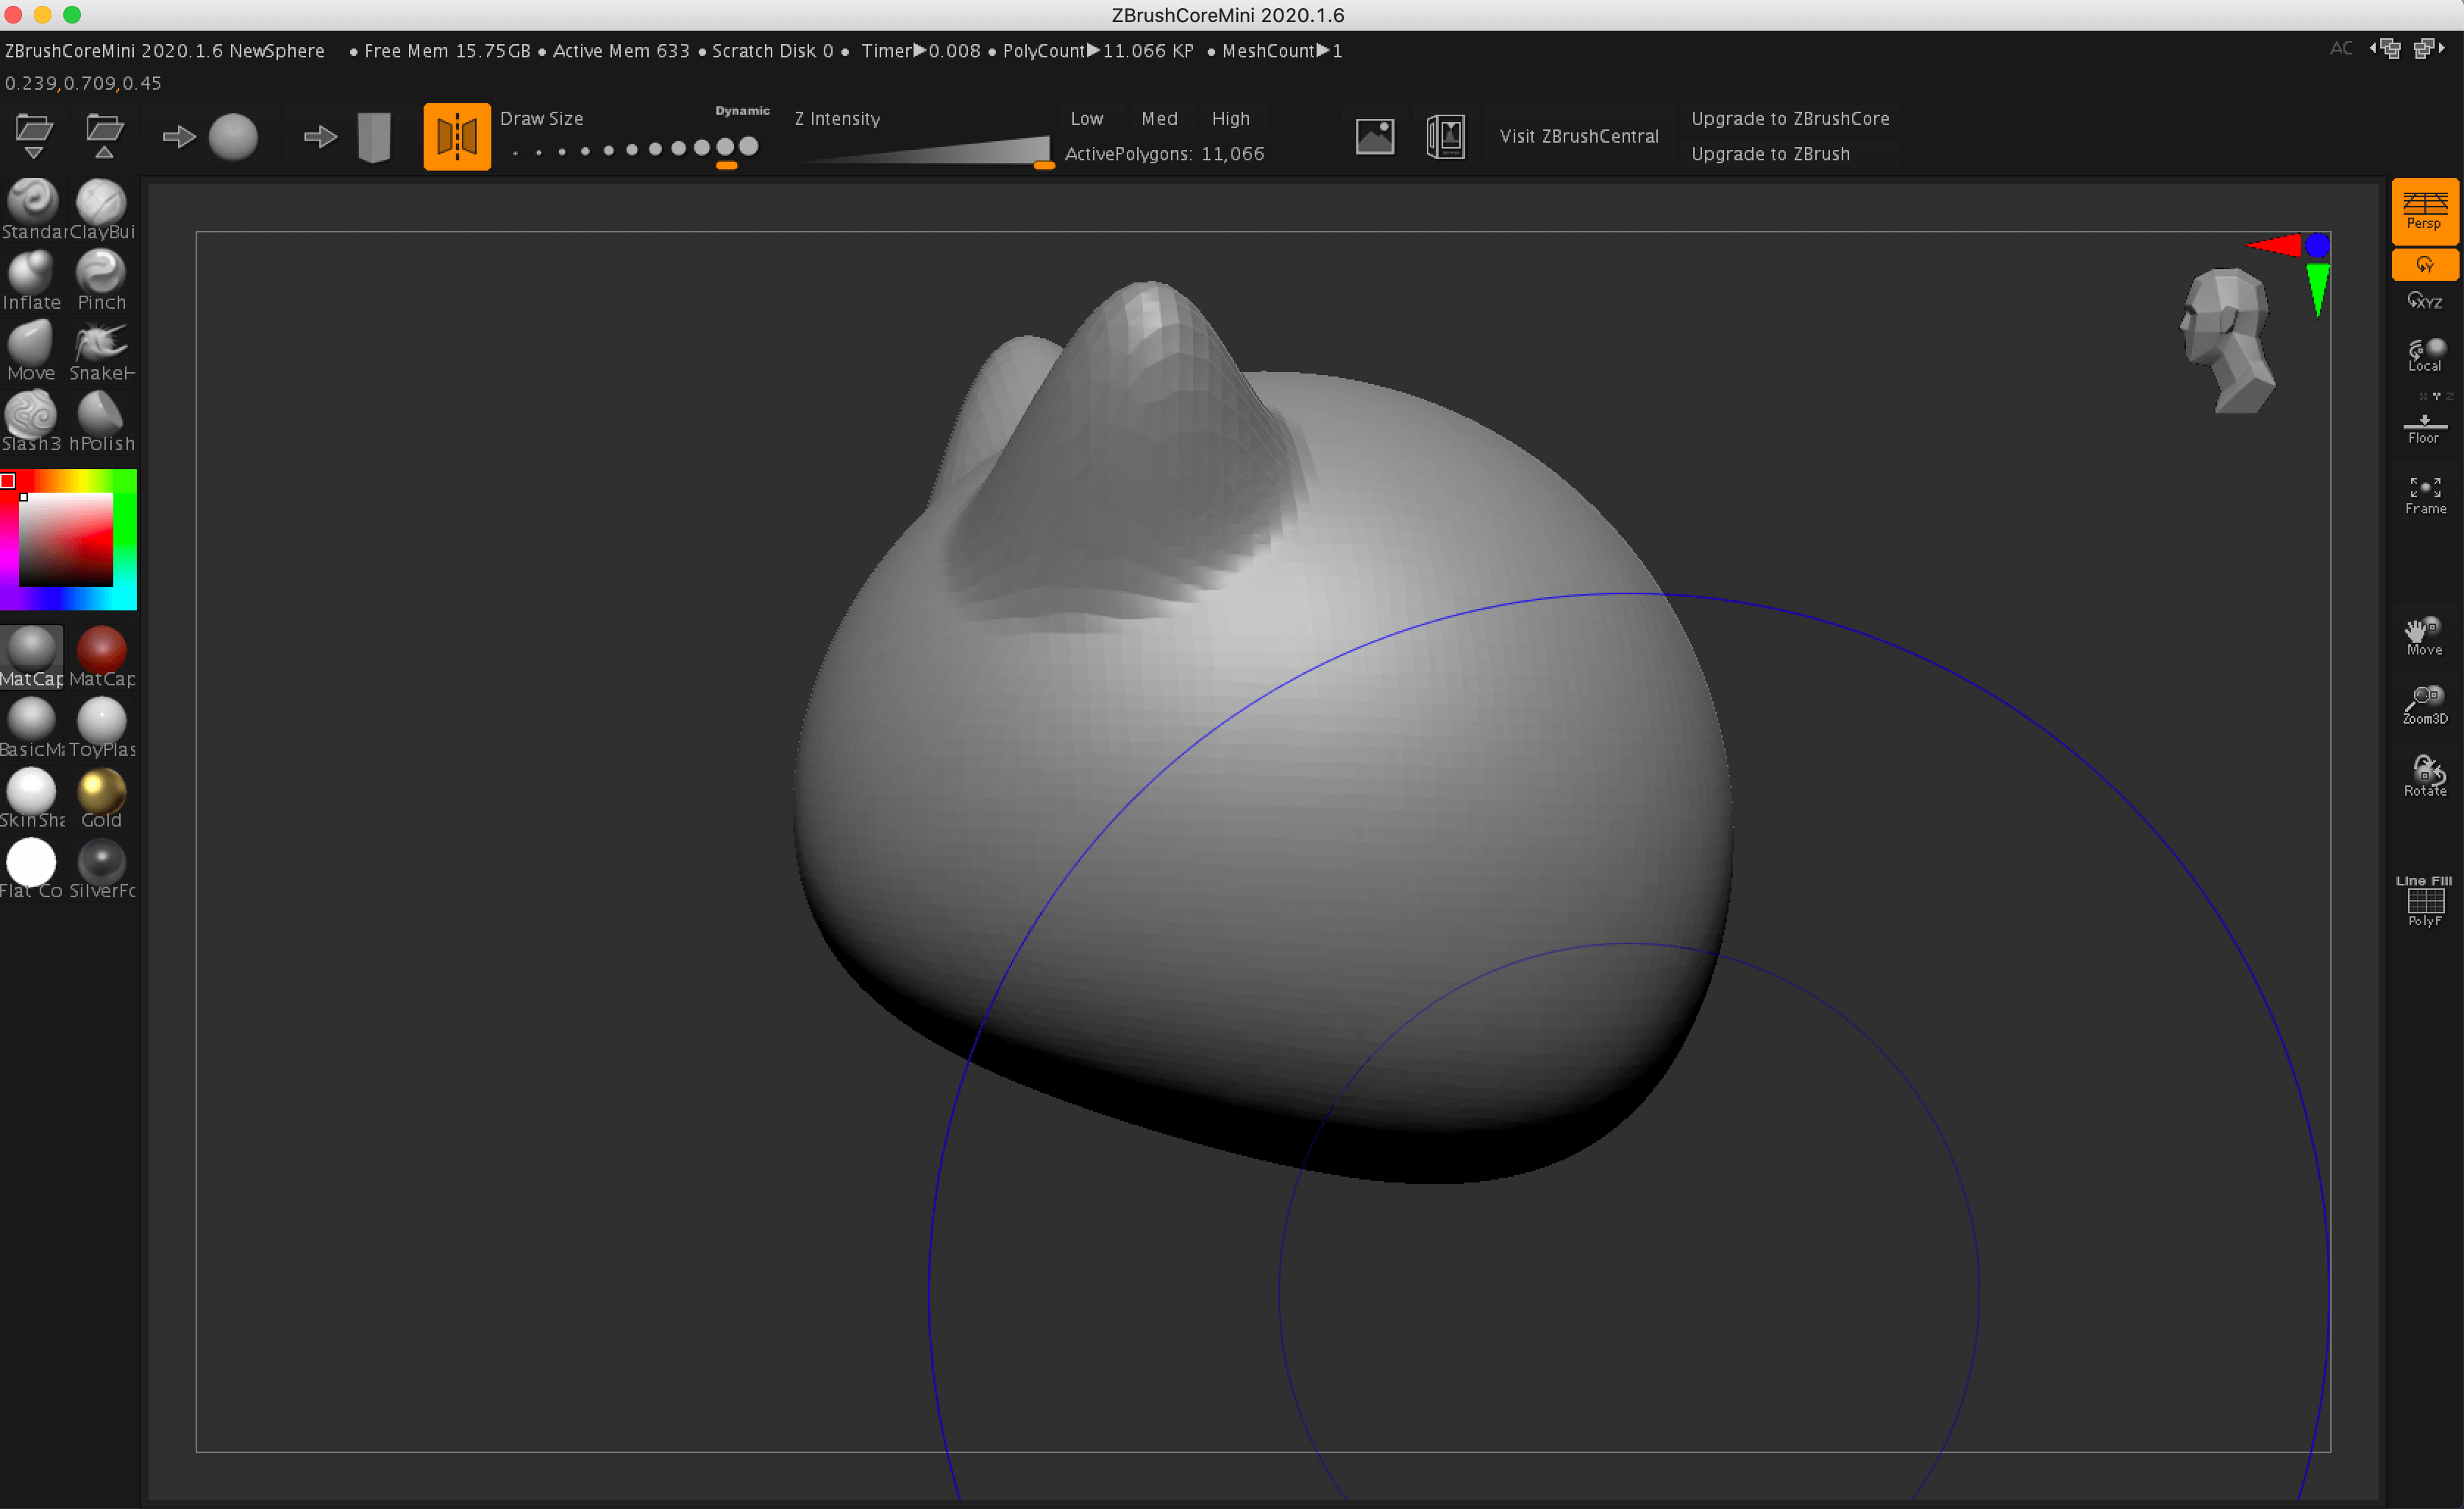
We’ll start by creating the cat’s ears with the Move brush, which can be used to significantly pull and distort the model’s shape.
Move the cursor (circle) to the area where the ear will grow from.
Place the cursor on the base of the ear
If you pull diagonally upwards, the ears will be created symmetrically.
Pull diagonally upwards
The automatic symmetry is due to the button in the red frame in the top bar being on (marked by the orange background). If you click it to turn it off, you can model the left and right sides separately. For this tutorial I’m going to leave it on the whole time.

Turn on symmetry
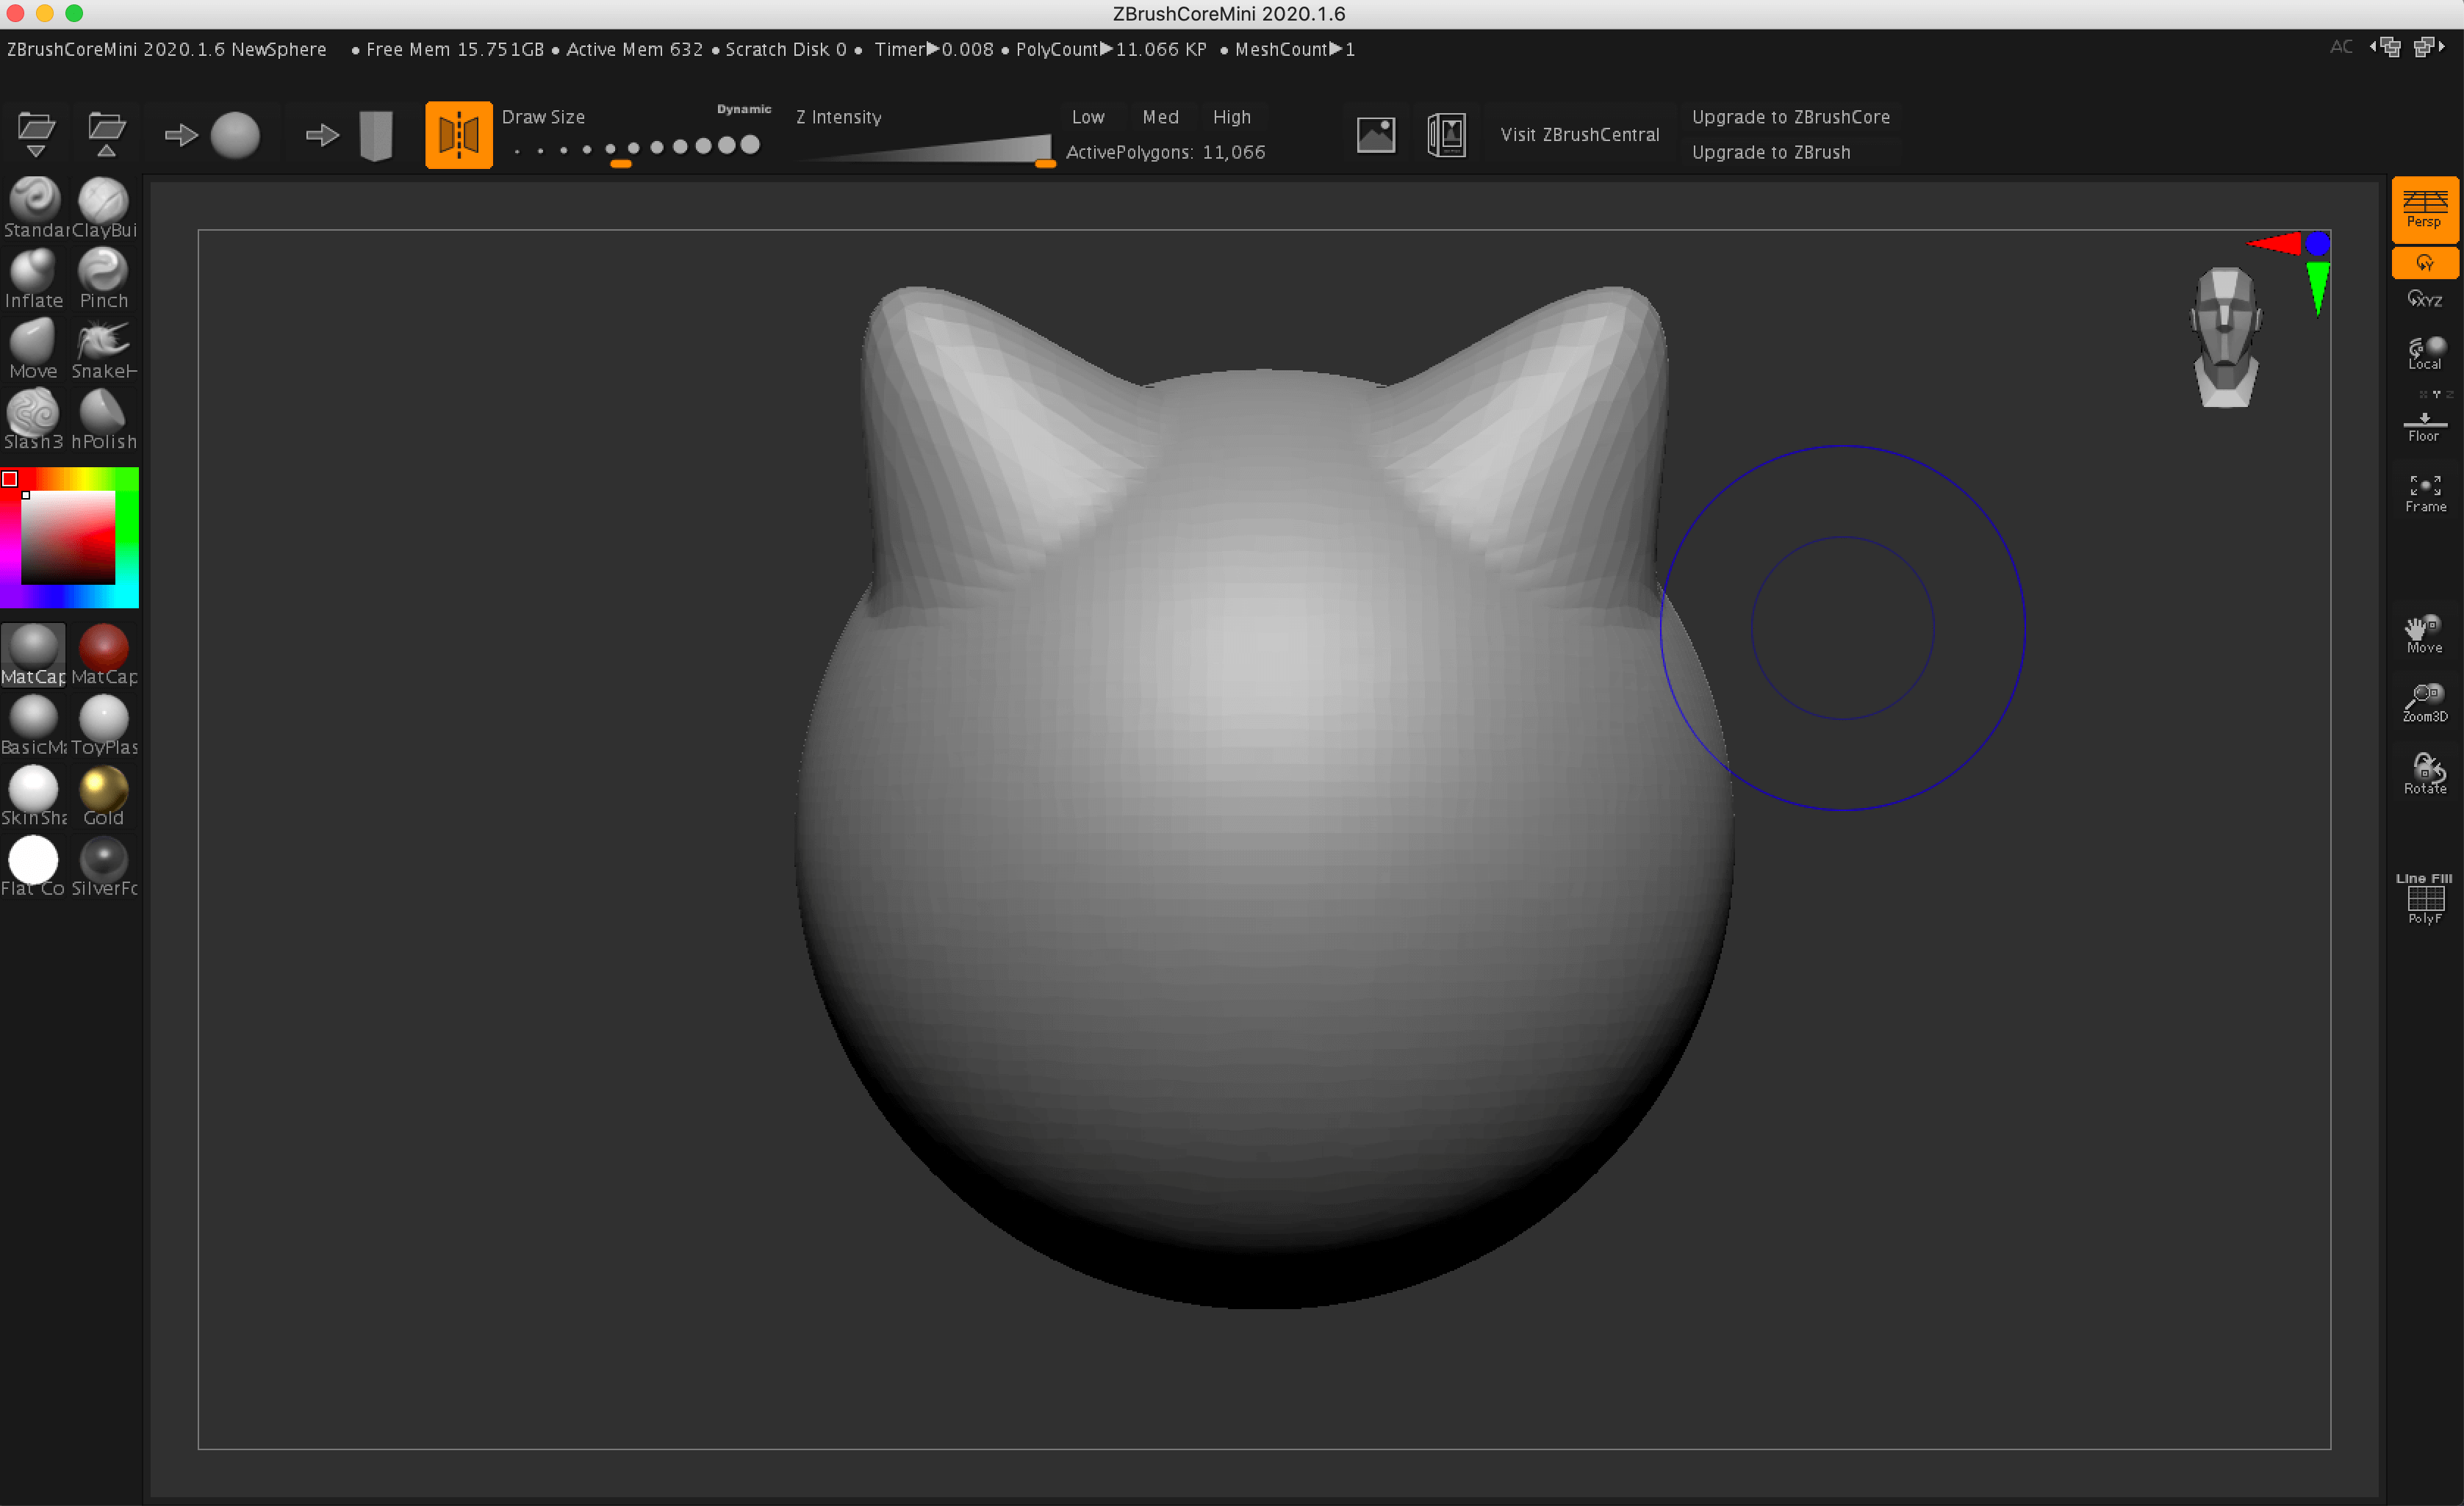
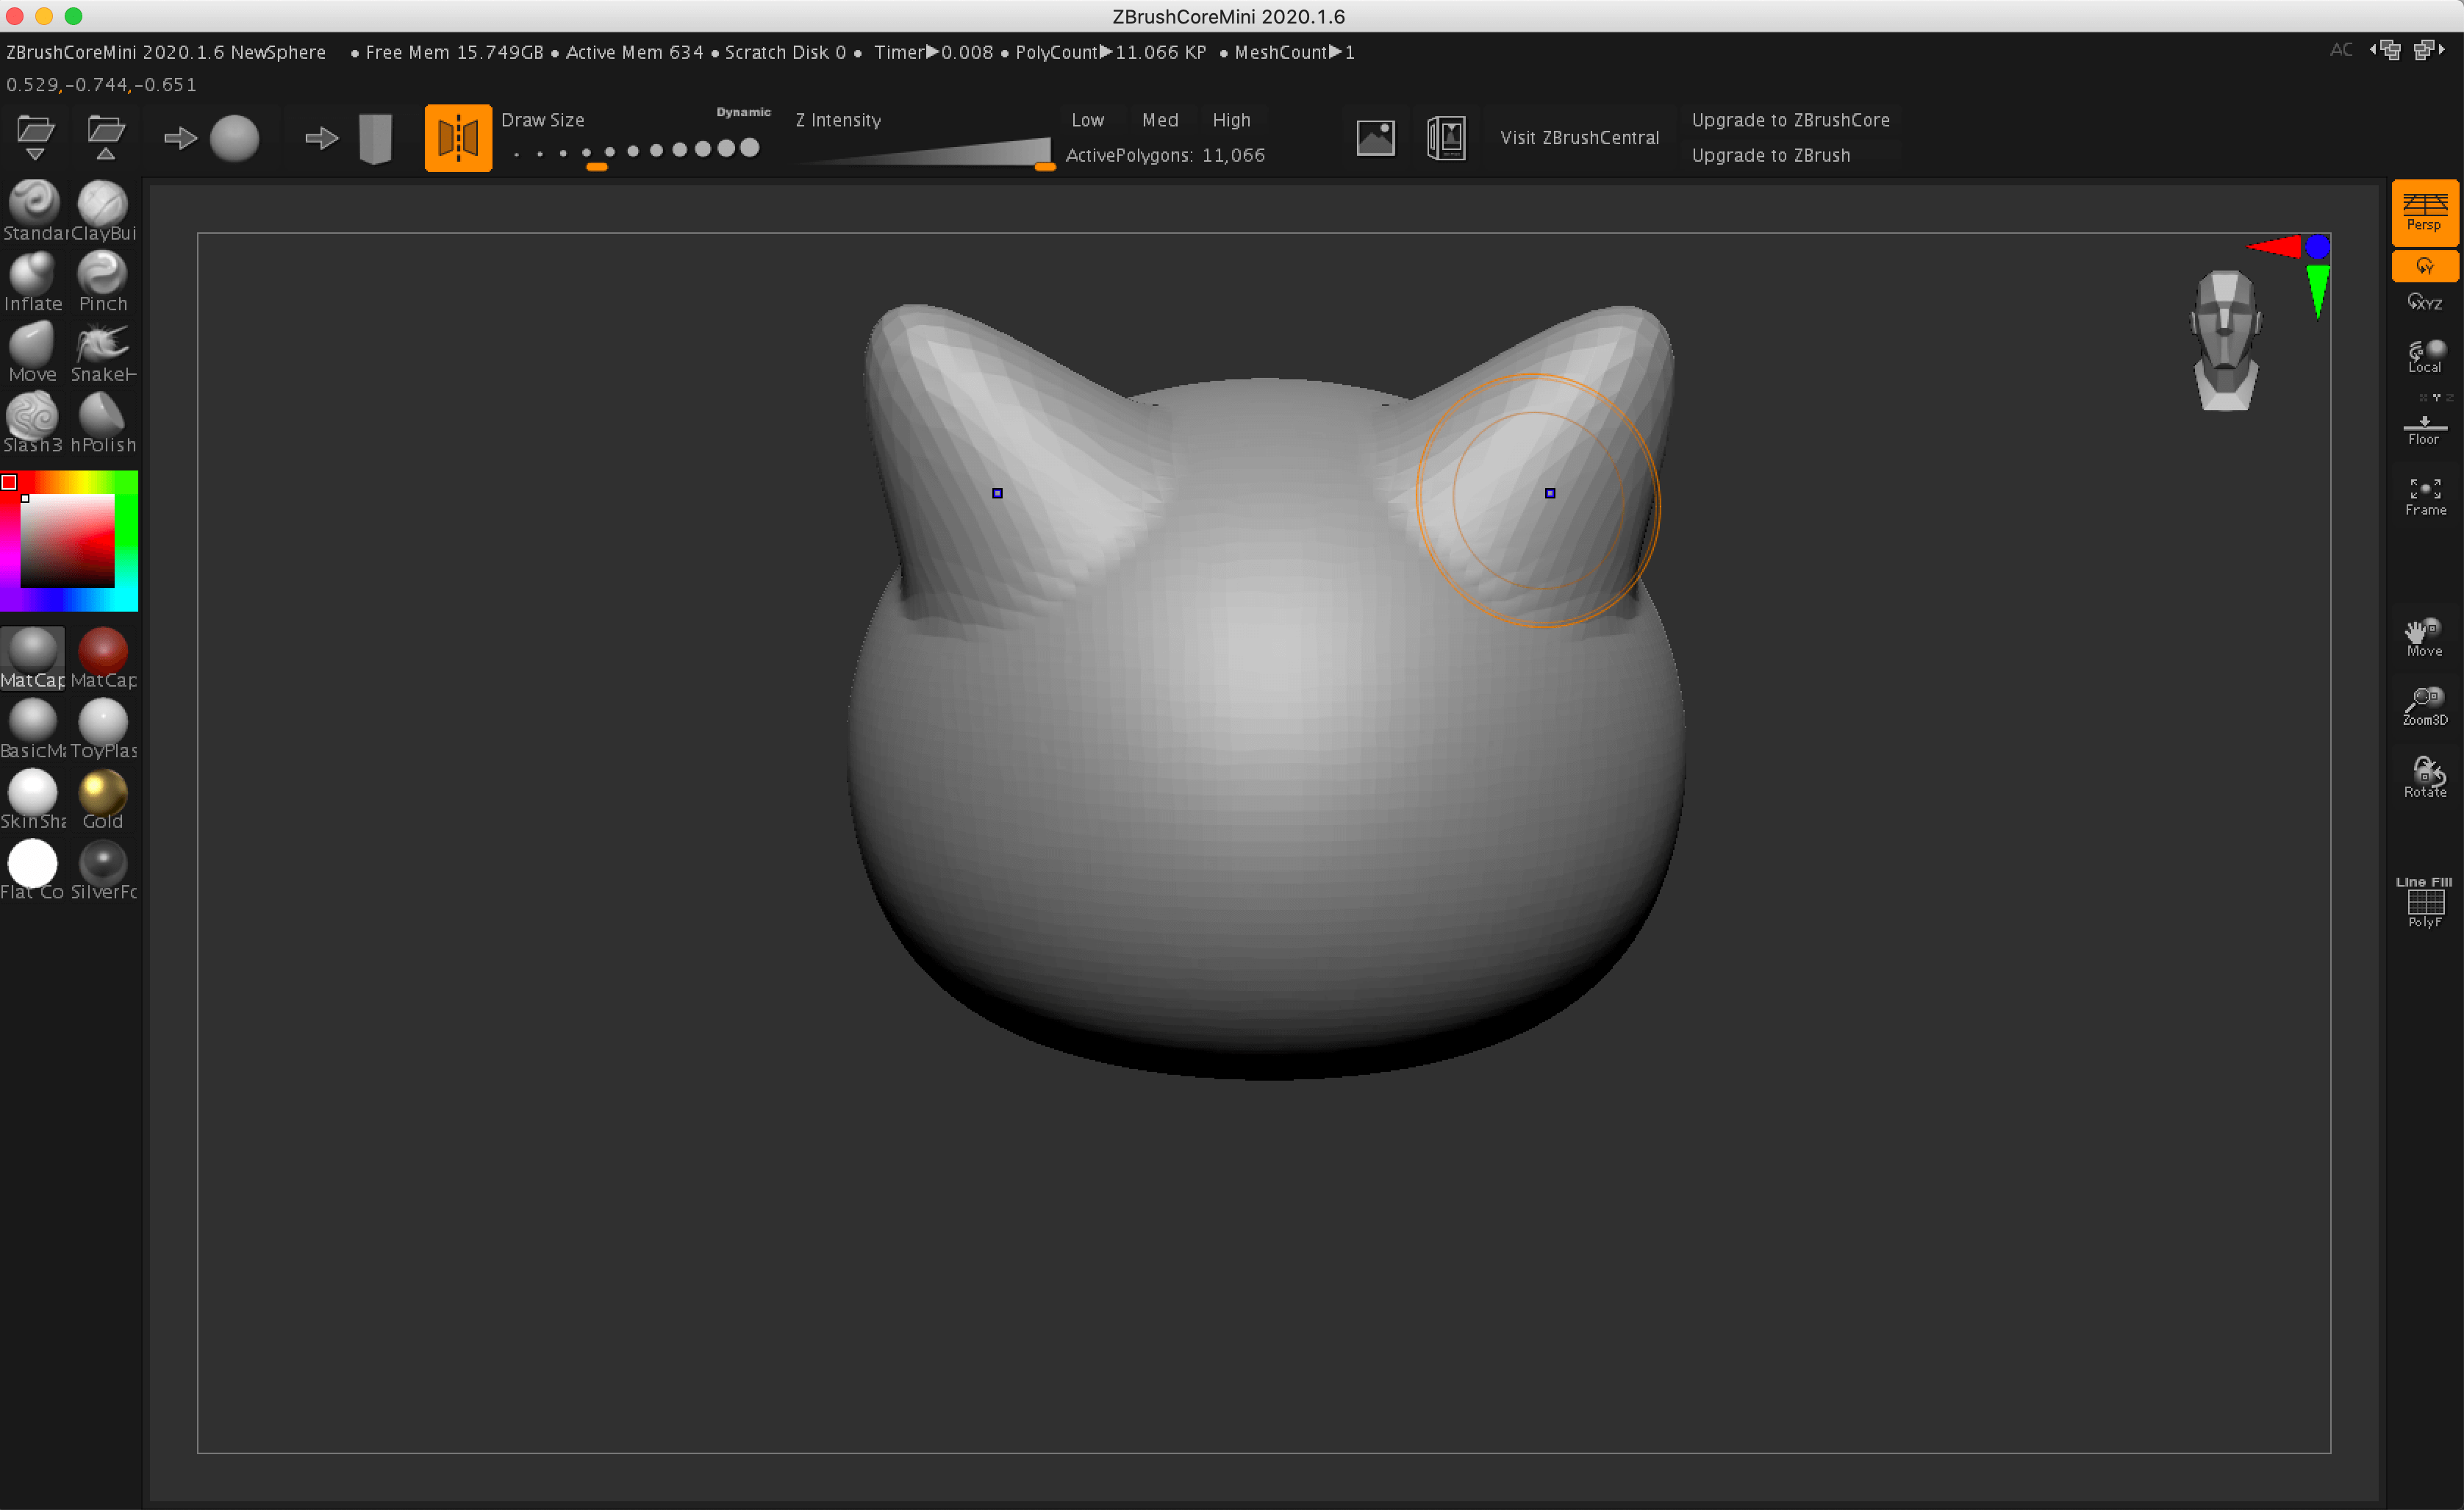
Next, adjust the entire shape: increase the size of the Move brush and move the cursor to lift the bottom up.

Lift the bottom significantly upwards
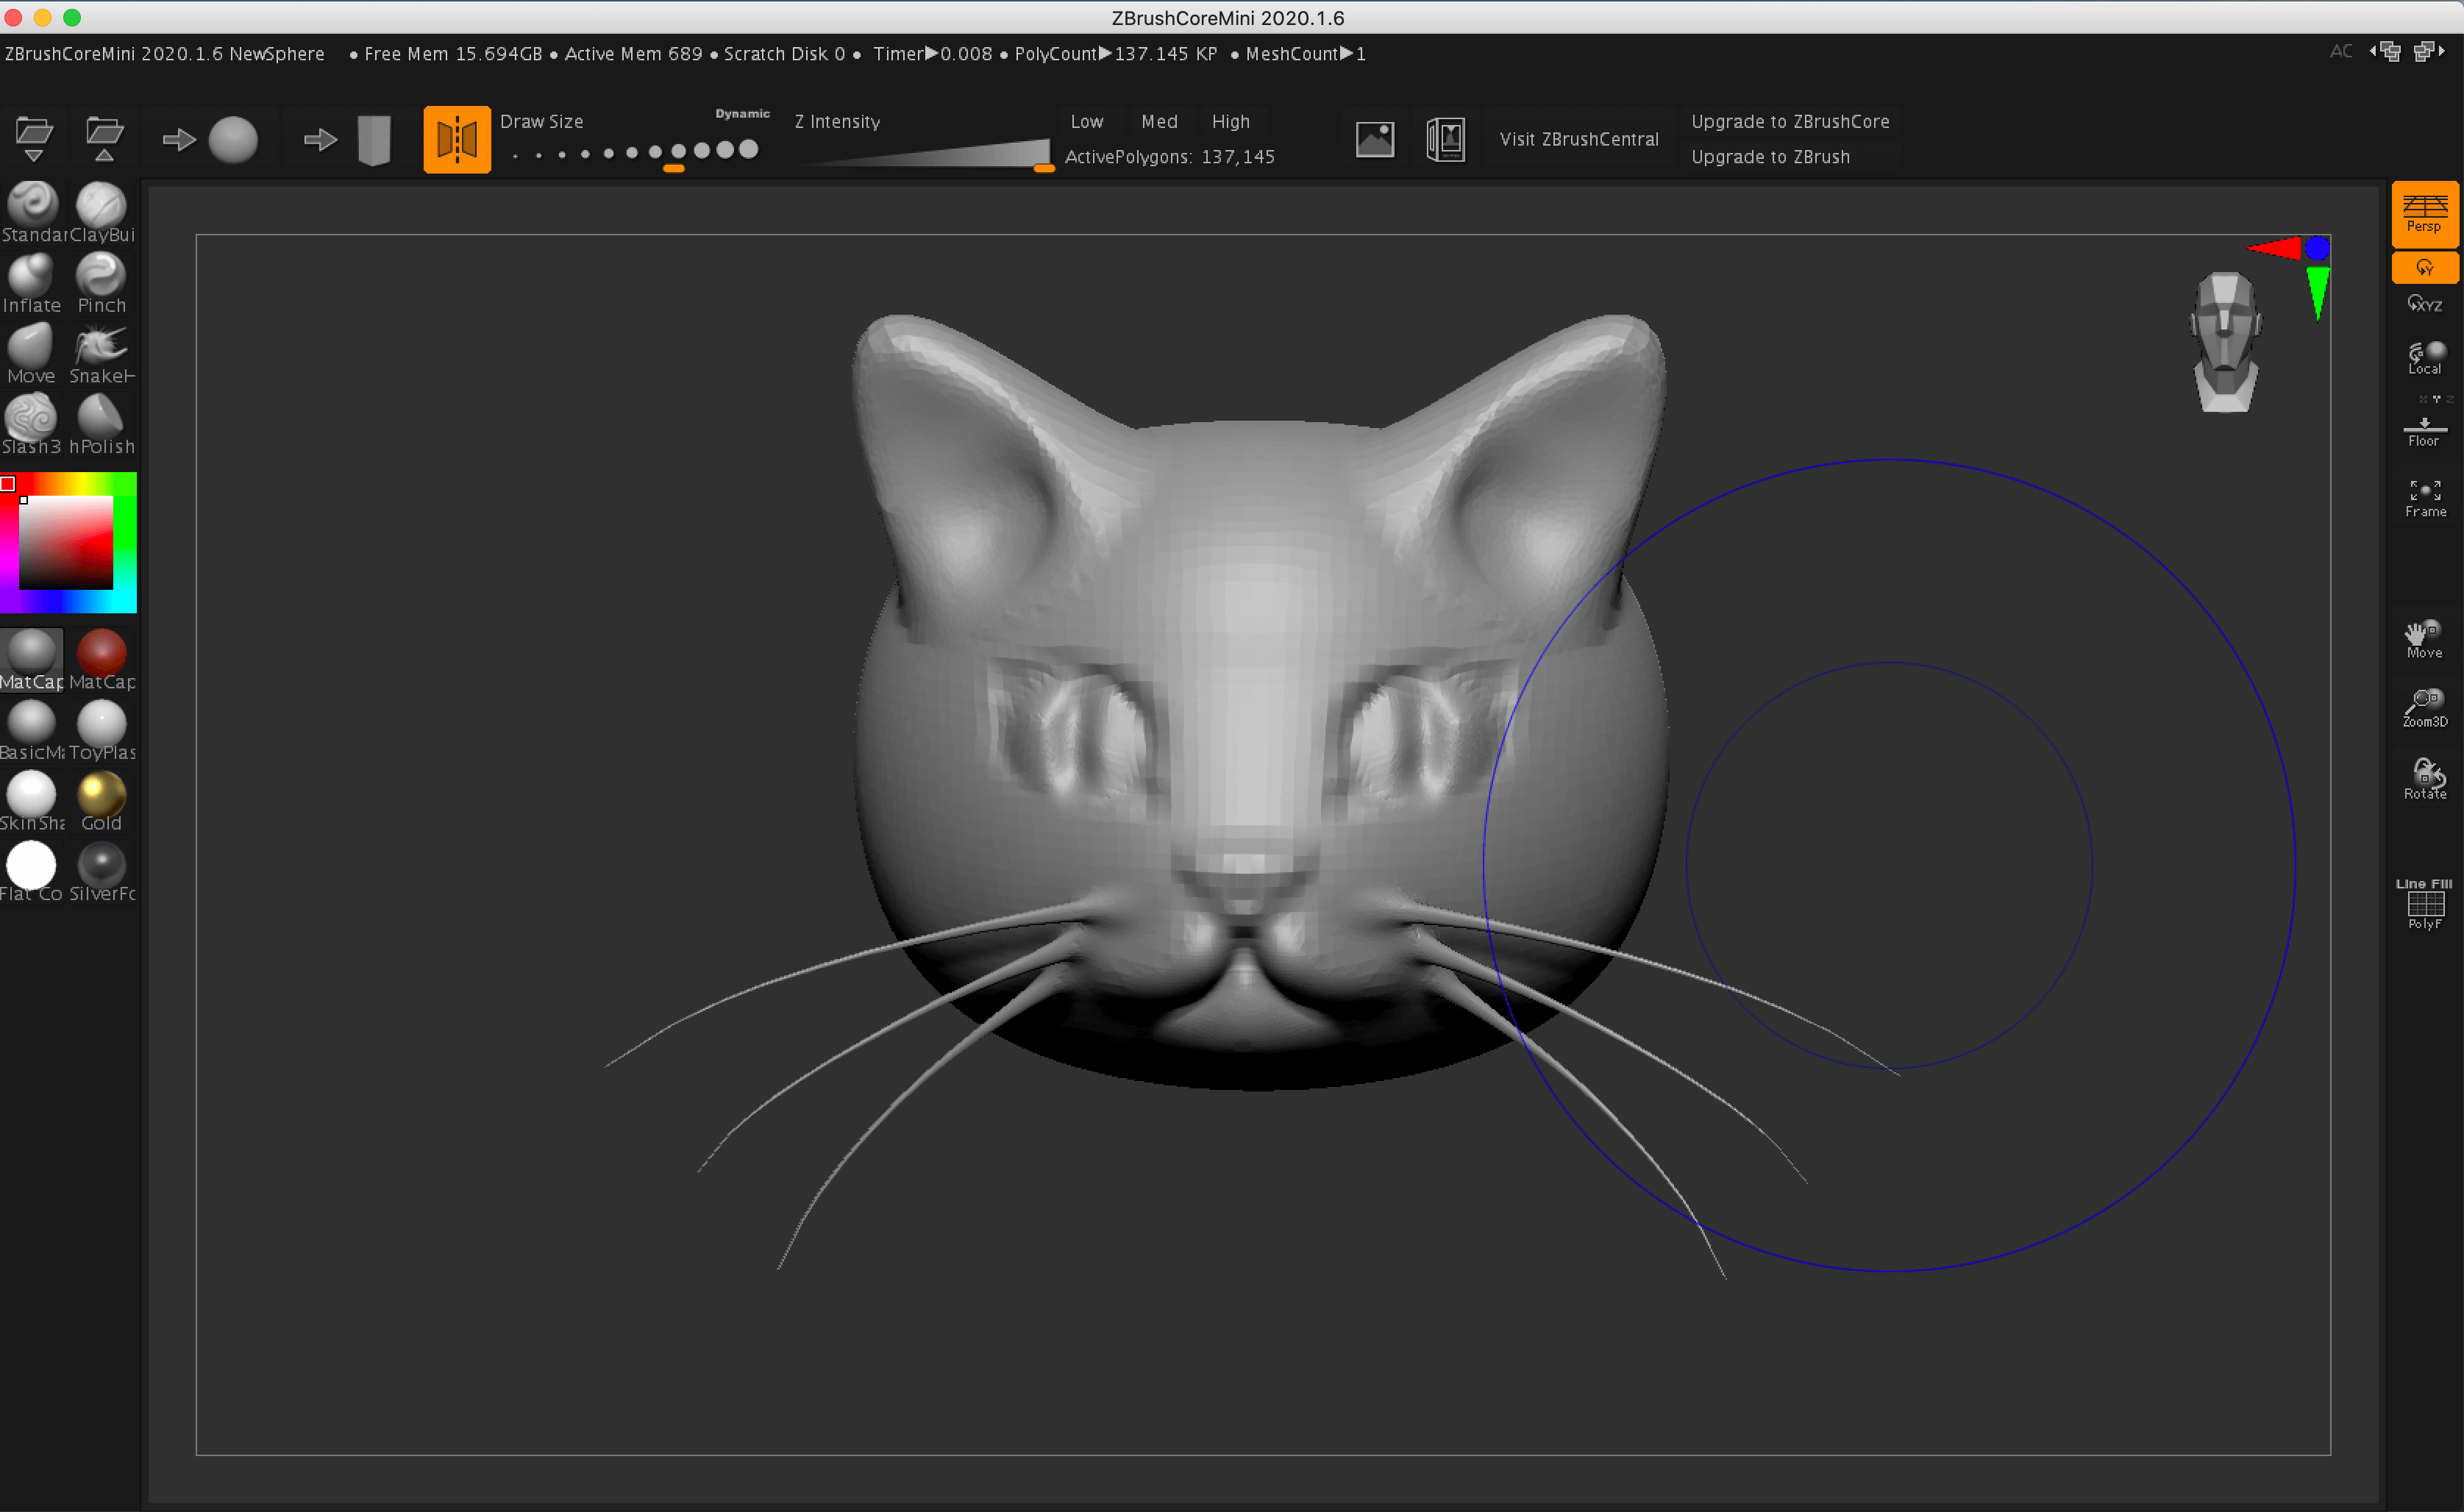
You can rotate the model by dragging outside the model. The face in the upper right corner of the screen shows the orientation of the 3D model.
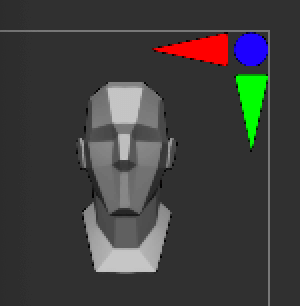
The orientation of the 3D model
As you look at it from the side, bring the overall shape closer to a cat.
Rotate it to adjust the sides and back

Check it from an angle
From the front, it looks like this. Next, we’ll switch to the “hPolish” brush to depress the ears. hPolish brushes can be used to polish and smooth the surface.
Switch to the hPolish brush
Use the brush to trace back and forth several times on the front side of the ear. You can deepen the inner part of the model, especially at the inner base.
You can hold down the [Shift] key while tracing the model to make the surface smoother, so use the Shift key to correct any areas of concern.

The inside of the ear is concave
Making the Eyes
Next, we will create the eyes. First, we select the Inflate brush, which has the effects of inflating and deflating.
If you hold down the [Alt] key (or [option] on a Mac) while using the brush, the effect is reversed. With the Inflate brush, for example, if you don’t press any key, the area is inflated; if you press the [Alt] key, the area is depressed.
Let’s try sculpting the area corresponding to the eyes while holding down the [Alt] key so that it becomes slightly convex in a cat-eyed shape.

Roughly make depressions for the eyes
Make the brush size as small as possible and further depress the two edges of the eyes to accentuate the cat-eye shape.

Make the edges of the eyes more depressed
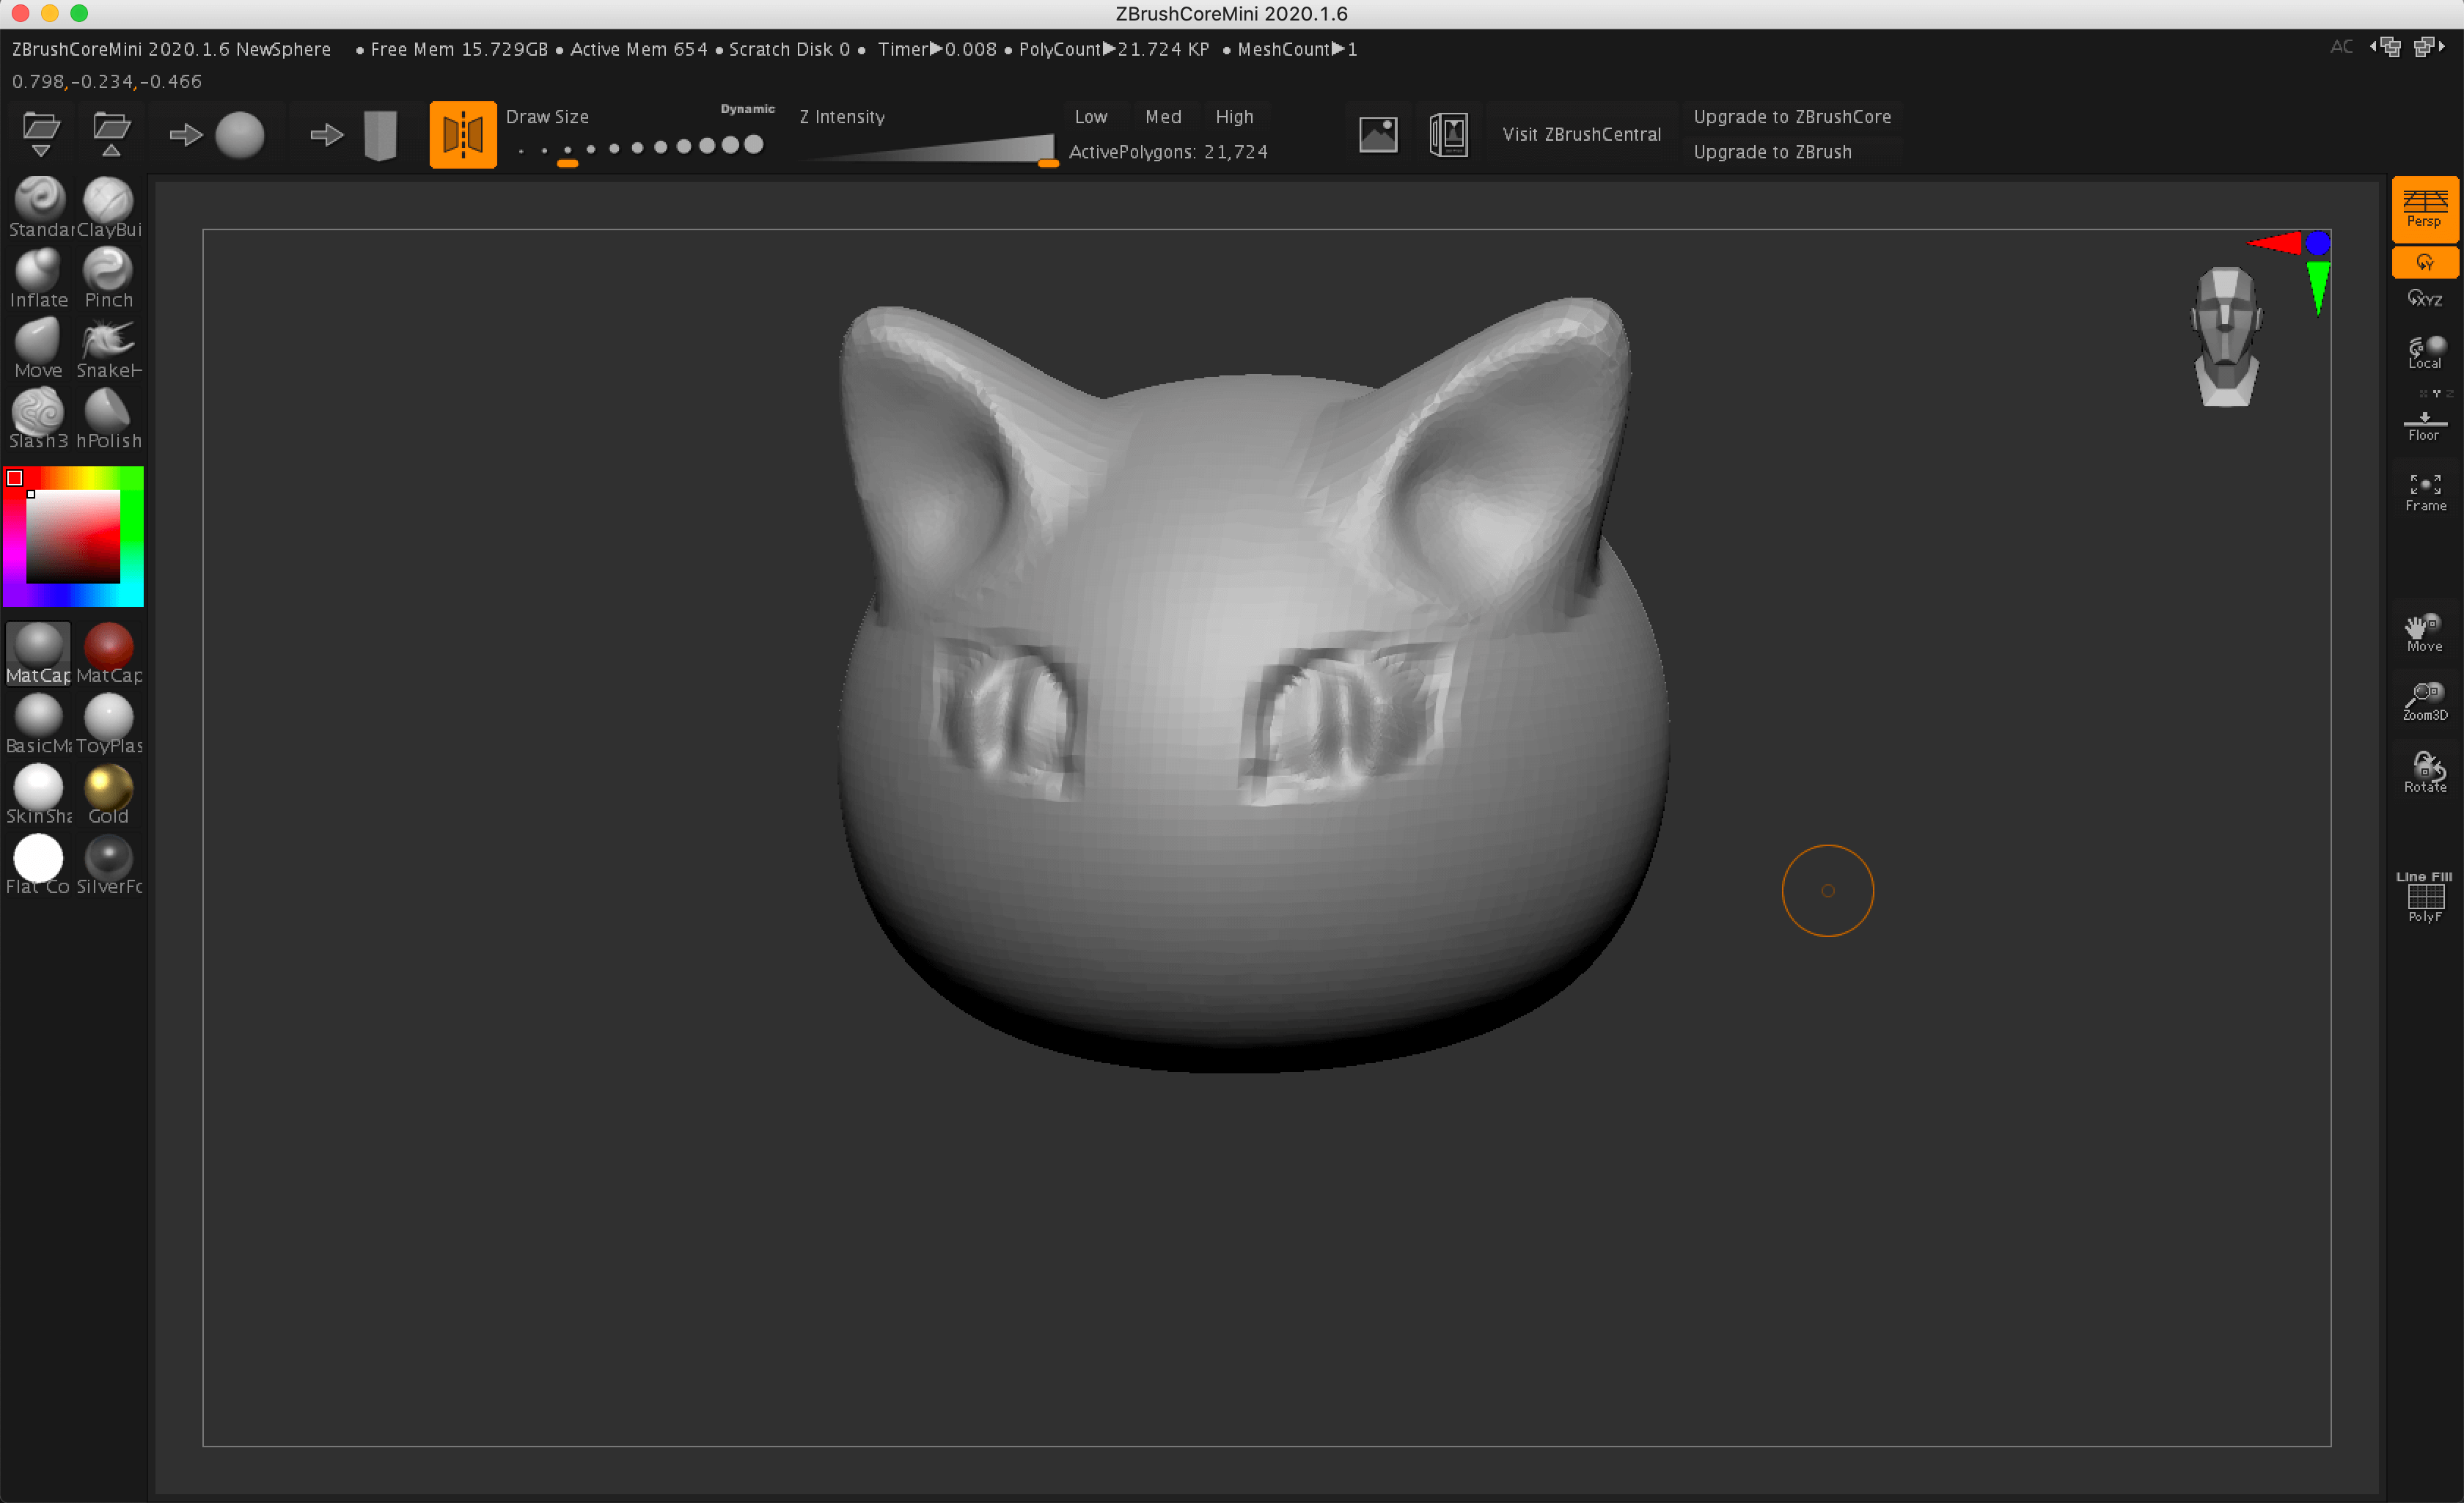
Next, we will create the pupil part by inflating the part we just depressed.
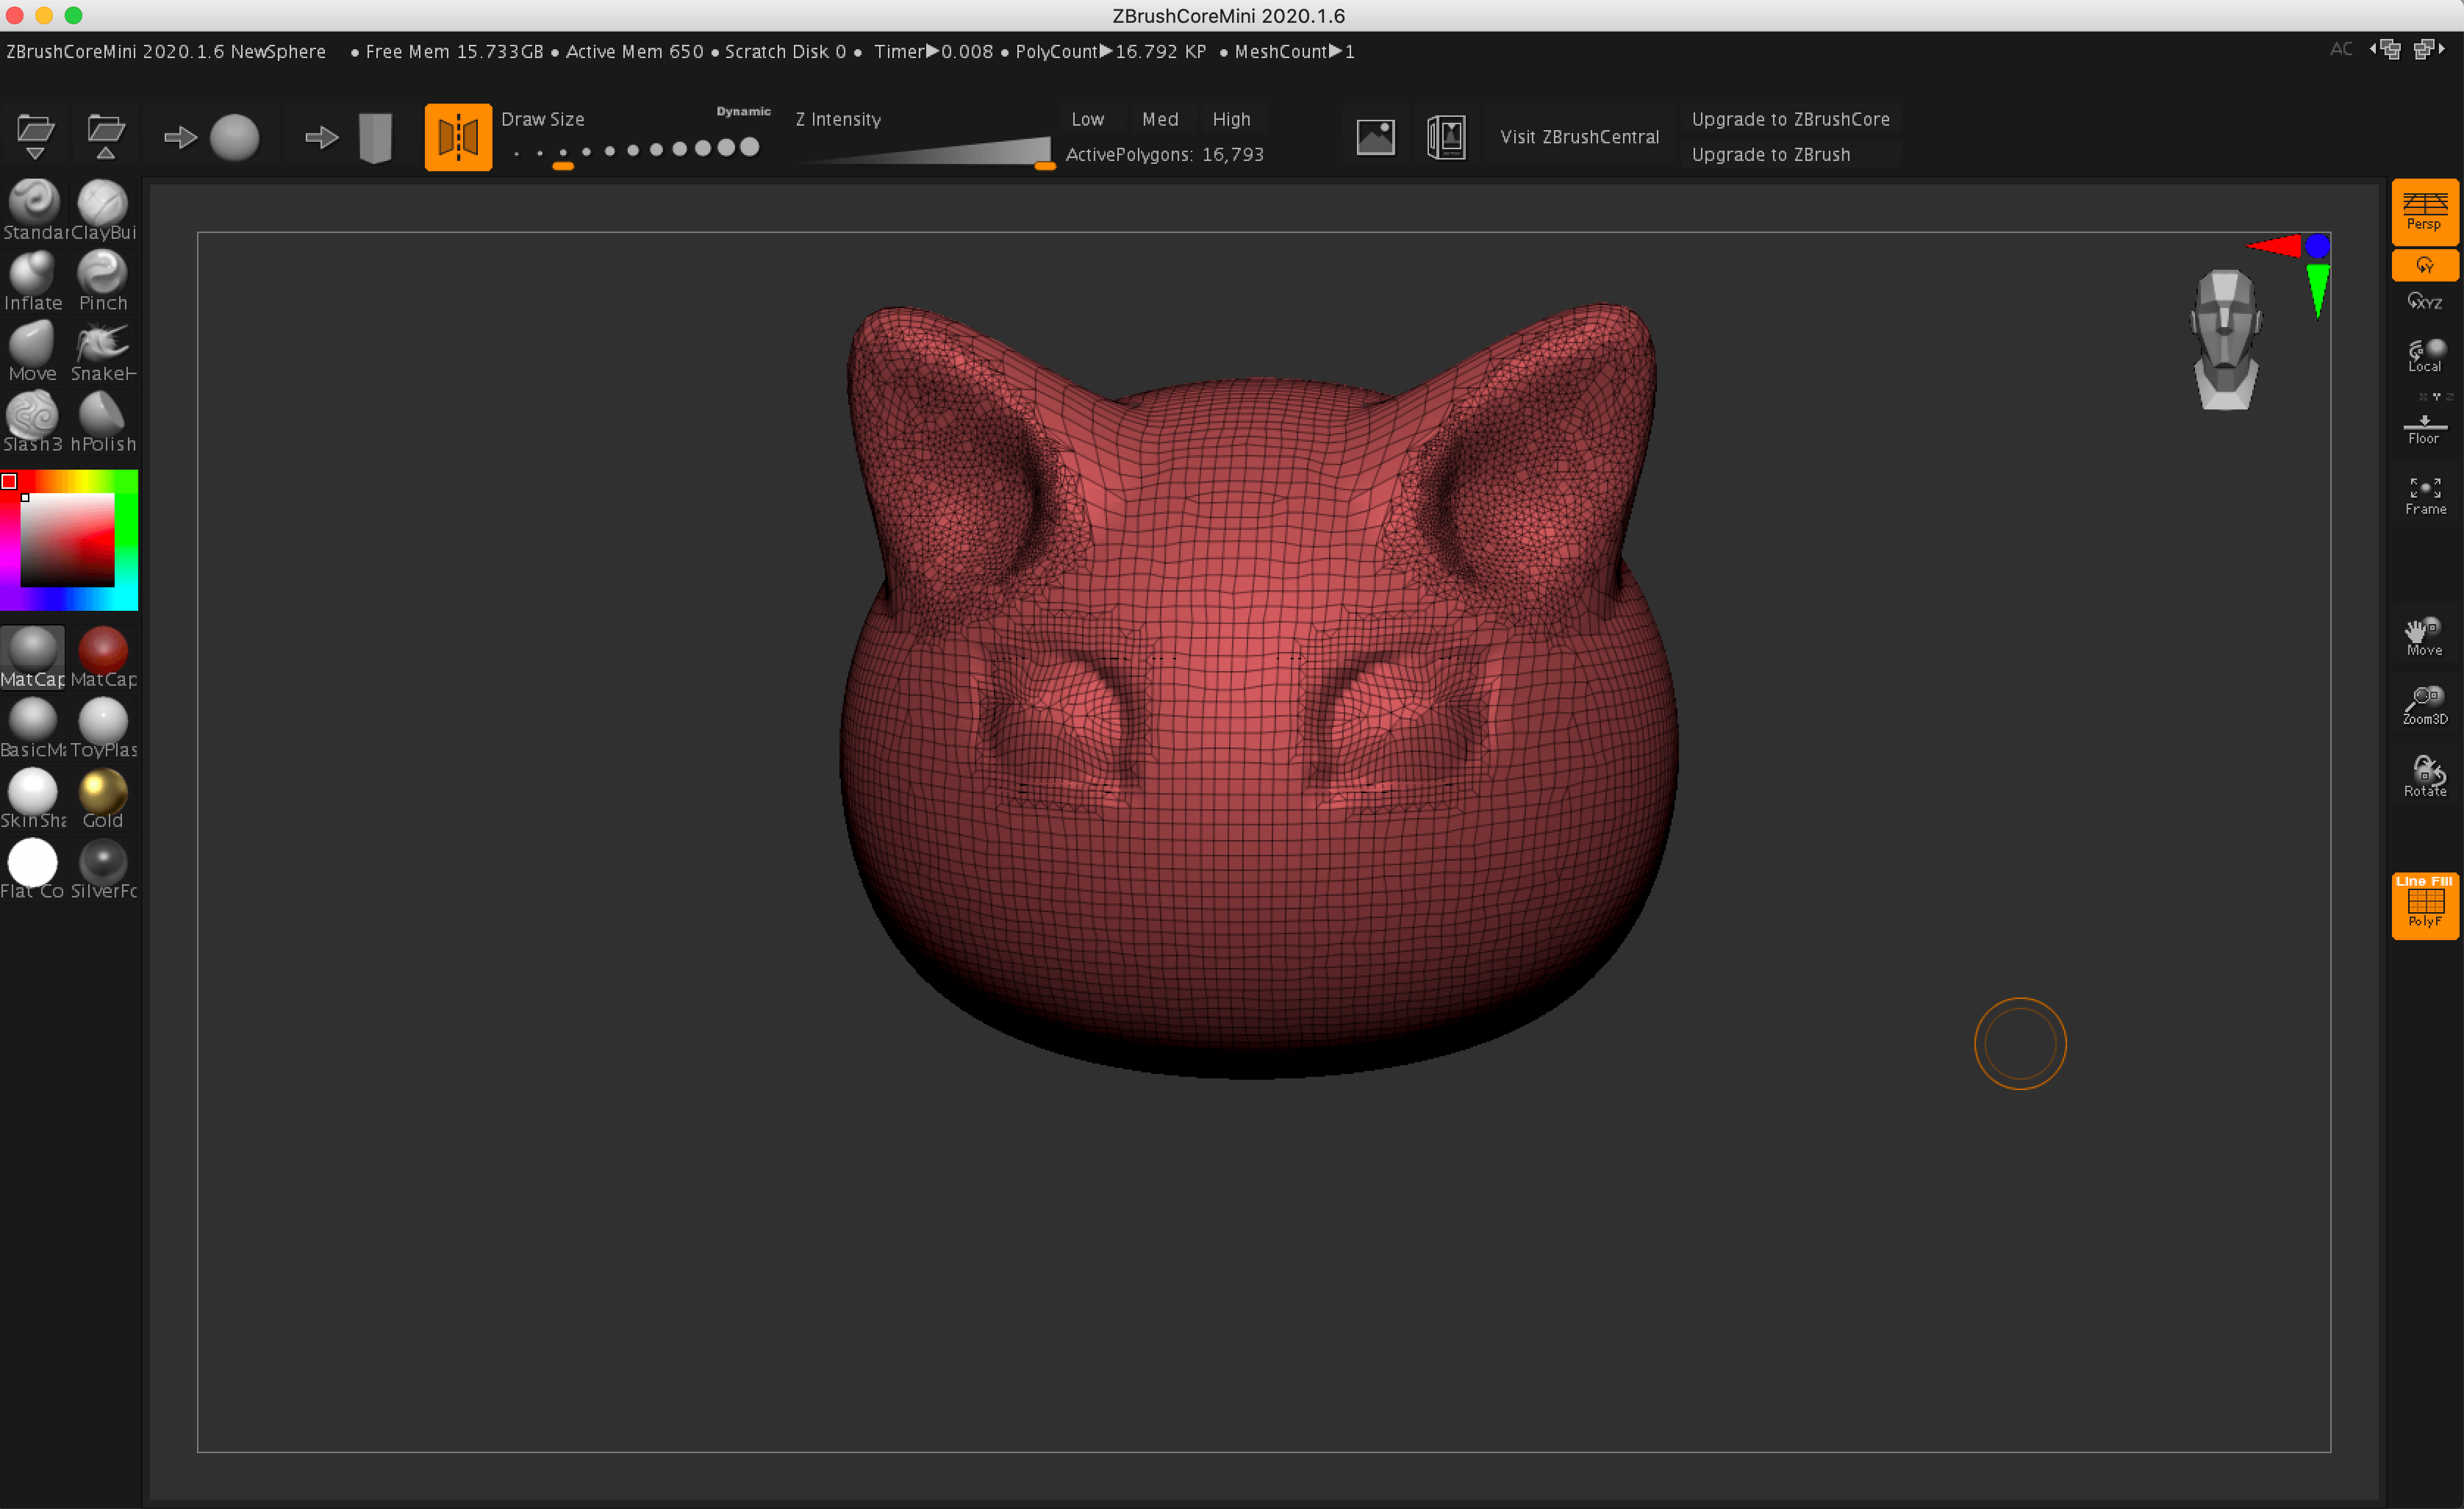
Now, click the [Line Fill] button in the right menu to check the current polygon status.
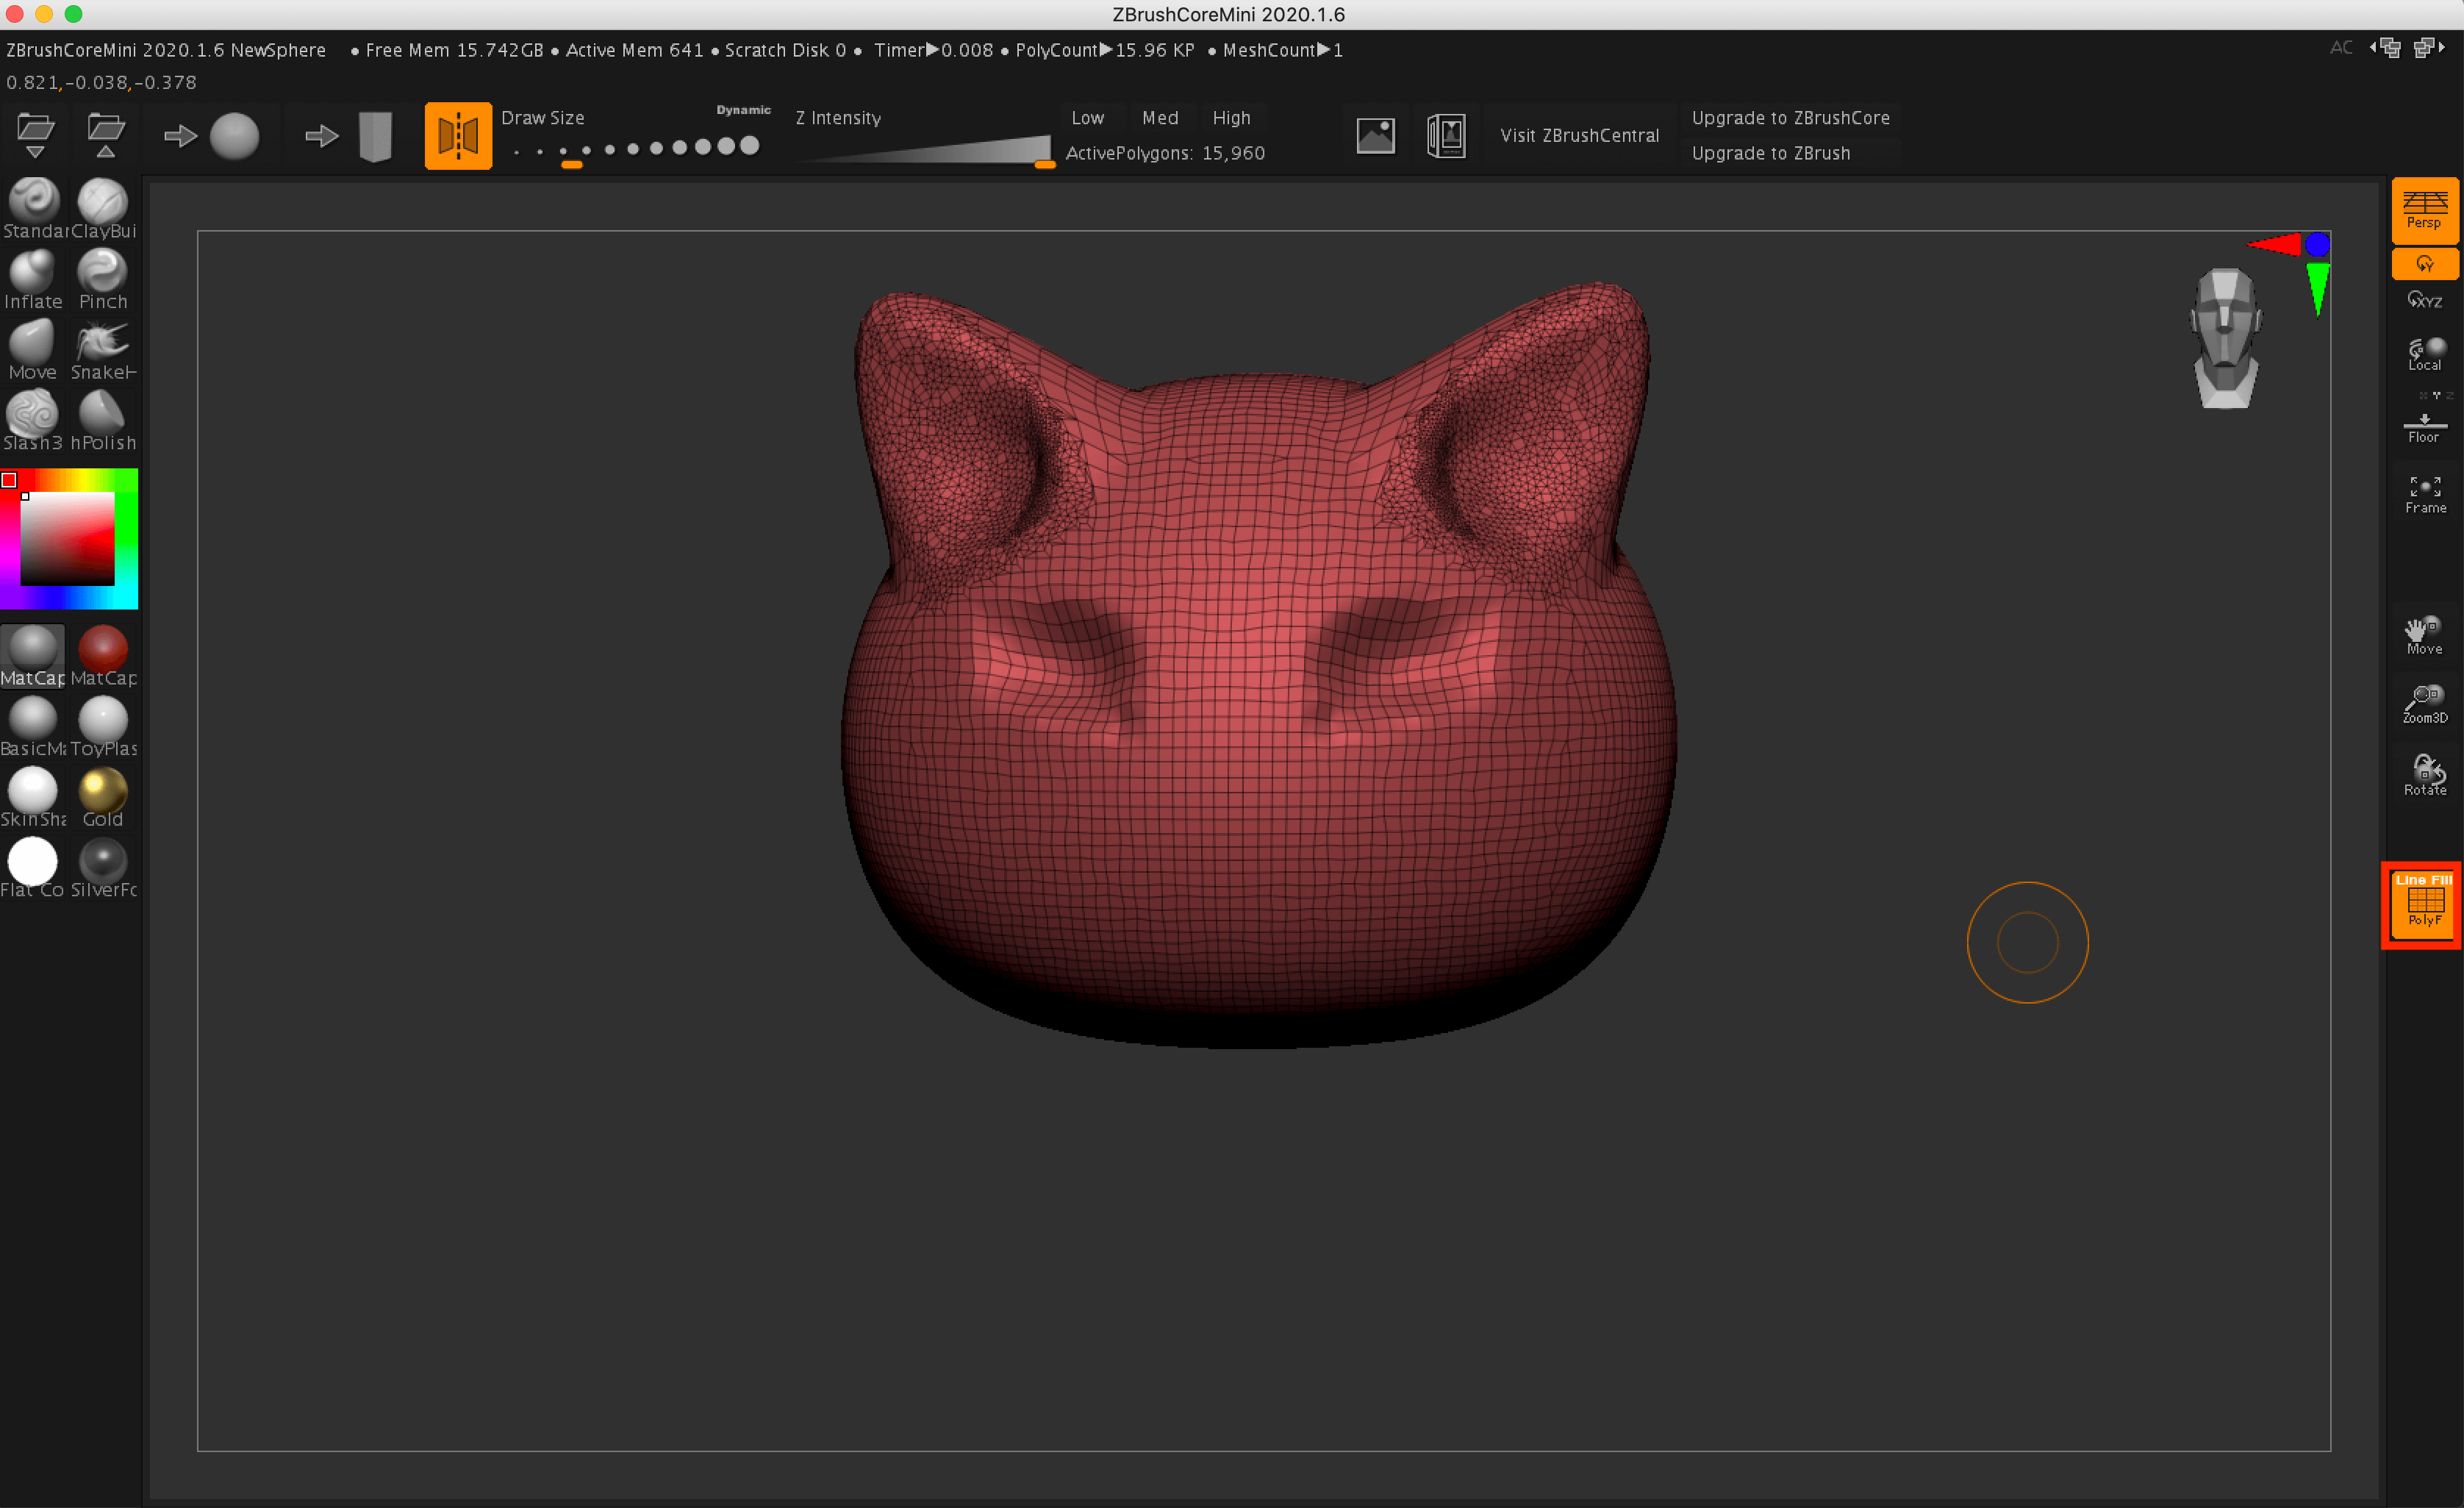
Check the status of the polygons
The polygons on the ears are quite fine, but the ones on the eyes are quite large. I need to increase the polygon count on the eyes because the shape will not be smooth even if I use a brush.
To increase the polygon count without changing the shape, sculpt by setting the DrawSize of the Standard brush to low and ZIntensity to 0.

I increased the polygon count of the eyes
The polygons in the eye area are finer. Even if you release Line Fill, the appearance has not changed.
Even though the polygon count has increased, the appearance hasn’t changed.
Make the radius of the Inflate brush smaller than the radius of the Inflate brush that was used to depress the eye earlier, and raise the inside of the eye.

Raise up the inside of the eye.
If you check the polygons, the polygons around the center of the pupil have overlapped.

The polygons around the center of the pupil are messy.
This can be remedied by tracing while holding down the [Shift] key.
Smoothing with the Shift key
Finally, for a more feline look, the “Stash 3” brush is used to draw a vertical line in the middle of the eye. The Stash 3 brush is used to sharply carve into the mesh and is suitable for creating thin, sharp lines such as those for “cracks” and “wrinkles”.
Carve vertical lines into the eyes
Making a Nose and Mouth
Sculpt the nose with the Inflate brush as we did with the eyes.

Raise the nose
Create whiskers with the “SnakeHook” brush, which is also great for creating hair, by quickly sculpting outward from the model to stretch out some lines.
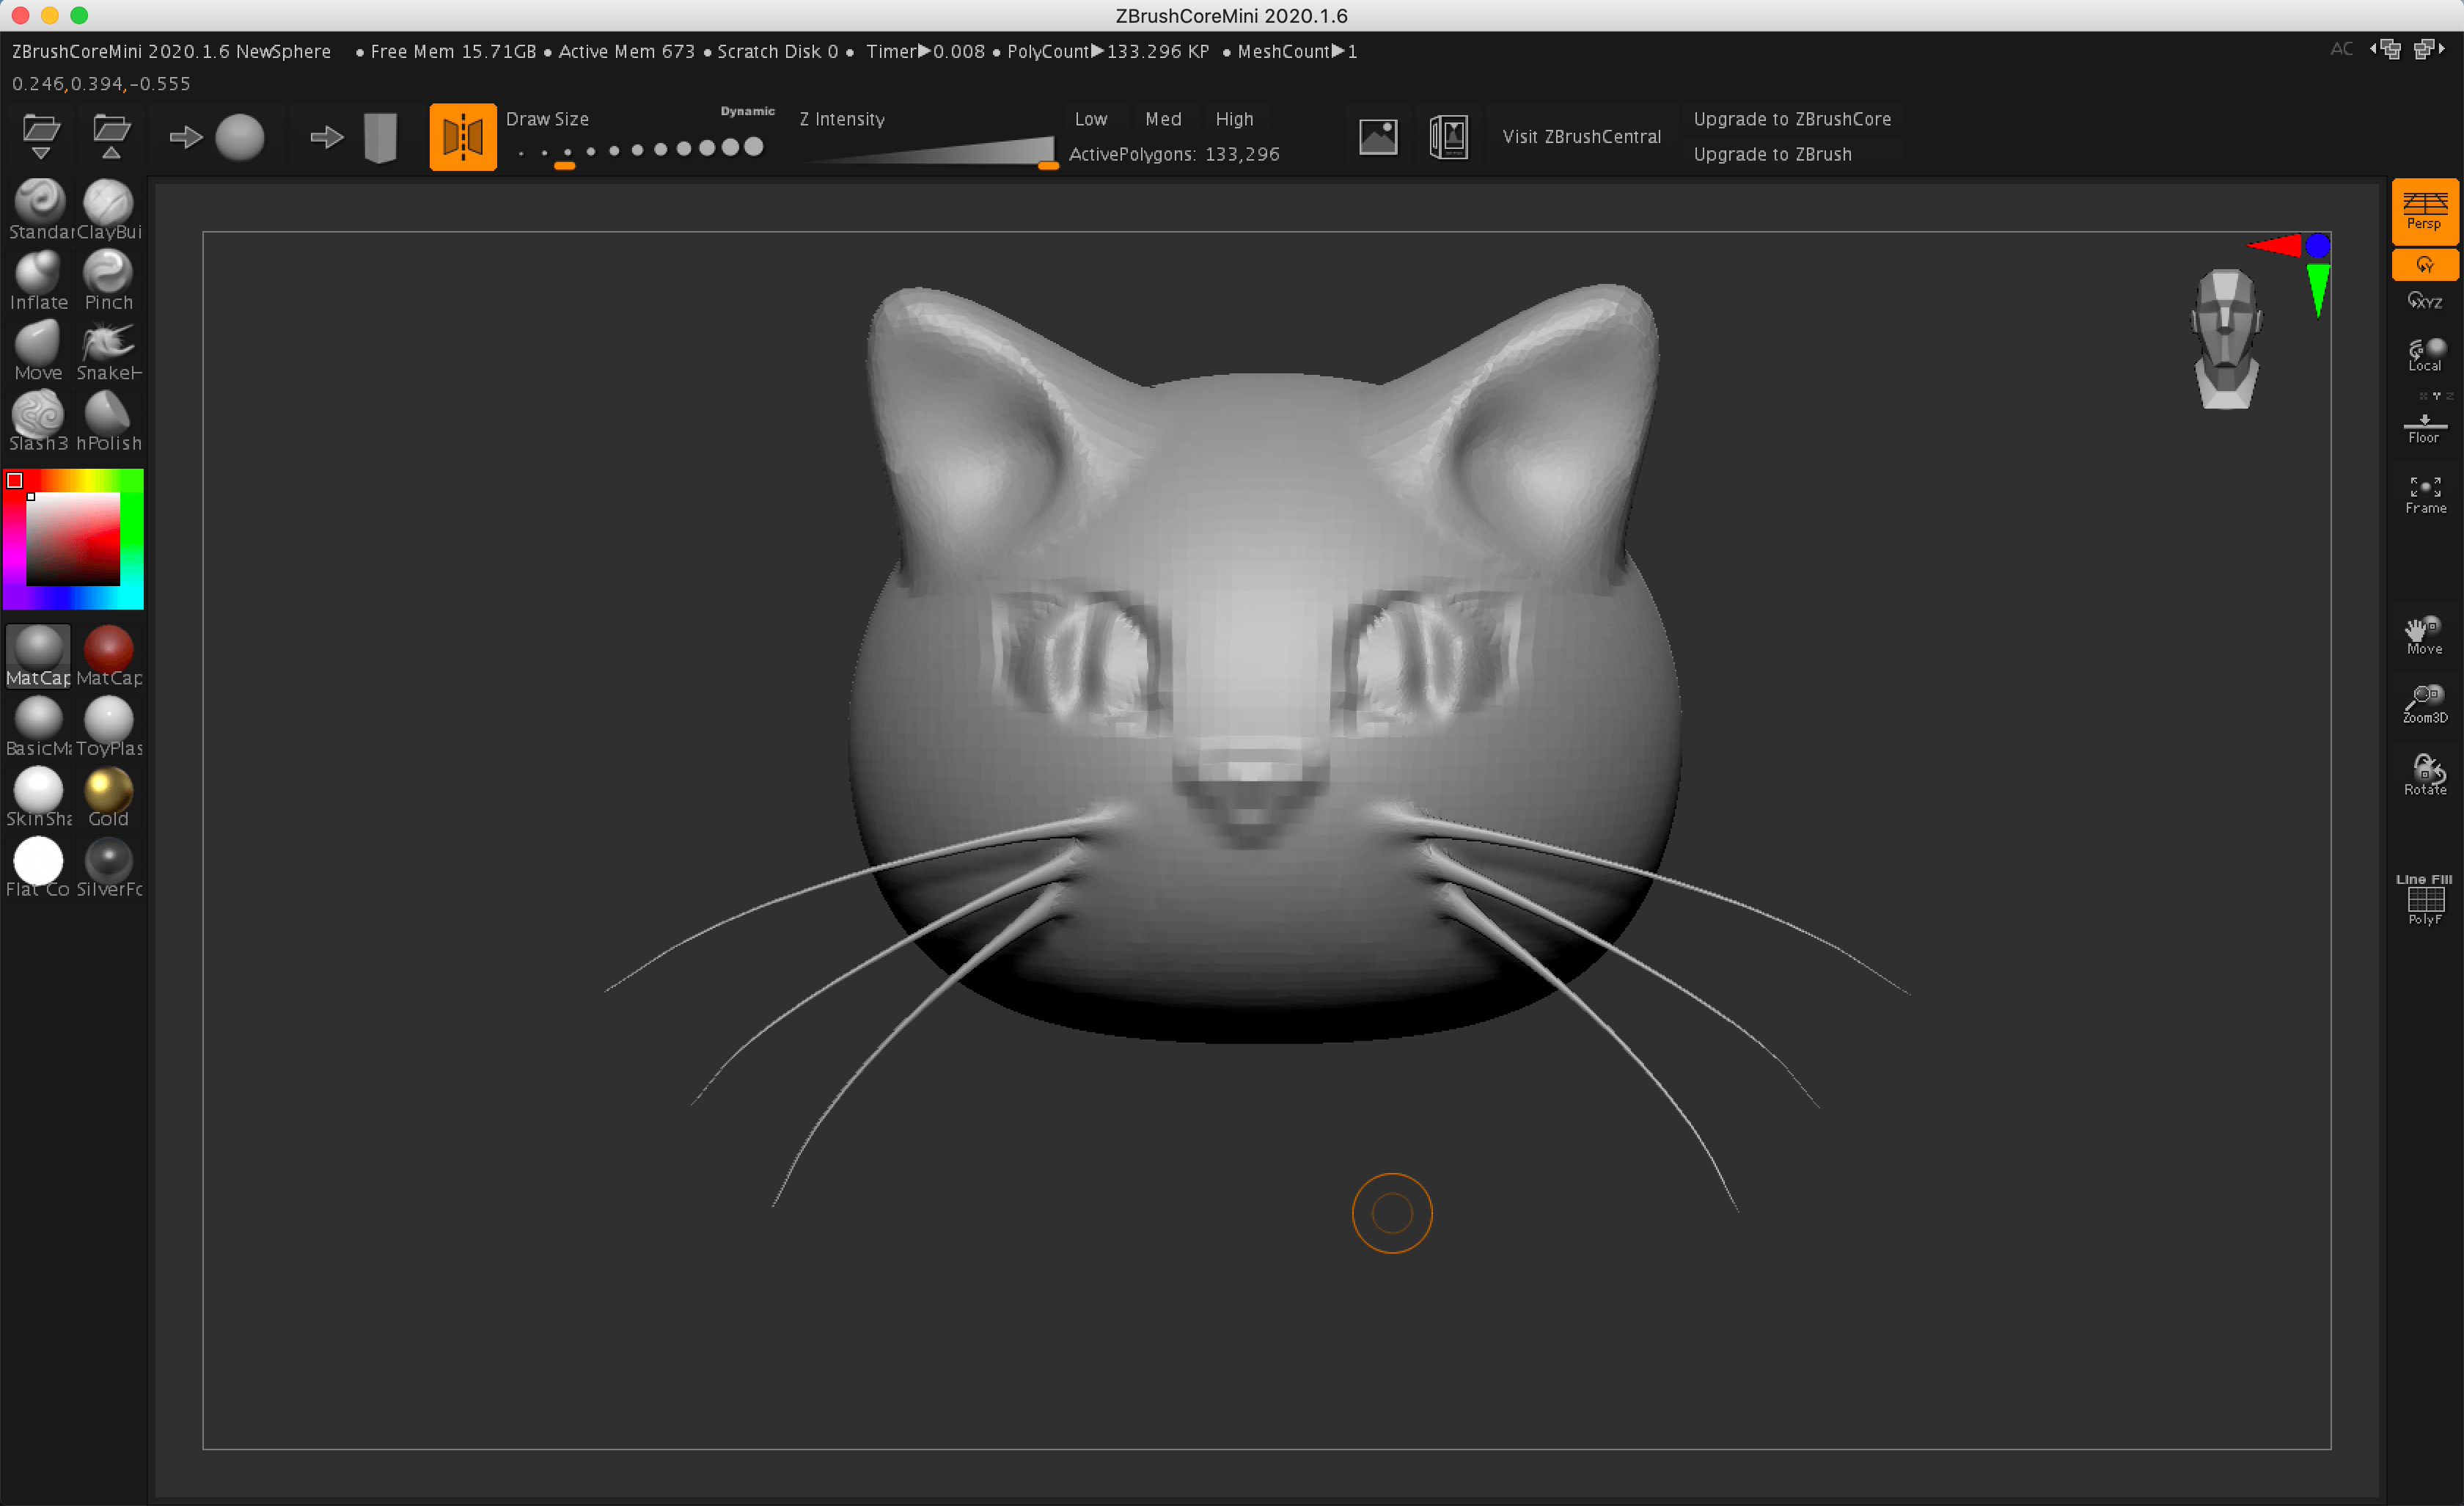
Grow some whiskers
Sculpt the mouth with the Stash3 brush as follows.
Carve the mouth
Raise the perimeter of the mouth created with the Stash3 brush with the Inflate brush set to a small diameter.

Raising the perimeter of the carved mouth
Once you’ve made it this far, adjust the entire shape. With the side view, push the mouth area out all at once with the Move brush.

Push the mouth out from the side
Push out the forehead and the back of the head a little and adjust the shape.

Push out the forehead and the back of the head.
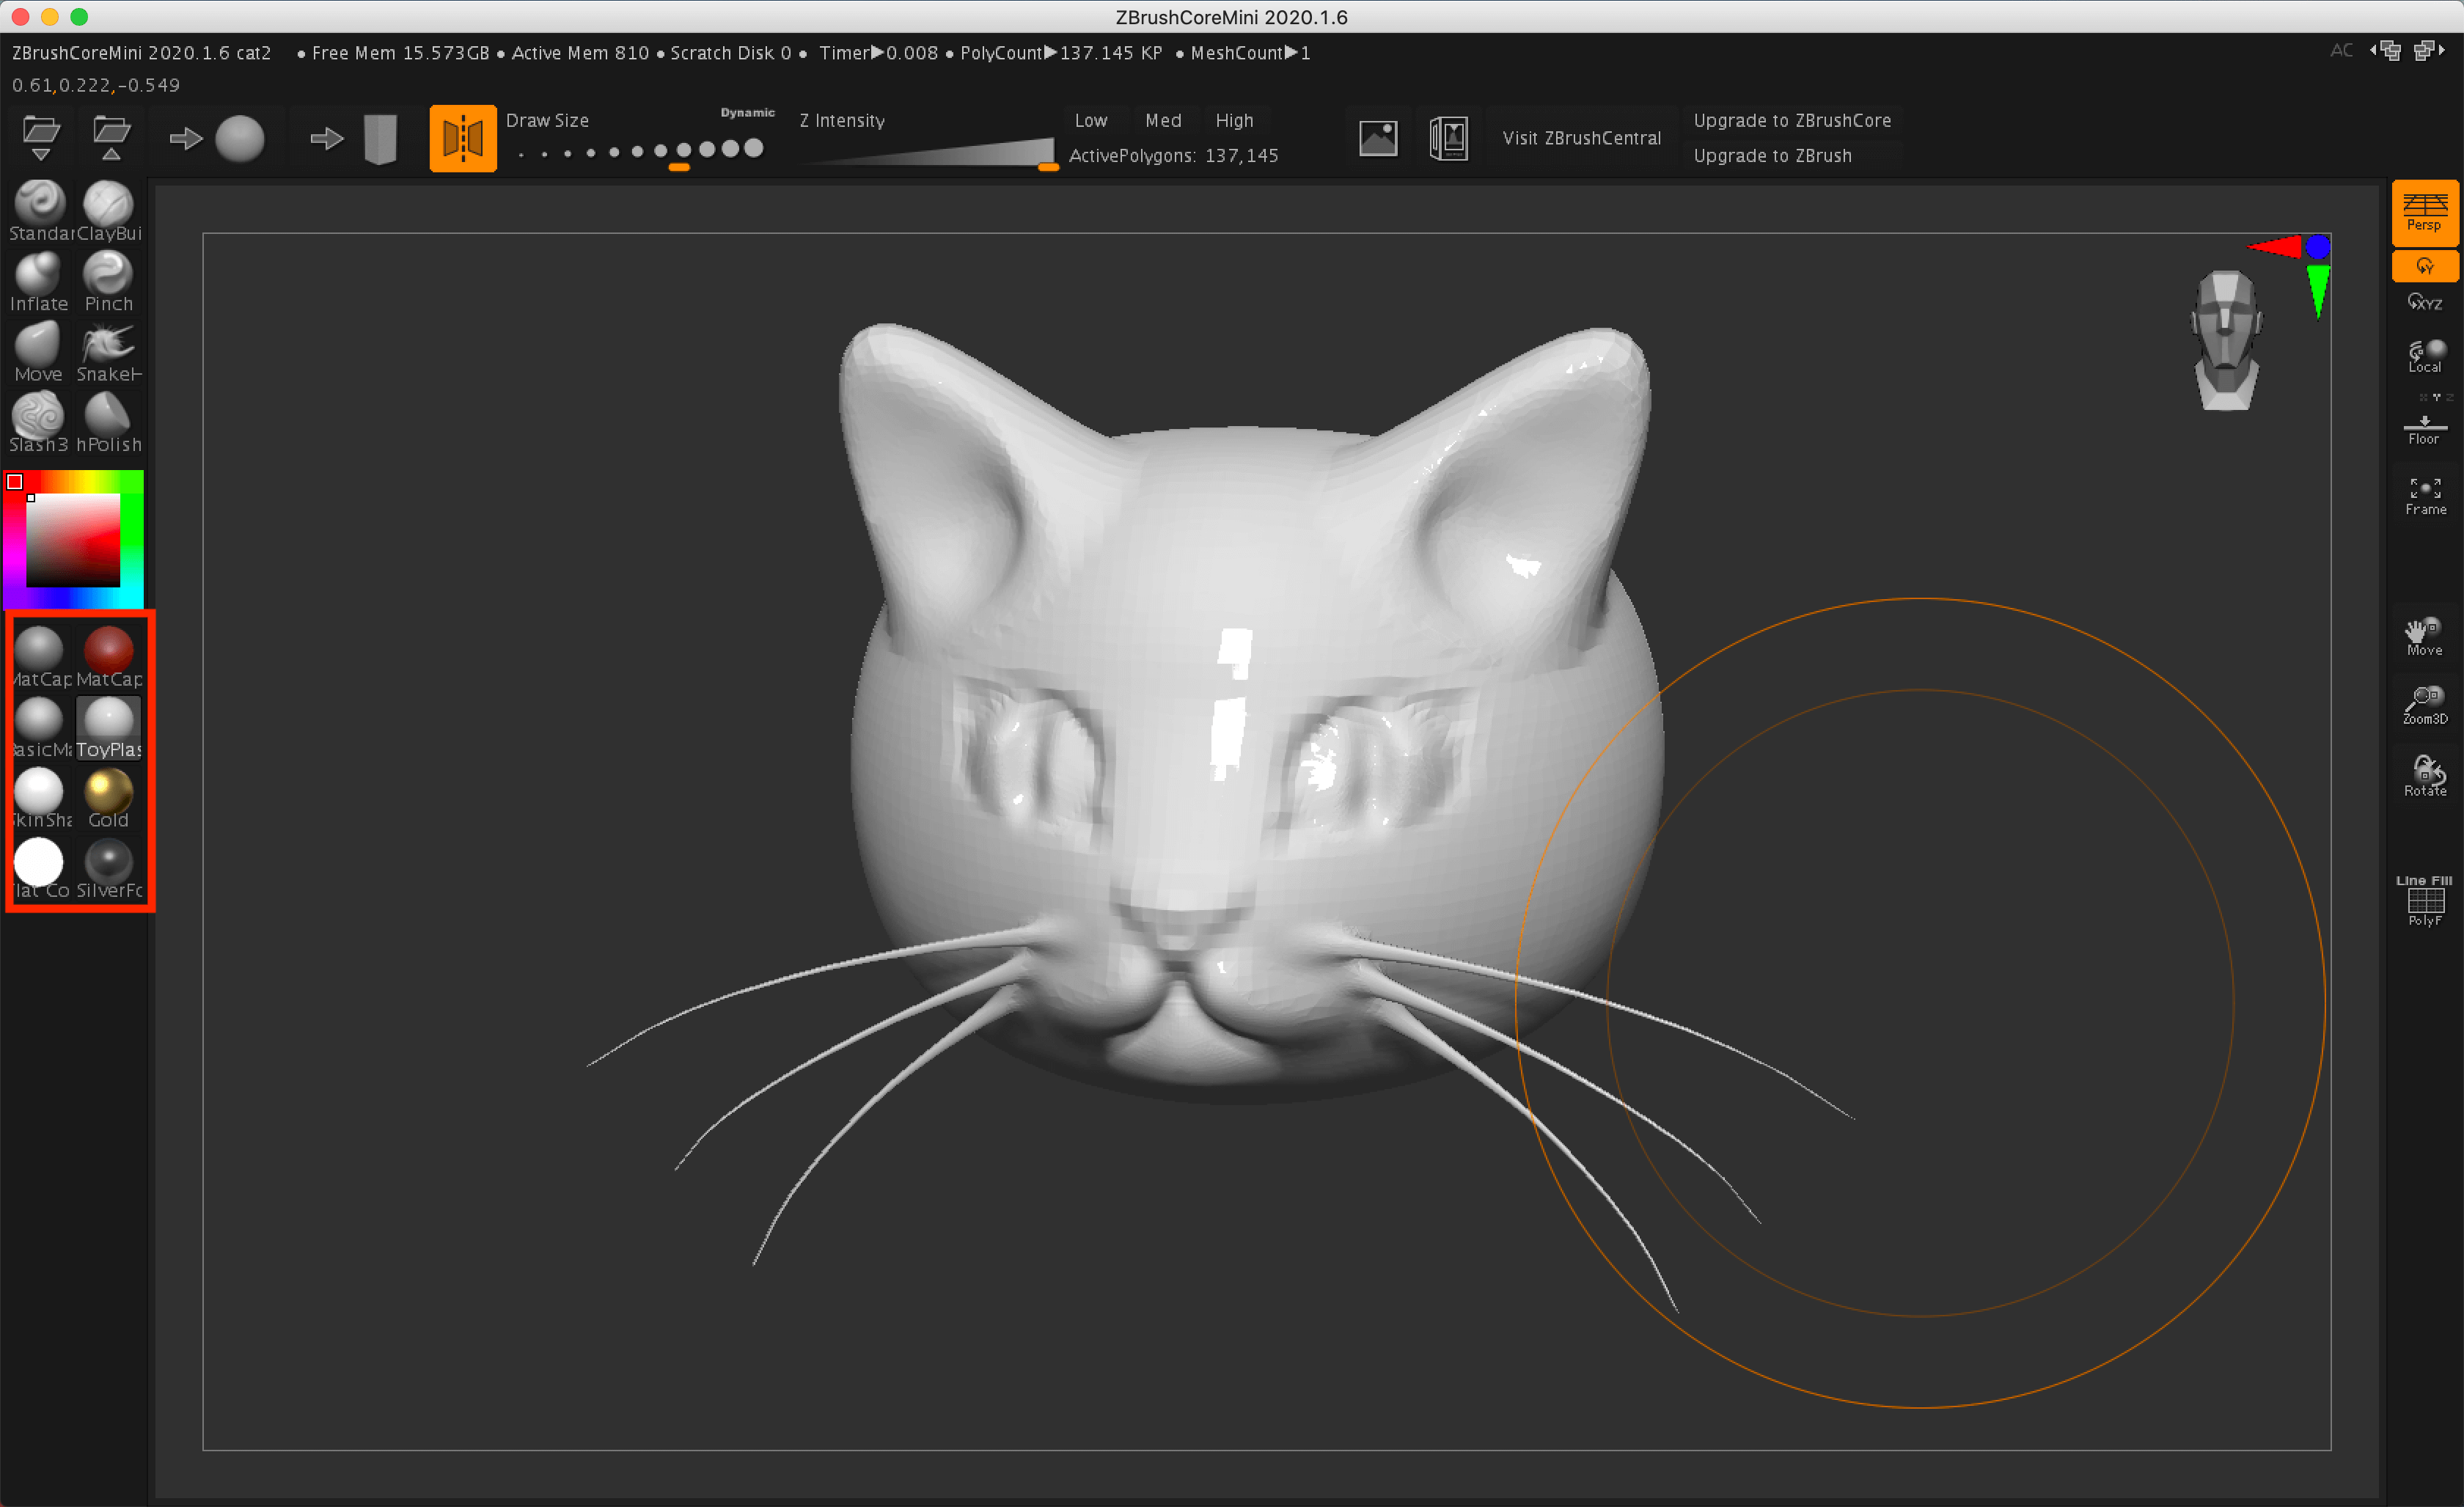
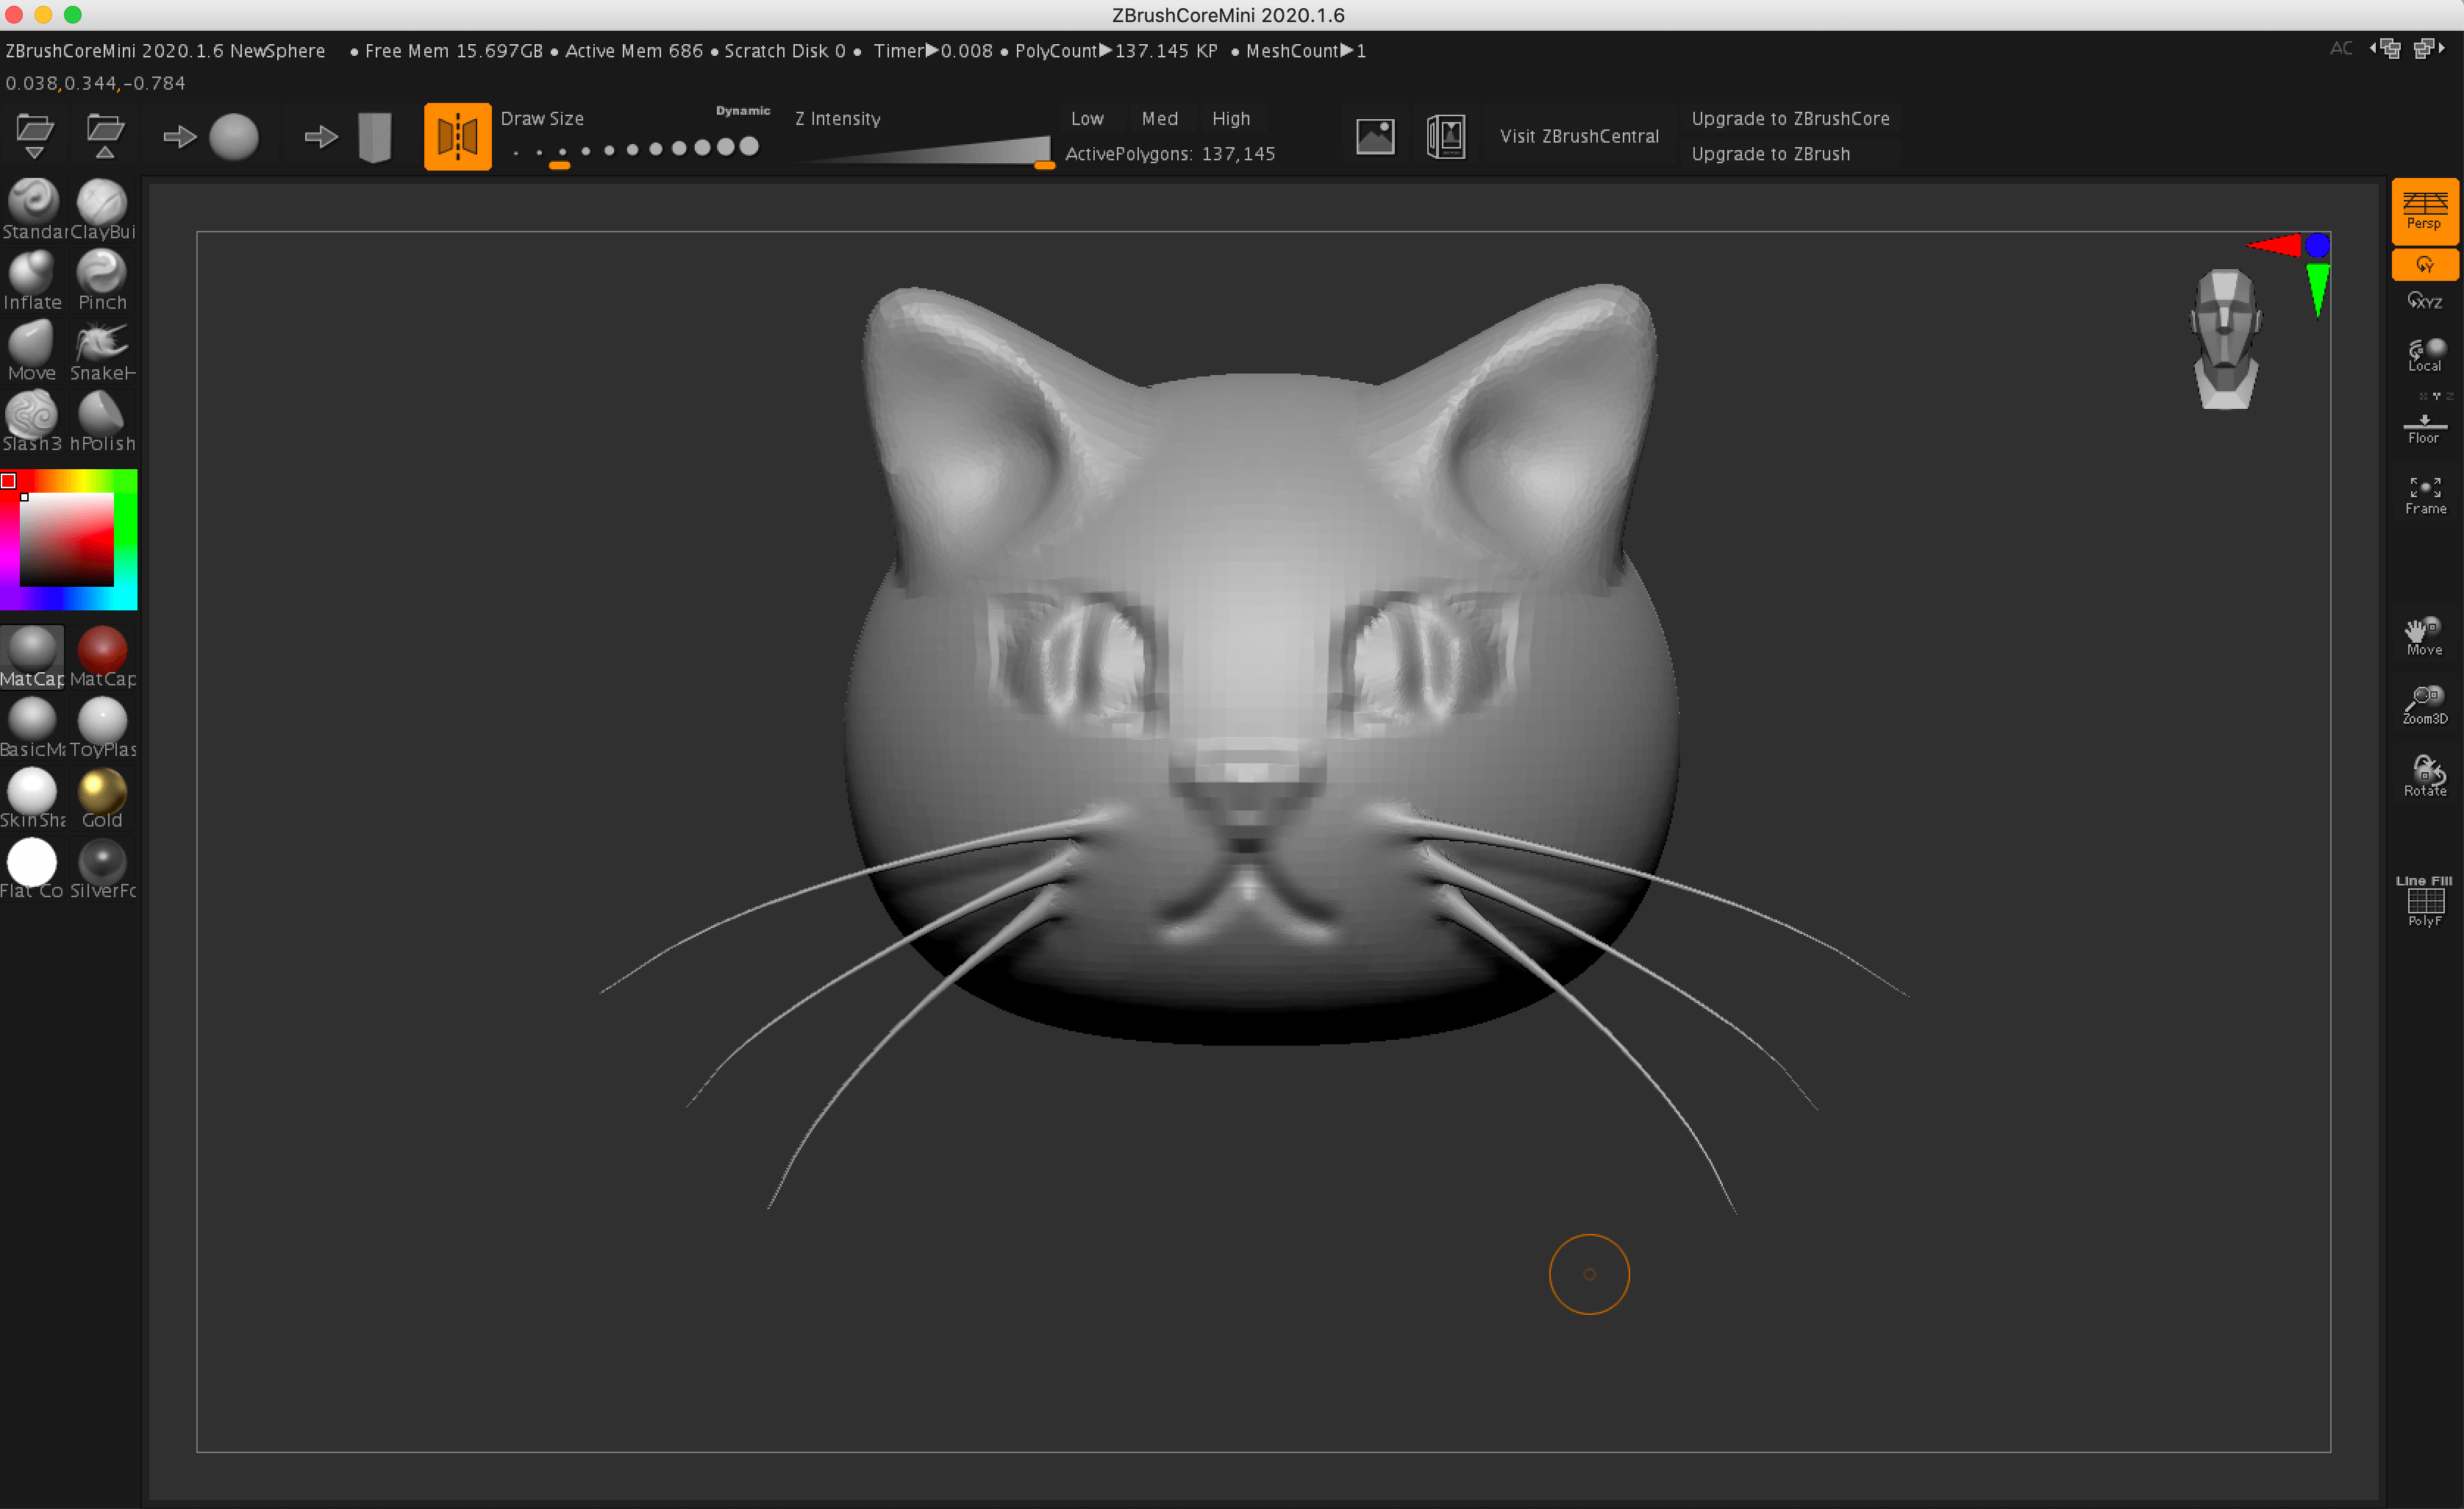
Move it back to the front and it’s done.
Complete
You can select a material from the bottom of the left menu (in the red frame) to change it. Let’s experiment with different materials.
(However, you cannot export the material you have changed here to other software.)
Material Change
Summary of the brushes we used
- Move Brush: Brush that can significantly pull and distort the shape of a model. This brush was used for the ears and overall shape adjustment.
- hPolish brush: For polishing and smoothing surfaces. Used for the inside of the ears.
- The Inflate brush: This brush can be used to inflate or deflate the model’s shape. Used for eyes, mouth, etc.
- Stash3 Brush: Suitable for creating fine, sharp lines, such as “cracks” and “wrinkles”, by carving into the mesh. Used for eyes, mouths, etc.
- SnakeHook Brush: Ideal for creating hair. Used for the whiskers.
How to upload to STYLY
Export as an obj file
ZBrushCoreMini is only able to export as an obj file.
First of all, let’s click on the button in the red frame to export as an obj file.
Export
You can upload obj files to STYLY, but you can’t upload obj files from ZBrushCoreMini as is because they don’t have material data attached to them.
So instead we can first import the obj file into Blender. Open Blender, File→Import→Wavefront(.obj) and import the exported obj file.

Import obj file
The model appears to be missing when it is loaded, but the model is too large and so we are inside the model.

What appears to be the background is the inside of the model.
Make sure the 3D model is selected and set all the Scales to 0.1 in the bottom right panel under “Transform”.
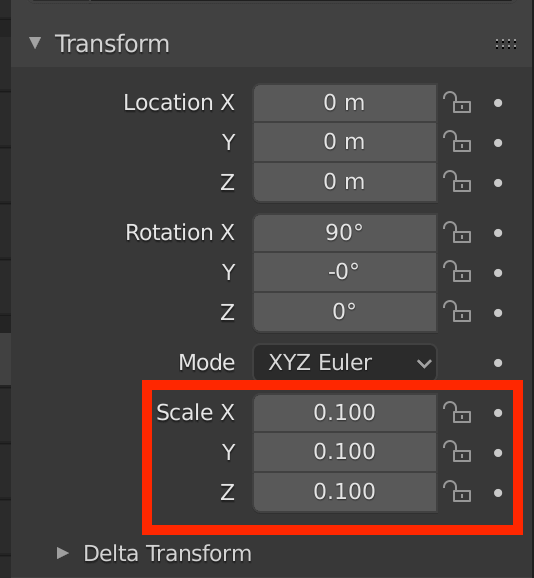
Scale to 0.1
The size of the model is now just right.
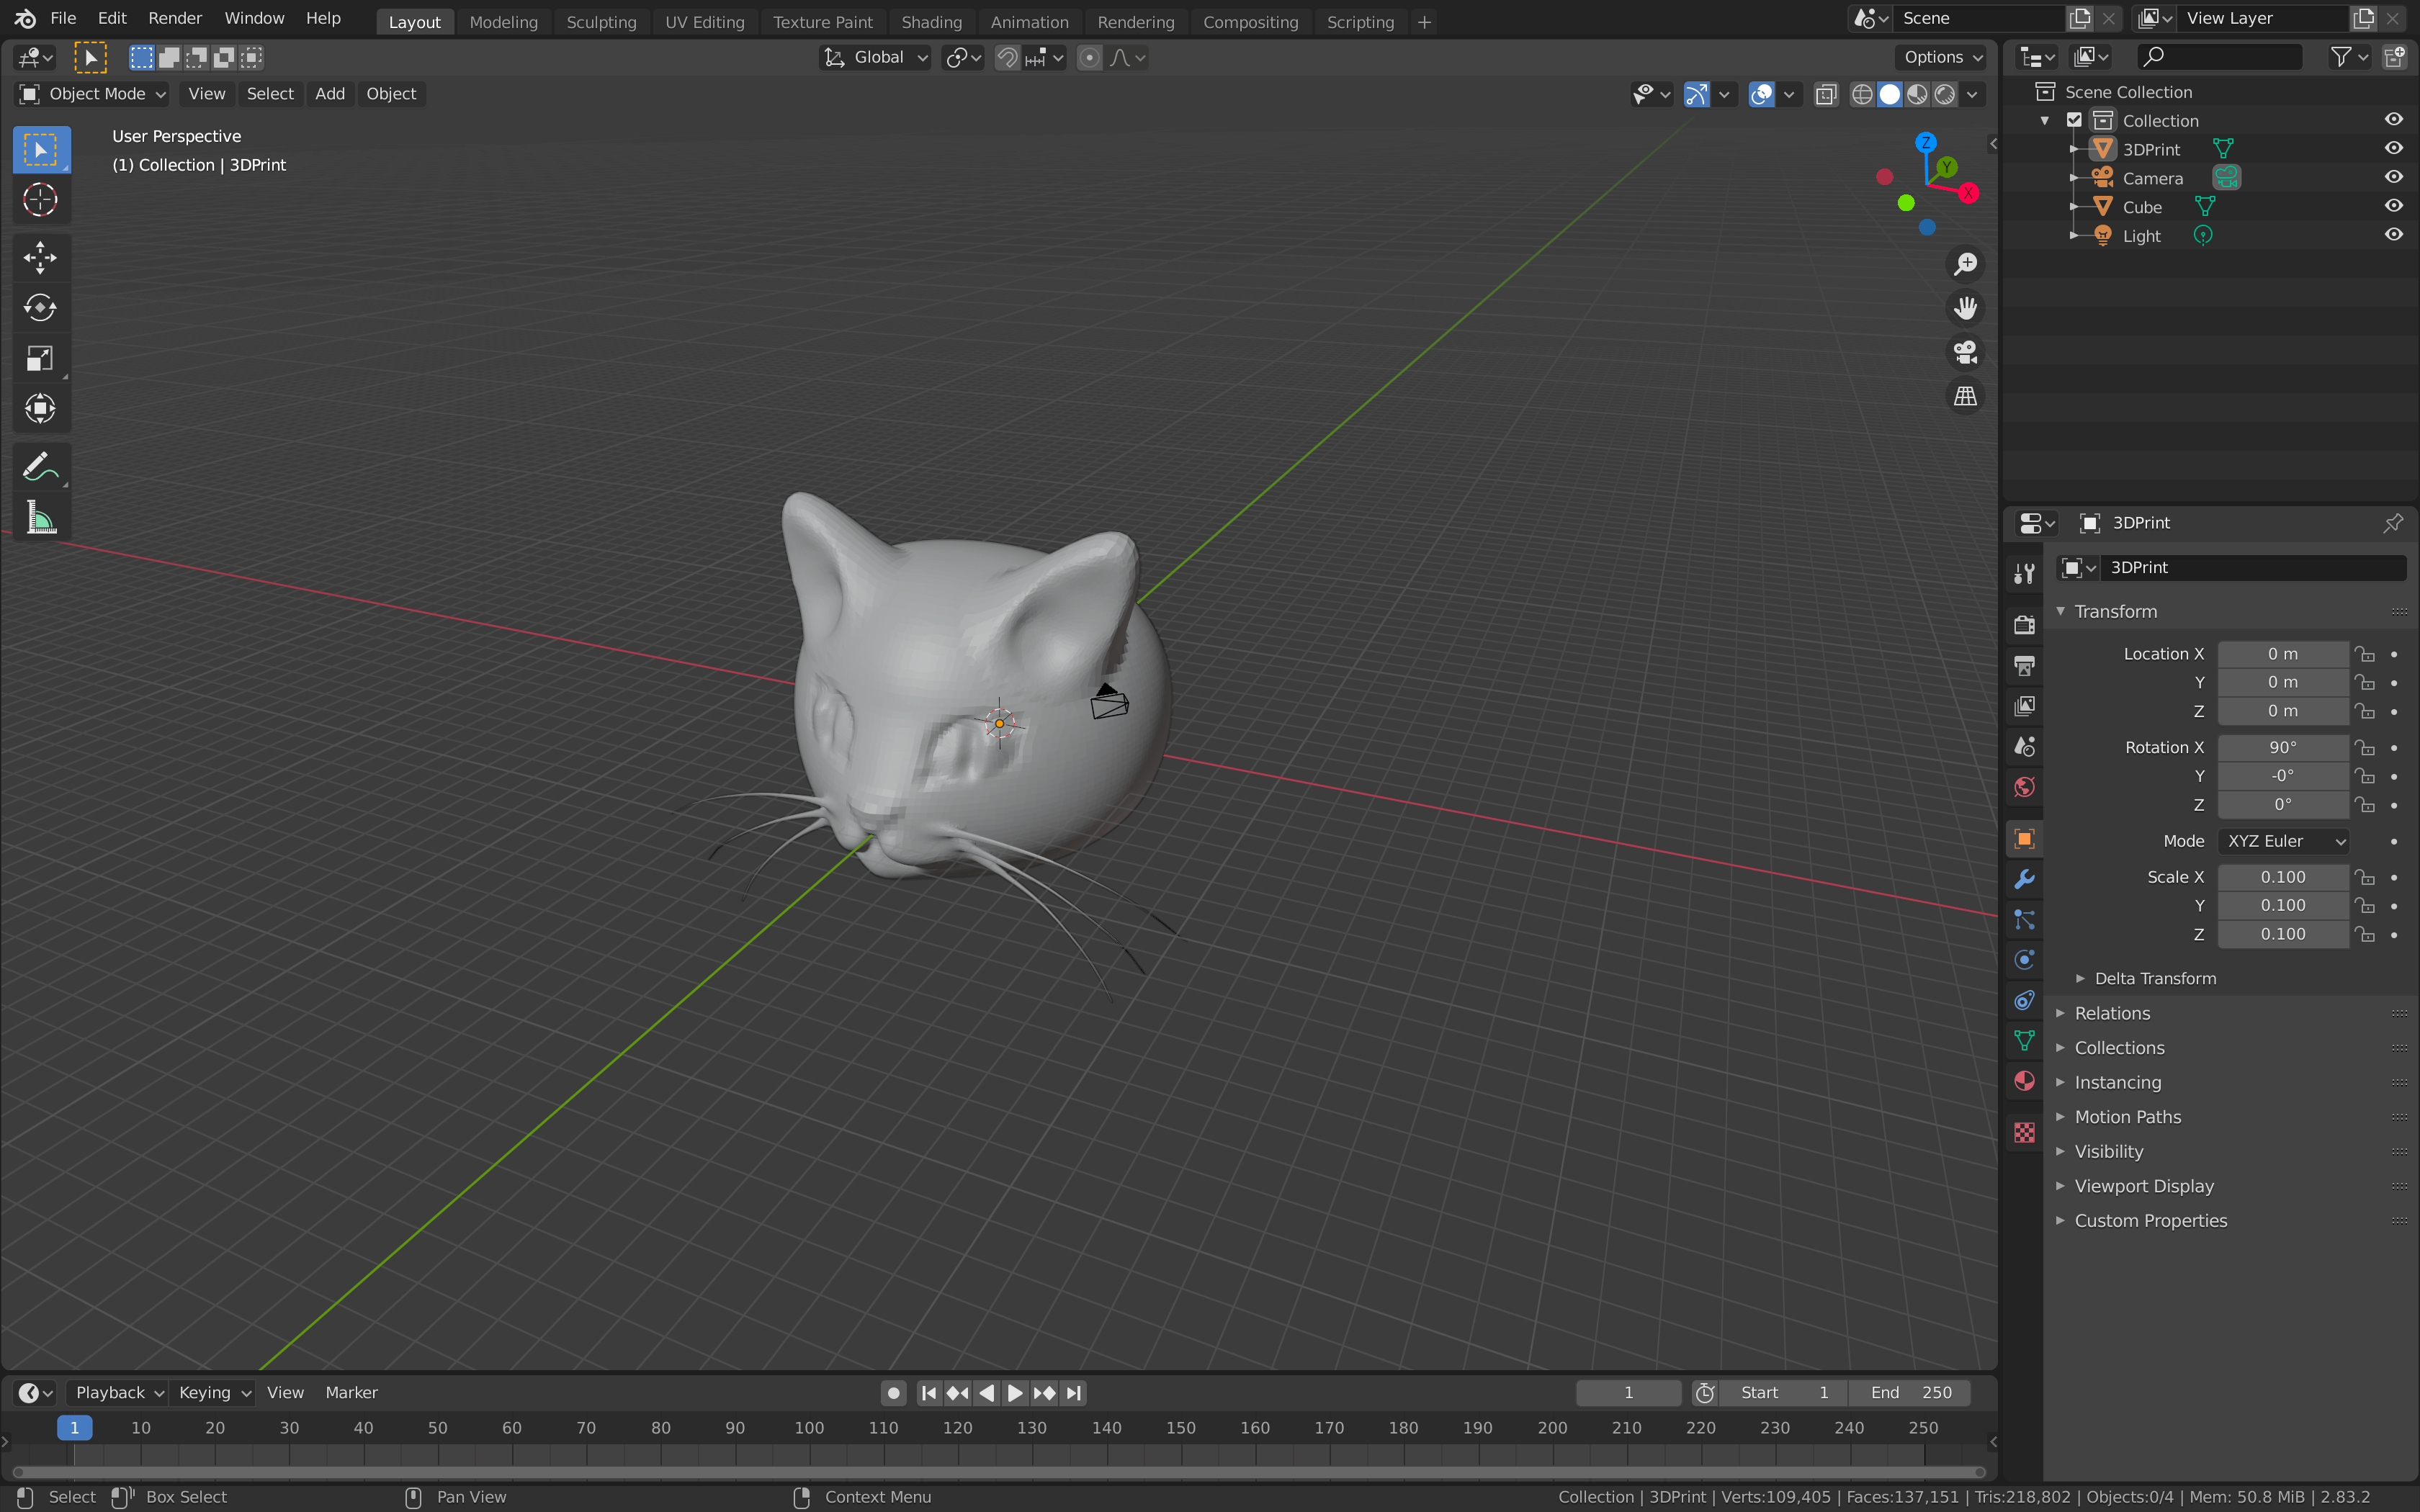
You can now see the entire model.
You can make further modifications to the materials and textures here, but we won’t do that this time.
As with importing the model, select the model and re-export it from File→Export→Wavefront(.obj).
Make sure the option “Selection Only” is checked and click “Export OBJ” to finish.
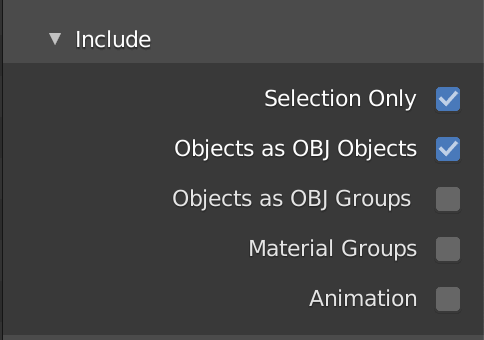
Check “Selection Only”
Upload to STYLY
Upload your re-exported 3D model from Blender to STYLY.
Create a STYLY account
If you haven’t created a STYLY account yet, click here.

Here’s how to upload your exported 3D model to STYLY.

Introducing NEWVIEW SCHOOL ONLINE
We are now offering a NEWVIEW SCHOOL ONLINE course where you can learn everything from the basics to the applications of Unity and PlayMaker for VR/AR content creation, and learn about the process of creating the fascinating content available on STYLY (we’ll also be revealing our production techniques).
