In this article, I’ll introduce a Very Animation, a paid Unity asset.
With Very Animation, you can easily add original animations to your 3D models in Unity.
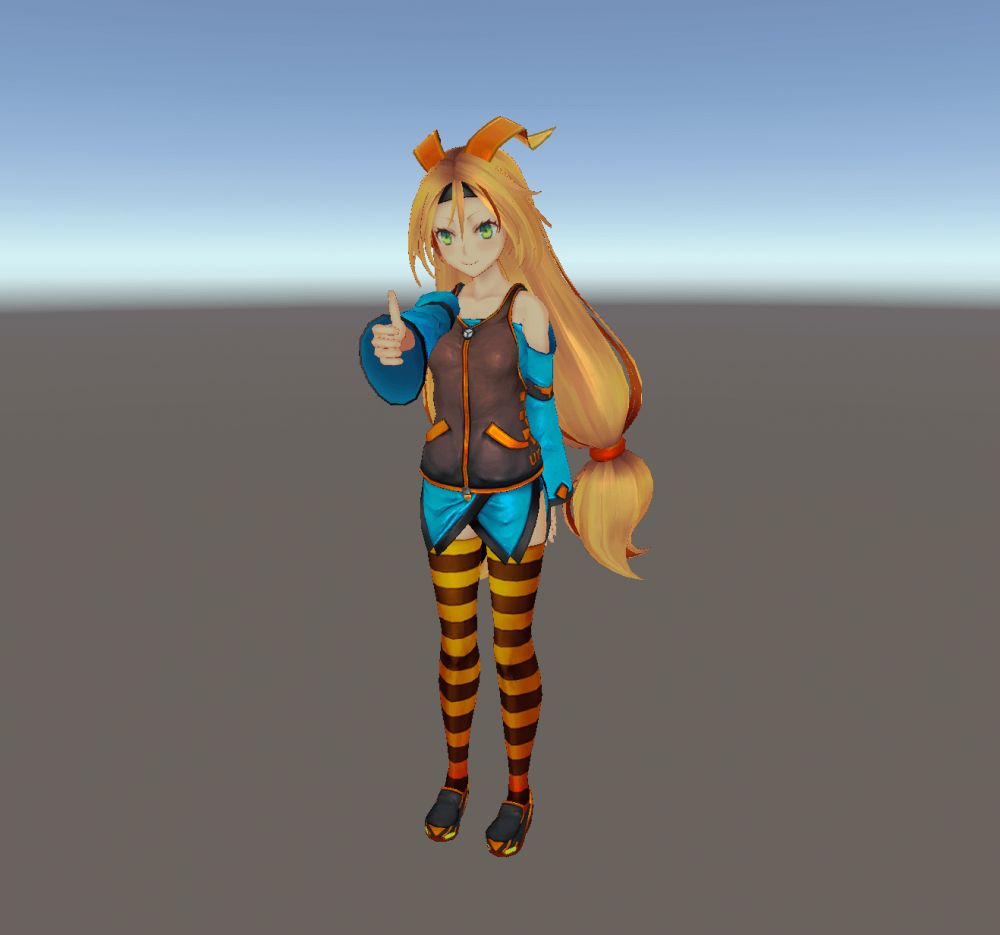
In this article, I will explain how to use this asset to create an animation that poses as shown below.

Finished image
Sample
Here is an AR scene using the animation created with Very Animation.
You can start the scene by reading the marker in the STYLY Mobile app.
AR marker
Preparation
We will be using these three assets, please download them from the following link.
Modifying the rig and setting up the animator
First, let’s create an animation using the Robot Kyle model.
Select the Kyle model, go to the Rig tab and change the “Animation Type” to “Humanoid” and Apply.
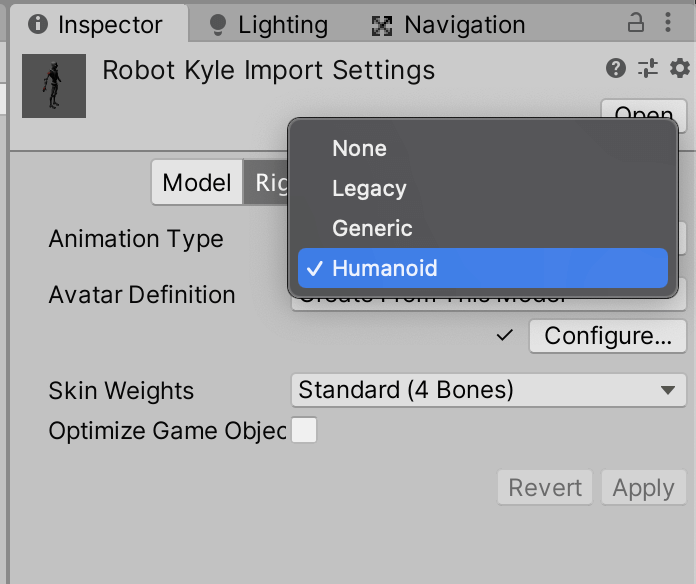
Change Rig to Humanoid
Also, since it is difficult to see the model in its current state, let’s change the shaders in Kyle’s material.
Select the material from Robot Kyle > Material > Robot_Color and change the shader to Unlit > Texture.

Change the shader to Unlit
Next, we’ll add an animator controller to Kyle.
Create an Animation folder directly under Robot Kyle, and create a new Animator Controller in that folder named “KyleAnimation”.
Also create an Animation in the same folder called ThumbsUp.

Create the animator and animation
After creating the Animation, open the Animator window from Window > Animation > Animator.
Select KyleAnimation from Project and show KyleAnimation’s layer.
Drag and drop a ThumbsUp onto the BaseLayer and add an animation to the controller.
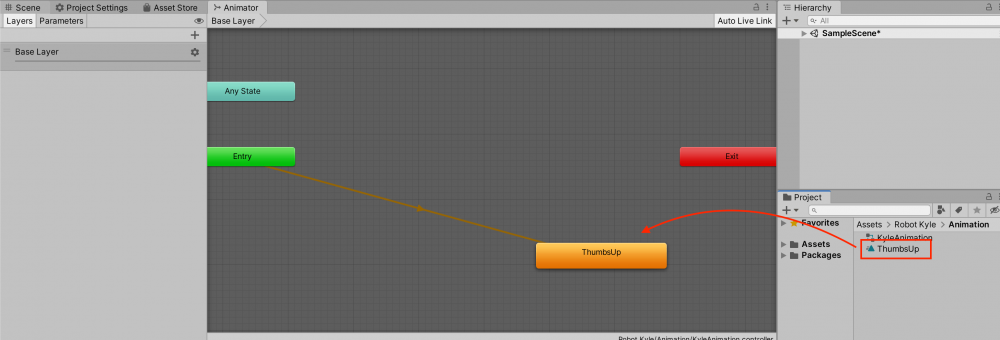
Add animation to Animator
After that, let’s drag and drop KyleAnimation to the Controller of Robot Kyle’s Animator component and set it up.
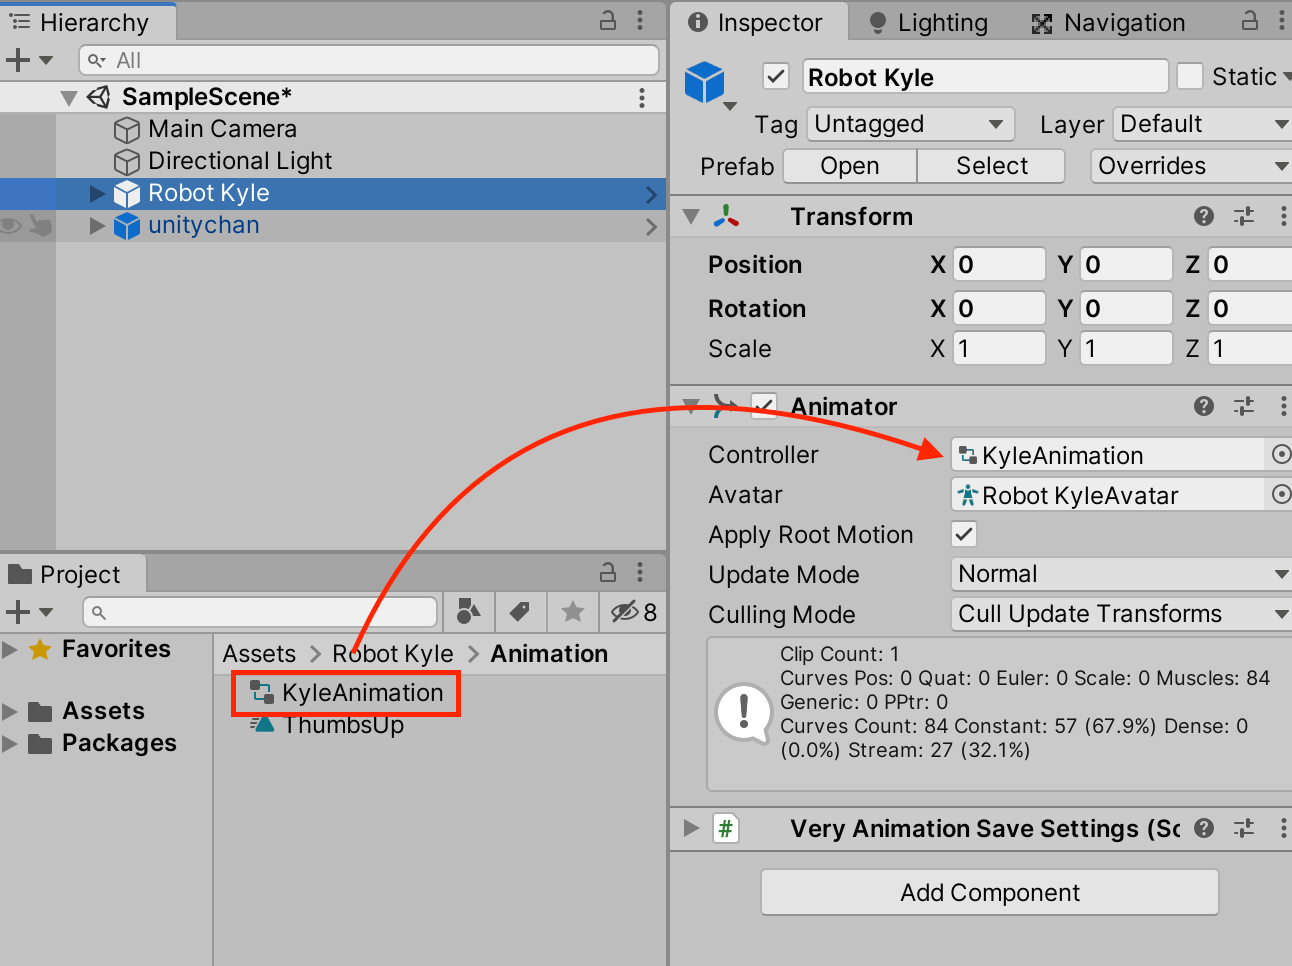
Setting up an animator on a model
Open the Very Animation window
Next, let’s open the Very Animation window.
Select Window > Very Animation > Main from the menu at the top of Unity.
When the VeryAnimation window is in the following state, you will be able to edit the animation.
- A model that can be animated (either the Animator or a model that has an Animation Clip component) is selected in the Hierarchy.
- The Animation window is visible.
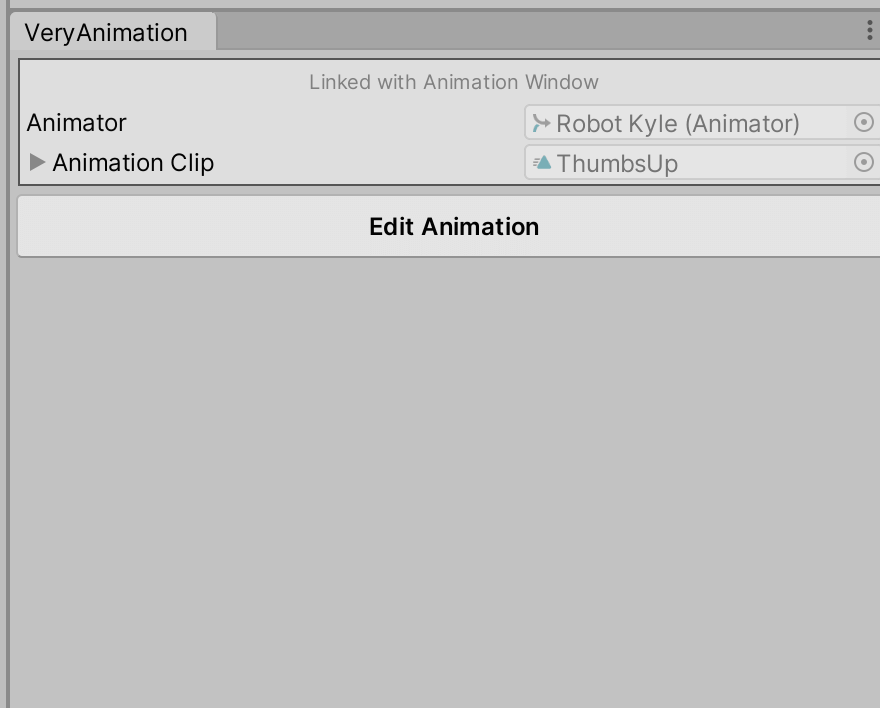
VeryAnimatin’s main window
Now let’s open the Edit tab by pressing Edit Animation. We will use the following three to edit
- VeryAnimation
- VA Editor
- VA Control
In the Setting section of the VeryAnimation tab, you can select the language from English or Japanese.
Changing the initial state to a standing pose
First, let’s change the pose from the initial state to a standing state.
Go to VA Editor > Pose > T-pose and set the character to T-pose.

Changing the initial state to T-pose
You may then see a warning like this in the VeryAnimation tab.
If you see this warning, you can resolve it by opening the ThumbsUp animation from the Inspector and setting Based Upon to Original and the Offset value to 0.

Warning text displayed
You can change the pose by rotating the shoulder joint (the round part).

You can edit the pose by rotating the joint.
You can also change the pose by adjusting the parameters in the VeryAnimation window.
Take advantage of this to create a standing pose for your character.
Can also be edited from the window
As it is now, the default animation is attached, so we will remove the second keyframe in the Animation tab to make it stationary.

Remove the default keyframe
Now we can set the initial state to standing pose.
Creating a Standing Pose
Creating the actual animation
Now, let’s create the thumbs-up animation.
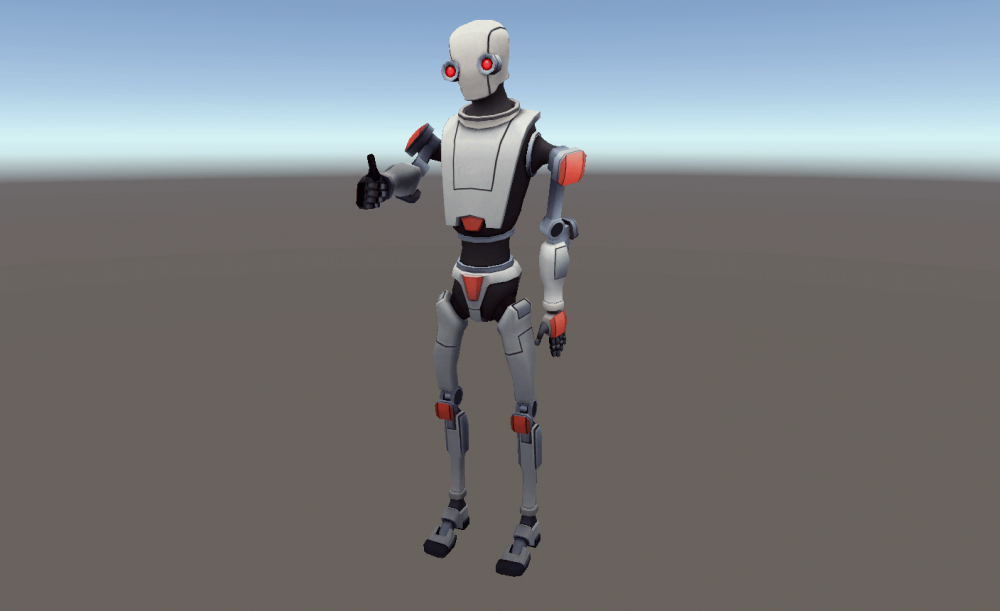
Thumbs up animation
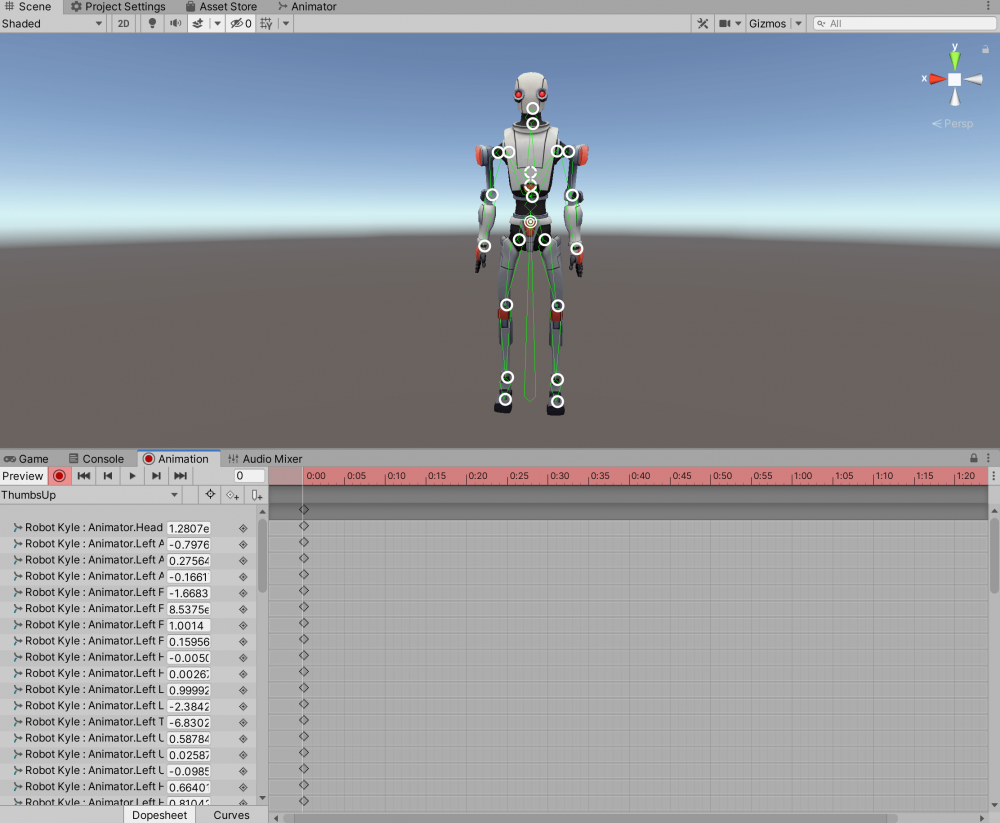
Set the slider in the Animation tab to 1:30.
Set the positions of the shoulders, arms, and hands to create a thumbs-up pose.
When editing finger joints, you can access the finger joints from VA Control > RightHands(LeftHands).
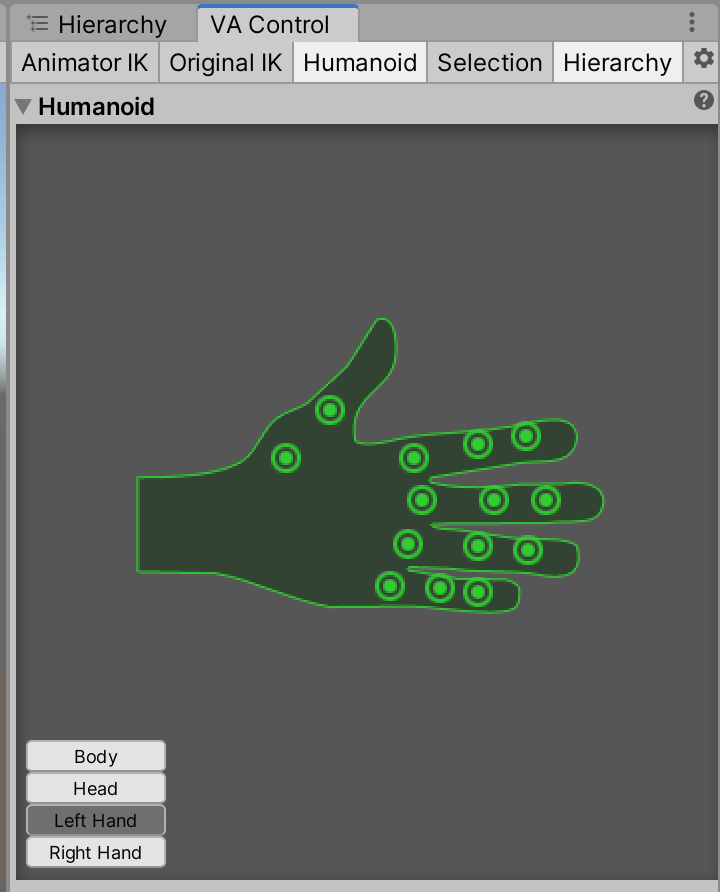
Editing finger joints
This is where you can show off your skills.
Try to move various parts of the finger so that the pose is natural.
Try it with other models
The animations created with VeryAnimation can be used on other models as well.
Let’s try playing the thumbs-up animation with Unity-chan.
The model of Unity-chan is created with the imported asset
Unity-chan! > Unity-chan! Model > Art > Models folder.
Thumbs up with Unity-chan
Create a new AnimatorController and name it “UnityChanAnimation”.
Add a ThumbsUp to the Animator and attach the AnimatorController to Unity-chan.
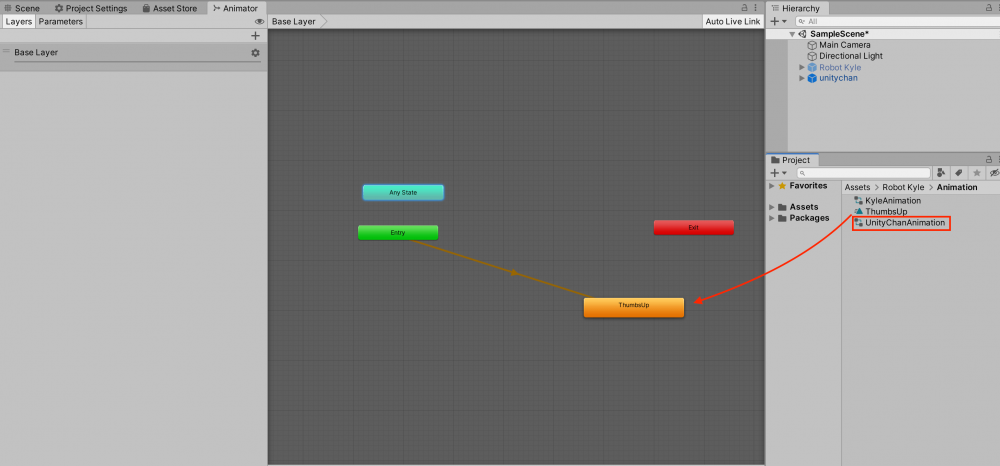
Create an animator for Unity-chan
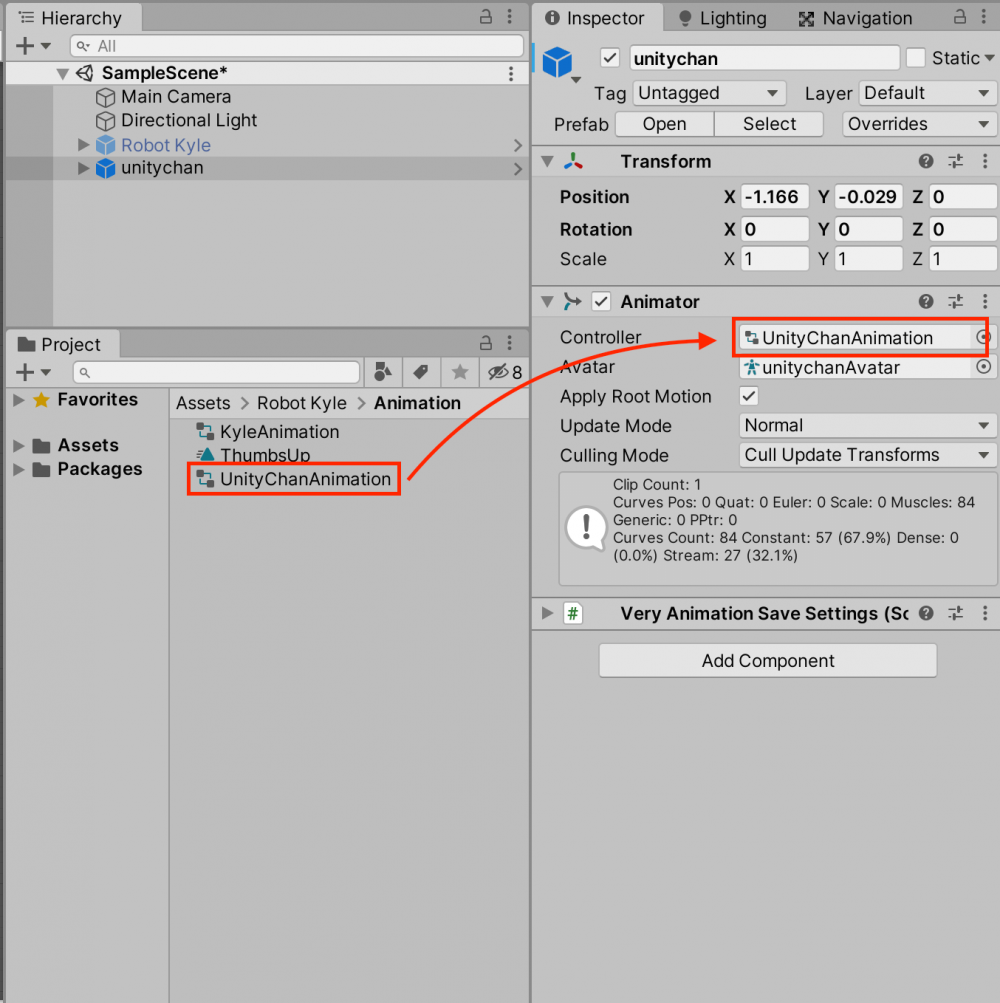
Attaching to Unity-chan
Let’s play Unity.
You can see that the animation we just created has been applied to Unity-chan.
You can reuse the animation.
How to upload to STYLY
Let’s upload your 3D model to STYLY.
Create a STYLY account
How to create an account

How to upload 3D model to STYLY

How to upload from Unity to STYLY

In this article, I showed you how to create your own original animations using the VeryAnimation asset.
It is easy and intuitive to use, and you can complete the creation of the animation within Unity.
You can also edit existing animations with VeryAnimation, although I didn’t introduce it in this article.
It’s also useful when you want to make small changes to your animations, so please try it!