This section explains how to use the visionOS simulator in Xcode, targeting Apple Silicon-based Macs (M1/M2/M3), requiring macOS 14 or higher.
Required Environment
- Xcode (if you want to use visionOS simulator)
- Xcode 15.3 or later
- Mac with Apple Silicon (M1/M2/M3)
- macOS: version 14 or higher
How to check macOS chip/OS version for Xcode
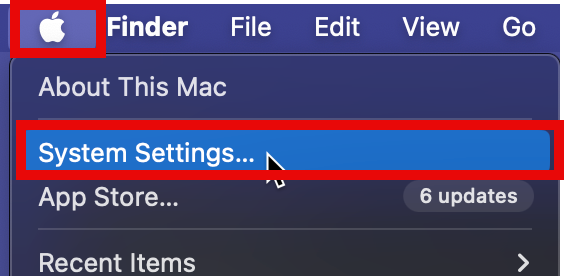
Select Apple icon > System Settings
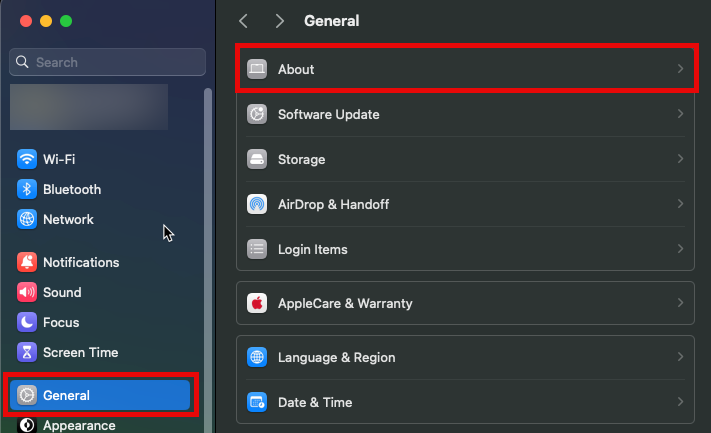
Select General > Info.
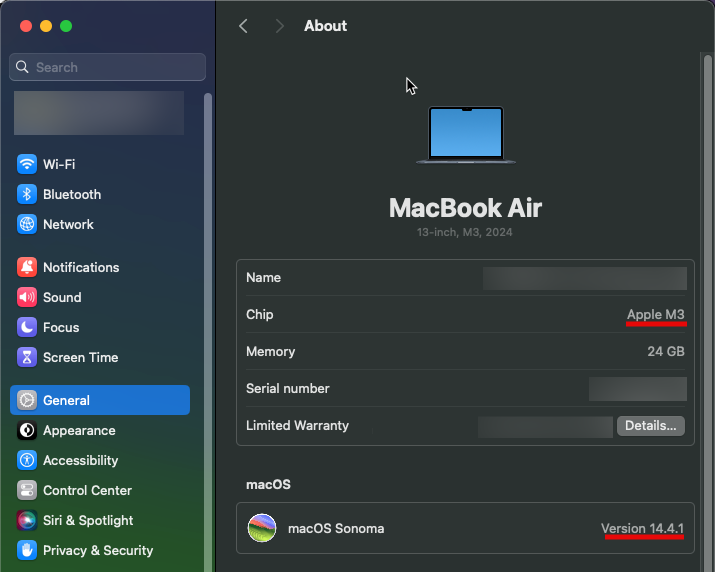
Confirm that the chip is Apple M1/M2/M3 and macOS version is 14 or higher.
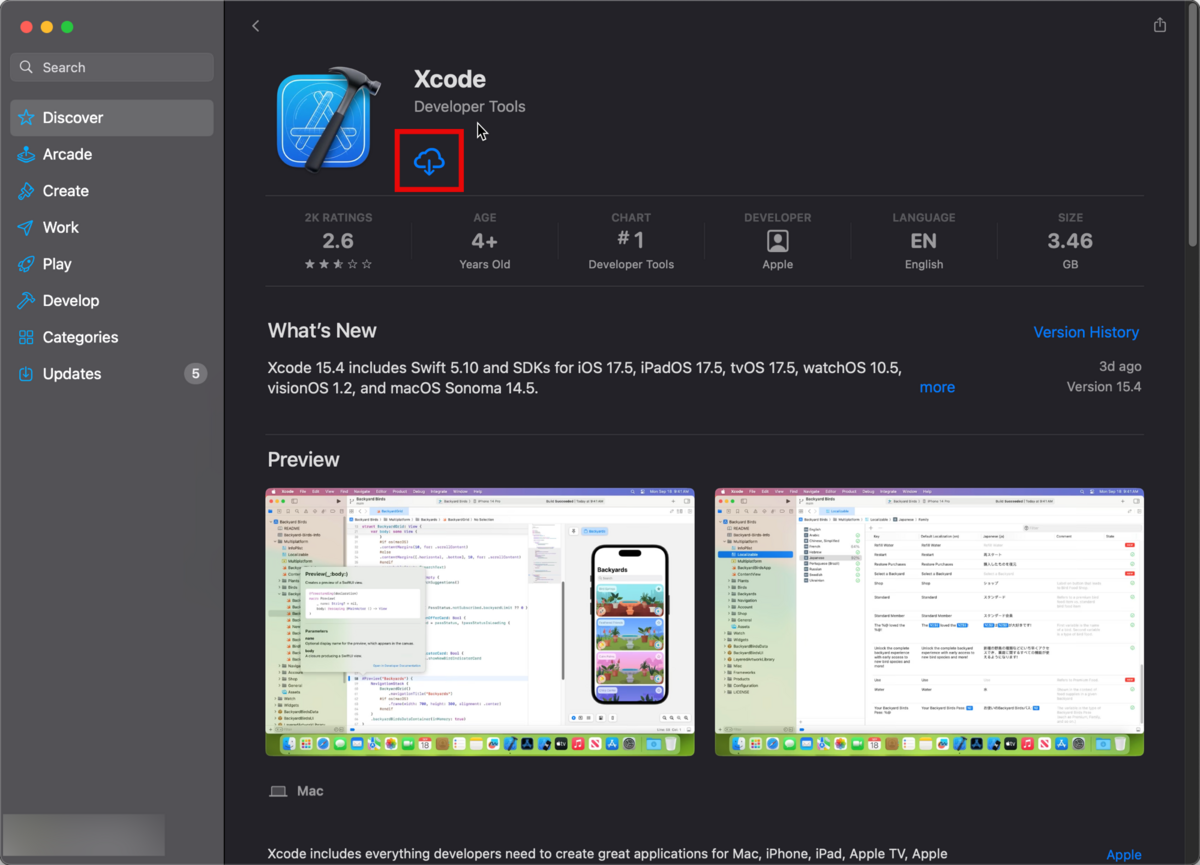
Install Xcode
Please install from Xcode.
Launch Xcode visionOS simulator
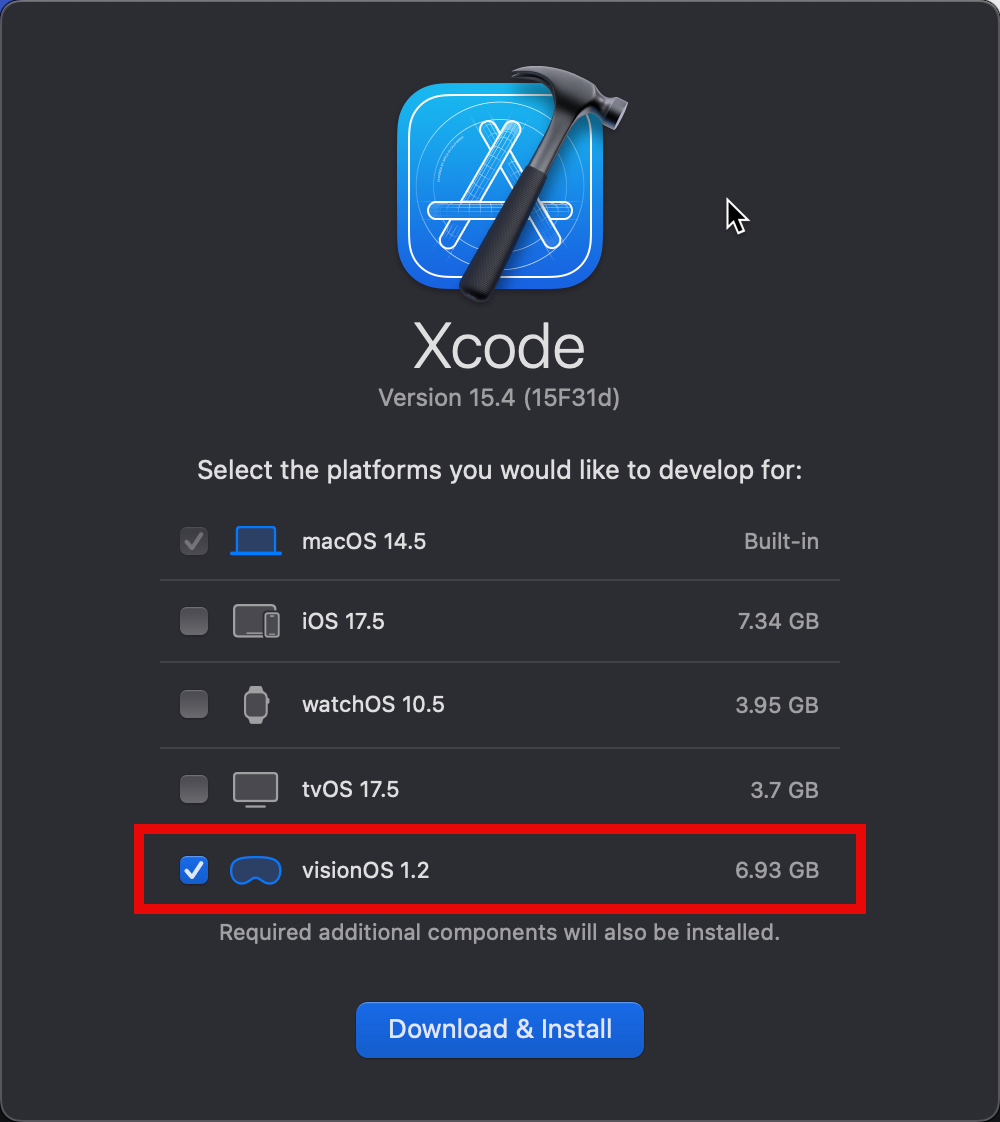
Launch Xcode.
On the Select the platforms you would like to develop for screen, check visionOS and click the Download&Install button.
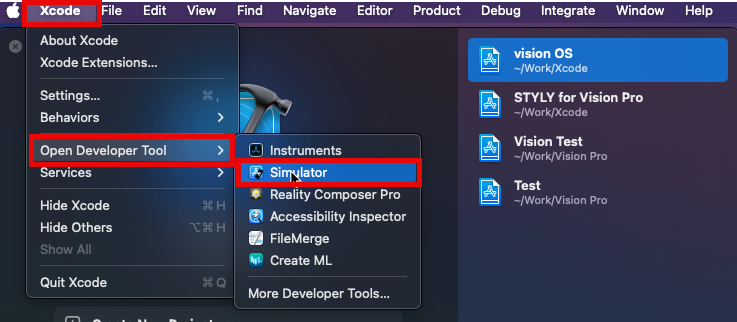
Launch the Xcode visionOS simulator from Xcode > Open Developer Tool > Simulator.
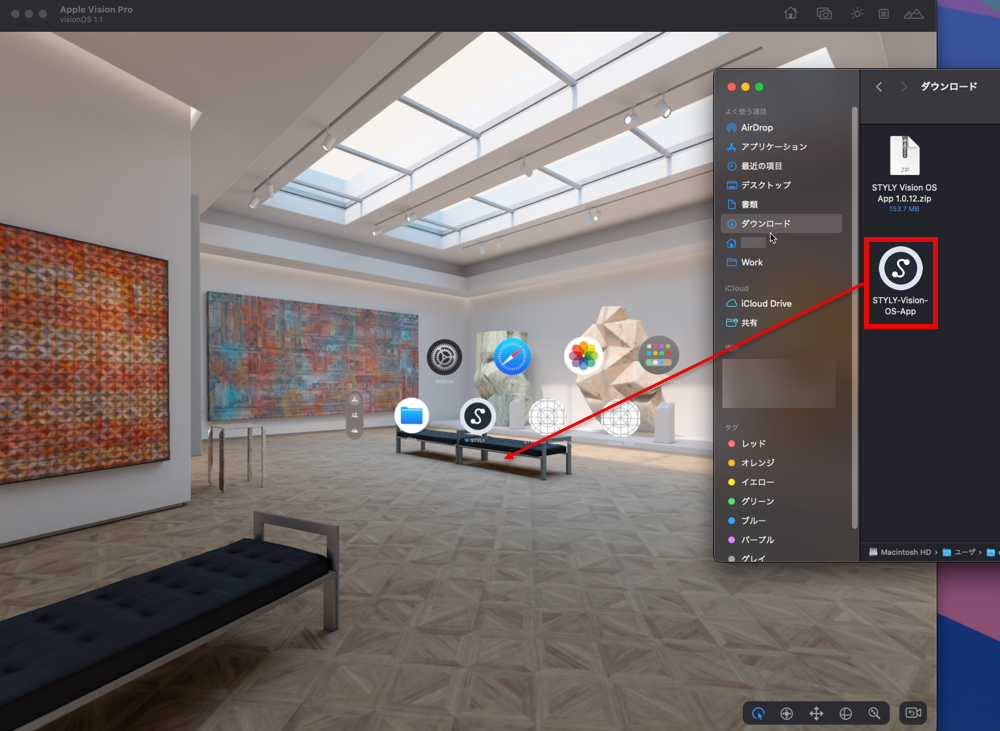
Install STYLY for Vision Pro in Xcode visionOS simulator
Download the STYLY app (for Vision OS simulator) STYLY-Vision-OS-App.zip, unzip the zip file and drag & drop the STYLY-Vision-OS-App into the Simulator to install.
Check the contents on Xcode visionOS simulator
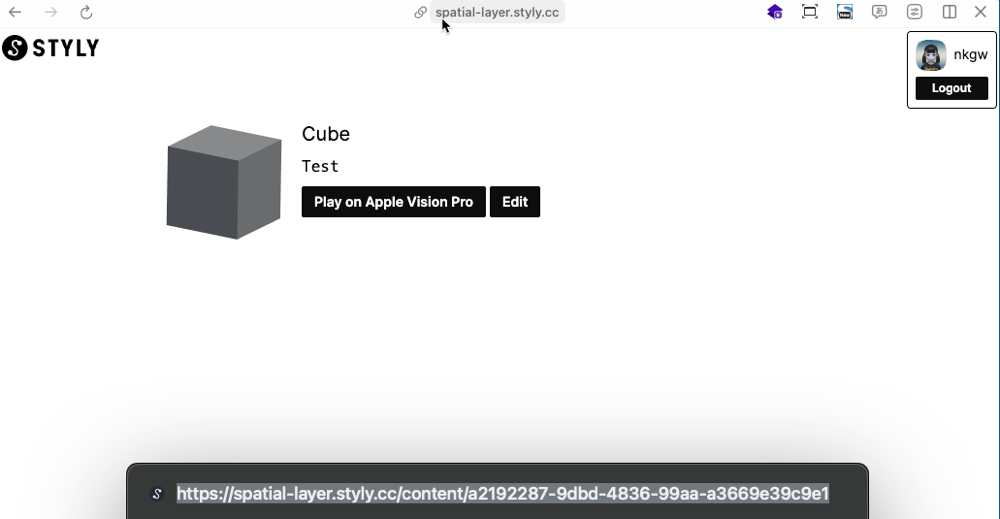
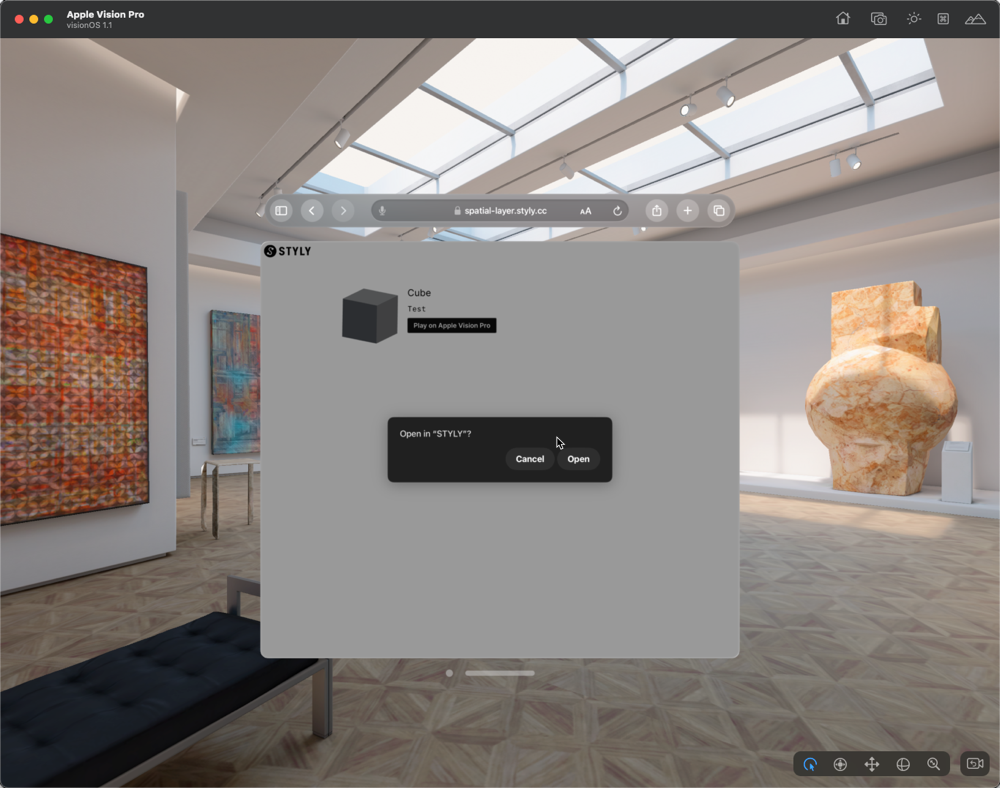
Copy the URL of the site that appears after uploading the STYLY file.
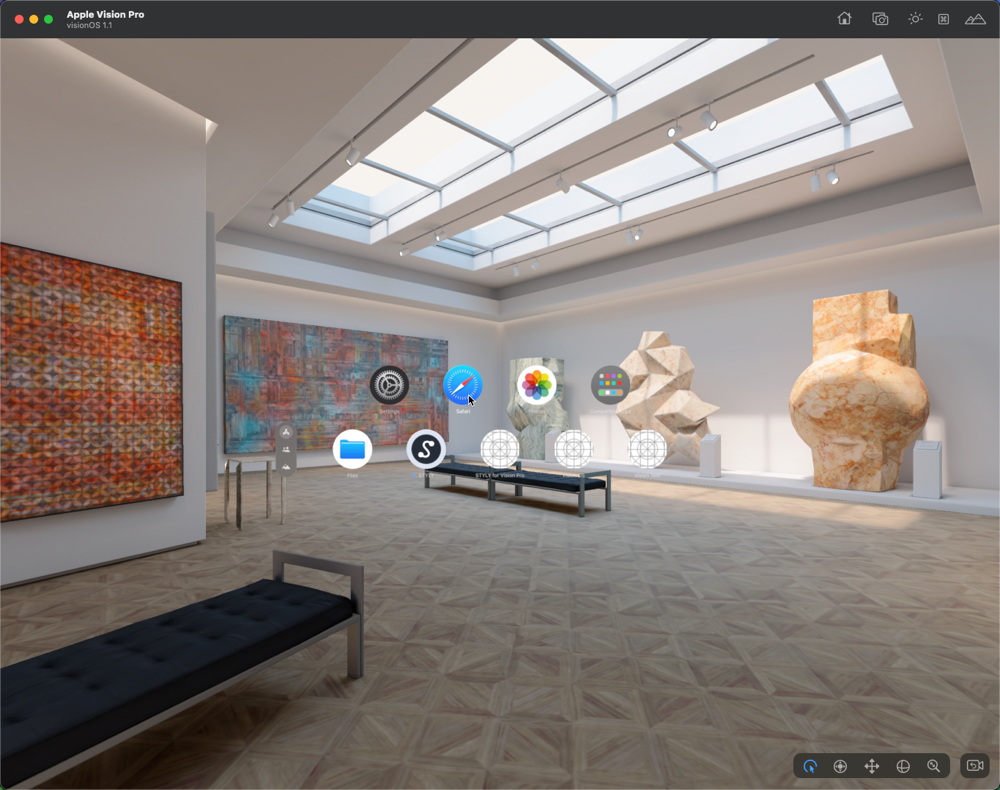
Click Safari on the Simulator.
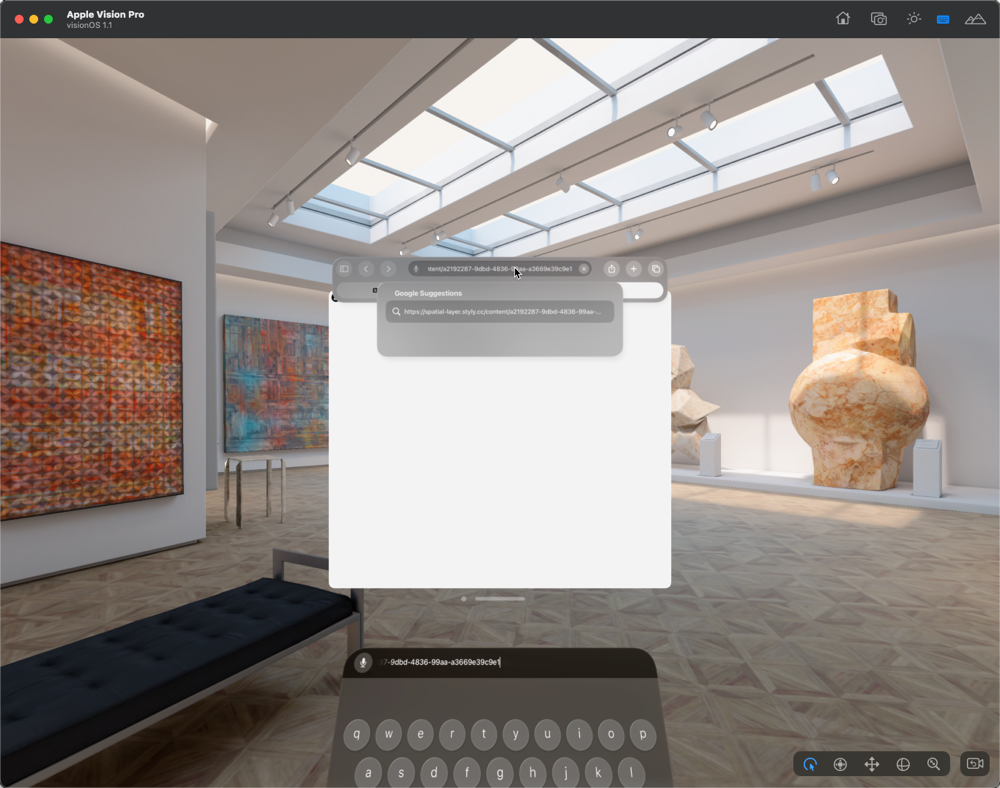
Paste the copied URL into the search form field of Safari.
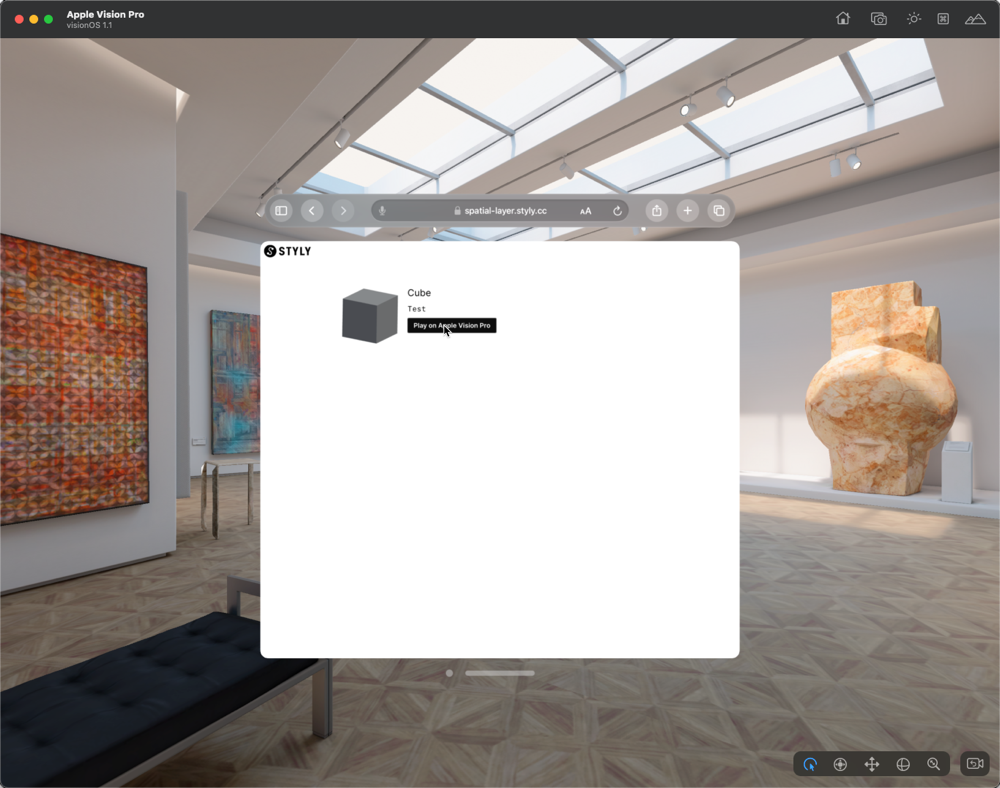
Click the Play on Apple Vision Pro button.
Click Open.
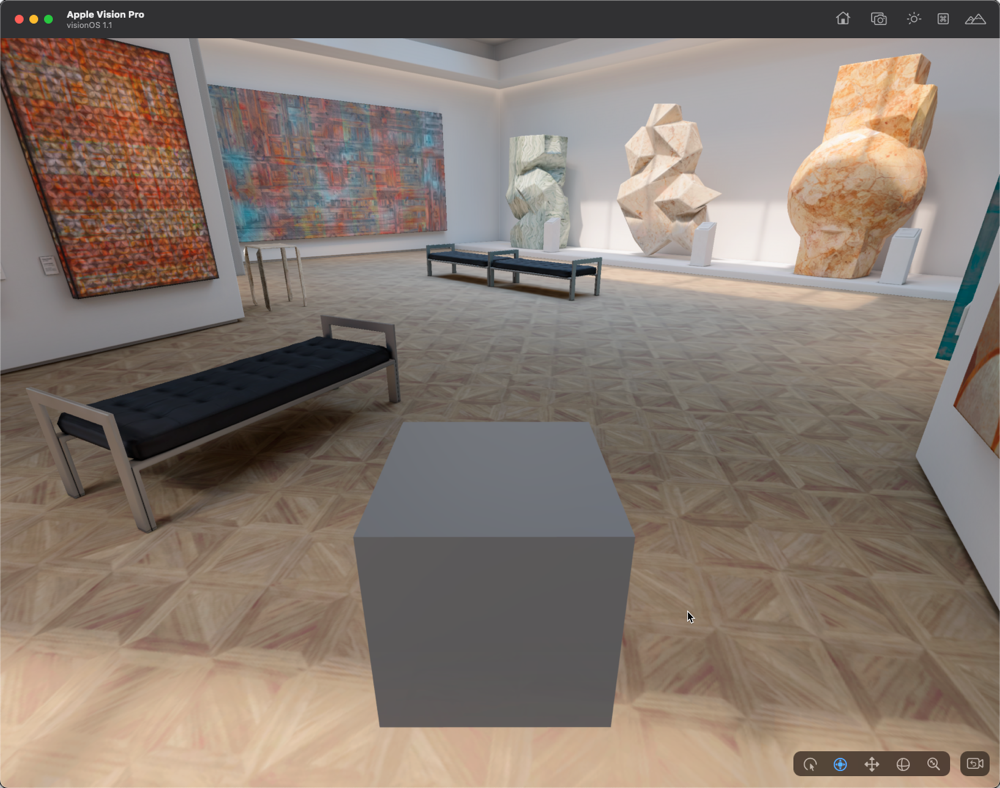
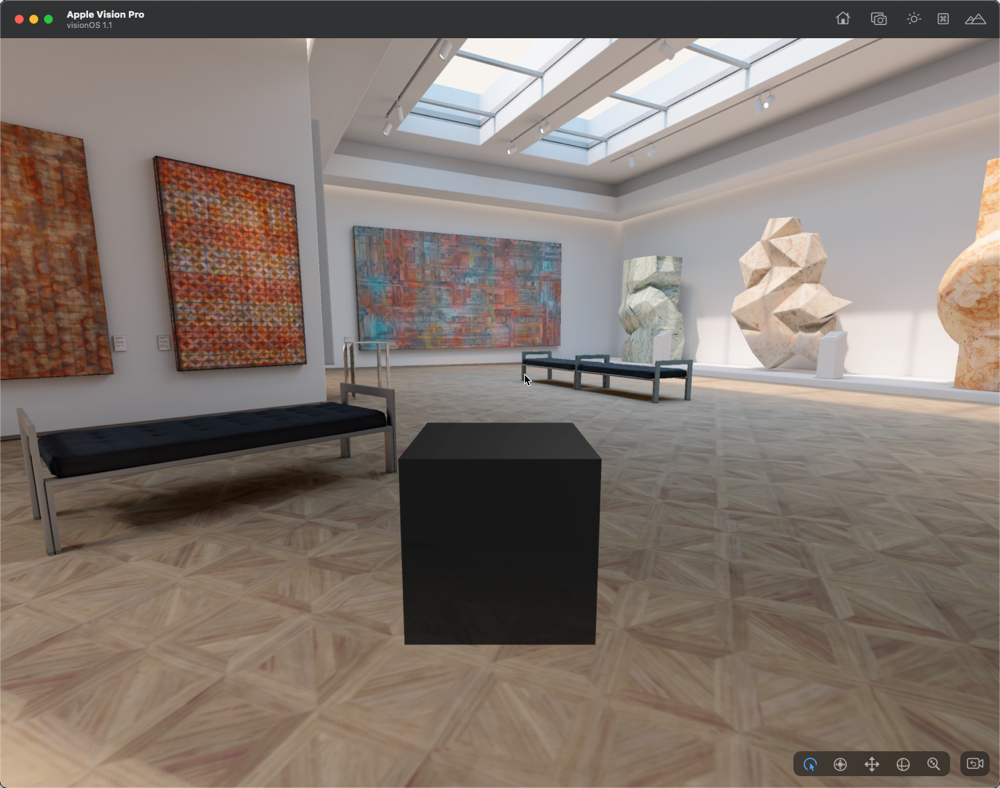
Lighting effects may not be properly reflected.
Switch scenes in Simulated Scenes.
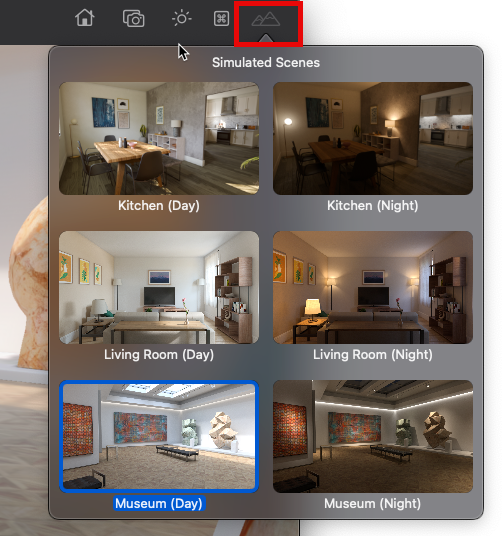
Lighting is now properly reflected.