In this
article, we will show you how to reduce texture size using XnConvert
, a software program that
converts multiple image files into a single
format.
What is XnConvert
?
XnConvert is a software program that converts multiple image files into a single format.
It
allows various image adjustments such as resizing, rotating, cropping, adding text and watermarks.
Click here for the official website.
How to Download XnConvert
For
Mac users, please download here.
For
Windows users, please access here and click “Setup Win 32bit” or “Setup Win 64bit” in the image below to download.
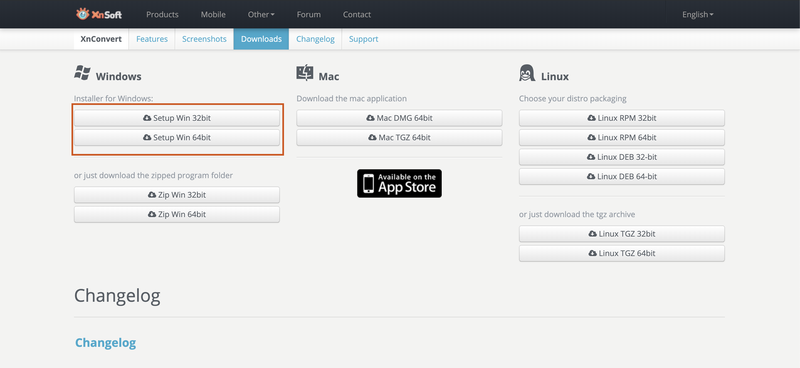
Installing the Windows version
Why reduce texture size
? Because the
behavior of your work depends on the size of the image used as the texture.
The
larger the texture size, the slower it loads and the choppier the movement.
It
also reduces memory consumption and overall application space.
Why use XnConvert
When
reducing texture size, you will be reducing the size of a large number of images.
It is
difficult to do it steadily one by one so we will use XnConvert which can convert image sizes in bulk.
How to use XnConvert
Here is how
to actually use XnConvert.
We will show you how to use it while reducing the size of three jpg files in bulk.
Add the images you wish to convert
Open XnConvert.
In the “File” tab
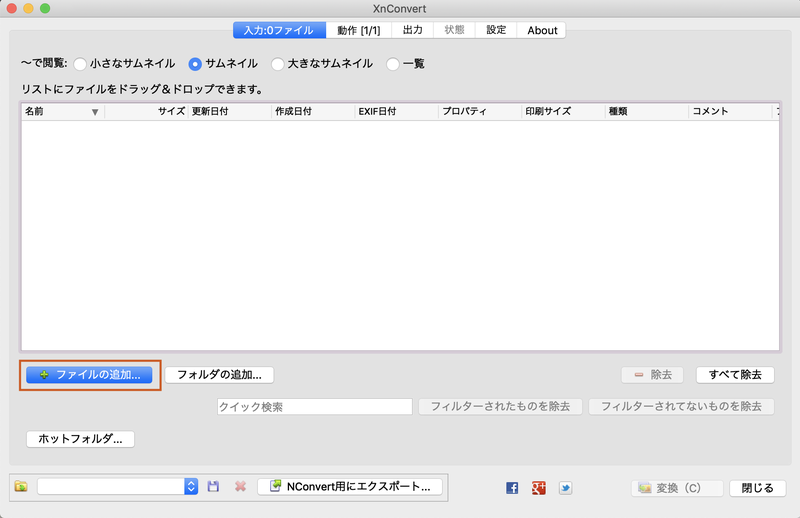 Click Add Files[/caption]
“test1.png”, “test2.png” and “test3.png” are added
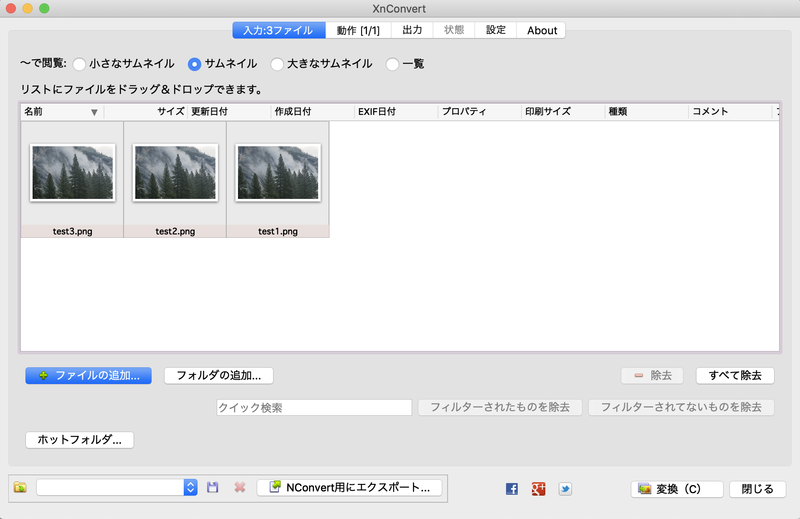
The file is added
Add the process you want to run
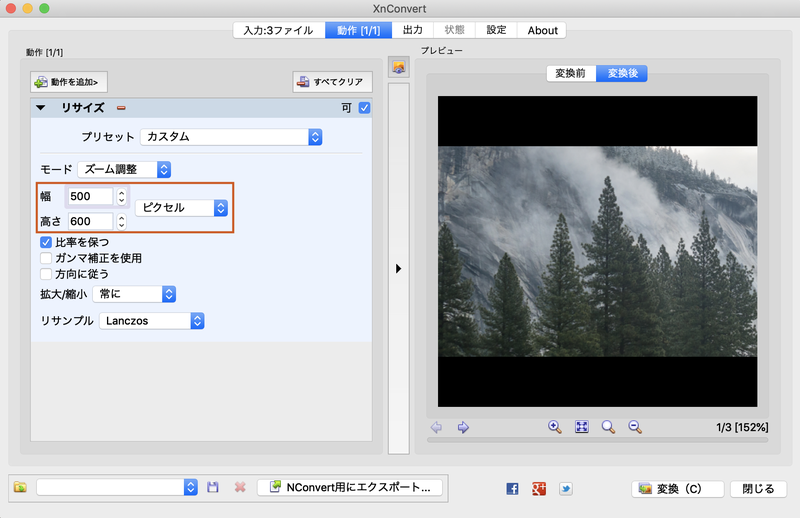
Next, we will add the process we want to run in the “Behavior” tab.
Here we want to resize the image, so we select “Resize”.
We want to resize the image keeping the ratio at 500px width, so we set the values as shown in the image below
.
Next, on the “Output” tab, enter the destination information for the resized image.
Click the
“…” button and select the folder to which you want to output the resized image.

Set the output destination
Next, enter the name of the resized image.
Set it where it says “filename” as shown in the image below
.
Here it is “{Filename}_result”, so “test1.png” will be converted to “test1_result.png” and so on.
After completing the settings, press the “Convert” button.
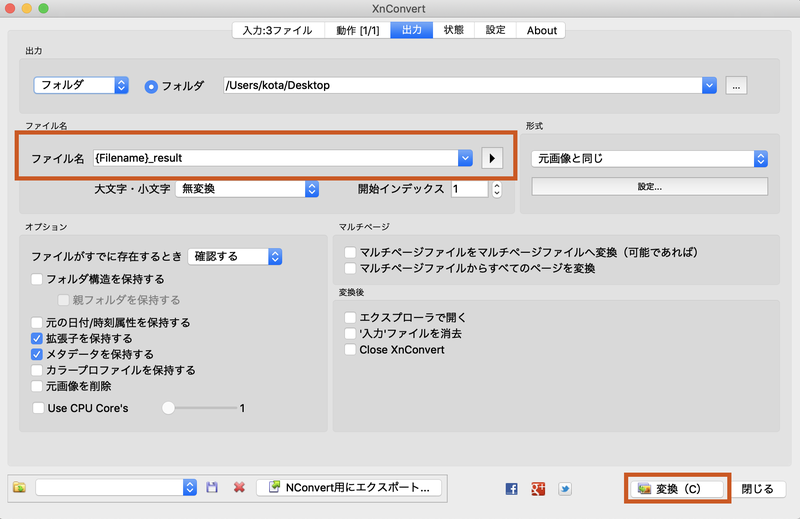
Set the file name after output
After pressing the “Convert” button, you will be taken to the “Status” tab.
If the screen looks like this image, the resizing is complete
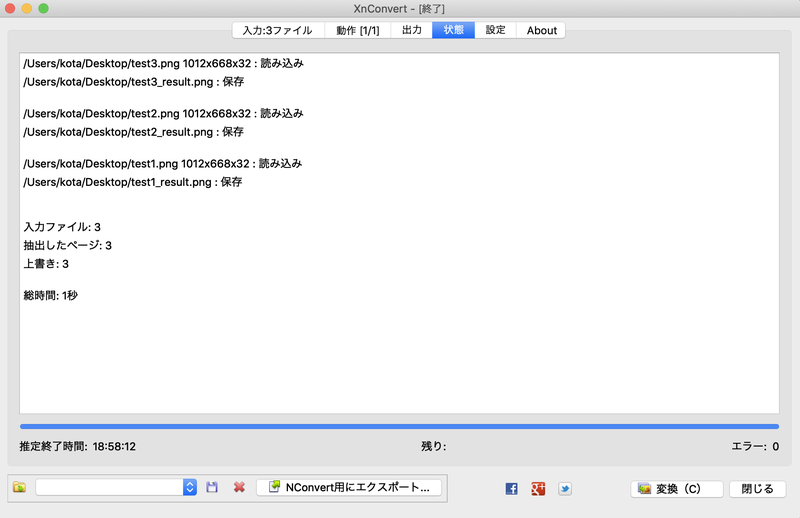
Completion screen
If you look at the folder you set as the output destination, you can see that the image has been resized well

Checking the image after output
In
this article, we have shown you how to download XnConvert and how to use it
. We
hope you will use this software to make your work of reducing texture size more comfortable
!