こんにちは!SensitiveCubeです!
このチュートリアルでは、様々なパターンの岩の作成方法を案内します。パート1ではCinema4D R20のボリュームモデリングの基礎を解説します。パート2では、Substance Painterの基礎を解説します。
![Screenshot (258) - STYLY Rocks Tutorial : sensitiveCube](https://styly.cc/wp-content/uploads/2018/10/Screenshot-258.png)
Substance Painterを使ったテクスチャ作成 1
Cinema4Dを使ってUVマップを作成
エクスポートの準備をします。今回はLowMeshとHighMeshの2パターンのオブジェクトを使用します。
LowMesh : こちらはUnityとSTYLYで利用します。Polygon Reductionをオンにし、UVマップの作成が必要です。
HighMesh : こちらはテクスチャづくりのためにのみ使用します。Polygon Reductionをオフにし、UVマップも必要ありません。.
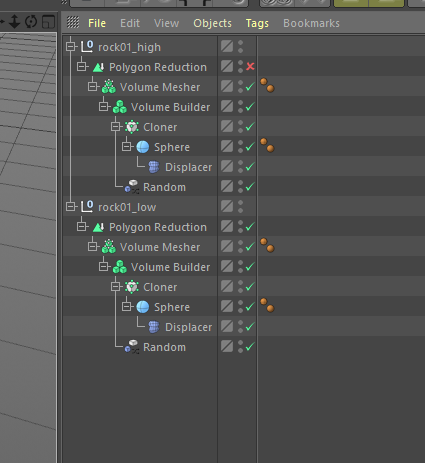
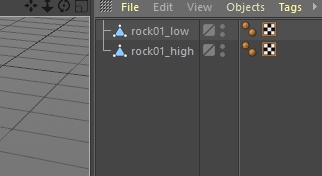
まず、岩のセットをコピーし、名前を “rock01_low” と “rock01_high” に変更してください。
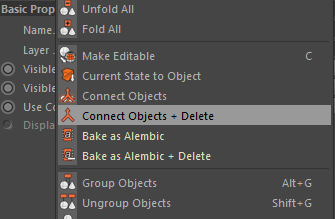
次に、rock01_high の Polygon Reduction をオフにし、セット内のすべてのオブジェクトを選択してください。Objectパネル内で左クリックし、”Connect object and delete”を選択します。
![Screenshot (151) - STYLY Rocks : tutorial 2. texturing with substance painter](https://styly.cc/wp-content/uploads/2018/10/Screenshot-151.png)
Substance Painterを使ったテクスチャ作成 2
![Screenshot (152) - STYLY Rocks : tutorial 2. texturing with substance painter](https://styly.cc/wp-content/uploads/2018/10/Screenshot-152.png)
Substance Painterを使ったテクスチャ作成 3
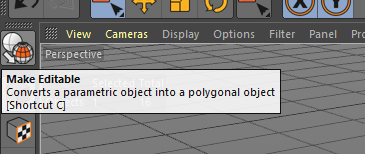
そして、rock01_low の Polygon Reductionを開き、Cキーを二回押下して編集可能な状態に変更してください。セット内のすべてのオブジェクトを選択してください。Objectパネル内で左クリックし、”Connect object and delete”を選択します。
![Screenshot (153) - STYLY Rocks : tutorial 2. texturing with substance painter](https://styly.cc/wp-content/uploads/2018/10/Screenshot-153.png)
Substance Painterを使ったテクスチャ作成 4
![Screenshot (150) - STYLY Rocks : tutorial 2. texturing with substance painter](https://styly.cc/wp-content/uploads/2018/10/Screenshot-150.png)
Substance Painterを使ったテクスチャ作成 5
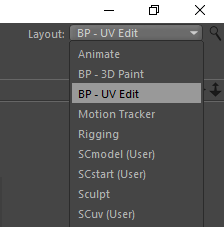
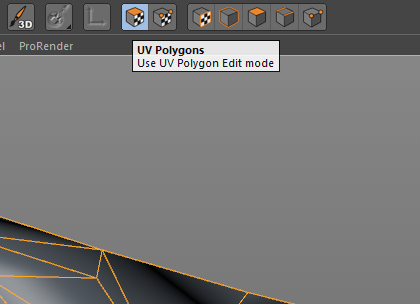
次に、rock01_low を選択したままレイアウトを “BP – UV Edit”に変更してください。. ”UV polygons”アイコンをクリックし、CtrlキーとAキーを同時に押下してください。UV Mapping > Optimal Mappingと選択します。Optimal(Angle)をオンにし、Maximum Distortionを最大40くらい、最小2くらいで設定し、Applyをクリックしてください。Modelアイコンをクリックし、スタートアップの通常レイアウトに戻ります。編集した2つのオブジェクトをFBXとしてエクスポートし、モデリングは終了です!
![Screenshot (148) - STYLY Rocks : tutorial 2. texturing with substance painter](https://styly.cc/wp-content/uploads/2018/10/Screenshot-148.png)
Substance Painterを使ったテクスチャ作成 6
![Screenshot (147) - STYLY Rocks : tutorial 2. texturing with substance painter](https://styly.cc/wp-content/uploads/2018/10/Screenshot-147.png)
Substance Painterを使ったテクスチャ作成 7
![Screenshot (146) - STYLY Rocks : tutorial 2. texturing with substance painter](https://styly.cc/wp-content/uploads/2018/10/Screenshot-146.png)
Substance Painterを使ったテクスチャ作成 8
substance painterを利用したテクスチャ作成:ハイポリメッシュからローポリメッシュへベイクする
モデルの準備はできたので、テクスチャの準備をします。今回のチュートリアルではSubstance painterを使用します。
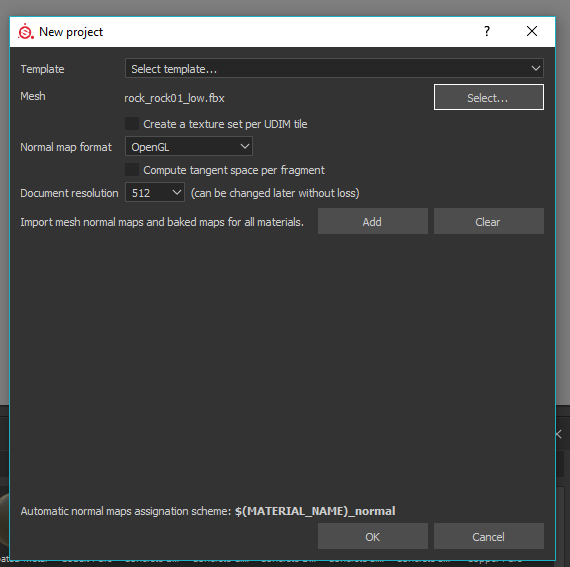
まず、 File > New と選択してください。ウィンドウが開くので、Selectをクリックし”rock01_low.fbx”を選択します。OKをクリックしてください。
![Screenshot (55)- - STYLY Rocks : tutorial 2. texturing with substance painter](https://styly.cc/wp-content/uploads/2018/10/Screenshot-55-.png)
Substance Painterを使ったテクスチャ作成 9
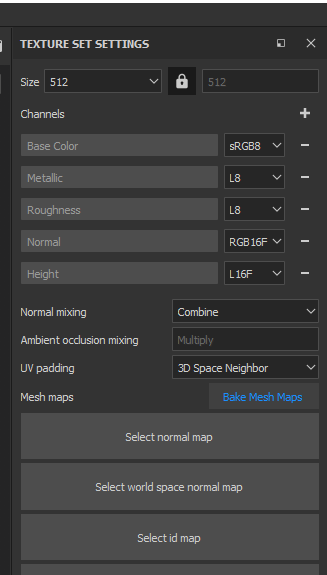
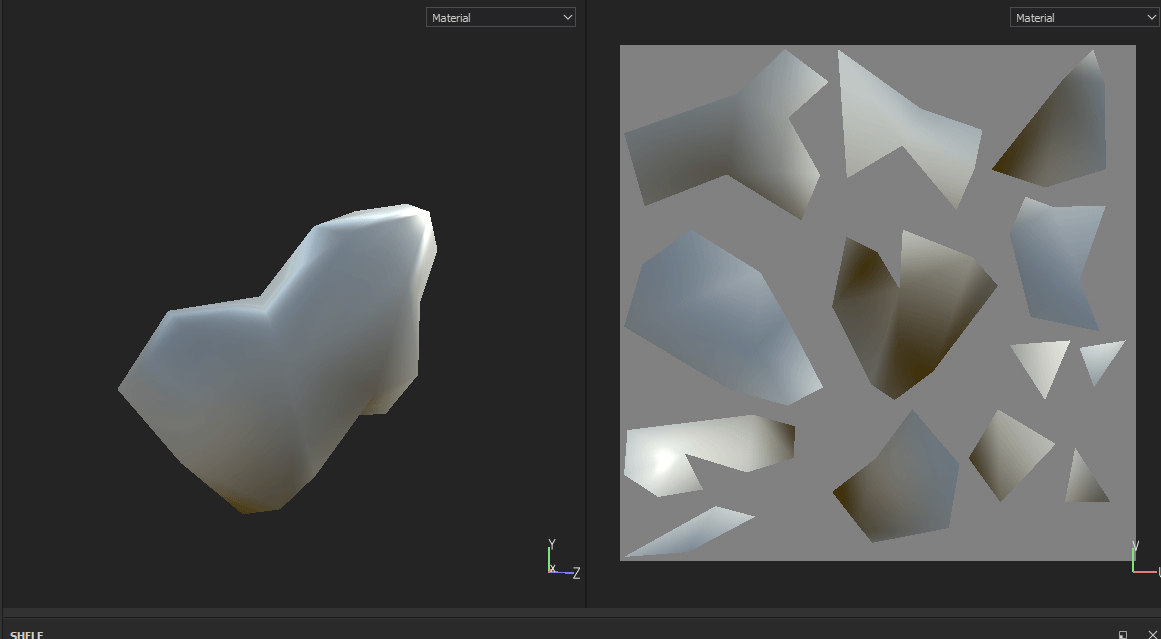
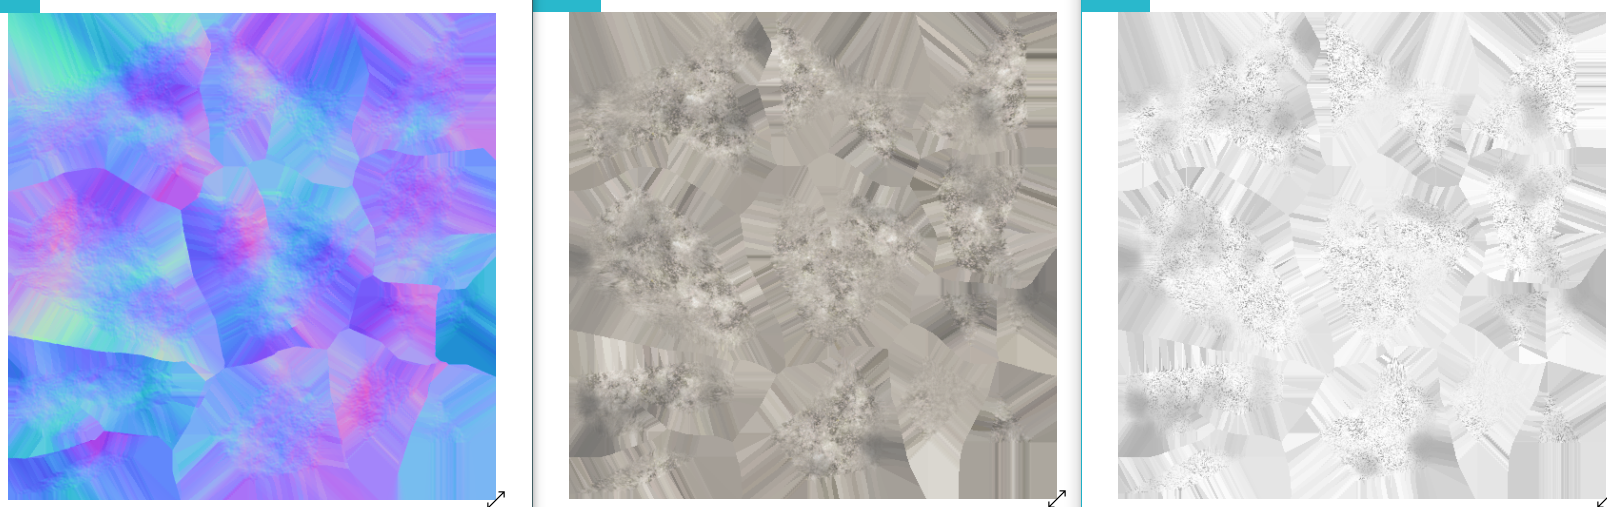
ポリゴンメッシュがロードされます。いくつかディテールを追加しましょう。まず、”rock01_rock01_high”からディテールを追加します。別の言い方をすると、ハイメッシュからローメッシュへノーマルマップをベイクします。Texture Set設定パネルのBake Mesh Mapsボタンをクリックしてください。
![Screenshot (154) - STYLY Rocks : tutorial 2. texturing with substance painter](https://styly.cc/wp-content/uploads/2018/10/Screenshot-154.png)
Substance Painterを使ったテクスチャ作成 1
![Screenshot (64) - STYLY Rocks : tutorial 2. texturing with substance painter](https://styly.cc/wp-content/uploads/2018/10/Screenshot-64.png)
Substance Painterを使ったテクスチャ作成 12
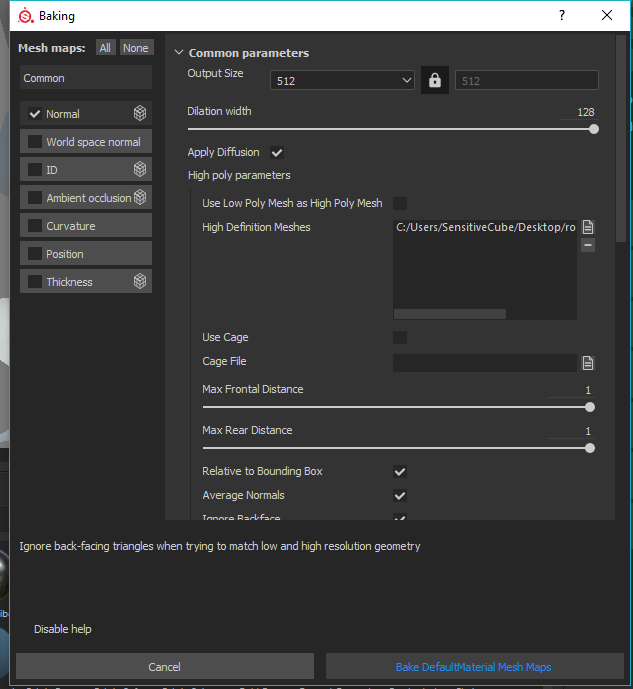
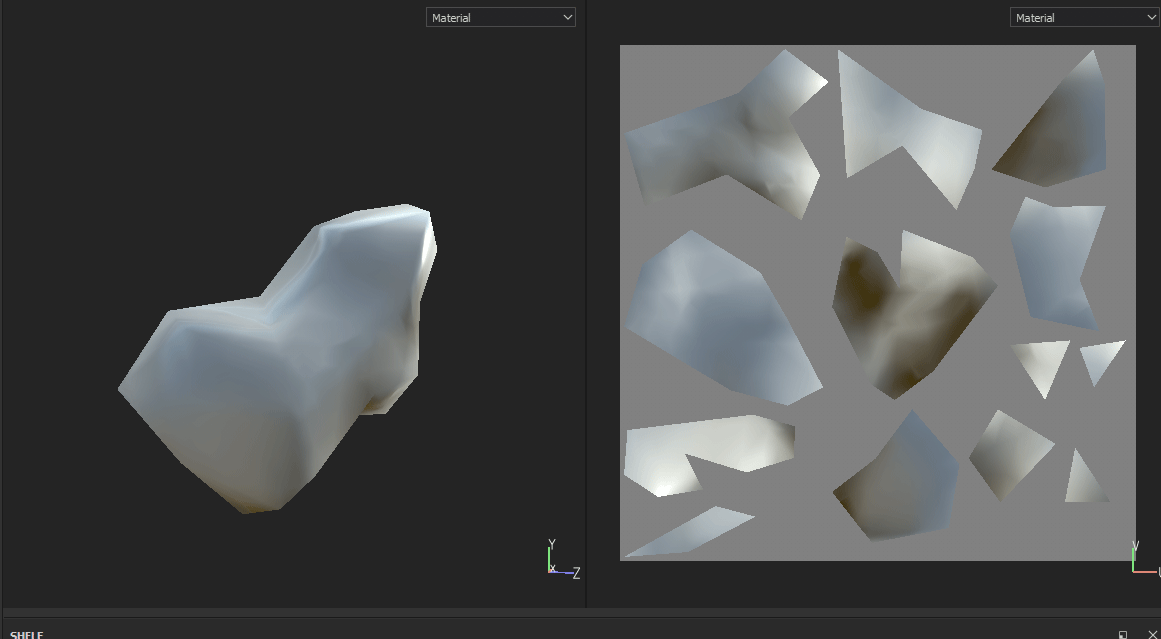
Bakingウィンドウが開きます。ウィンドウの左側の設定を確認し、Normalのみオンにし、他はオフにします。次に右側です。High Definition Meshesへ”rock01_rock01_high”を追加してください。Max Frontal DistanceとMax Rear Distanceを1に設定し、Bake Default Material Mesh Mapsをクリックしてください。これでローメッシュへハイメッシュからディテールが追加されました。
![Screenshot-(112)_0001_Screenshot-(89) - STYLY Rocks : tutorial 2. texturing with substance painter](https://styly.cc/wp-content/uploads/2018/10/Screenshot-112_0001_Screenshot-89.png)
Substance Painterを使ったテクスチャ作成 13
![Screenshot-(112)_0000_Screenshot-(90) - STYLY Rocks : tutorial 2. texturing with substance painter](https://styly.cc/wp-content/uploads/2018/10/Screenshot-112_0000_Screenshot-90.png)
Substance Painterを使ったテクスチャ作成 14
substance painterを利用したテクスチャ作成:3D painting
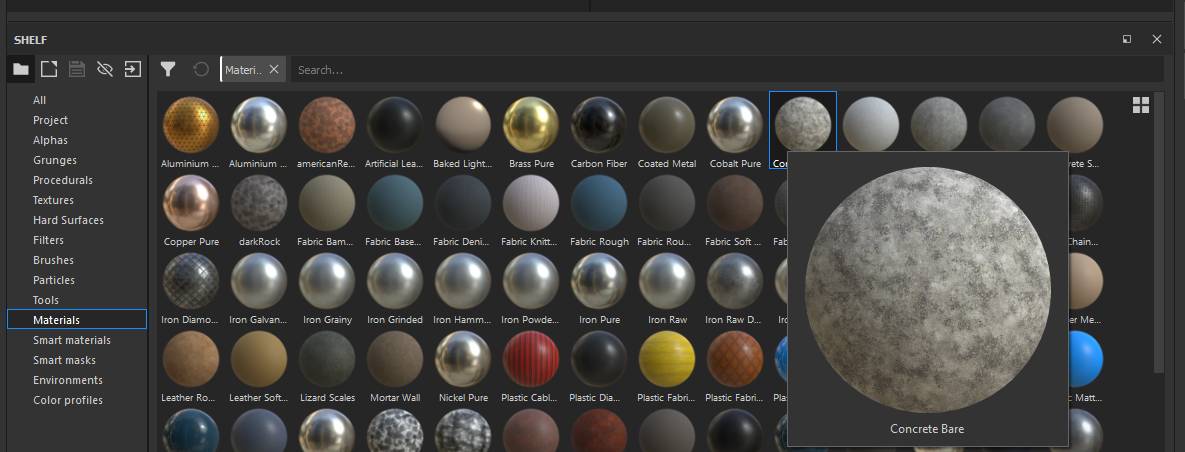
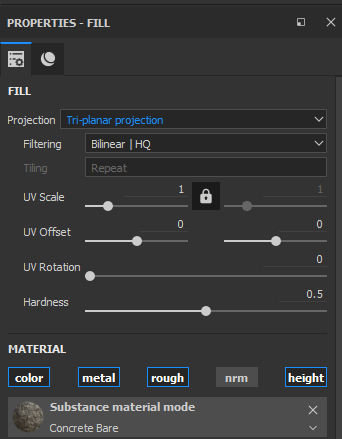
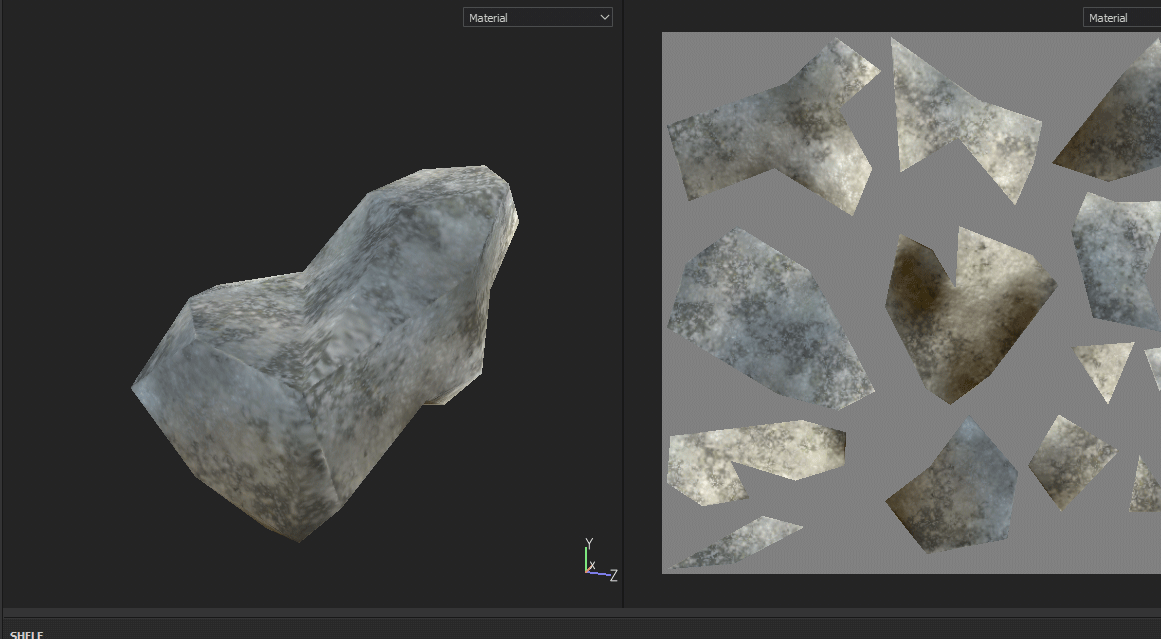
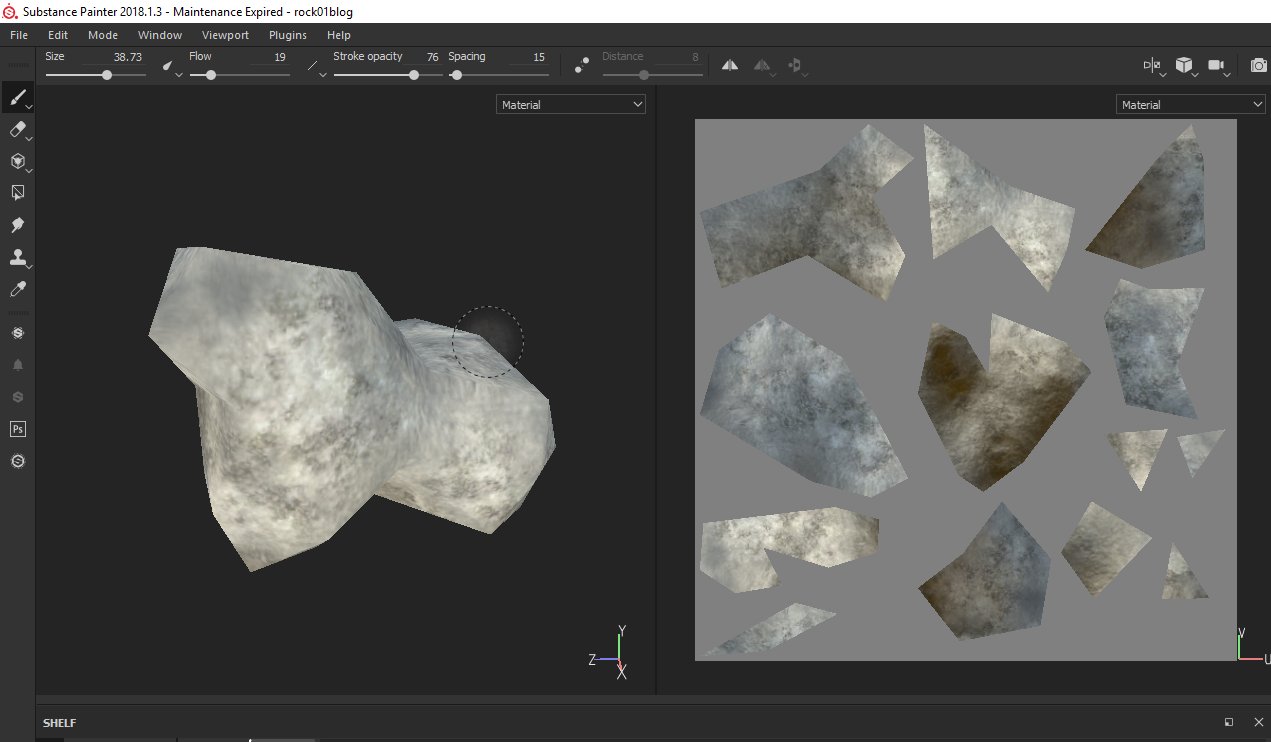
更にディテールを追加します。今度はマテリアルとレイヤーを使用しましょう。メッシュはよくなりましたが、まだ少しクリアすぎます。Shelf > Materialsを選択し、Concrete Bareを選択してください。これをレイヤーへドラッグアンドドロップします。プロパティを開き、Projectionを”Tri-planar projection”に設定してください。これで岩のメッシュがかなり良くなります。
![Screenshot (102) - STYLY](https://styly.cc/wp-content/uploads/2018/10/Screenshot-102.png)
Substance Painterを使ったテクスチャ作成 15
![Screenshot (111) - STYLY Rocks : tutorial 2. texturing with substance painter](https://styly.cc/wp-content/uploads/2018/10/Screenshot-111.png)
Substance Painterを使ったテクスチャ作成 16
![Screenshot-(112)_0003_Screenshot-(110) - STYLY Rocks : tutorial 2. texturing with substance painter](https://styly.cc/wp-content/uploads/2018/10/Screenshot-112_0003_Screenshot-110.png)
Substance Painterを使ったテクスチャ作成 17
![Screenshot-(112)_0004_Screenshot-(111) - STYLY Rocks : tutorial 2. texturing with substance painter](https://styly.cc/wp-content/uploads/2018/10/Screenshot-112_0004_Screenshot-111.png)
Substance Painterを使ったテクスチャ作成 18
![Screenshot (155) - STYLY Rocks : tutorial 2. texturing with substance painter](https://styly.cc/wp-content/uploads/2018/10/Screenshot-155.png)
Substance Painterを使ったテクスチャ作成 19
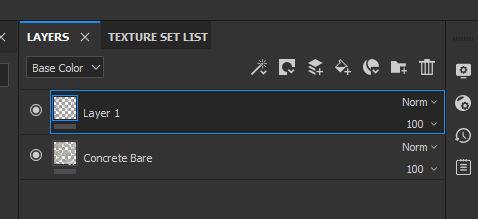
更に少し手を加えましょう。新しいレイヤーを作成し、Brushを選択します。プレビューウィンドウのメッシュをペイントしてください。
![Screenshot (119) - STYLY Rocks : tutorial 2. texturing with substance painter](https://styly.cc/wp-content/uploads/2018/10/Screenshot-119.png)
Substance Painterを使ったテクスチャ作成 20
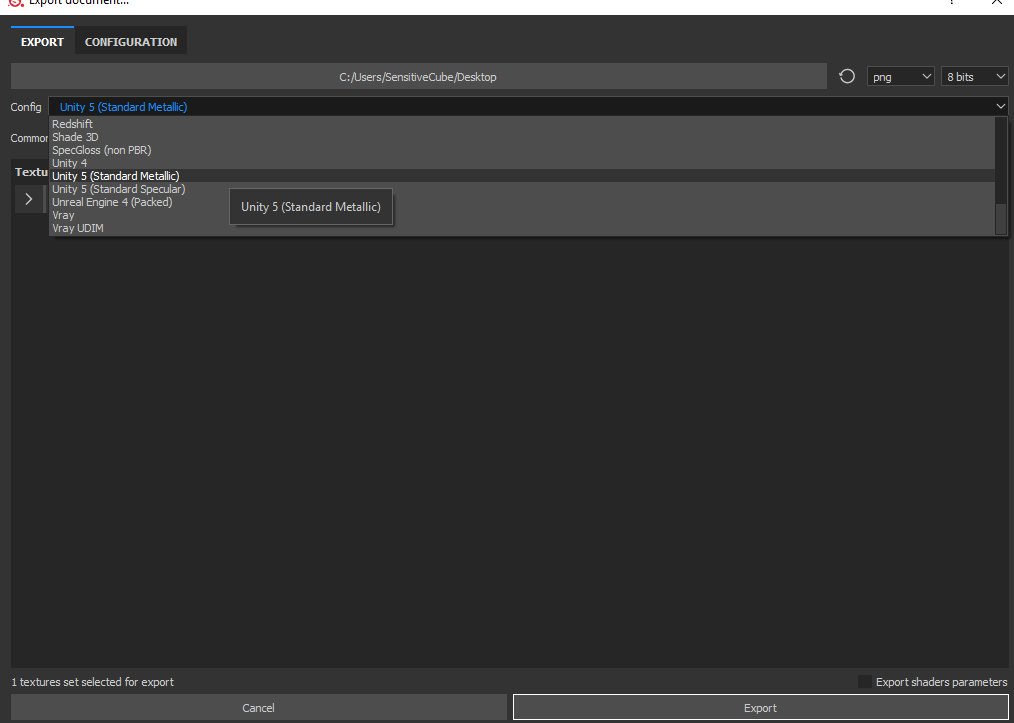
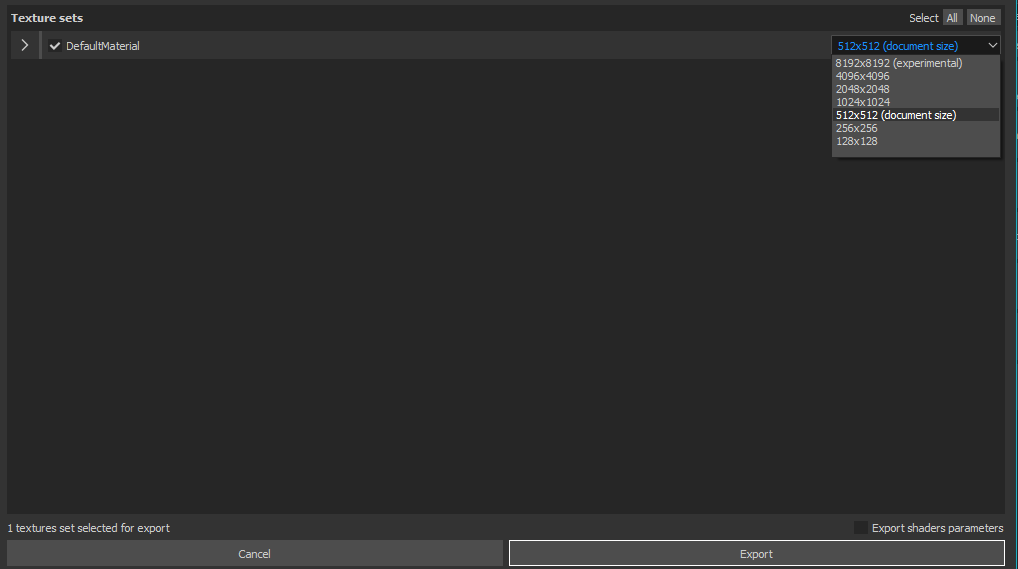
それでは、Substance painterでの最後の操作です。File > Export Texturesを選択します。ConfigをUnity 5(Standard metallic)に設定し、サイズに問題がないことを確認後、Exportをクリックしてください。
![Screenshot (116) - STYLY Rocks : tutorial 2. texturing with substance painter](https://styly.cc/wp-content/uploads/2018/10/Screenshot-116-1.png)
Substance Painterを使ったテクスチャ作成 21
![Screenshot (117) - STYLY Rocks : tutorial 2. texturing with substance painter](https://styly.cc/wp-content/uploads/2018/10/Screenshot-117.png)
Substance Painterを使ったテクスチャ作成 22
![Screenshot (118) - STYLY Rocks : tutorial 2. texturing with substance painter](https://styly.cc/wp-content/uploads/2018/10/Screenshot-118.png)
Substance Painterを使ったテクスチャ作成 23
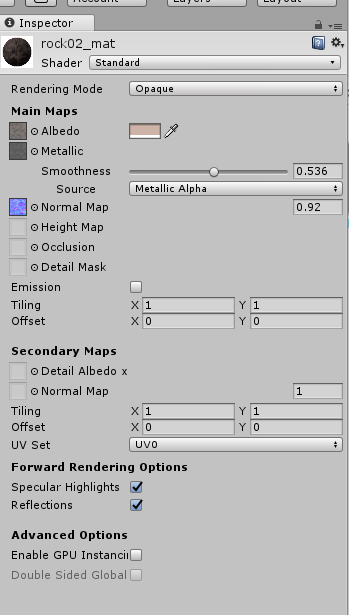
Unityでマテリアルの作成
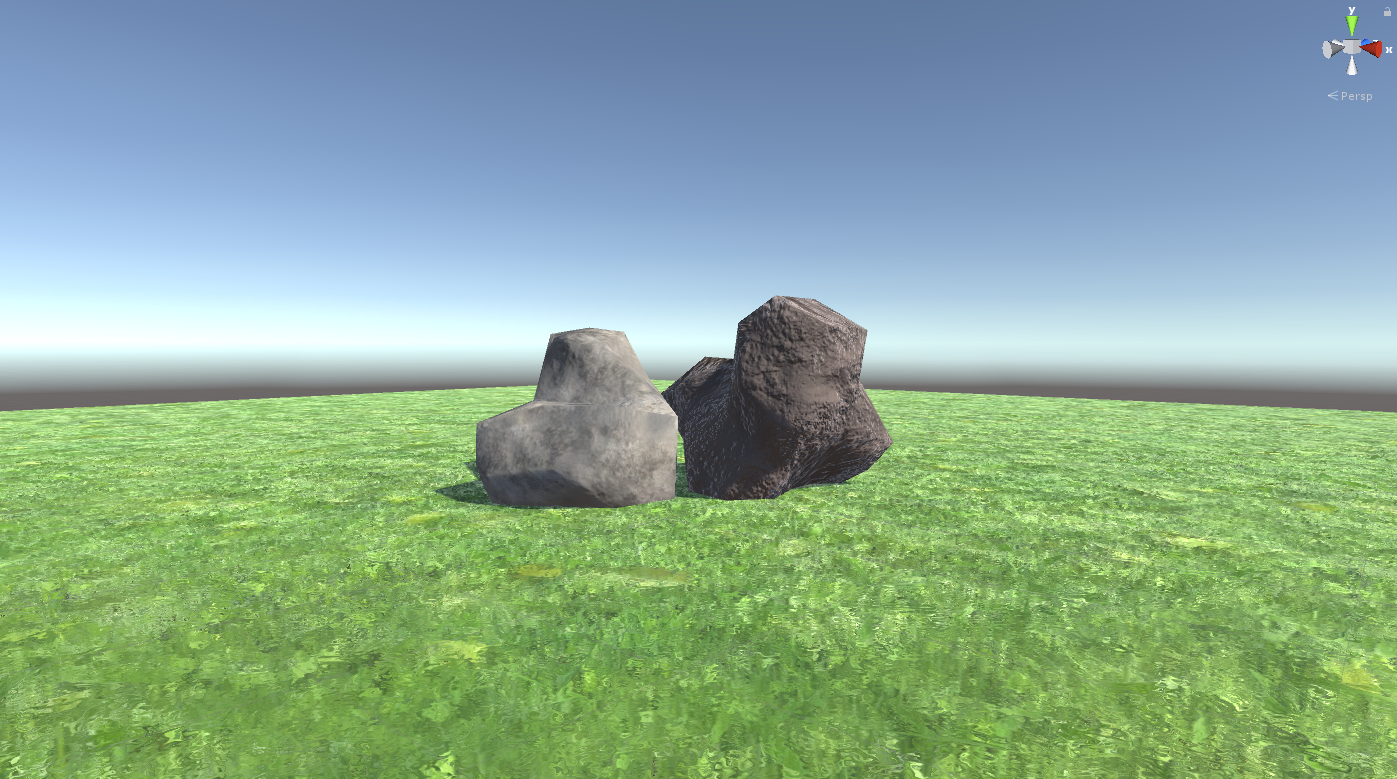
Unityを起動し、Substance PainterからLowmeshのFBXと木のテクスチャをインポートしましょう。今回は、Unityのデフォルトマテリアルを使用しました。シンプルに、マテリアルへテクスチャを追加します。NormalのFixボタンをクリックすることをお忘れなく!気になるところがあれば修正して、完成です!
![Screenshot (146) - STYLY Rocks : tutorial 2. texturing with substance painter](https://styly.cc/wp-content/uploads/2018/10/Screenshot-146-1.png)
Substance Painterを使ったテクスチャ作成 24
![Screenshot (119) - STYLY Rocks : tutorial 2. texturing with substance painter](https://styly.cc/wp-content/uploads/2018/10/Screenshot-119-1.png)
Substance Painterを使ったテクスチャ作成 25
後はSTYLYへアップロードすればそのまま使えます!