This article describes the procedure for enjoying a pass-through experience on Quest3 using STYLY.
Even if you have already installed STYLY on MetaQuest3, you need to install the pass-through compatible version of STYLY to enjoy the pass-through experience.
Before explaining the procedure, we will explain some points to keep in mind when using this method.
Important point
- If you want to create a scene using a MetaQuest3-compatible pass-through, you must create the scene in linear color space in Unity (currently STYLY only supports gamma). To change from a gamma workflow to a linear workflow, in the Unity Editor, go to Edit > Project Settings, select the Player category, go to Other Settings, open the Rendering section, select Color Space from Gamma to Linear. For more information on the Linear workflow, please refer to the Unity documentation for more details.
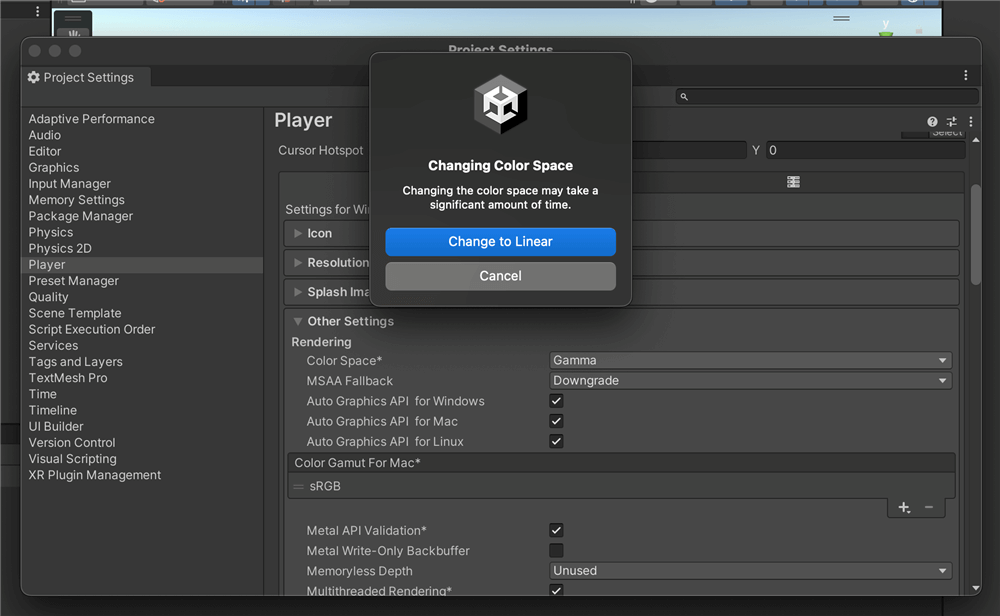
Gamma workflow changed to linear workflow
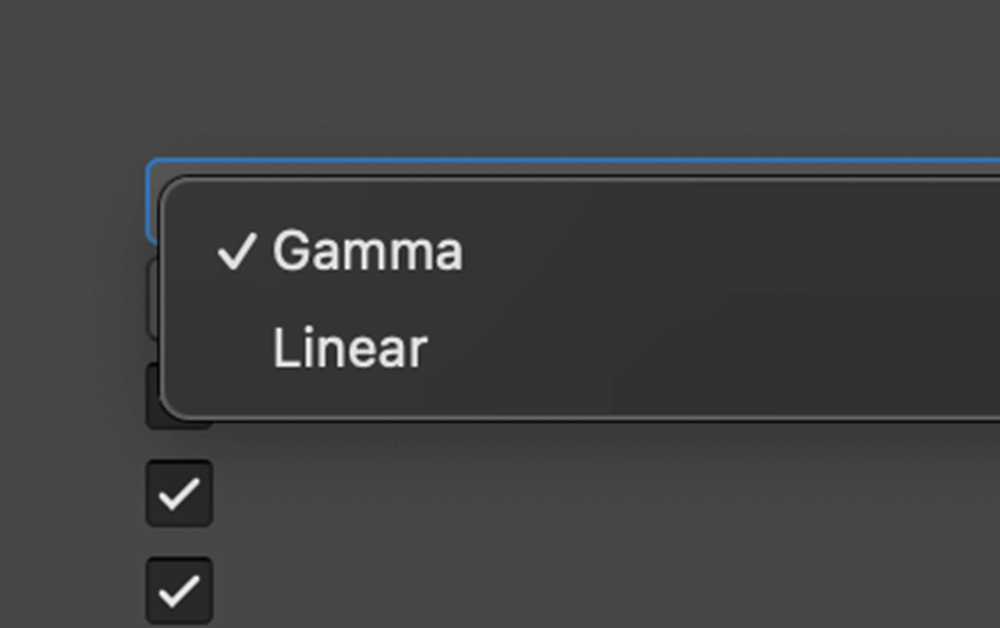
Gamma workflow changed to linear workflow
- To avoid confusion caused by mixing linear and gamma in scenes that go up on Gallery, please enter “created in linear” in the comments field when you publish a scene.
- If you are viewing an existing scene, the color space is gamma, which may cause color and behavior problems.
- Since this is an Experimental version, there is a possibility that bugs may occur. Please be aware that STYLY cannot provide any support for bugs that may occur.
Installation Procedure
There is a slight difference if your PC is Mac or Windows.
Put MetaQuest3 into developer mode (common for Mac and Windows)
First, register a new organization in “Meta Quest for Developers“.
At this time, please log in with the same account that you are logged in with in MetaQuest3.
Enter an appropriate name in the “Create New Organization” field and click Submit.
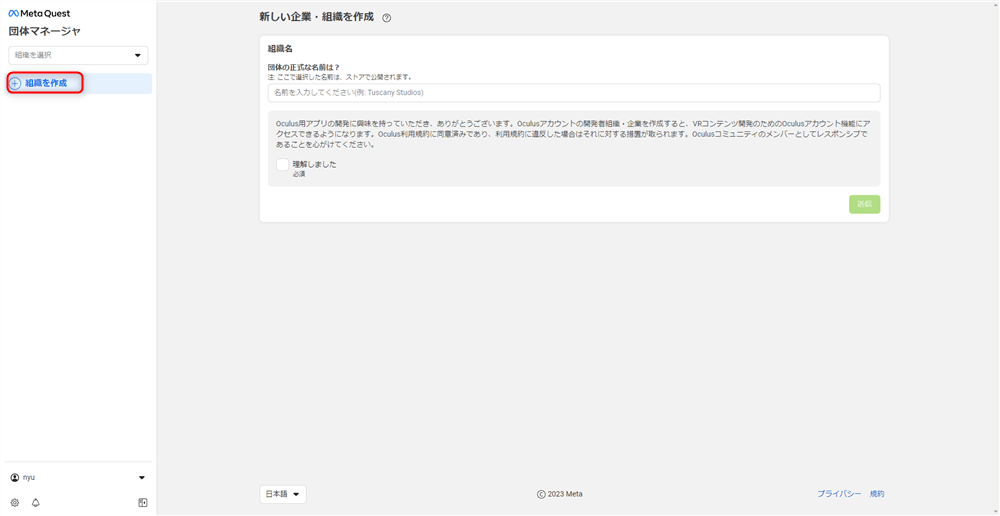
Meta Quest for Developers
Next, activate developer mode in the MetaQuest App.
Go to the MetaQuest App on your smartphone.
If you haven’t downloaded it yet, please do so and connect your device.
Once you are in the MetaQuest App, tap Devices in the lower right Menu and select the device you are currently using.
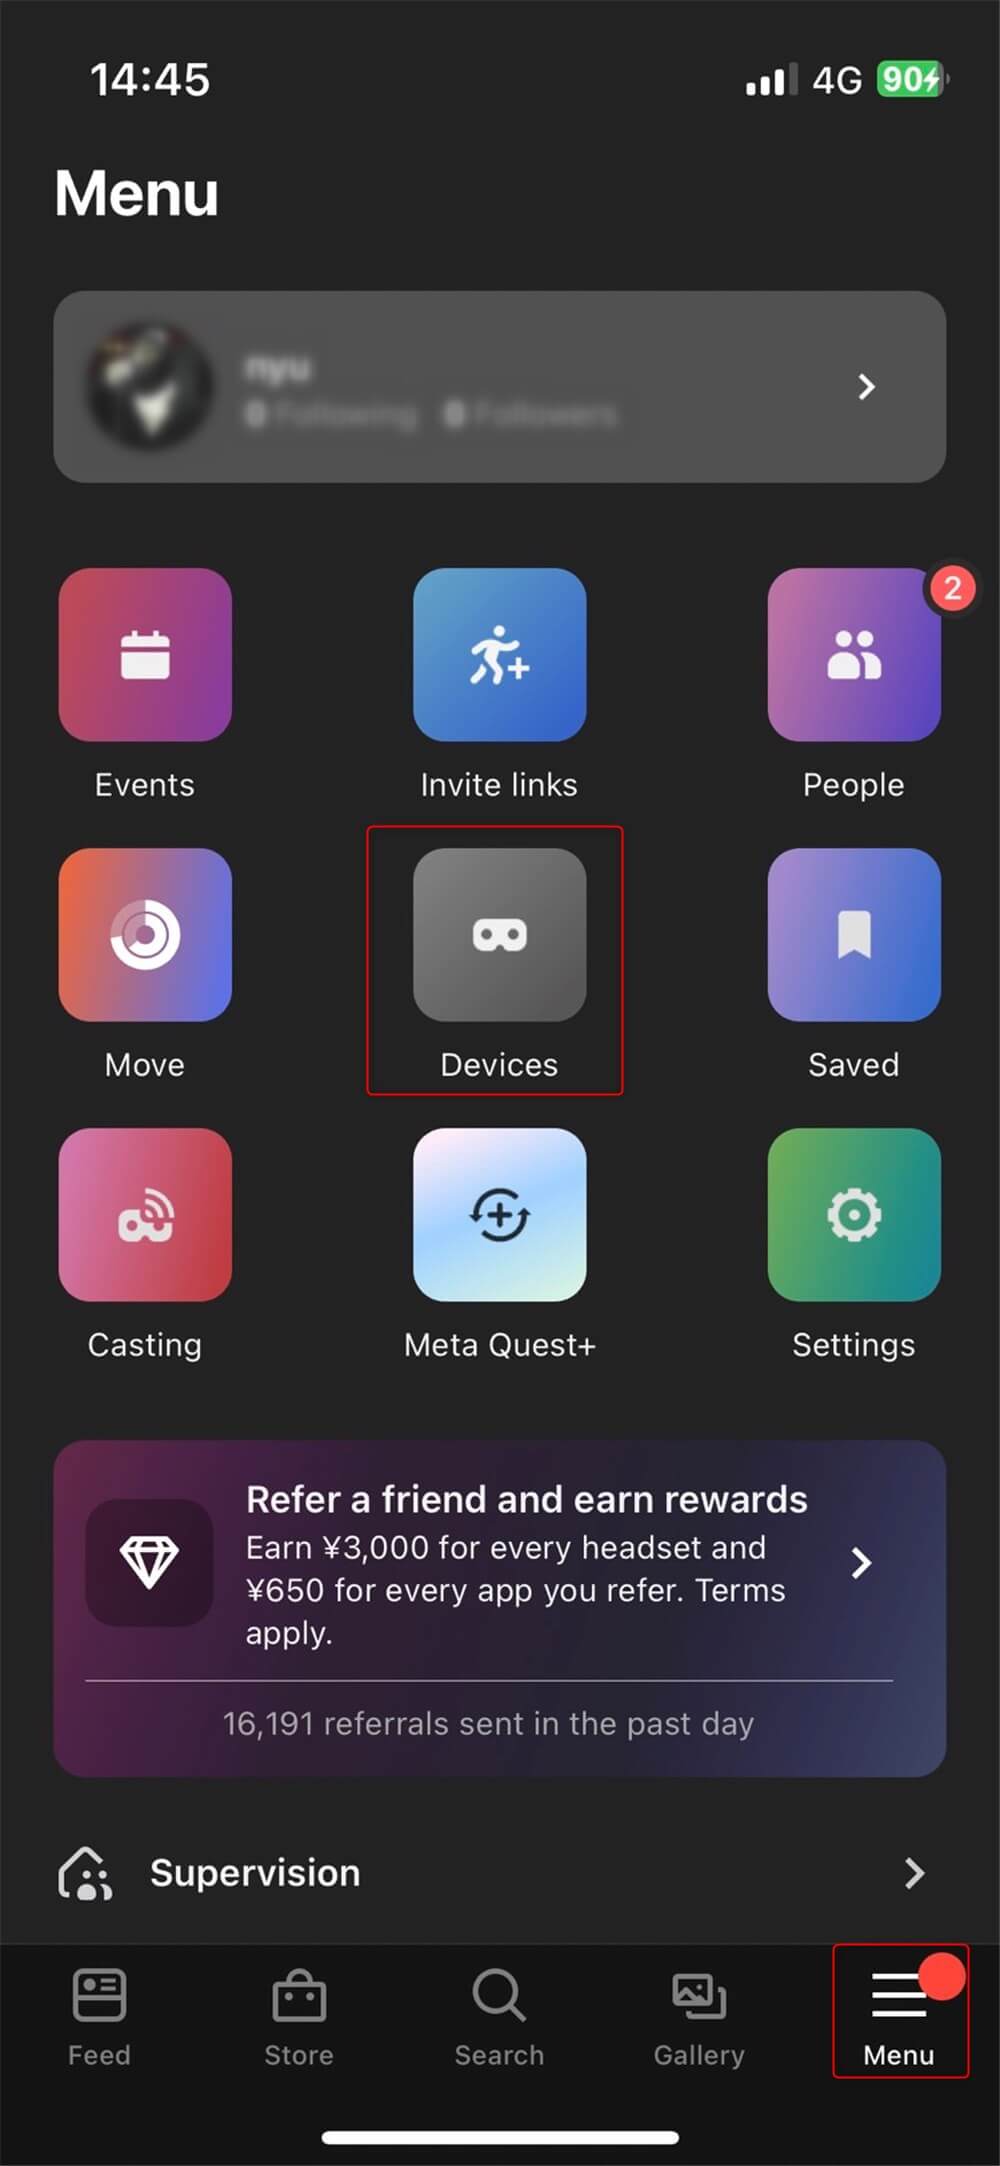
MetaQuestApp→Menu→Devices
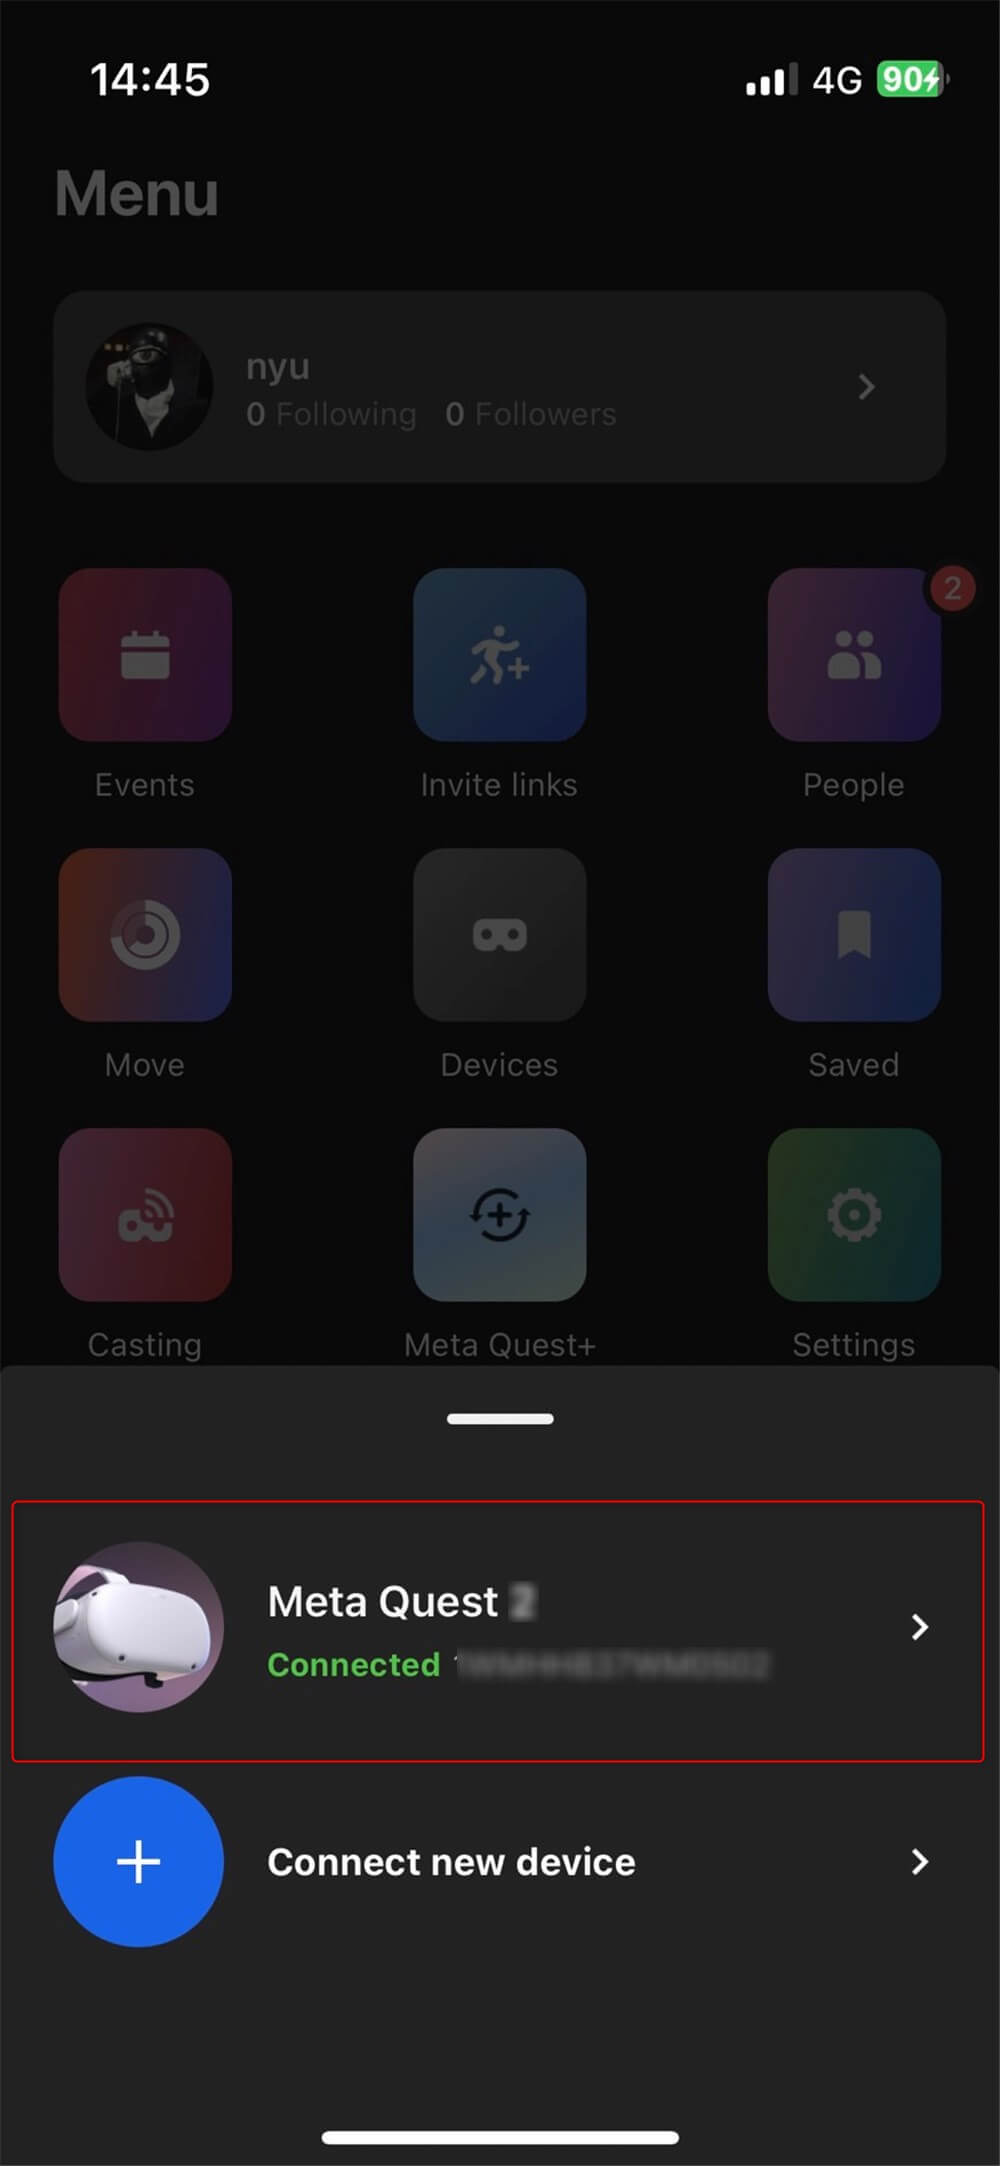
Select the device
Tap “Headset settings” at the bottom of the device details screen, and you will see an item called “Developer Mode.
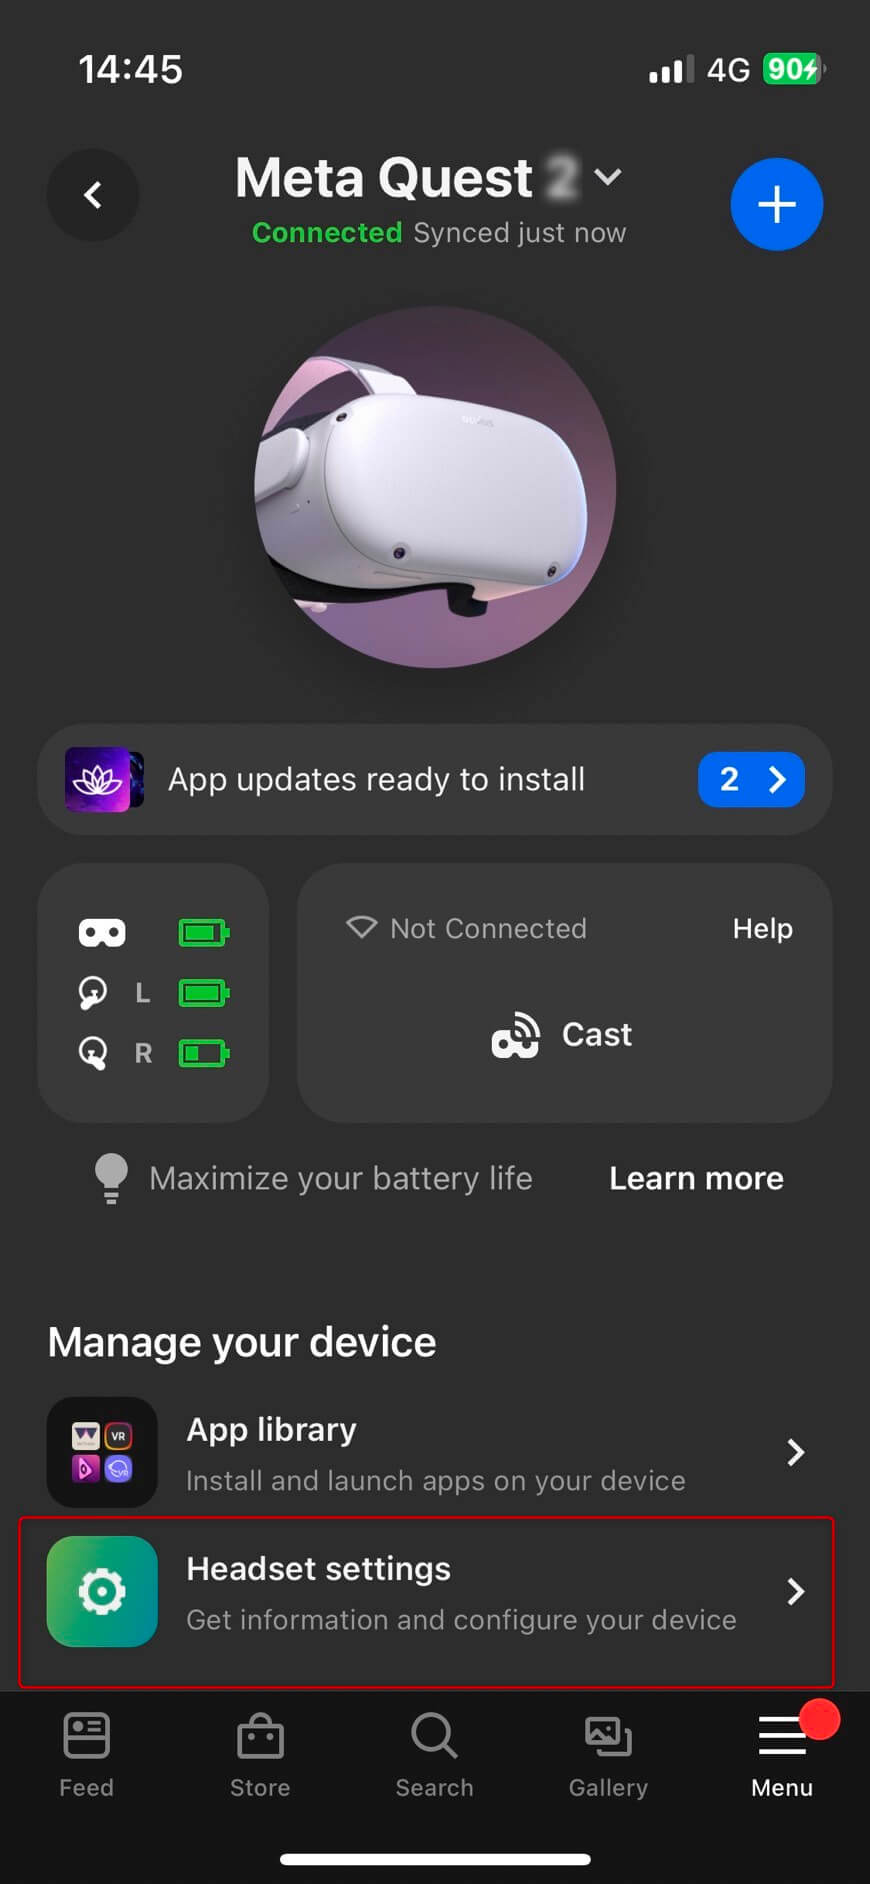
Headset settings
Tap Developer Mode and enable Debug Mode.
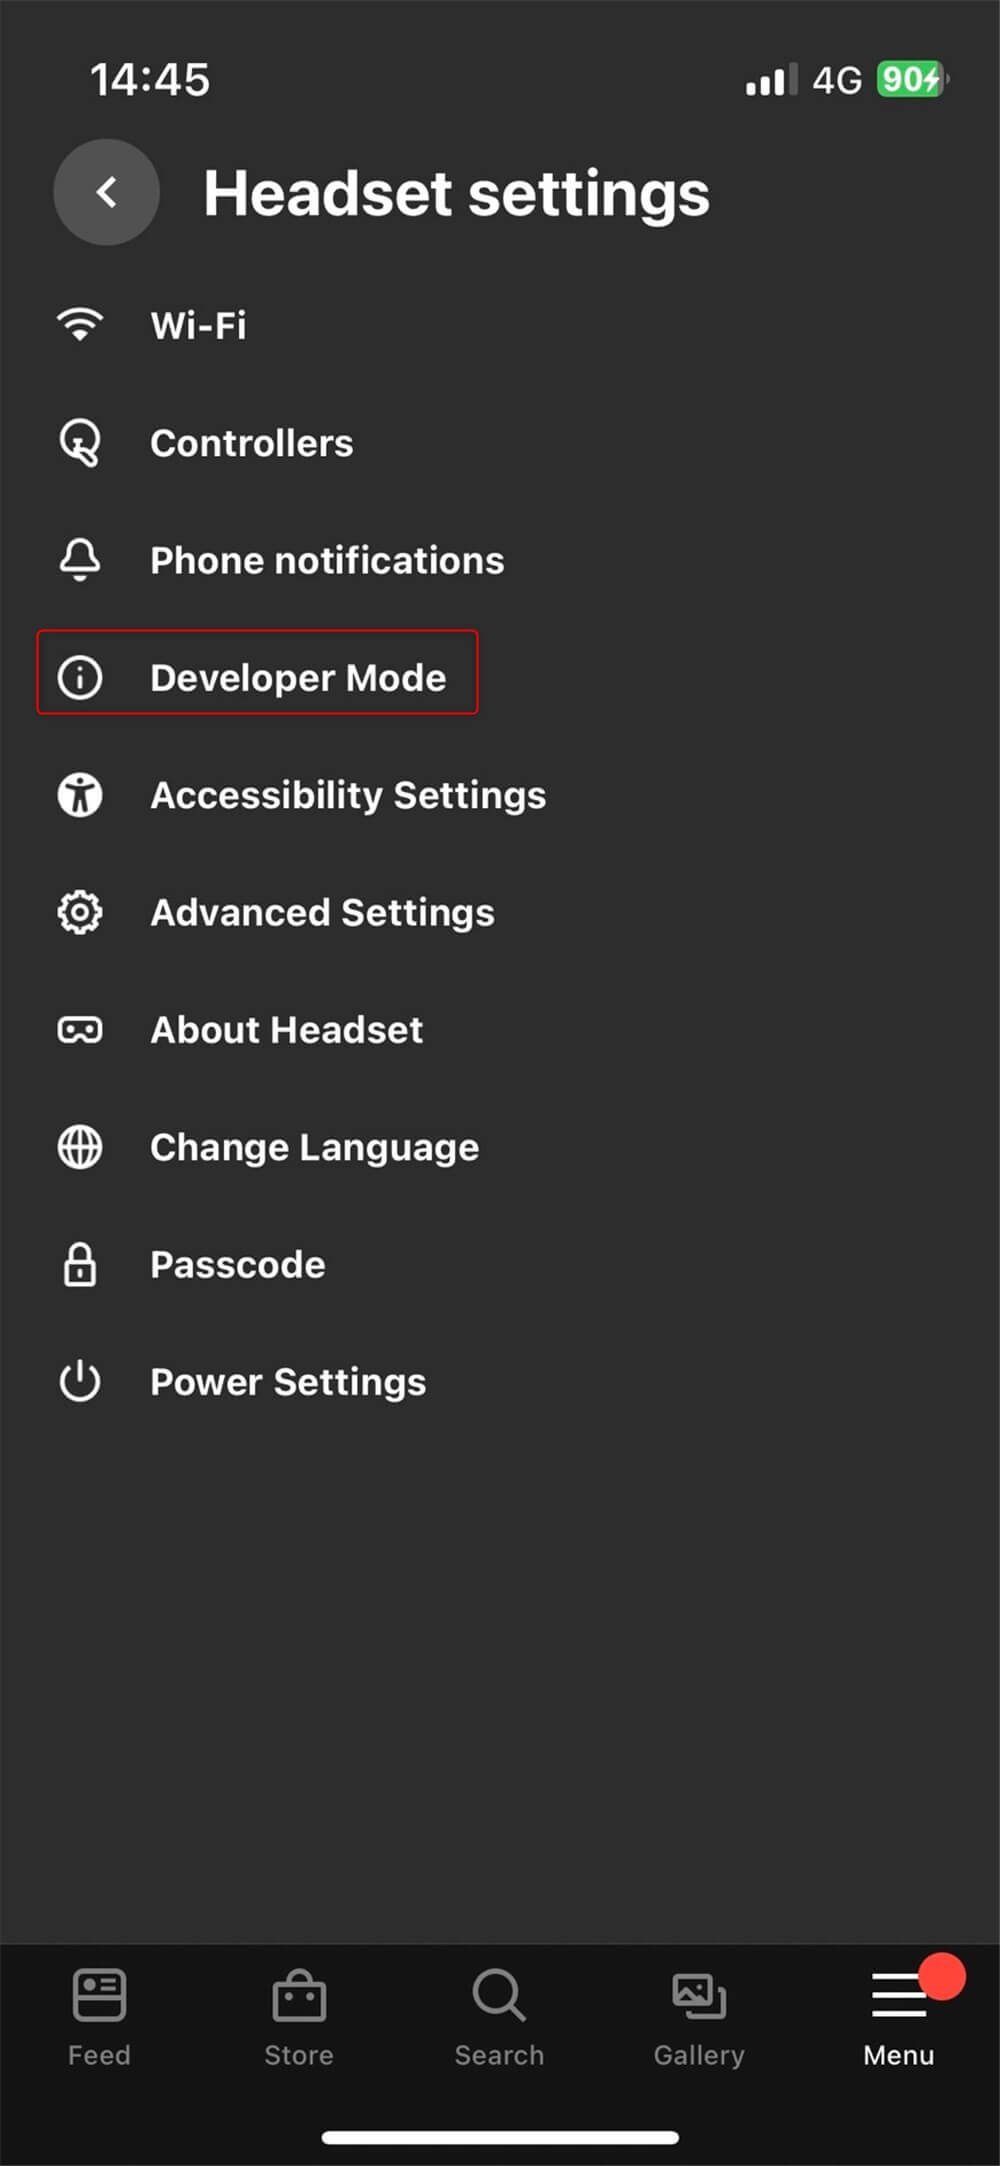
Developer Mode
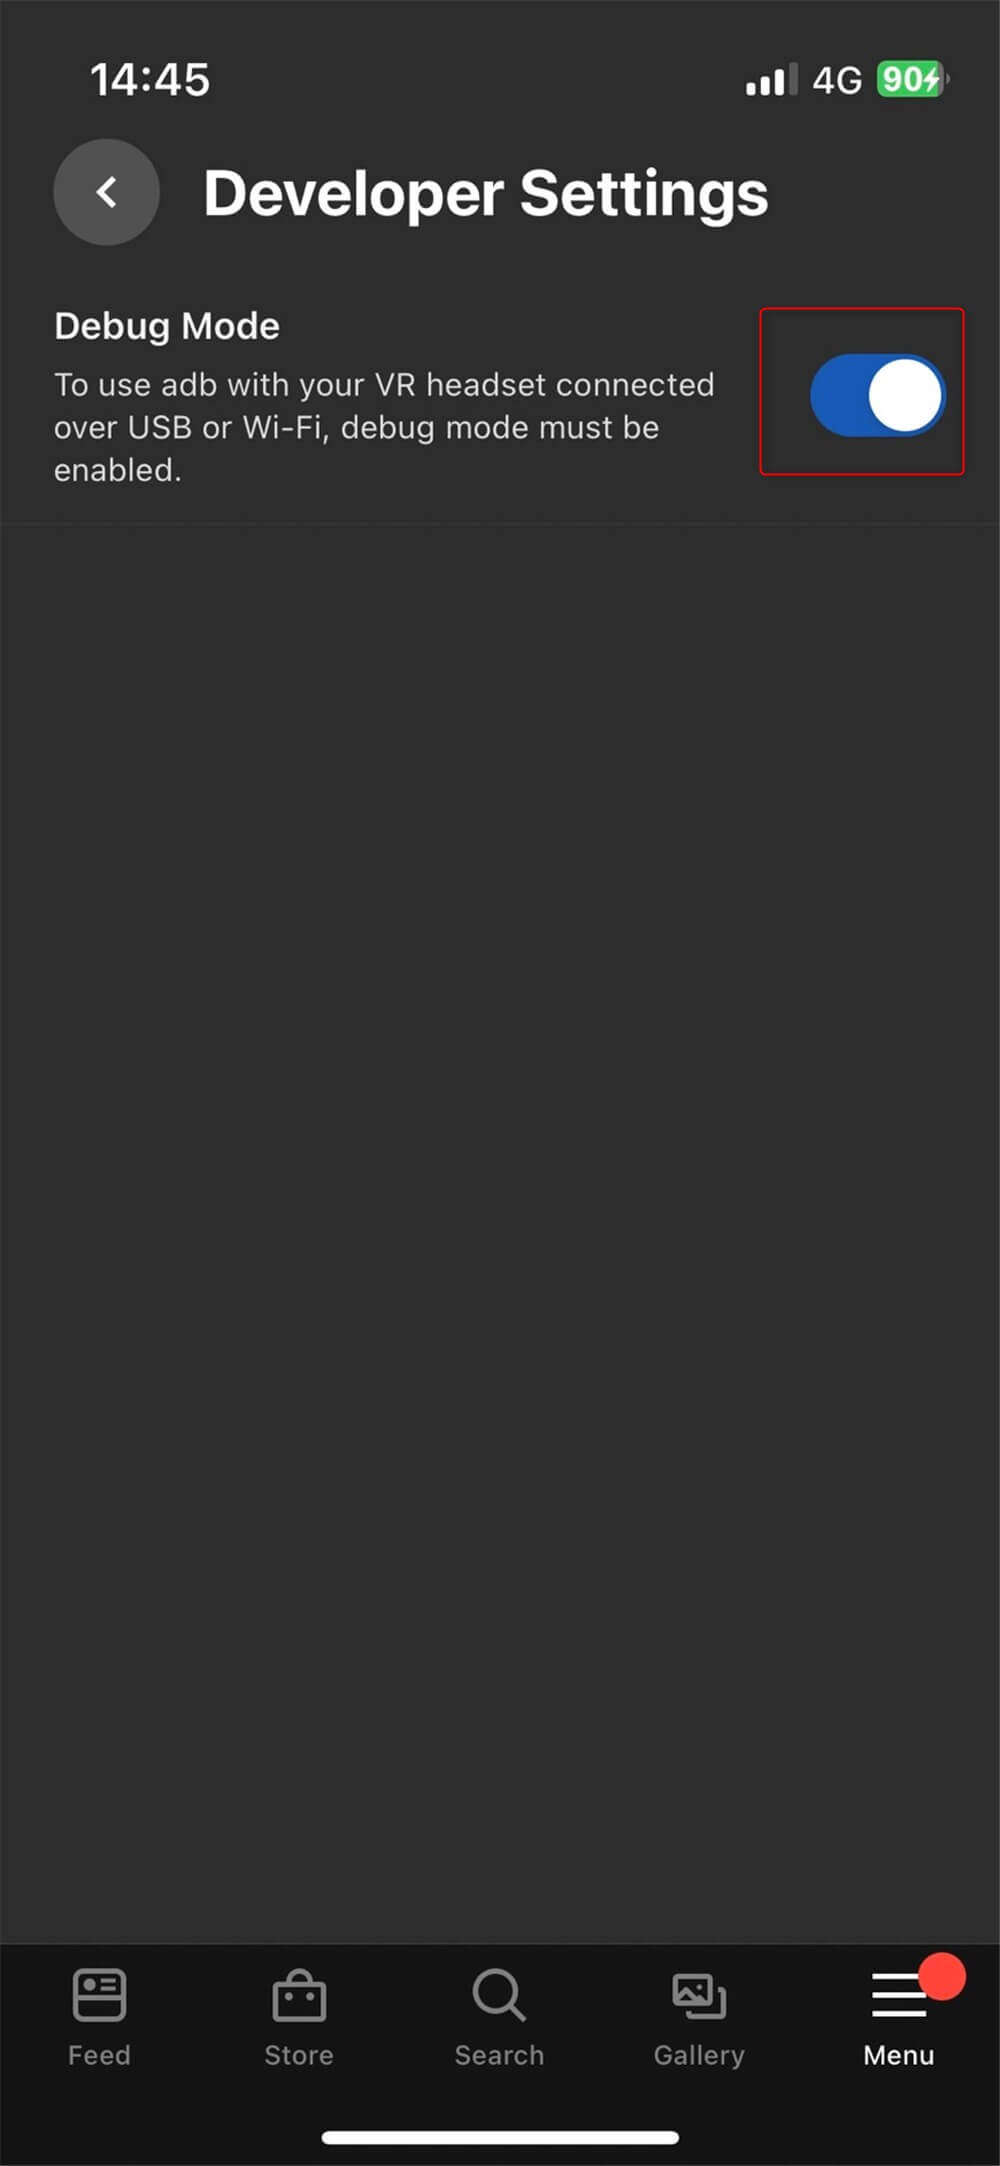
Enable Debug Mode
Install ADB Drivers (Windows only)
First, access the Meta Quest Developer Center, and after clicking “Download” in the upper right corner, review the Terms of Use and download the file.
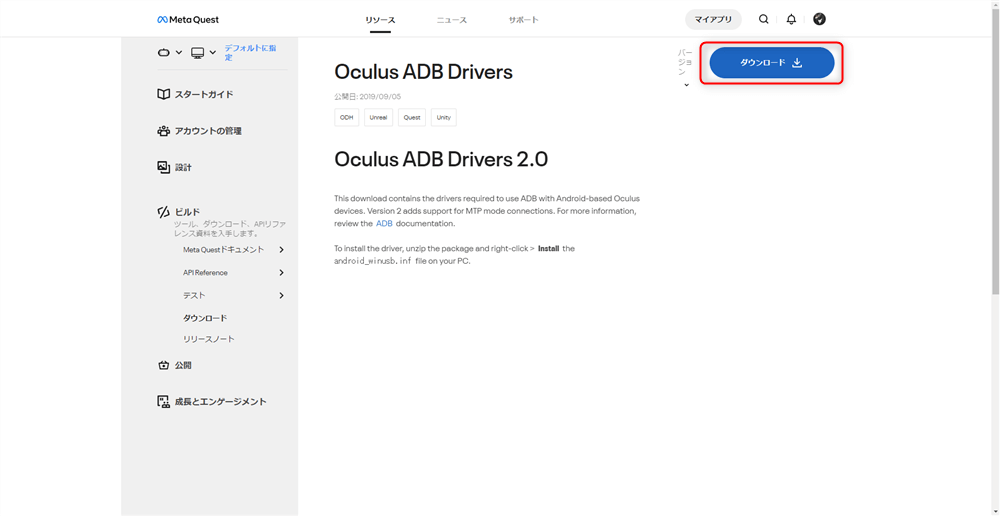
Meta Quest Developer Center
Unzip the downloaded Zip file, right-click android_winusb and select “Install”.
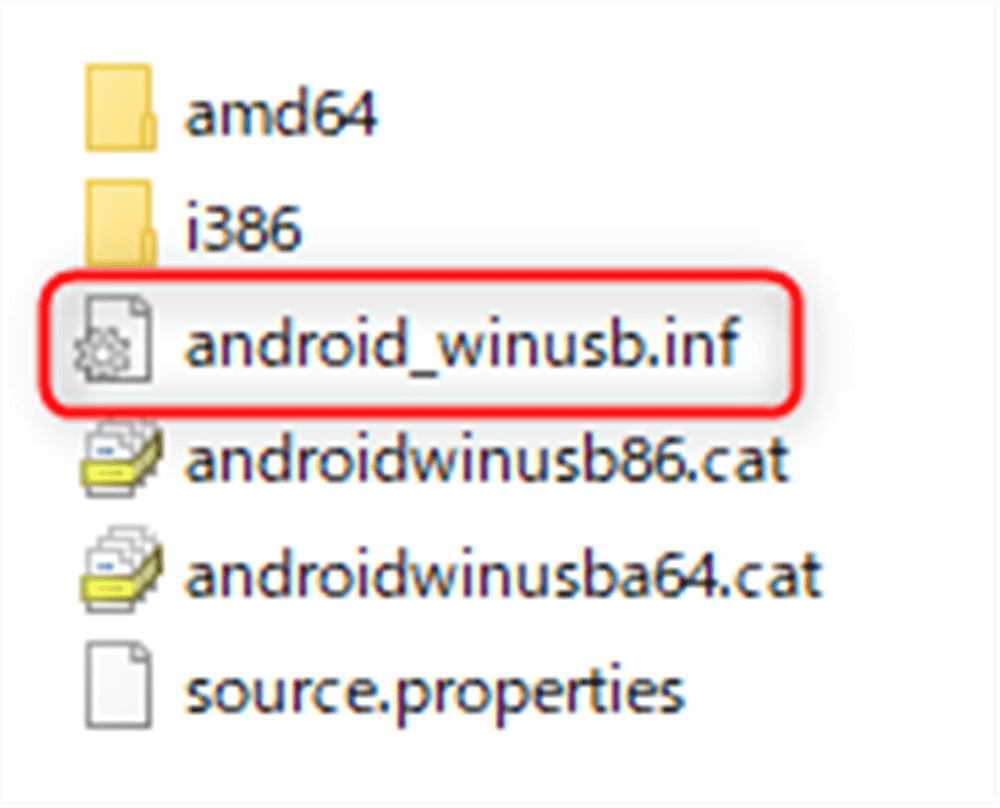
Install android_winusb
When the message “You have successfully completed this operation. is displayed, the operation is complete.
Install SideQuest (for Mac and Windows)
Download SideQuest to your PC.
For both Mac and Windows, go to the SideQuest download page.
Once accessed, click on the “Advanced Installer” to download.
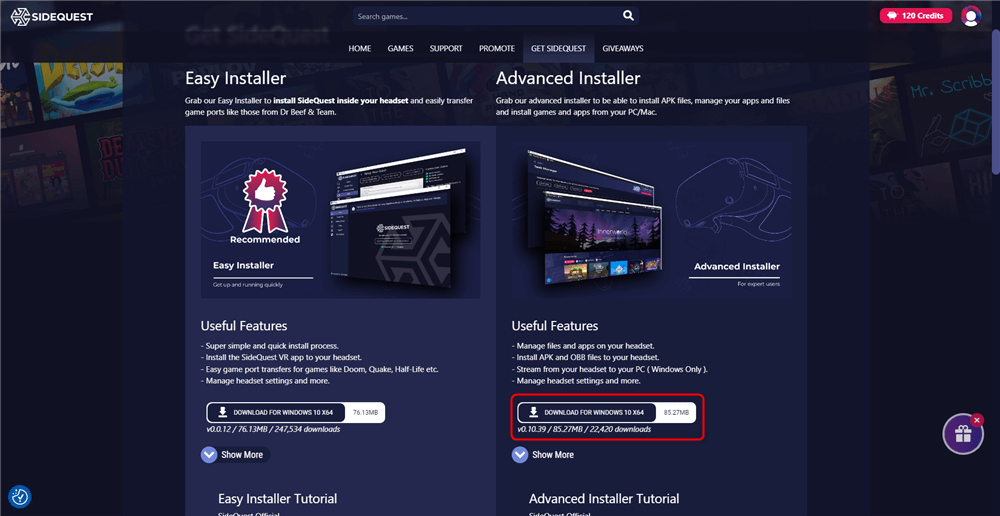
SideQuest
When the SideQuest installer starts, you will be prompted to select installation options. If there is no particular reason, select “Install only for current user”.
Select “Next” and then “Install” to complete the installation of SideQuest.
If you are using Mac, click “Show more” under “Advanced Installer” and download the appropriate version for your Mac.

Advanced Installer
Connect your PC to MetaQuest3 (for both Mac and Windows)
Start SideQuest and sign in.
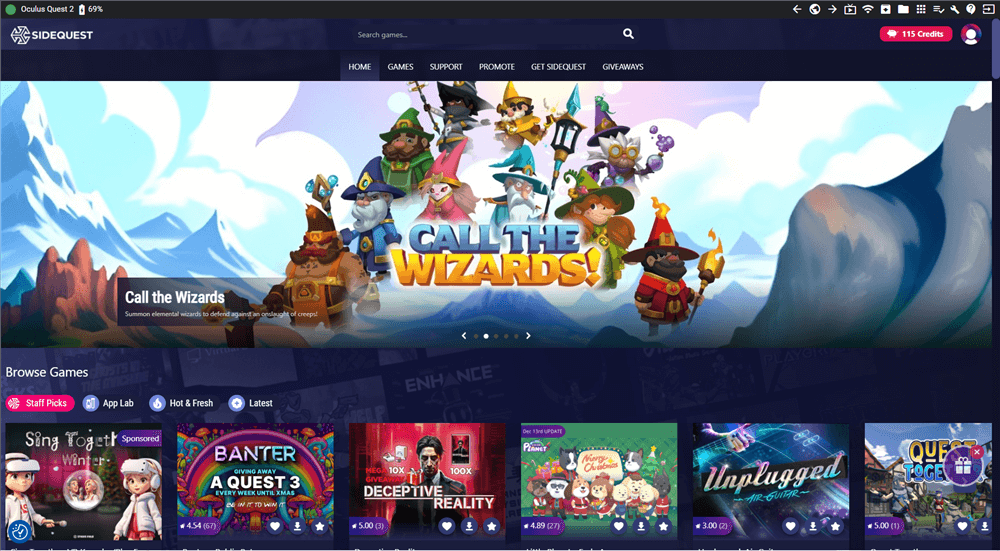
SideQuest
If you do not already have a SideQuest account, please create one.
Once you have signed in to SideQuest, connect your PC to Quest3 with a cable.
This cable does not have to be the cable that comes with Oculus, but please use a cable that can transfer data.
Only the first time you connect, a screen will appear on the Quest3 side to allow connection to the PC, so please select “Always allow from this computer” on the controller.
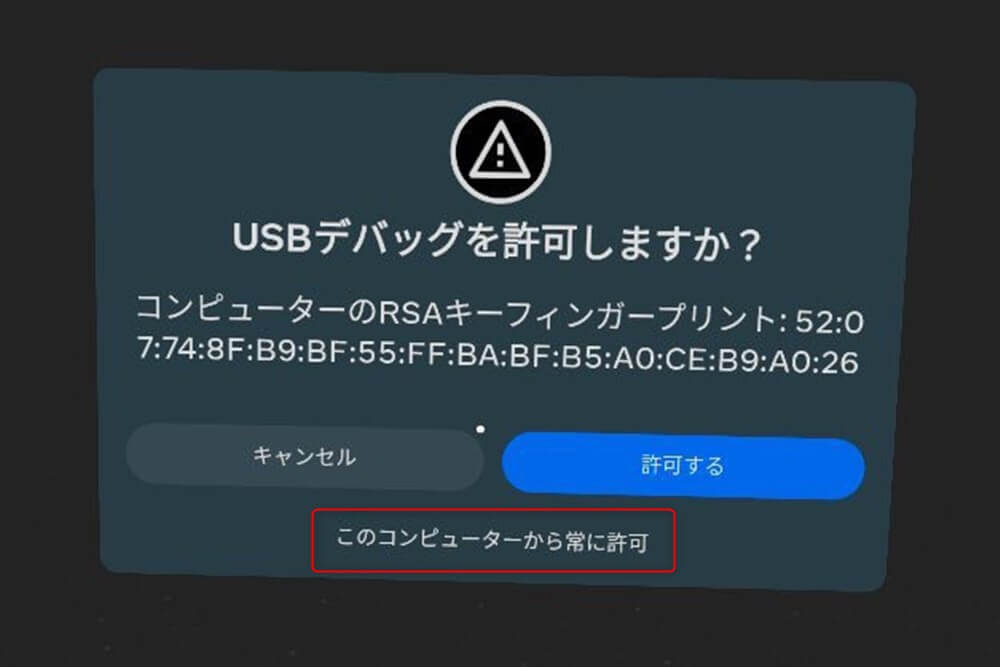
Always allow from this computer
Install the pass-through version of STYLY
If you search for “STYLY” on SideQuest, you will find two.
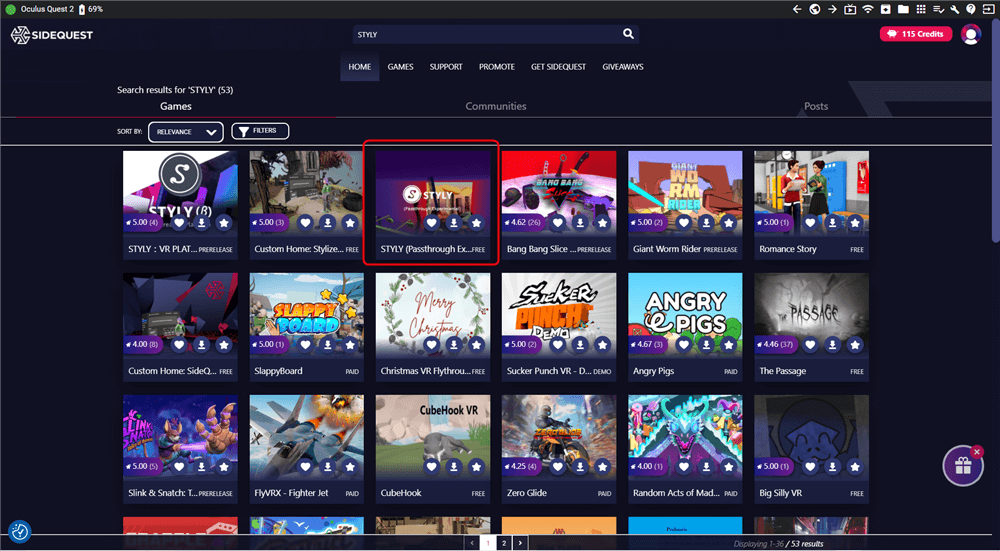
Search for “STYLY
Since we want to experience pass-through this time, select “STYLY (Passthrough Experimental)” and click “SIDELOAD” to install.
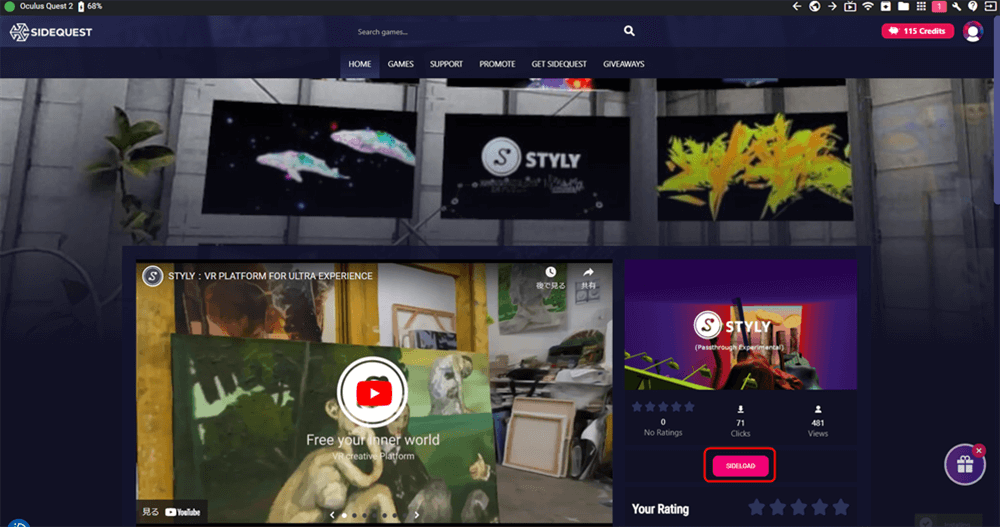
Install STYLY (Passthrough Experimental)
When the download is complete, “All taskes completed” will appear at the bottom of the screen.
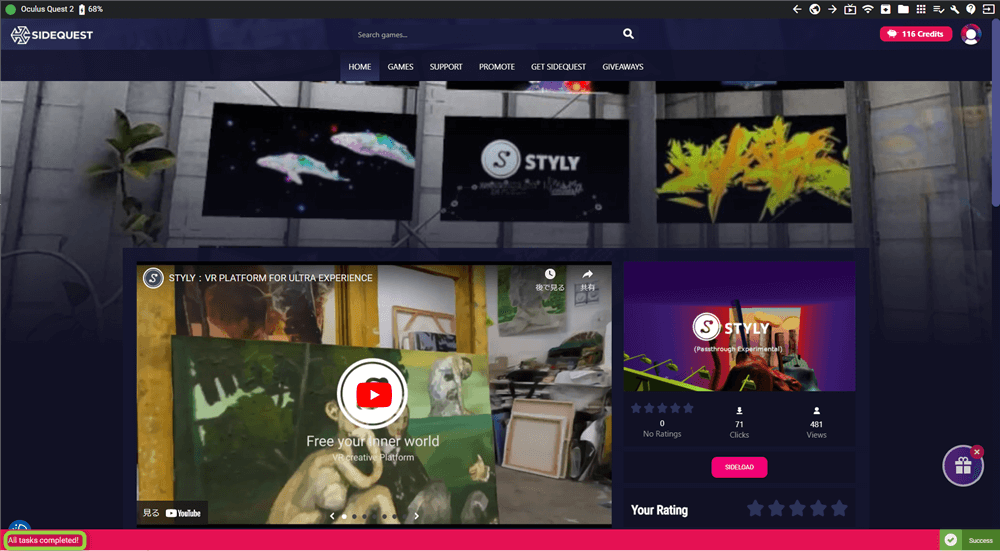
All taskes completed
After the download is complete, navigate to the app library from the MetaQuest3 home screen.
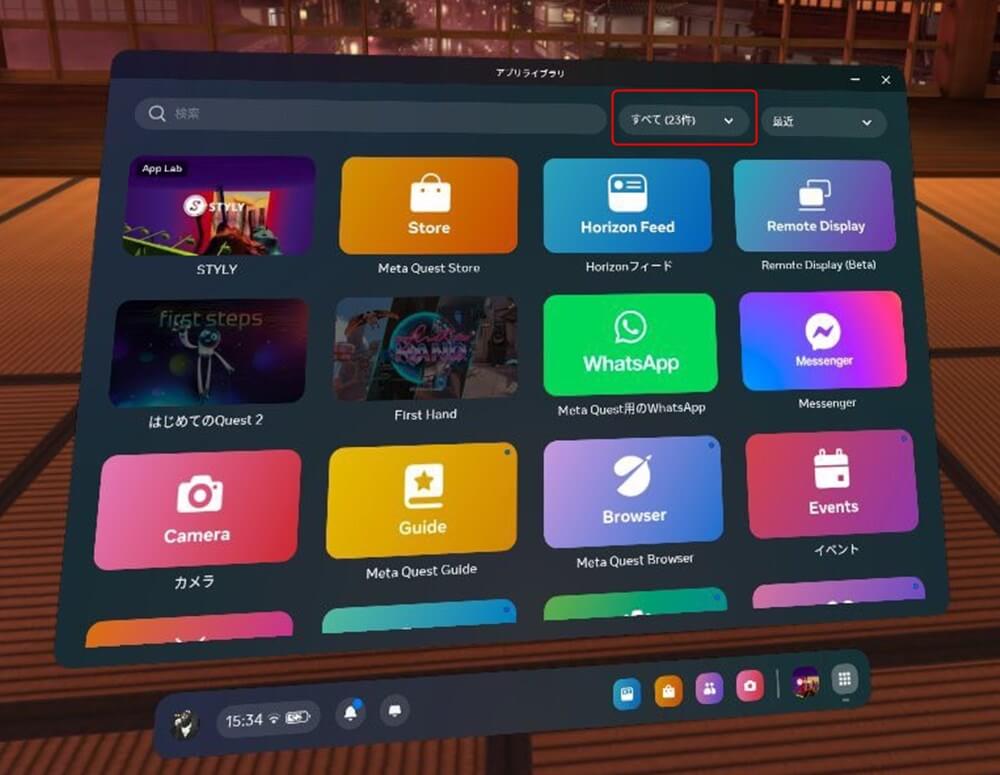
Go to App Library
Since the pass-through enabled version of STYLY is not shown as it is, select “Unknown provider” from the sort in the upper right corner.
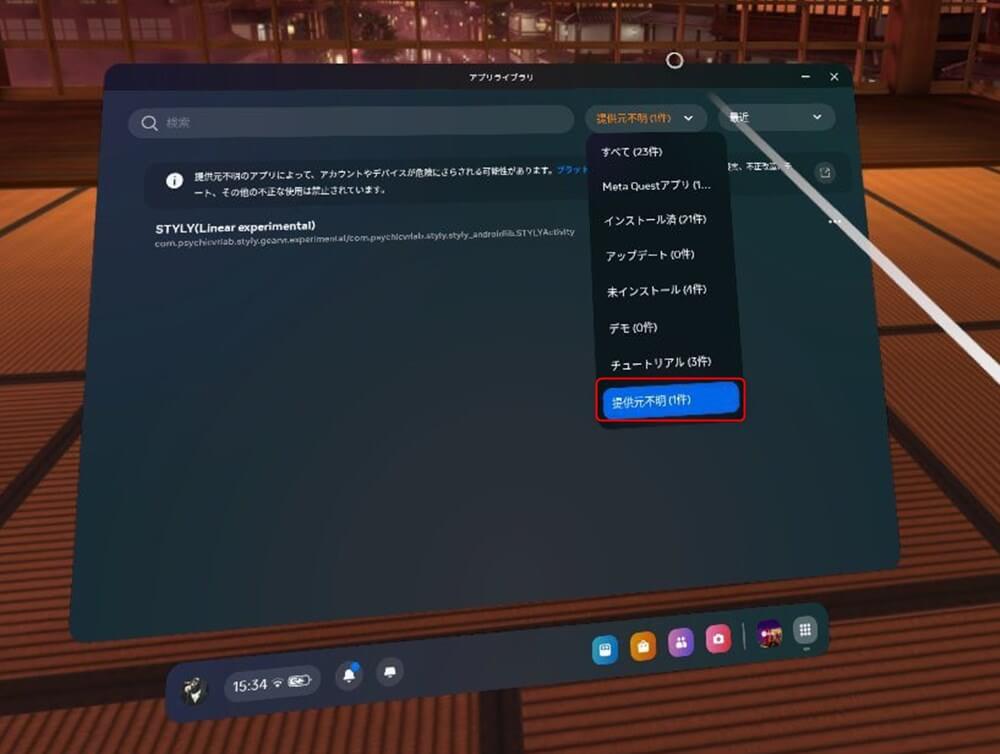
Select “Unknown Source.”
Then STYLY (Passthrough Experimental) will appear.
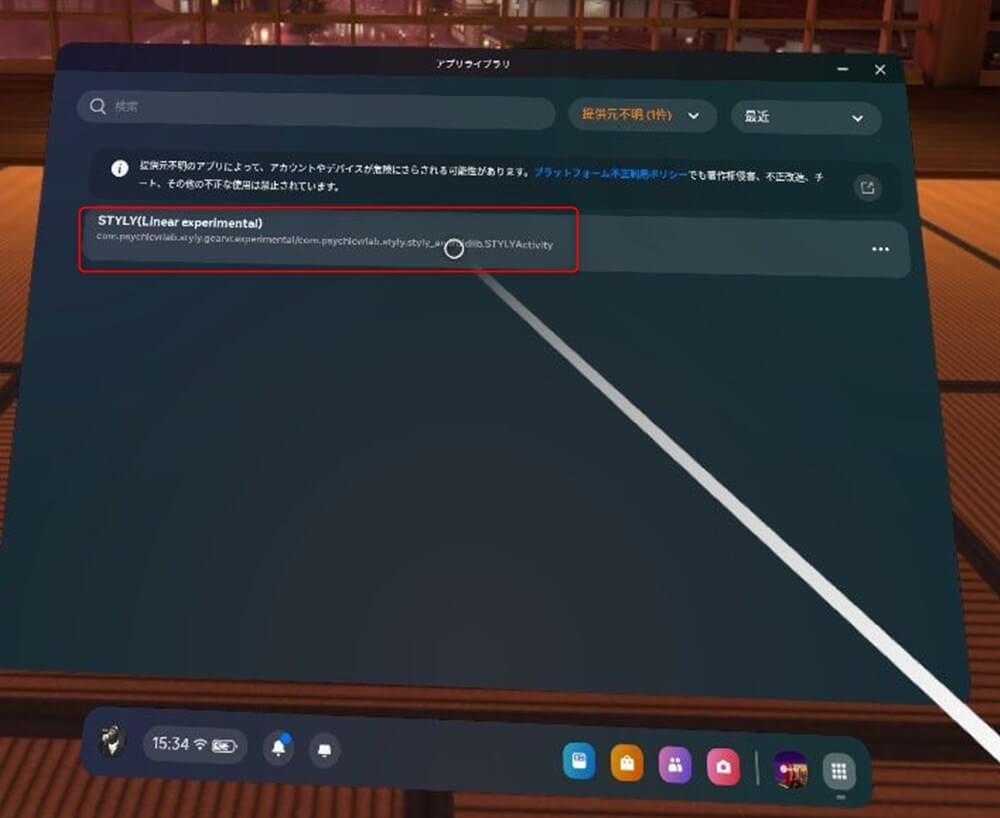
Launch STYLY (Passthrough Experimental)
After starting up, you can operate the software in the same way as normal STYLY. Please enjoy the pass-through scene with STYLY.
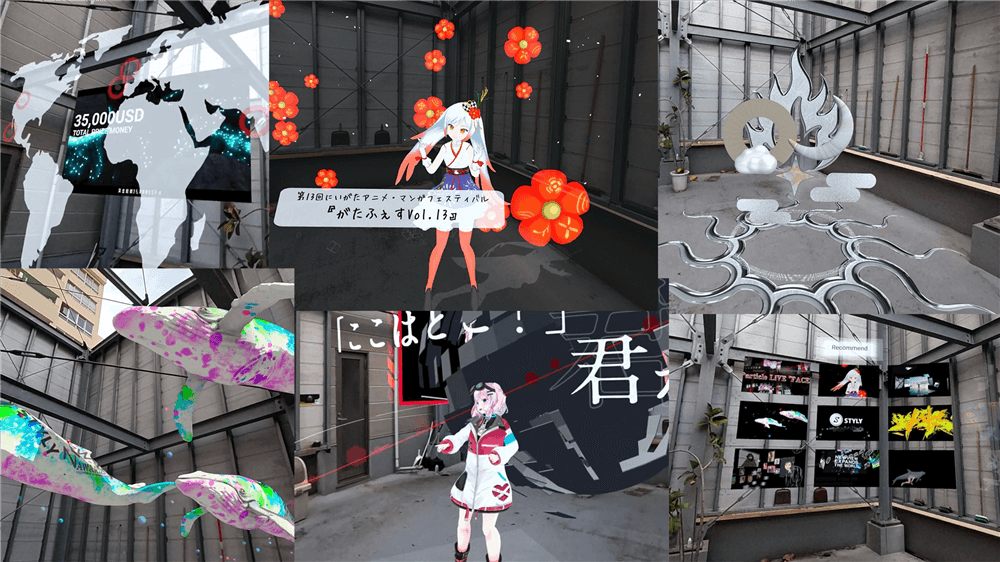
Pass-through scene on STYLY at Quest3