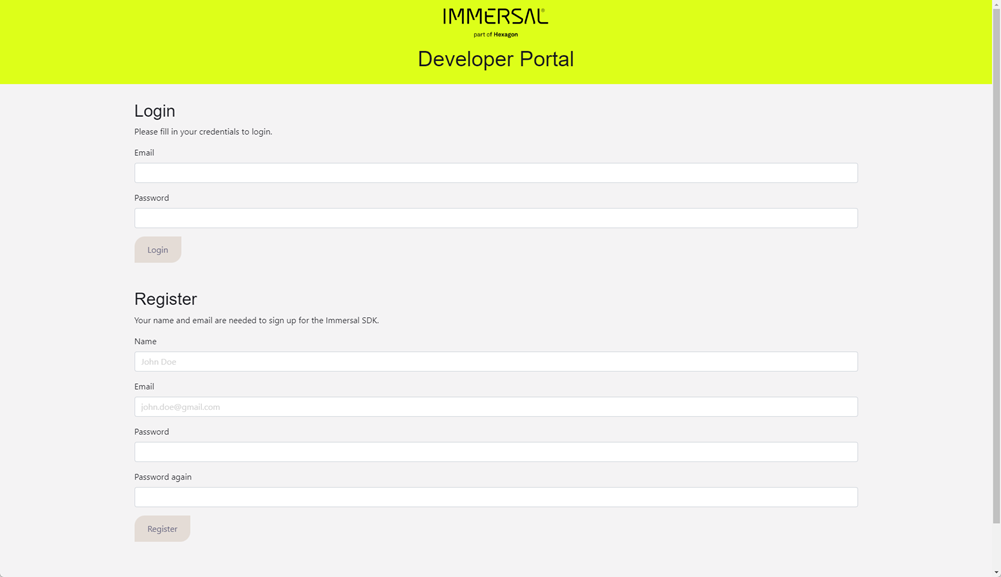
Creating an Immersal Account
Create an Immersal account.
https://developers.immersal.com/
Install the ImmersalMapper app
Install the ImmersalMapper app.
iOS:https://apps.apple.com/au/app/immersal-mapper/id1466607906?l=ja

Android:https://play.google.com/store/apps/details?id=com.immersal.sdk.mapper&hl=ja&gl=US

Map data production
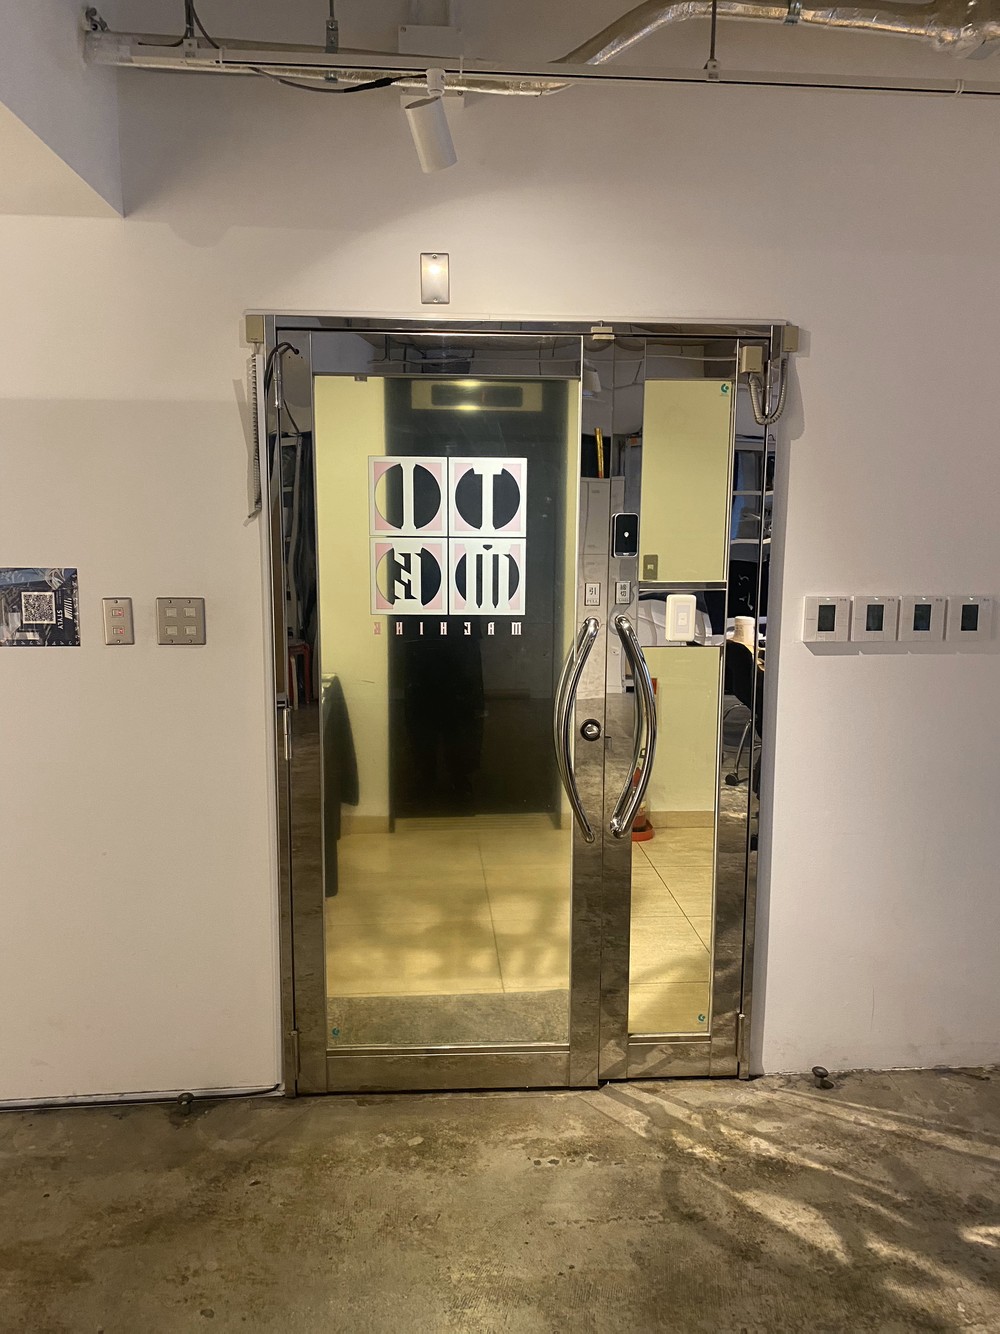
Map data is the origin of AR, i.e., the place where you want to use as a marker.
For example, if you want to use an indoor entrance as a marker, as shown in the image below, create the map data for this place.
There are some points to keep in mind when deciding where you want to use as map data.
Places where it is easy to produce map data
- Floors and walls (buildings) with many feature points
Locations where it is difficult to produce map data
- Floors and walls with no feature points
- Floors and walls with many repetitive patterns
- Locations with many reflections such as glass, metal, water, etc.
Reference article
Knowledge of surrounding environments unsuitable for AR experience|Chujo
Once you have decided on the location you want to use as map data, move to that location.
In this case, we will use an office door as an example to create map data.
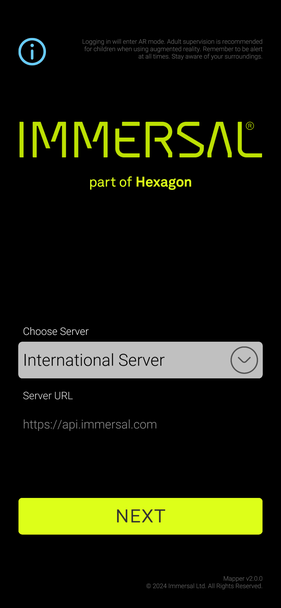
Start the ImmersalMapper application.
Leave Choose Server as International Server (default) and tap the NEXT button.
Enter your Email Address and Password, and tap the LOGIN button.

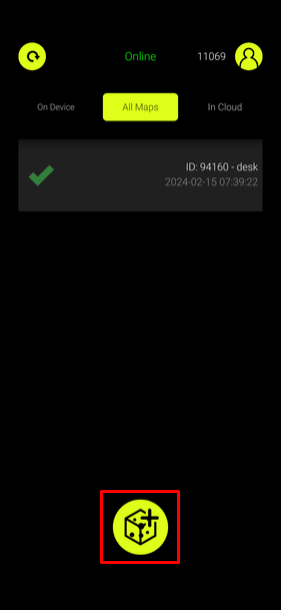
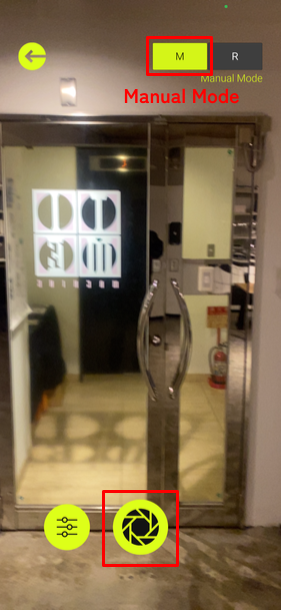
Tap the center icon.
Be sure to select “Manual Mode”.
*Map data will not be created in Realtime Mode.
Point the camera at the area you want to map and click the CAPTURE (bottom center) button while moving horizontally.
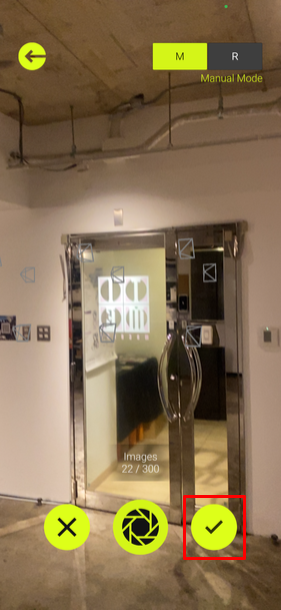
The image will be captured overlapping each other so that 50% of the captured image will be included.
When you are done, upload the captured data to the Developer Portal.
Tap the check icon.
Enter a name for the map name and tap the SAVE button.
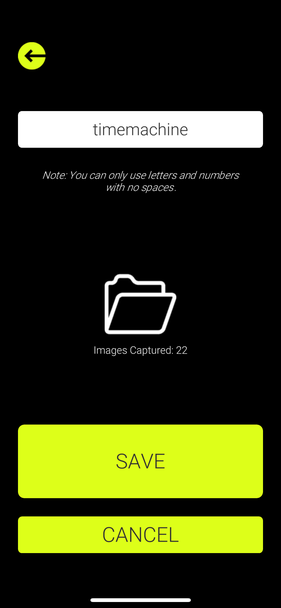
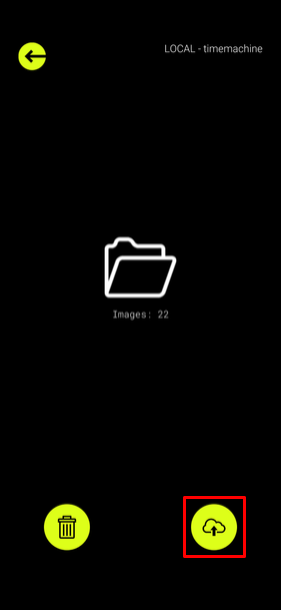
Tap the map data you have named.
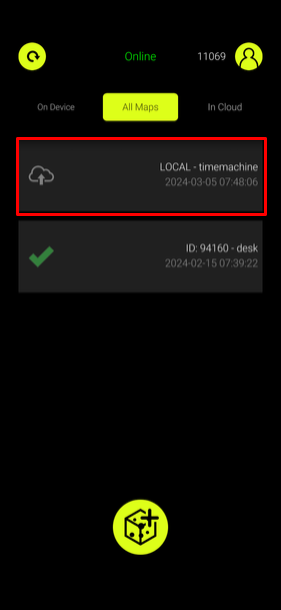
Tap the Upload button.
The message “Submit map for construction?” will be displayed.
Tap the YES button.
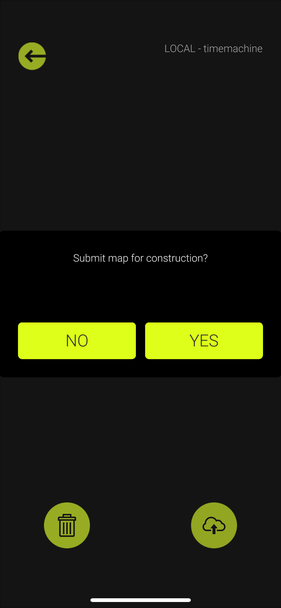
Uploading will start.
Generating map data
Go to https://developers.immersal.com/.
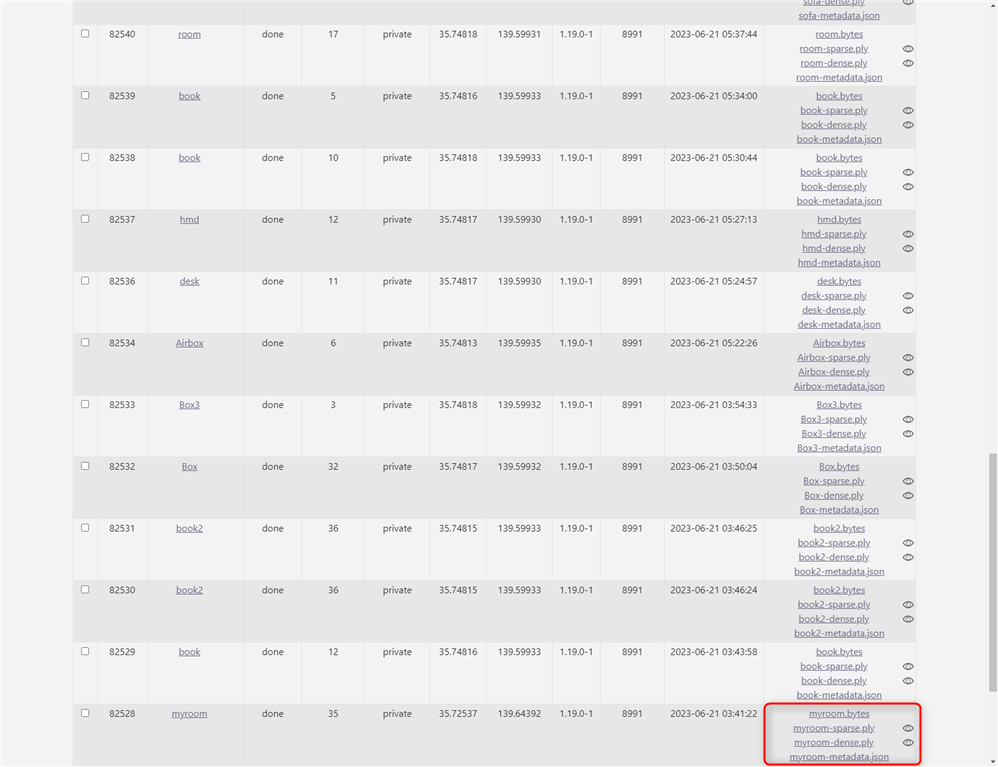
When the map data processing is complete, a file will be generated in the Downloadable files location.
Status: sparse means processing is in progress, Done means completed.
Please confirm that the following 2 files are generated.
It will take a little time until the data is generated.
- byte data
- glb data
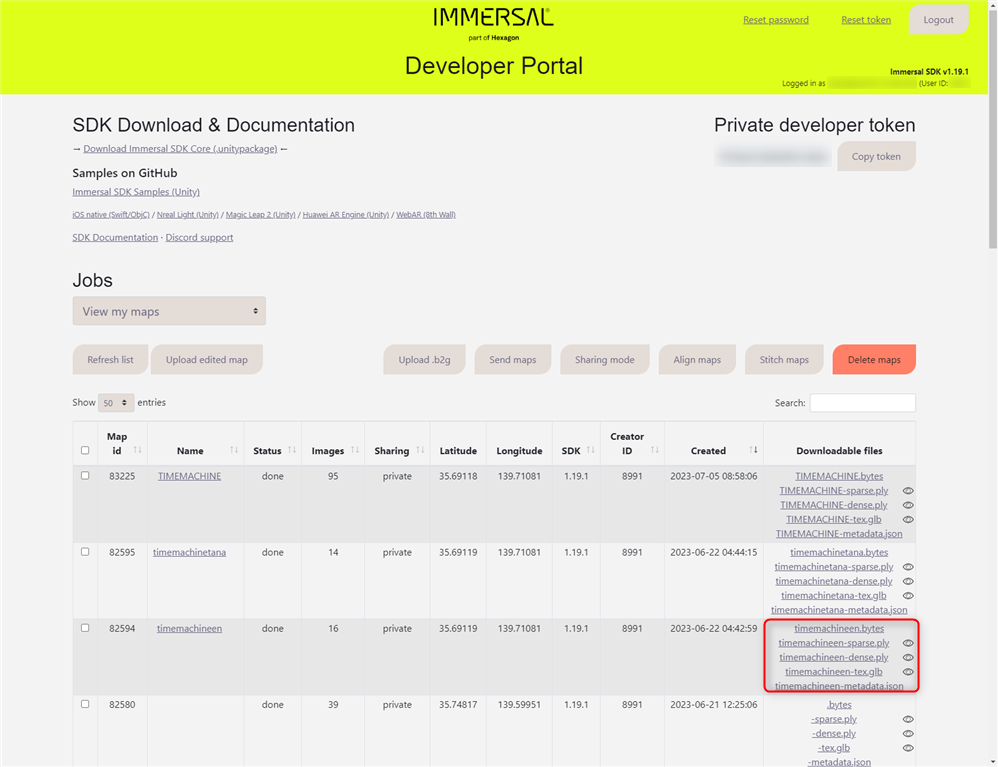
Click the eye icon next to the glb data to check the 3D data of the glb data.
If the 3D data is displayed, the map data generation was successful.
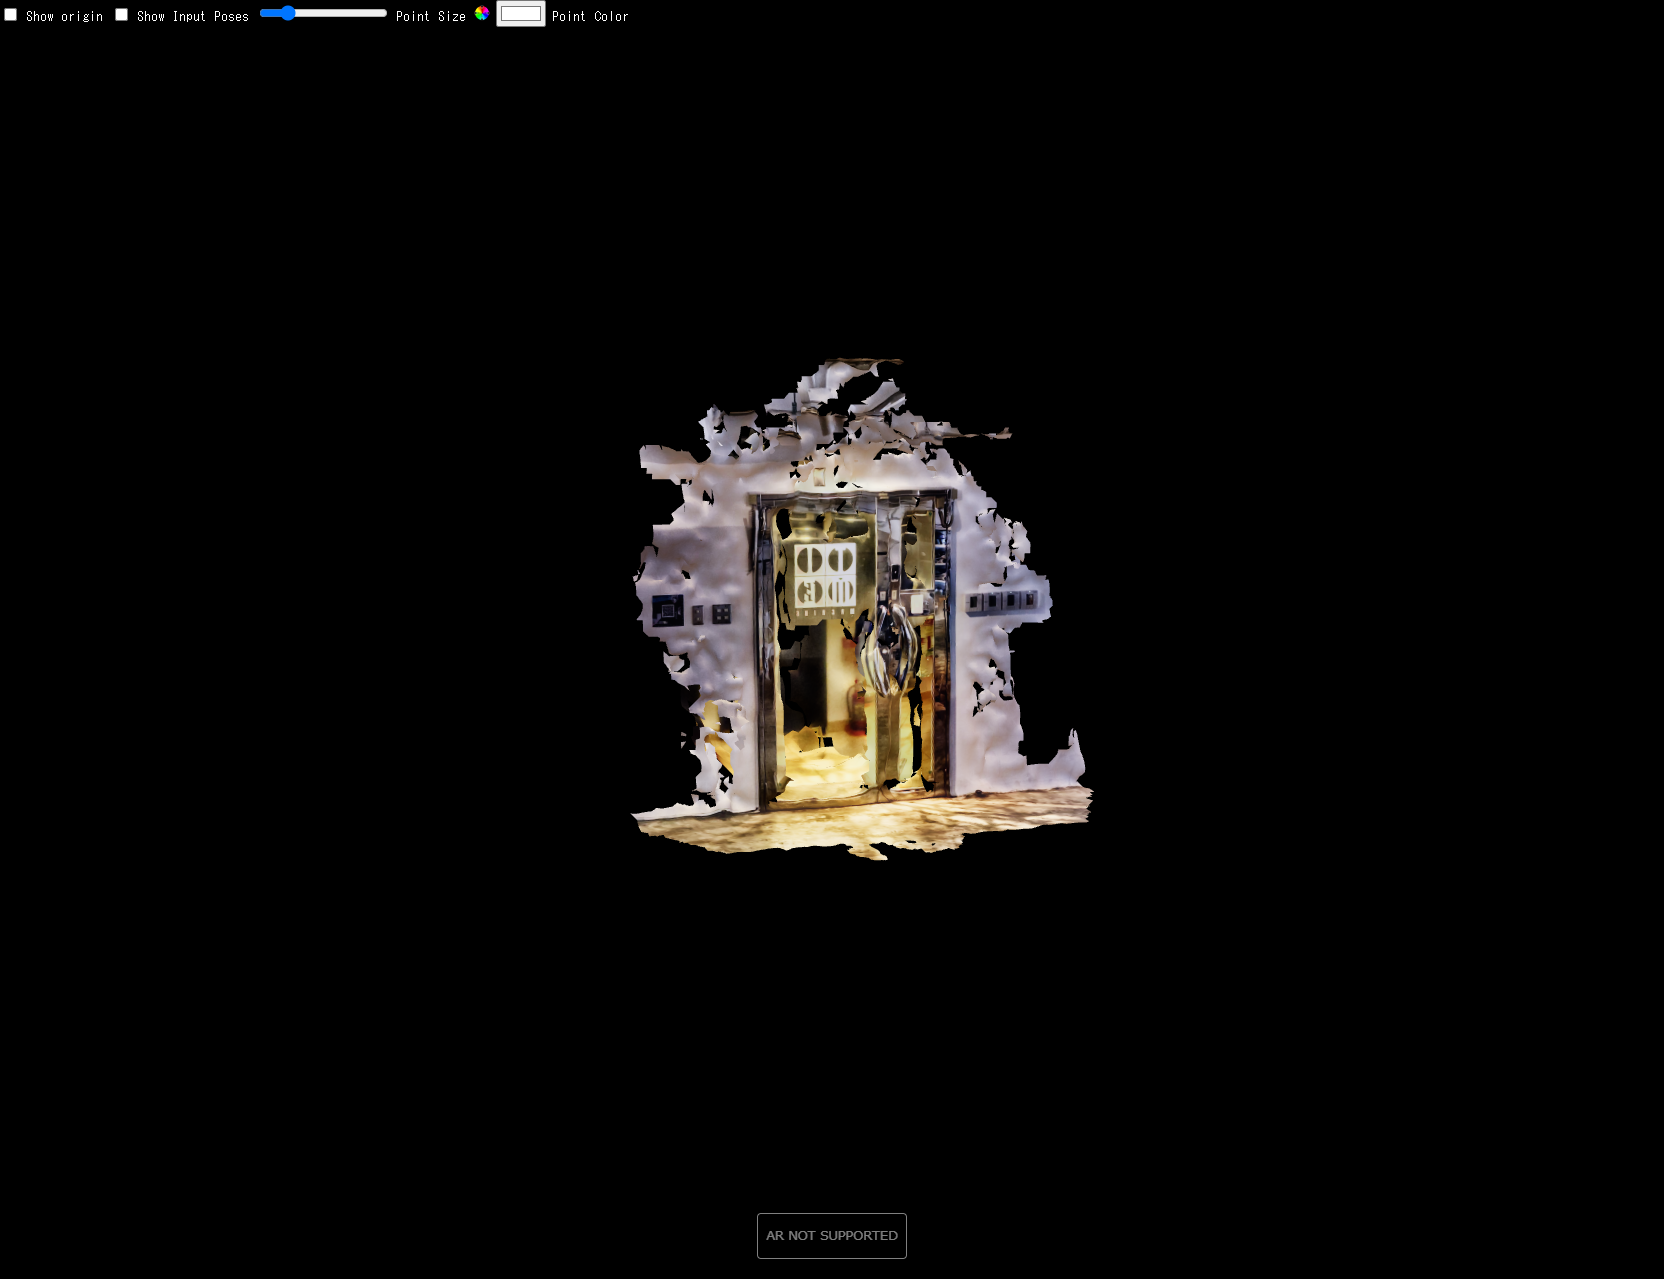
If the map data generation fails, the glb data will not be generated.
Please retry to take the map data again.
If the 3D model data for the map data fails repeatedly, it may be a location that is difficult to produce map data in the first place.
Please check the following points to keep in mind when deciding on the location you want to use for map data.
Confirming the location of map data
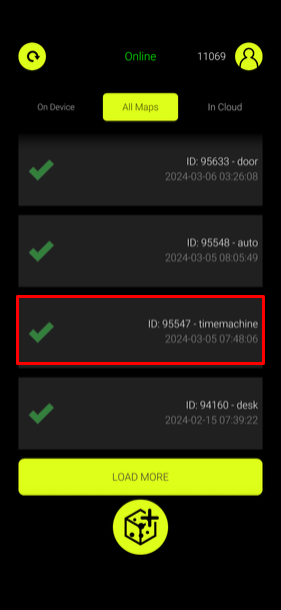
Once the map data has been successfully generated, let’s check if there is any misalignment using Immersal Mapper.
From the All Map tab, tap the map data you want to check the location of.
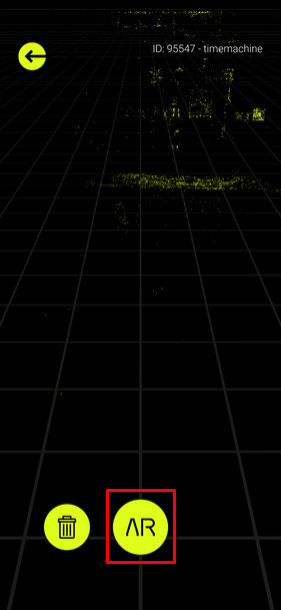
Tap the AR button.
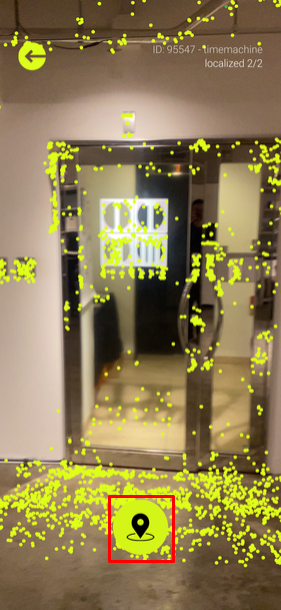
Match the generated map data to the experience location and tap the Location button.
If a yellow point cloud appears, it is a success.
Peel the camera left, right, up and down and check if the point cloud is not misaligned.
If there is no misalignment, it is done.
For questions about STYLY, bug reports, and requests for improvements, please contact STYLY FORUM
https://en.forum.styly.cc/support/discussions
For business use, please contact us at:
https://styly.inc/contact/
Certified (QA) by uechan