In this article, I explain how to move a character model using Auto-Rig Pro, a paid add-on for Blender.
What is Auto-Rig Pro?
Auto-Rig Pro is a paid add-on for Blender that automatically adds rigs to 3D models to make it easier to add movement to 3D models. It can be used not only for character models but also for various other models such as animals and insects.
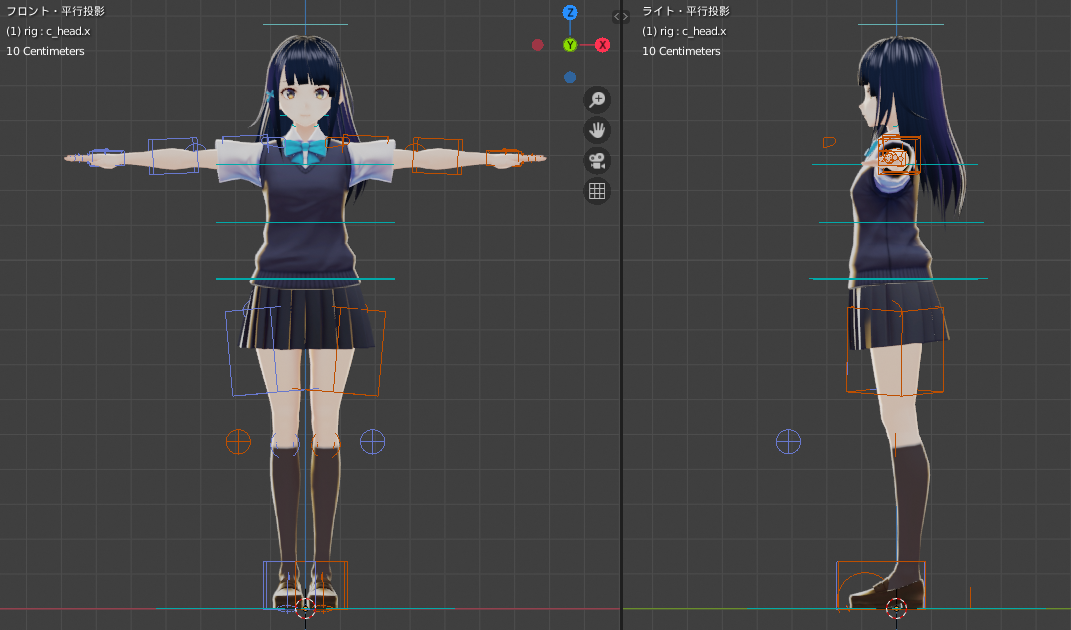
The square box-like object is the “rig”
Auto-Rig Pro is available at the following link.
Moving the character
Let’s try to move the character model with Auto-Rig Pro.
The version of Blender we are using is 2.81, and the version of Auto-Rig Pro is 3.46.
Loading Add-ons
Please refer to the following article on how to purchase and install add-ons.

Note that this add-on requires you to extract the downloaded zip file once.
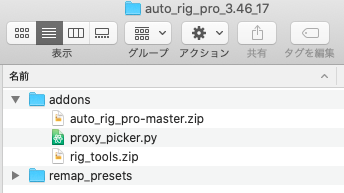
Contents after unzipping
You will need to install the following two files.
- auto_rig_pro-master.zip
- proxy_picker.py
Loading the model
If you want to use the VRM model, please refer to the following article.
![[Blender] How to Import VRM Files to Blender](https://styly.cc/wp-content/uploads/2019/05/main-160x160.png)
If you are using a VRM model, please refer to the following article.
Specifying the position of the bone
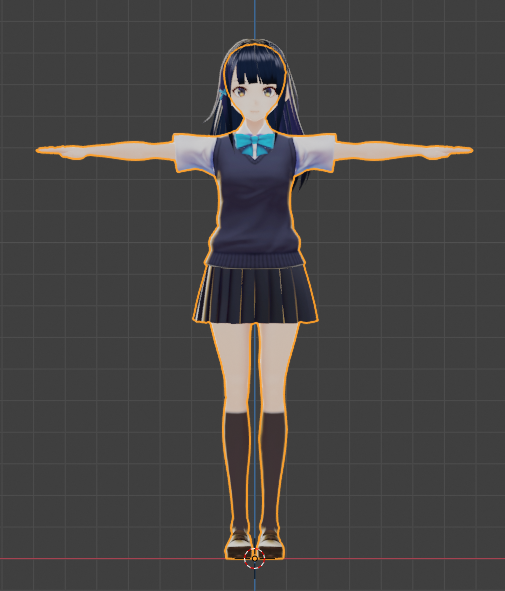
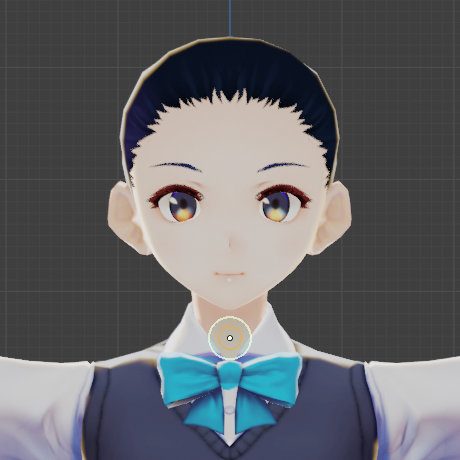
First, select the model. In the case of this model, all parts except for the hair are selected.
Since the position of the bones can be determined based on the volume of the model, it is better to select the basic parts of the body and not the hair or large ornaments at this point.
Selecting the basic components
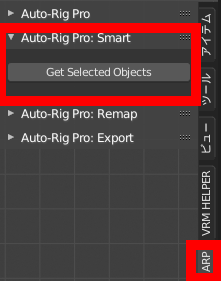
From the properties shelf that appears when you press the N key, open Auto-Rig Pro:Smart under “ARP” and click “Get Selected Object”.
The Auto-Rig Pro menu
Click on “Add Neck” and a pointer will appear to specify the position of the neck, so move it to the neck position.
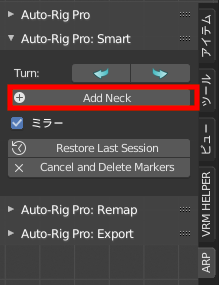
Add Neck
Specify the position of the neck
In the same way, specify the position of the Chin, Shoulder, Wrists, Spine Root, and Ankle.
There is no need to adjust the Y-axis direction (depth) at this time.
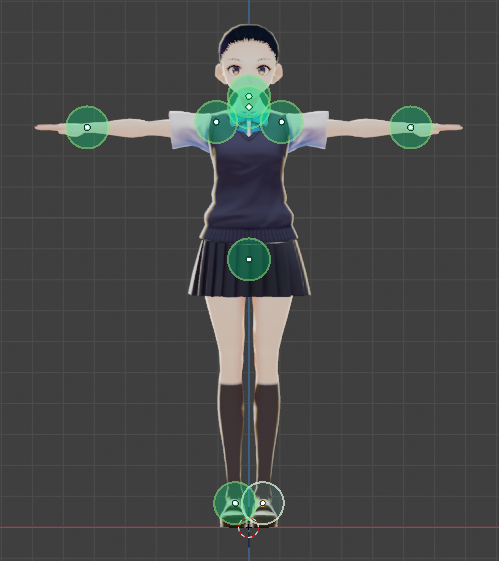
Specifying the positions of other parts
Since we are not going to rig the face this time, we will select “Go”!
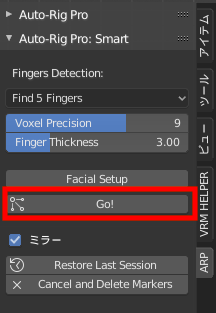
Click “Go”!
The bones will be generated automatically. The Y-axis position along the mesh is also automatically adjusted.

The bones have been generated.
If the bones are OK, click on “Match to Rig” in the Auto-Rig Pro section.
The rig will then be automatically generated based on the bones.
The rig has been generated.
Linking to the model
At this point, the model and rig are not connected, so even if you move the rig in Pose mode, the model will not move.
Select all parts of the model in Object mode, then select the rig while holding down the Shift key at the end, and click Bind in the Skin tab.

Binding the model to the rig
Once the rig is selected and switched to Pose mode, you will be able to move (G key) and rotate (R key) the rig to pose it.
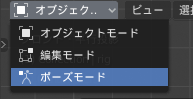
Switch to Pose Mode
When you move or rotate the rig in Pose Mode, the model should follow suit.
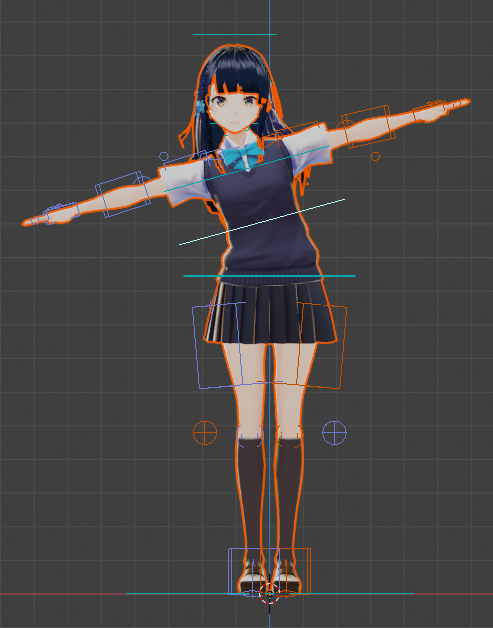
The model is now moving.
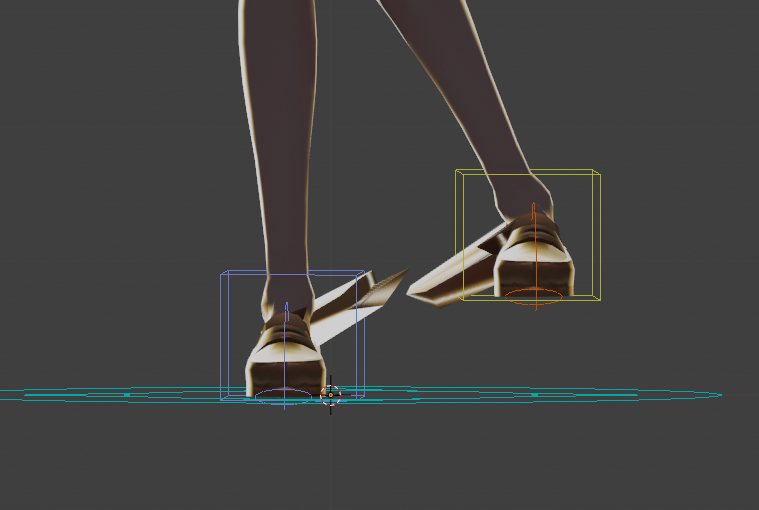
Try to move the model
Let’s try to move the model in various ways.
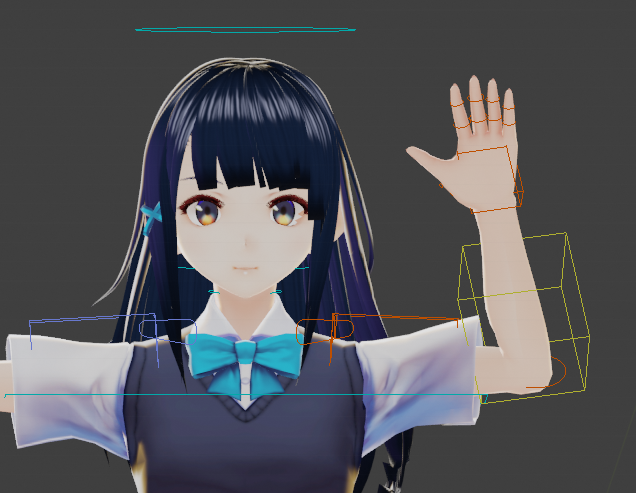
Move the arms
Move the legs.
Note that if you want to undo a pose in Pose mode, using Ctrl+Z may cause the bone placement to be lost. To return to the original position, press Alt+G. To return to the original rotation, press Alt+R.
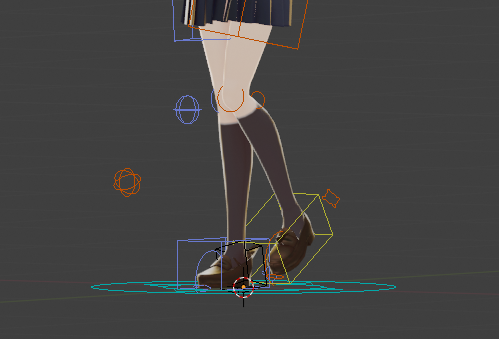
Also, if you find that extra parts move when you move them, as shown below, you need to adjust the weights.
For details on how to adjust the weights, please refer to the following article, “1.5 Adjusting Bone Weights”.
![[Blender for Beginners] Let’s start Modeling Part 6 – How to Add Armatures (bones)](https://styly.cc/wp-content/uploads/2018/12/9-2-1.png)
How did you like it?
Auto-Rig Pro makes it easy to perform rigging tasks that are troublesome to do manually. Please give it a try.