This article will demonstrate the basic usage of JS Placement and will explain how to create Sci-Fi-style scenes using JS Placement.
JS Placement is a pseudo-random displacement map generator.
With simple parameter adjustments, you can create sci-fi-like displacements, colors, and normal maps.
Maps generated by JS Placement can be used for both commercial and non-commercial purposes, but selling or redistributing the maps themselves is prohibited.
How To Import
First, visit the official website and download the installer corresponding to the platform you are using.
Once accessed, download the installer by clicking “Download” on the right side of the screen.
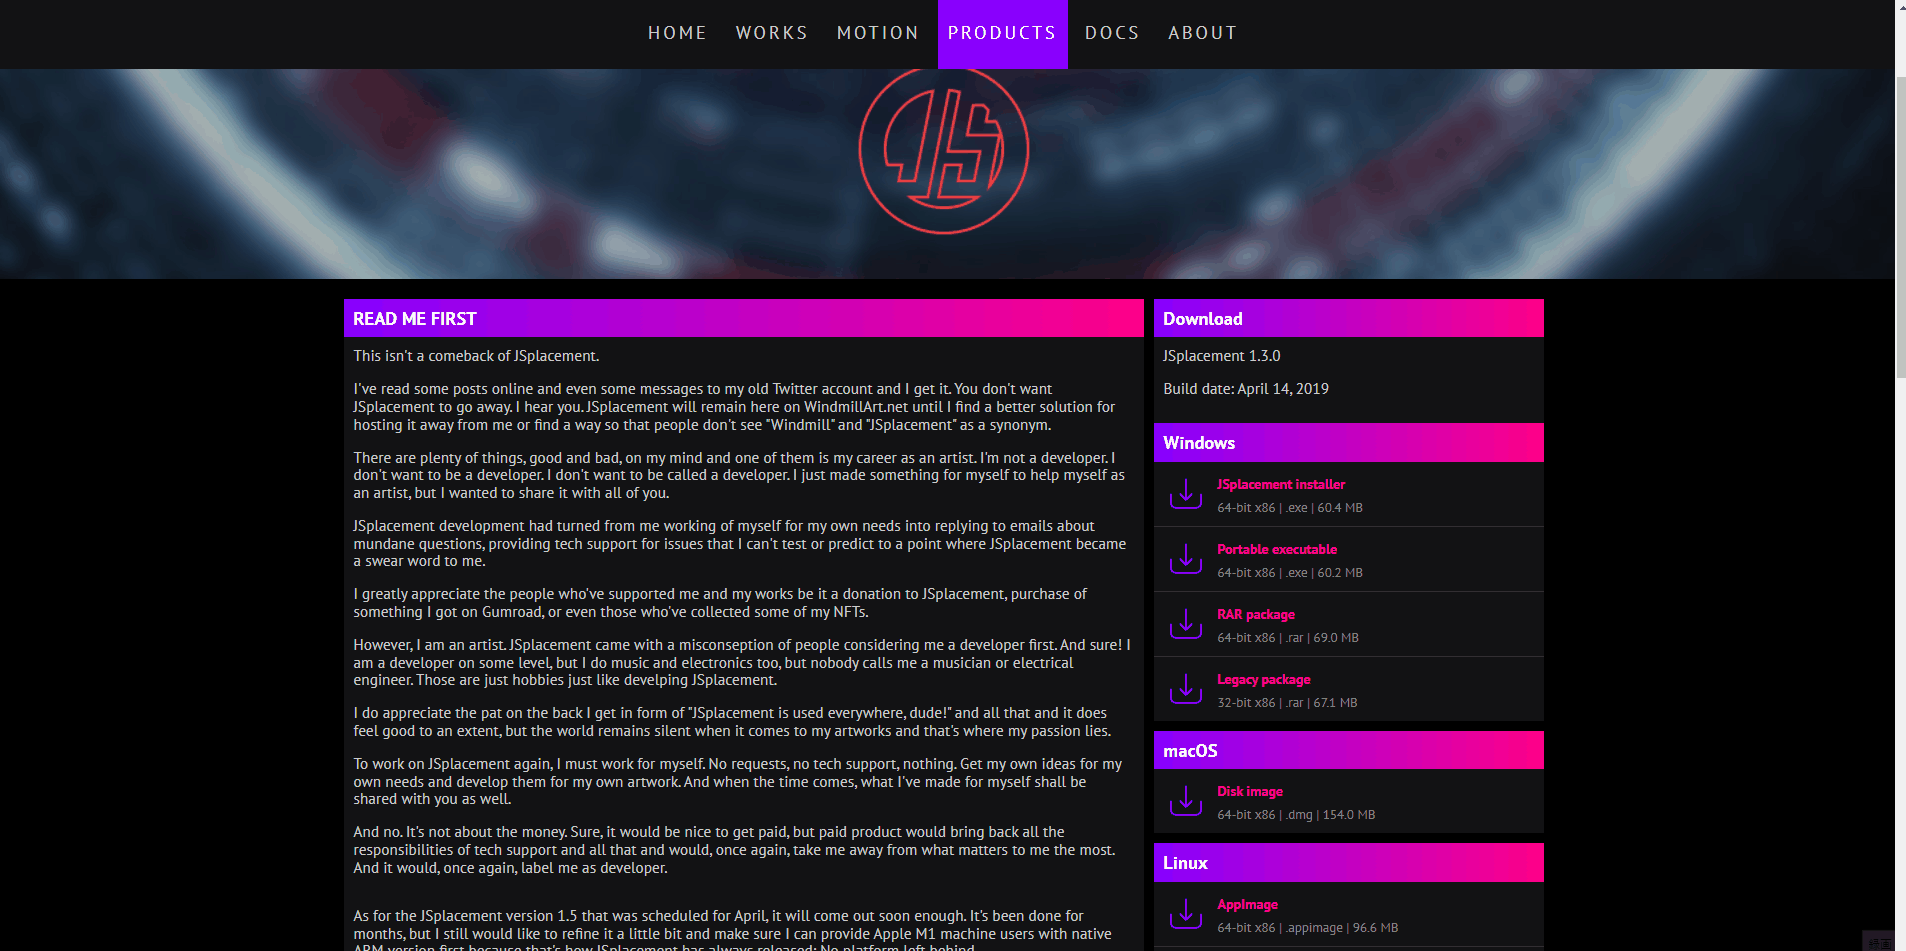
Download the installer
Clicking on the downloaded file will automatically launch the software.
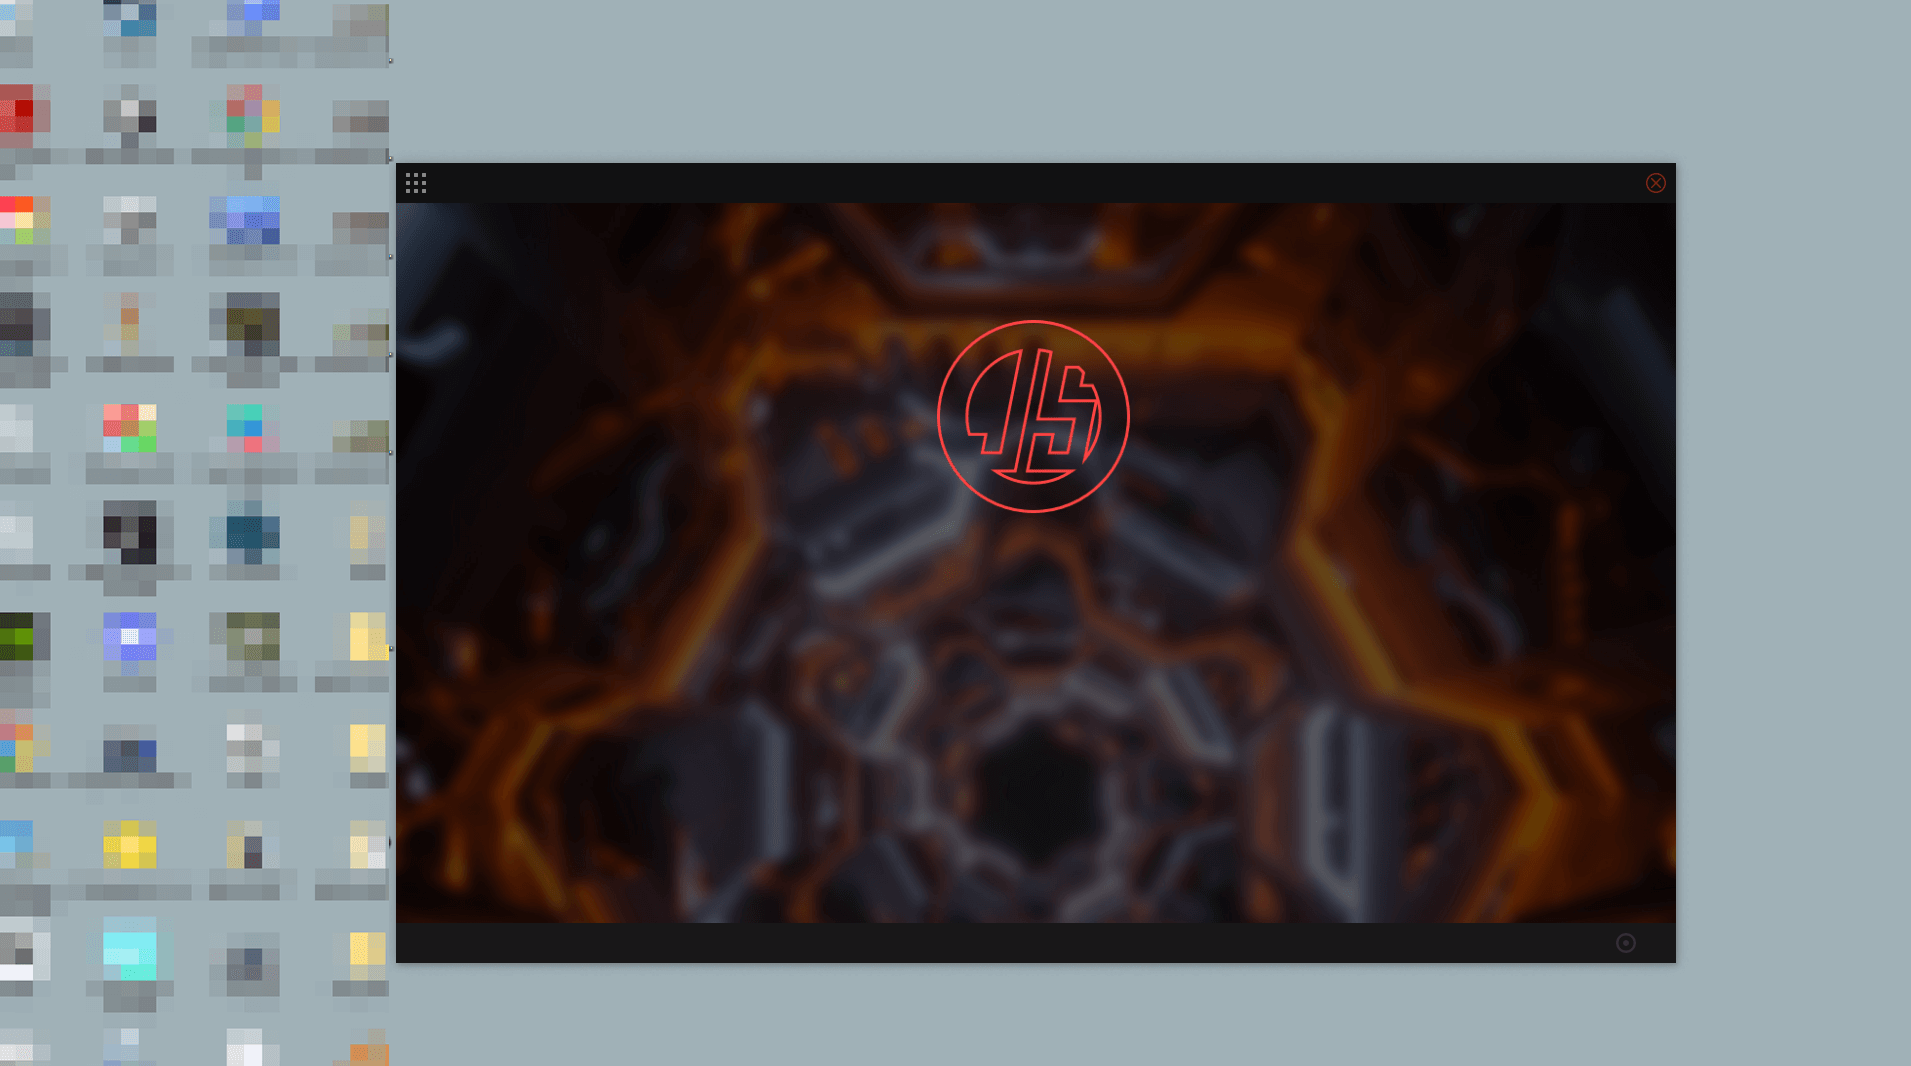
The software will start automatically
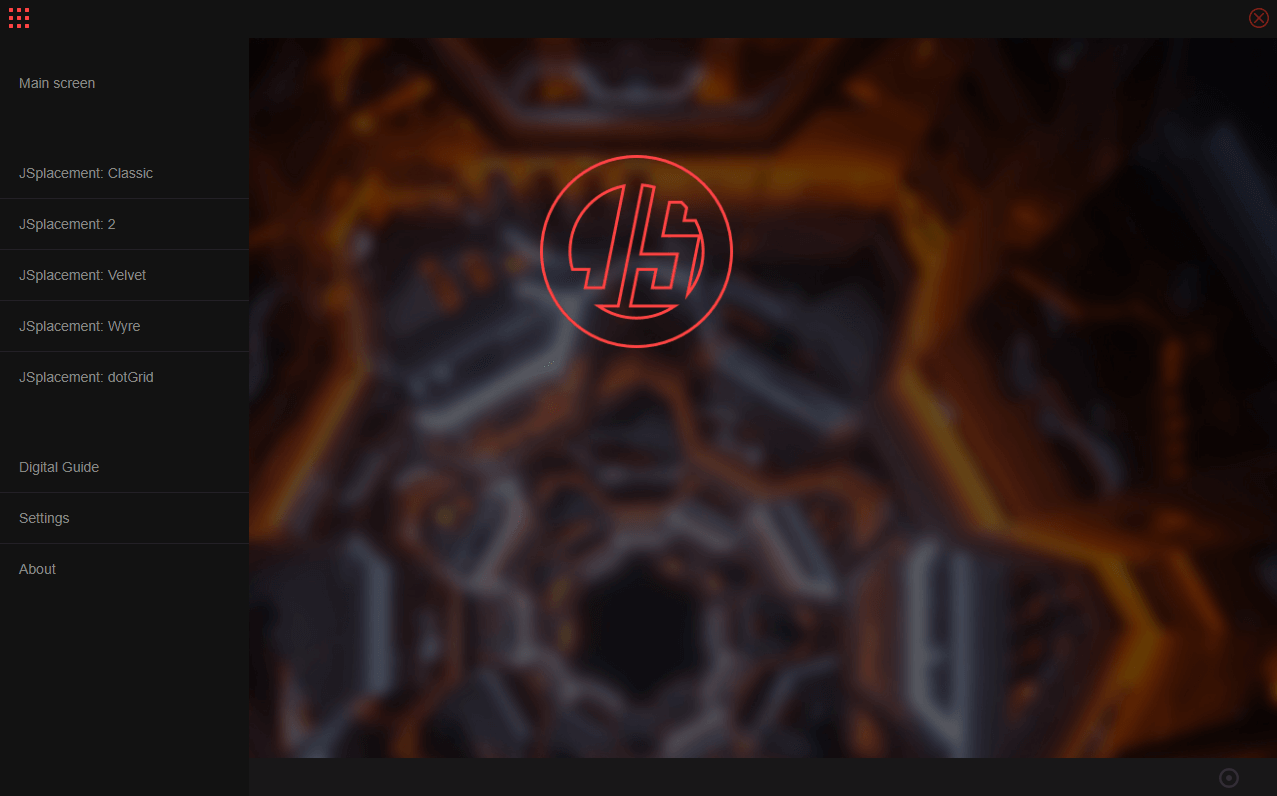
Click on the square in the upper left corner to open the menu.
Open the menu
How to Use
Open the menu, and click on the second item from the top, JSplacement:2.
JSplacement:2
Click where it says, “Click to generate displacement map” on the left side of the screen to generate the map.
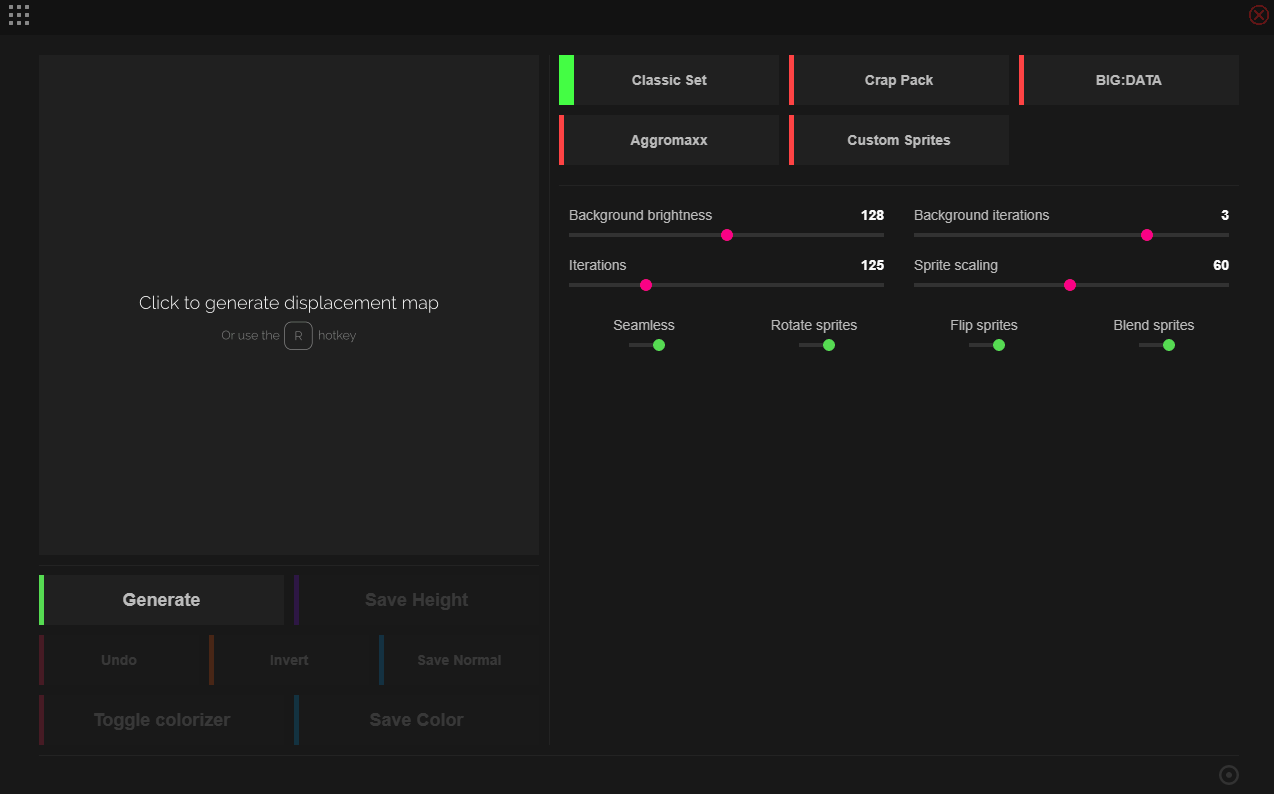
Click to generate displacement map
You can change the details of the map by adjusting the items on the right side of the screen, but for now, we will proceed with the default settings.
Clicking on the “Toggle colorizer” button in the lower left corner of the screen will display a screen for selecting the base color of the map.

Toggle colorizer
Move the cursor over the map and click on “Height” to discard the selected color.
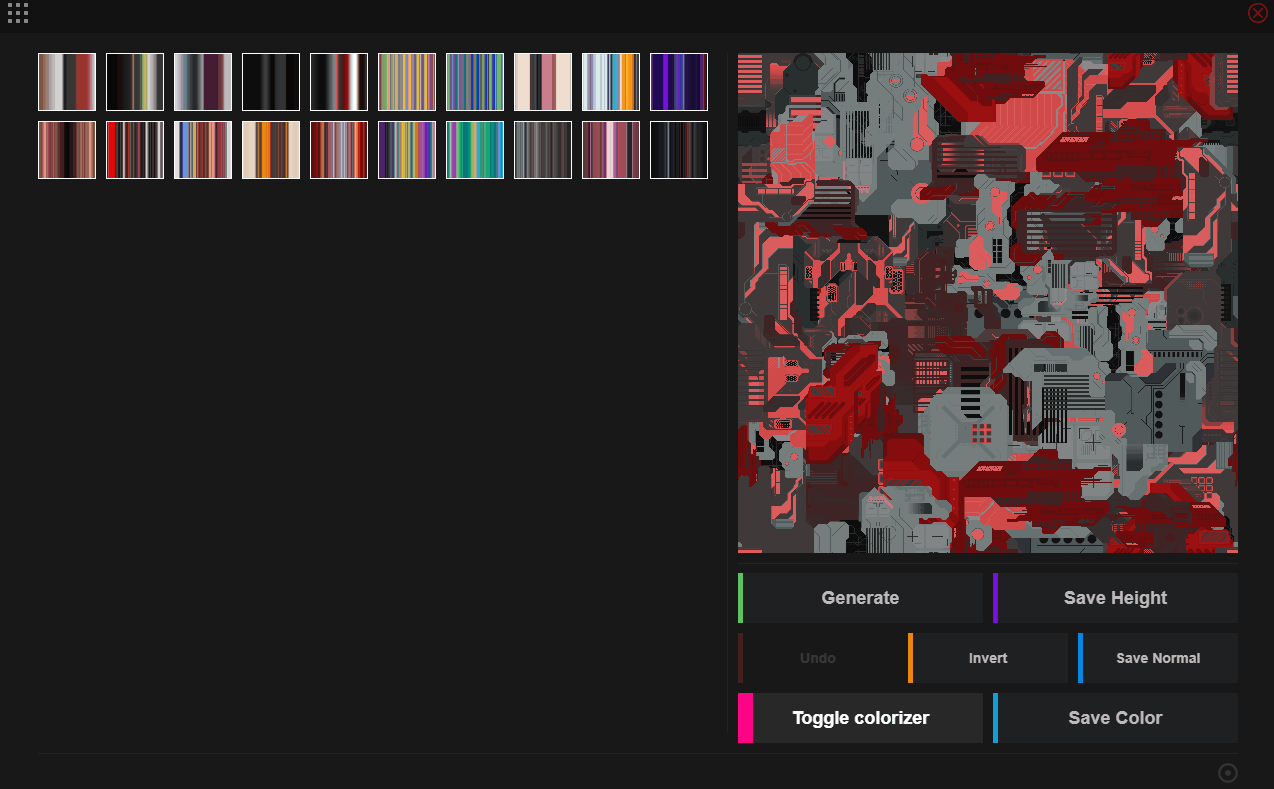
You can discard a color by clicking on “Height”
Select a color and click “Toggle colorizer” again to return to the main menu.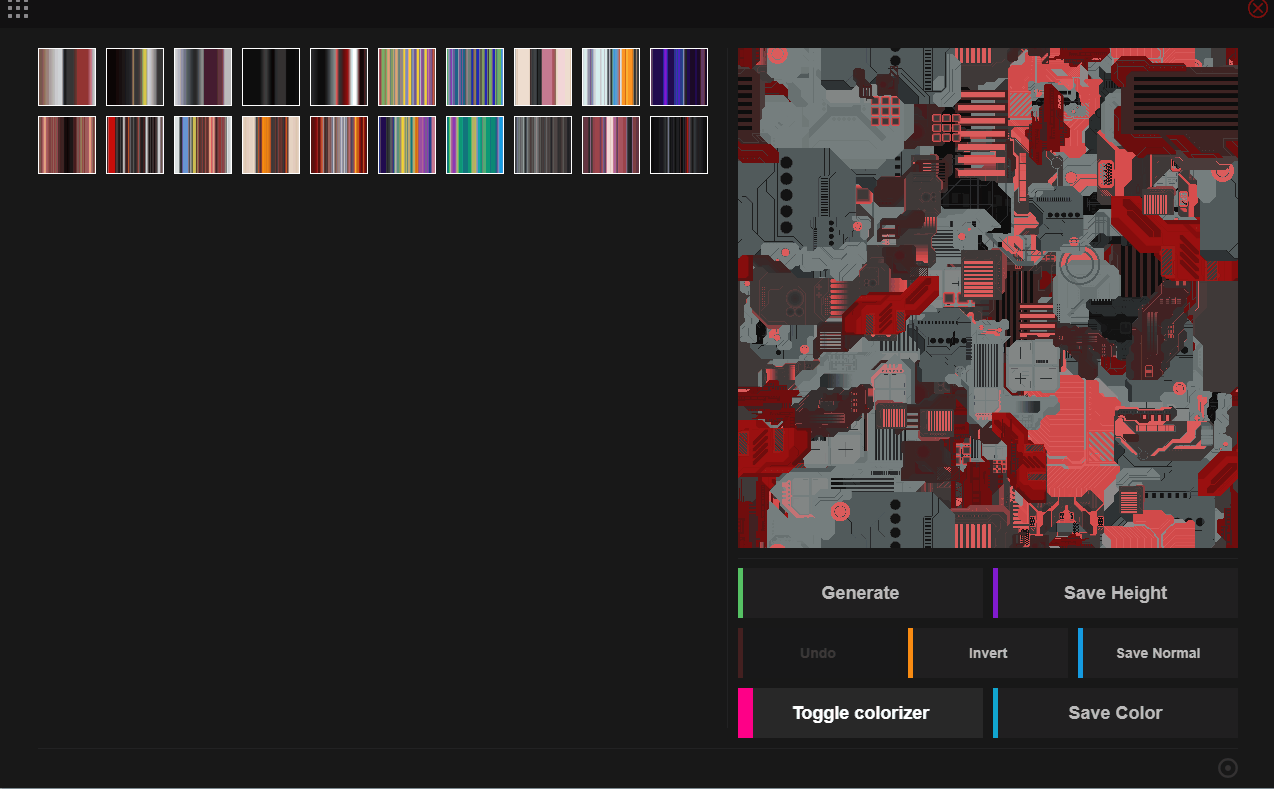
Click “Save Height,” “Save Normal,” and “Save Color” to save each map.
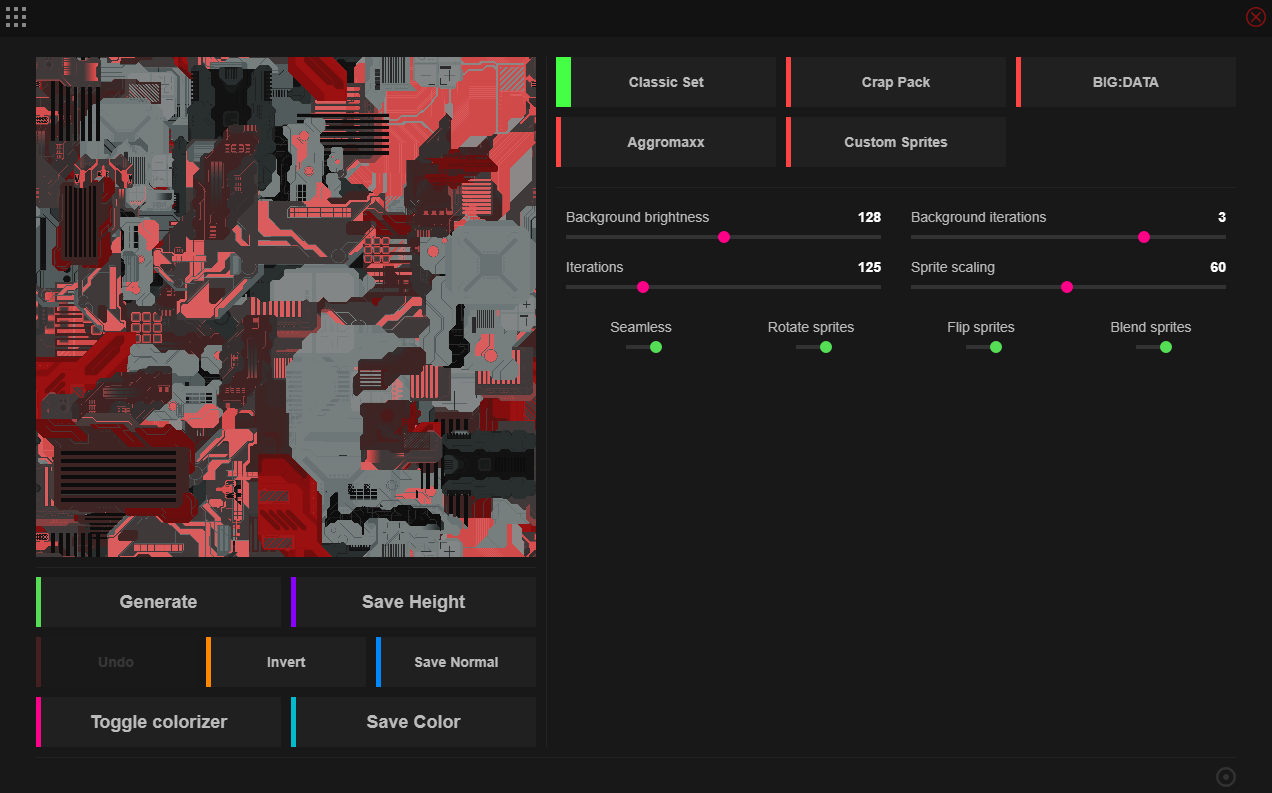
Save each map
This covers the basic operation.
For detailed instructions, please refer to 100 Light Years Diary’s explanation.
Add-on Instructions
You will create a sci-fi-like object in Blender using the object generated earlier.
First, install an add-on called TexTools, which can be used for texture baking.
After accessing the above link, download the latest version of TexTools.
After downloading the Zip file, save it to any location without unzipping.

Download the latest version of TexTools
To start Blender, go to Edit→Preferences→Add-ons, click “Install add-ons” in the upper right corner, and select the Zip file you just saved.
When the TexTools add-on appears, check the checkbox to activate the add-on.
Activate TexTools
Creating Sci-Fi-Like Materials in Blender
You can use the map created with JS Placement in Unity as is, but these instructions will demonstrate using Blender to check the texture and to obtain the Emission texture.
First, change the Render Engine to Eevee from the Render Properties tab and turn on Ambient Occlusion and Bloom.

Turn on Ambient Occlusion and Bloom
[/caption]
Delete the lights, camera, and cube from the scene and add a plane by pressing Shift+[A].
![Shift+[A]でPlaneを追加します](https://styly.cc/wp-content/uploads/2022/05/13.gif)
Shift+[A] to add a plane
Go to the Shading tab and create a new material.

Create a new material
Add an image texture by pressing Shift+[A] and selecting the color-mapped image created in JSplacement.
Once added, connect the color of the image texture to the base color of the Principal BSDF.

Select an image for the color map
Duplicate the image texture with Shift+[D] and replace the color-mapped image with a height map.
Then, change the color space of the image texture to Non-Color.

Change color space to Non-Color
Then, click Shift+[A] to add a bump.
The strength of the bump should be changed to 10.
![Shift+[A]でBumpを追加します](https://styly.cc/wp-content/uploads/2022/05/19.gif)
Shift+[A] to add Bump
Connect the color of the image texture in the height map to the height of the bump, and the normal of the bump to the normal of the Principled BSDF.

Connect nodes
Next, duplicate the image texture of the height map.

Duplicate image texture
Add a color ramp and connect the color of the image texture you just duplicated with the face of the color ramp.

Connect nodes
Add the Mix Shader and Emission Node.
Set the strength of emission to 20.

Add Mix Shader and Emission
Connect the Principled BSDF to the first shader in the Mix Shader and the Emission to the second.

Connect nodes
Connect to color in the Color Ramp and face in the Mix Shader.
Then, you can adjust the emission range by moving the black slider in the Color Ramp.
The color of the emission can be changed in the Color in Emission section.

The Color Ramp allows you to adjust the range of emissions
Bake Emission Textures
Select “Plane” to go to the UV Editing window.

Go to the UV Editing window
Open TexTools, and change the size to 4096.

Change size to 4096
Click on the “Baking” thumbnail to select which texture to bake, then select “Emission.”
Press “Bake” to start baking. (It will take a little time.)

Bake emission textures
When baking is complete, click “Image” to save the image.

Save the texture
Create Objects to be Used in the Scene
Press Shift+[A] on the scene to add a UV Sphere, then right-click and select “Shade Smooth.”
![Shift+[A]を押してUV Sphereを追加します](https://styly.cc/wp-content/uploads/2022/05/31.gif)
Press Shift+[A] to add UV Sphere
Next, add a cylinder.
Change the vertices value of Add Cylinder in the lower left corner to 64. Then, right-click and select “Shade Smooth.”

Change the value of vertices to 64
Select “Cylinder” to enter the edit mode, and then delete the top and bottom faces.

Delete top and bottom faces
Return to object mode. Select “Cylinder” and press [S]+[Z] to deform it into a ring.
Transforms cylinder into a ring shape
Add another cylinder, enter the edit mode, select the bottom face, change the size to 1.6 with the [S] key, then right click and select “Shade Smooth.”
![[S]キーで大きさを1.6に変更します](https://styly.cc/wp-content/uploads/2022/05/35.gif)
Change the size to 1.6 with the [S] key
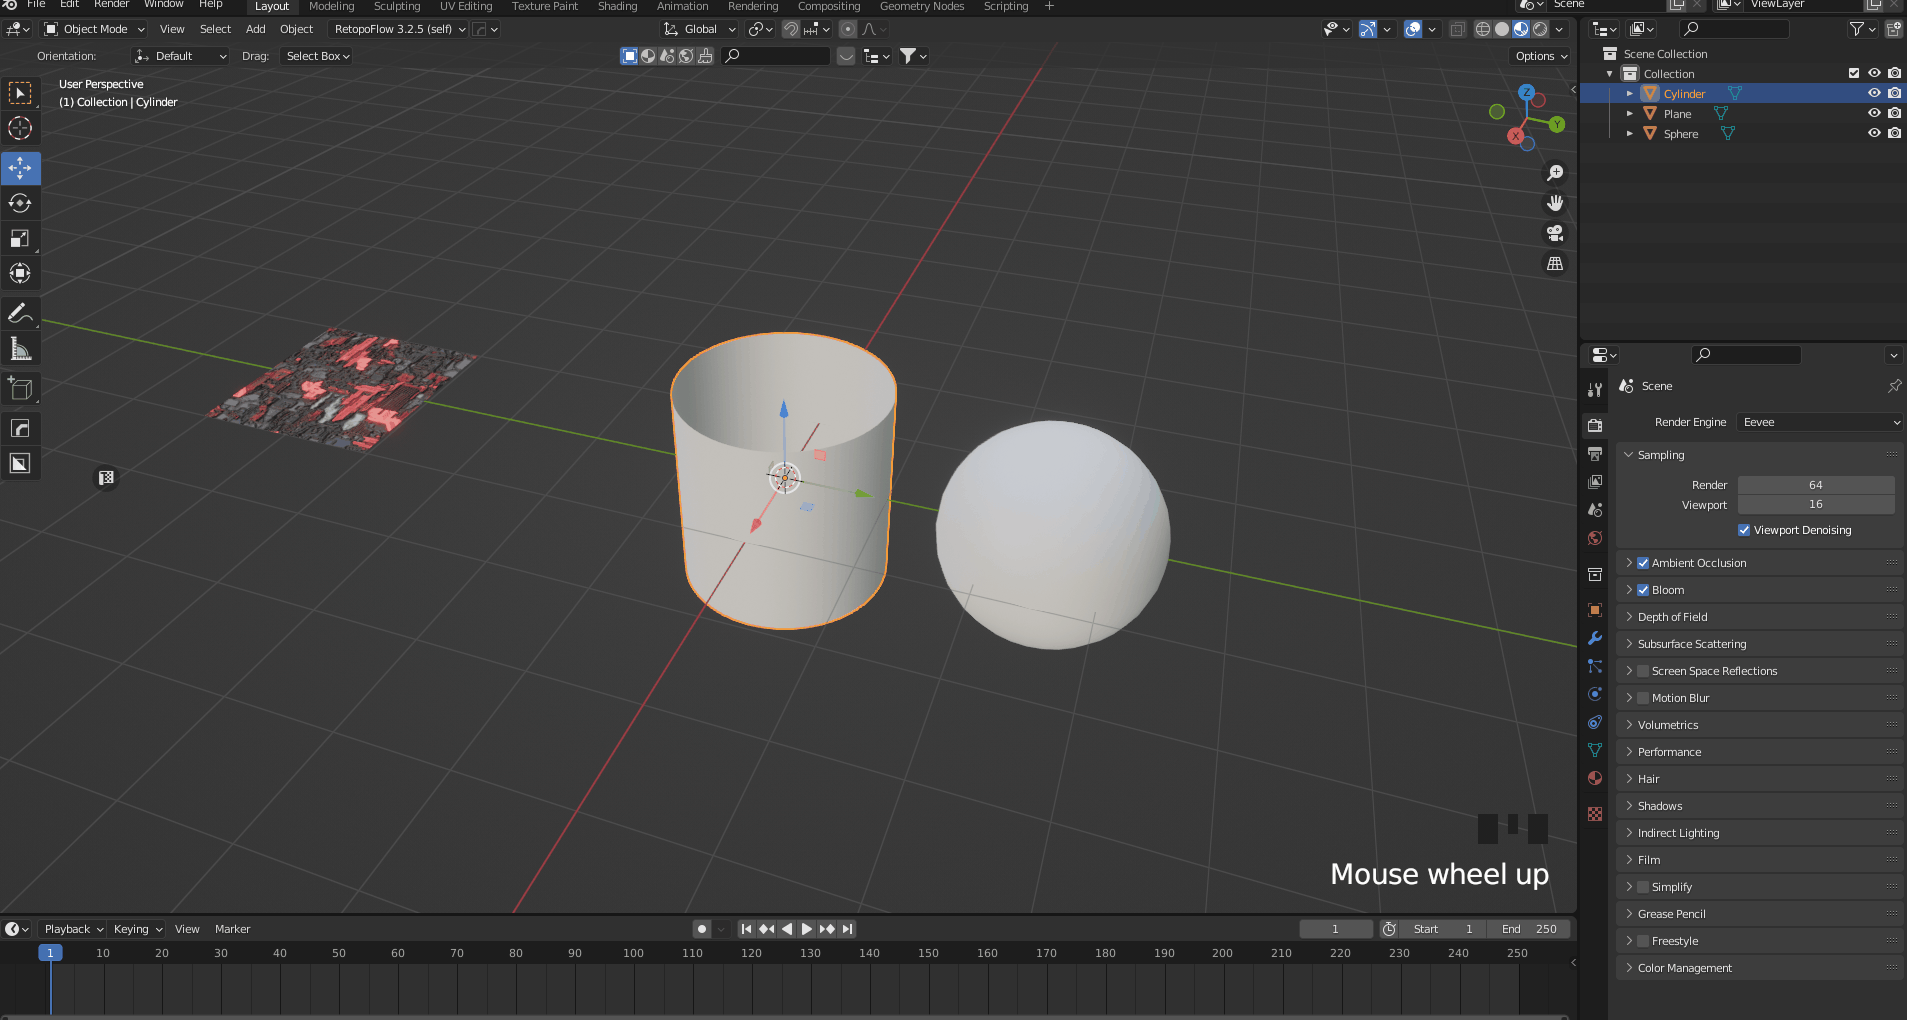
Add a cube to the scene to serve as a background.

Add a cube to the scene
We resized and placed all objects as shown in the image.
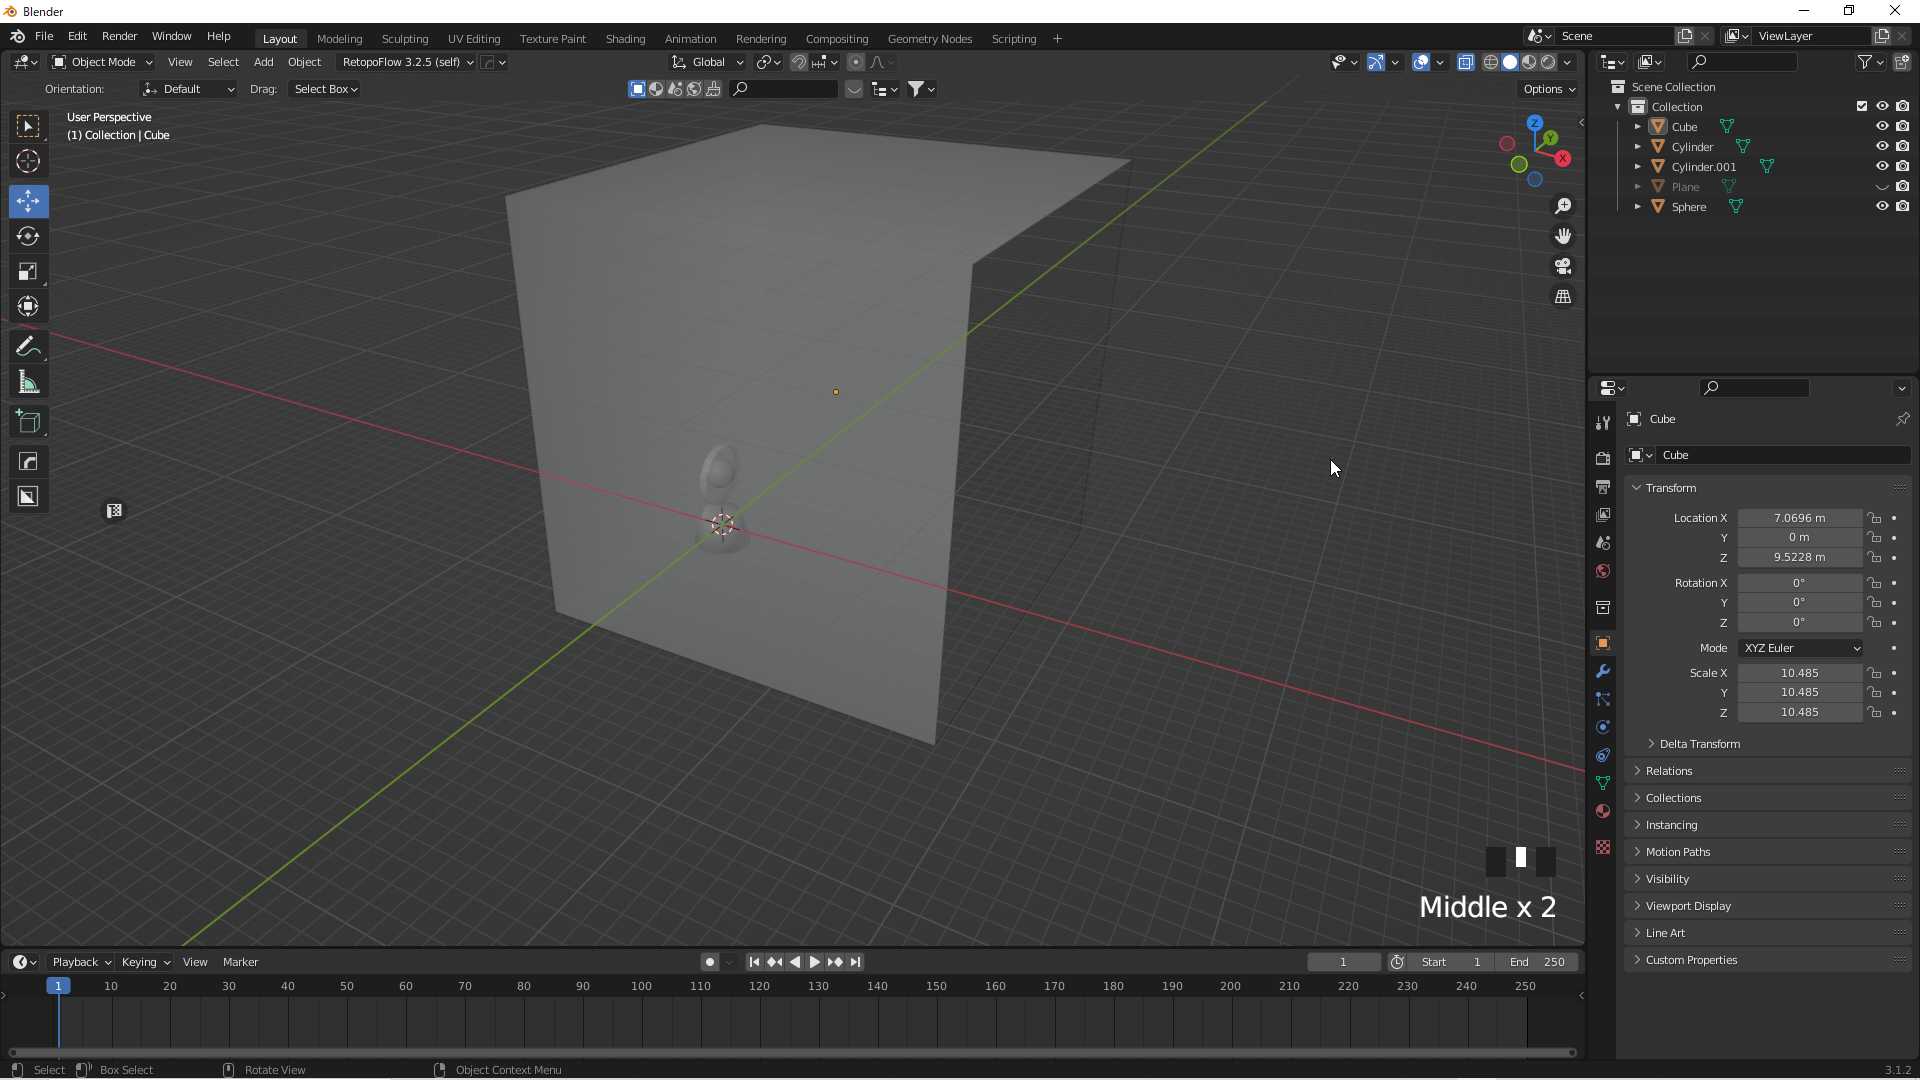
Place an object
This is an example, so you can use your favorite object and placement.
Unity does not show the back side of the face, so add thickness to objects that use both sides.
You can check the orientation of the faces by turning on Face Orientation in Viewport Overlays. (Blue is the front side, and red is the back side.)

Turn on Face Orientation to check face orientation
First, select “Cube” and add the Solidify modifier. Set the value to 0.03 and apply the modifier.

Apply the Solidify modifier
Next, select the ring-shaped cylinder and add the Solidify modifier in the same way, setting the value to 0.03 and applying the modifier.
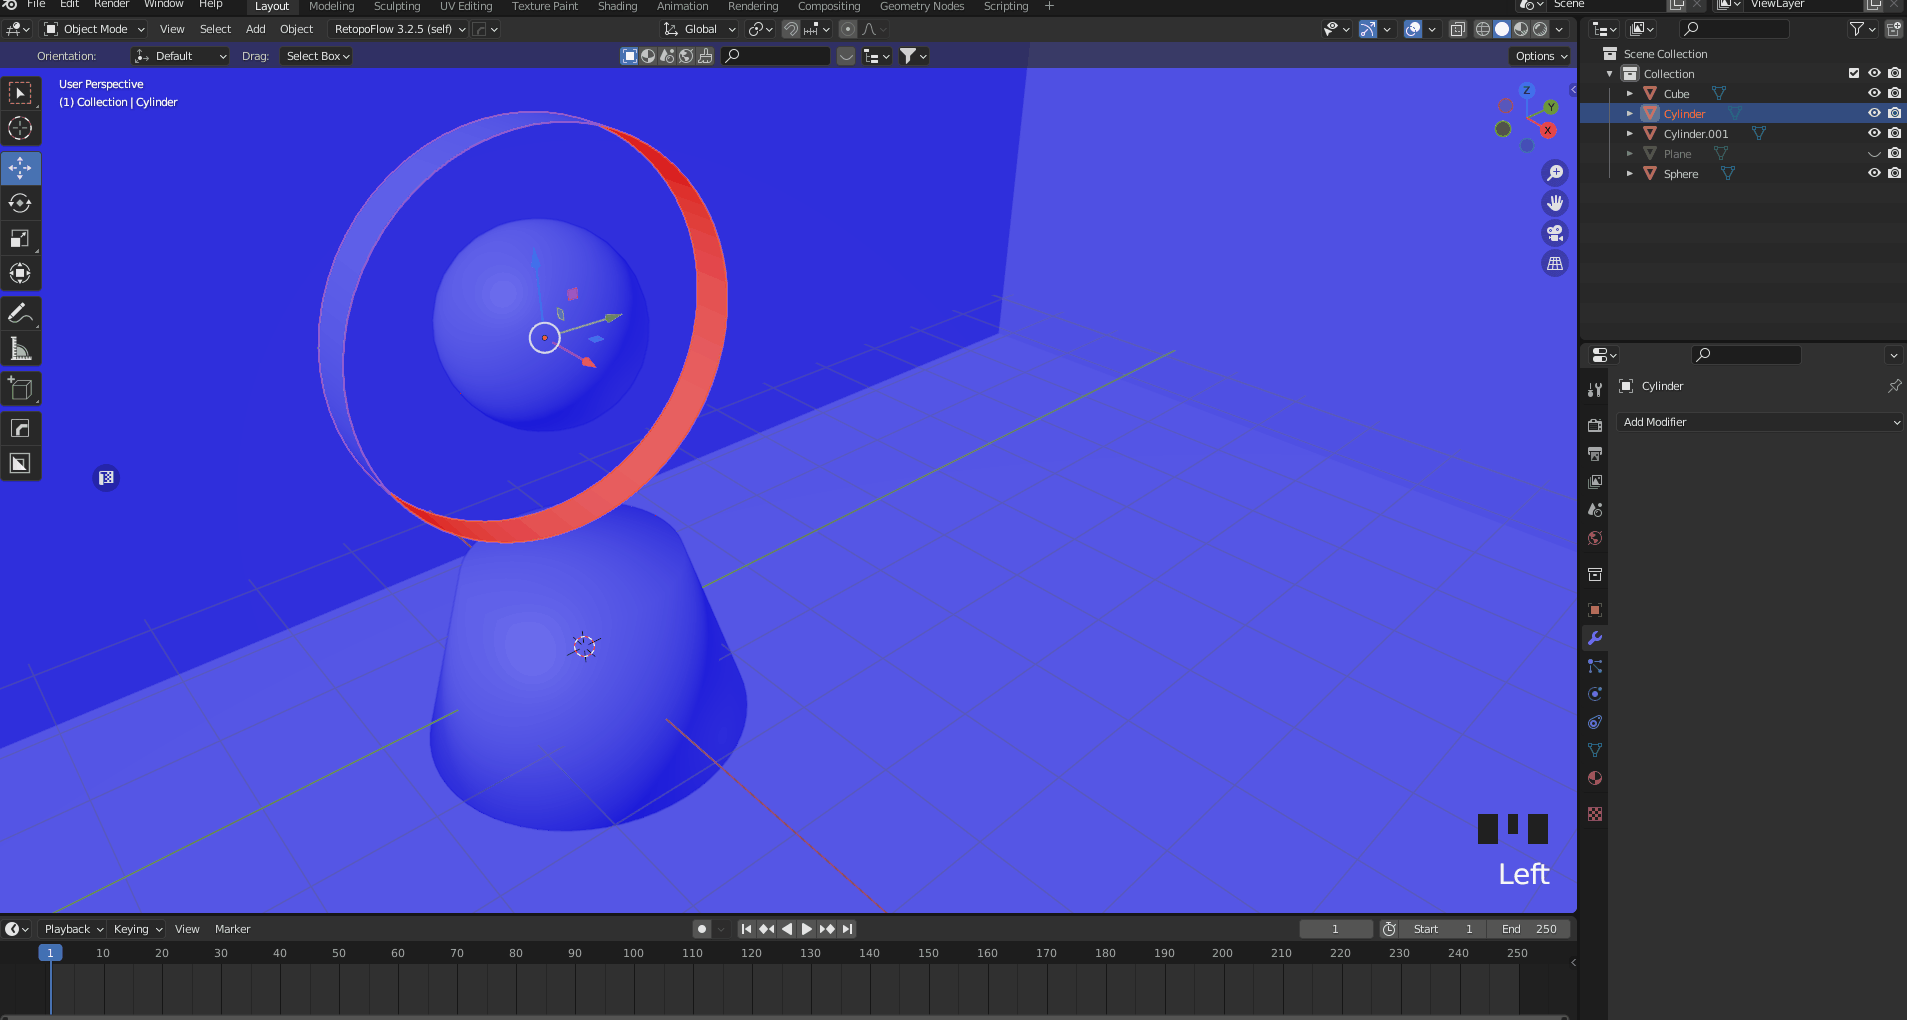
Apply the Solidify modifier
Now that the object is ready, export it.
Exporting Objects
Select all objects and choose File→Export→FBX.
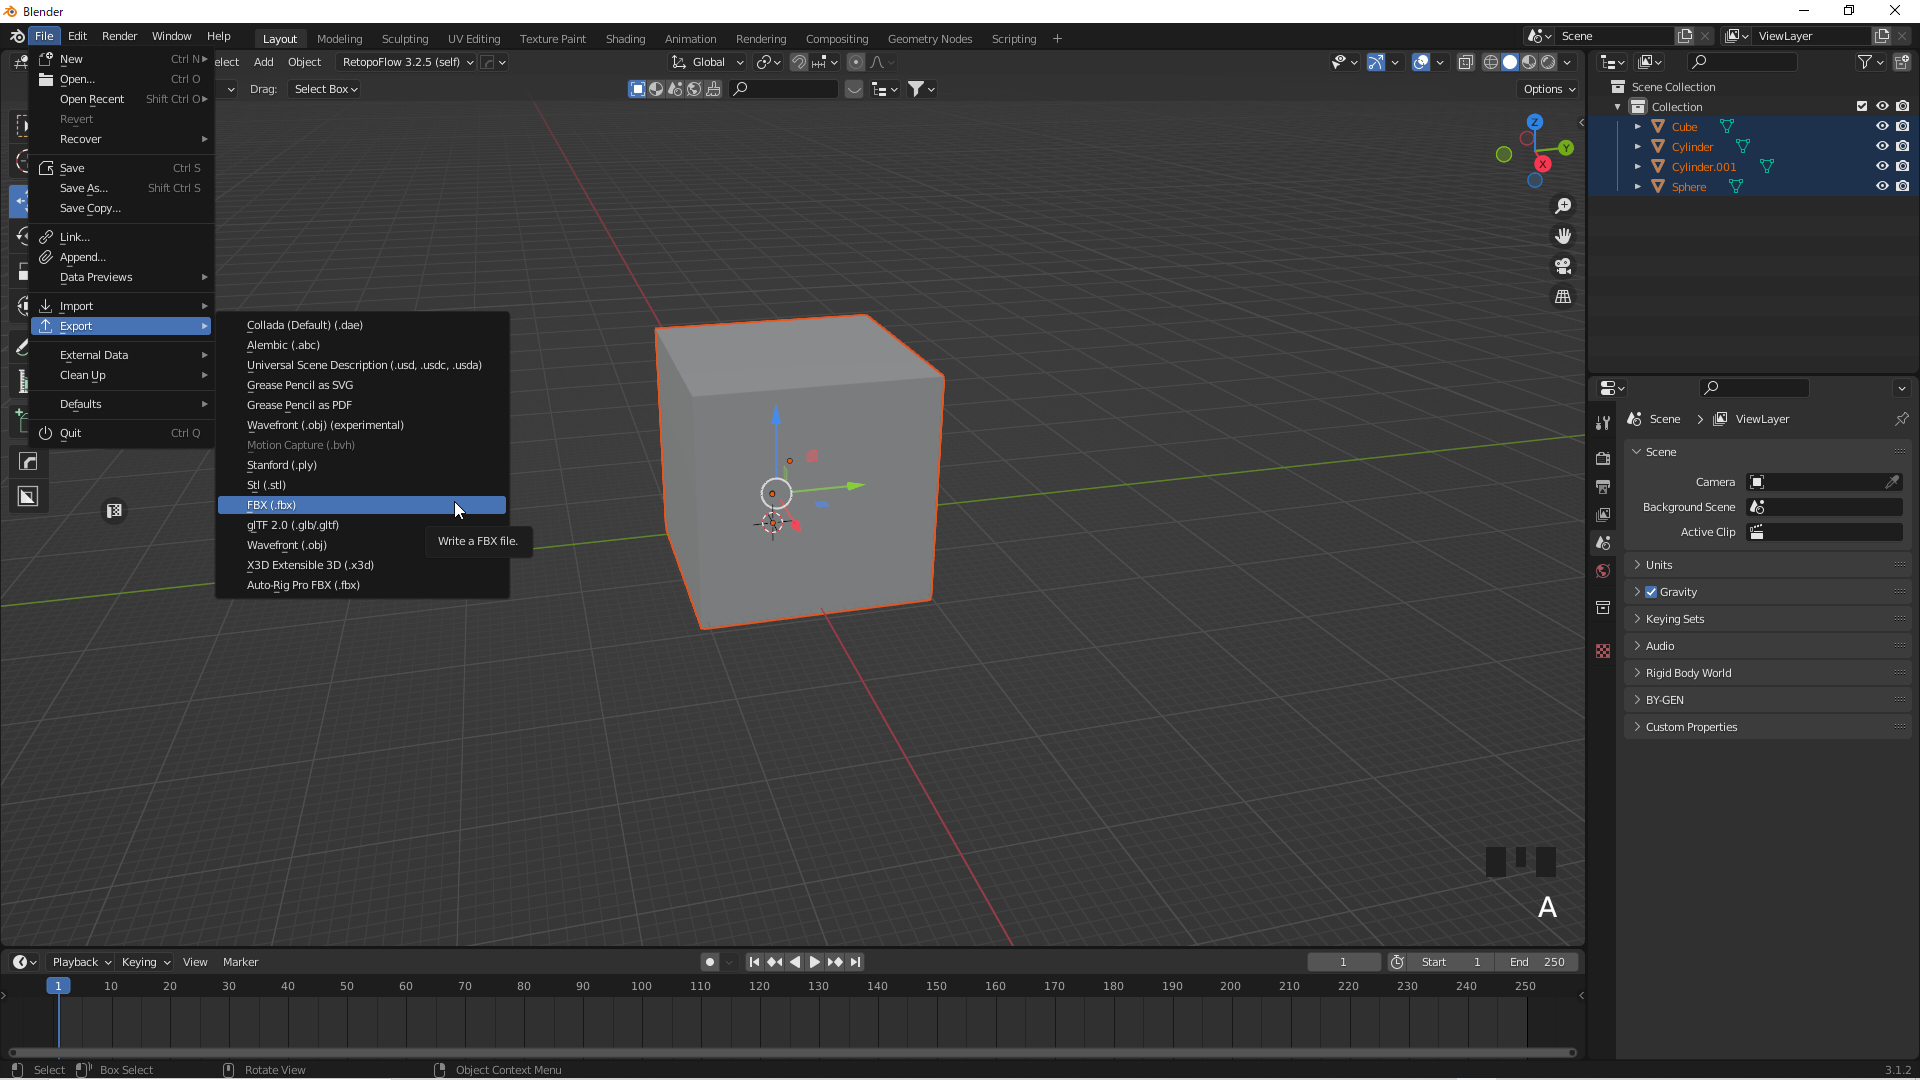
File→Export→FBX
See the image below for export settings.
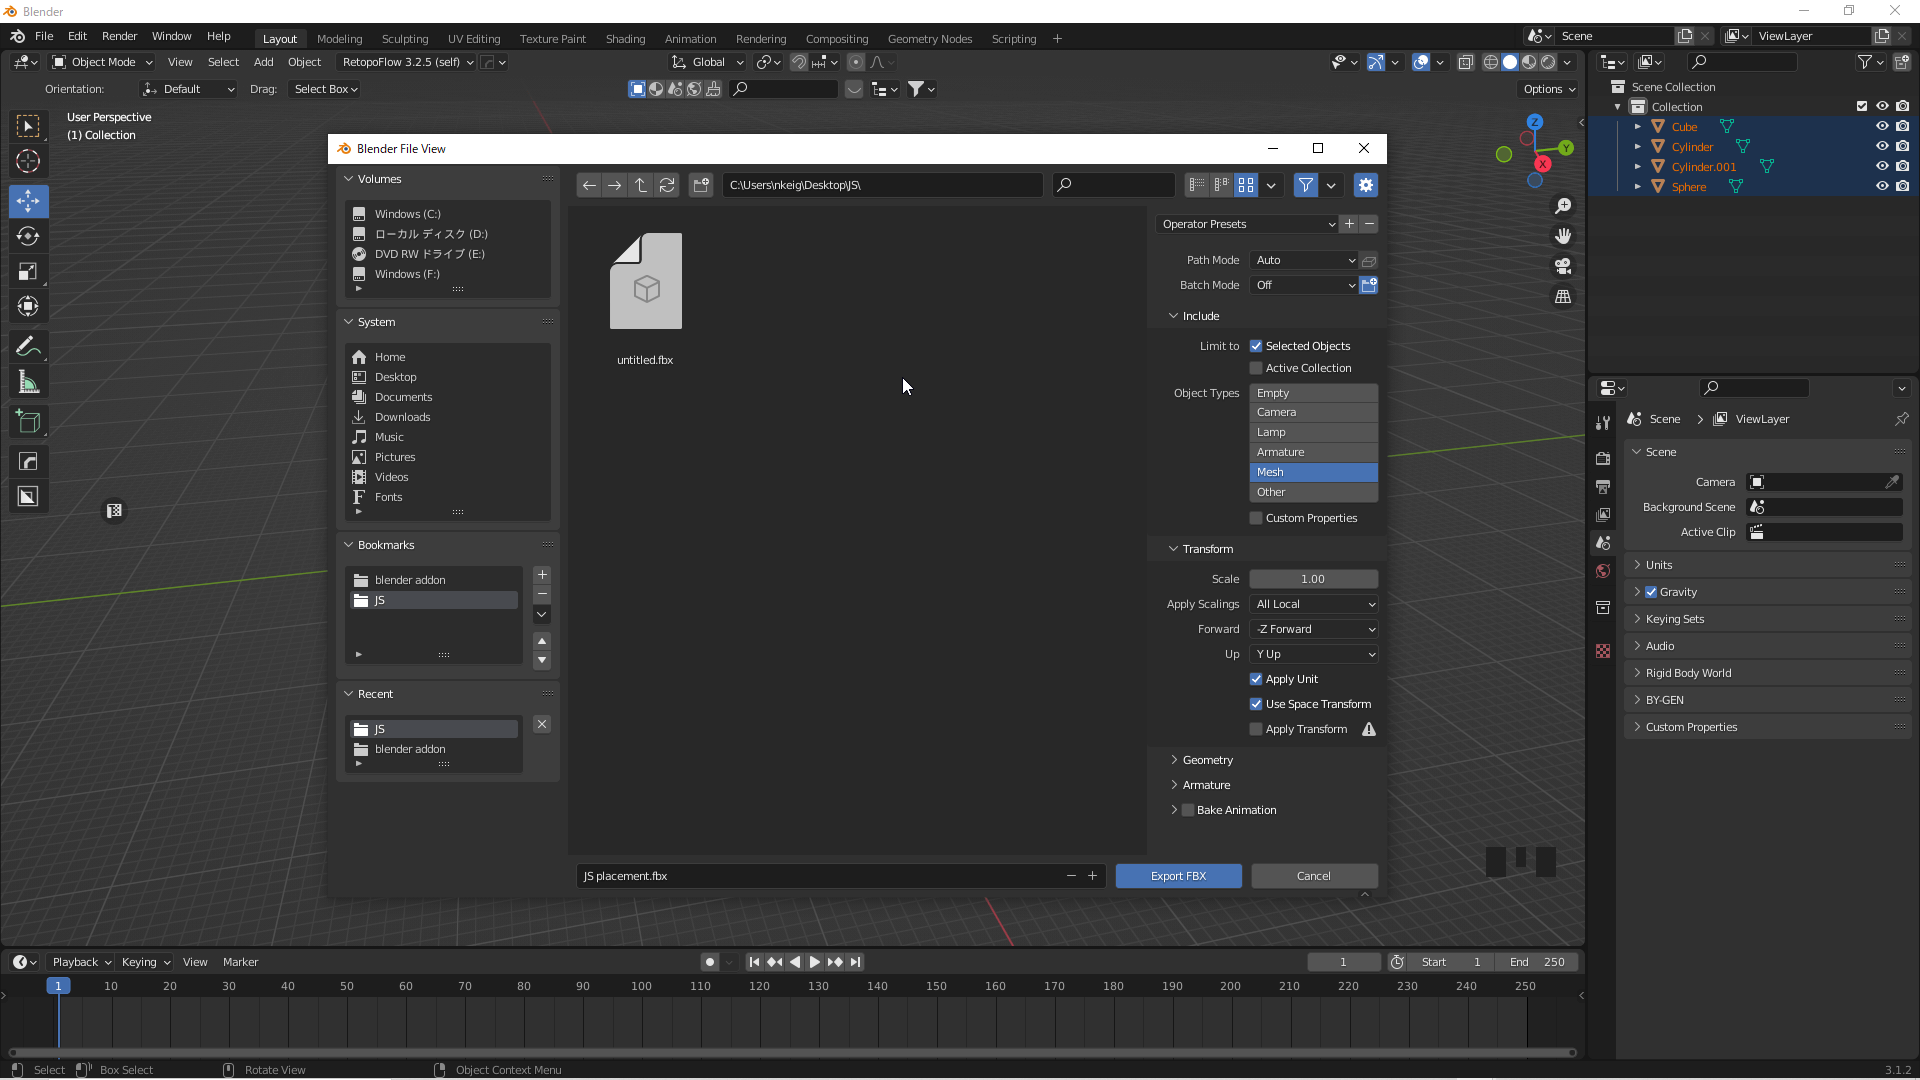
Export settings
Applying Textures in Unity
To upload a Prefab to STYLY, you need to upload the STYLY plugin.
You can read more about how to upload assets from Unity to STYLY in the following article:

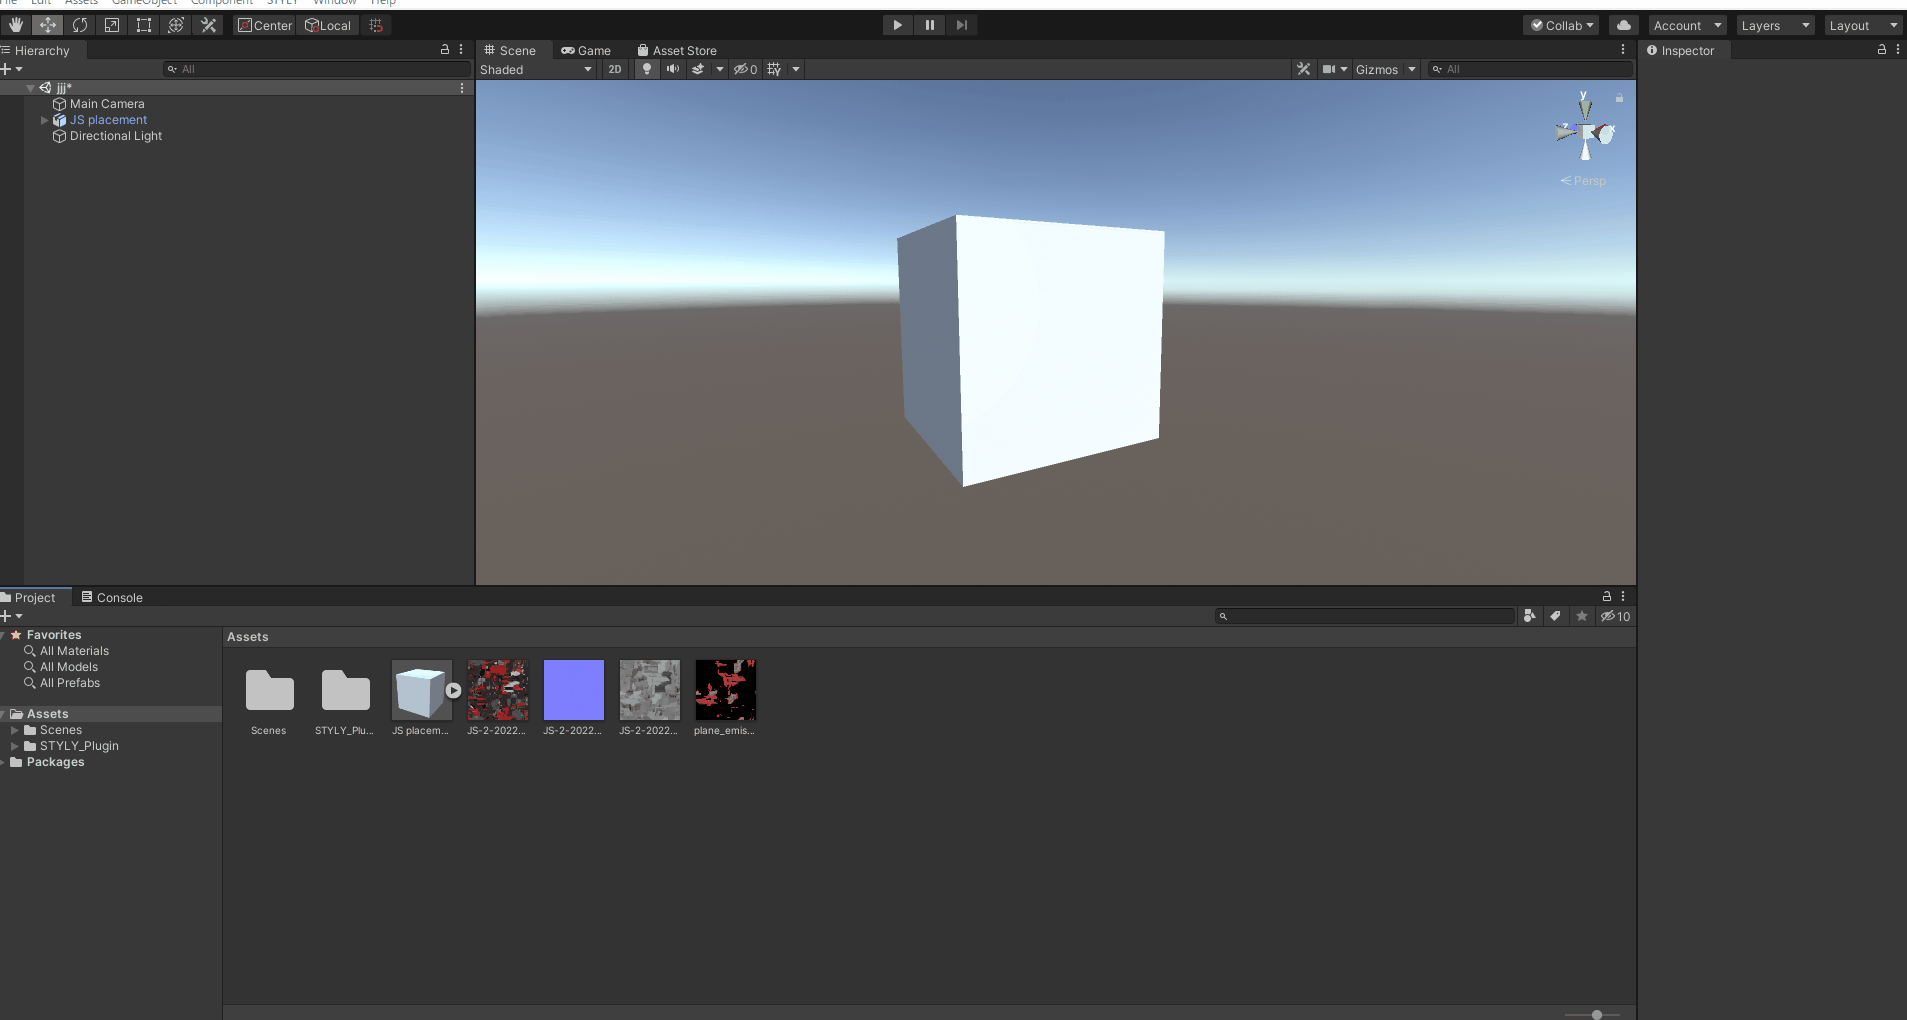
Launch Unity, drag and drop the textures and FBXs into the Assets folder, then drag and drop the FBXs into the scene.
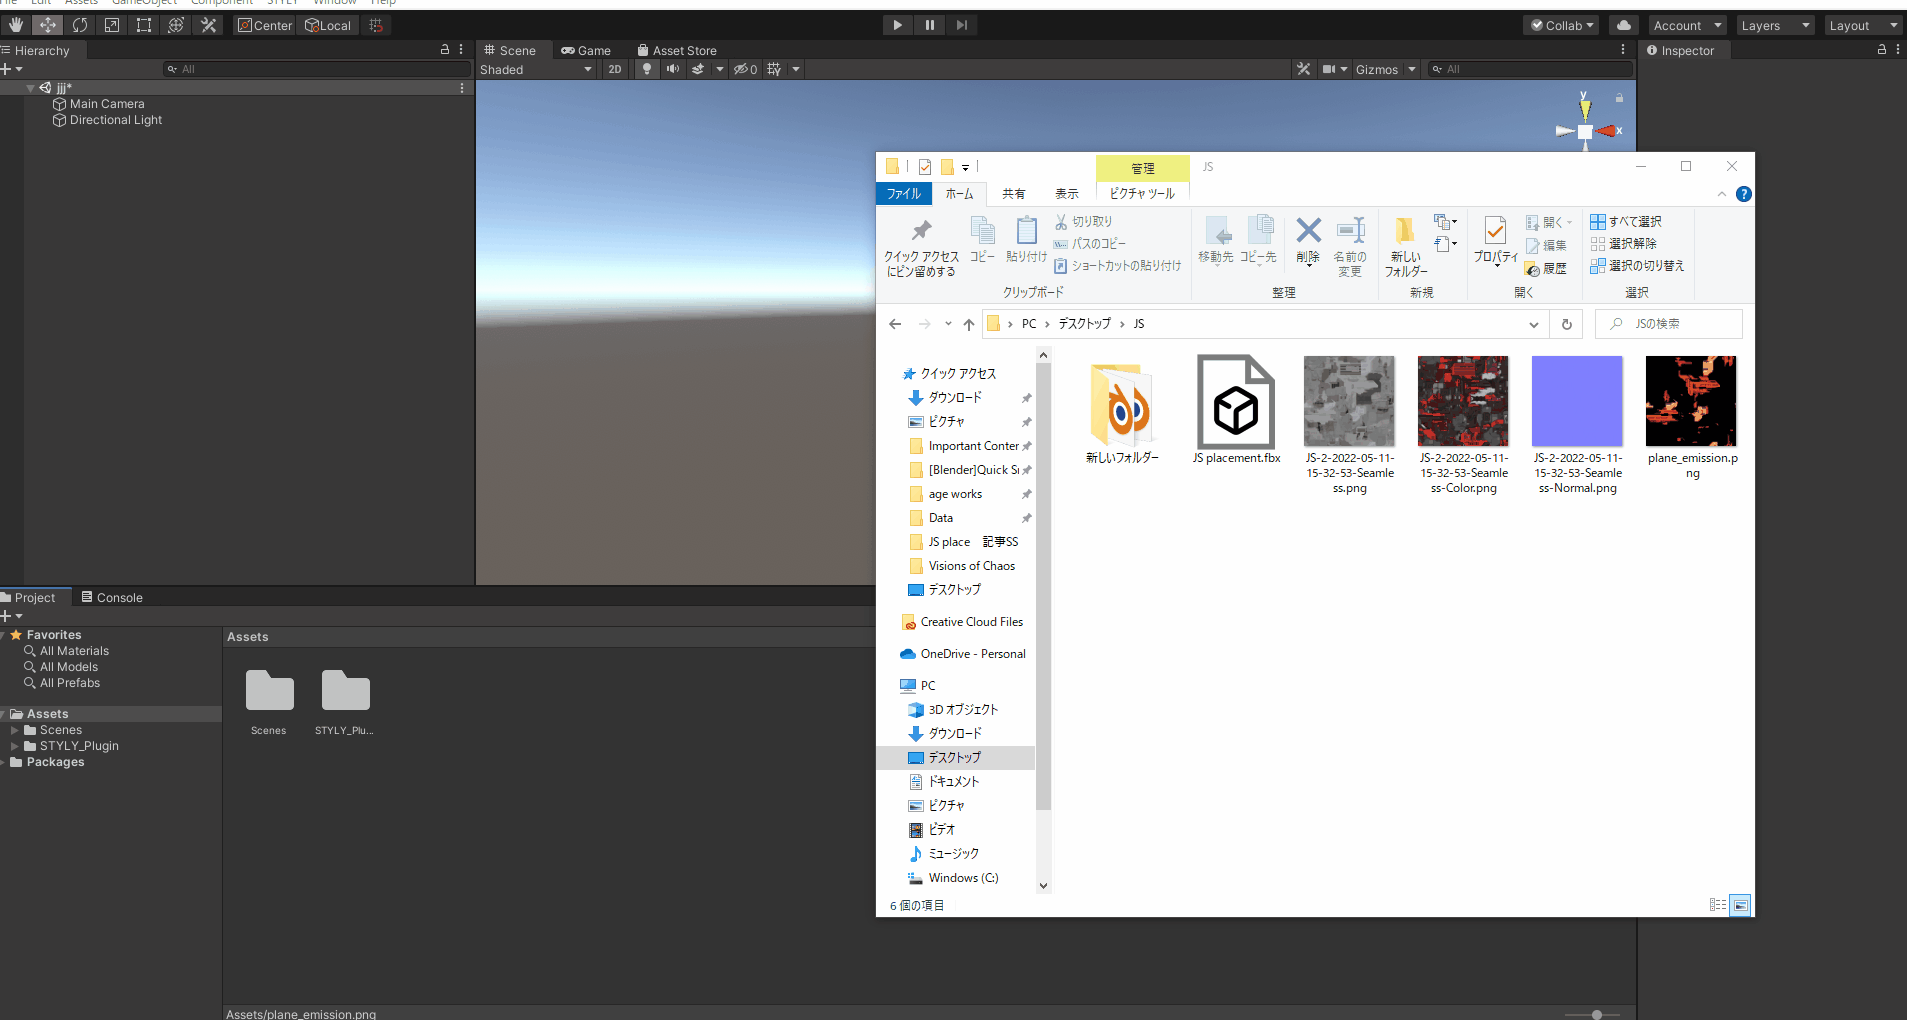
Drag and drop FBX into the scene
Right-click the Assets folder and click Create→Material to create a material.
Create a material
Apply each texture to a material.

Apply each texture
Drag and drop the material onto the object to assign the material.
Set the XY value of Tilling to 3 to make the texture finer.

The value for Normal was set to 30. The values for Emission and other values are shown in the following image.
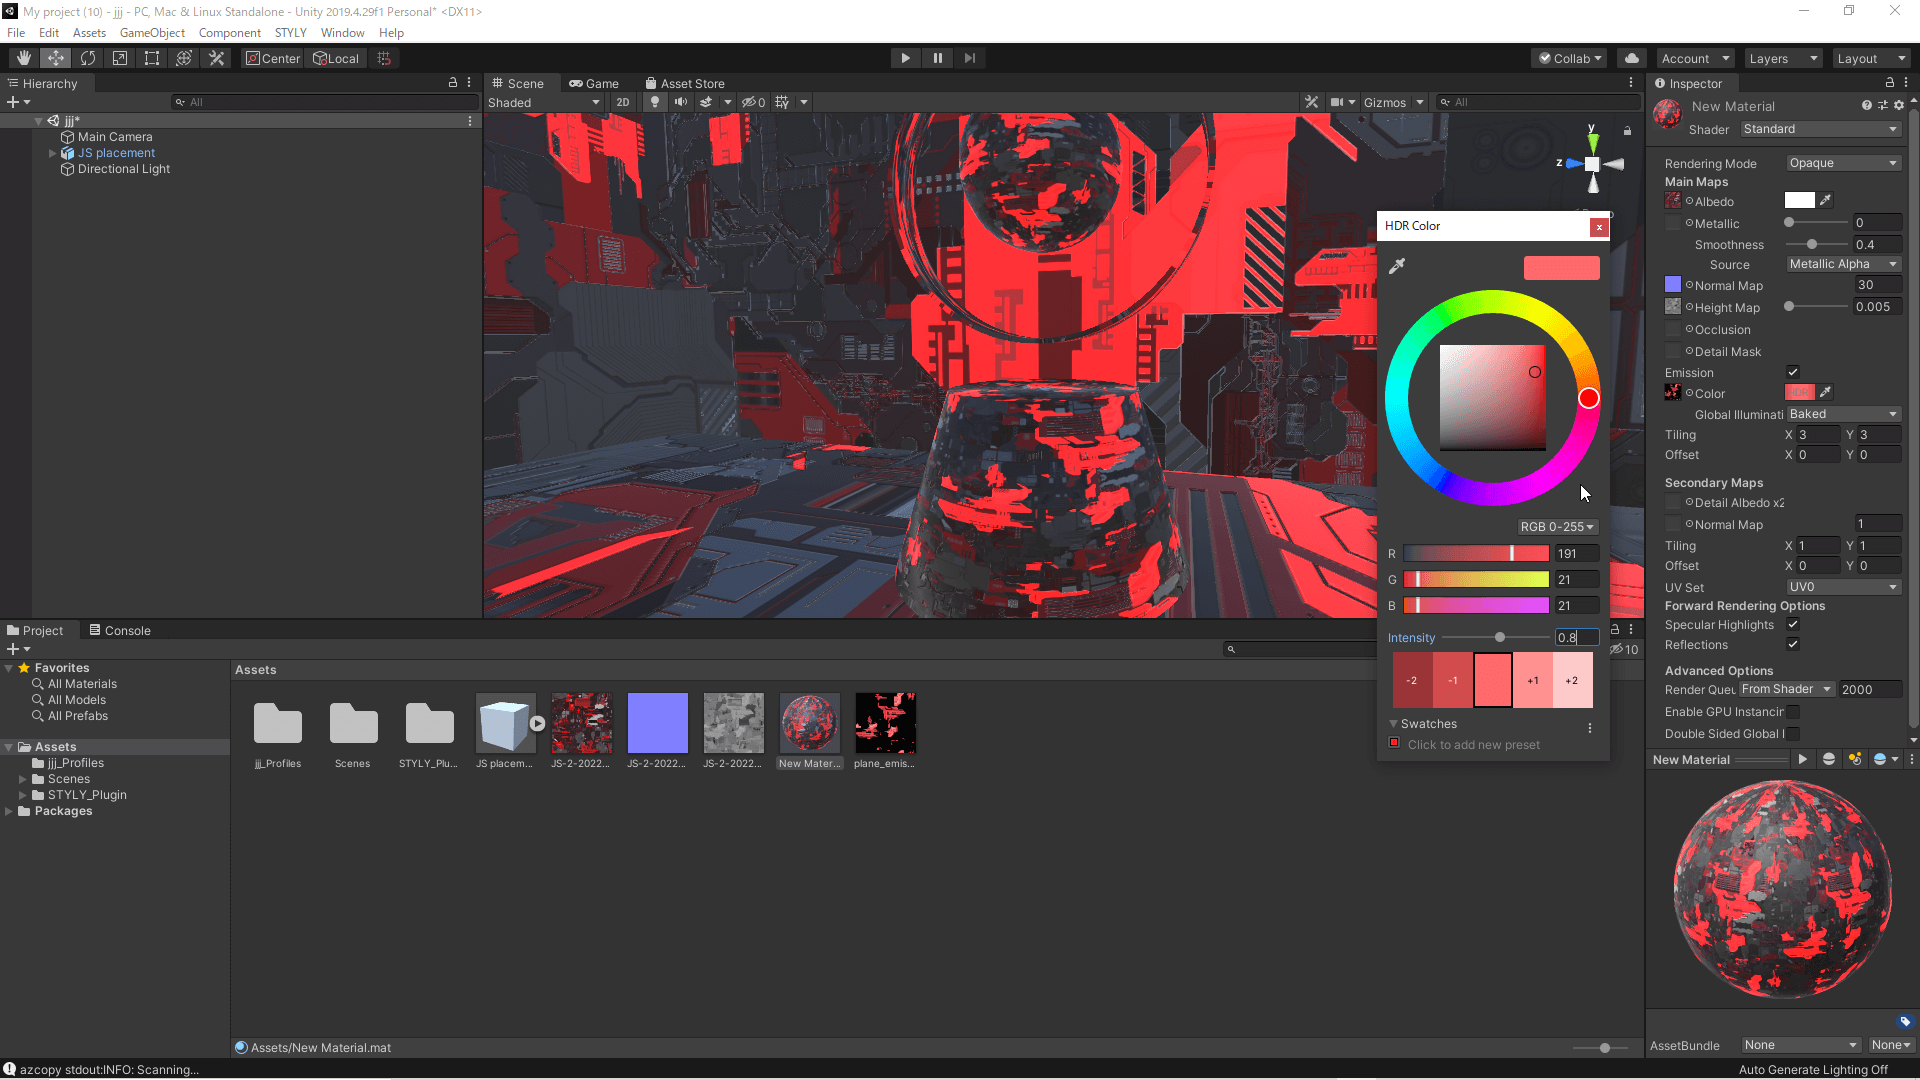
Inspector Settings
Next, add Post Processing.
The use of Post Processing is explained in detail in this article.
![[Unity]Understanding the Basics of Post Processing](https://styly.cc/wp-content/uploads/2020/07/EYECATCH-1-160x160.png)
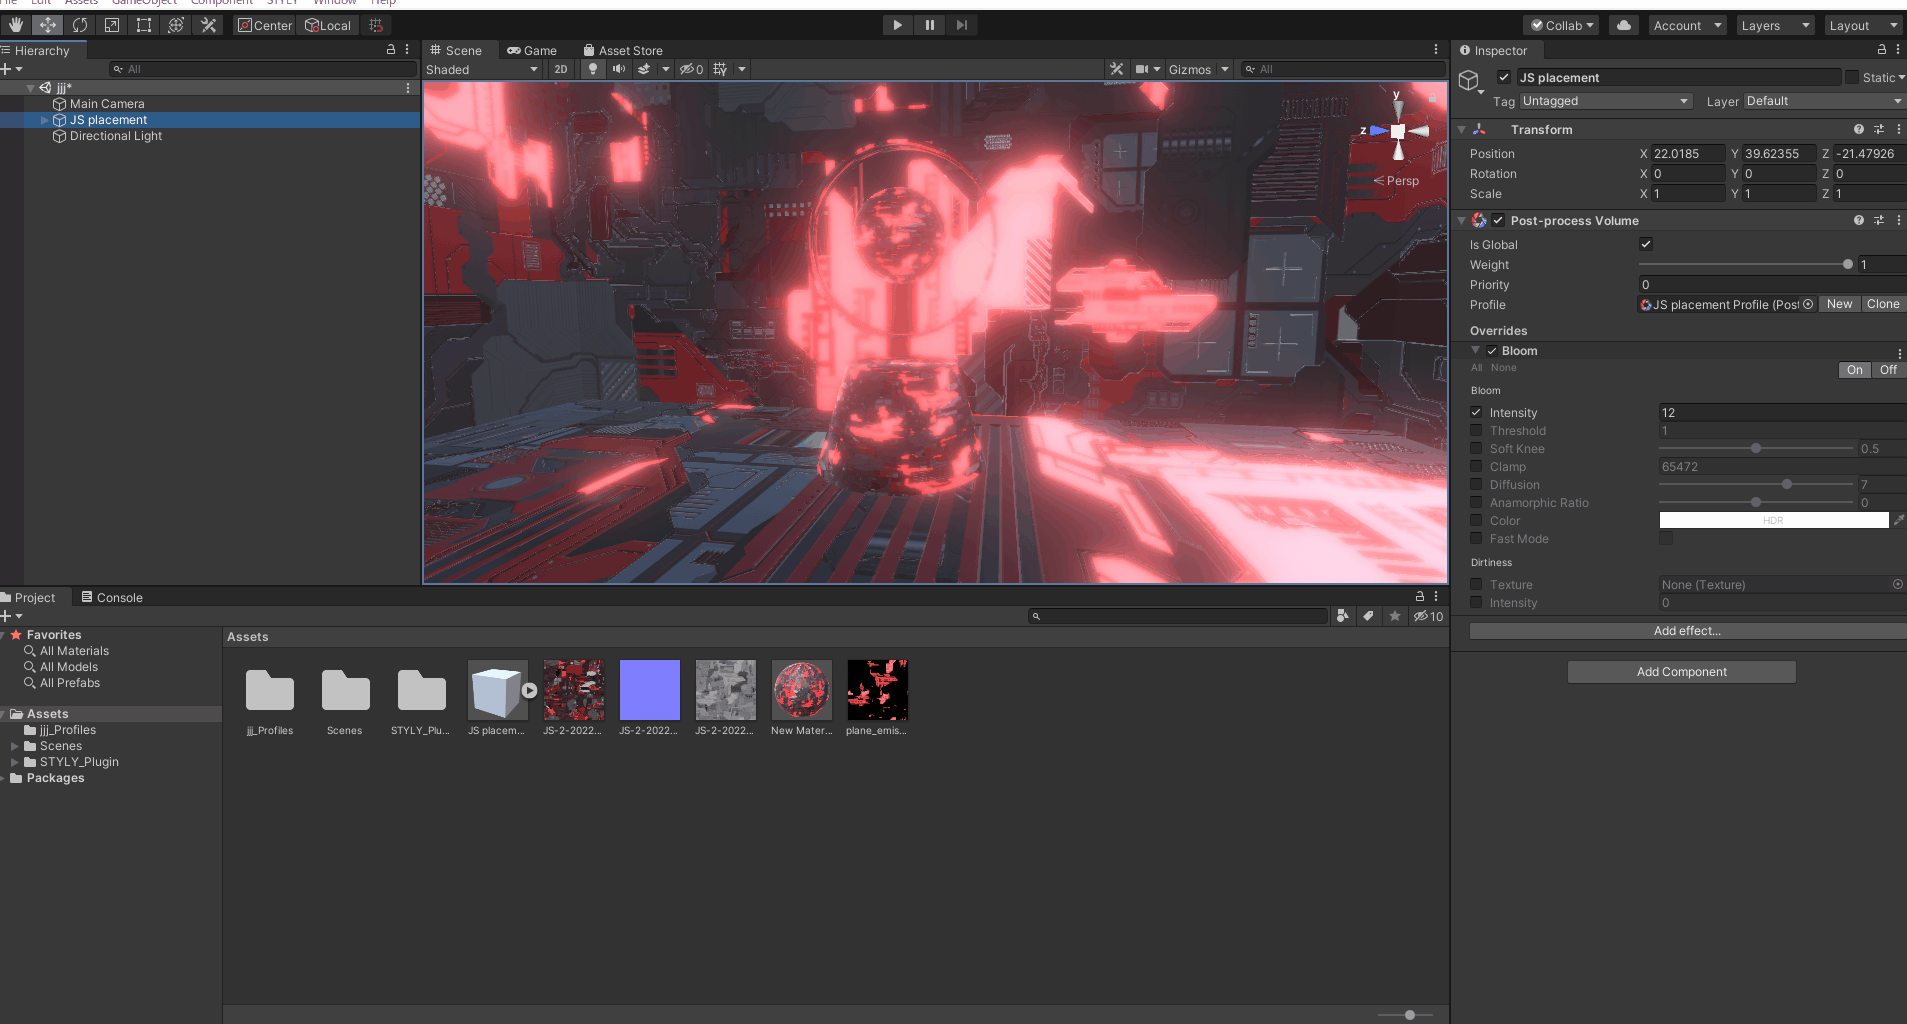
This time, only Bloom is added, and the Intensity value is set to 12.
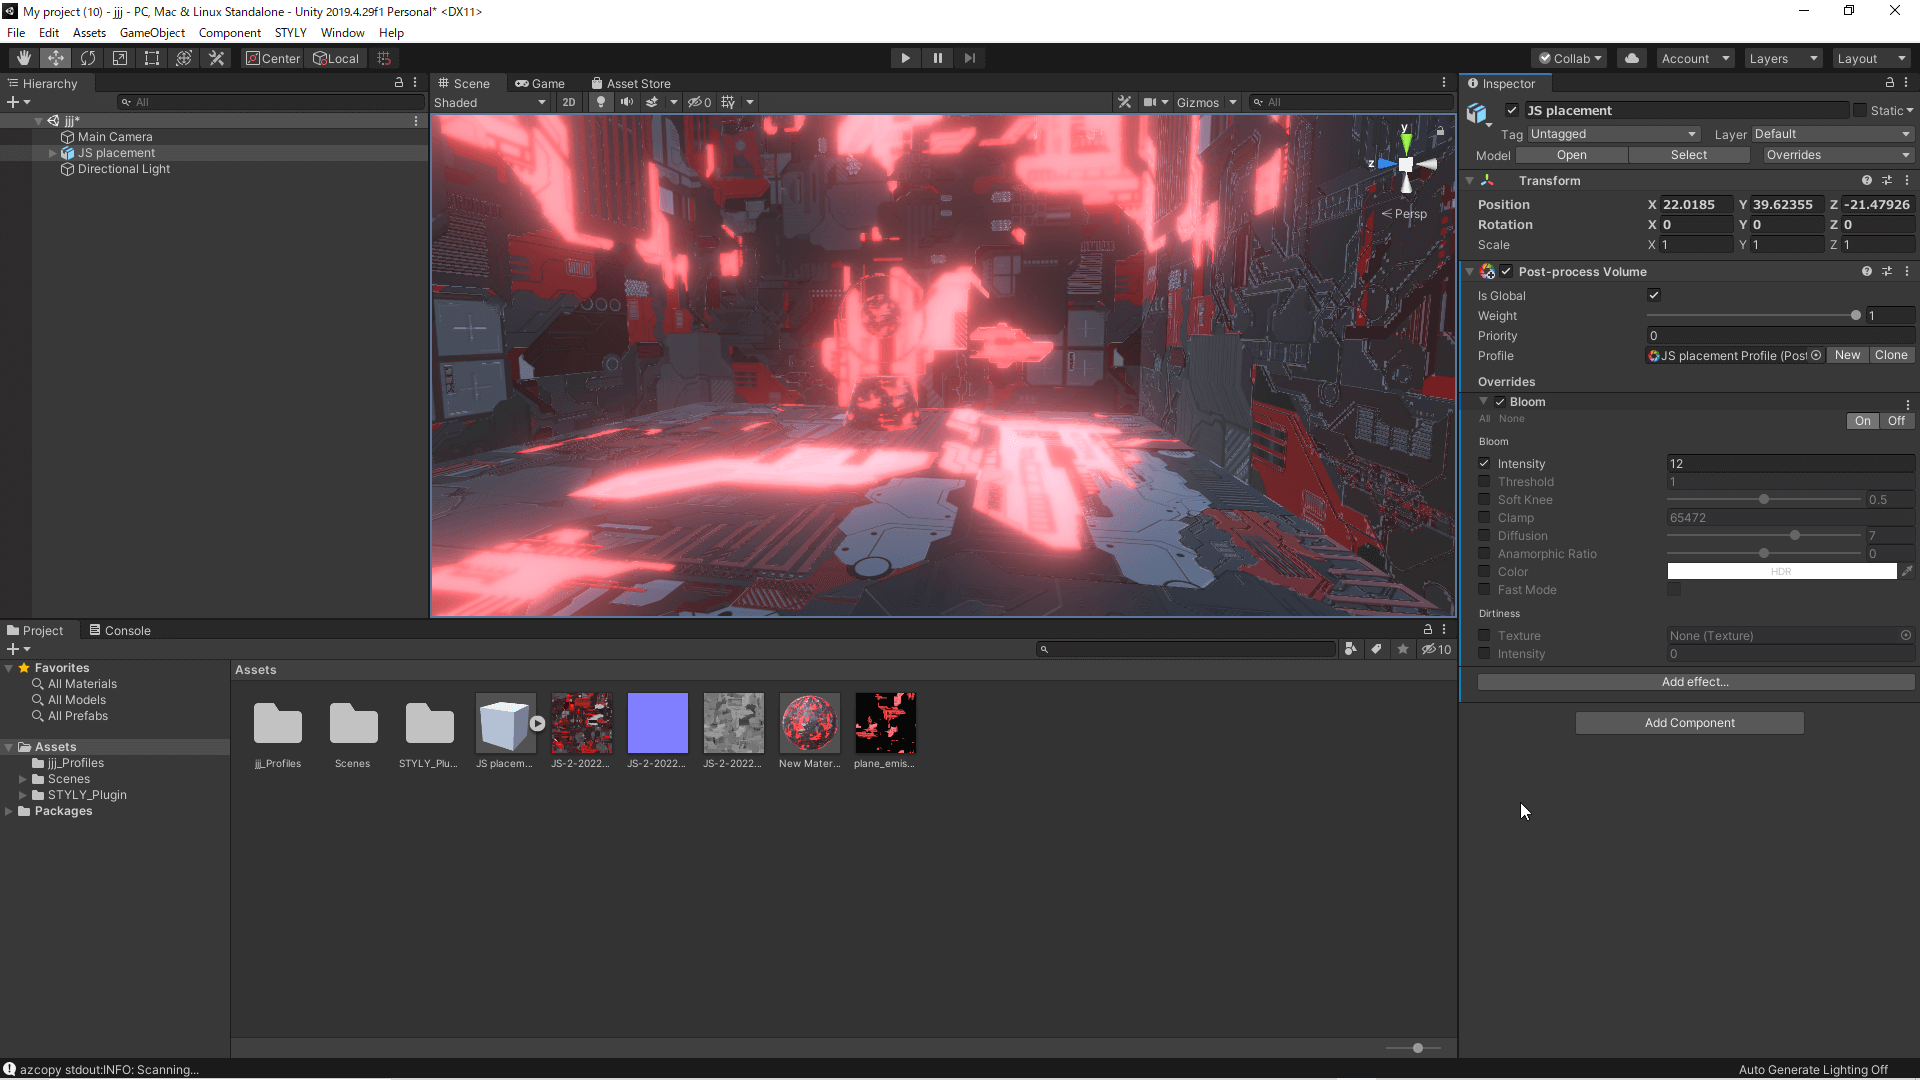
Intensity value is set to 12
Next, expand the Prefab to add modifiers to STYLY for the sphere and the ring-shaped cylinder.
Select the box in the hierarchy, right-click, and select “Unpack Prefab.”

Select “Unpack Prefab”
Once unpacked, make the sphere and cylinder independent.
Separate sphere and cylinder
Drag and drop the two independent objects into the Assets folder to Prefab them, and delete the same objects in the hierarchy.

Prefab two objects
Once this is done, upload the scene to STYLY.
Once the scene is uploaded, upload the Prefabbed sphere and cylinder to STYLY and you are done.
How to Upload to STYLY
How to create an account:

How to upload to STYLY:

How to upload from Unity to STYLY:

Adding Modifiers in STYLY
Start STYLY and place the scene and objects you just uploaded.
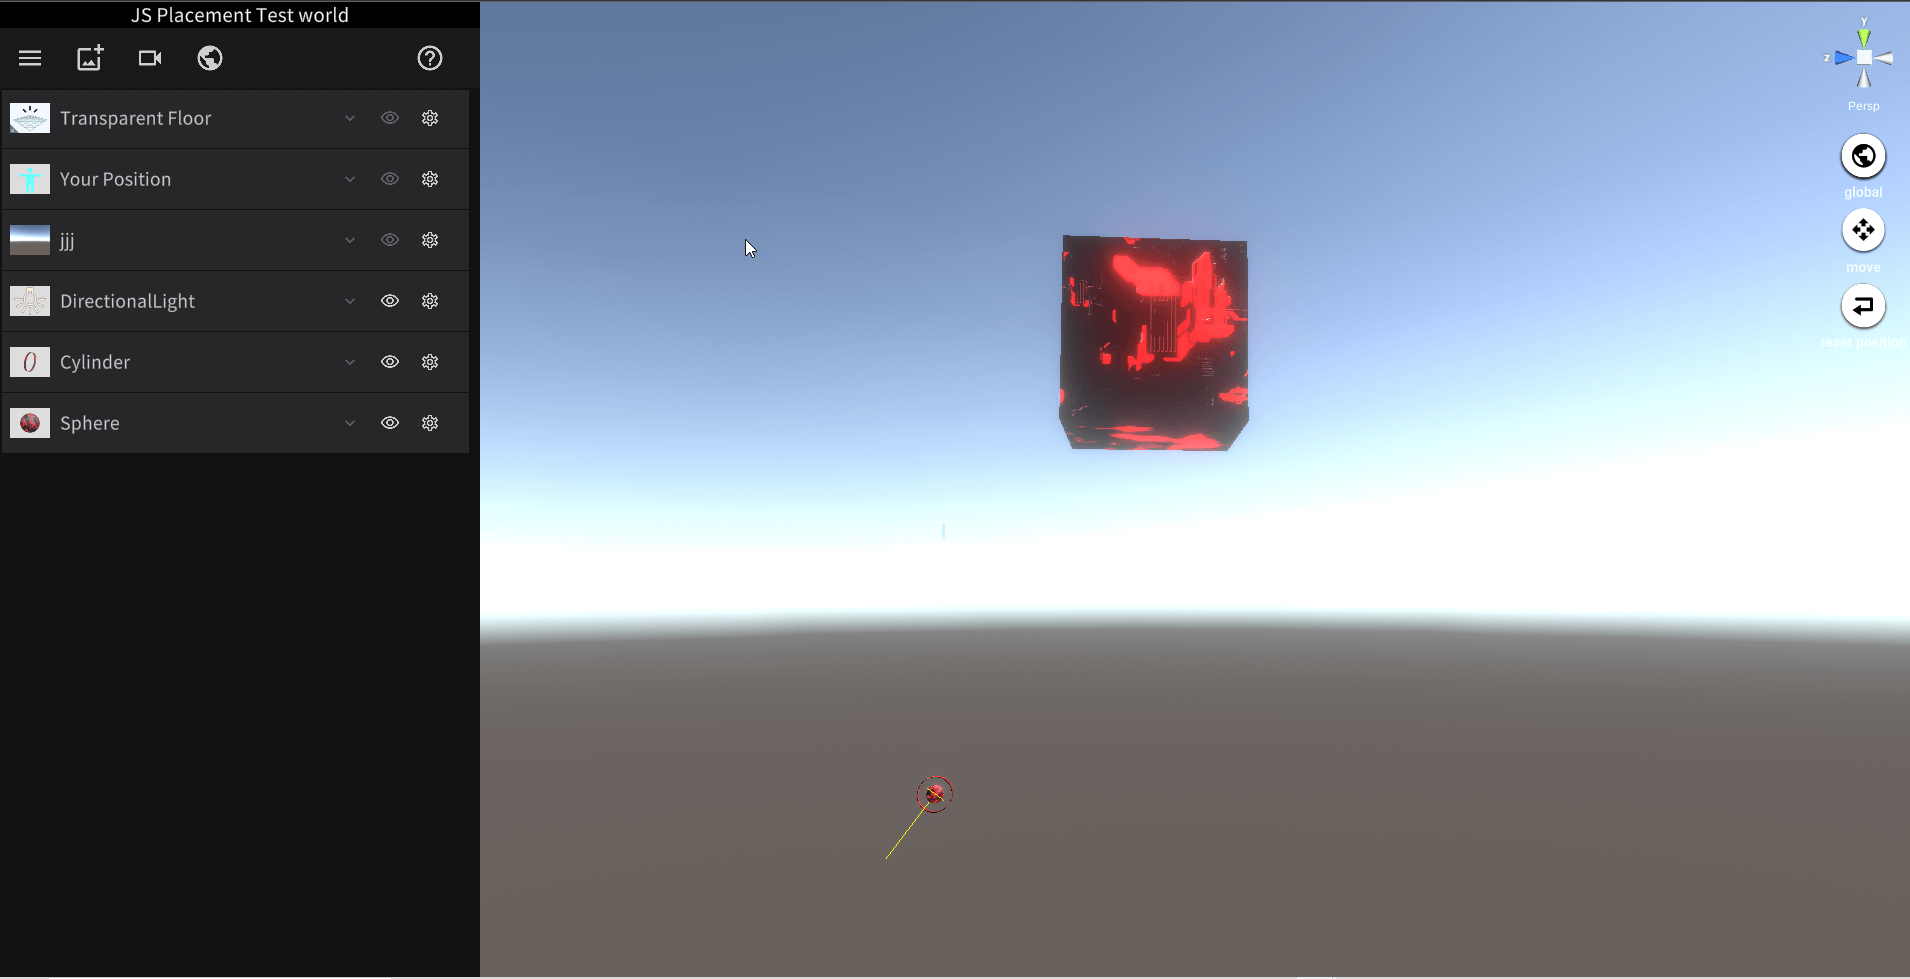
Place a scene and an object
Duplicate the ring and place it around the sphere at different angles and sizes.
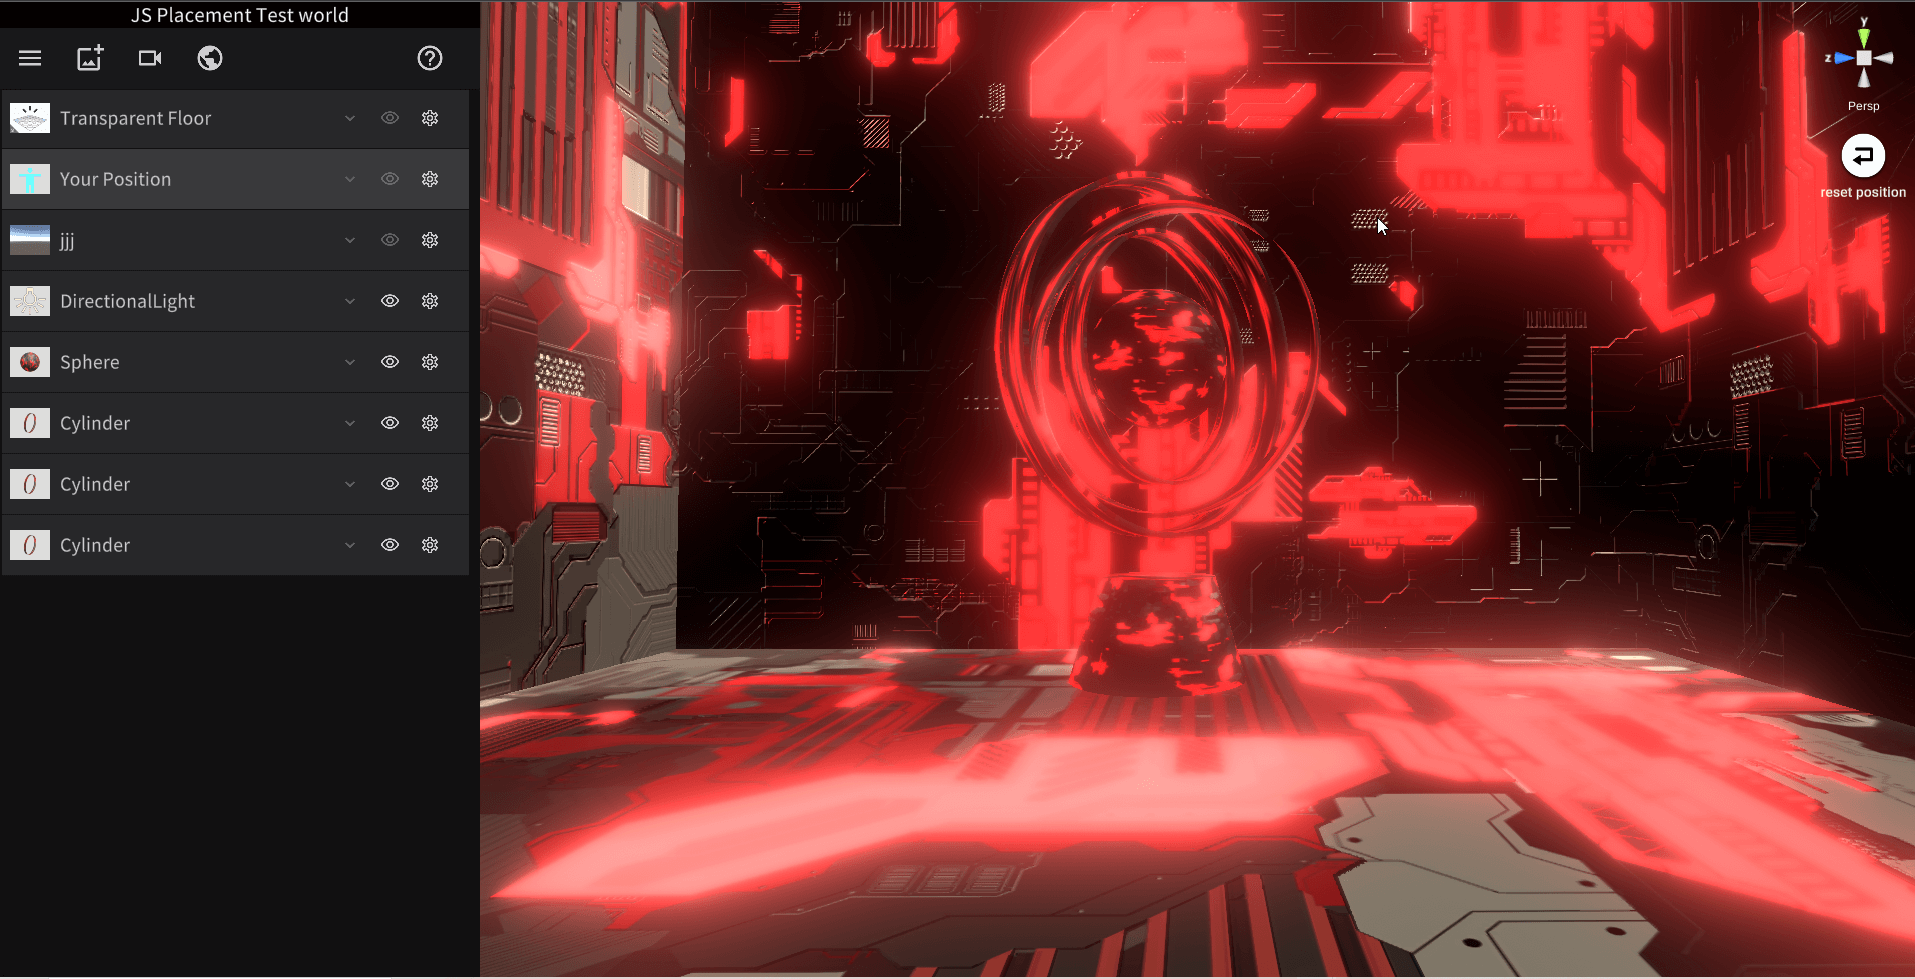
Place an object
Click on the gear symbol of the object in the left menu, and you will see an item called “Duplicate,” which you can click to duplicate the object.

Duplicate the object
Once duplicated, the modifier is added.
The use of modifiers is explained in detail in the following article:
In this case, we added the modifier as shown in the image below.
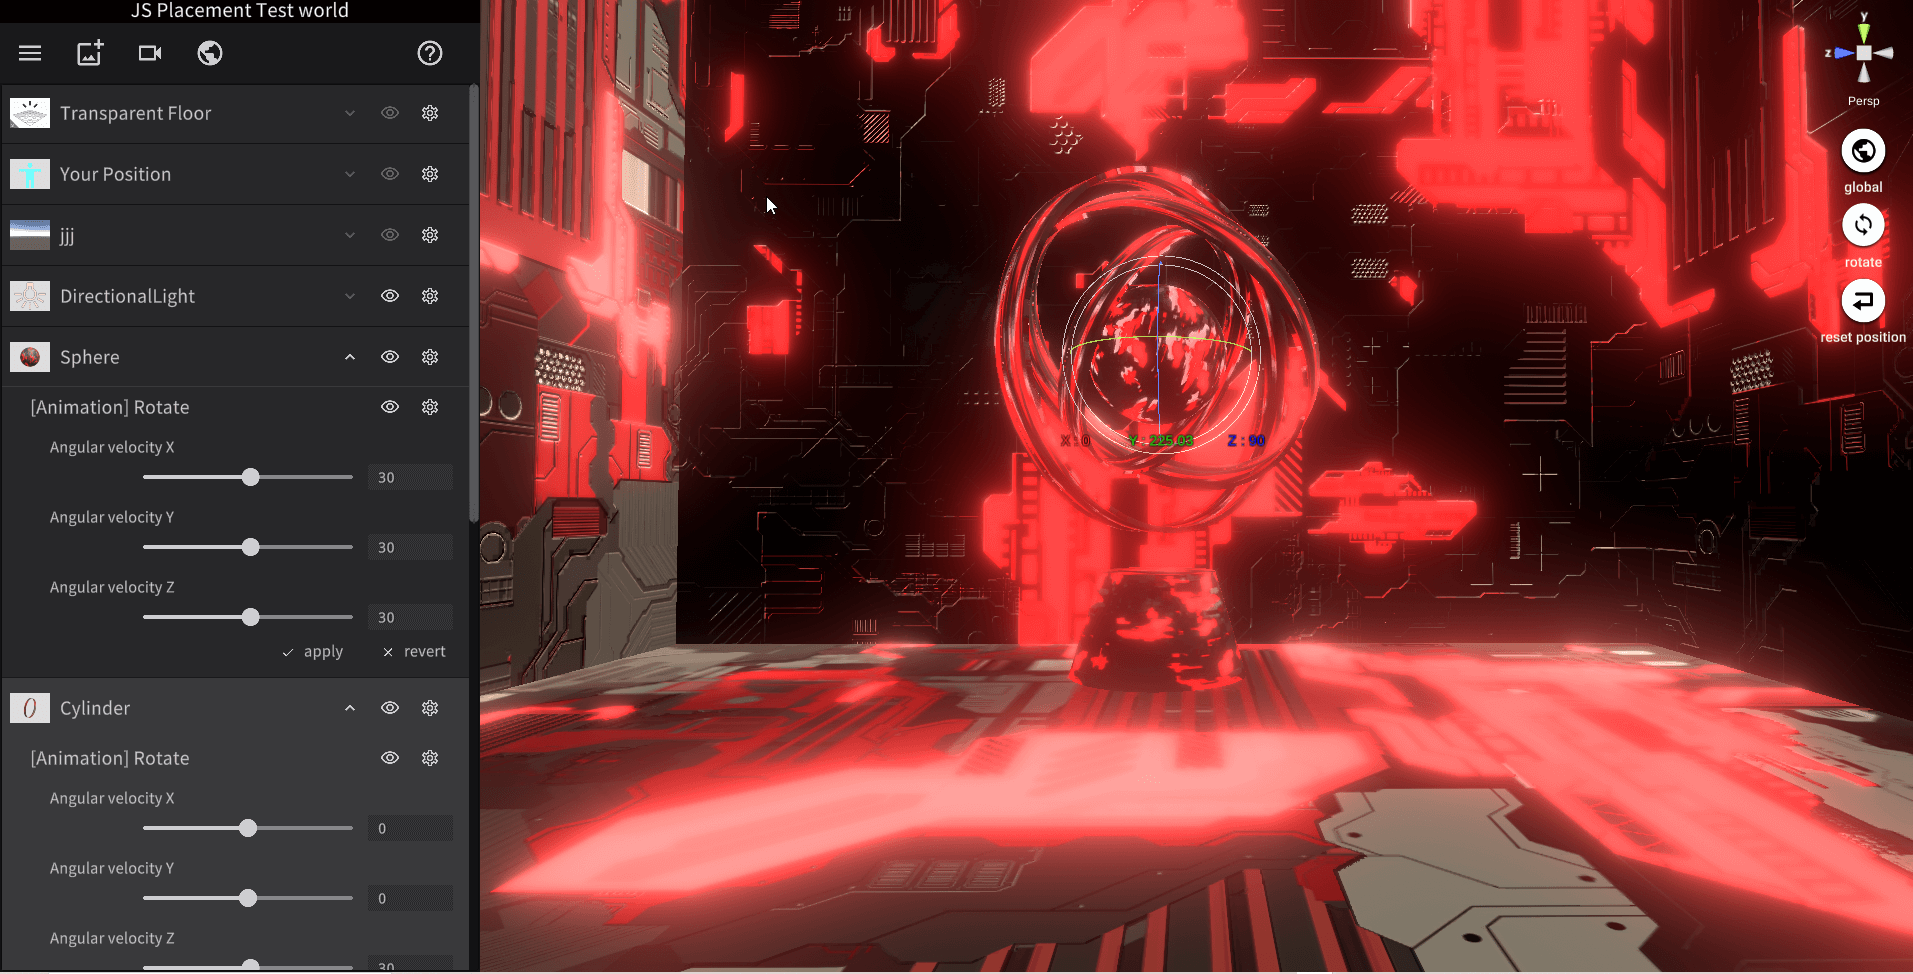
Sphere values
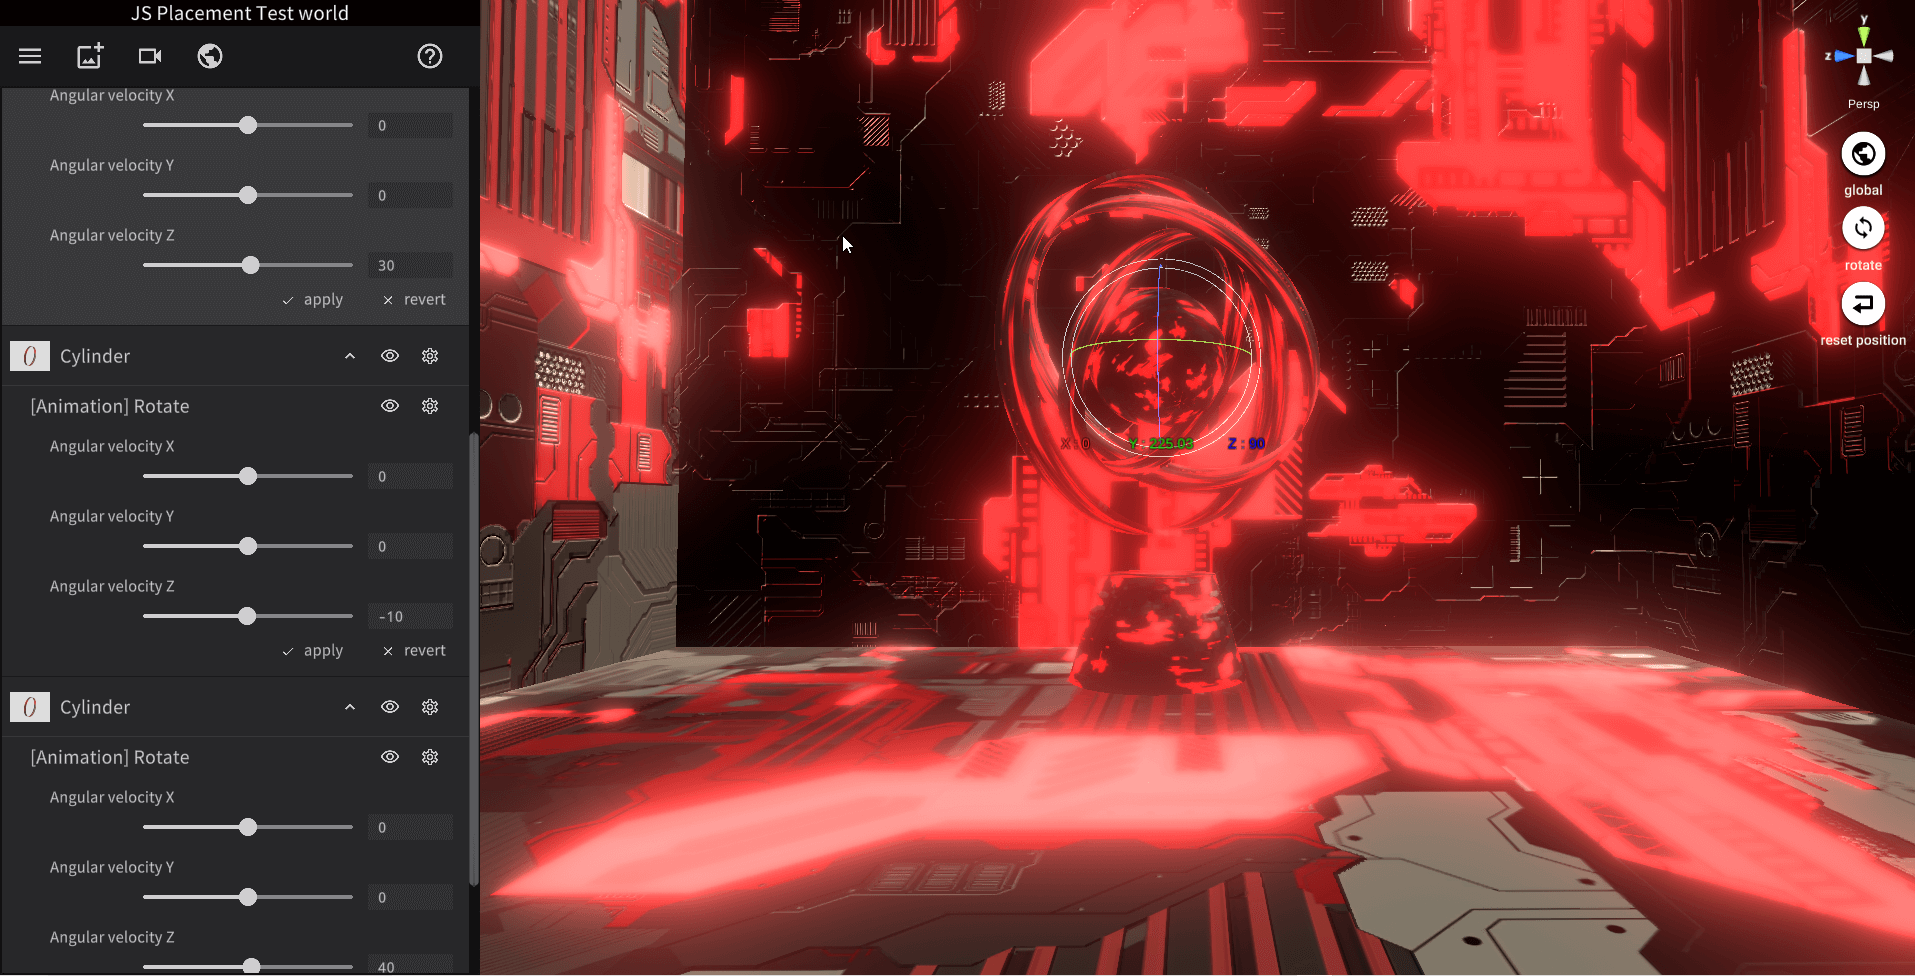
Cylinder values
This completes the Sci-Fi-style scene.
Now you can create your favorite scenes using JS Placement.
If you have any questions about STYLY, bug reports, or requests for improvements, please contact the STYLY FORUM.