“How to Build a VR Shooting Game” shows you how to build a VR shooting game using Unity and PlayMaker, upload it to STYLY, and publish it.
This article is the last of the tutorials.
Create the stage and set up the left hand controller to complete the game.
After that, we’ll show you how to export your game STYLY and enjoy it in VR.
- Advanced preparation
- Gun Controller Settings
- Setting up the bullets
- How to generate enemy characters
- Enemy Character Settings
- BGM and SE Settings
- How to upload to STYLY

In the previous article, we set up music and SE during the game, made you teleport with the controller.
Creating a Stage
This game uses a circular stage that floats in the sky.
First, find the floor_segment in the myUnityAssets folder and drag it to the PlayMaker Tutorial Game object to set it as a child element.
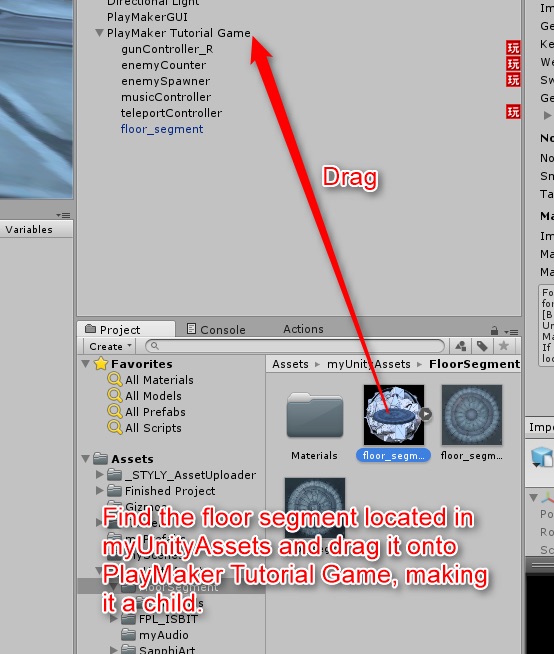
Add floor_segment
Next, click on floor_segment to go to the Inspector window.
Here we need to add the Rigidbody component with Use Gravity checked off and Kinematic checked on.
This action will keep the stage floating in the air so that it’s not affected by the force when it collides with a bullet, but you can record collisions with objects in the game and make them bounce back.
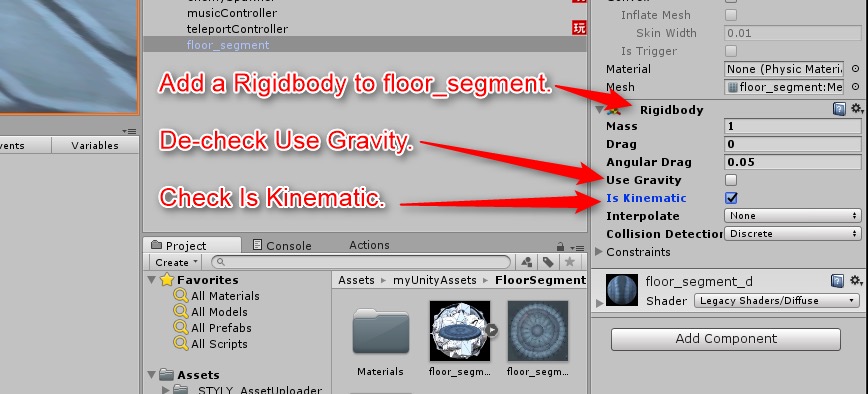
Configuring Rigidbody
Set the Scale of floor_segment to 10, 10, 10.
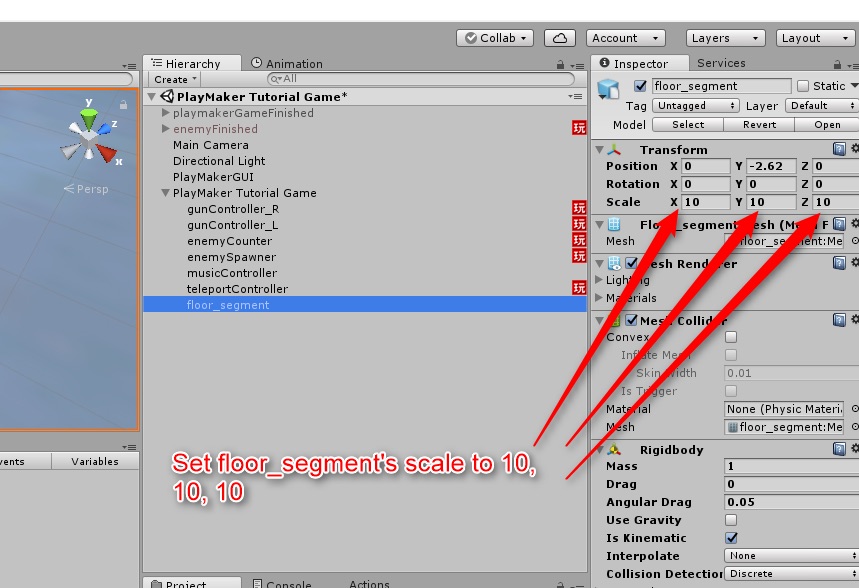
Scale setting of floor_segment
Finally, set the position Y of floor_segment to -2.62.
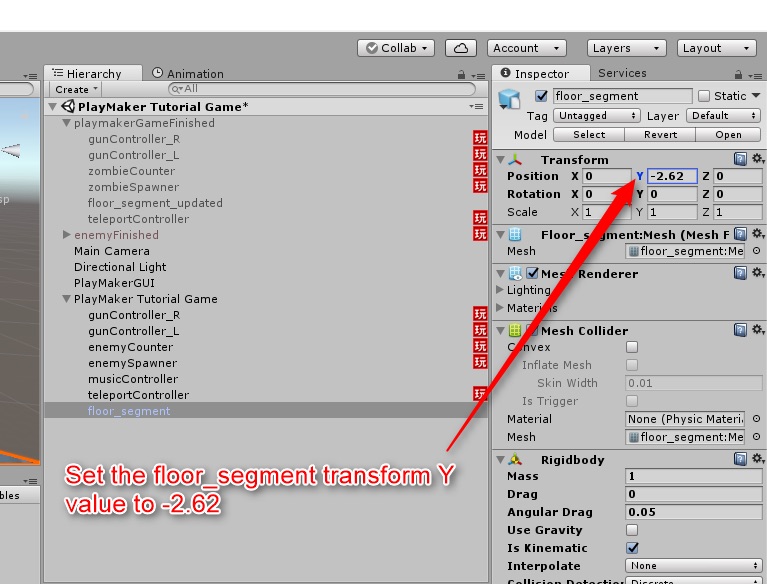
Position setting of floor_segment
This action is to adjust the position of the person’s head when they enter the VR so that they look like they are standing on a stage.
Now the entire tutorial process is completed, the VR shooter is ready to use.
How to upload to STYLY
See here for more information how to upload to STYLY.
How to create an account

How to upload to STYLY

How to upload from Unity to STYLY

So, before uploading to STYLY, we will first set up a local cache server to improve the upload time.
For Mac users: go to the ‘Unity’ tab on the top menu bar and click ‘Preferences’.
For Windows users: go to the ‘Edit’ tab on the top menu bar and click ‘Preferences’.
In both cases, the screen in the following figure will be appeared.
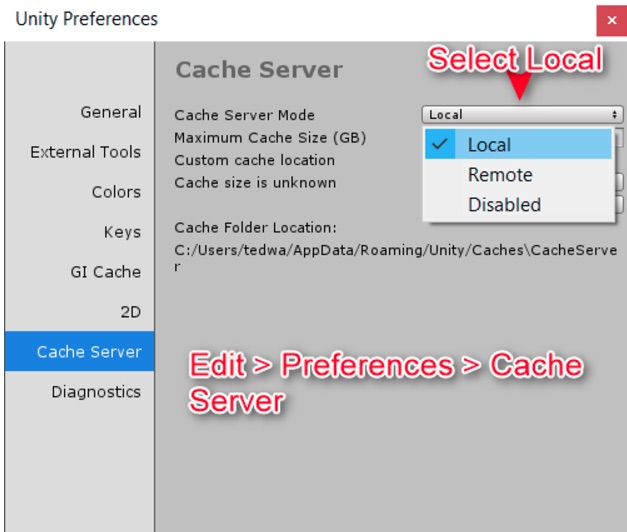
Preferences settings
Select Local from the drop-down menu on the Cache Server screen.
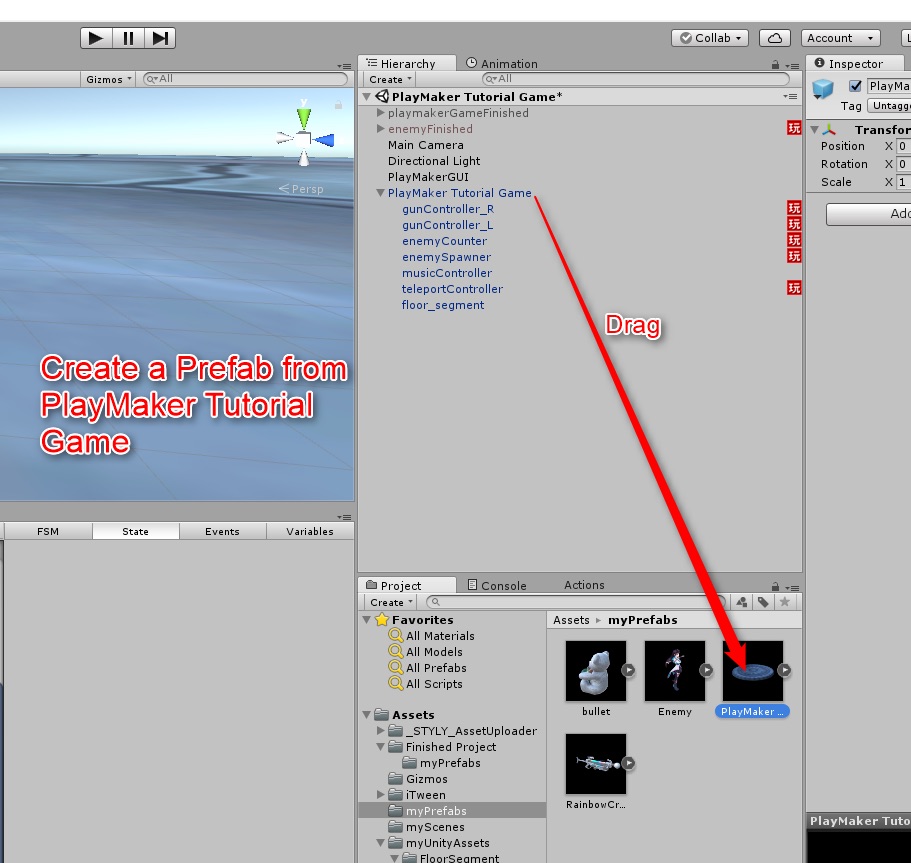
Prefabrication of the PlayMaker Tutorial Game
Next, drag all the objects from the PlayMaker Tutorial Game into the myPrefabs folder and create a pre-fab from the PlayMaker Tutorial Game.
Right click on the pre-fab and find the STYLY menu button at the bottom of the drop down menu.
Click on Build And Upload Prefab Asset from the STYLY menu.
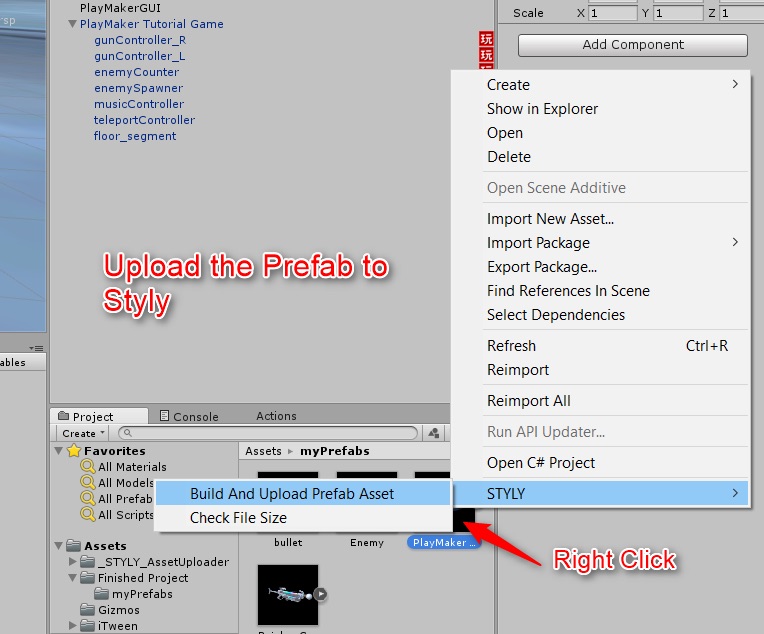
Select Build And Upload Pre-fab Asset
Now you can start uploading to STYLY!
This process takes a bit of time, so don’t cancel and wait right here.
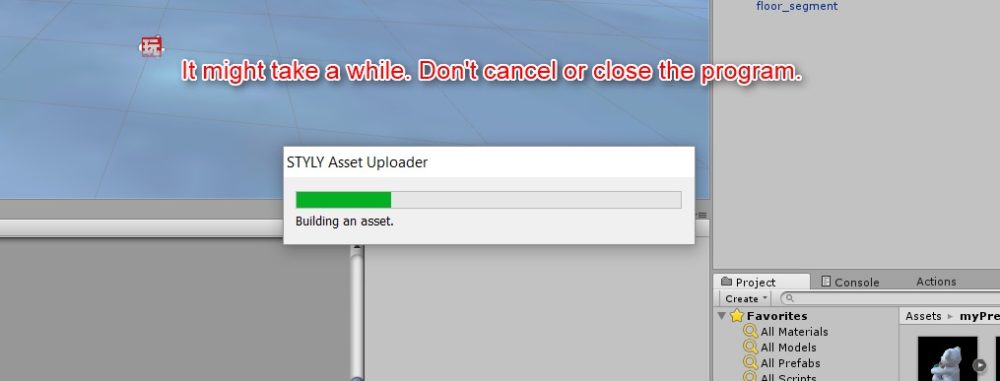
It will take some time for the upload to be completed.
Make the final adjustments and have fun in VR!
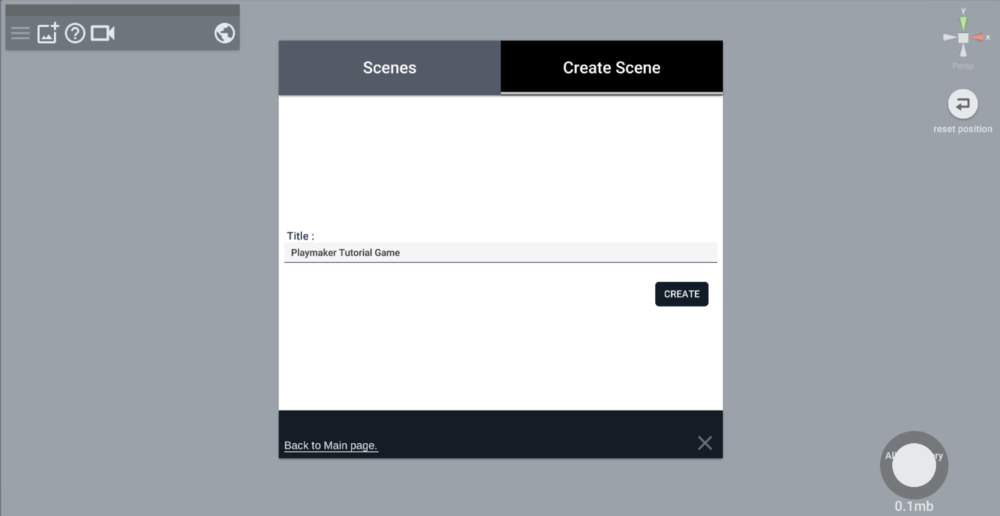
Open STYLY and select Create Scene to give it a title.
Select 3D Models from the Assets menu at the top left of the screen and go to the MyModel tab.
You’ll find the PlayMaker Tutorial Game that I just uploaded there.
You can add this to your scene by selecting it.

Select a PlayMaker Tutorial Game
Next, select the skyBox from the list of 3D Models to change the look of the sky in the game.
This time we will choose Epic BigCloudsSoft.
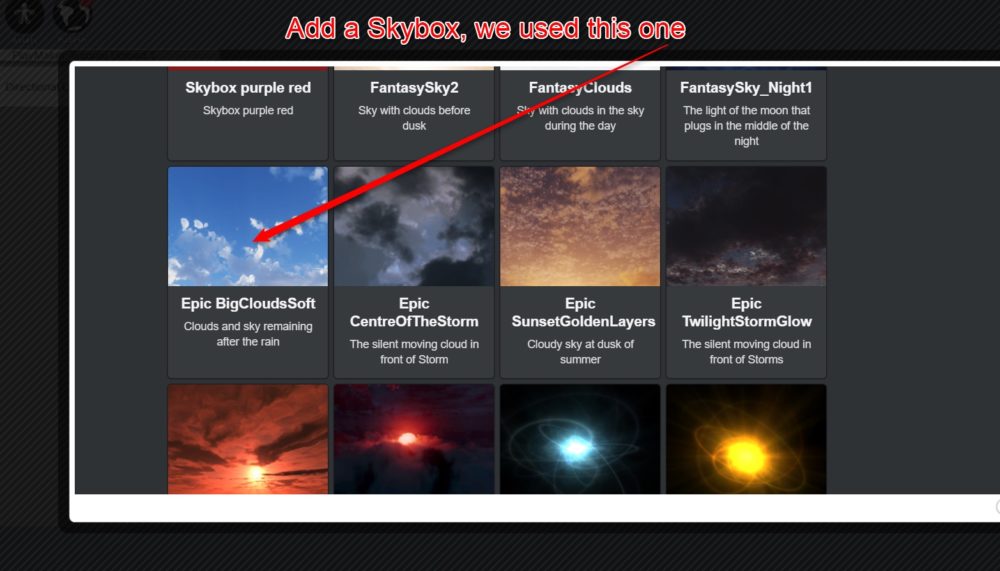
Select Epic BigCloudsSoft
That’s all you have to do to insert it into STYLY Studio!
You can play the game by launching a scene from STYLY’s My Scene.
Parts 1 through 7 were long, but that’s it. Thank you for your hard work!