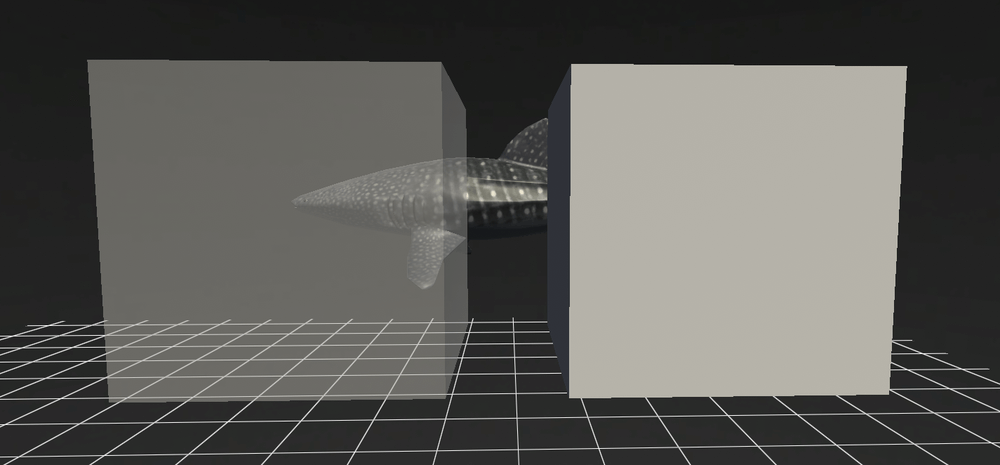
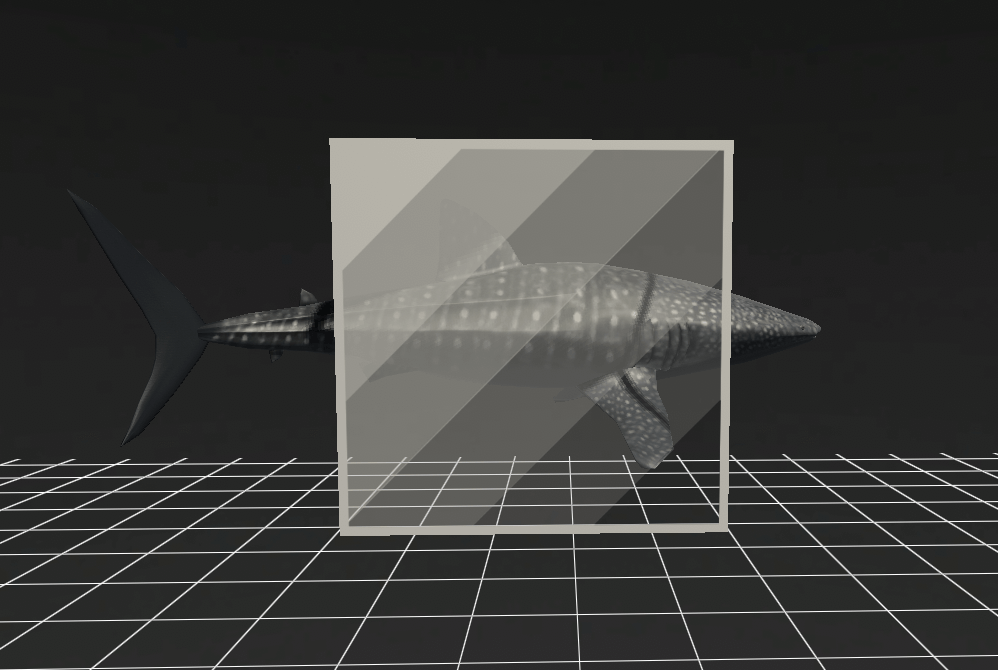
In this article, we will explain how to make objects transparent.
Sample Scene
How to Make an Object Transparent
How to Create Materials with Transparency
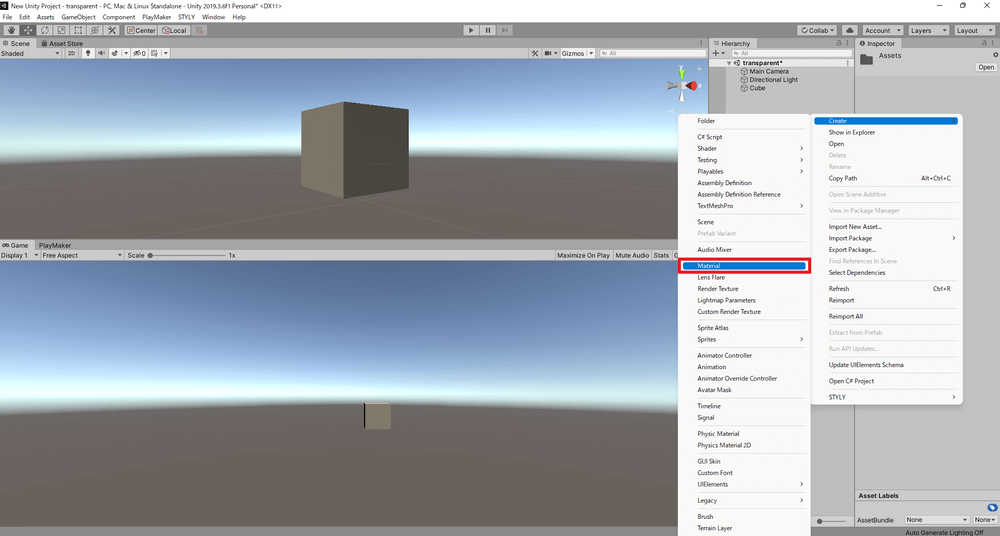
Right-click on the Project window and select Create>Material.
Let’s rename the material “Transparent Material.”
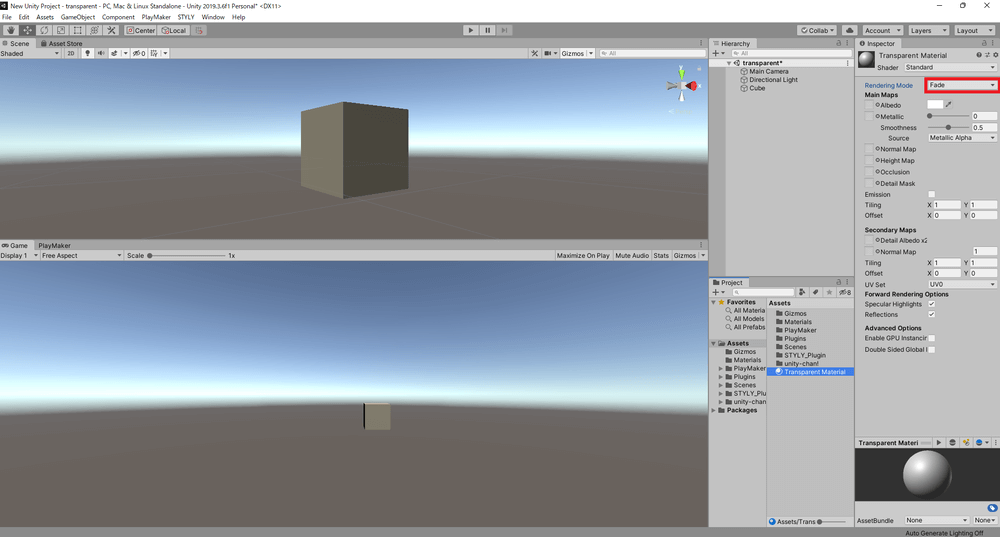
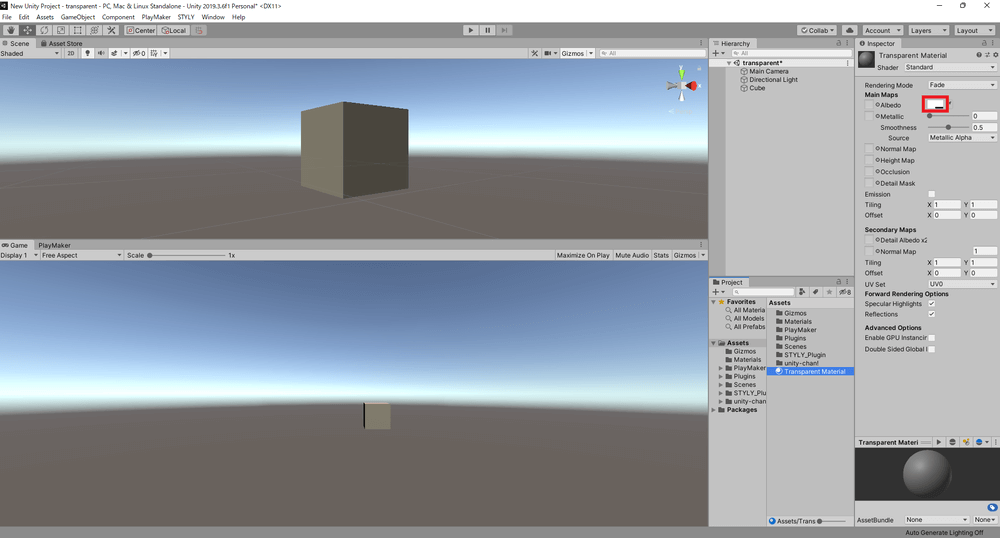
Next, select Transparent Material, and from the Inspector window, set the Rendering Mode from Opaque to Fade.
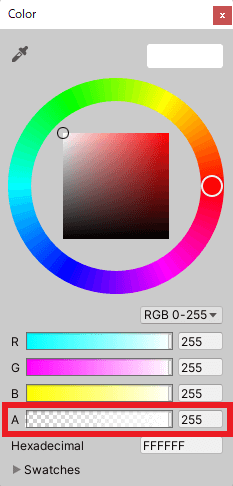
Then, Click the white box next to Main Maps>Albedo and open the color picker.
Adjust the Alpha value to somewhere between 0 (fully transparent) and 255 (fully opaque).
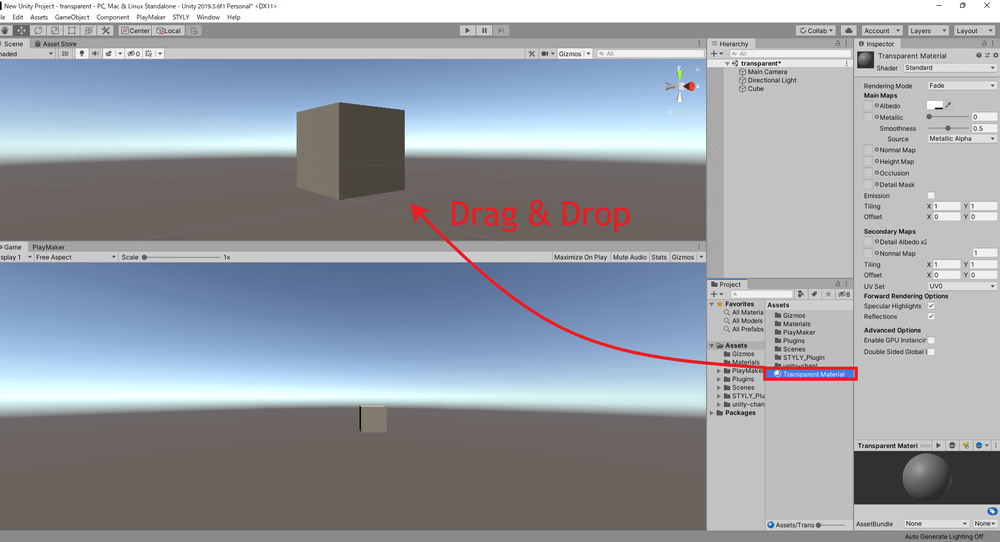
Now, drag and drop the Transparent Material onto your object in the scene.
With this, your object has become transparent.
Using Images with Transparency as Textures
Next, we will use an image with transparency as a texture.
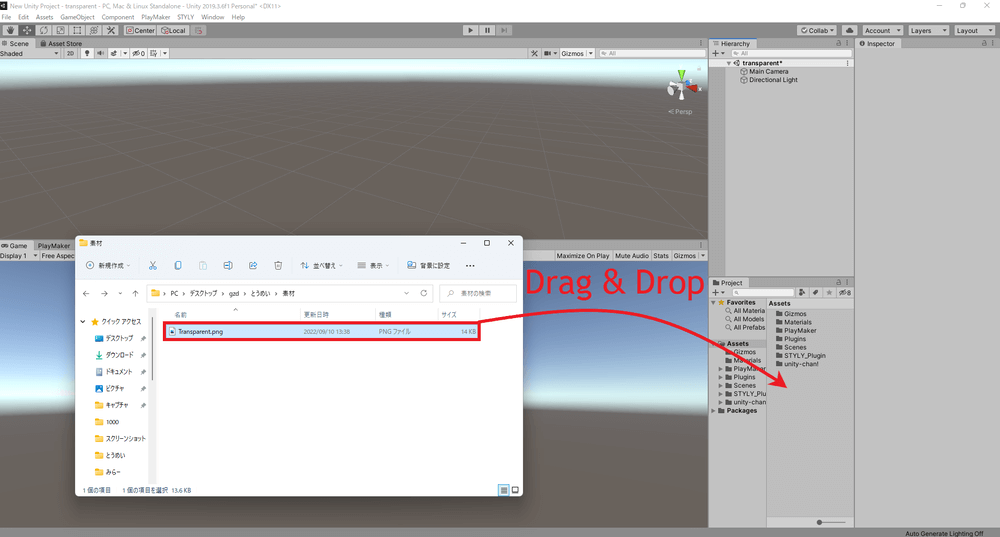
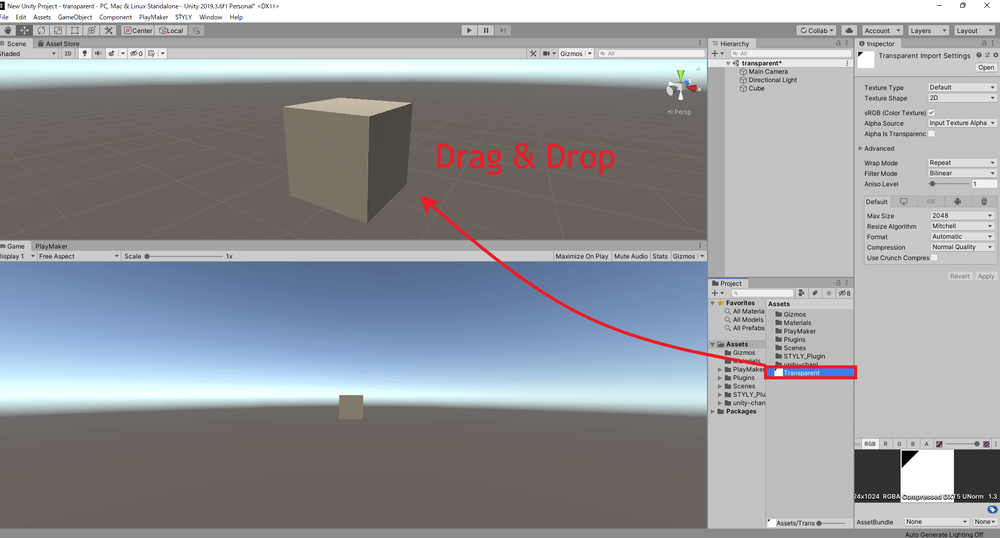
After selecting your image, drag and drop it into the Projects window.
Then, drag and drop the image that was added to the Project window onto your object.
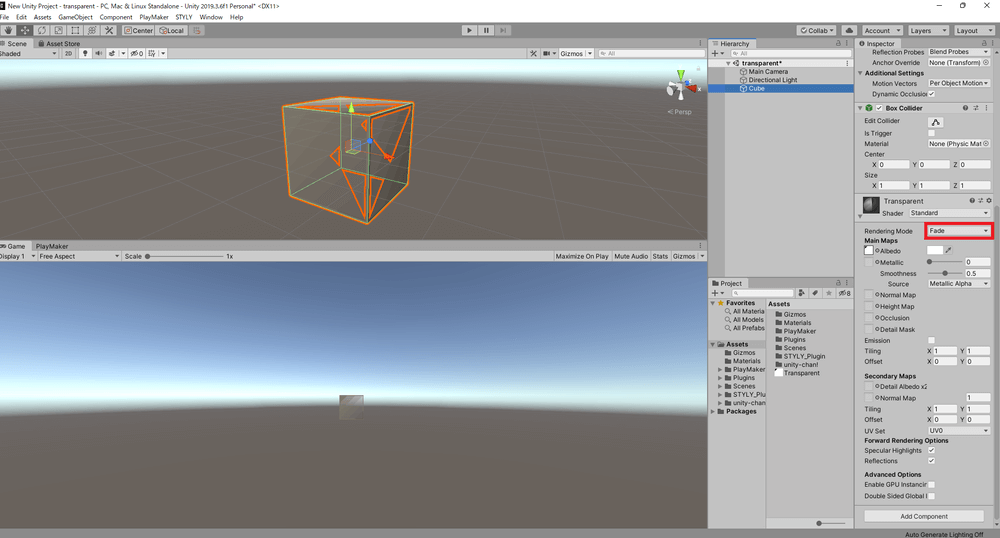
Next, select the object with the image applied, and go to the Inspector window to switch the Rendering Mode to Fade.
Side note: Here, you can also change the transparency of your entire object by opening the color picker and adjusting the alpha values.
With this, you have successfully made your object transparent. This method can also be used to make an object with different transparencies.
In this article, we explained two methods for making objects transparent.
We hope you will try your hand at making transparent objects for your scenes.
Uploading to STYLY
Let’s upload your 3D model to STYLY.
How to create an account:
How to upload to STYLY:
How to upload from Unity to STYLY:
For questions about STYLY, bug reports, and improvement requests, please contact the STYLY FORUM:
https://en.forum.styly.cc/support/discussions
Certified (QA) by Shota Shawn Yoshizawa
Edited by SASAnishiki
Translated by cpnnn
