This article explains how to install Unity using Unity Hub.
It covers how to download and install Unity Hub, so if you’ve never used Unity before or are interested, please read on.
Download and Install Unity Hub
Unity Hub is an application for managing multiple versions of Unity and the projects associated with them.
In this article, we’ll use Unity Hub to install Unity, so let’s start by installing Unity Hub.
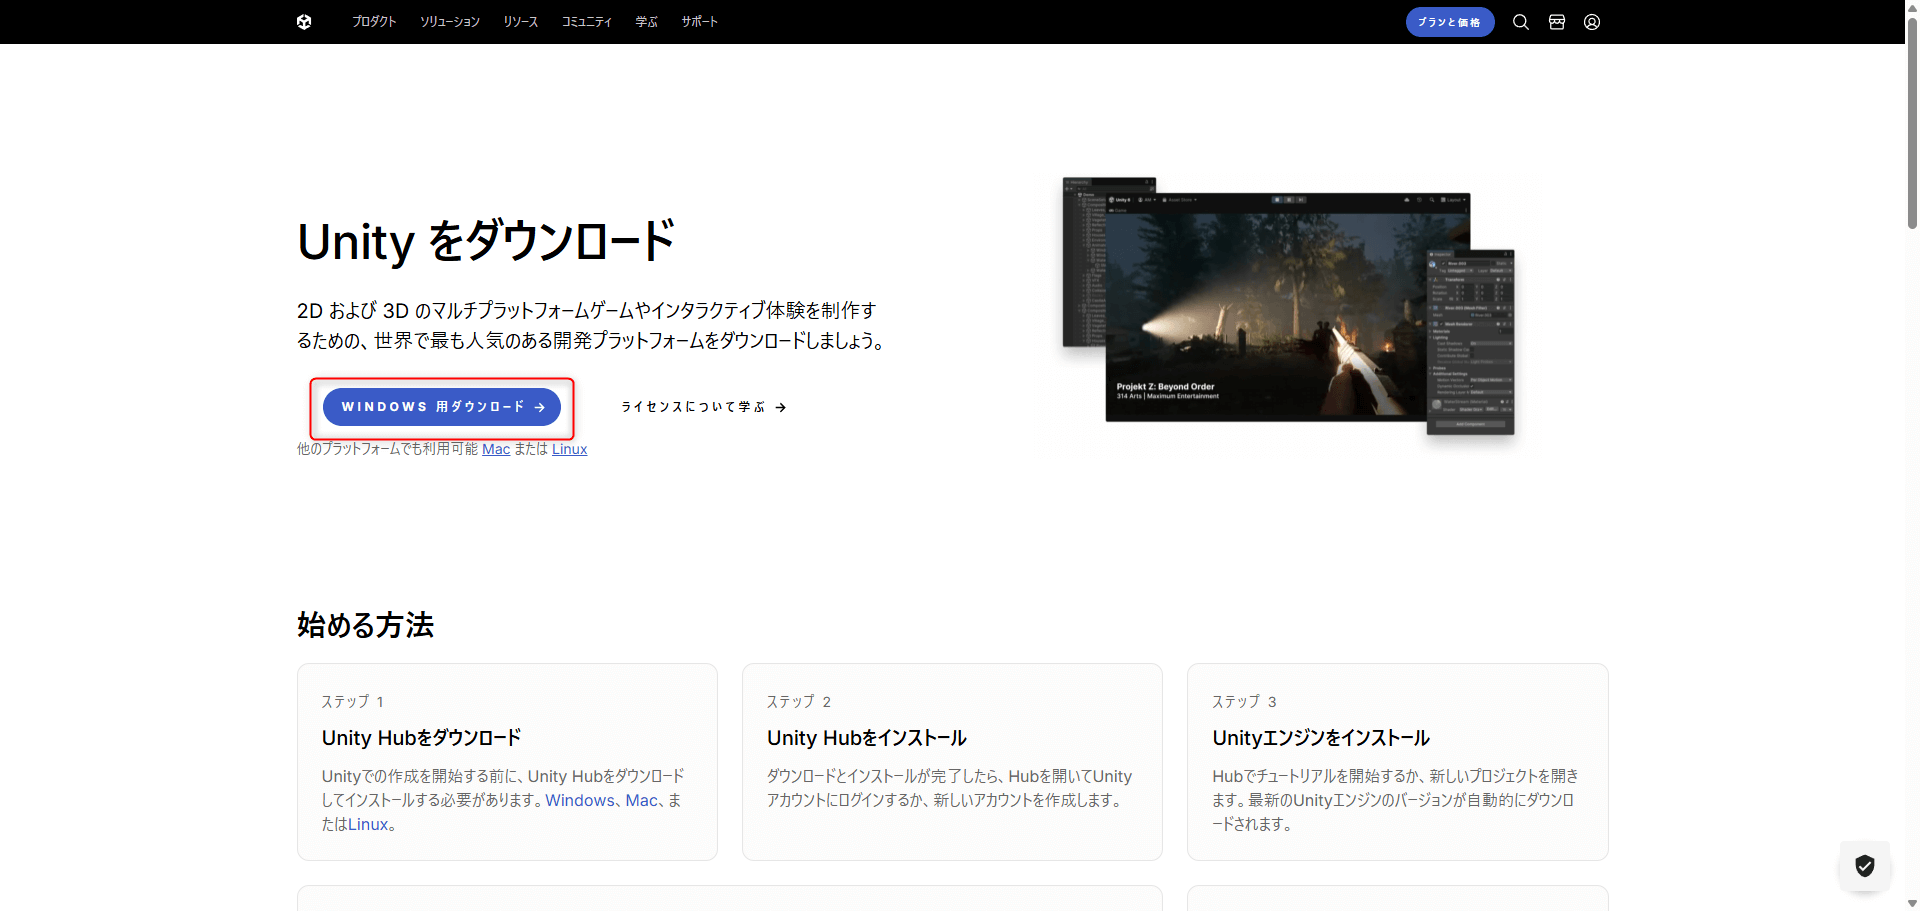
Download the appropriate version of Unity Hub for your PC from the URL below.
When you open the downloaded file, a screen like the one below will appear. After reviewing the license agreement, click “Agree”.
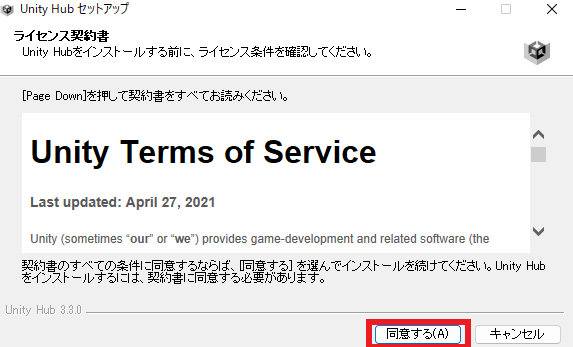
Click Agree after checking the license agreement
The next screen allows you to select the installation folder.
By default, Unity Hub is installed on the C drive.
Since the C drive often has limited space, using it may impact your PC’s performance. If your PC has another drive, you may install it there instead.
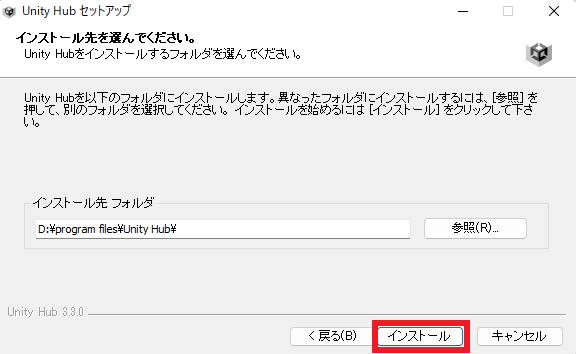
Click Install
After clicking “Install”, the installation will proceed automatically.
After a short wait, the screen below will appear. Click “Finish” to complete the Unity Hub installation.
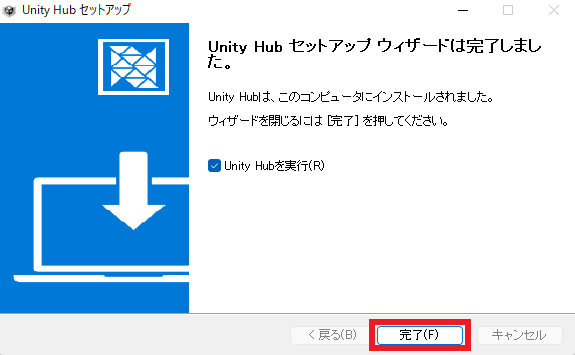
Click Finish
Set Up Unity ID / License
Now, let’s open the Unity Hub you just installed.
* When opening for the first time, the screen below may appear. Just click “Allow Access”.
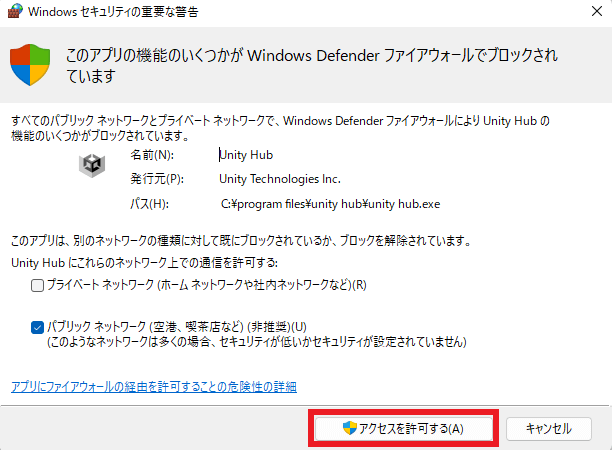
Click Allow Access
A screen prompting to install the Unity Editor will appear. Click “Skip Install” in the bottom right.
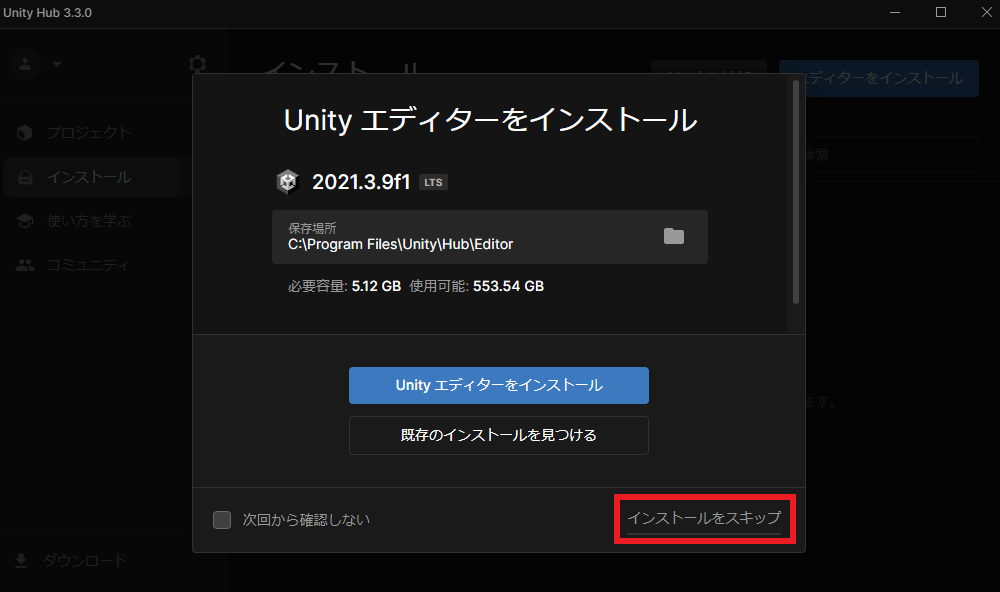
Click Skip Install
Click “Manage Licenses” at the top of the screen.
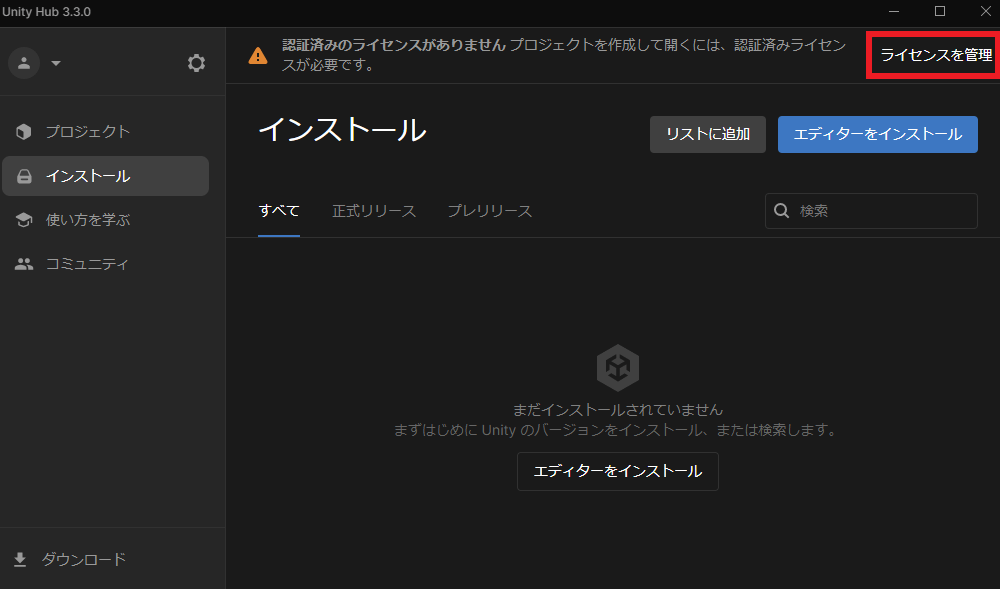
Click Manage Licenses
A prompt will appear to log in to manage licenses. Click “Sign In” next to it.
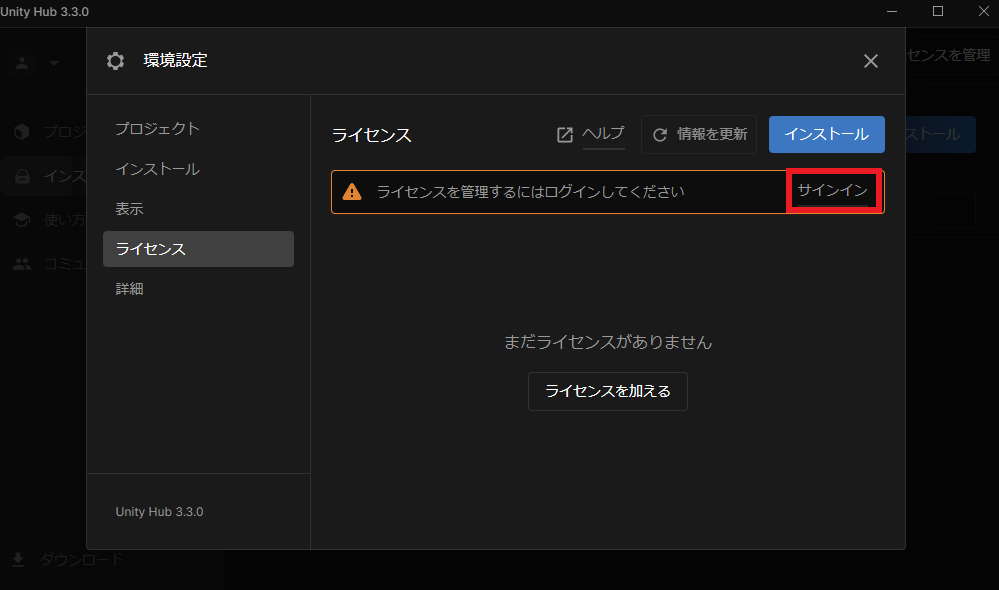
Click Sign In
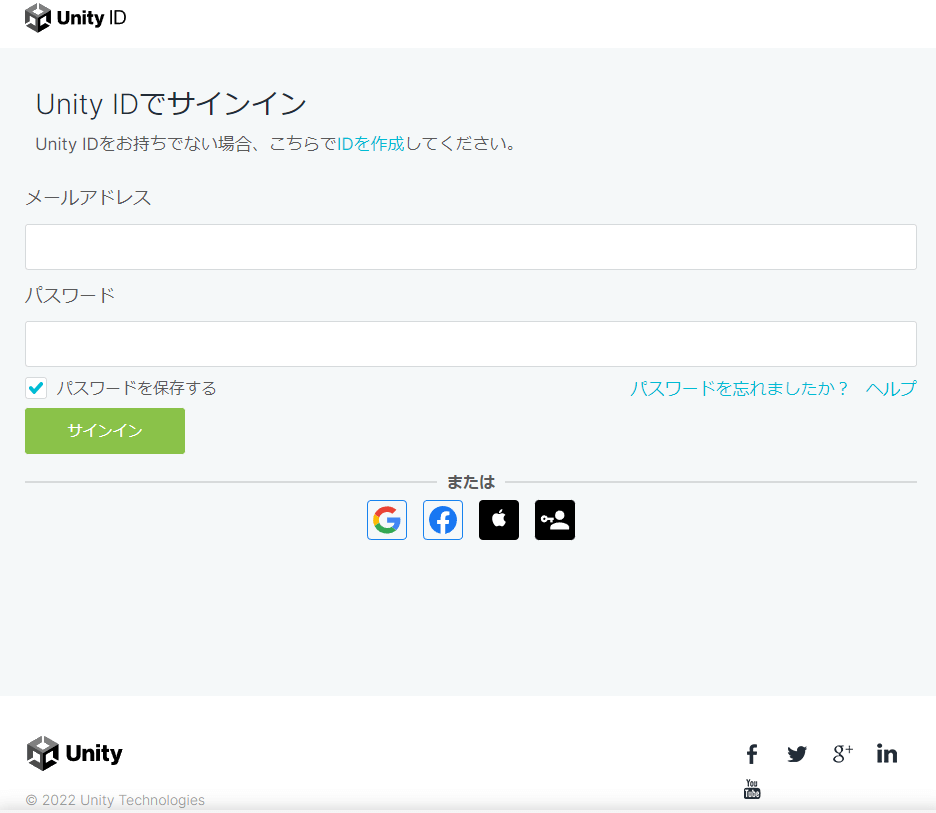
A page like the one below will open in your browser. If you already have a Unity ID, please sign in.
If you don’t have one, click “Create ID” and follow the instructions to create your Unity ID.
After signing in or creating a Unity ID, your browser will prompt you to open Unity Hub. Click “Open Unity Hub”.
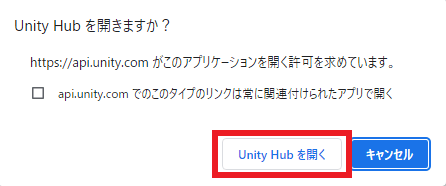
Click Open Unity Hub
This completes the sign-in to Unity Hub.
Next, click “Add License”.
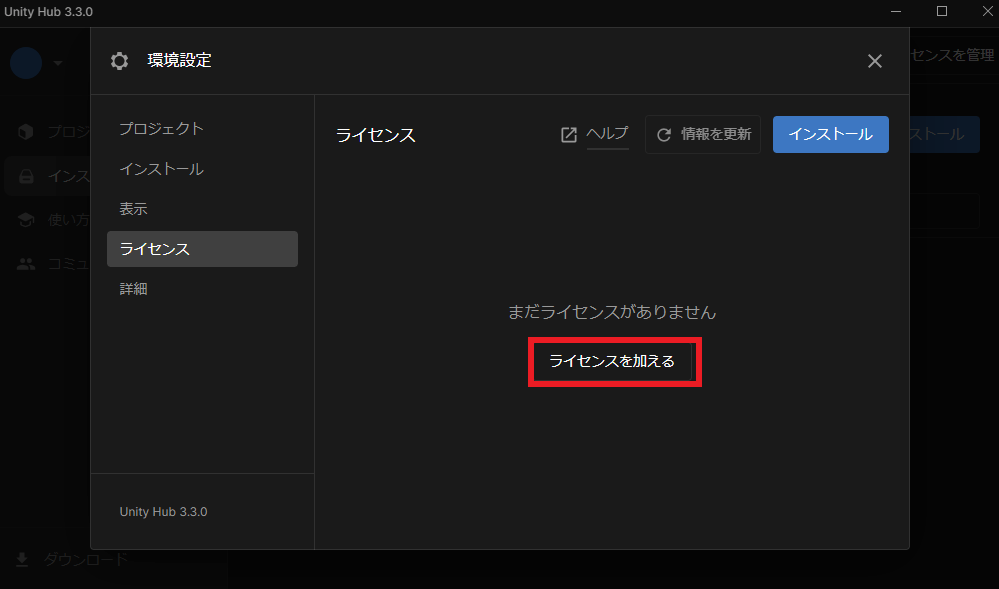
Click Add License
Click “Get a free Personal license”.
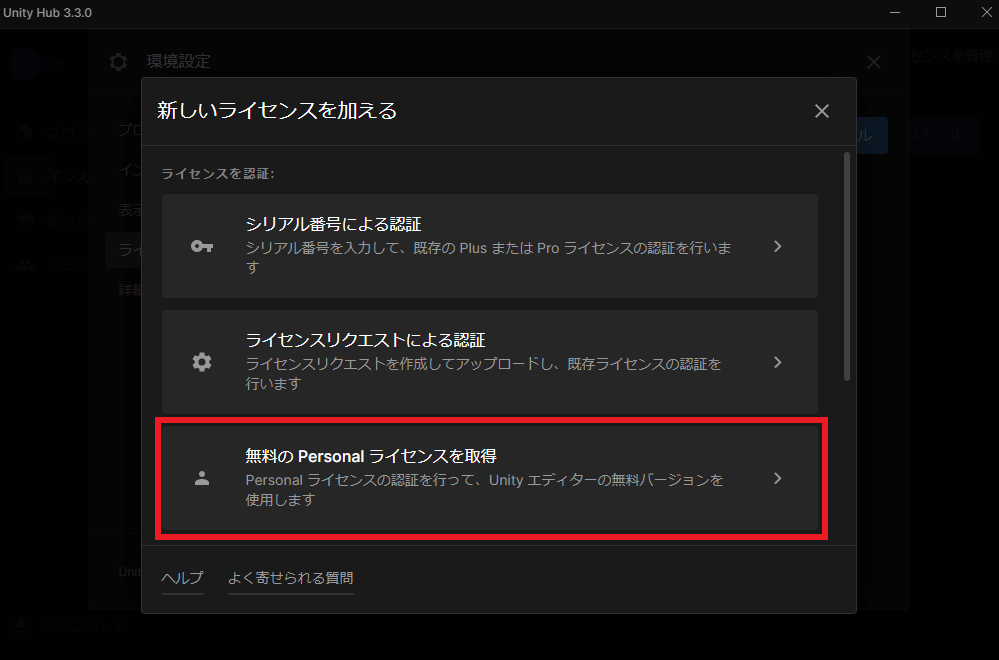
Click Get a free Personal license
After confirming that you meet the conditions for the Personal license, click “Agree and get personal license”.
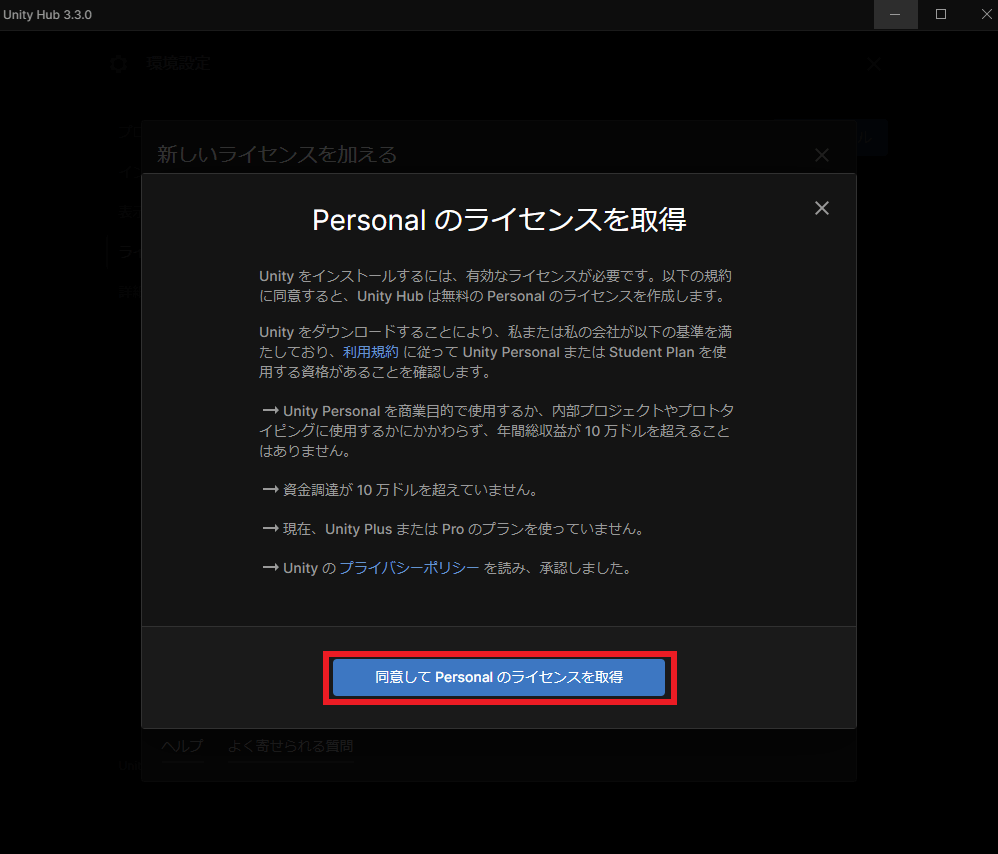
Click Agree and get personal license
This completes the license setup, and you can now use Unity.
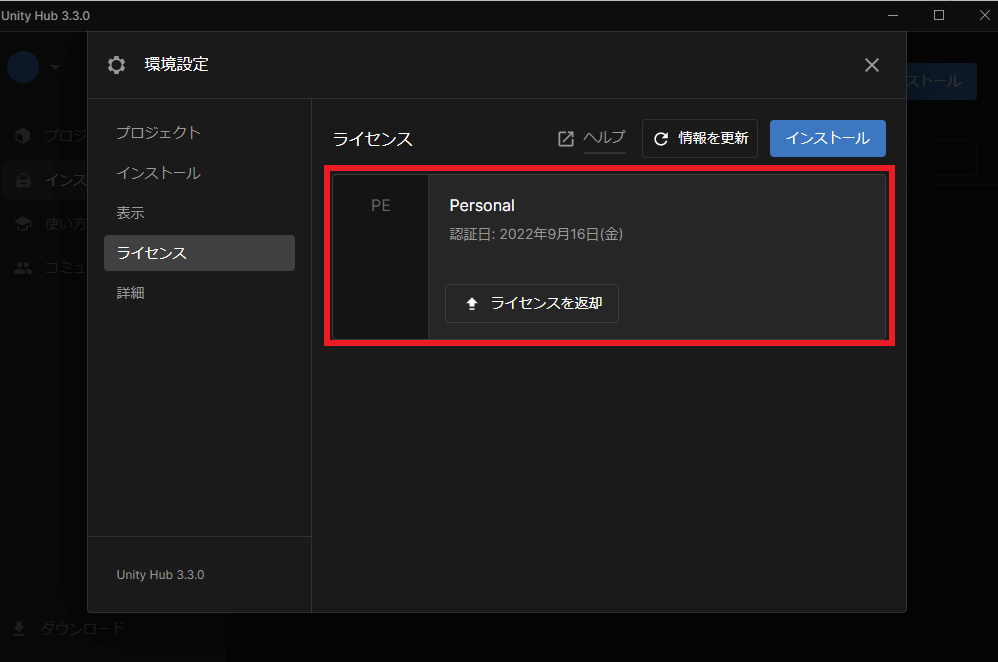
Personal license successfully obtained
Change the Installation Location for Unity
* If you want to install Unity on the C drive, or if your PC does not have any drive other than C, you can skip this section.
By default, Unity is installed on the C drive.
Since the C drive often has limited space, installing Unity there can affect PC performance. If your PC has another drive, consider installing Unity there instead.
Click the gear icon in the top-left corner.
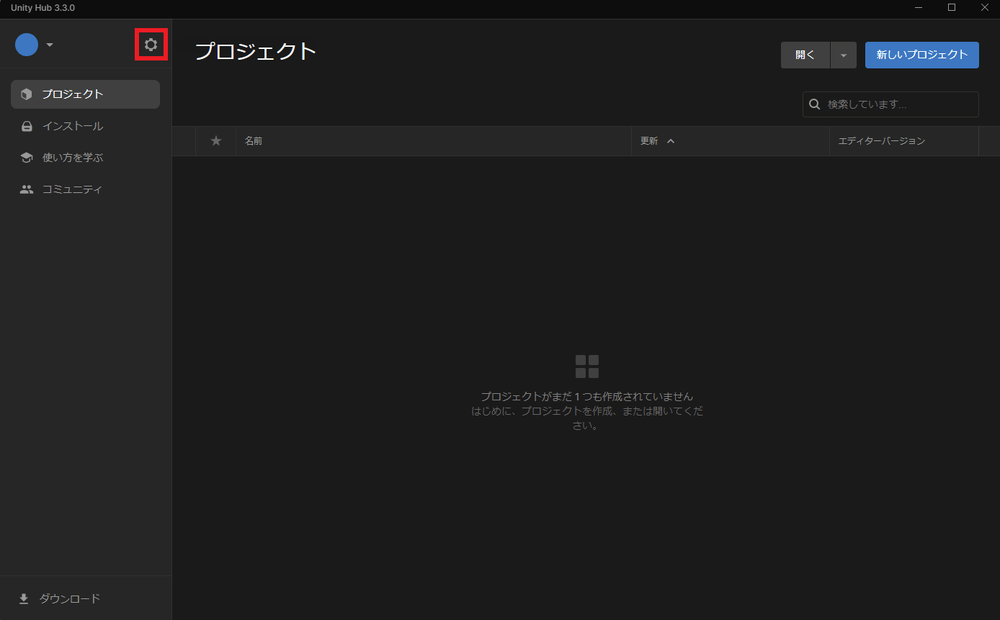
Click the gear icon in the top-left
Select the “Projects” tab on the left and change the “Default location” to a drive other than C.
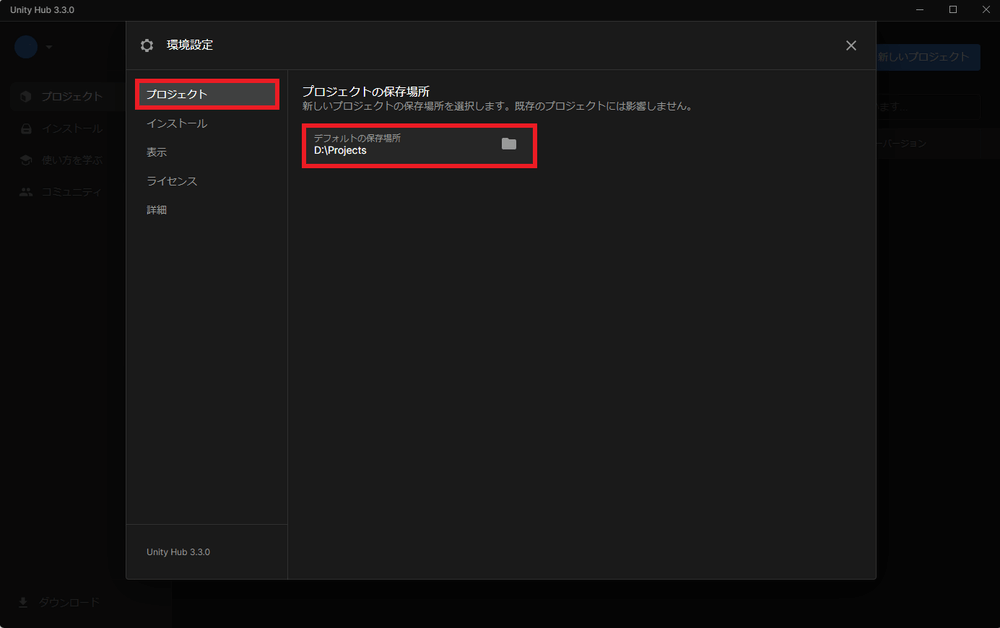
Change the default location to a different drive
Then select the “Installs” tab and change the “Install location” to a drive other than C.
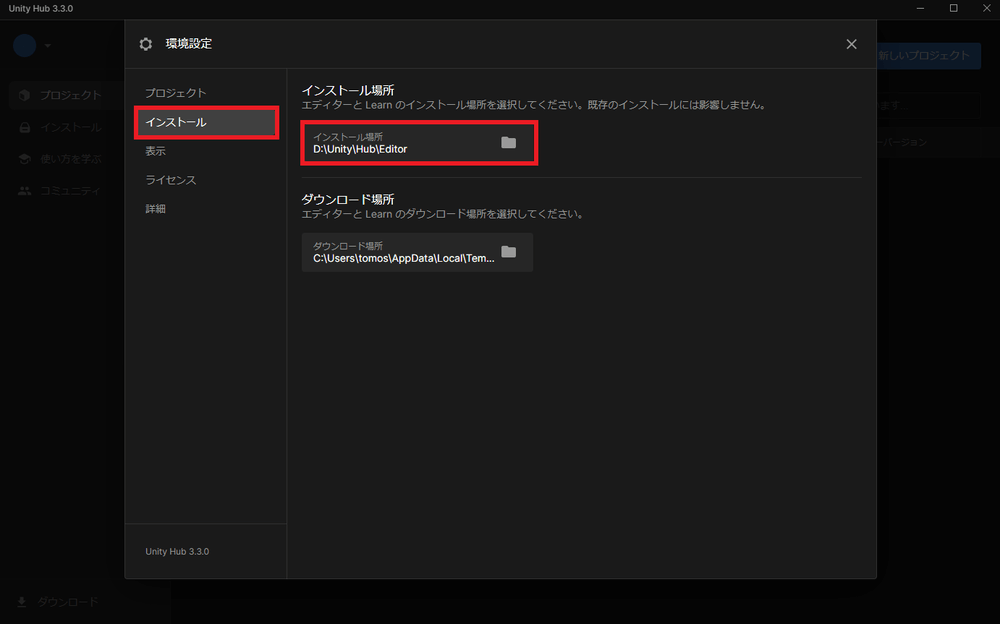
Change install location to a different drive
This completes the setup for Unity’s install location.
Install Unity
Select a Version
Select the “Installs” tab on the left.

Select the Installs tab
Click “Install Editor”.
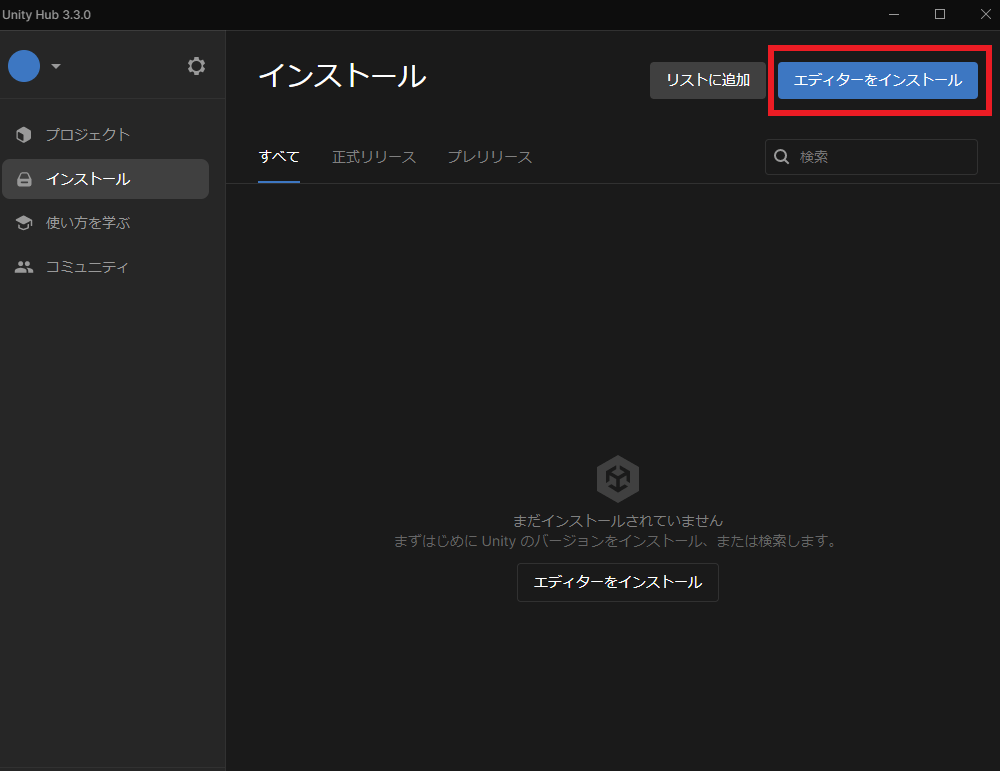
Click Install Editor
You’ll see several Unity versions to choose from. Select the one you want to install.
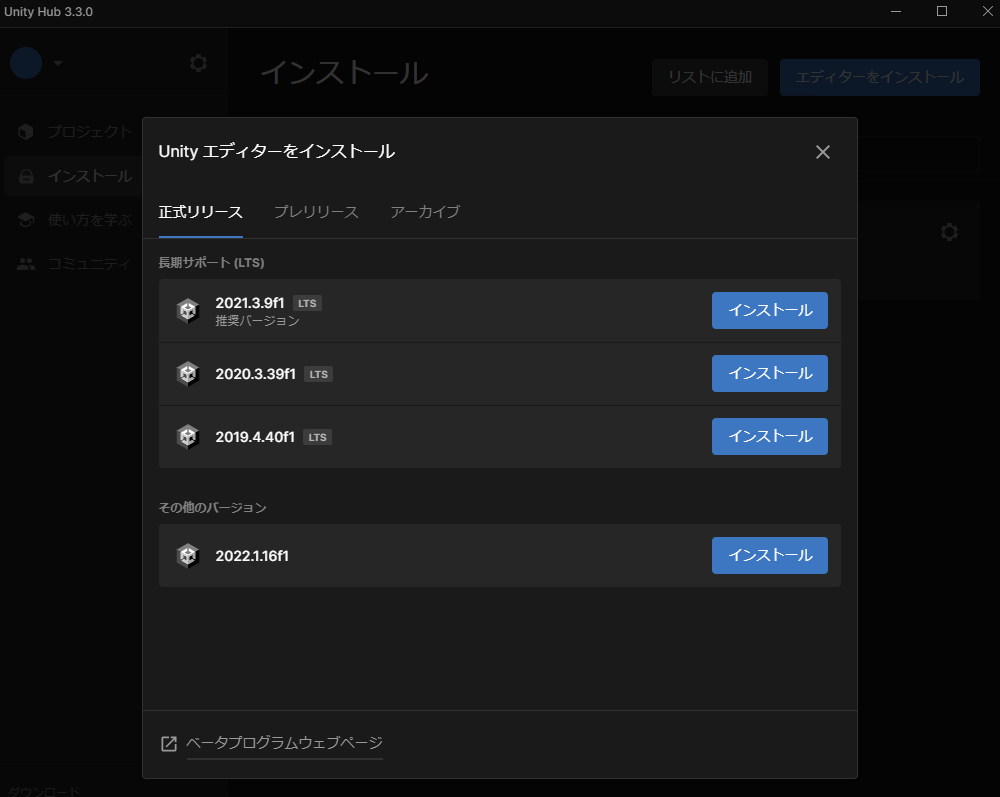
Version selection screen
You can also install other versions from the following URL:
https://unity3d.com/jp/get-unity/download/archive
If you don’t have a specific preference, downloading the recommended version is fine.
If you want to create STYLY scenes using Unity, install the STYLY-recommended version of Unity from the above URL. You can find the version here:
STYLY Plugin for Unity DOWNLOAD

Select Modules
After selecting a version, you’ll see the module selection screen.
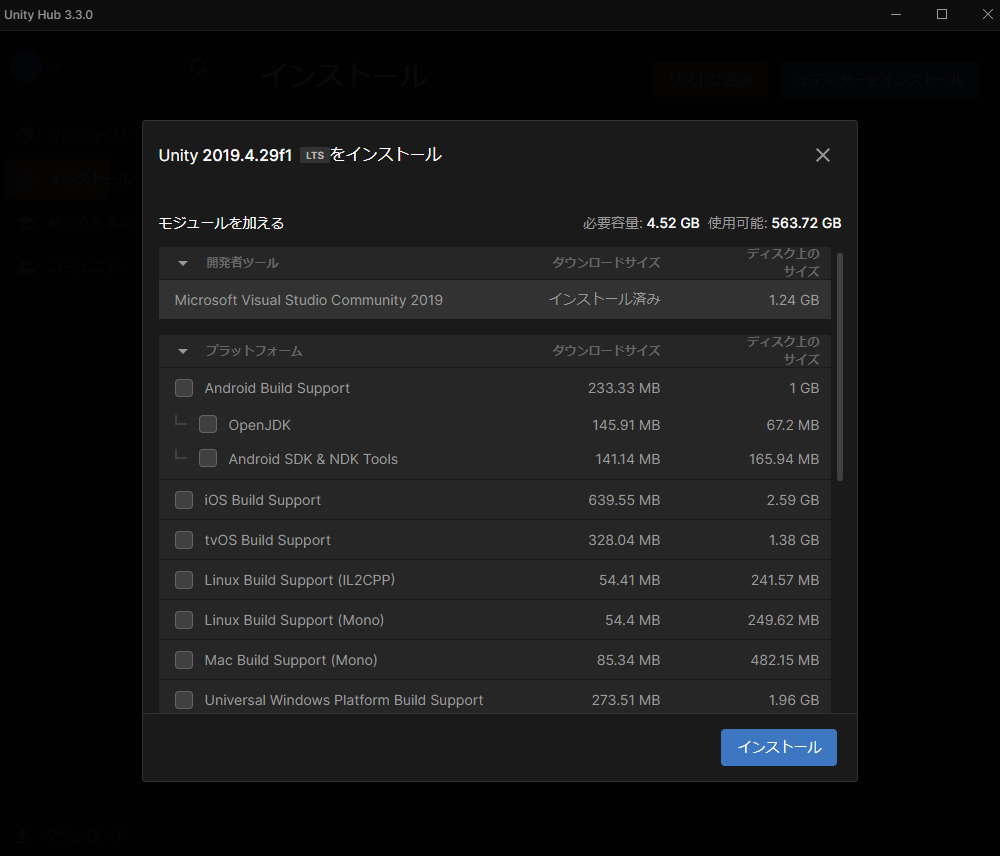
Module selection screen
* Here you can select additional modules depending on the platform you’re developing for. You can also add them after installation.
If you want to create STYLY scenes with Unity, add the following modules:
- Windows Build Support (installed by default on Windows)
- Mac Build Support (installed by default on Mac)
- Android Build Support
- WebGL Build Support
- iOS Build Support
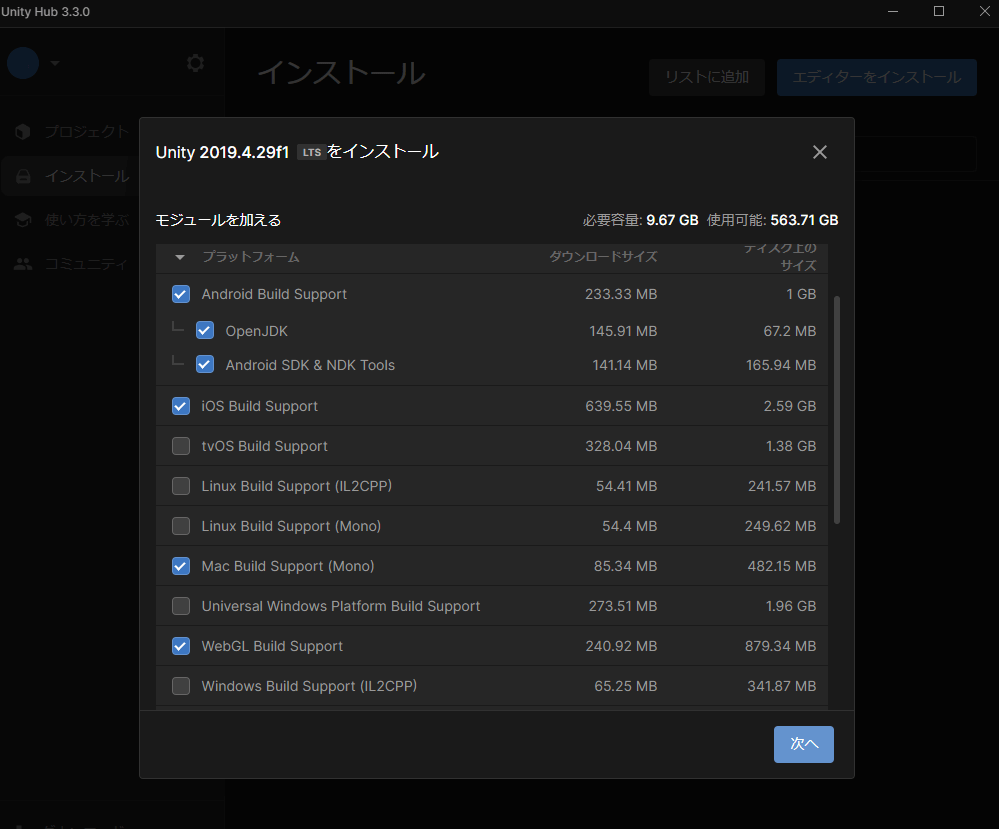
Modules to add for STYLY scenes
This completes the necessary setup for installing Unity.
Click the blue button at the bottom right to start the installation.
If the selected version appears in the “Installs” tab, you’re all set.
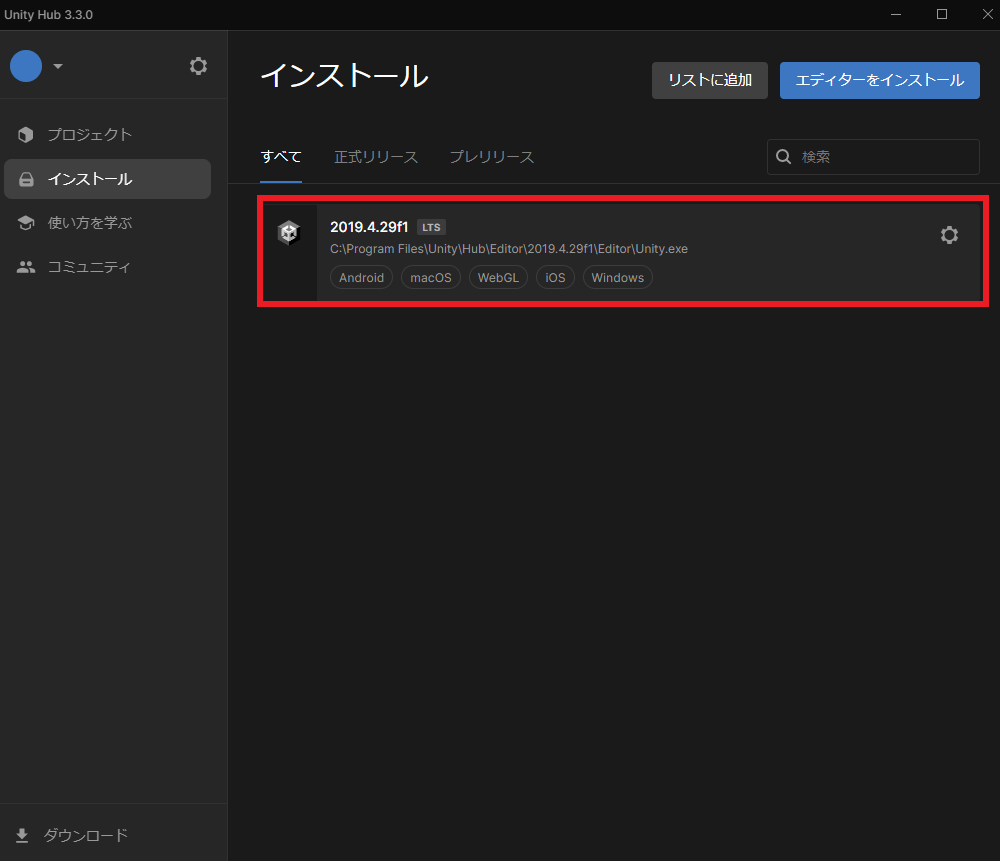
Version added to Installs tab
Create a New Project
Select the “Projects” tab on the left.
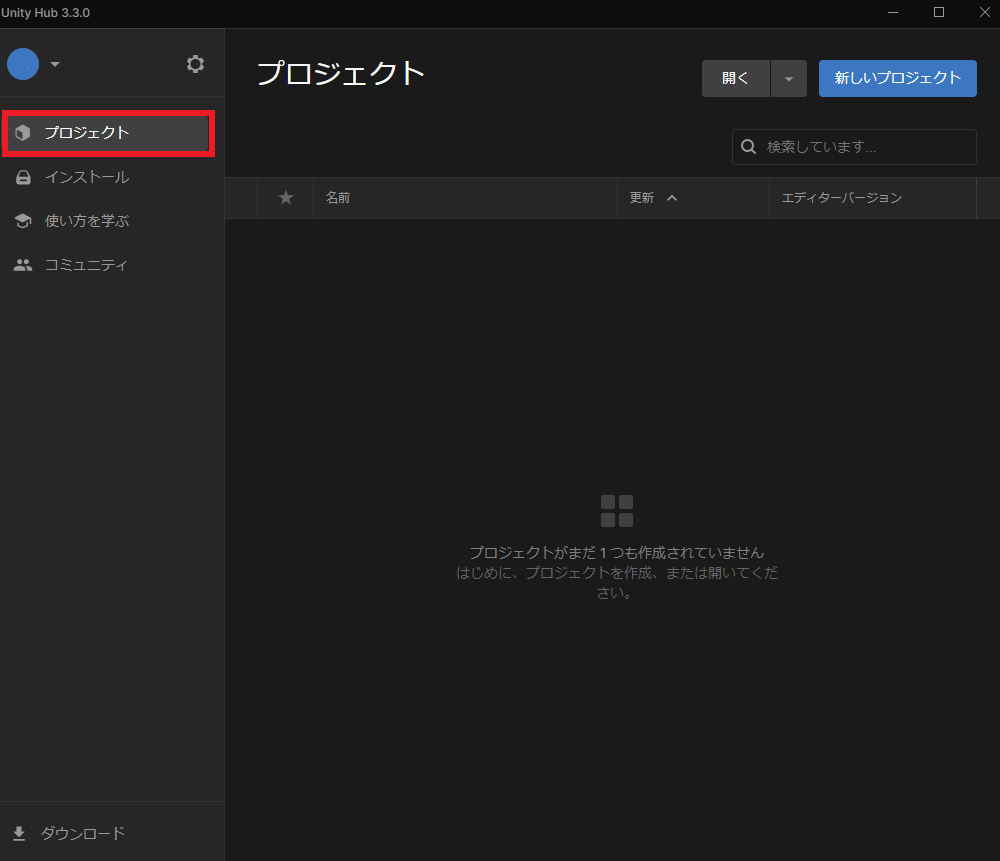
Select Projects tab
Click “New Project” in the top-right corner.
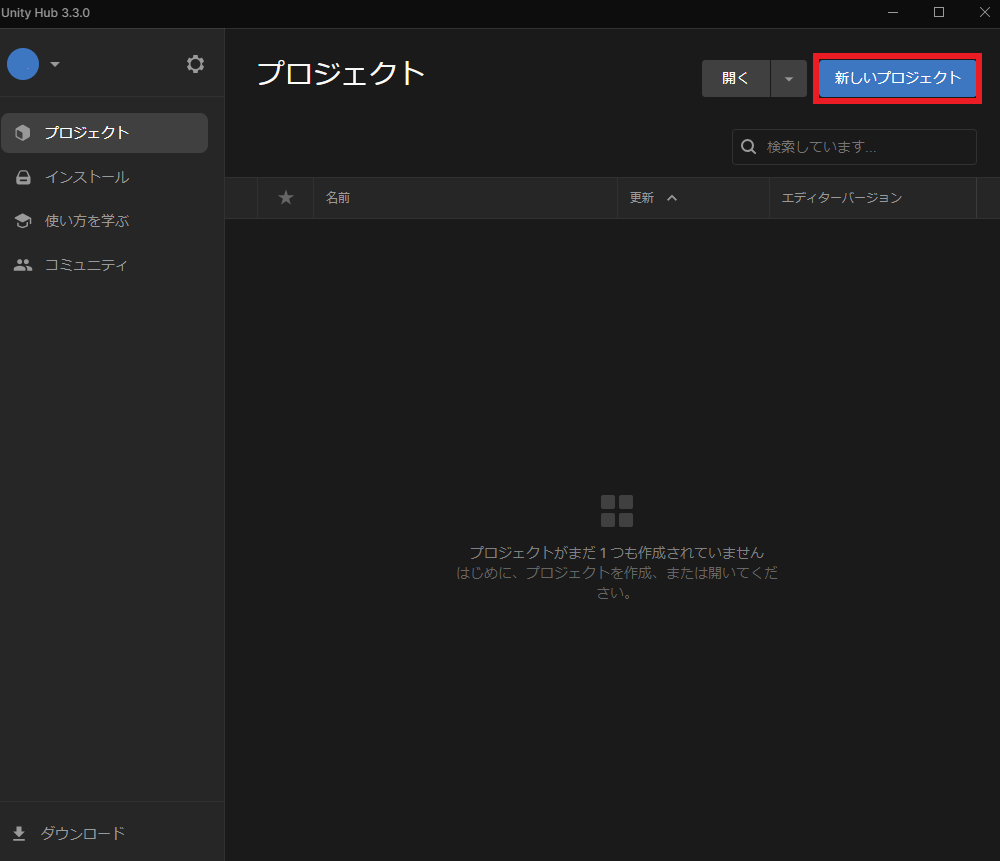
Click New Project
You’ll then see the template selection screen.
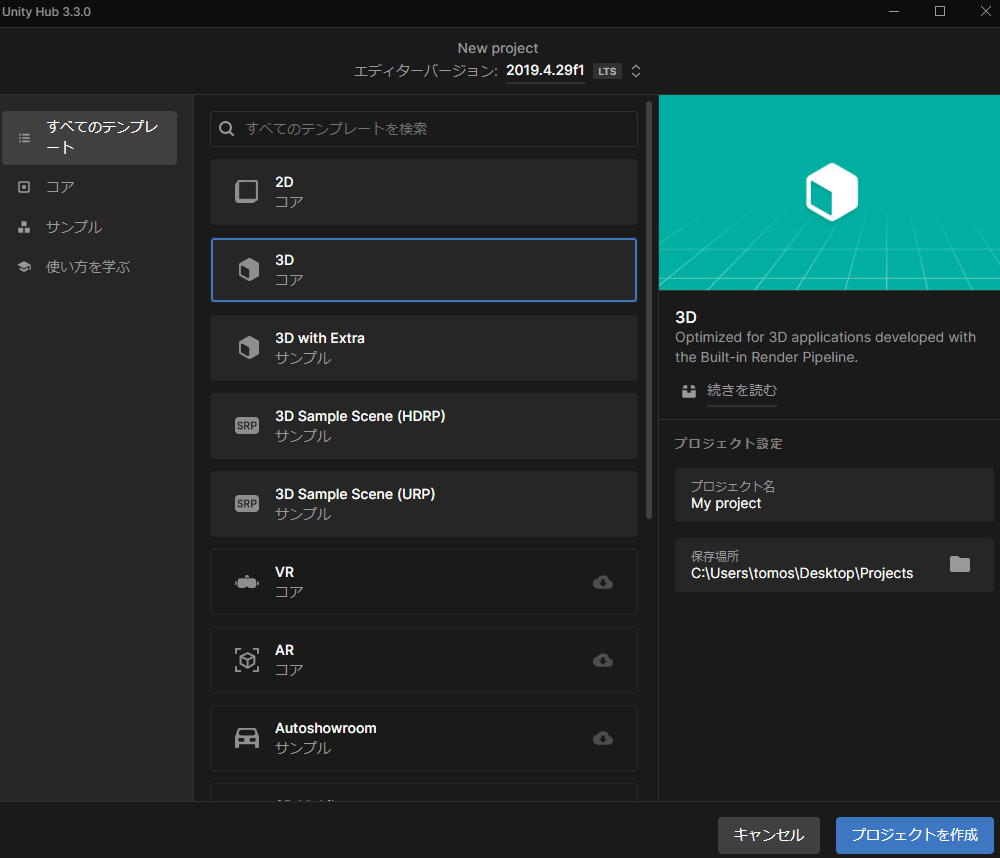
Template selection screen
After selecting a template, click “Create Project” to generate the project and launch Unity automatically.
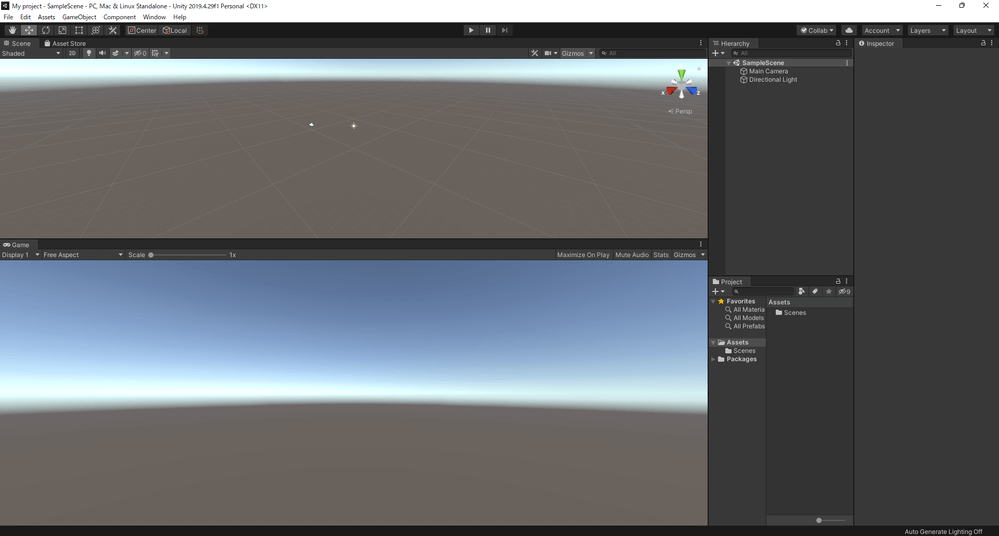
Unity Editor window
From now on, when you want to edit the project, simply click the project in Unity Hub and it will open automatically in Unity.
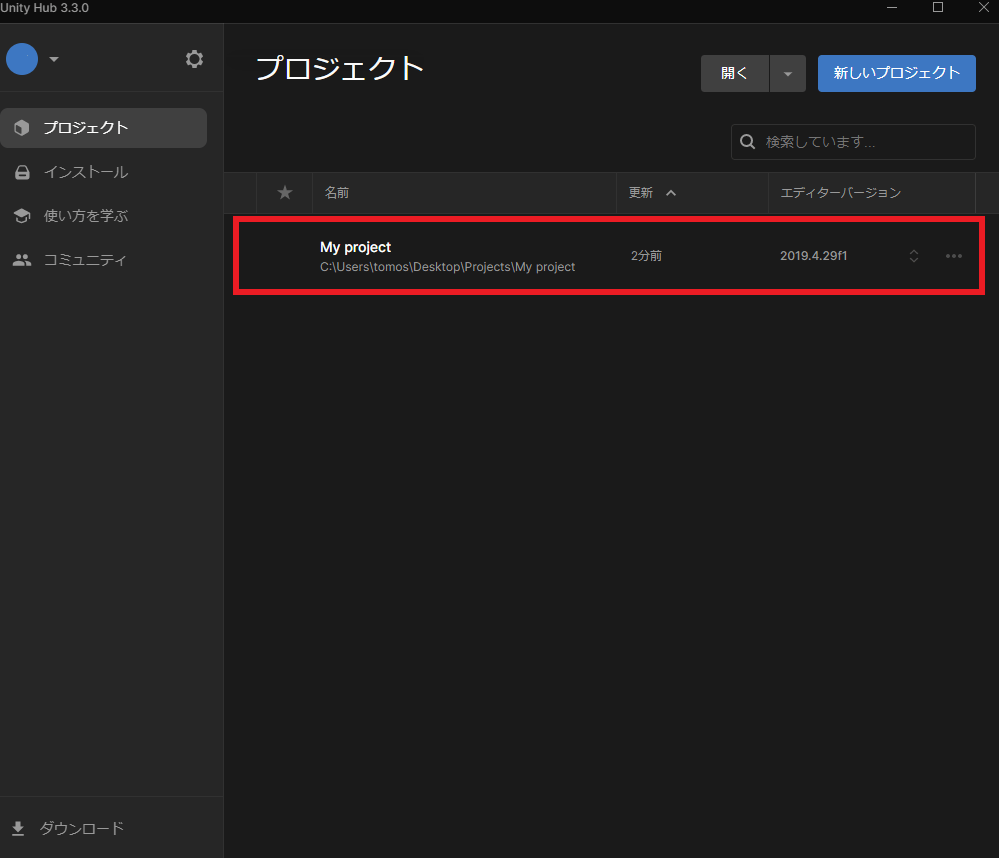
Click the project you want to edit in Unity Hub
Other Features of Unity Hub
Learn How to Use
In the “Learn” tab, you can access tutorial content from Unity Learn to help you get started with Unity.
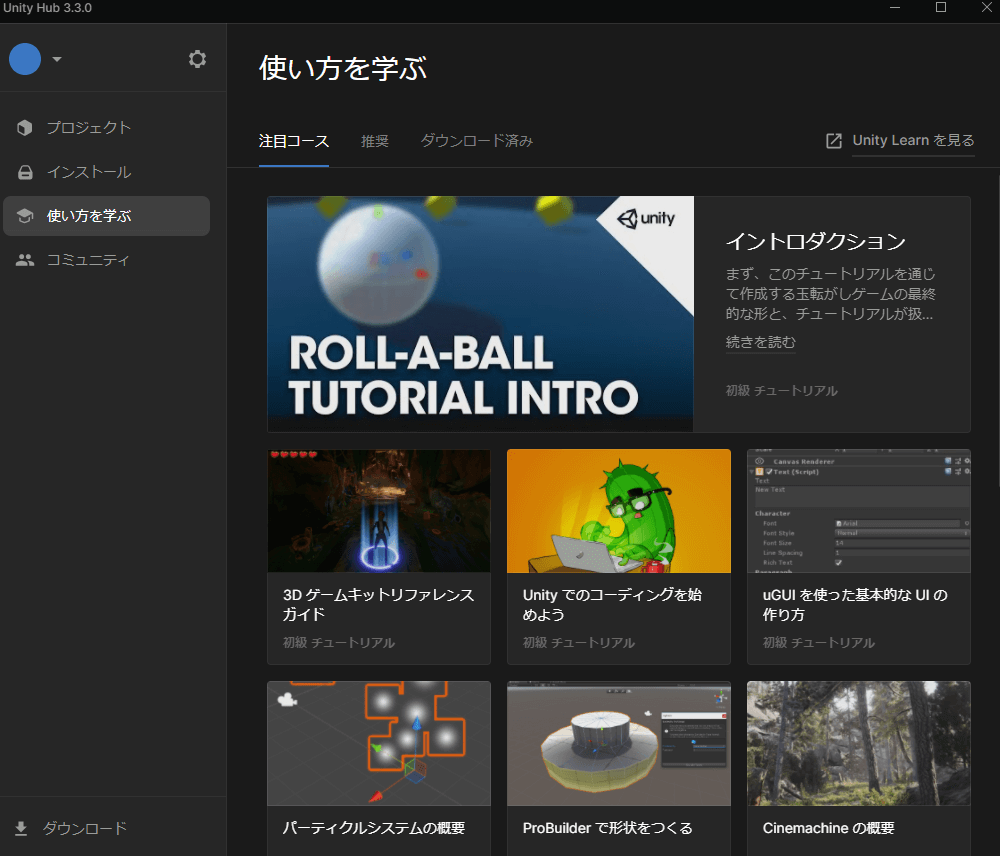
Learn tab
Community
The “Community” tab provides links to official Unity resources that are helpful for users.
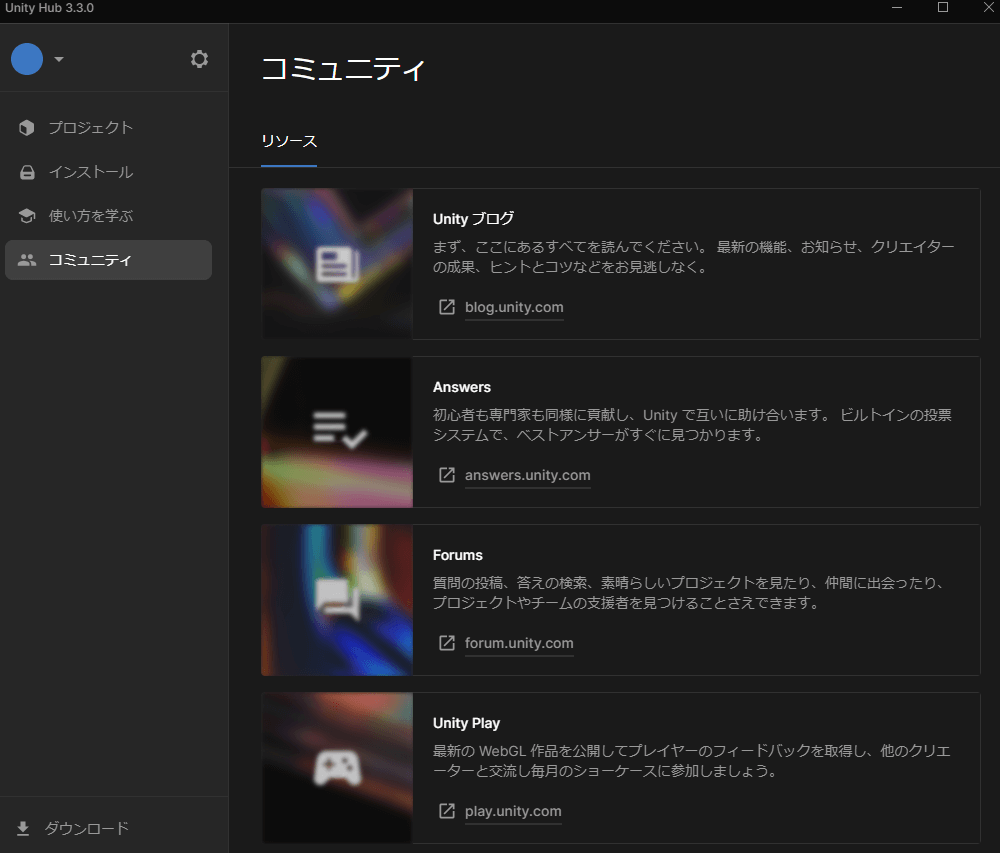
Community tab
That’s the end of this article.
We encourage you to try installing Unity and start creating with it!
Certified (QA) by Shota Shawn Yoshizawa
Edited by SASAnishiki