The prefab function allows you to edit duplicate objects based on a single object at once.
In this article, I will explain the prefab function, which is useful for creating scenes, for Unity beginners.
Prefabs and Instances
A prefab is a template for an object, and if you create a prefab, you can duplicate the same object based on it.
An object duplicated based on a prefab is called an instance.
If you create multiple instances based on a prefab, when you want to make changes to them, you can simply make changes to the original prefab and the same changes will be reflected in all instances.
You can also make individual changes to each instance.
This is useful for creating scenes more efficiently, so be willing to use it if you want to duplicate the same object.
How to create a prefab
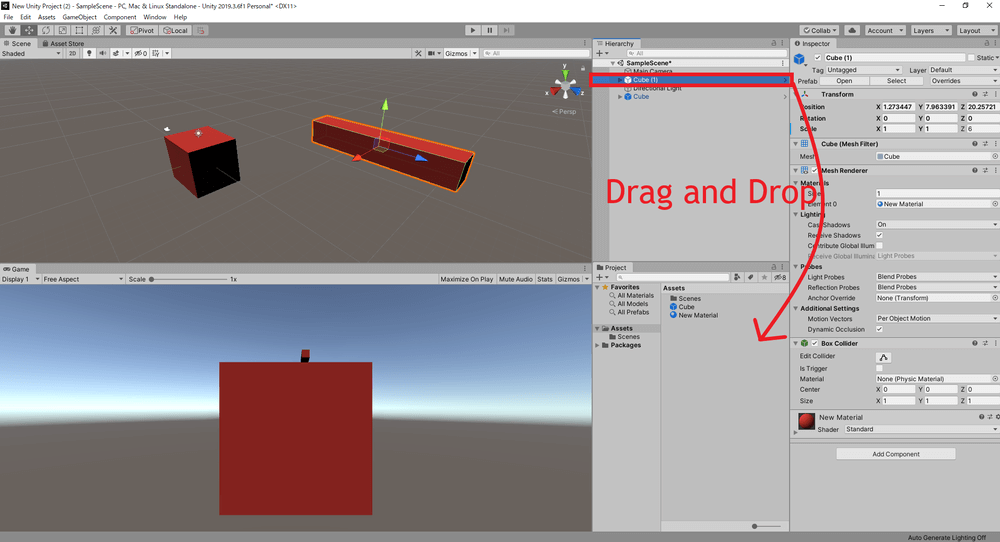
To create a prefab, drag and drop the game object you want to use as a basis from the Hierarchy window to the Project window.

Drag and drop from the Hierarchy window to the Project window
When the prefab is created, a blue prefab icon will be added to the Project window and the icon of the original game object will also change to blue.
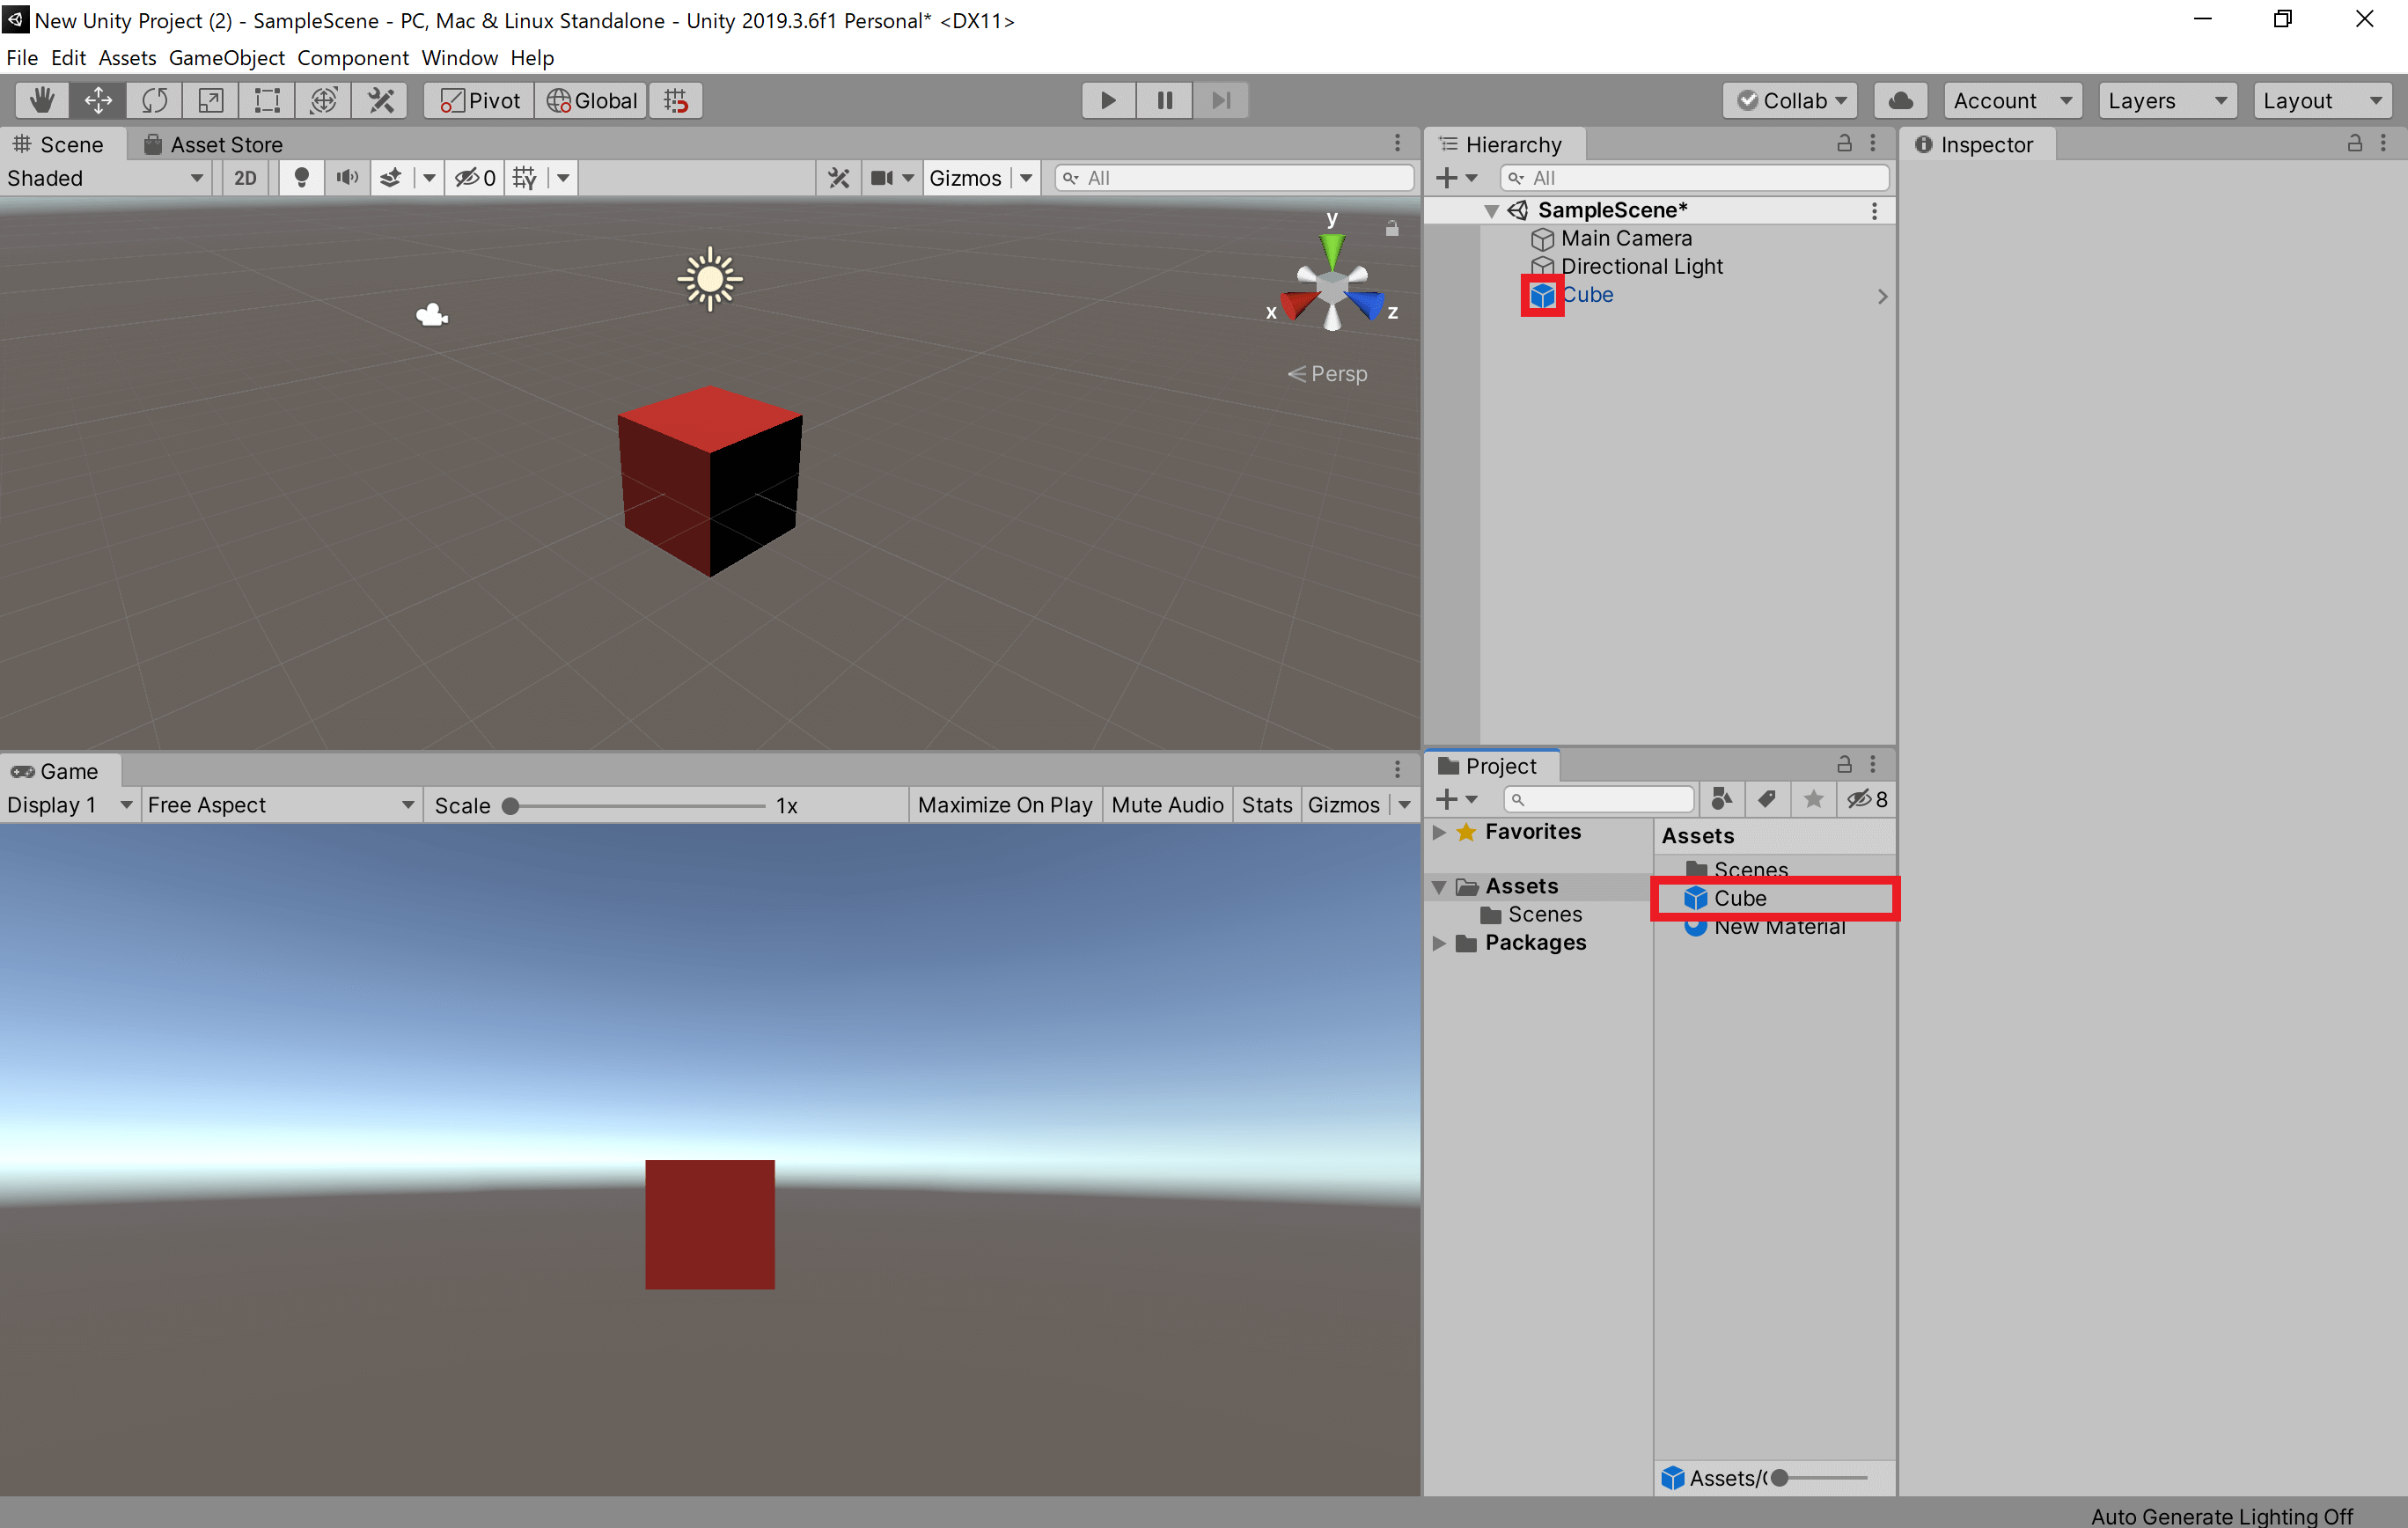
After creating the prefab
This means that the original game object is now an instance of the created prefab.
How to Create an Instance
To create an instance, drag and drop the prefab you want to create from the Project window to the scene view.
Dragging and dropping a prefab from the Project window to the scene view
Editing a prefab
When you change a prefab, the changes will be reflected in the instance.
When a prefab is changed, the changes are reflected in the instance.
There are two ways to edit a prefab: by using the prefab mode, or by making changes to an instance and overwriting the instance with the prefab.
Editing in Prefab Mode
To edit in prefab mode, double-click on the prefab you want to edit from the Project window.
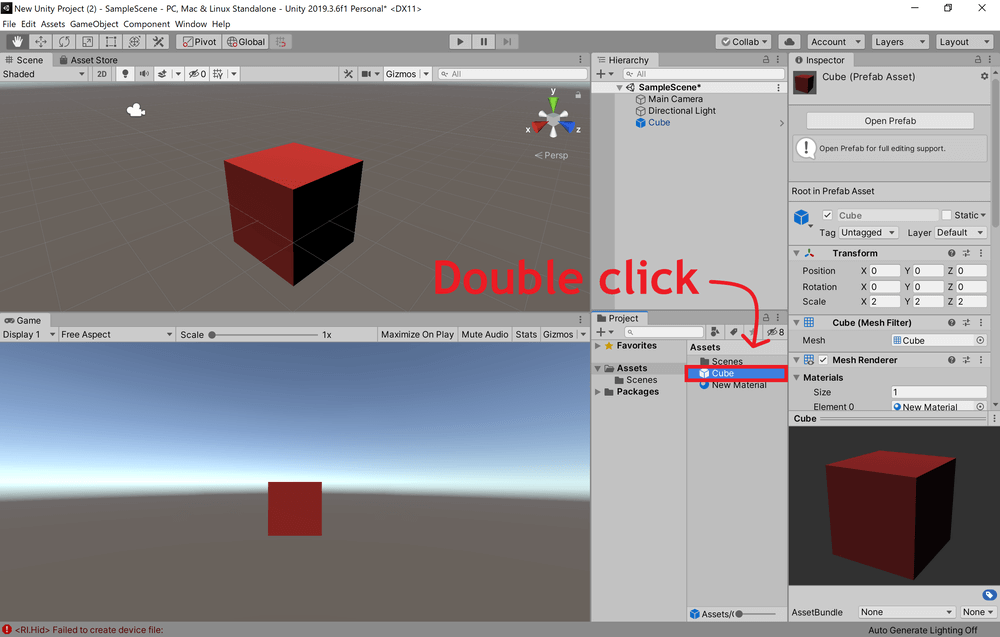
Double-click the prefab you want to edit.
The prefab will then appear in the scene view, and you can edit it.
Prefab Mode
To exit the Prefab mode, click on the back button at the top of the Hierarchy window.
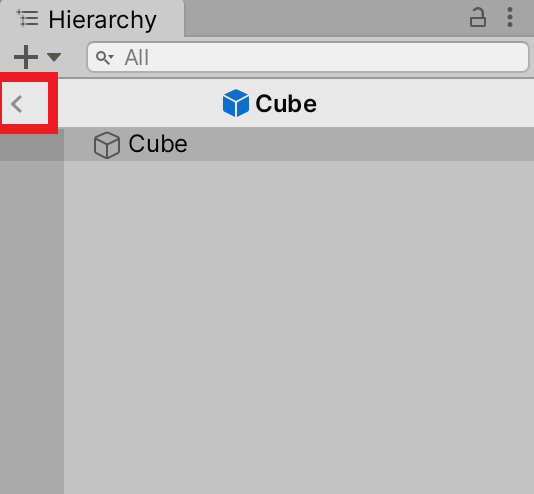
Click on the “Back” button
Overwriting an Instance with the Original Prefab
If you want to overwrite the changes you made to an instance with the changes you made to the prefab, click “Overrides” at the top of the Inspector for that instance, and then click “Apply All”.
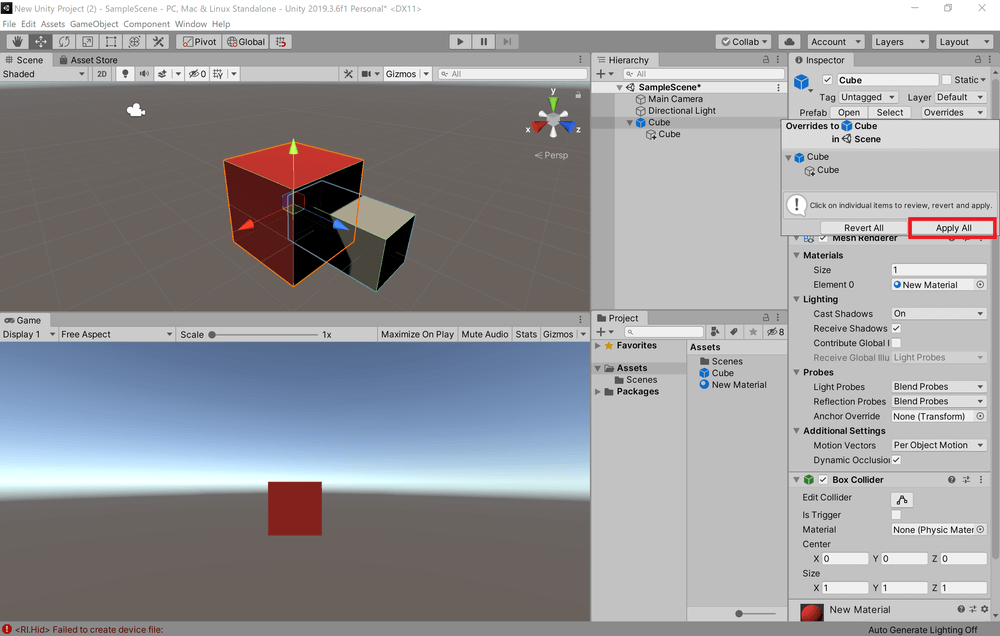
Click “Apply All”.
Clicking “Revert All” will discard the changes made to the instance and return it to the game object as prefabricated.
You can also right-click on the name of the property you have modified to choose whether to overwrite the prefab with that value only, or to revert to the prefab as is.
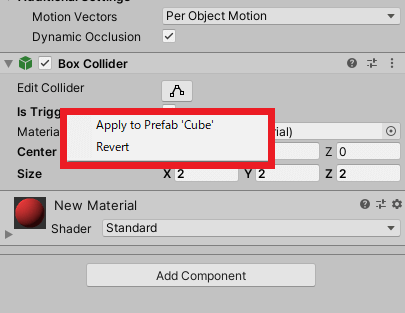
Right-click on a property name
Another option is to press the vertical three-point leader of the component and click Modified Component → Apply to Prefab…. You can also override the prefab for each component by pressing
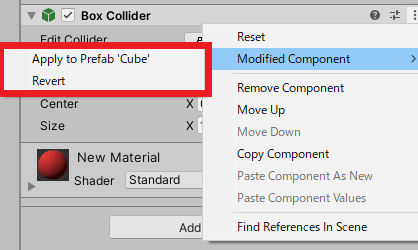
Modified Component → Apply to Prefab…
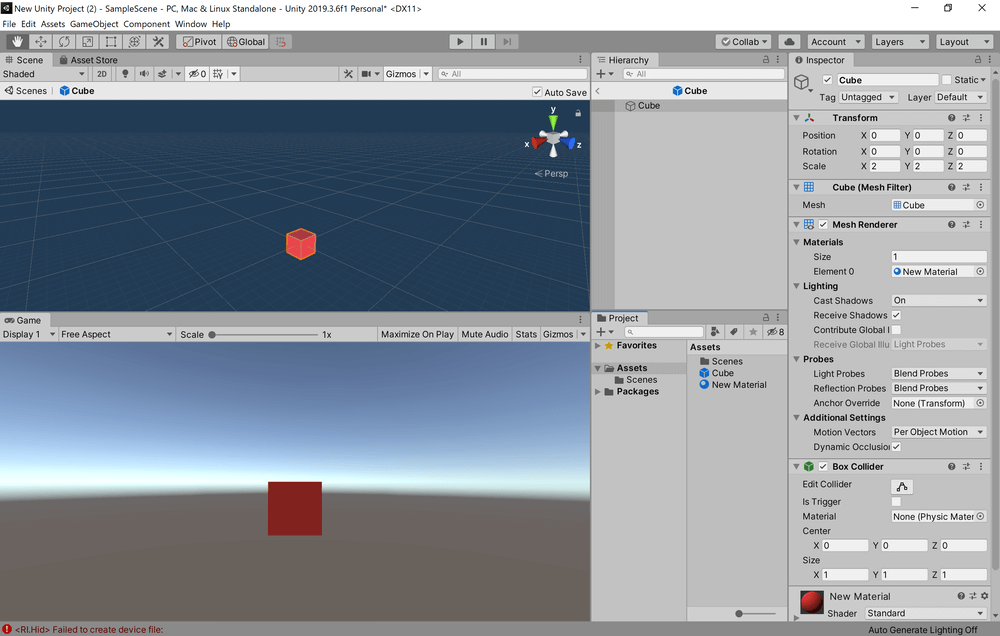
Editing an Instance
Instances can be edited just like normal objects.
Changed parts are shown in bold text in the Inspector
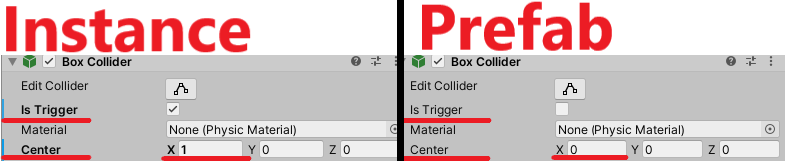
Changed parts will be displayed in bold text in Inspector.
The changed part will not be reflected even if the prefab is changed.
The changed part will not be reflected even if the prefab is changed.
You can also uninstantiate an instance by right-clicking on it and clicking Unpack Prefab.
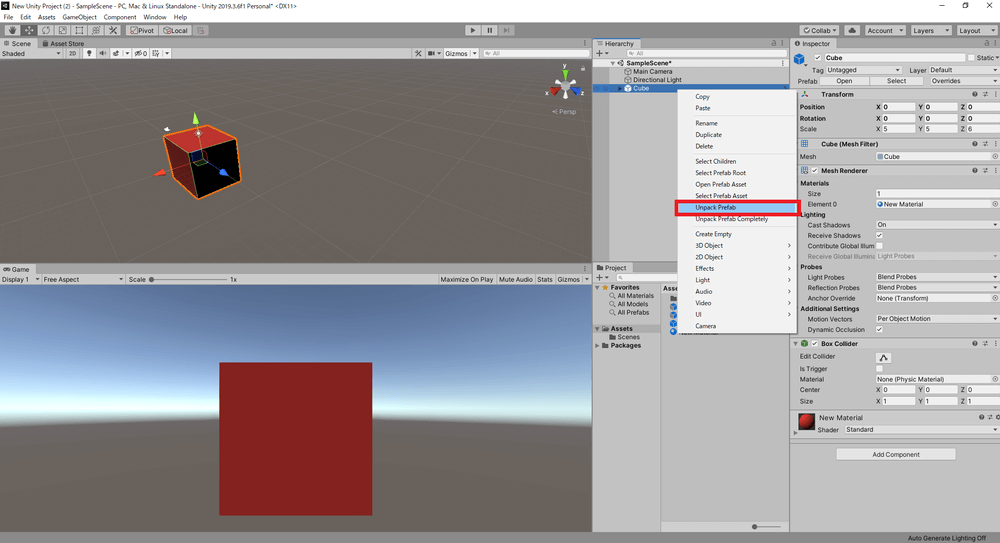
Right-click the instance and click Unpack Prefab
About Prefab Variants
A prefab variant can be created based on a prefab, and functions as a derivative of the original prefab.
It is also possible to create an instance based on a prefab variant, and any changes made to the prefab variant will also be made to the instance.
How to create
After editing the instance, drag and drop it from the Hierarchy window to the Project window.
Drag and drop from the Hierarchy window to the Project window
In the window that comes up, select Prefab Variant to create it.
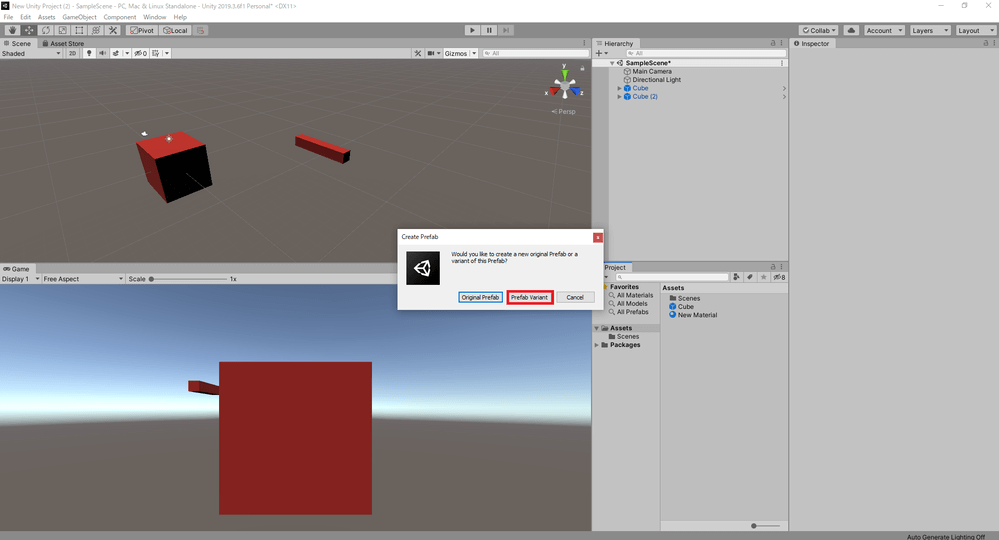
Select Prefab Variant
When the prefab variant is created, a blue and gray prefab variant will be added to the Project window, and the icon of the game object it is based on will change.
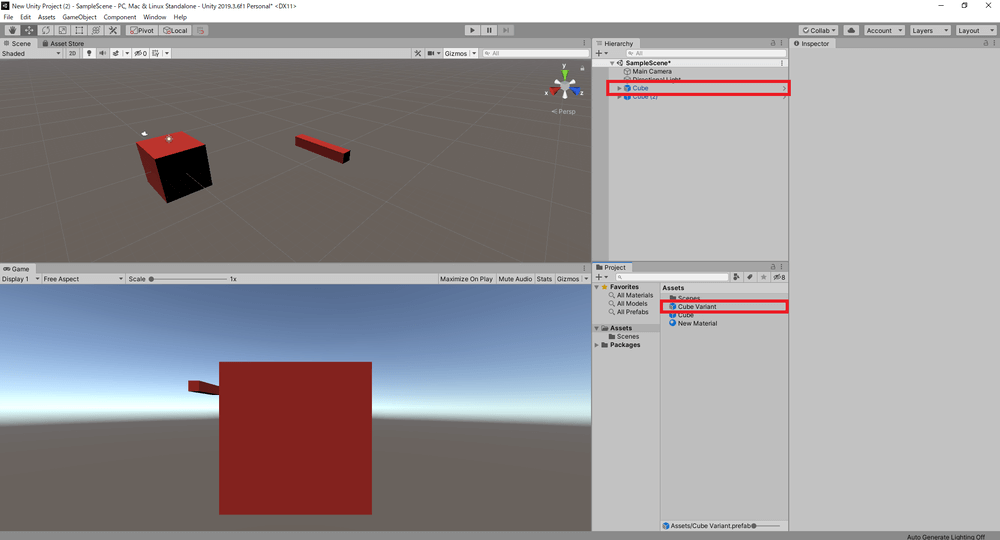
After creating the prefab variant
How to edit
A prefab variant can be edited in the same way as a prefab, either by using the prefab mode or by making changes to the instance and overwriting it with the prefab.
Also, if a change is made to the original prefab, the same change will be made to the prefab variant.
Areas that are different from the original prefab will be shown in bold text in the Inspector, and any changes made to the original prefab will not be reflected in the prefab variant.

Areas that differ from the original prefab are displayed in bold text in the Inspector.
This is a basic explanation of how to use the prefab function.
I hope you will try using this function in your scene creation.
How to upload to STYLY
Let’s upload the prefabricated game objects to STYLY.
How to create a STYLY account

How to upload 3D models to STYLY

How to upload from Unity to STYLY

You can use STYLY FORUM to solve the problem. STYLY FORUM is a place where people can discuss a service or technical issue on STYLY, or provide bug reports on STYLY.
https://en.forum.styly.cc/support/discussions