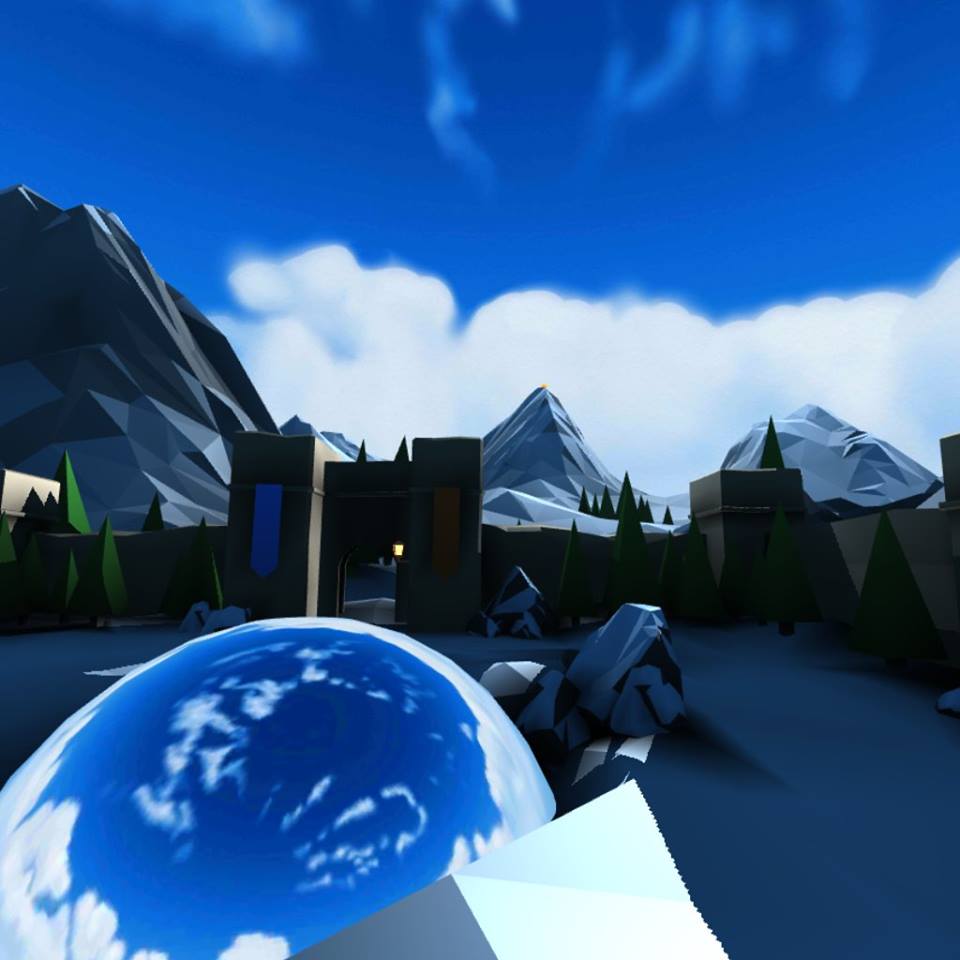
A scene using this asset, in the Oculus Go version STYLY
In this article, I am going to introduce one of my favorite assets for Unity, that you can use in STYLY. The asset I am going to introduce today, is an asset called “AllSky”. “AllSky” is a sky texture package. With this asset, you can create skies with different textures that are not available in STYLY by default. First, I will give you a brief overview of the asset. Then, I will explain how to download and import the asset to Unity, and how to upload the asset to STYLY.
Sample
You can experience the “AllSky” asset in VR in the STYLY GALLERY.
AllSky
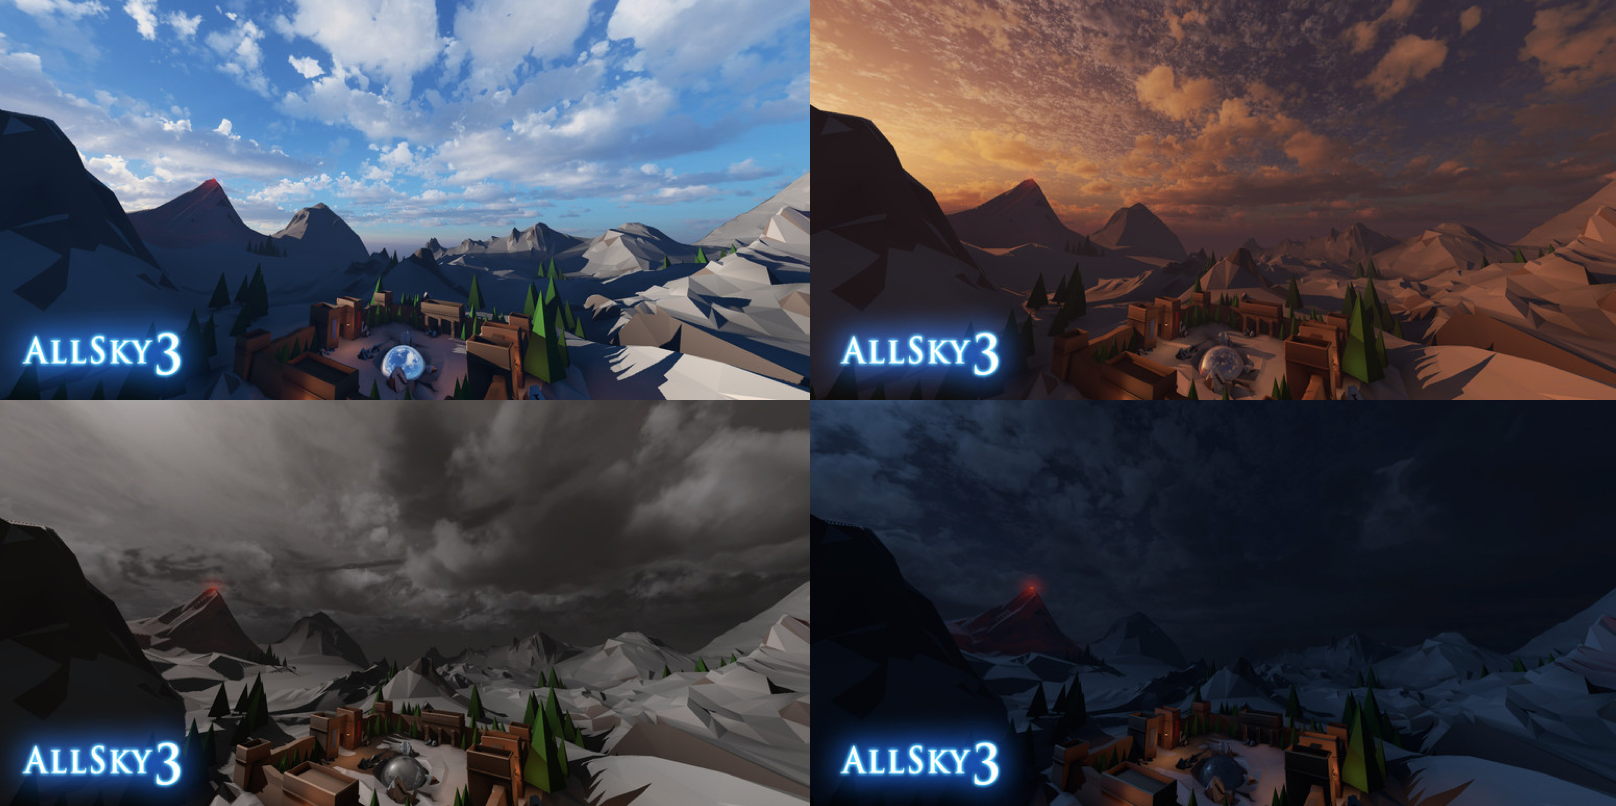
AllSky
Total file size : 665.4MB Supported Unity Version : from 5.1.5 and higher Price:$10 Asset Store URL https://assetstore.unity.com/packages/2d/textures-materials/sky/allsky-10109
Downloading and Importing to Unity
So, lets access the Unity Asset Store from Unity, and download and import “AllSky”. For details of how to download and import assets from the store, please refer to this article. For those who are already familiar, search for “AllSky”, and download it.
Search for AllSky
Uploading to STYLY
Let’s upload the “AllSky” asset to STYLY. For details of how to upload assets to STYLY, please refer to this article. How to upload assets from Unity to STYLY If you want to upload a whole scene to STYLY, please refer to this article. How to use the Unity scene upload function Take note that when you upload a whole scene using the “AllSky” asset to STYLY, you need to delete the Camera and the Canvas from the scene.
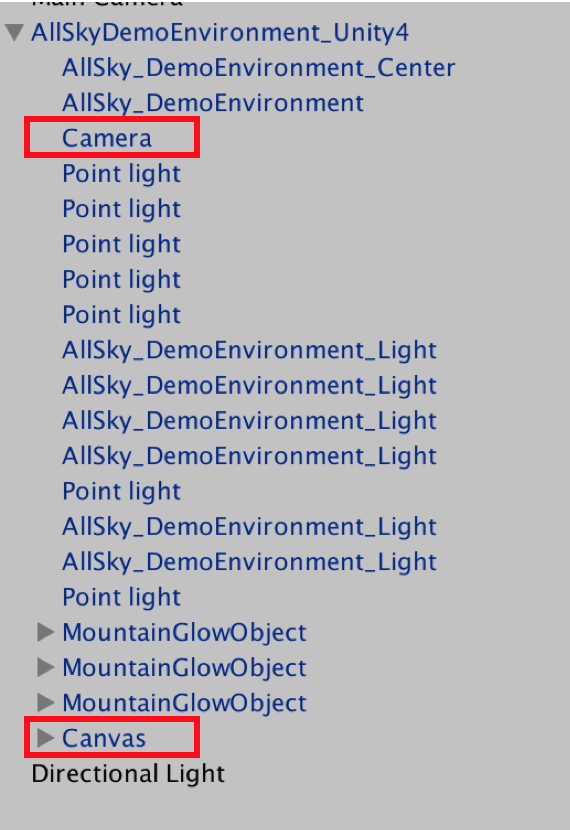
Deleting unneeded objects
There is a camera function by default in STYLY, so if you upload a camera to STYLY, there is a possibility that some sort of error occurs. For the Canvas, you can find that there is a Script included in it from the Inspector view. STYLY does not support C# scripts, so there is also a possibility that some sort of error occurs if you upload it.
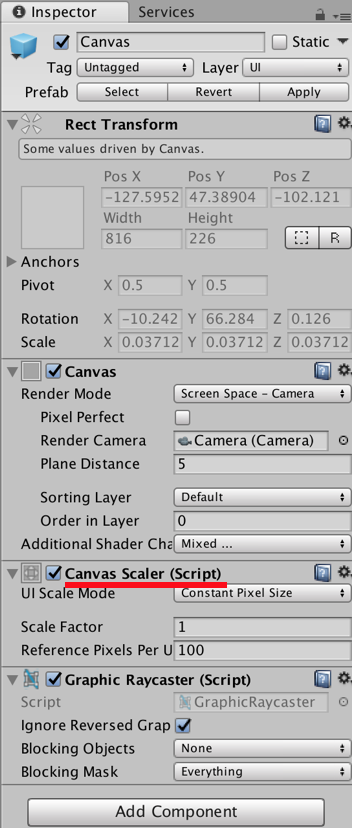
Inspector window of the Canvas
The image below is a scene using the “AllSky” asset in the STYLY Web Editor.
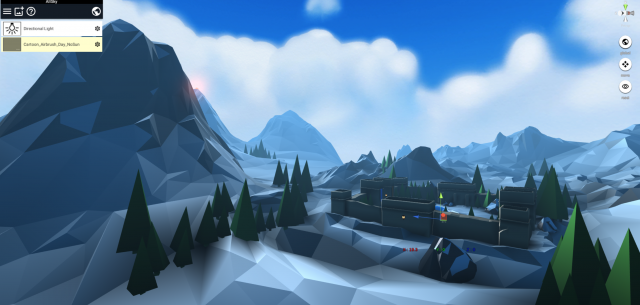
Check the asset in the Web Editor
By using assets from the Unity asset store, we can easily create scenes like this.