この記事ではバーチャルモーションキャプチャーというアプリをご紹介します。
バーチャルモーションキャプチャーはVR機器を使用してVRM形式の3Dモデルをコントロールするアプリで、特にVtuberになりたい方におすすめのアプリです。
また、VRゲーム・アプリとの同時起動ができるため、ゲーム・アプリの画面とバーチャルモーションキャプチャーの画面を合成すれば、まるでキャラクターがゲーム・アプリの世界に入り込んだかのようなMR動画を撮影することもできます。
今回はバーチャルモーションキャプチャーとSTYLYの空間を使ってVtuberになる方法を解説します。
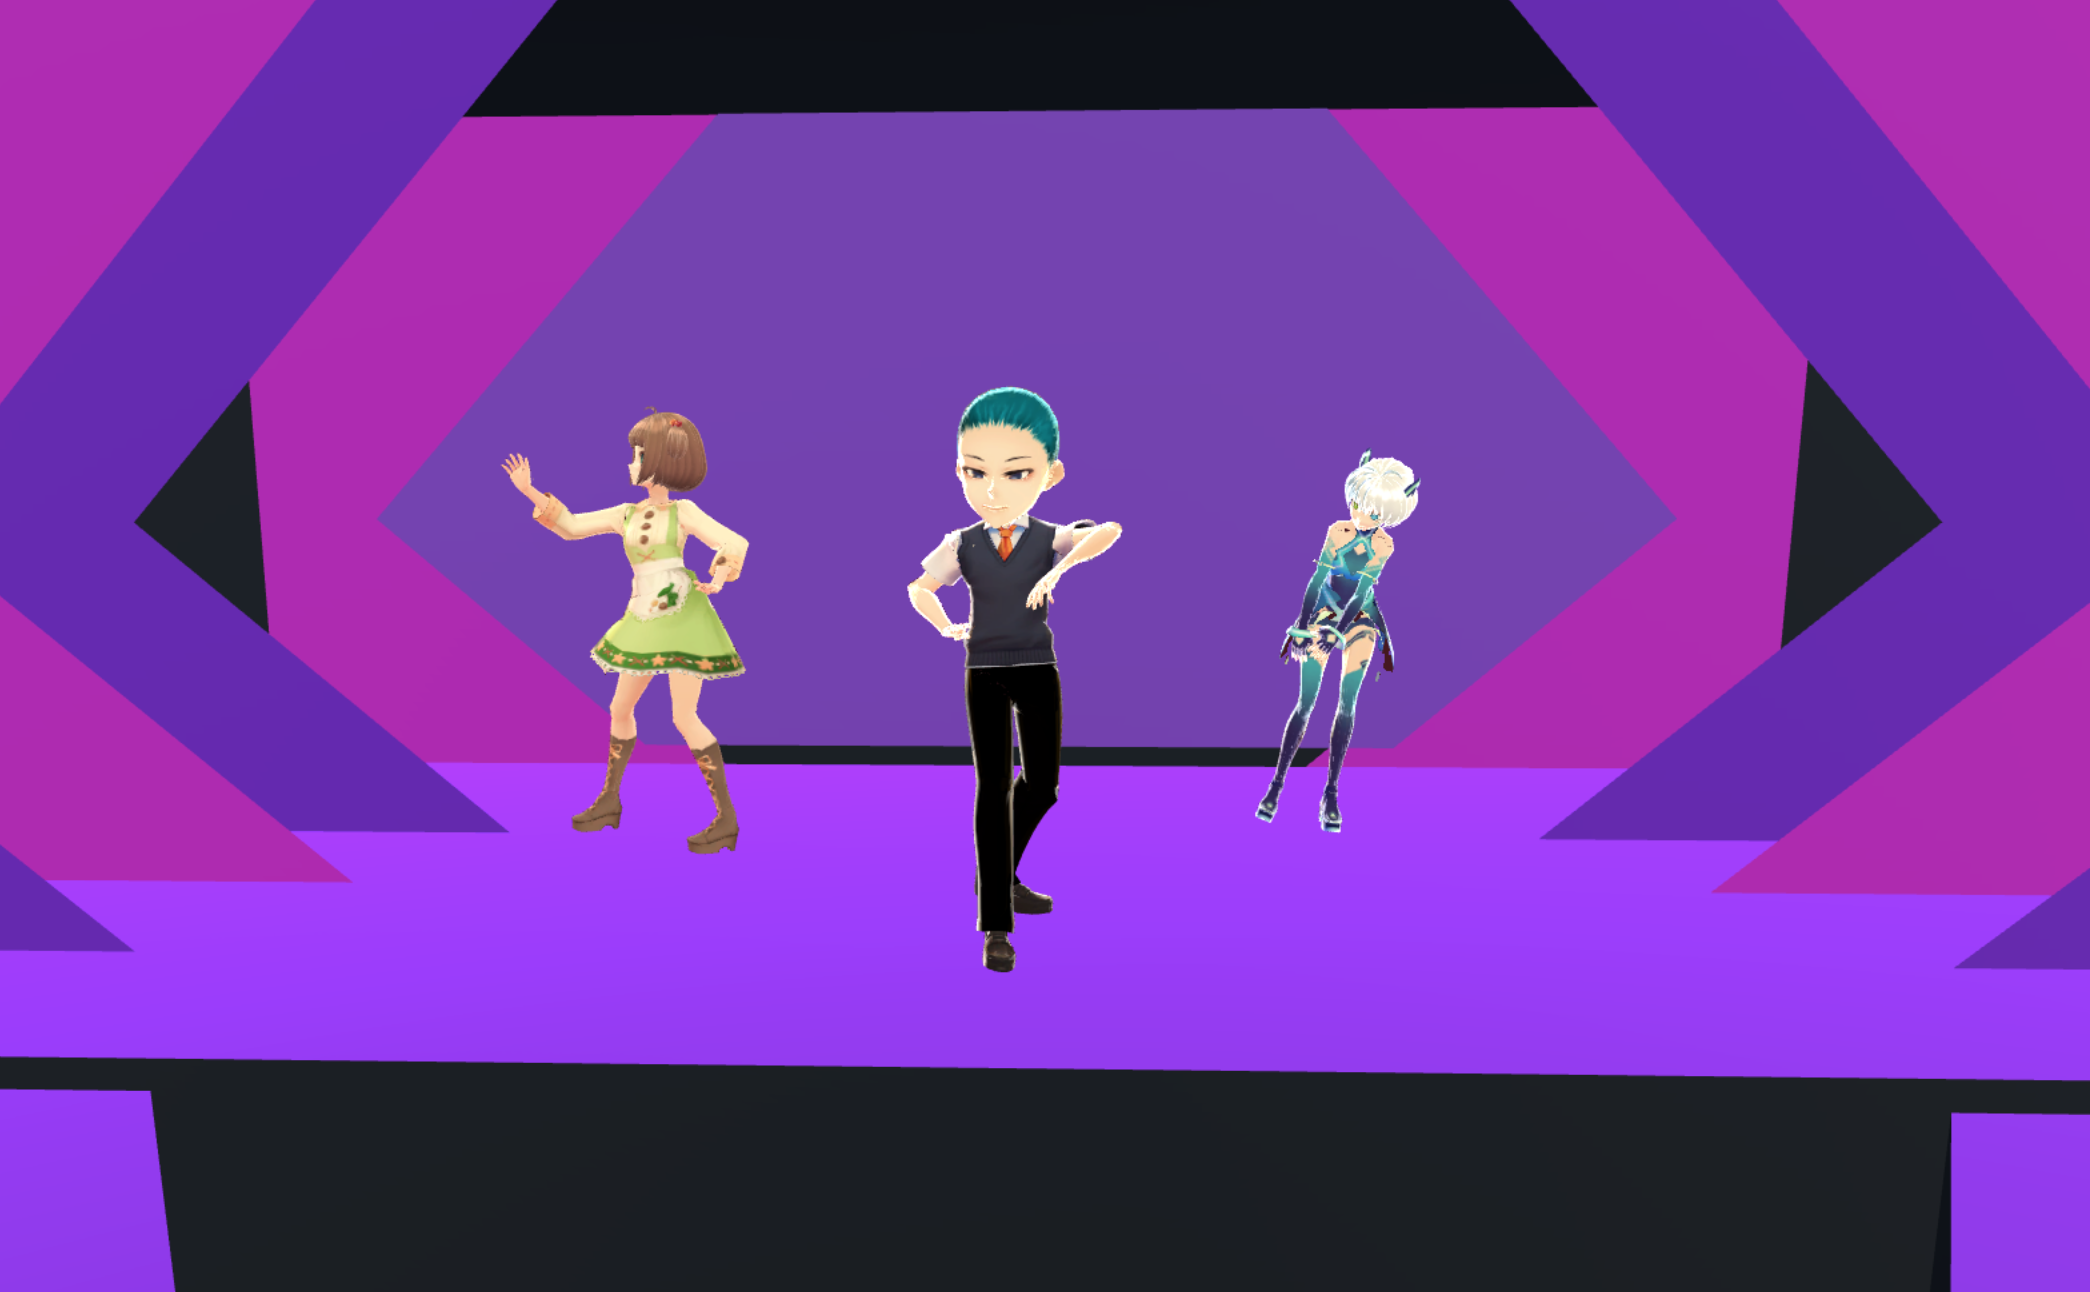
完成イメージ
イントロダクションと事前準備
イントロダクション
VRゲーム・アプリとバーチャルモーションキャプチャーの画面を合成したMR動画を撮影するためには、LIVなどのMR合成用のアプリや、externalcamera.cfgを使ったSteamVRのMR合成機能を利用する必要があります。
これらのアプリの使い方や設定の仕方は次回の記事で説明するので、この記事ではバーチャルモーションキャプチャーの基本的な使い方を説明します。
事前準備
バーチャルモーションキャプチャーはVRMというファイルフォーマットの3Dモデルを扱うアプリです。
なので、VRM形式の3Dモデルを用意する必要があります。
販売や配布されているモデルだけでなく、VRoidやセシル変身アプリといったツールで作成したオリジナルのVRMモデルを利用することも可能です。
▼VRoidの使い方はこちらの記事で紹介しています▼
また、OBS Studioという配信ソフトを最後に使用するので、こちらのソフトもダウンロードしてください。
ただし、他の配信ソフトを利用されている方は、そちらのソフトを利用していただいてもかまいません。
▼OBS Studioのダウンロードはこちらから▼
https://obsproject.com/ja/download
バーチャルモーションキャプチャーとは?
VR機器(HTC Vive/Oculus Rift/WinMR)でVRMの3Dモデルをコントロールする
所謂Vtuberになる事が出来るアプリです。
通常のVR機器で操作するアプリと違い、VRゲームと同時起動可能で、
VRゲーム中にもモデルをコントロールすることが出来ます。
バーチャルモーションキャプチャーの最大の特徴は、通常のアプリでは不可能とされているVRゲーム・アプリとの同時起動ができることです。
この特徴を利用すれば、VRゲームをプレイしているプレイヤーの動作に合わせてキャラクターを動かすことができるので、VtuberのようなVRゲーム実況プレイをすることができます。
また、そのようなVRゲームとの同時起動を行わずに、単に3Dモデルを動かすためのアプリとして利用することもできるので、幅広い活用ができるという利点もあります。
バーチャルモーションキャプチャーのダウンロード
バーチャルモーションキャプチャーはBOOTHから無料でダウンロードすることができます。
また、pixiv FUNBOXでは有料会員限定で先行公開版をダウンロードすることができます。
今回はBOOTHから無料版(Ver 0.23)をダウンロードします。
▼BOOTH▼
https://sh-akira.booth.pm/items/999760
VRMモデルの読み込み
バーチャルモーションキャプチャーを起動したら、まずは動かしたいVRMモデルを読み込んでみましょう。
アプリを起動するとコントロールパネルも同時に起動します。
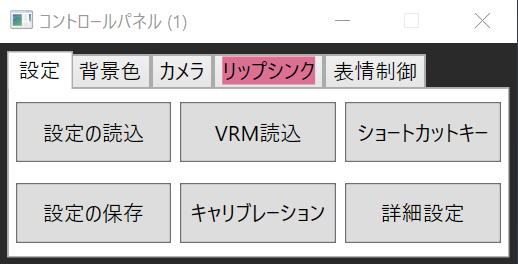
コントロールパネル
コントロールパネルの設定タブから「VRM読込」ボタンを押して、ファイル選択画面を開きます。
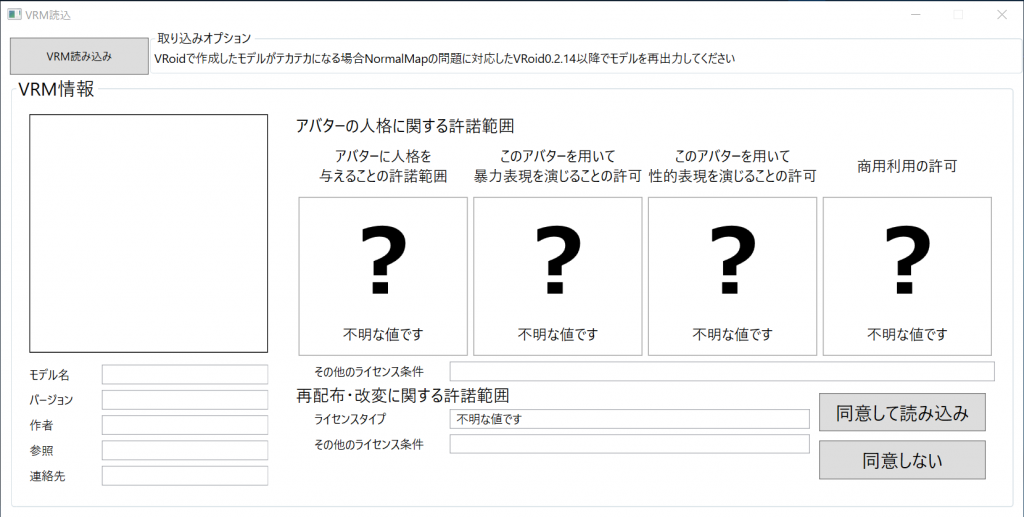
VRM読み込みボタンから選択
事前準備で用意したVRMファイルを選択して開きます。
ファイル選択画面にアバターのライセンス情報が表示されるので、購入したモデルなどを利用する場合はよく確認してから「同意して読み込み」ボタンを押しましょう。
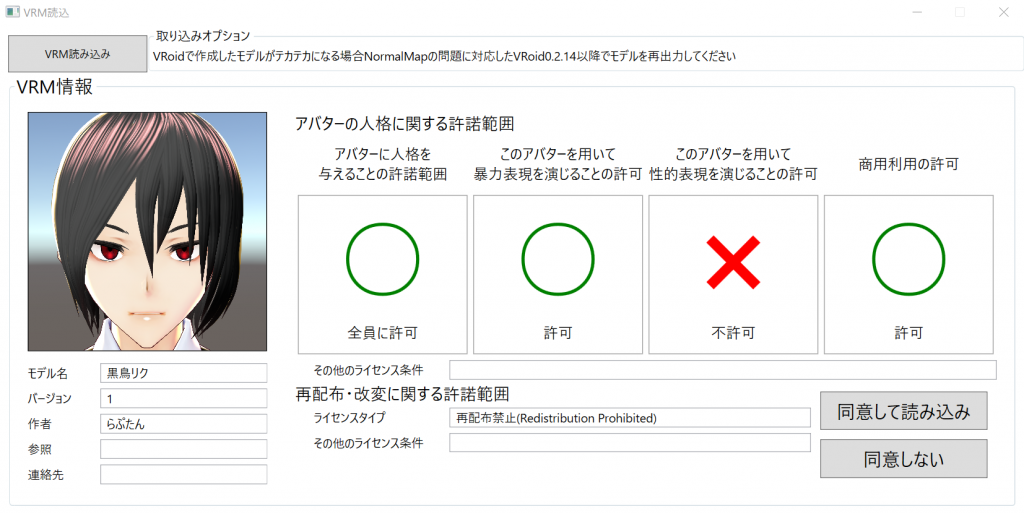
ライセンス情報が表示されます
VRoidなどで自作したモデルを利用する場合は、自身で設定した内容がここに表示されているので、そのまま「同意して読み込み」ボタンを押しましょう。
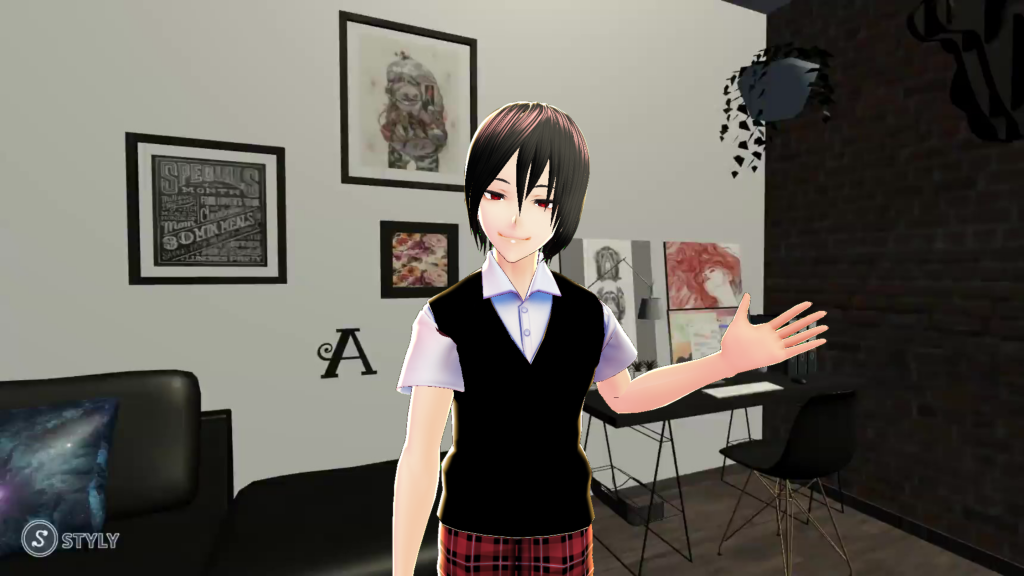
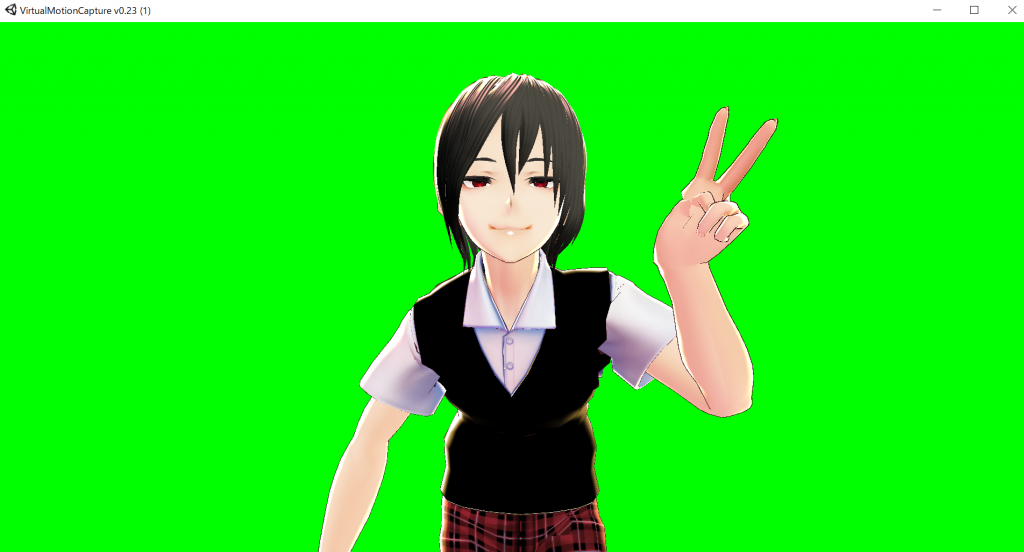
問題がなければモデルが画面に表示されます。
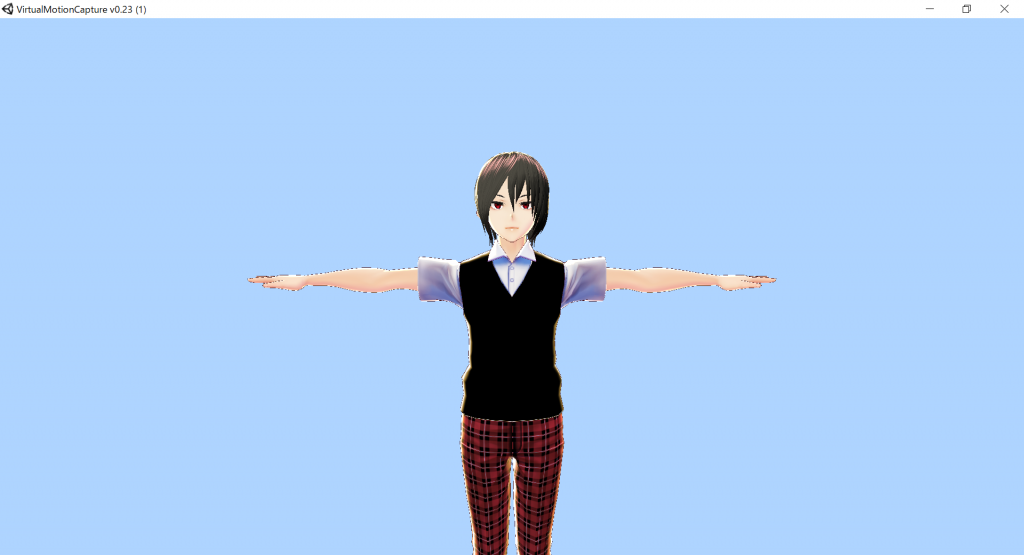
モデル読み込み後
カメラ、リップシンク、トラッカーの各種設定
カメラの設定
カメラタブを選択すると、カメラの設定をすることができます。
今回はフロントカメラにしたいのでフロントボタンを押します。
カメラ位置は画面をクリックしてマウスで調整することができます。
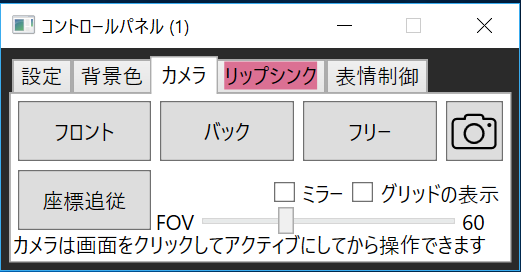
カメラの設定
リップシンクの設定
リップシンクの設定をすれば、マイクで入力された音声に合わせてアバターの口が動きます。
リップシンクに使用するマイクを設定していない時は、リップシンクタブが赤く表示されるので、設定の有無はここで確認することができます。
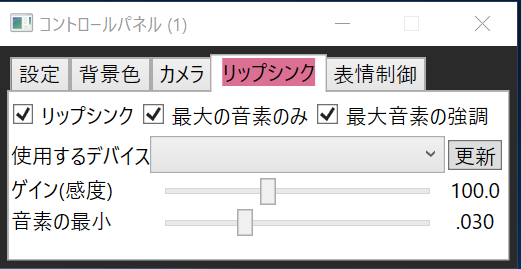
マイクの設定なし
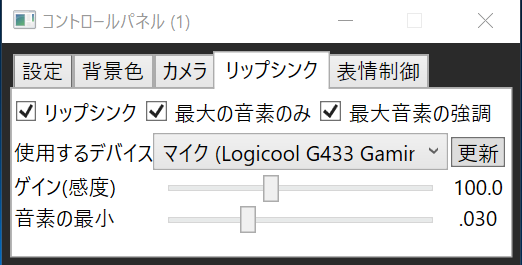
マイクの設定あり
リップシンクが必要でなければ特に設定する必要はありません。
トラッカーの設定
バーチャルモーションキャプチャーはトラッカーによるフルトラッキングにも対応しています。
トラッカーの割り当てを設定をするには、まず設定タブの詳細設定ボタンを押してください。
次に設定画面の「トラッカーの割り当て設定を開く」ボタンを押して「トラッカー割り当て設定」画面を出すと、ここでトラッカーの割り当てをすることができます。
今回はトラッカーは使用しないので、デフォルトの設定のままにしておきます。
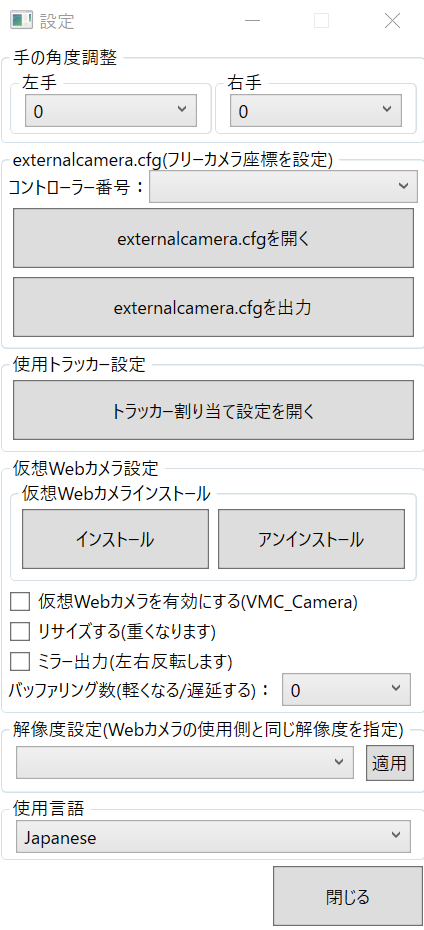
詳細設定

トラッカー割り当て設定
キャリブレーション
各種設定が終わったら、さっそくモデルを動かしてみましょう。
設定タブのキャリブレーションボタンを押してください。
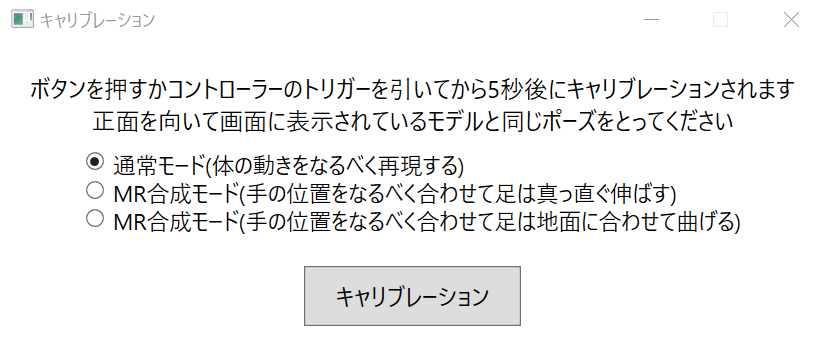
キャリブレーションの設定
キャリブレーションには3つのモードがありますが、今回は通常モードを選択します。
キャリブレーションボタンか、コントローラーのトリガーを引くと5秒後にキャリブレーションが始まります。
両手を広げ、コントローラーを立てて、手のひらを前に向けるようにしてください。
「モデルと同じポーズをとってください」とありますが、コントローラーや手のひらを下に向けるようにしてしまうと、手首の角度が曲がってしまいます。
メイン画面に表示されている白い球体が、ヘッドマウントディスプレイやコントローラーの位置を示しています。
この球体がモデルの頭や手の位置にくるように、ヘッドマウントディスプレイとコントローラーの位置を調整してください。
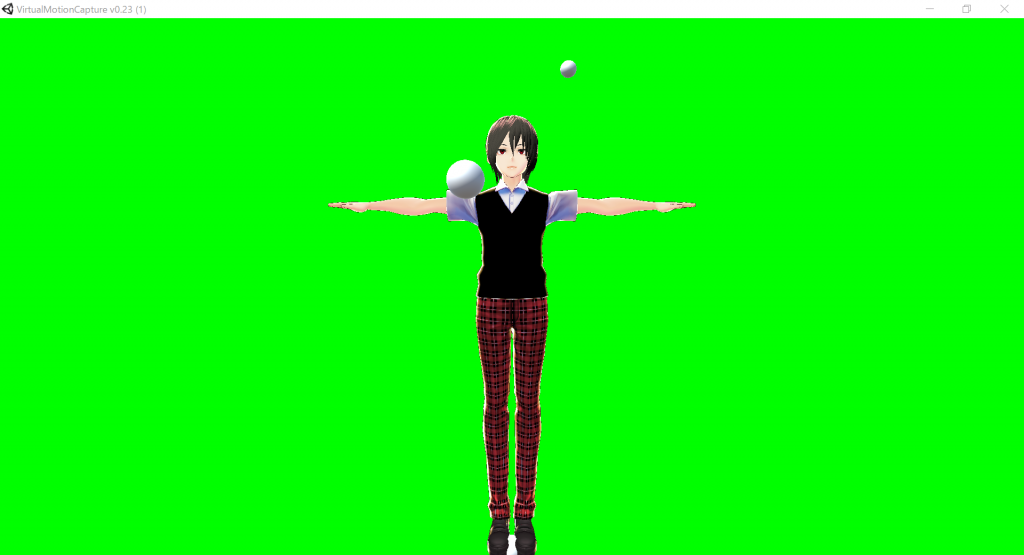
白い球がHMDやコントローラーの位置
キャリブレーションが成功するとモデルが動くようになります。
キャリブレーション成功
STYLYの空間を使ってVtuberになる方法
これでモデルを動かすことができるようになりました。
次はSTYLYの空間を背景に利用して、Vtuberの配信画面をつくります。
背景色の設定
背景色タブを選択すると、背景色をブルーバックやグリーンバックなどにすることができます。
これらの背景色を選択すれば、バーチャルモーションキャプチャーの画面をクロマキー処理することによって、バーチャルモーションキャプチャーで動かしているキャラクターと背景にしたい画像や動画を合成することができるようになります。
また、バーチャルモーションキャプチャーの背景は透過色を選択することができるので、デスクトップ画面上にキャラクターを表示するという表現も可能です。
今回はグリーンバックを使ってバーチャルモーションキャプチャーの画面をクロマキー処理し、キャラクターとSTYLYでつくった空間を合成します。
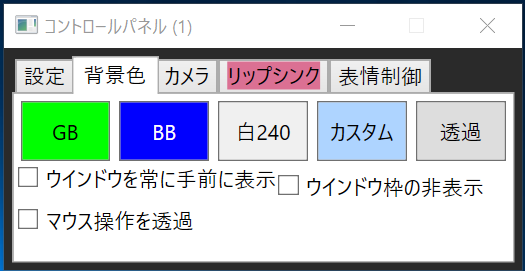
背景色を選択
STYLYで空間を用意する
STYLY Editorで好みの空間を作成しましょう。
今回は背景として空間を利用するので、カメラに映る部分だけをハリボテのようにつくるだけでもかまいません。
STYLY EditorのCamera機能を利用すれば、空間の映像を録画することができるので、動きのある背景もつくることができます。
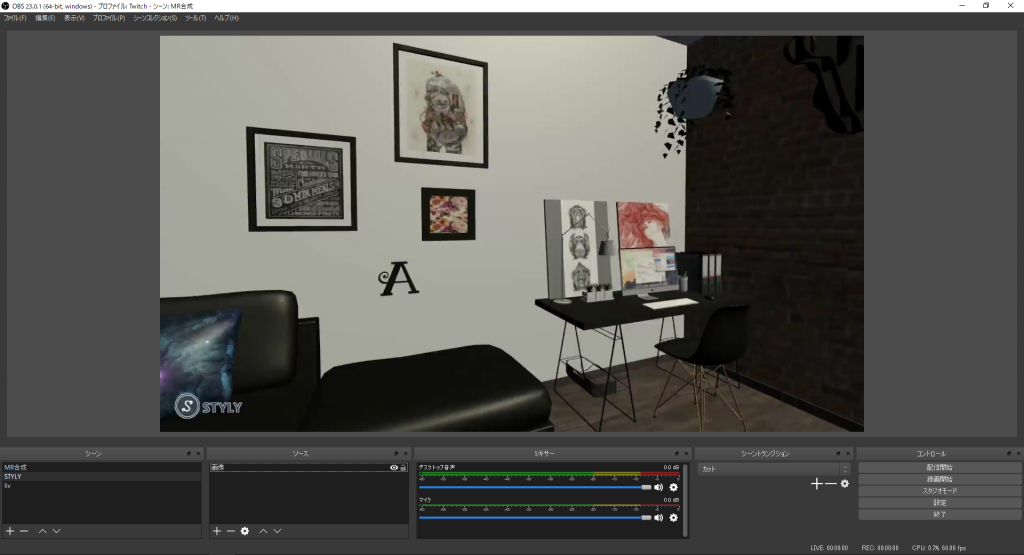
今回はこちらのスクリーンショットを利用します。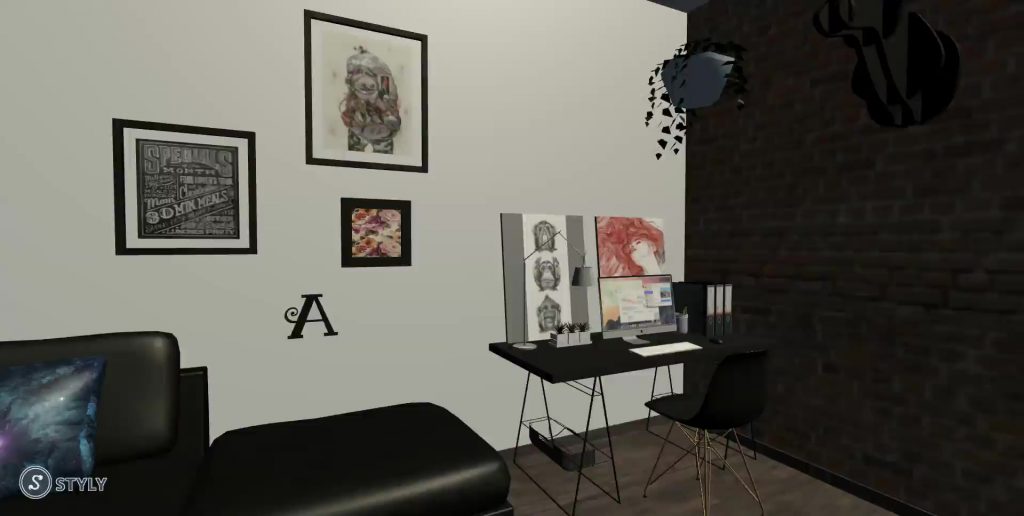
キャラクターと空間を合成してみよう
最後にエディターで作成したシーンのスクリーンショットと、キャラクターを合成します。
今回はOBS Studioという配信ソフトを利用しますが、OBSを起動する前にバーチャルモーションキャプチャーを先に起動しておいてください。
まずはソースに画像を追加します。
ソースの下のところにある「+」ボタンを押します。メニューから「画像」を選択し、「新規作成」を選択します。
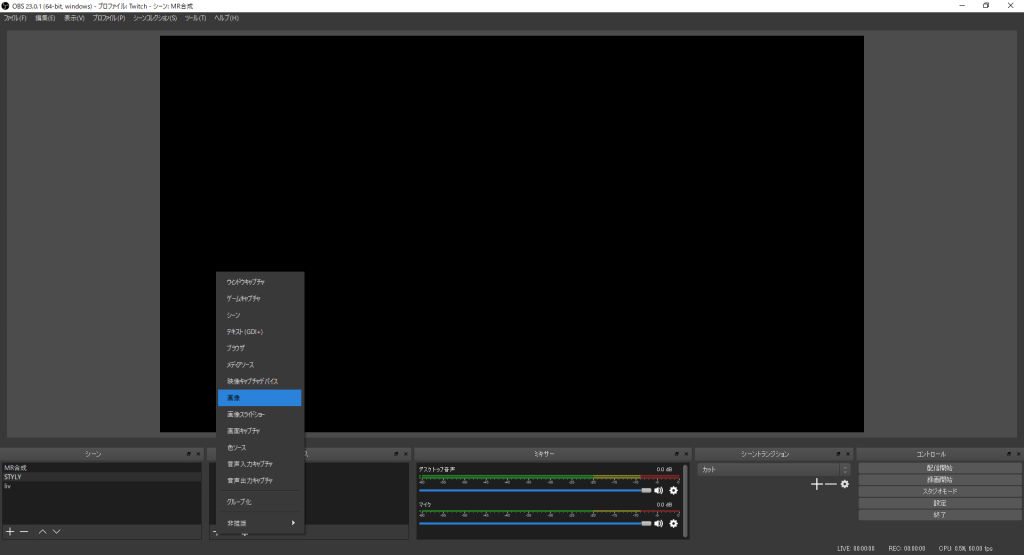
画像を追加
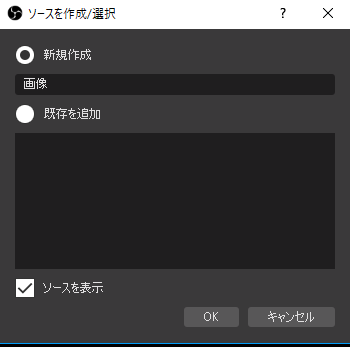
画像を新規作成
そしてプロパティで好きな画像を選択すれば、背景となる画像をソースに追加することができます。
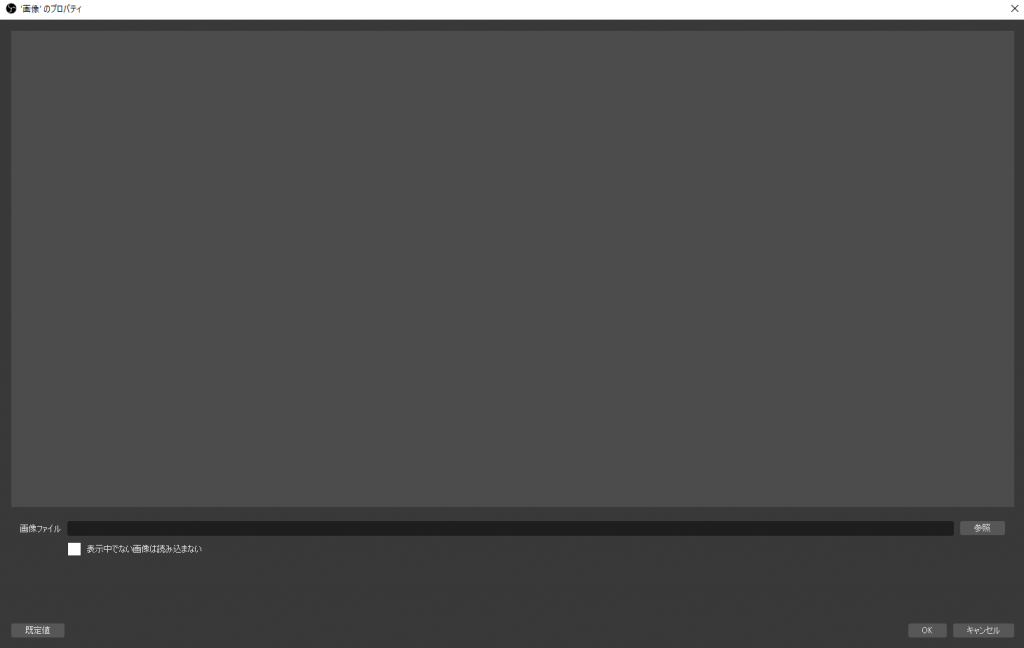
画像を選択
これで画像が追加されました
次に、バーチャルモーションキャプチャーの映像をソースに追加します。
先ほどと同じくソースの下の「+」ボタンを押し、メニューを表示します。
今度はメニューから「ウィンドウキャプチャ」を選択し、これも「新規作成」を選択します。
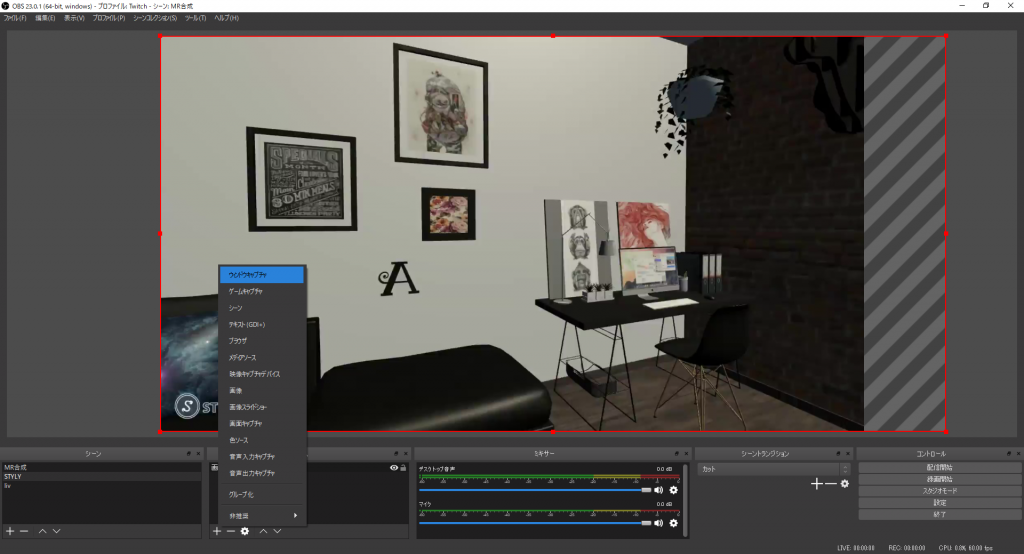
ウィンドウキャプチャを選択
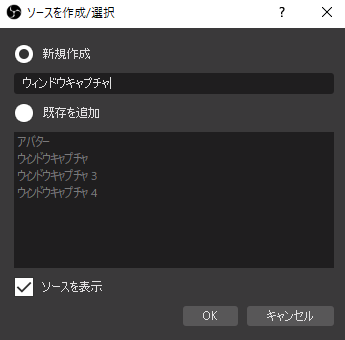
ウィンドウキャプチャを新規作成
そして、プロパティでウィンドウから[VirtualMotionCapture.exe]: VirtualMotionCapture v0.23を選択してください。
これでバーチャルモーションキャプチャーの画面をソースに追加することができます。
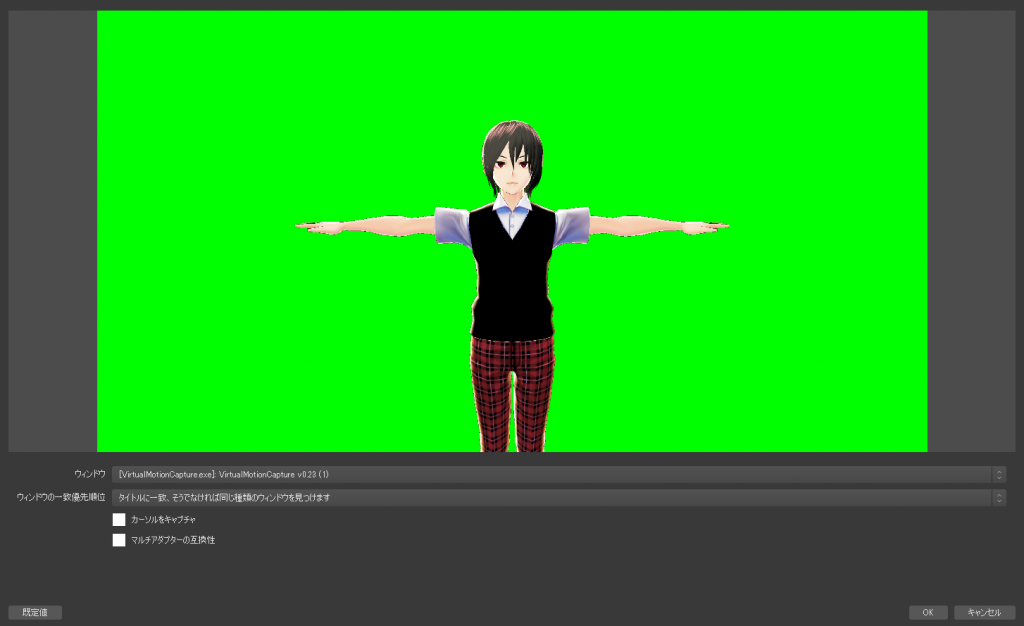
バーチャルモーションキャプチャーのウィンドウを選択
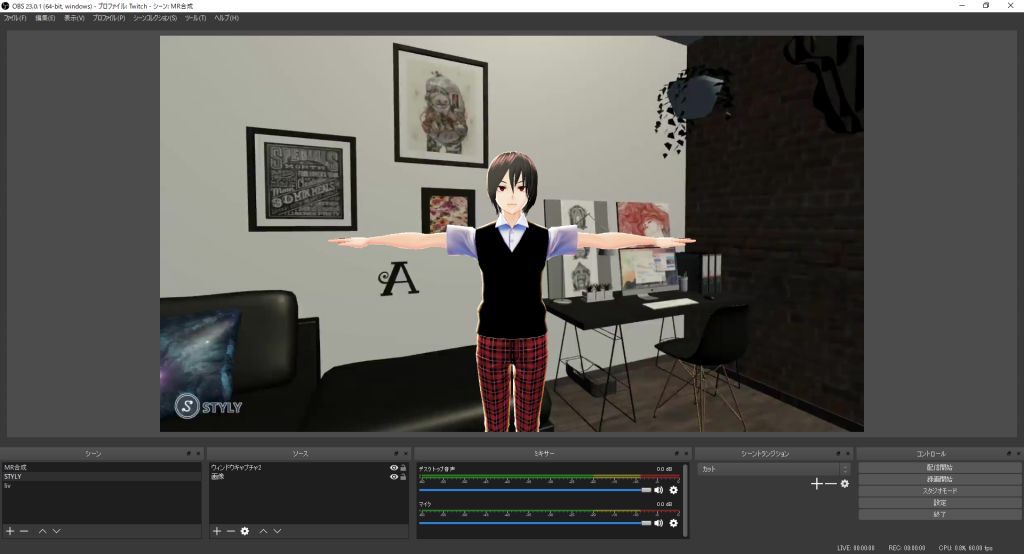
ソースの上にある方が画面の手前にくるようになっているので、上からウィンドウキャプチャ、画像の順番になるようにしてください。
また、このままではバーチャルモーションキャプチャーの画面だけが表示されて、後ろの背景が全く見えていないはずなので、バーチャルモーションキャプチャーの画面をクロマキー処理して、後ろの背景も見える状態にします。
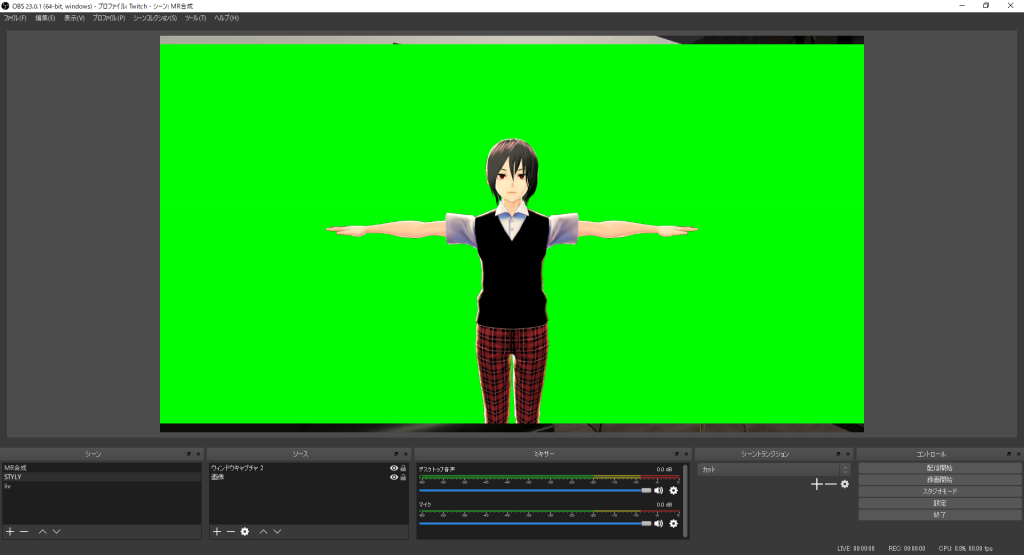
クロマキー処理前の状態
ソースのウィンドウキャプチャを右クリックし、メニューからフィルタを選択します。
次にエフェクトフィルタの下の「+」ボタンを押し、メニューからクロマキーを選択します。
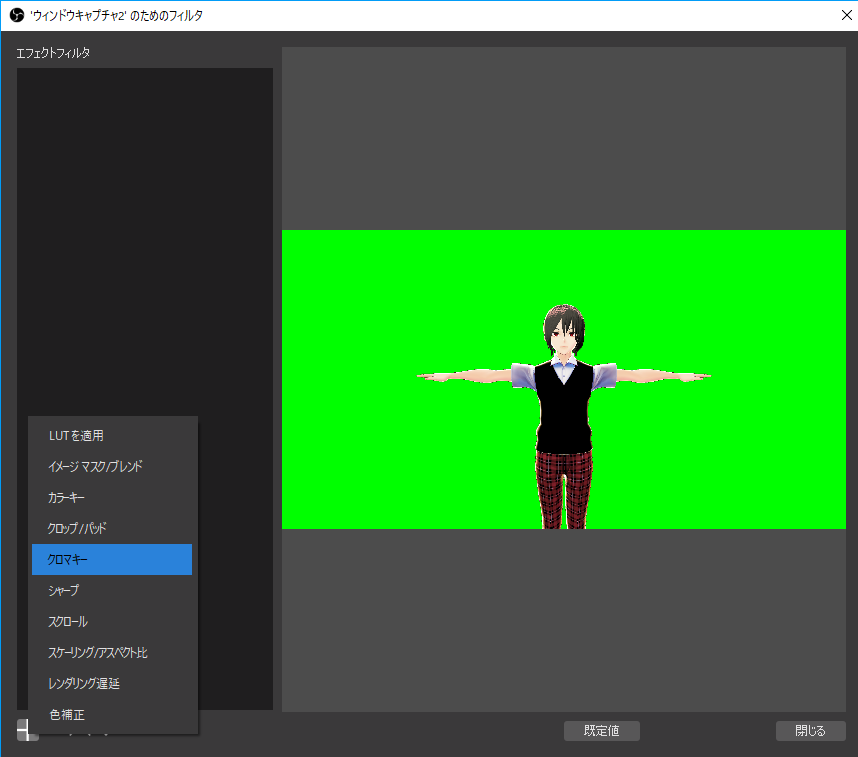
クロマキーを選択
エフェクトフィルタのクロマキーを選択し、色キーの種類から、バーチャルモーションキャプチャーで選択した背景色と同じ色を選択します。
するとクロマキー処理によってバーチャルモーションキャプチャーの背景色が消え、キャラクターと後ろの背景が合成されて表示されるようになります。
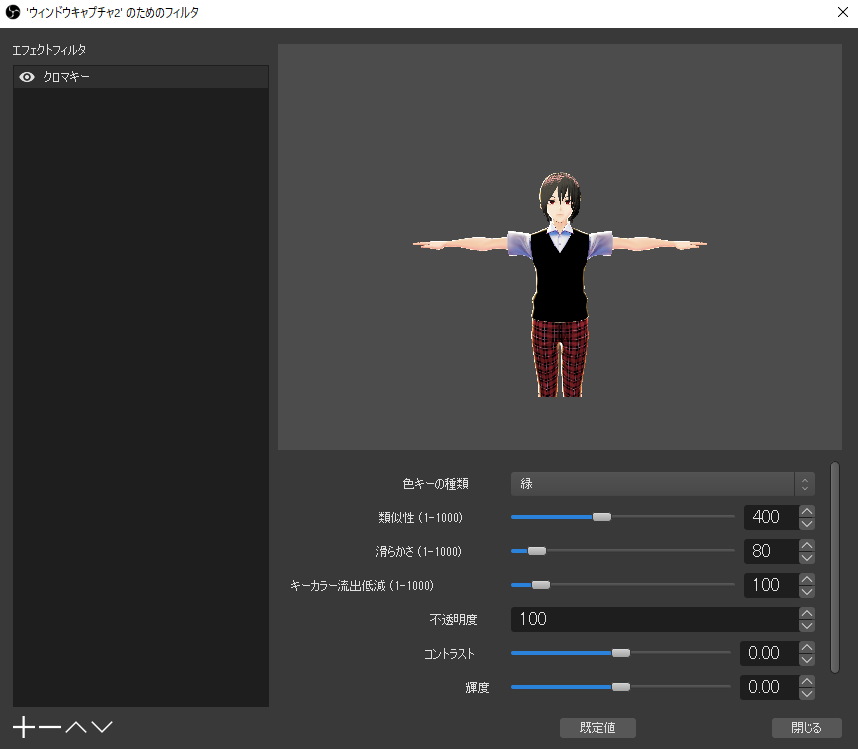
クロマキー処理
クロマキー処理後
これで完成です。あとは録画や配信の設定をすれば、動画の作成や生配信ができるようになります。
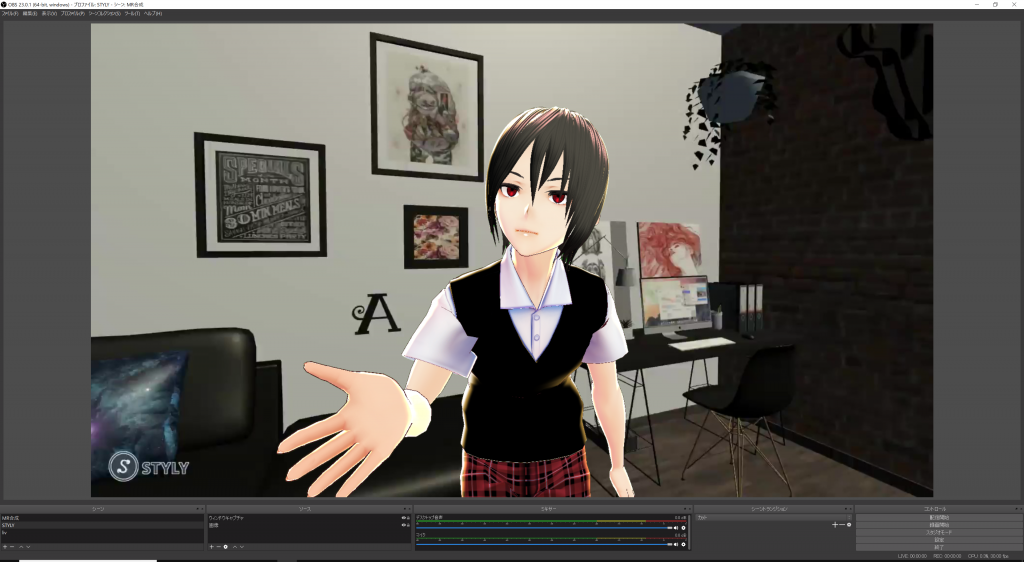
完成!
お疲れ様でした。
今回はバーチャルモーションキャプチャーの基本的な使い方をご紹介しました。
これだけでもVtuberのようなゲーム実況や配信などはすぐにできるようになります。
しかし、キャラクターがゲーム・アプリの世界に入り込んだかのようなMR動画を撮影するためには、まだやらなければならないことがあります。
次回は、MR動画撮影に必要なアプリと、バーチャルモーションキャプチャーの応用的な使い方をご紹介したいと思います。
