
How it looks on STYLY for VIVE.
In this article, I introduce how to implement the effect of the wind blowing over a tree and upload it to STYLY.
This effect has been prepared in Unity by default, so you can implement it easily without using any scripts or PlayMaker.
Once you learnt how to create this effect, it helps you to render more realistic VR space.
Preparations
We use an asset of trees, ‘Realistic Tree 10’ (It’s free).
The site >> https://assetstore.unity.com/packages/3d/vegetation/trees/realistic-tree-10-54724
In Unity, access Unity Asset Store and search for ‘Realistic Tree 10’.
Find ‘Realistic Tree 10’ on the list and click it to download and import.
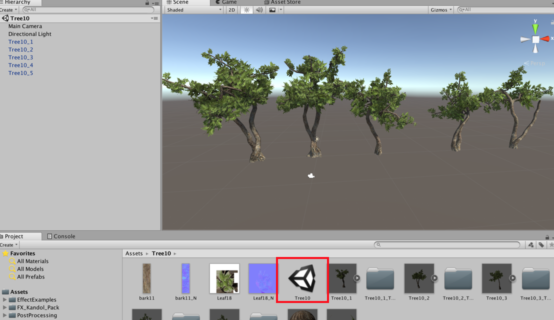
Screenshot – Import the ‘tree’ asset.
After importing the asset to Unity, select the Scene tab and drag the tree asset onto the Hierarchy window.
Remove unnecessary trees.
It creates five trees.
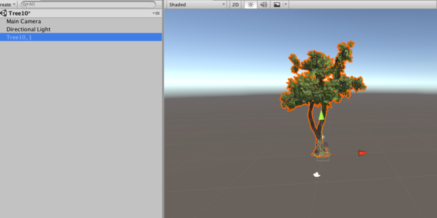
Reduce them to one to simplify the view.
Add the effect of wind blowing
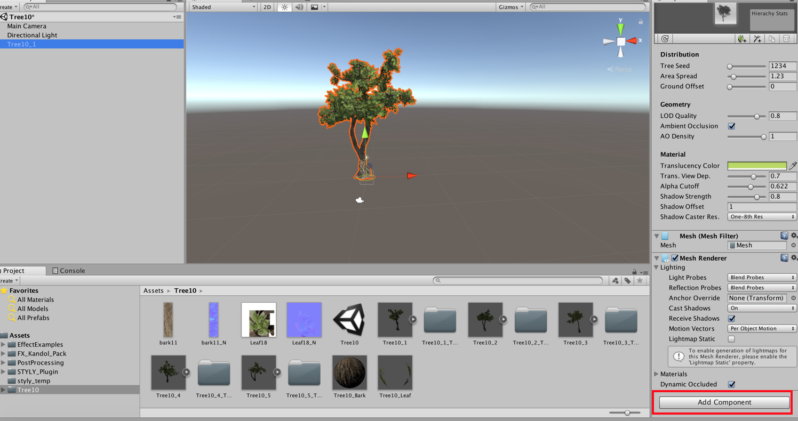
Select ‘Add Component’.
With the tree object selected, click ‘Add component’ in the Inspector window.
Then, select Miscellaneous > Wind Zone. Play the Scene to check the motion.
Check the motion.
It shakes not only leaves but also branches.
Settings
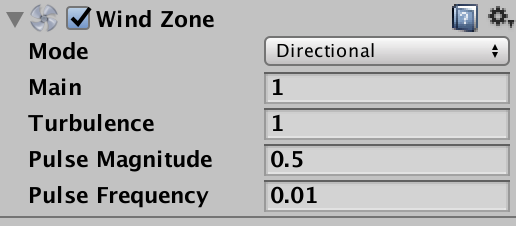
The Wind Zone component
The default settings are shown above.
Mode: ‘Directional’ makes the wind affect the whole terrain and ‘Spherical’ makes the wind blow within the sphere specified.
Main: the overall strength of the wind.
Turbulence: The random variation of wind strength.
Pulse Magnitude: The strength of the pulse.
Pulse Frequency: The time interval between the pulses. Let’s find an optimum setting by adjusting those parameters.
Upload to STYLY
I will show how to upload the asset from Unity to STYLY.
Please read this article to learn how to upload an asset from Unity to STYLY.

Please read this article if you upload the entire Scene to STYLY at once.
The GIF animation below shows how the uploaded asset looks on STYLY Web Editor.
Check the asset by STYLY WebEditor.
You can increase the strength of the wind to upload more than one assets with Wind Zone added.
Adjust the strength of the wind by clicking the thumbnails of assets in the Hierarchy window on the left, which allows you to toggle between hide and unhide.
Adjust the strength of the wind.
It completes the introduction of how to create a wind effect and upload it to STYLY.
Please use it by yourself. An object would look more realistic when it sways in the wind.