In this article, I will introduce how to register for Autodesk Tinkercad. Also, I will explain what the basic operations are, how to use the software, and how to export a 3D model. At the end, I will upload the model to STYLY where we can check how it looks.
What is Tinkercad
Tinkercad is a free 3D CAD editor software made by Autodesk.
You can access the Tinkercad official website from here. I will explain what you can find on the Tinkercad website.
Gallery
On the Gallery page, you can find uploaded 3D models created by Tinkercad users from all over the world. You can download the data to use for 3D printing and leave comments for a model.

Tinkercad gallery_01
In order to download a model for a 3D printer, click on a model like those shown in the above image, and then the dialog below will appear.
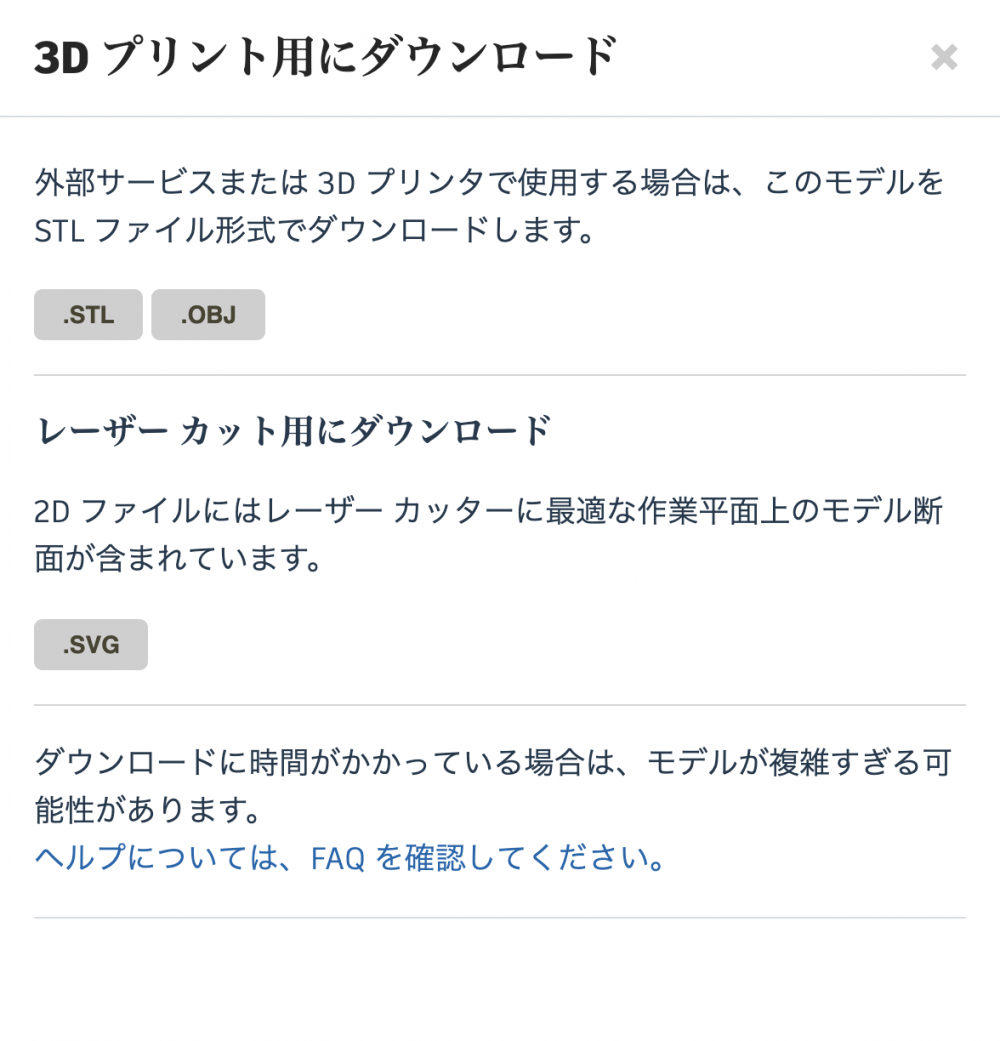
Tinkercad gallery_02
Blog
On the Blog page, there are many posts regarding Tinkercad news, latest information, and operational guides. There are also guides on what kind of materials you should use when 3D printing models (such as the type of plastic or resin).
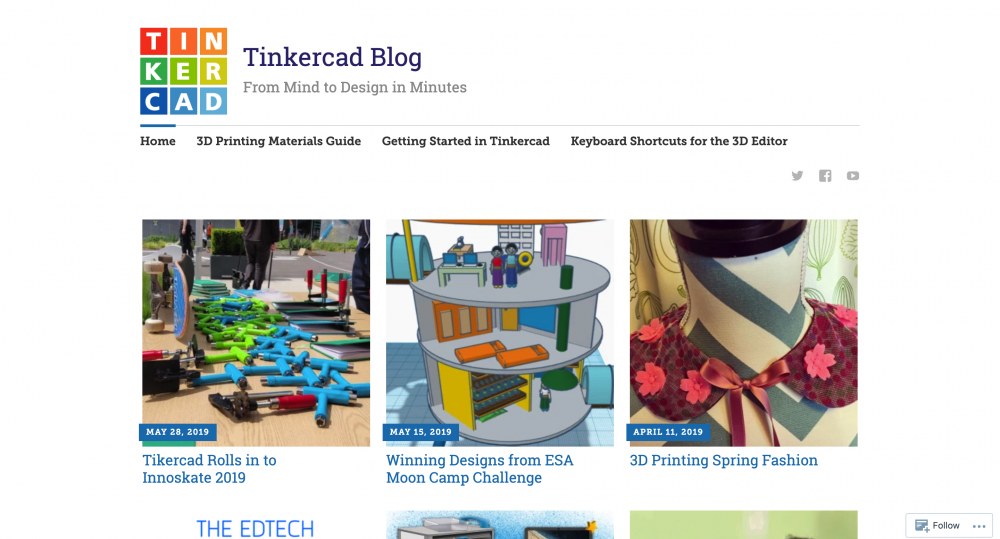
Tinkercad Blog
Learn
On the Learn page, there are articles about basic operations using Tinkercad. Also, there are modelling tutorials. These are free to read, so you can immediately start learning about Tinkercad.
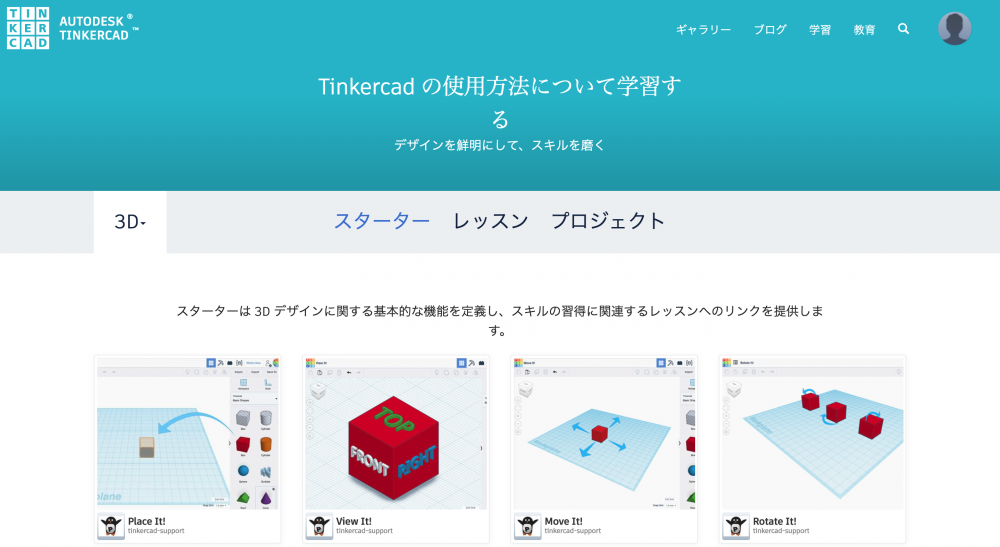
Tinkercad Learn
How to Create a Tinkercad Account
Next, let’s create a Tinkercad account.
Click the Sign up button in the upper right or click the Start Tinkering button below in the middle of the page to create an account.
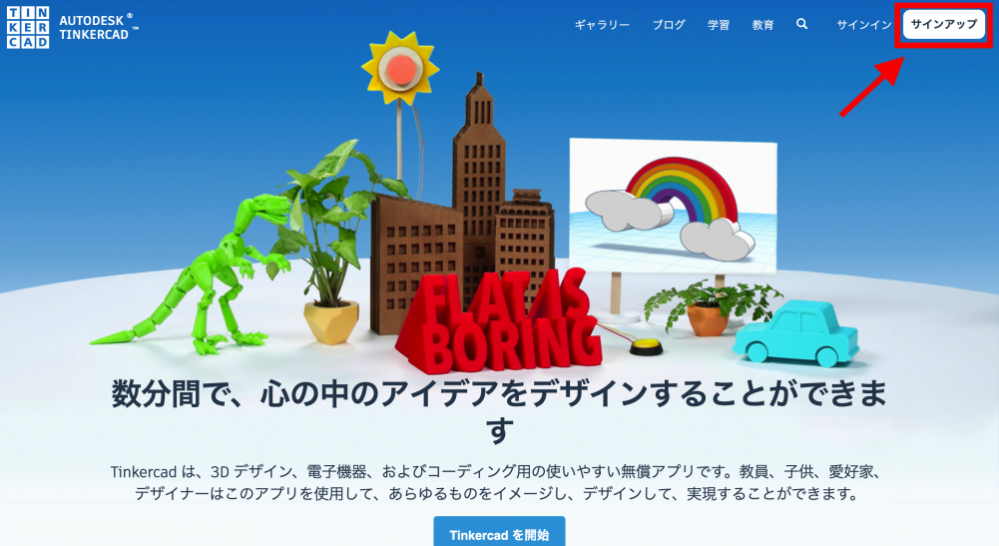
Creating a Tinkercad account
You will be asked if you have an Autodesk account. If you already have one, you can sign in with your Autodesk account.
If you don’t have an account, you can create a new one by clicking on the Create Account button.
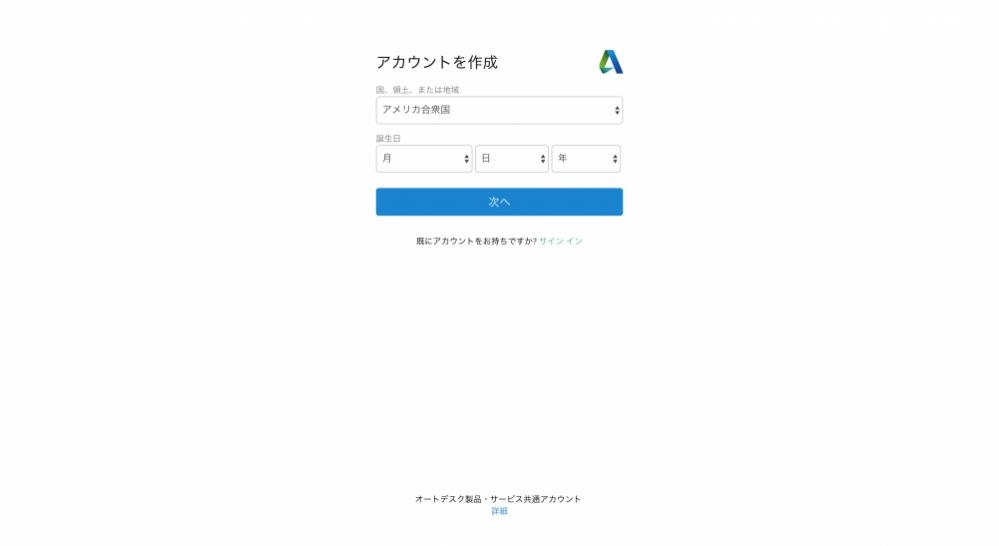
Create Account Screen
Once you create your account or sign in to your account, you will be transferred to your account page.
Your created models will be added here from now on.
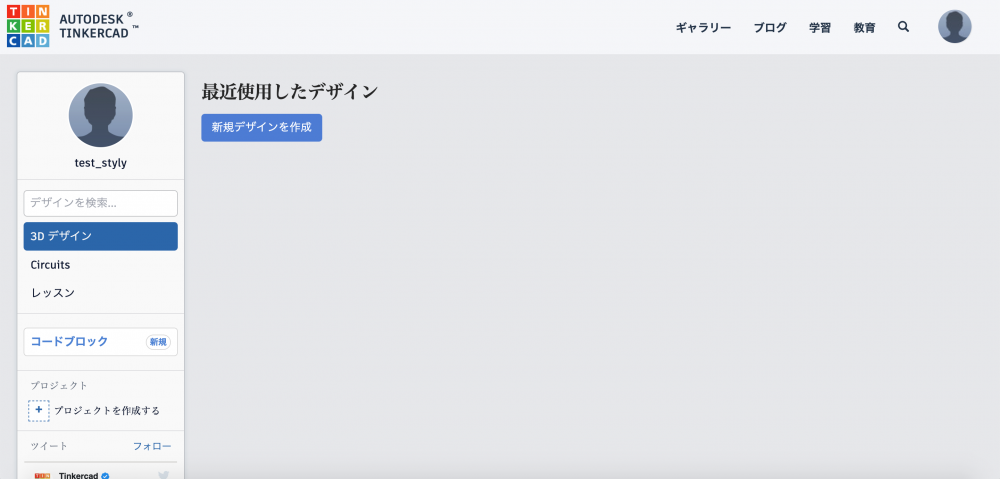
Tinkercad Account page
Next, let’s learn about the Tinkercad UI and the basic operations.
Tinkercad UI and Basic Operations Guide
Tinkercad Basic Operations
The Tinkercad workplane is very simple.
The area that occupies most of the space is the workplane, where the created models will be displayed. You can create shapes in the editor area on the right.
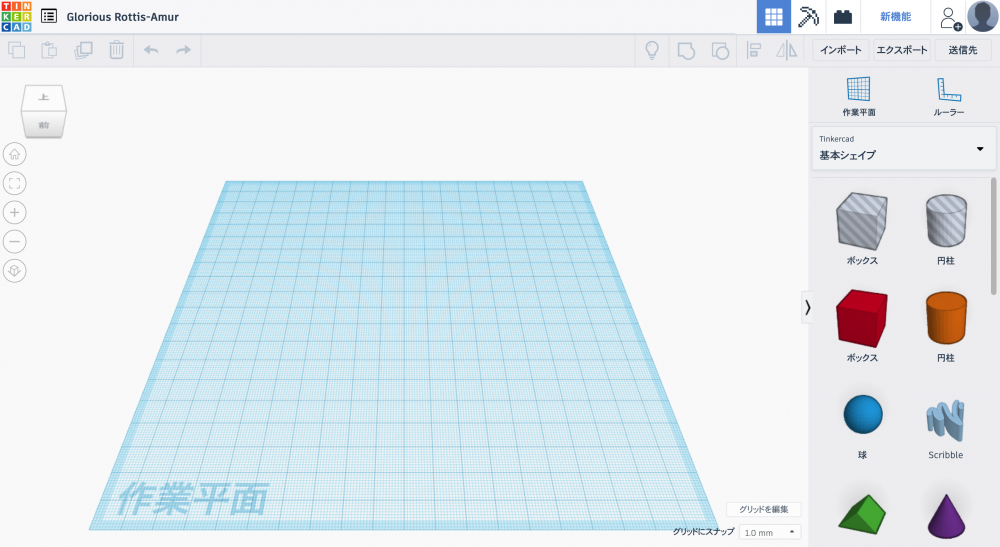
Tinkercad Workplane top_01
By clicking on basic shapes, a tab will open and you can choose from many other shapes and texts or default models.
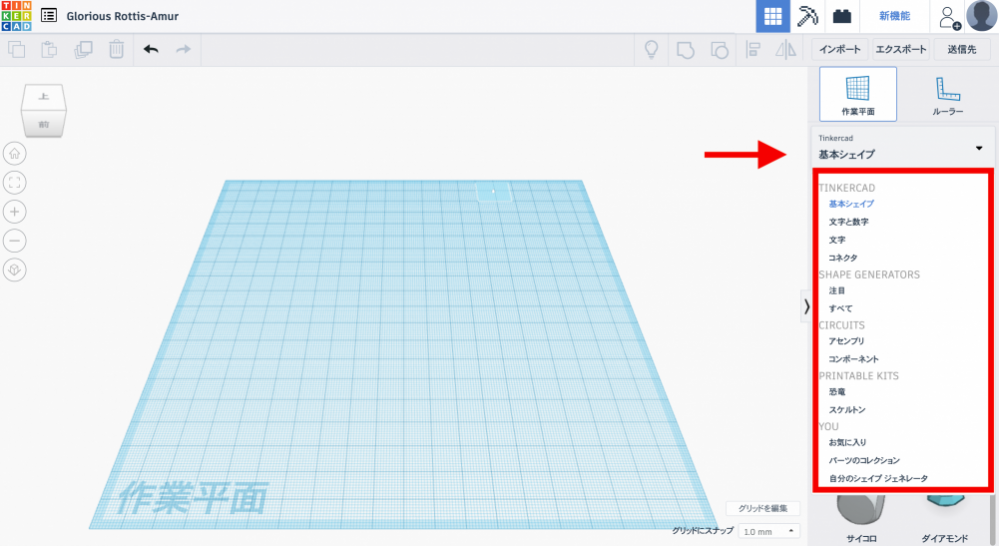
Tinkercad Workplane top_02
Tinkercad UI
You can use either a mouse or tracked when using Tinkercad. Understanding how to use the mouse should be easy enough, so I will explain how to use the trackpad on a MacOS.
- Zooming in and out of the scene > Use 2 fingers to slide up and down on the trackpad
- Tumble the scene > Press the trackpad with 2 fingers and rotate them
Other than that, you can still use the basic keyboard shortcuts such as copy (Ctrl+C), paste (Ctrl+V), and undo (Ctrl+Z).
If you remember the information above, this is the basics of Tinkercad, so let’s start modelling.
Modelling with Tinkercad
For this tutorial, I am going to create a simple coffee mug.
First, we need to create an object by drag and drop, or by clicking on it. I chose a cylinder.
The grayed box and cylinder above the red border are not objects, but objects to create holes, so we will not use these yet.
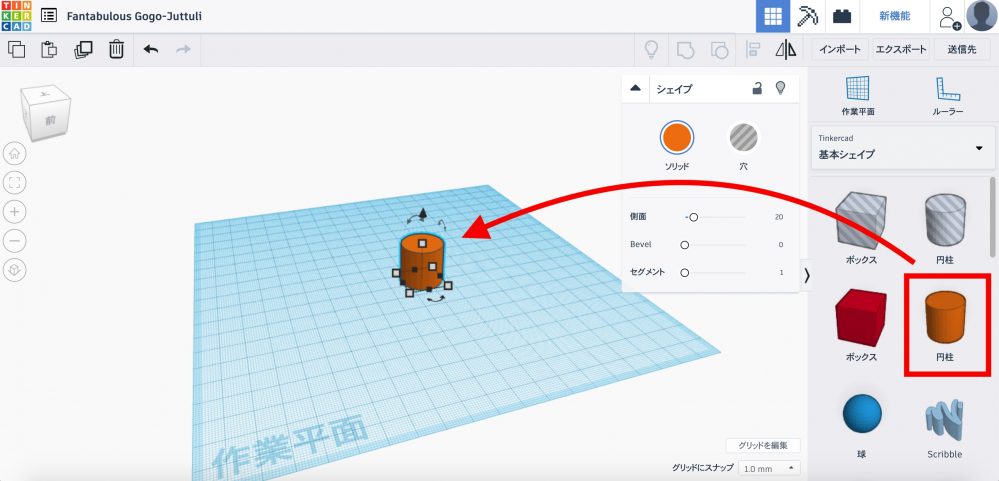
Tinkercad Drag and Drop
We need to edit the cylinder’s advanced settings. Please set them as shown in the below image.
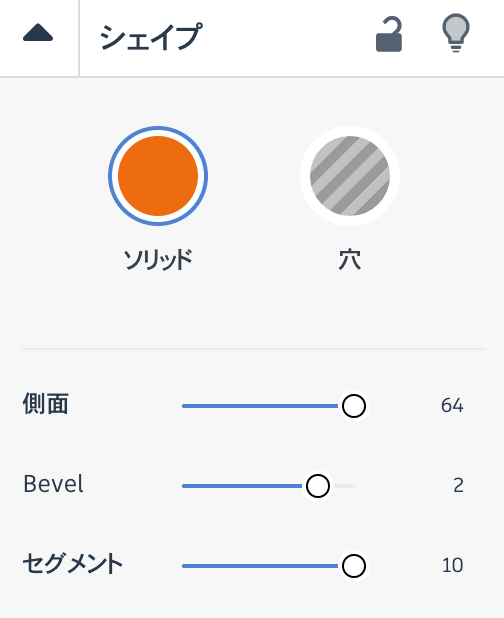
Cylinder advanced settings
Next, we will add a handle to the mug.
Create a tube object and change the shape setting values. The values I used are just for reference, so you can use whatever values you want.
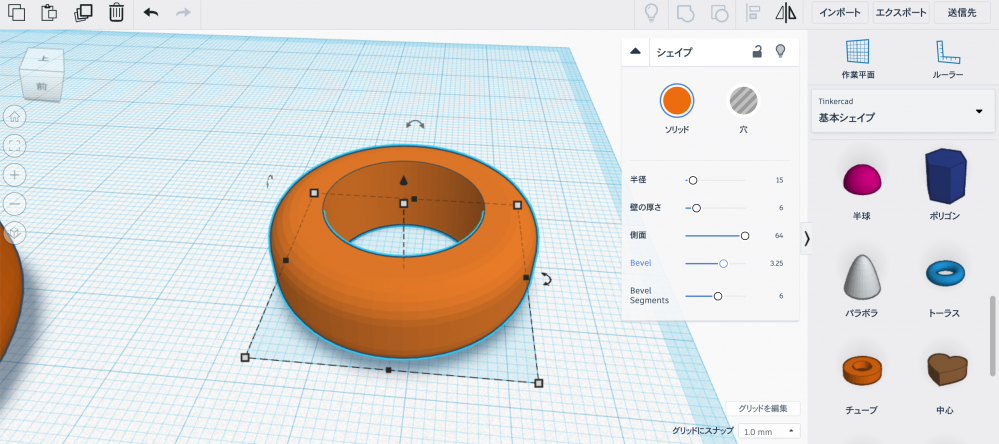
Create a handle for the mug_01
Then, rotate the handle 90°.
You can rotate it by sliding the “↔︎” icon. If you press the Alt key while rotating, the rotation will move at a fixed interval of 15° every time.
Now our model is starting to look more like a mug.
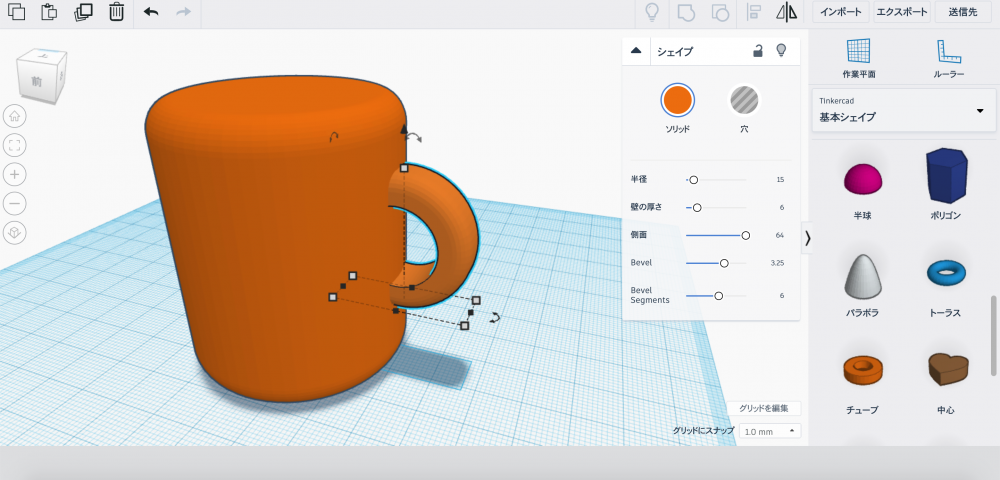
Create a handle for the mug_02
Next, let’s create the hollow portion of the mug.
Select the grayed out cylinder. Create it to be a little smaller than the mug.
The settings for the hollow part is in the image below. The values are just for reference, so you can change the value to whatever you want.
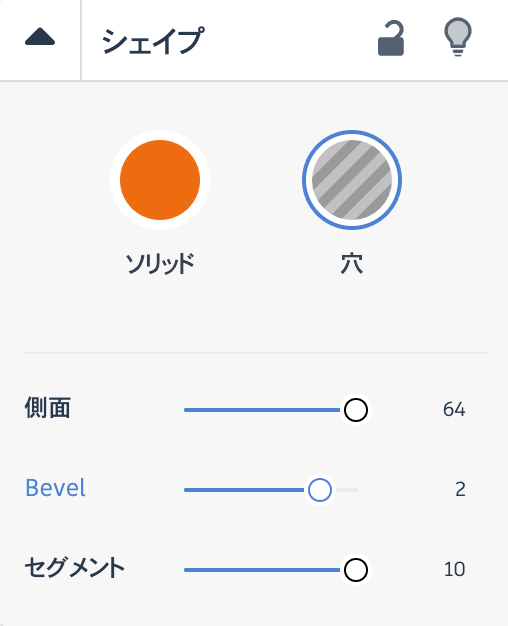
Mug hole_01
Next, move the viewpoint of the model so that you are viewing it from above. Position the hole object over the mug.
Take care to set the hole object higher than the mug object. If they are on the same height, there will be no hole created.
After you successfully position the objects, select them both and group them (Ctrl+G). This will merge the two objects and make them become one.
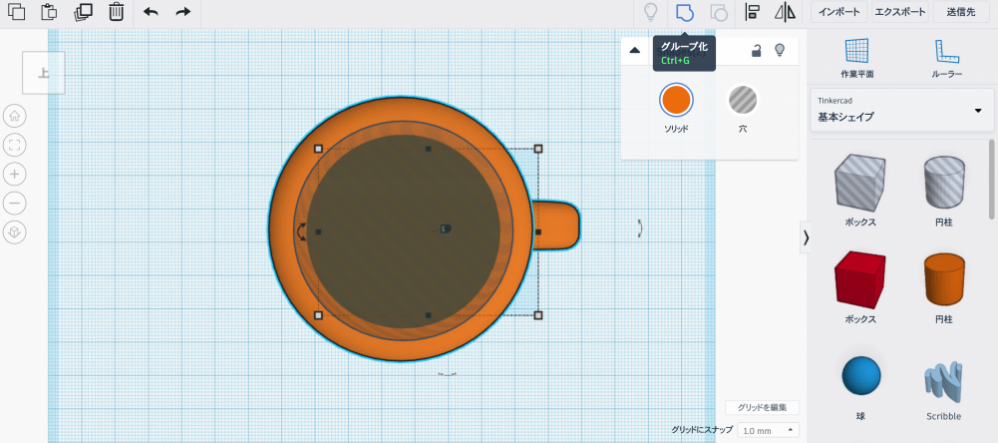
Mug hole_02
Next, we will group the objects again.
Select the mug and the hole object, and group them (Ctrl+G).
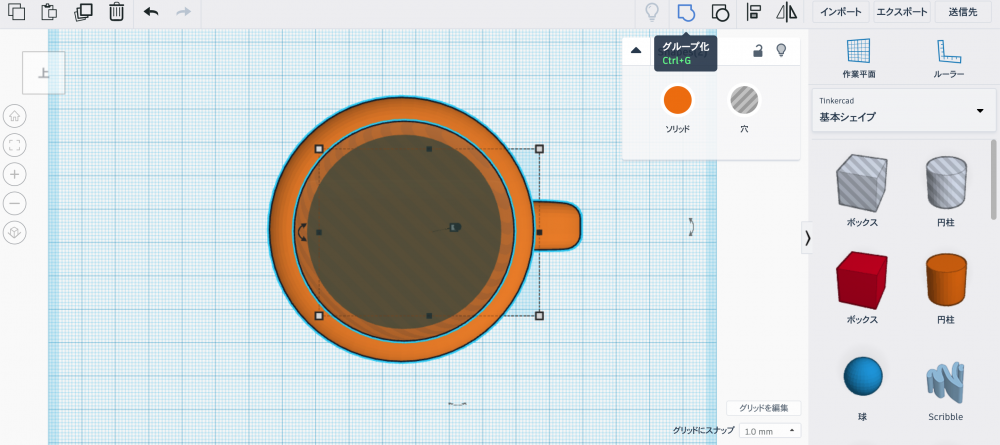
Group
We are done with modelling the mug.
If you group them the other way round, the handle (tube object) will penetrate the object. So, when creating an object like a mug, make sure that you maintain the proper order when grouping things.
After your modelling is completed, we can change the color.
Click Shape tab > Solid > Preset and you can select from a number of default colors or you can use a color code instead.
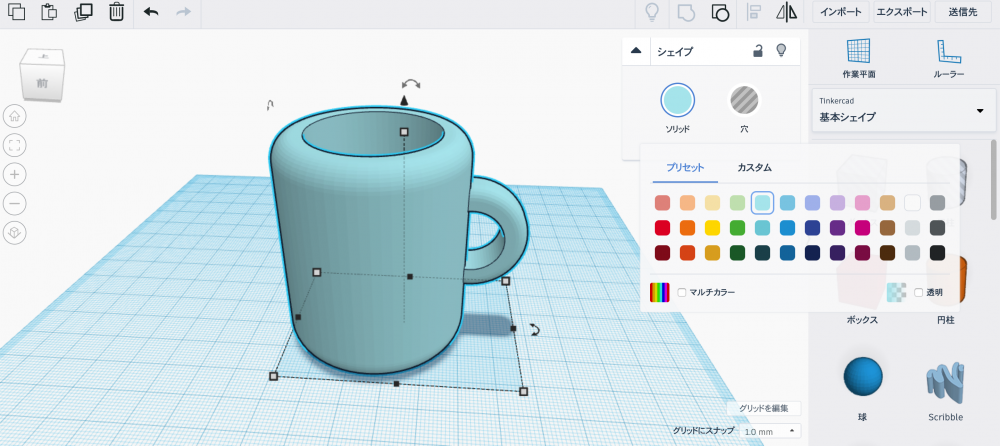
Change Solid color
The coloring is completed.
3D Export
Finally, let’s export the model.
Select the red borders on the upper right, and click export.
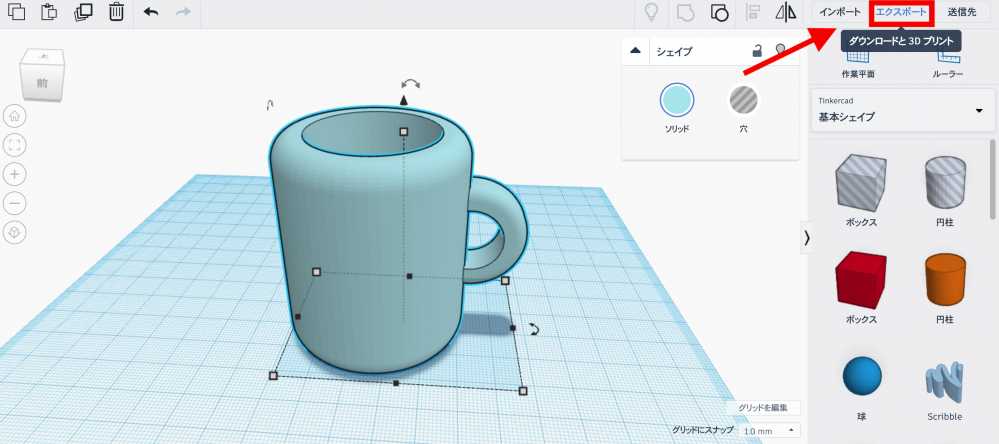
Model Export_01
A window will appear. For this tutorial, please select .OBJ format.
By clicking here, a zipped file of the 3D data of your choice will be downloaded.
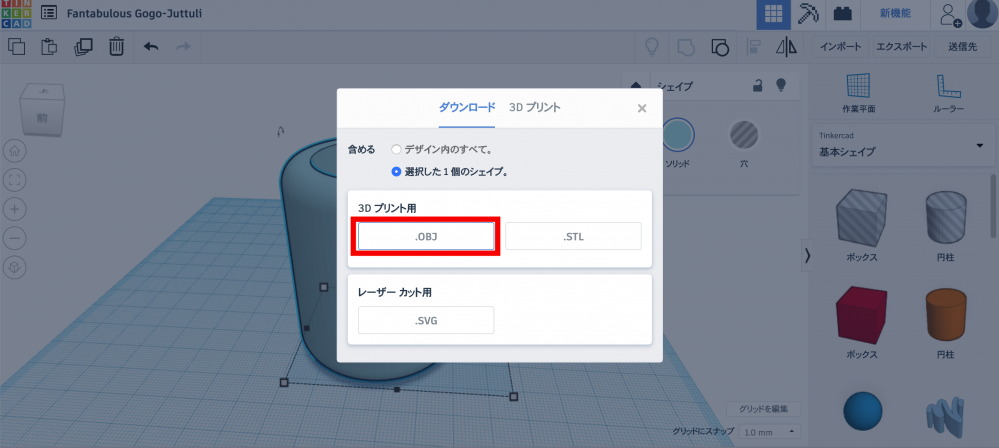
Model Export_02
The below data will get exported. The export step is complete.
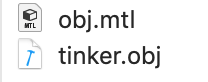
Exported data
By the way, the created model will be automatically saved and added to your account page. You can change the model name from the account page or the workplane page.
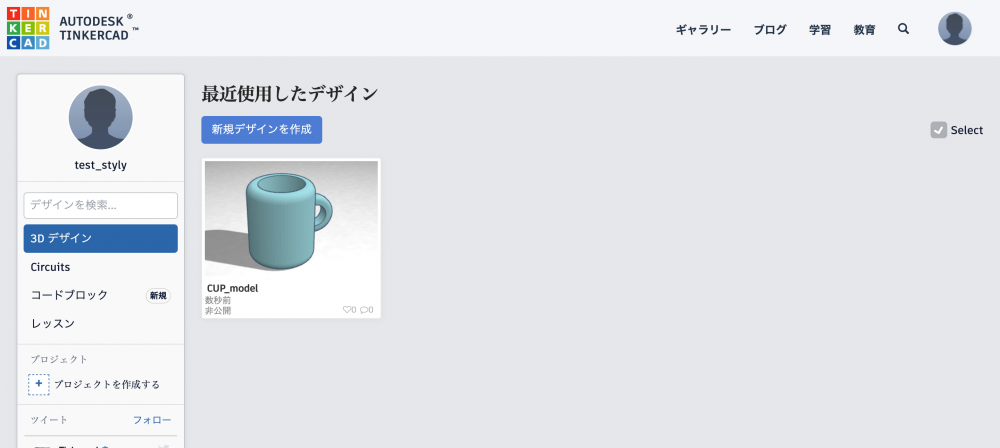
Added Model
Importing Your Model to STYLY
Now that your 3D model is ready, let’s check how it looks in STYLY.
Log into STYLY and create a scene. To learn how to create a STYLY account, please refer to this article.
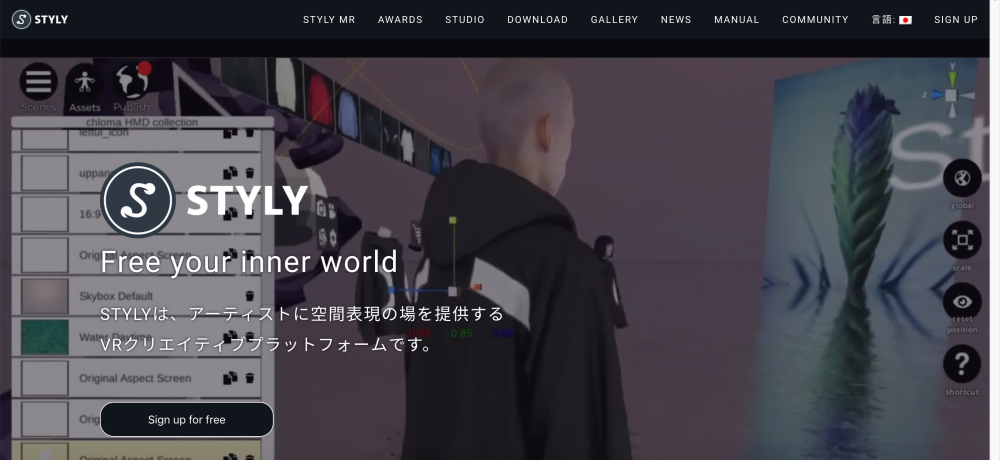
STYLY top page
You can import the model by following the steps in order. Click on ①>②.
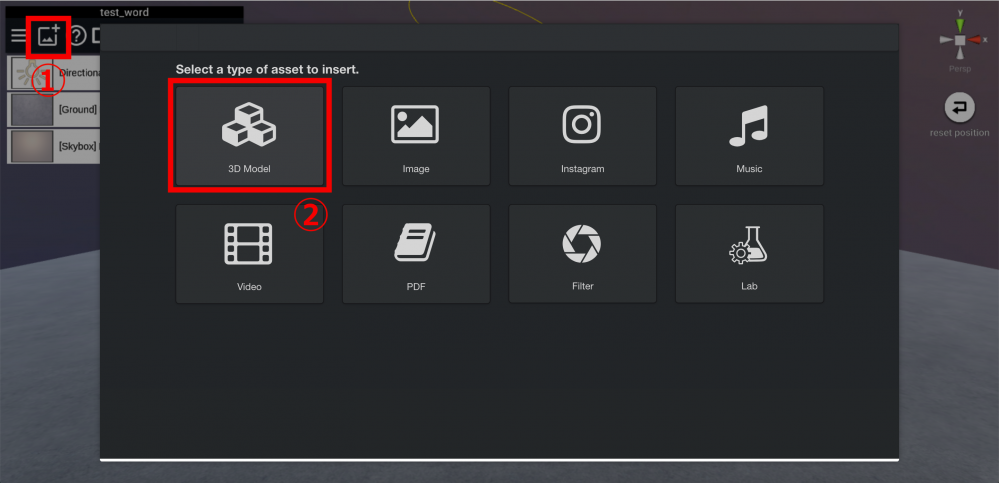
STYLY 3D Model Import
After you finish uploading your model, go to My Models and click on the added model.

My models
I think that the model looks great. The polygons are not shattered and the shape is exactly same.
One problem is that there is no material applied. In STYLY, the mug doesn’t look blue. Please check that the downloaded data had the mtl file with it.
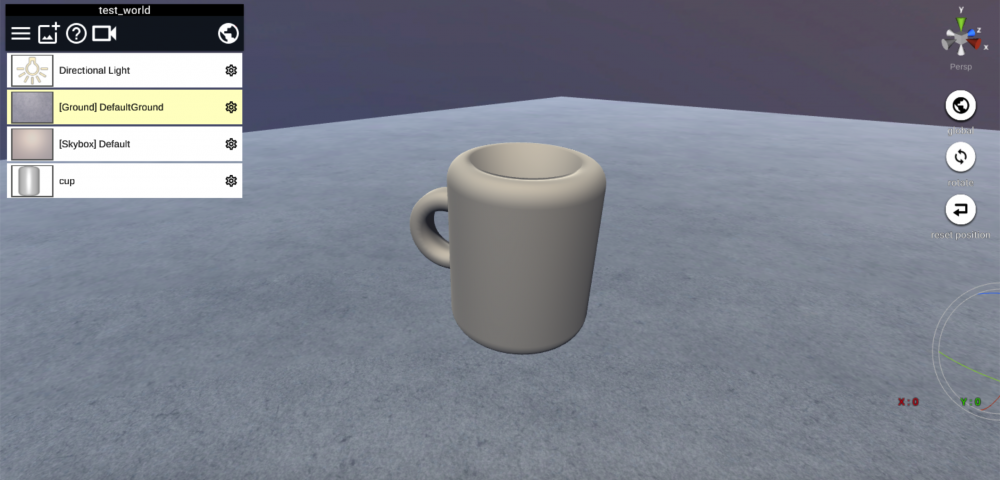
Model looks
How did you like this article? There are a number of free 3D editors, like Tinkercad, available globally.
Tinkercad is a well-rounded software. It can be used for multiple modelling projects. It is suitable for all basic modelling.
It may also be helpful to design a concept in your head or try to 3D print a simple model.
Please give Tinkercad a try, I hope you find it useful!