This article explains how to use Dust3D, a free software that uses a unique method to create 3D models by arranging circles while looking at the front and side views, from how to download to how to model.
What is Dust3D?
Dust3D is a free, open source 3D modeling software.
It is compatible with Windows, Mac, and Linux.
The best feature of this software is its unique modeling method, where you create a 3D model by placing circles while looking at the front and side views.
The following video will help you get the idea.
Basic operation
First, let’s learn the basic operations without placing a sketch.
Creating a circle
Let’s place a circle.
Press the “+” button from the leftmost toolbar, adjust the size of the circle with the mouse wheel, and click somewhere on the screen.
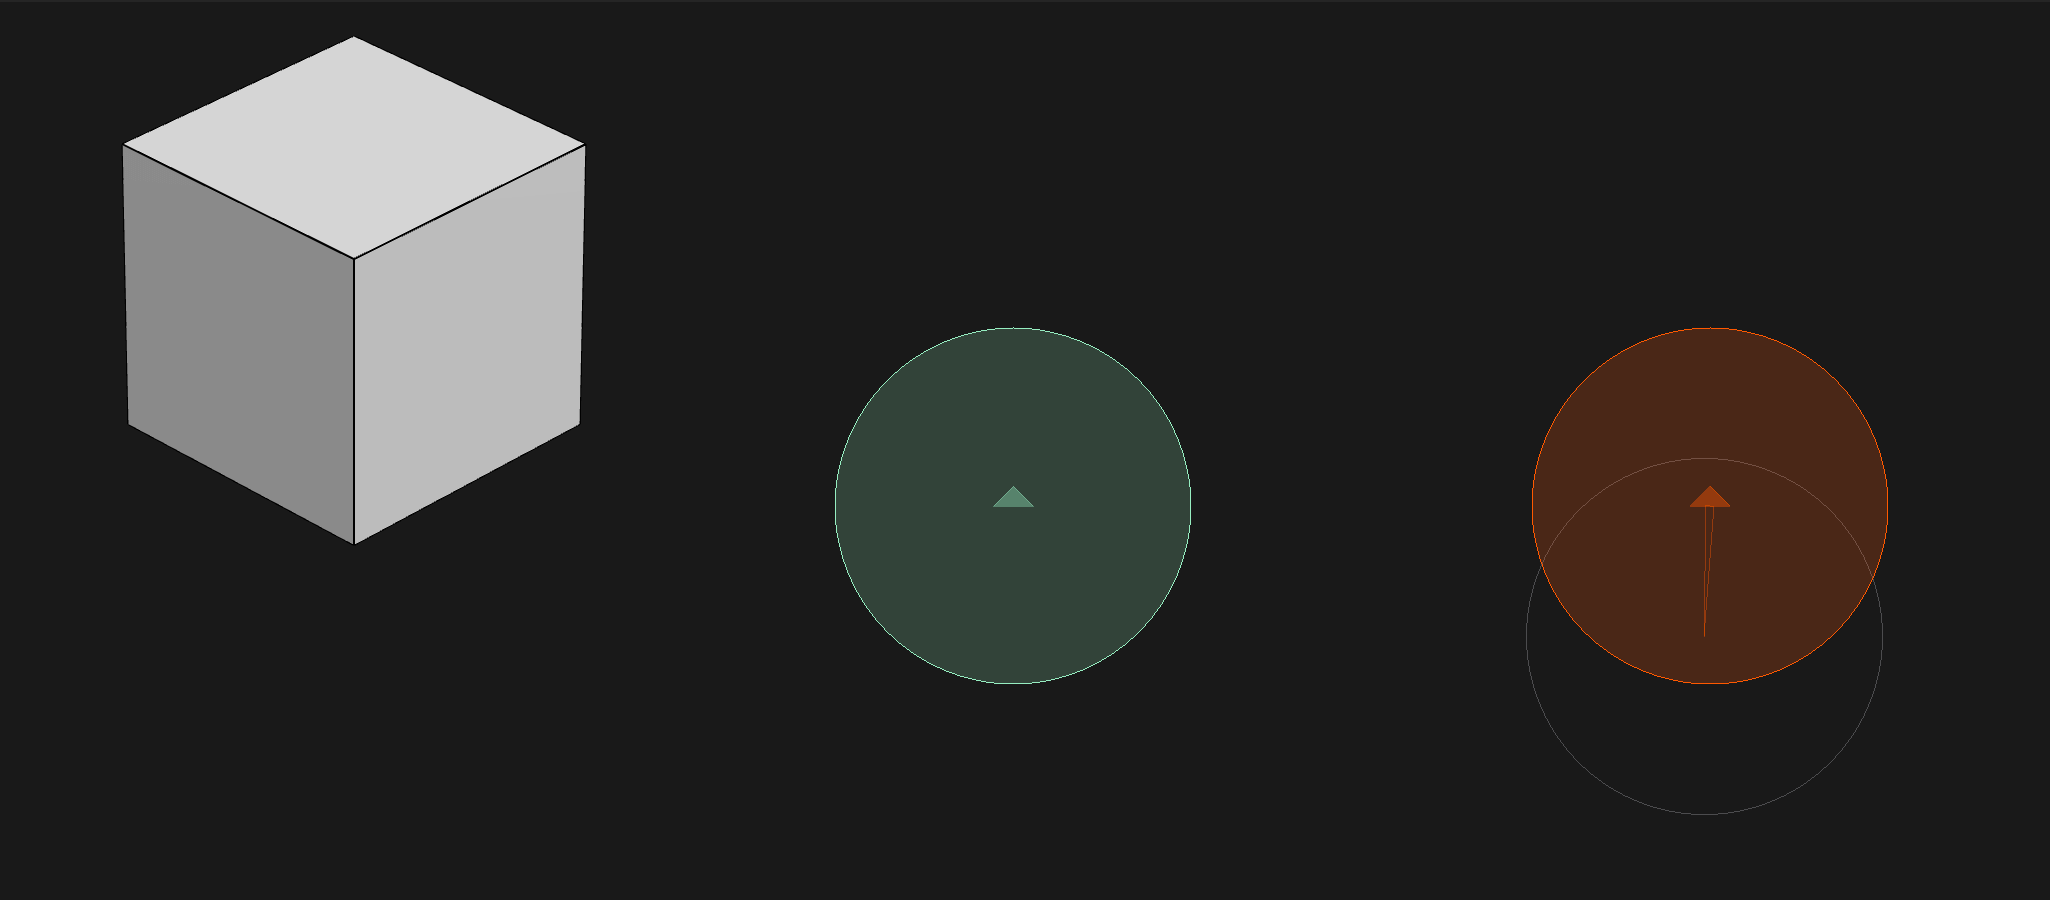
A circle and a cube appear.
An orange circle appears where you clicked, and a green circle appears to the left of the orange circle.
A green circle appears to the left of the orange circle, and a cube appears to the left of the orange circle.
The orange circle is the circle for the side view, the green circle is the corresponding circle for the front view, and the cube is the 3D model generated from the circles.
In other words, one circle = one cube.
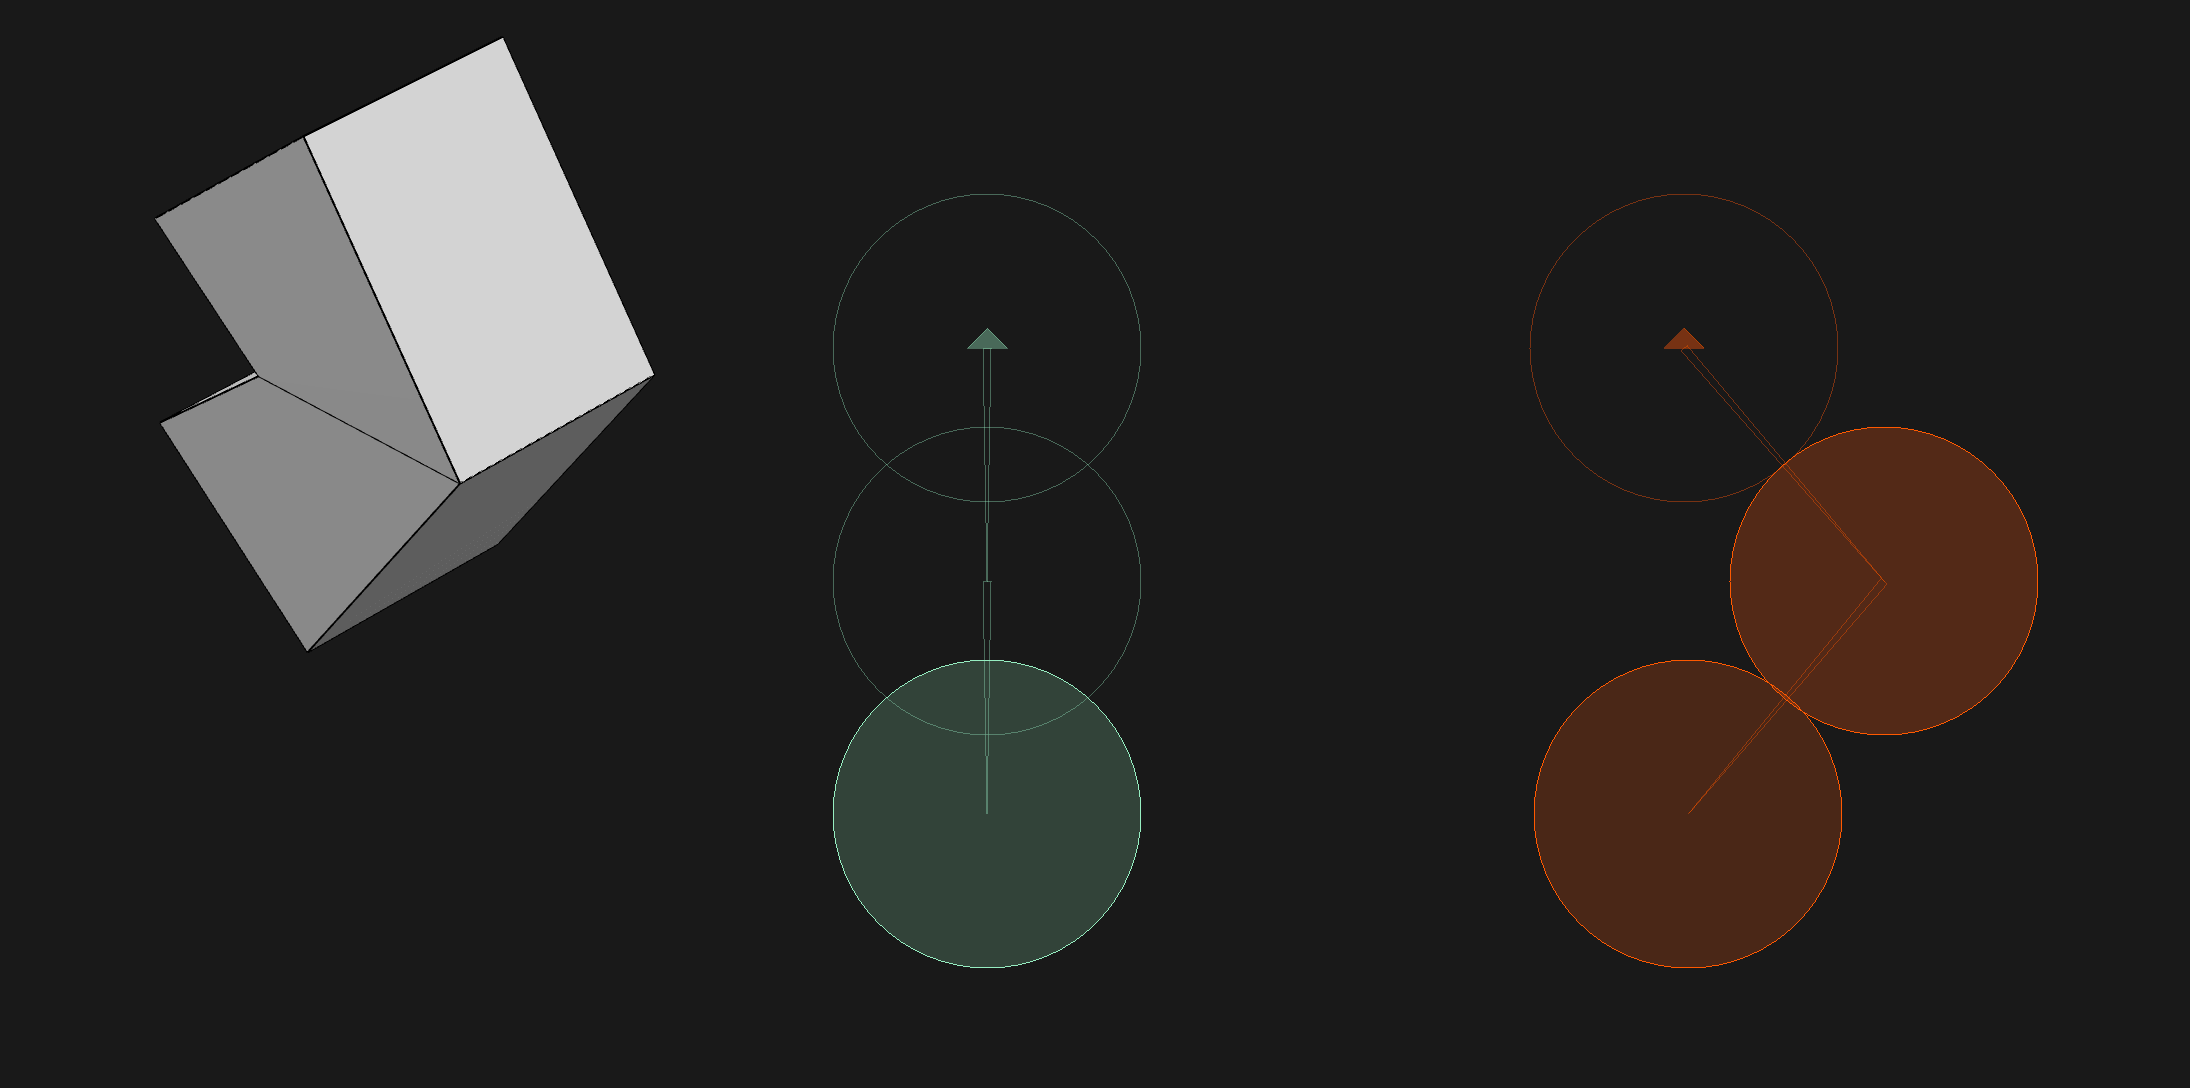
We will add one more circle further down.

Adding more circles
The first circle and the current circle will be automatically connected by joints and reflected in the 3D model. (If you don’t see the wireframe, go to “View” and press “Toggle Wireframe” to display it.
Next, let’s create a new circle between the two circles.
With the two circles selected by dragging, right-click and select “Break”.

Break between circles
Now a new circle is created between the circles.

More circles have been created between the circles.
Moving and scaling a circle
Click on the cursor symbol from the leftmost toolbar to switch to the selection mode instead of the circle creation mode. (You can also use the [A] key to switch.)
Let’s move the middle circle by dragging it sideways.
Correcting the position of the circle
The orange circle was the circle to be placed in the side view, and the green circle was the corresponding circle to be placed in the front view.
So even if we move the orange circle, the position of the green circle will not change.
You can make the circle smaller by moving the mouse wheel while it is selected. (If it is difficult to make fine adjustments with the mouse wheel, you can also use the [-] and [=] keys to make fine adjustments.

Modifying the size of the circle
Basically, you create a circle like this, and adjust its position and size to proceed with modeling.
Adjust the shape
As it is now, you can only create an angular model.
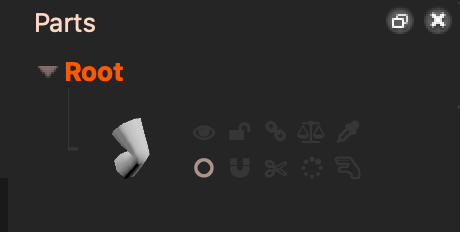
Circle icon in the lower left corner
To round off the corners, click on the circle icon on the left side of the bottom row of 10 marks in the Parts panel on the right.
The function of this icon is “Subdivide”.
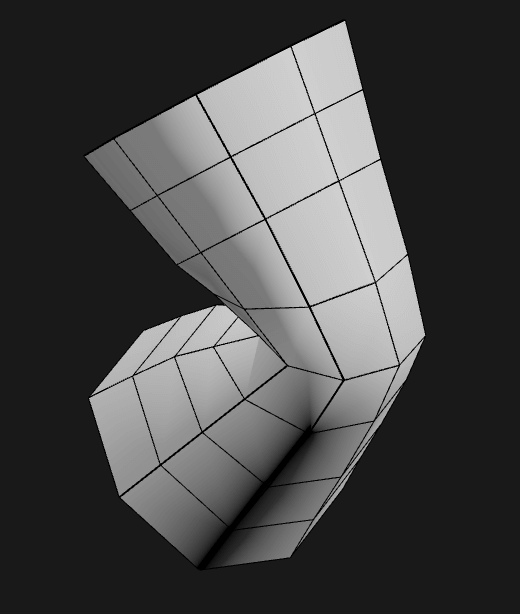
It has rounded corners
By pressing the U mark to the right of it, you can further round the corners of the top and bottom edges as well.
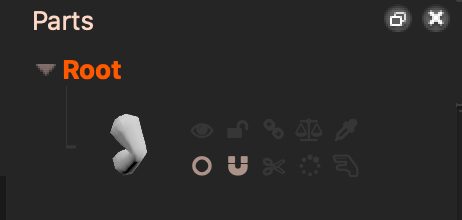
Click on the U mark
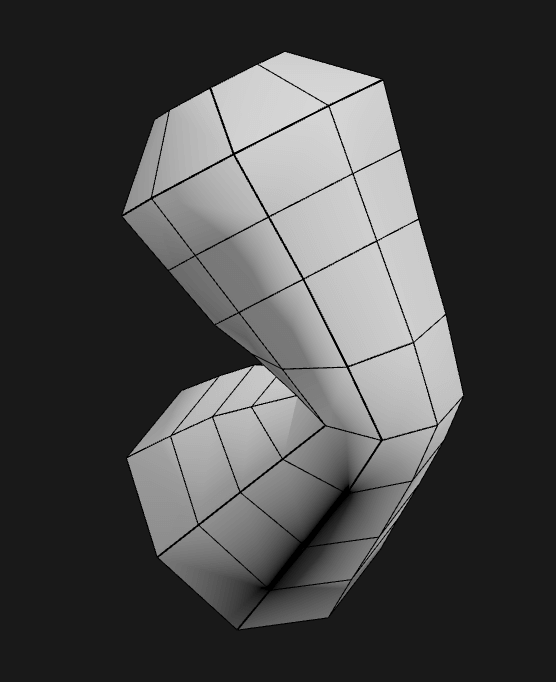
The top and bottom edges are now rounded.
Adjusting the display position of the 3D model
The 3D model is usually displayed on the left side of the screen, but there may be times when it gets in the way of your work.
In such a case, use the shortcut to adjust the display position of the 3D model.
- [Alt] + [-] to zoom out the 3D model, [Alt] + [=] to zoom in
- [Alt] + left-click to rotate the 3D model.
- [Alt] + [Shift] + left-click to move the 3D model.
Try Modeling
Now, let’s proceed with modeling
You can find a sample ant model in the Dust3D official documentation, so let’s use this one.
After downloading the JPG data, go to “File” and select “Change Reference Sheet” to set up the rough sketch.
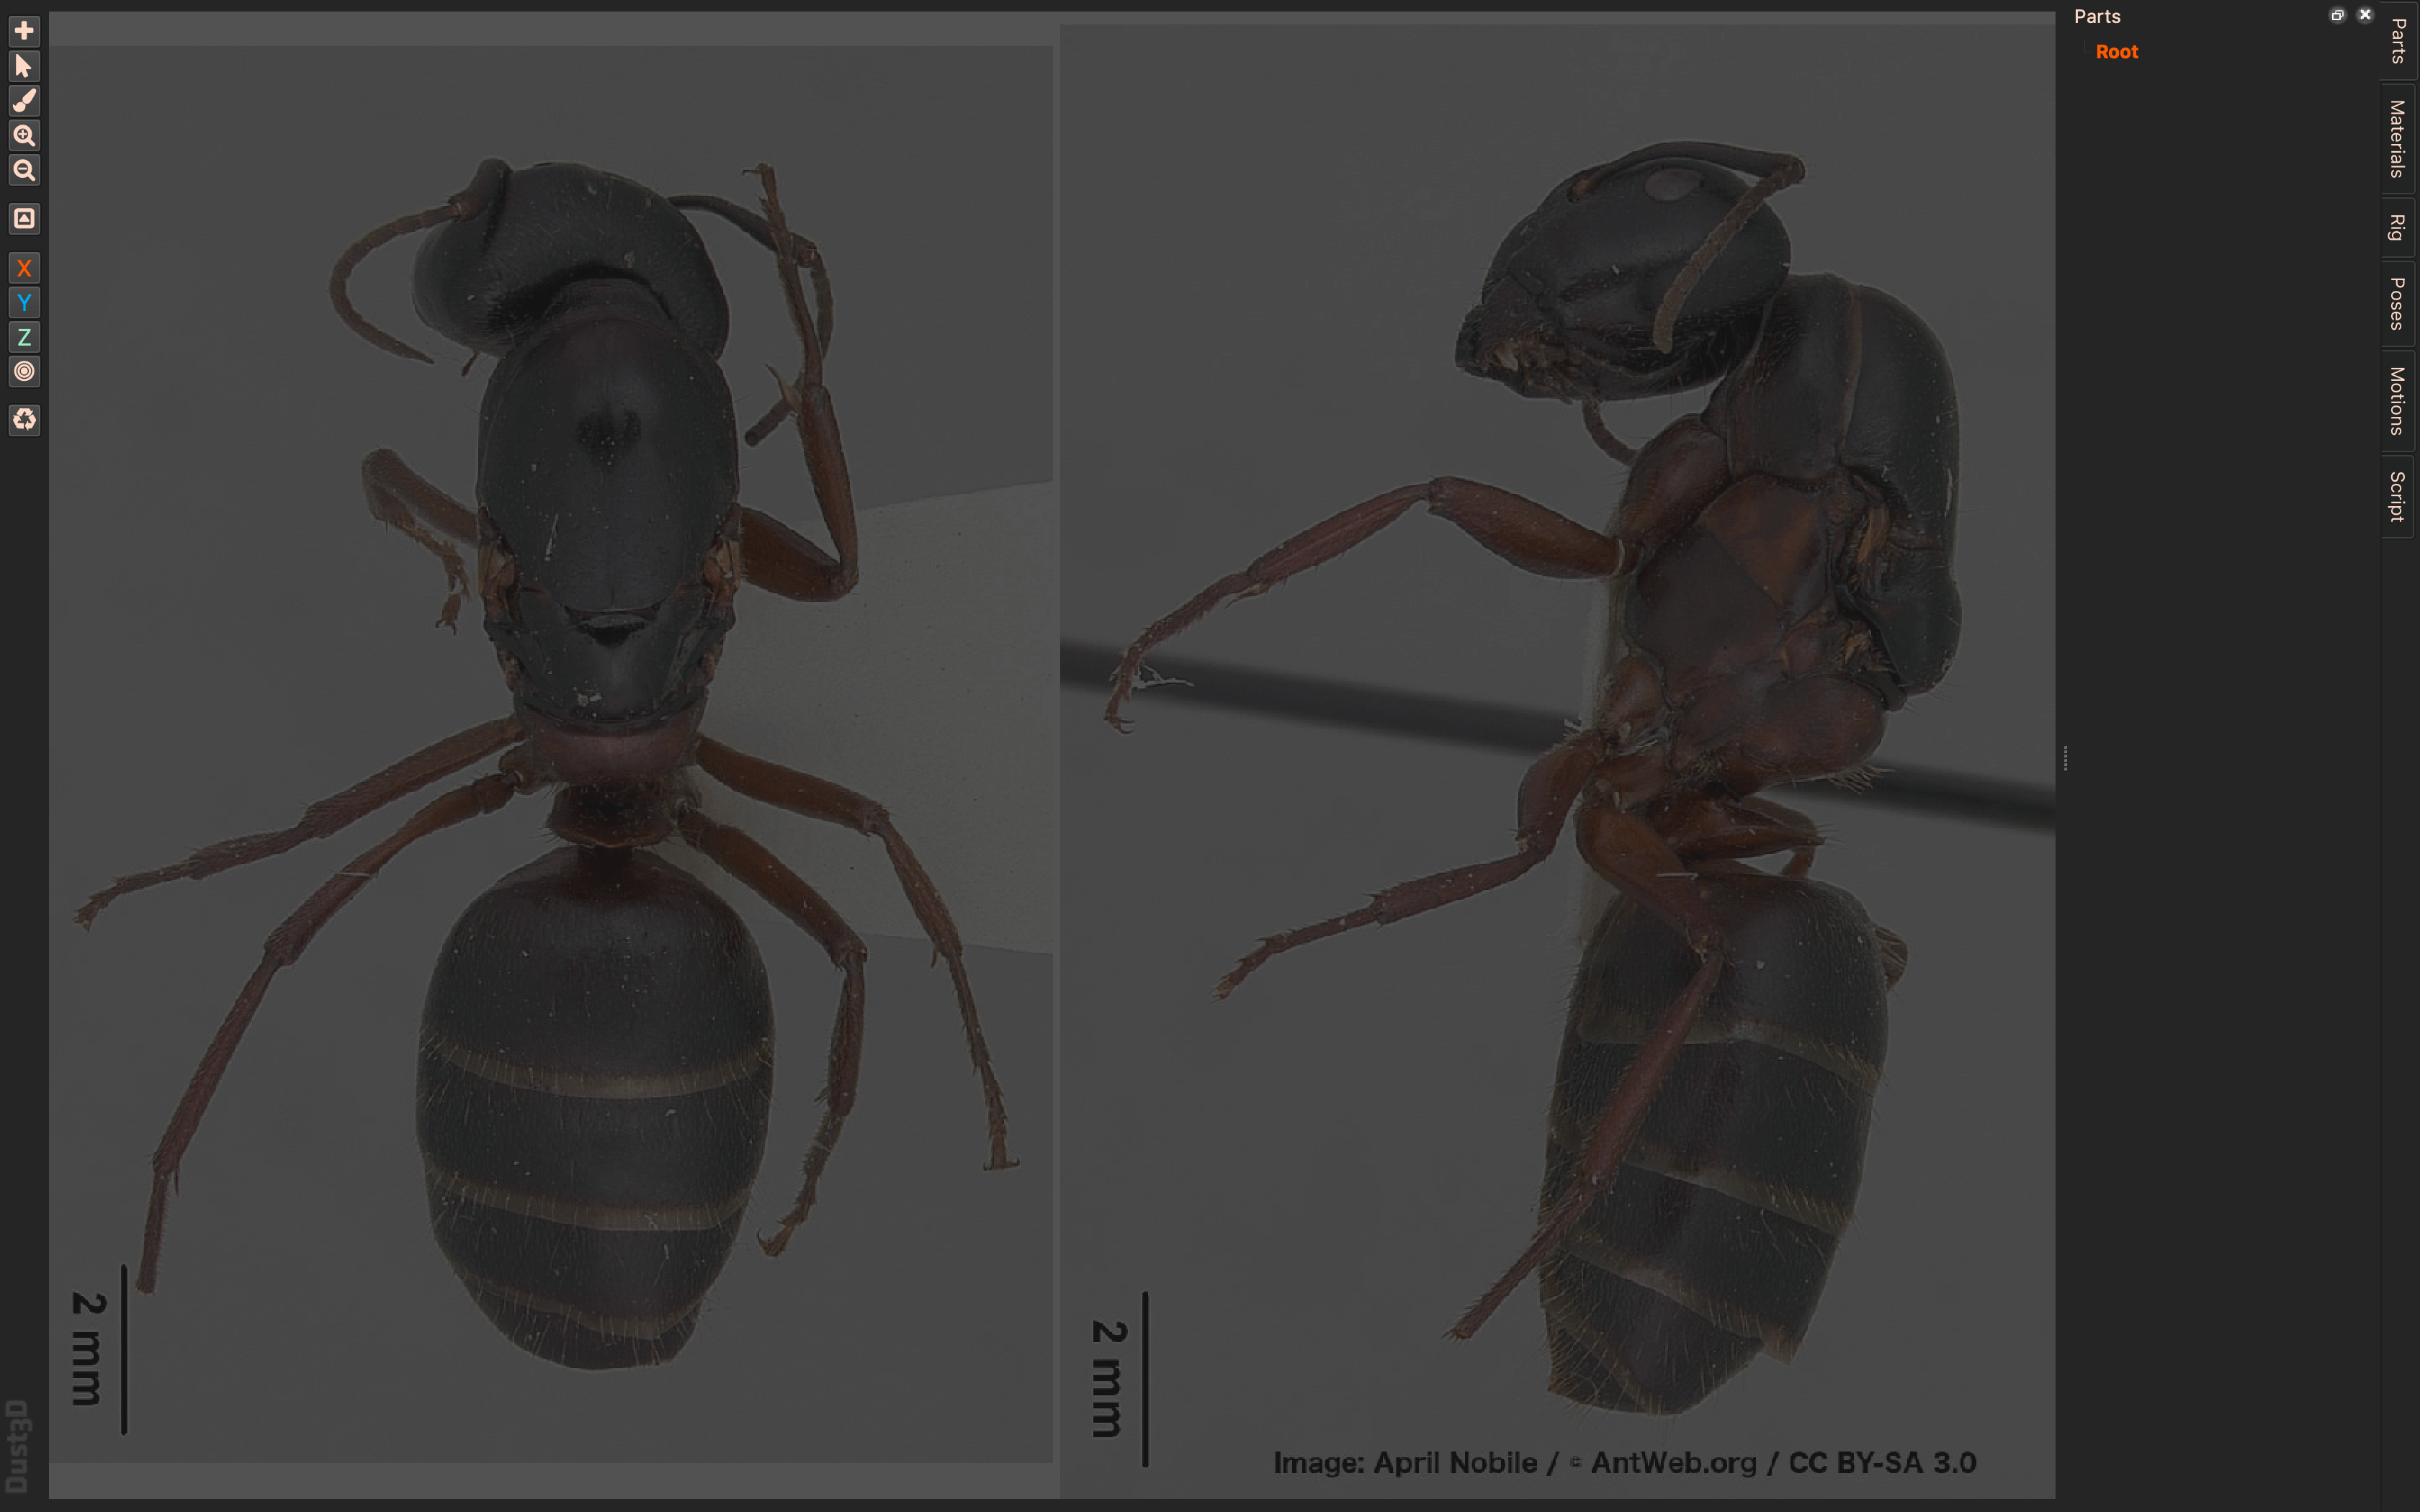
Display the rough sketch
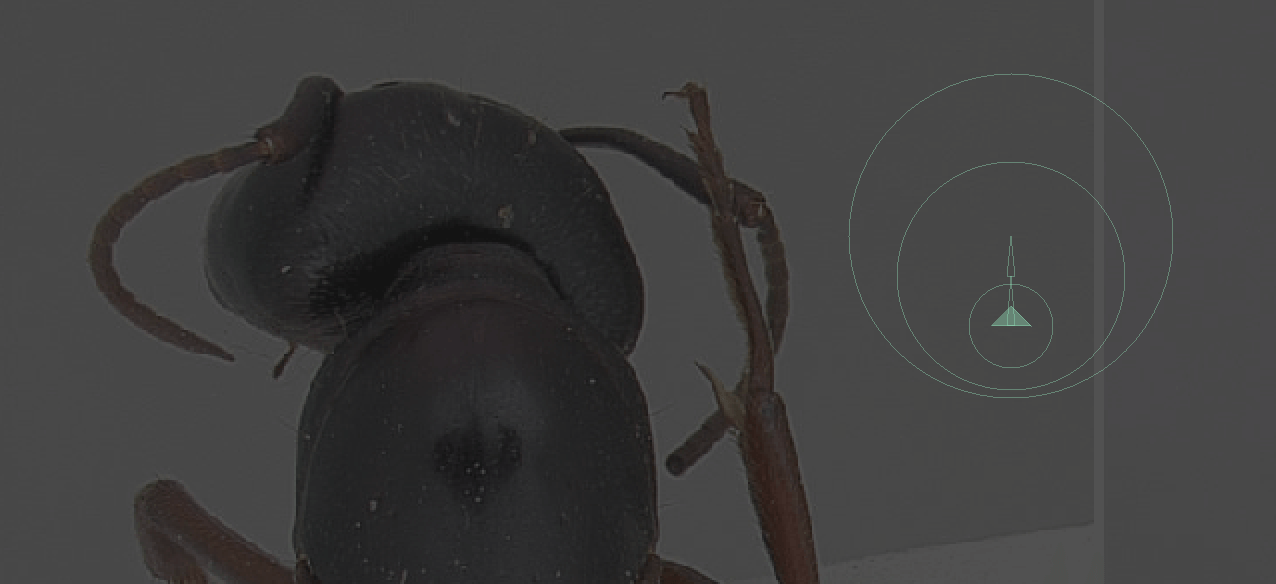
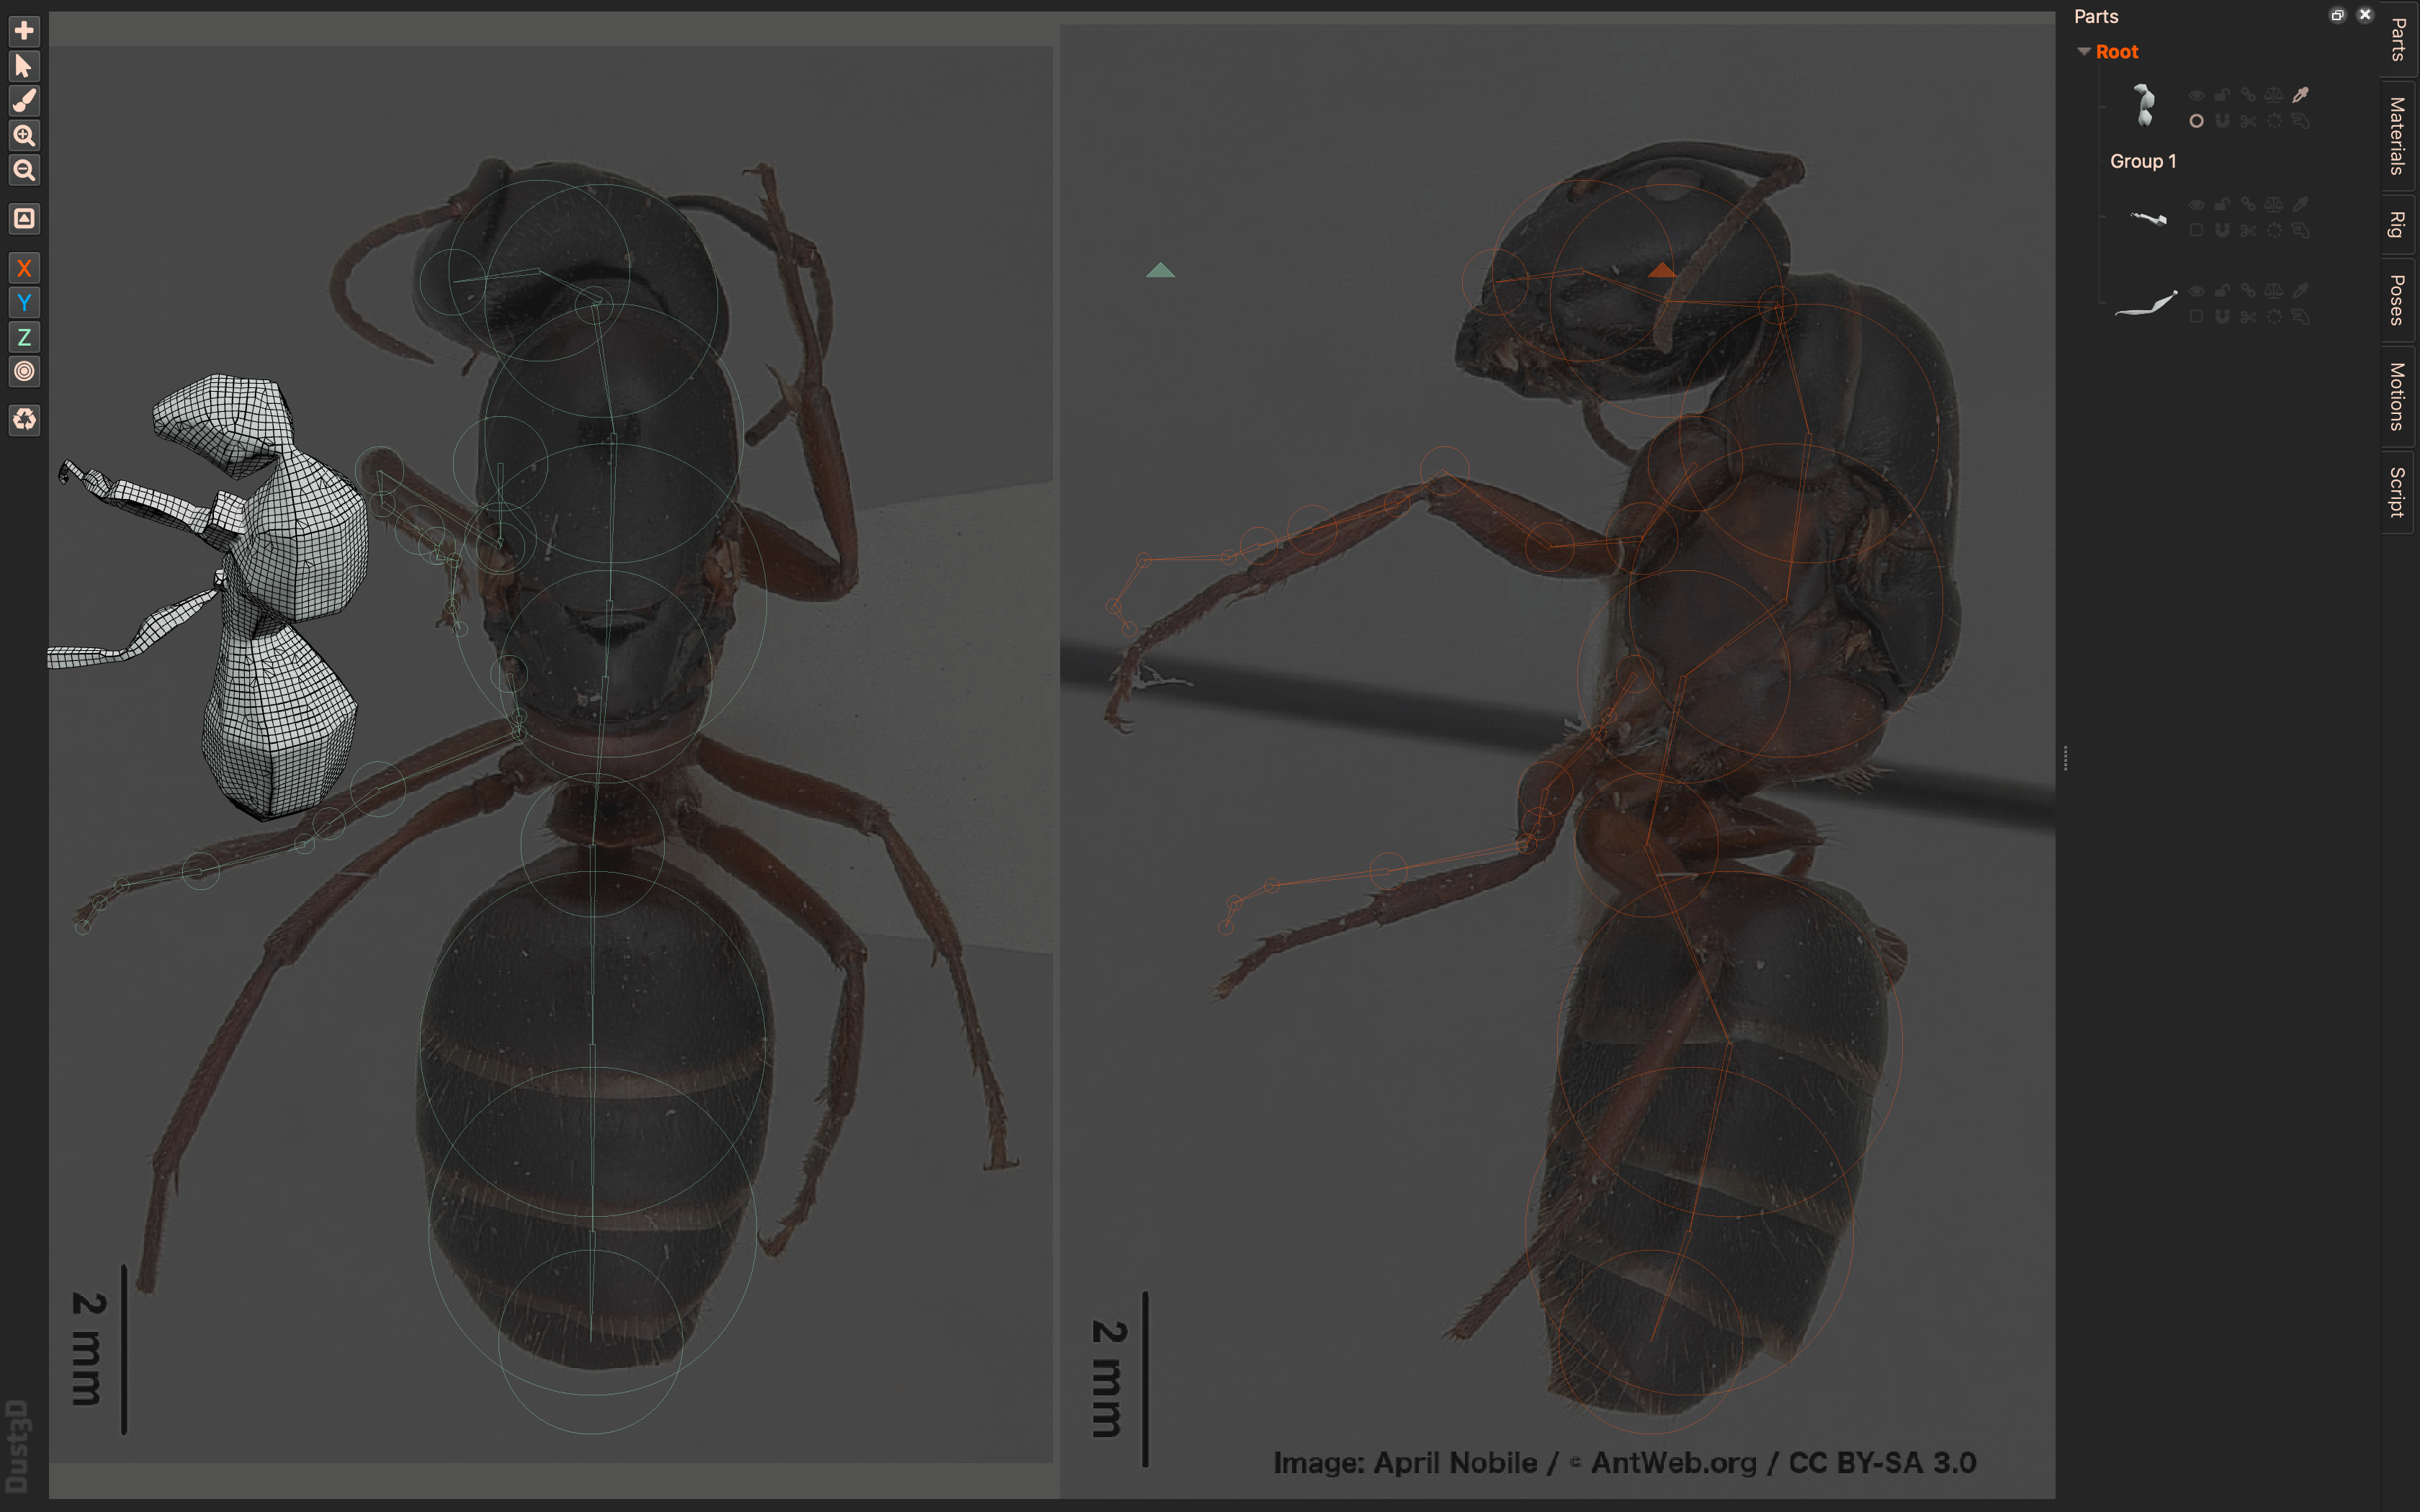
Now, let’s place the circle on the side view on the right side of the screen.
It is easier to model from the edge, such as the head.
Just place the circles roughly along the shape of the picture, as shown below.
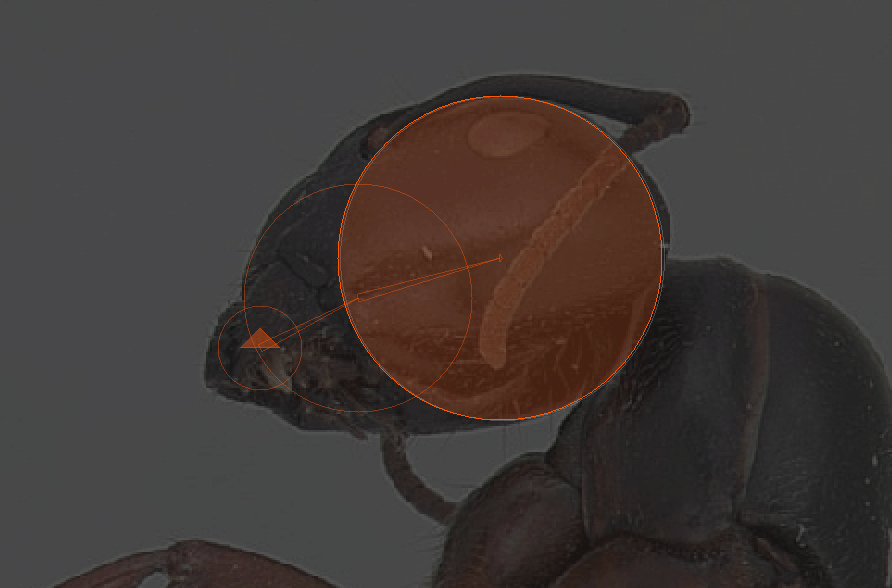
Place the circles along the shape
If you check the front view, you will see that the green circle is far off from the front view.
We will align it on the front view as well.
Drag it to the appropriate position.
The circle is not aligned with the front view
The side view and the front view do not necessarily correspond to each other, so they do not have to be exact.
It doesn’t matter if they are accurate or not. Try to make the front view and side view as consistent as possible.

Adjusting the circles in the front view
When placing the circles, the key is to make small circles at the joints between the parts.
For example, if you just made the head and chest parts of the ant respectively, the head will not be clear like this.
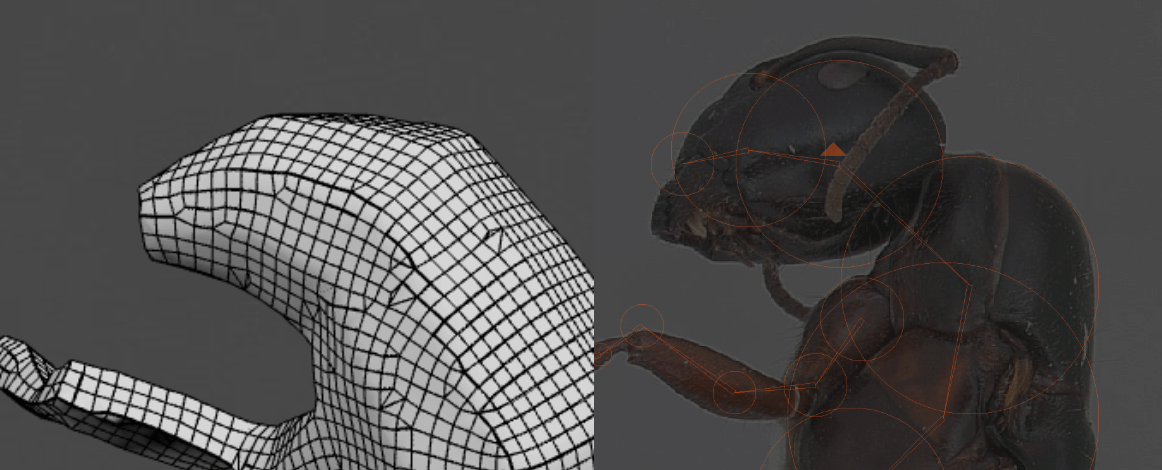
The head and the thorax are stuck together.
So, strike a small circle between the head and the thorax.
This makes the base of the head thinner and more like an ant’s head.
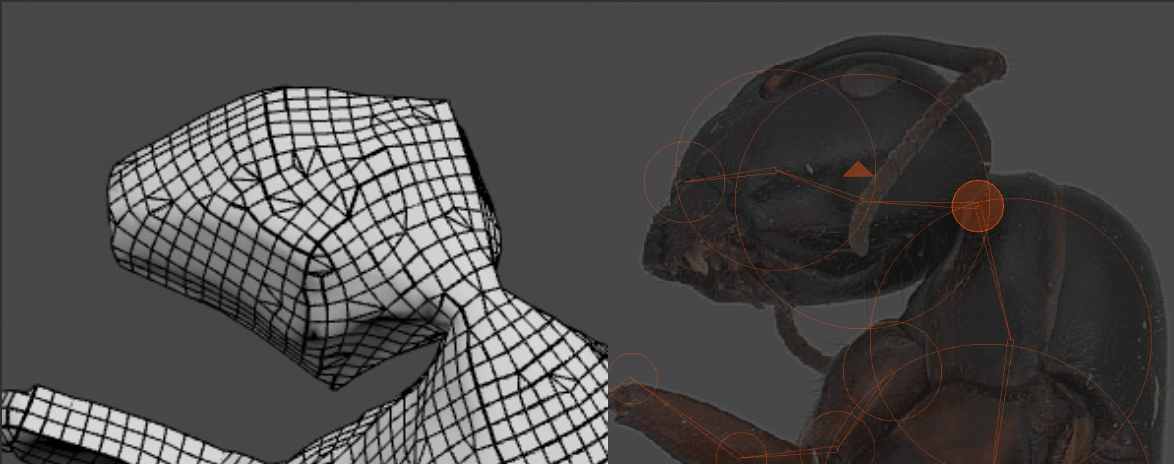
So that the head is clearly visible
As far as I can tell, it is difficult to add circles after they have been placed, so be aware of the “base” before placing them.
If you want to start from the front view, you can place the first circle on the side view, and then extend the circle on the front view.
Please refer to the following video for the detailed process.
Repeat this process to place circles all over. (It’s hard to tell because the circles are light in color, but they are placed all over the body.
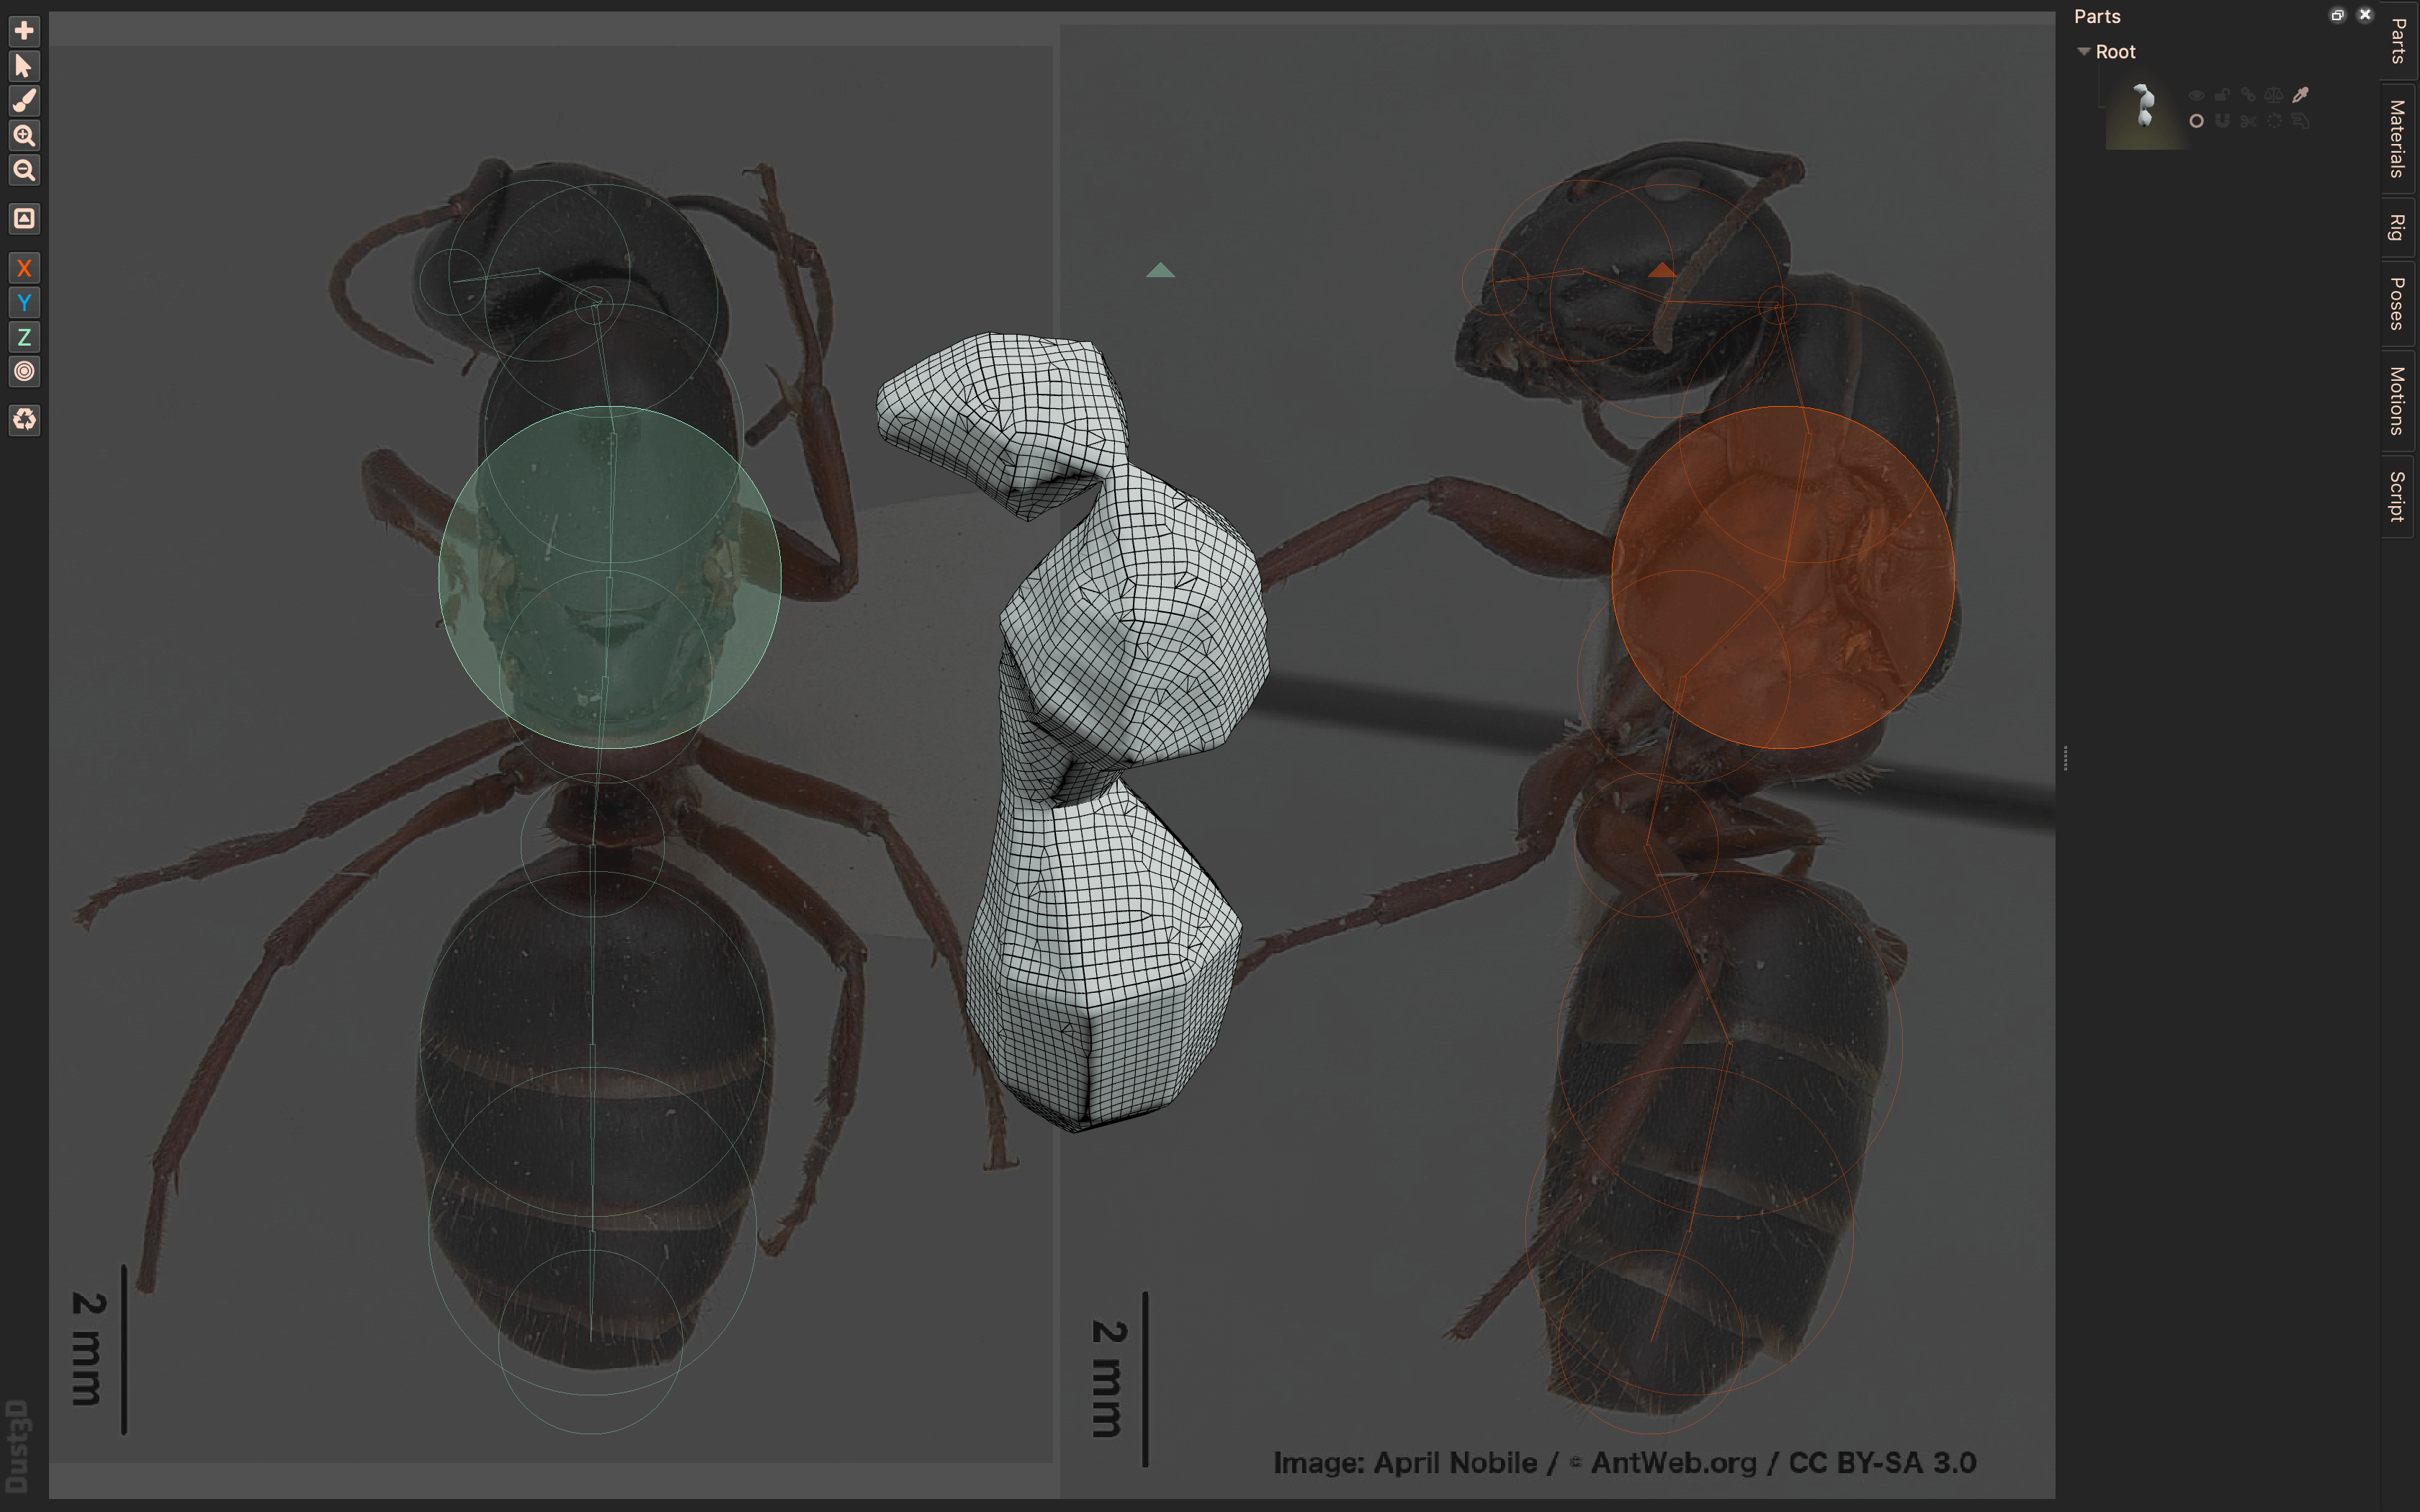
Place the circles all over the body
When we create a circle in a new position, the parts will automatically be separated, so we will also create the legs and the sense of touch.
If you look at the right panel, you can see that the parts are separated.
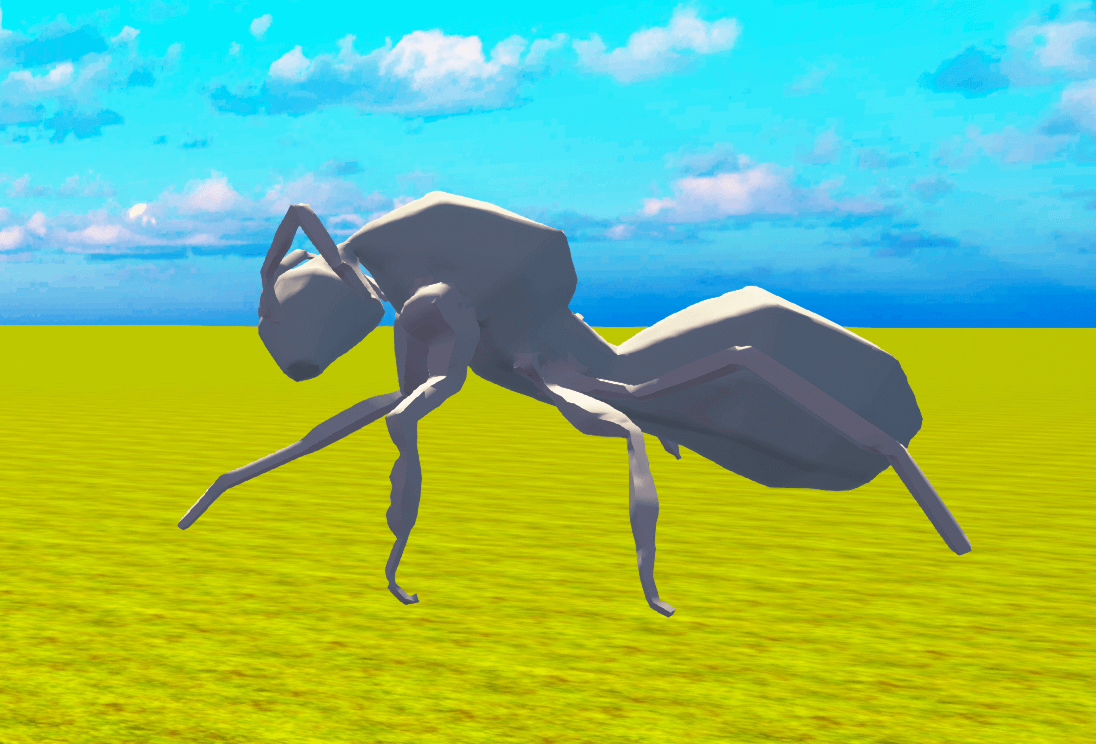
When you finish making the legs and the sense of touch, you are done.
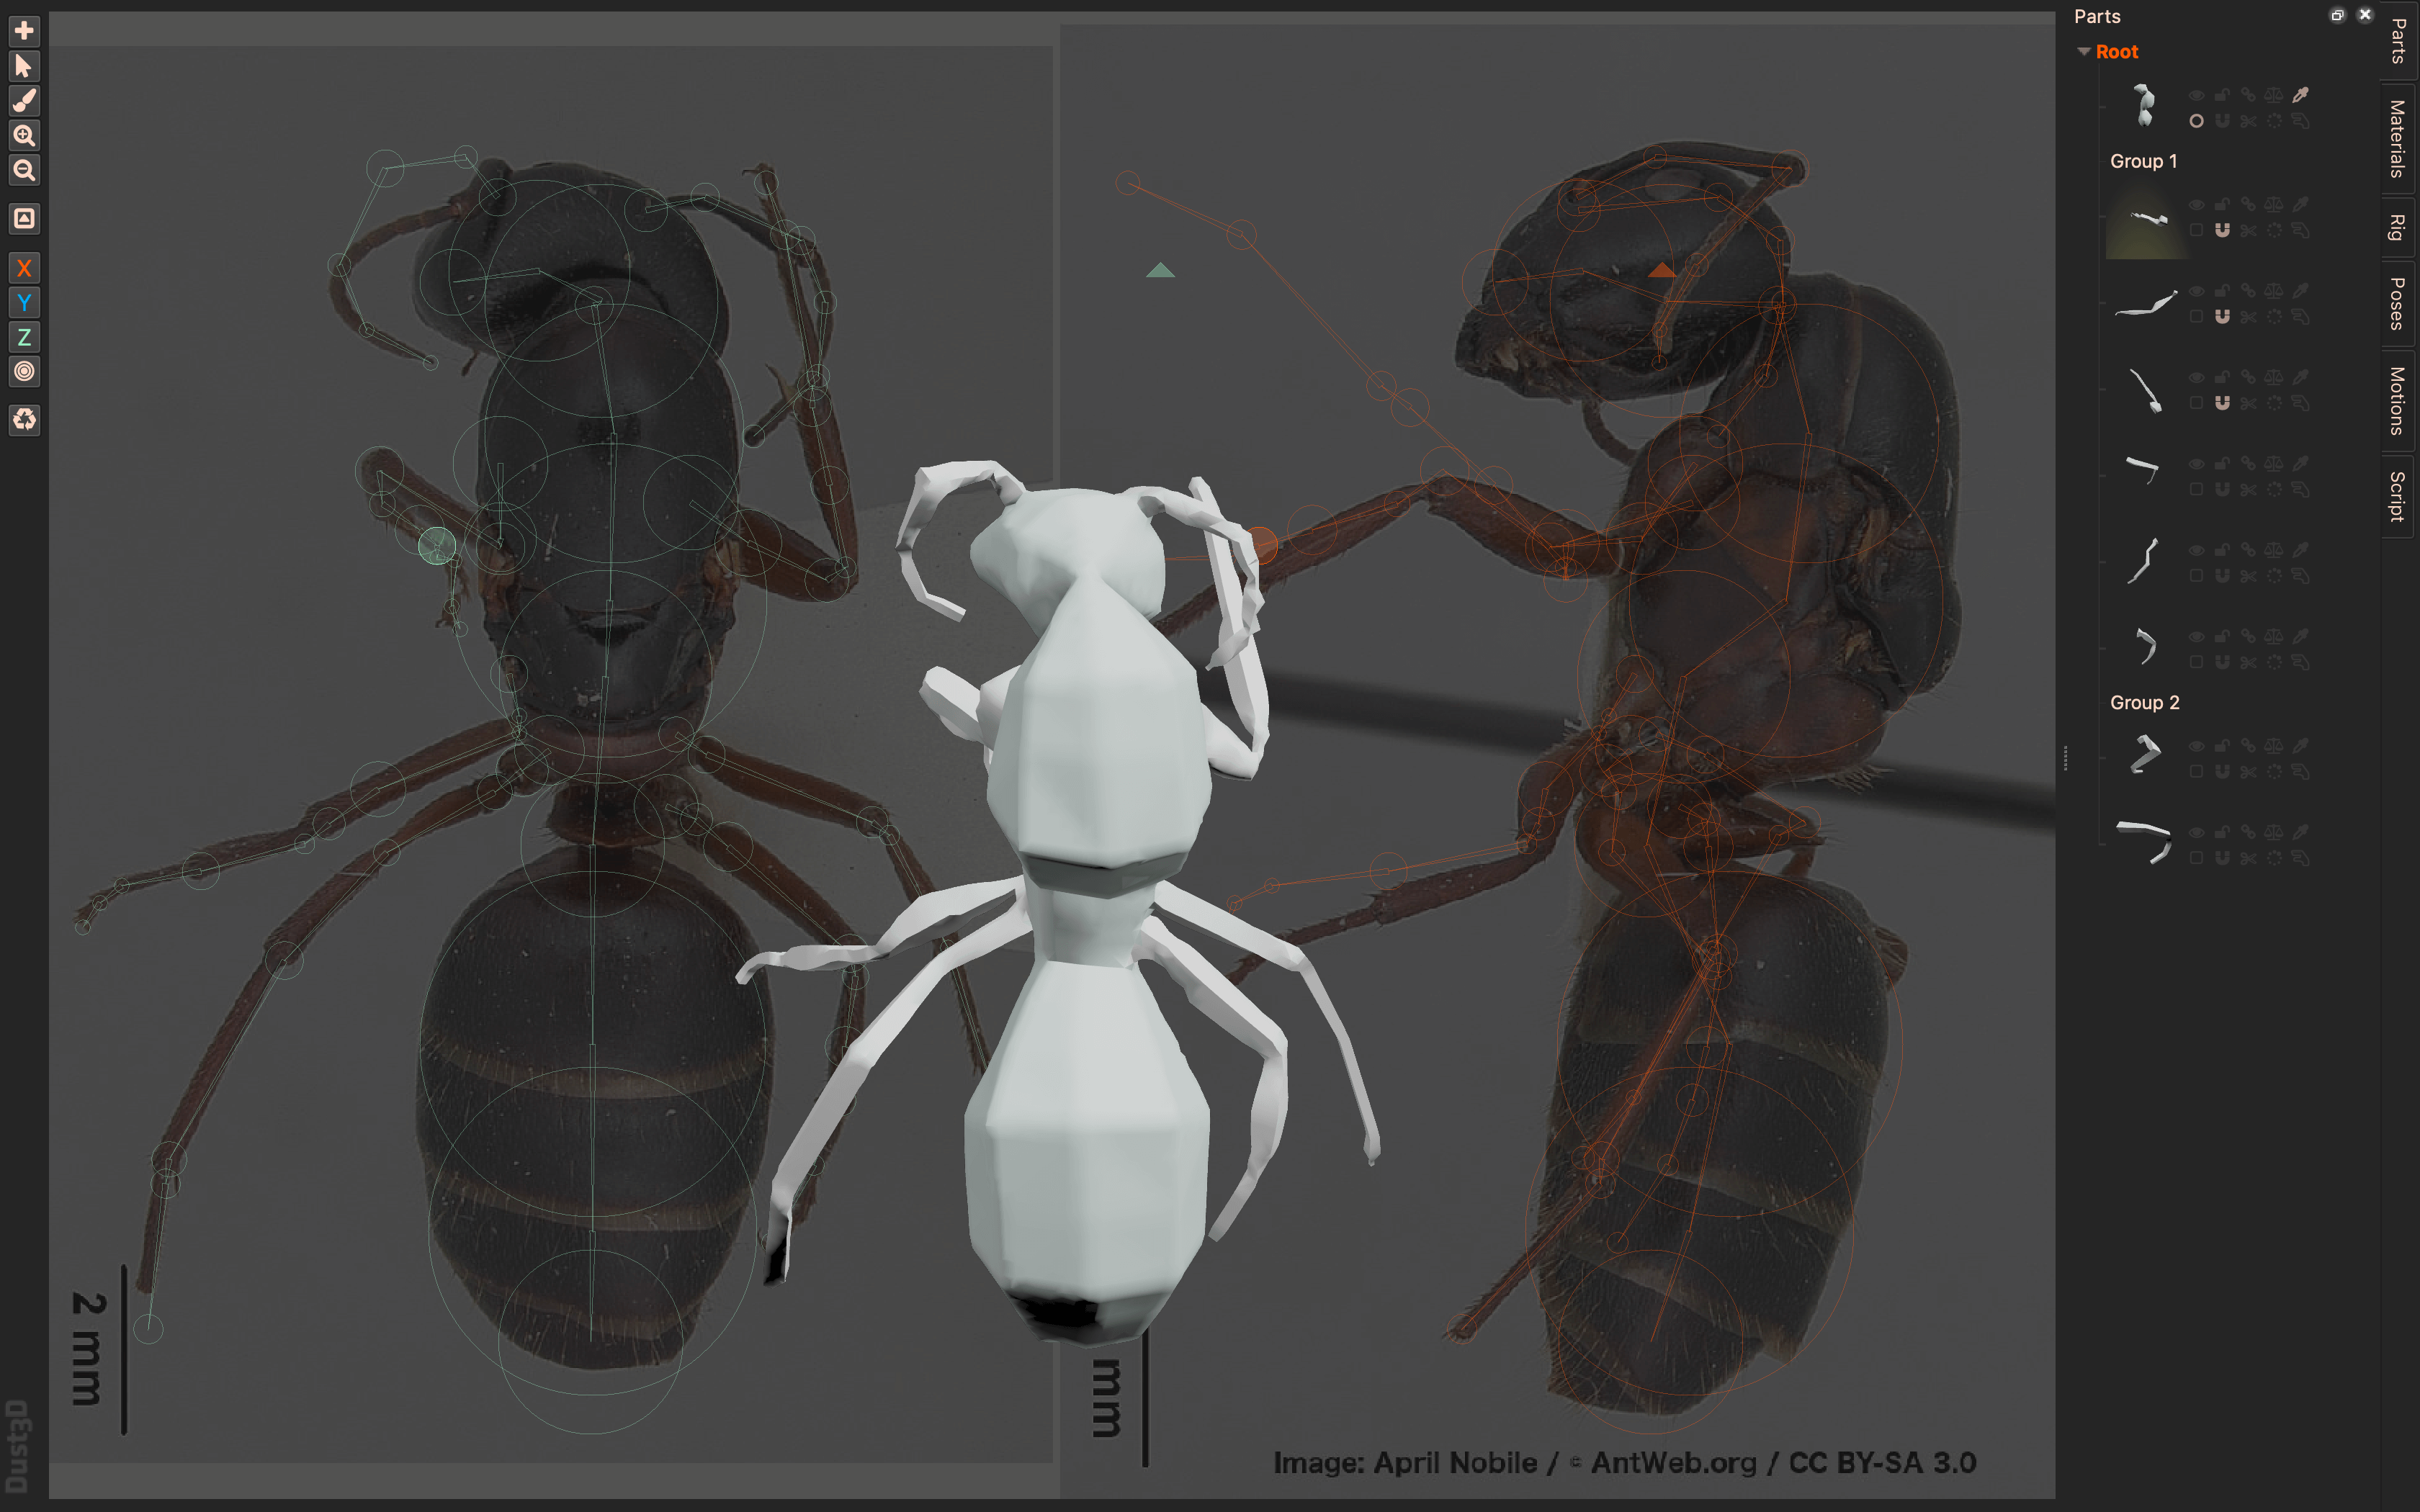
Completion
How to upload to STYLY
Export the 3D model
You can export your 3D model from Dust3D in three different formats: .glb / .fbx / .obj.
In the File menu, there are two options: “Export” and “Export as OBJ”.
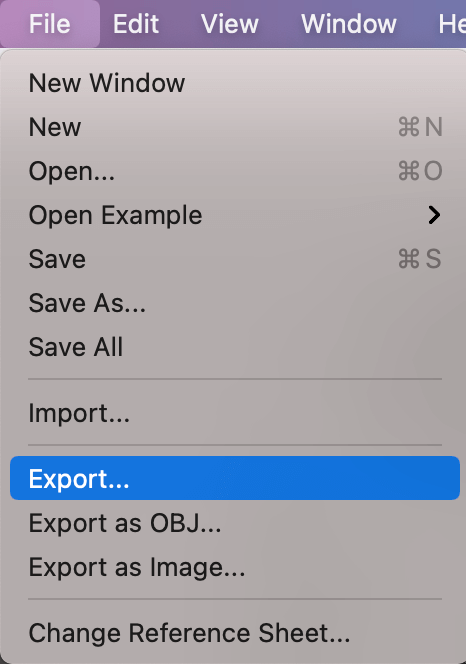
File menu
If you want to output in glb or fbx format, select “Export”. Then the automatically expanded UVs will be displayed.
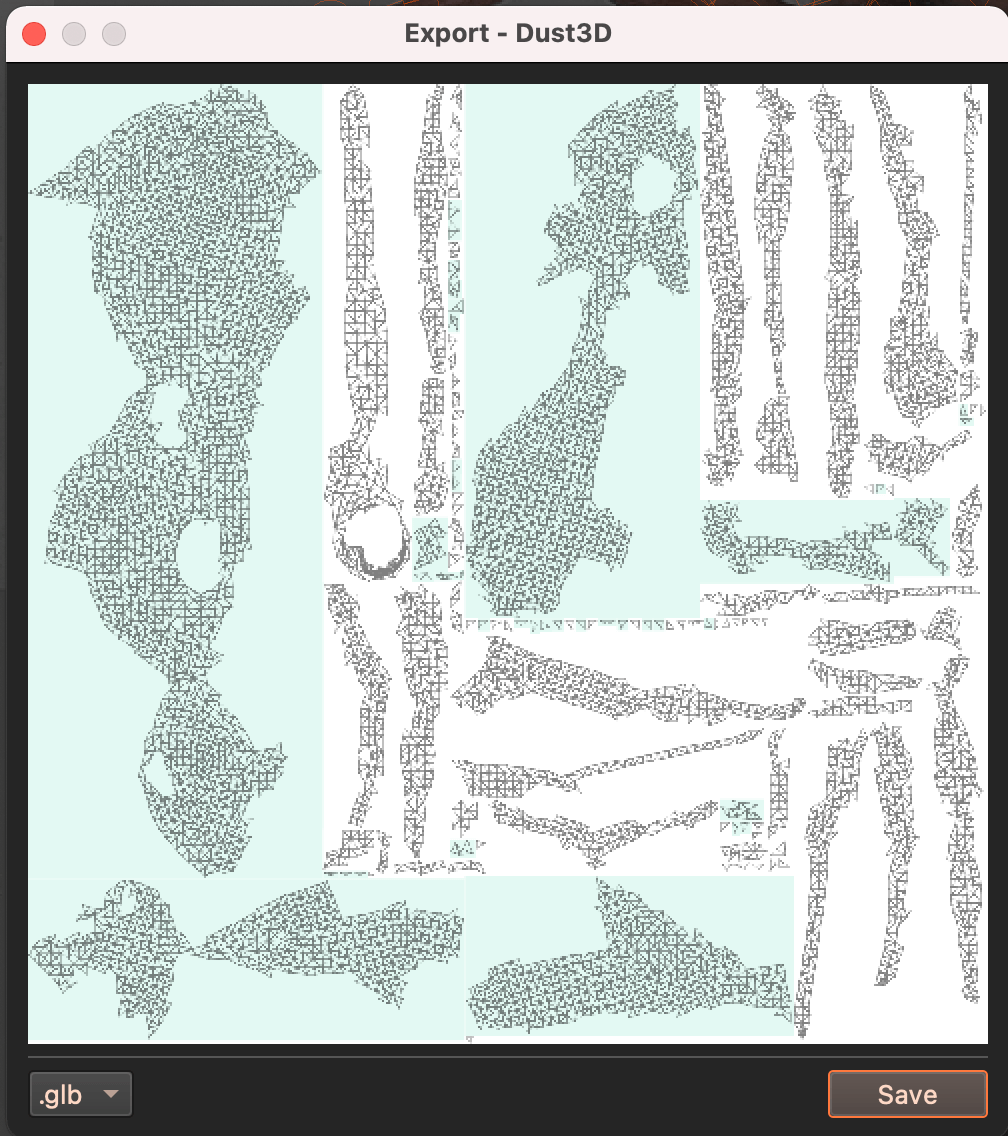
UVs are displayed
After selecting .glb or .fbx from the bottom left, click “Save” on the bottom right to proceed to the save screen.
Don’t forget to add “.glb” or “.fbx” at the end of the file name as an extension.
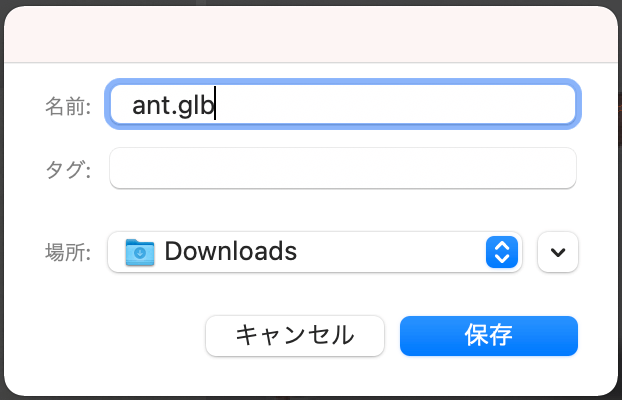
Adding an extension
If you want to output the file in obj format, click “Export as OBJ” to go directly to the save screen above.
If you want to upload to STYLY, it is recommended to output in glb format, which preserves the material settings.
Uploading to STYLY
Let’s upload the exported 3D model to STYLY.
Create a STYLY account
How to create an account

How to upload to STYLY

How to upload from Unity to STYLY

I was able to upload to STYLY.
Learn VR/AR Content Creation from No Experience
NEWVIEW SCHOOL ONLINE is an online learning site where you can learn the basics of Unity and PlayMaker required for VR/AR content creation, as well as the production process (and production techniques) of the attractive content distributed on STYLY!
- You can create VR/AR contents without writing programming code.
- Officially supervised Unity courses are available.
- Additional elements such as photogrammetric production methods and content weight reduction are available.
- You can learn how to think about creating VR/AR content.
