In this article, I will introduce how to create 3D objects using Adobe Illustrator.
You can create a 3D object in 2D. The result is pretty unique and looks different from the average 3D model.

Final Image
Basics
There are 3 functions in Adobe Illustrator for creating 3D objects.
- Extrude/Bevel
- Rotate
- Revolving
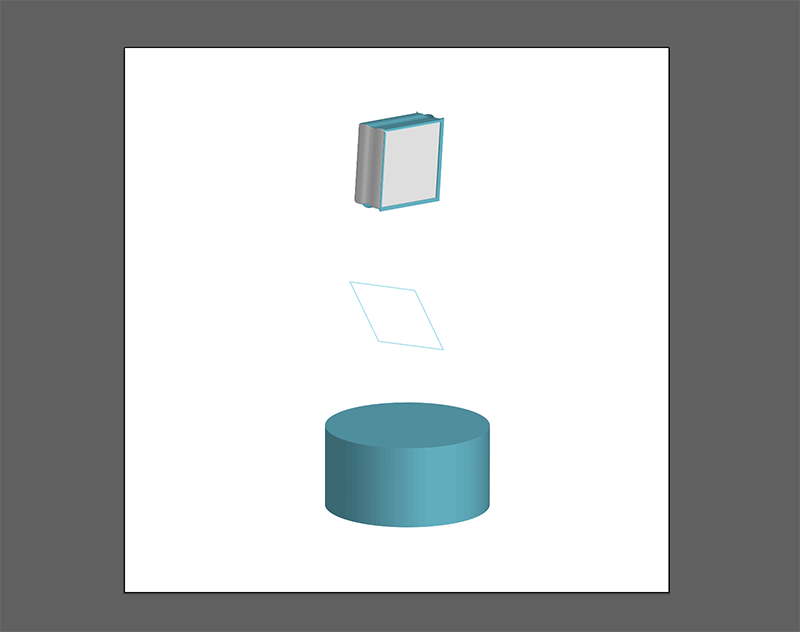
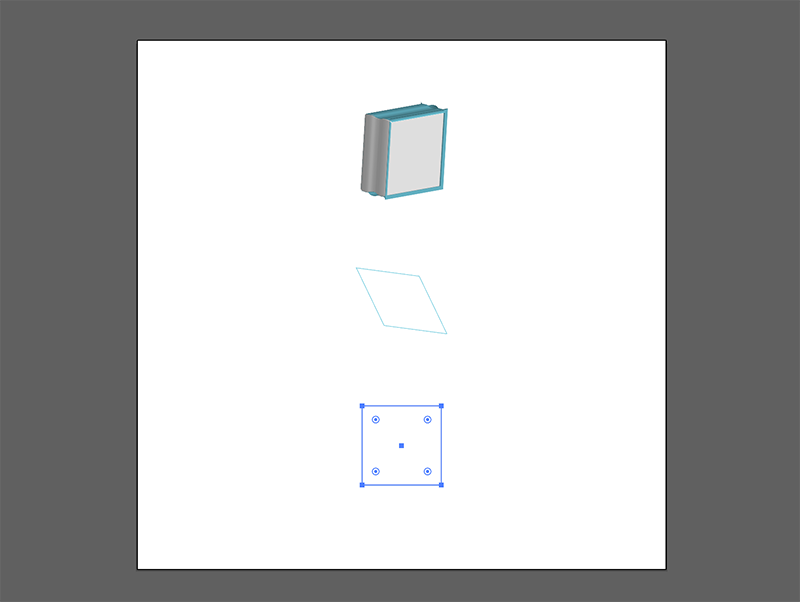
By using these 3 functions, you can create an object similar to the one shown in the image below.
Final Image
The first image is an object created by extrude/bevel function. The second image is an object created by rotation. The third image is an object created by revolving.
I will explain how each function works.
Extrude/Bevel
First, create a new Adobe document.

Create a new file

Create a new file
Once you create a new file, choose the rectangle tool as shown in the image below.
It is the icon highlighted in the left tool bar.
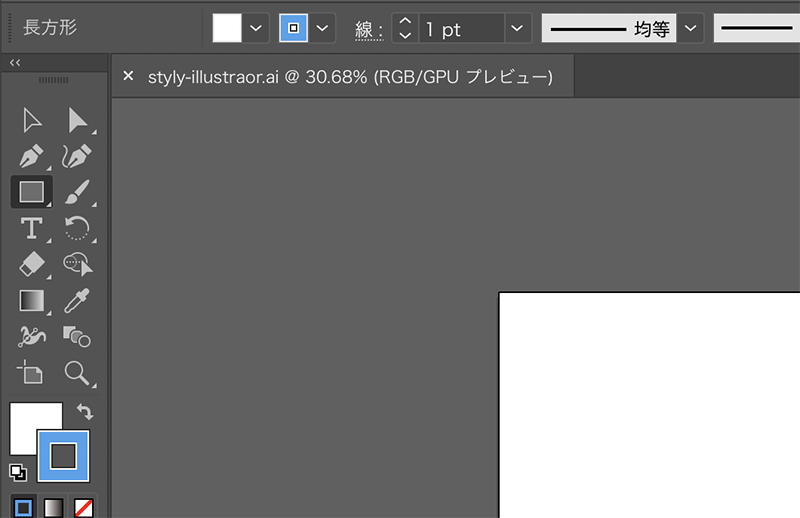
Select the rectangle tool
Draw a rectangle.
Click the white background with the rectangle tool and a window will appear like in the image below.
Set the width and height to 150px to create a square.
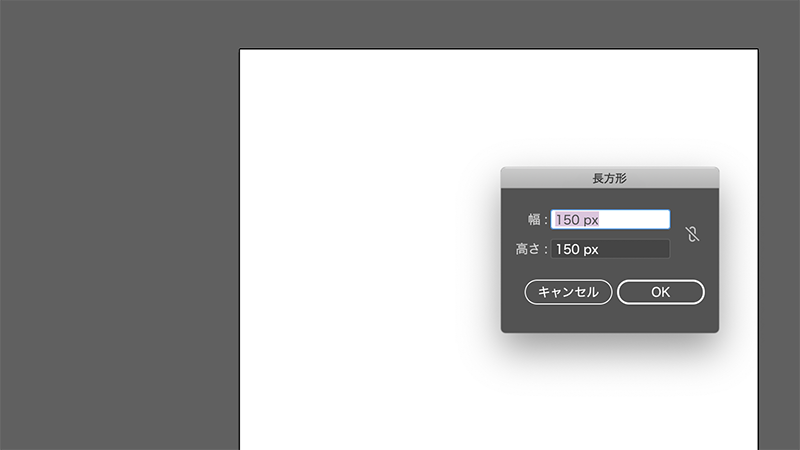
Creating a square with W 150px and H 150px
Select the square.
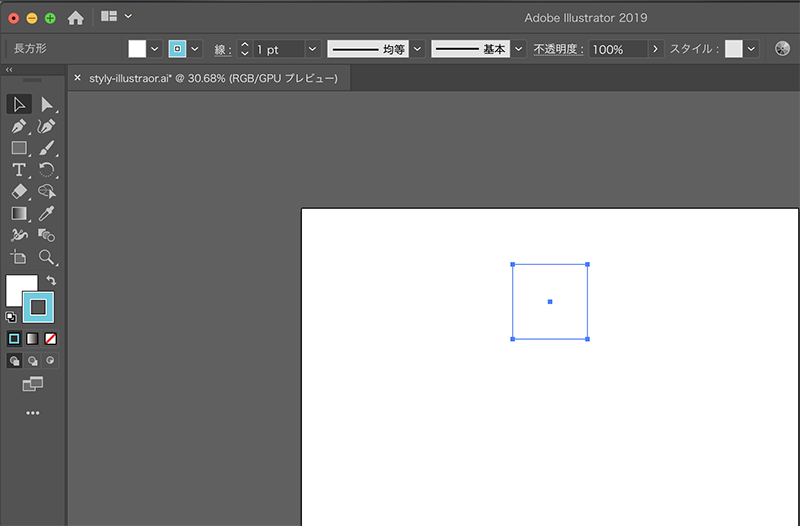
Selecting the square
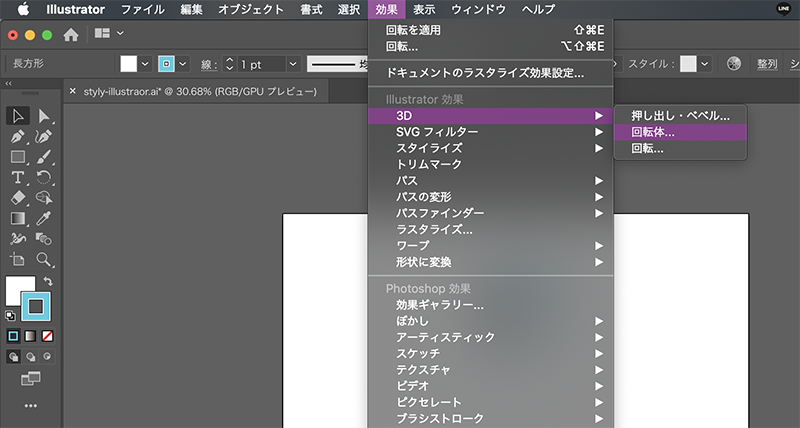
Choose Effect > 3D > Extrude/Bevel.

Choose Extrude/Bevel
You will be able to edit the Extrude/Bevel options. Edit the parameters according to the object you want to create.
Here, I set the ‘Extrude Depth’ to 70 pt and the Bevel to ’Gentle’.
After you are finished editing, press ‘OK’.
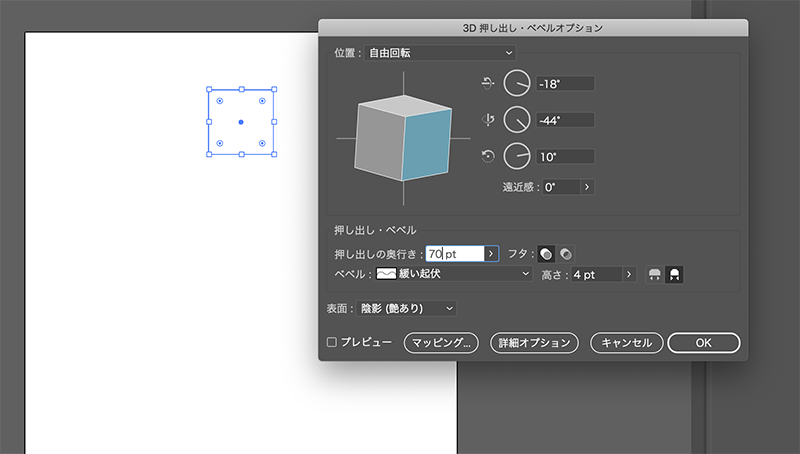
Extrude/Bevel options
Press OK to create the 3D extruded object.
The depth is set to 70 pt and a gentle bevel is shown on all sides.
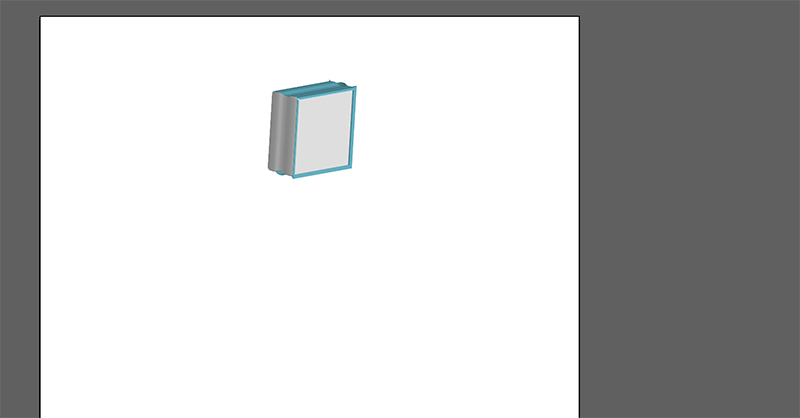
Extrude/Bevel results
Rotation
Next, I will introduce ‘Rotation’.
Create another square just like the one earlier with H = 150px and W = 150px.
Choose Effect > 3D > Rotation.
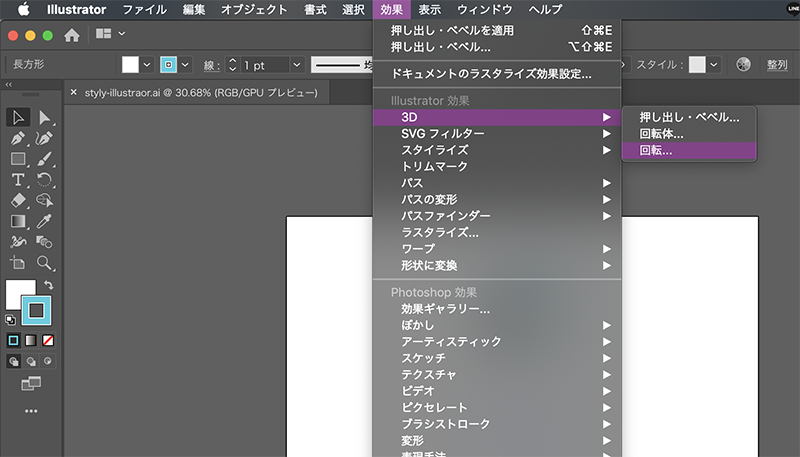
Choose Rotation
A 3D rotation option will appear.
Drag the 3D rotate option cube in the direction you want to rotate the object.
I rotated the object so that the light blue surface faces the bottom left.
Press OK when you are done.

3D Rotation options
The square will rotate.
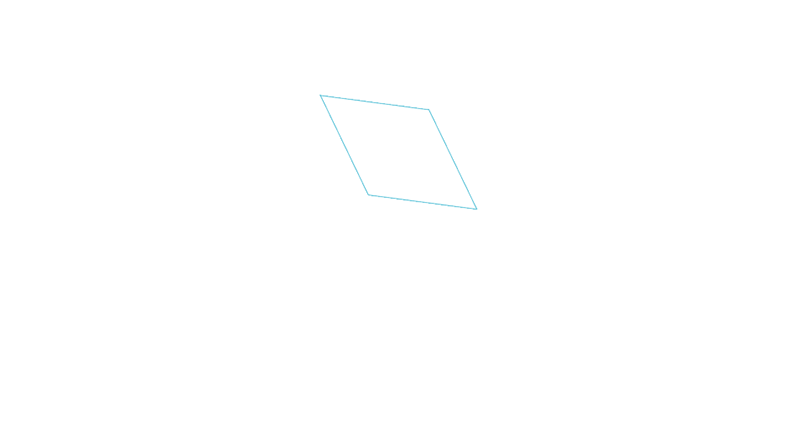
3D rotation result
Revolving
Next, I will introduce revolving.
This method rotates a shape around an axis to create a 3D object.
Create another square just like the one earlier with H = 150px and W = 150px.
Choose a rectangle
Choose Effect > 3D > Revolve.
Select a Revolve object
The revolve options window will appear as shown in the image below.
I set the revolve axis to ‘left’, and the degree to ‘360°’.
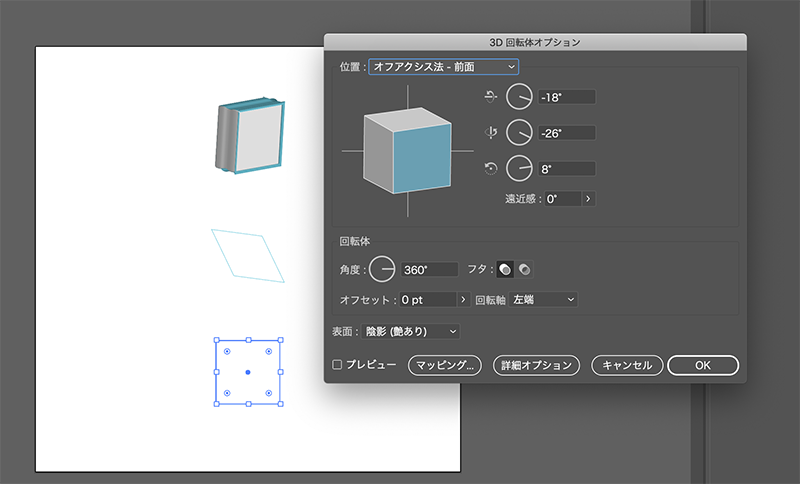
3D revolve option
If you press OK, a cylinder will appear like in the image below.
3D revolve result
Export Image
The file you just created is an .ai file.
If you want to upload your object to STYLY, you have to use a .png or .jpeg file.
For this example, I will export the object as a .png file.
Choose File > Export > Export format as shown in the image below and save the object as a png file.
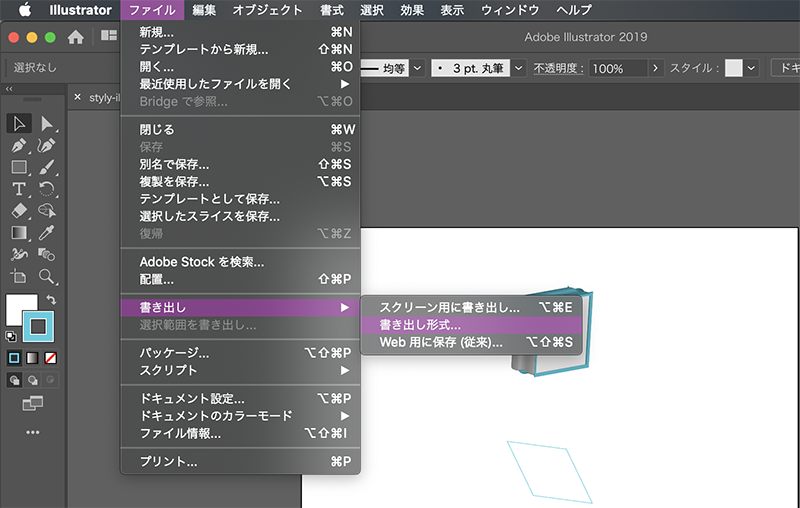
Image Export
Uploading to STYLY
If you want to upload the png file to STYLY, please refer to the following article for details.

In this article, I introduced how to create 3D objects using Adobe Illustrator.
I hope you practice making objects using Adobe Illustrator.