Due to the 3D features in Photoshop being discontinued, the “Mesh From Depth Map” feature described in this article will no longer be available.
I will show you how to make a simple 3D model of the ground like a Terrain in Unity using Adobe Photoshop.
Photoshop allows you to create a 3D model from an image. In this article, I will use the “mesh from depth map” feature to create a Terrian-like model of a rugged terrain ground.
For more information on the basics of Photoshop’s 3D functions, please refer to the following article.
Sample
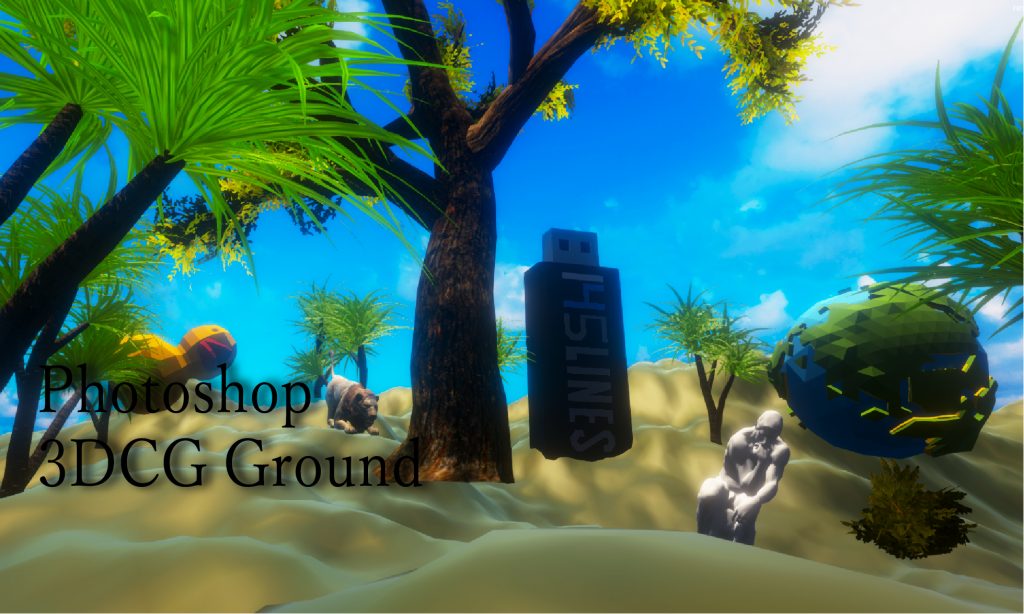
A sample scene with the ground object we are going to create is available to the public.
How to create a 3D model in Photoshop
The software I will use this time is Adobe Photoshop and Unity.
I create a 3D model in Photoshop, import it into Unity, and adjust it.
Start Photoshop
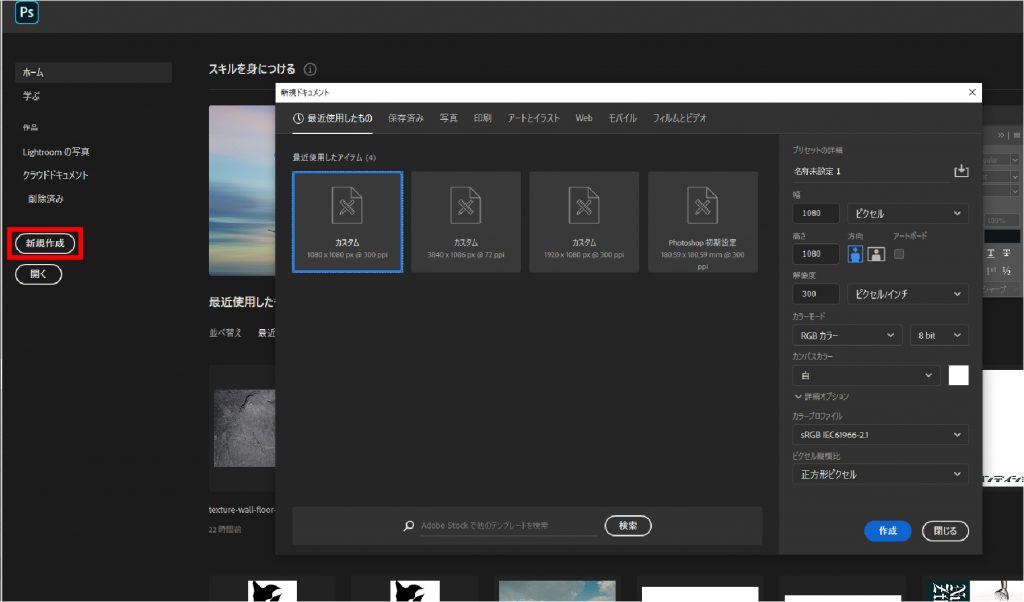
Start Adobe Photoshop. Once you start Photoshop, go to New and prepare a canvas.
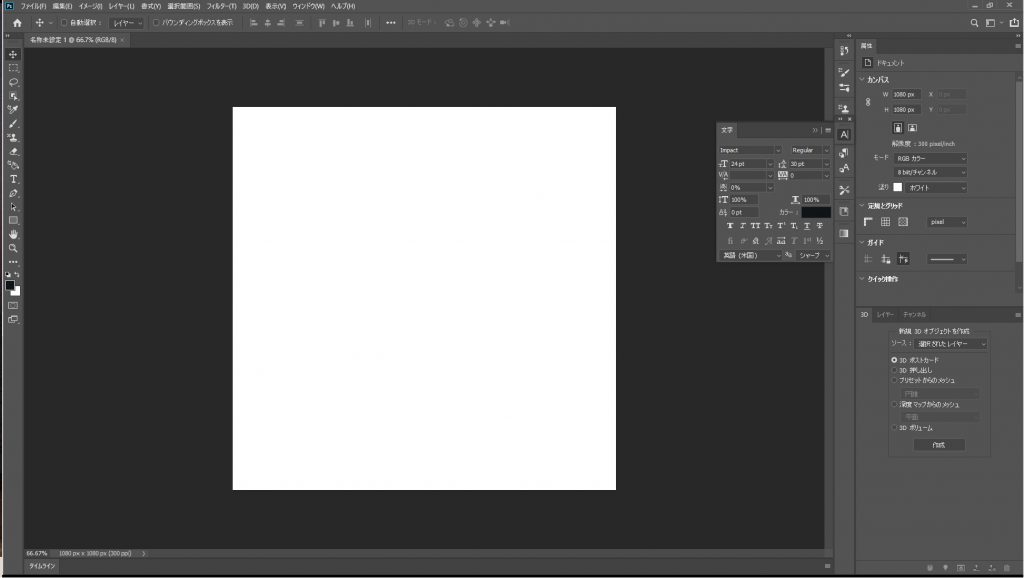
The canvas size is up to you, but in this case, I will set it to 1080*1080 pixels.
Once the canvas is up and running, it’s ready to go.
Drawing a cloud pattern
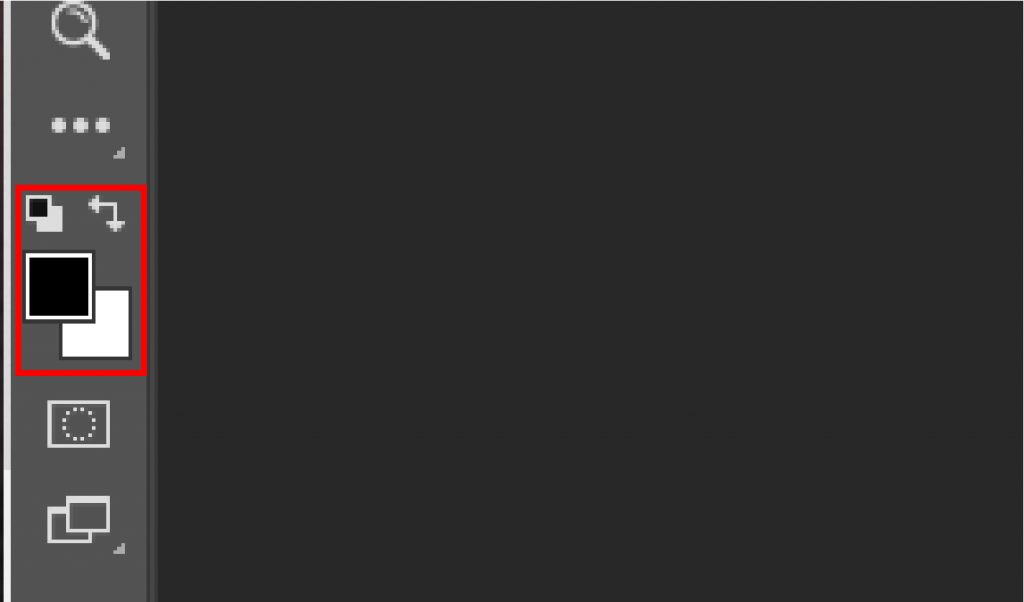
Set the drawing color on the toolbar to black and the background color to white.
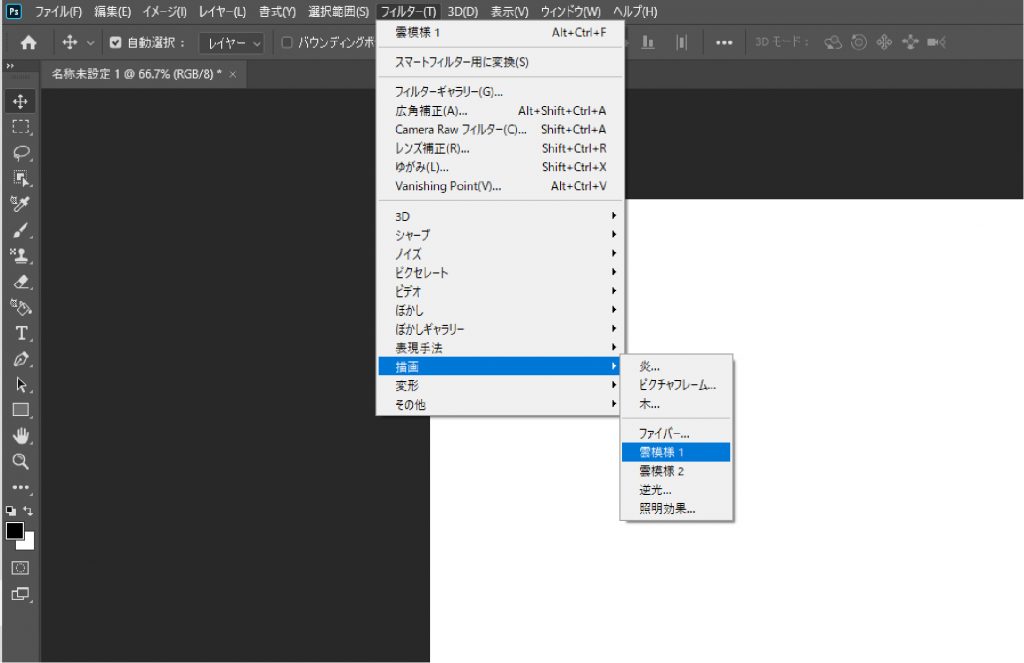
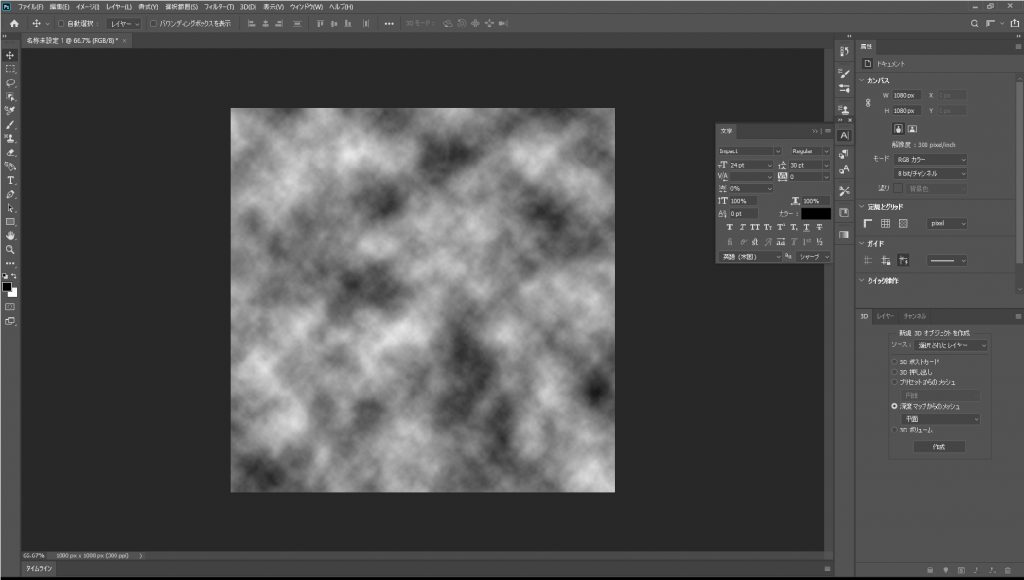
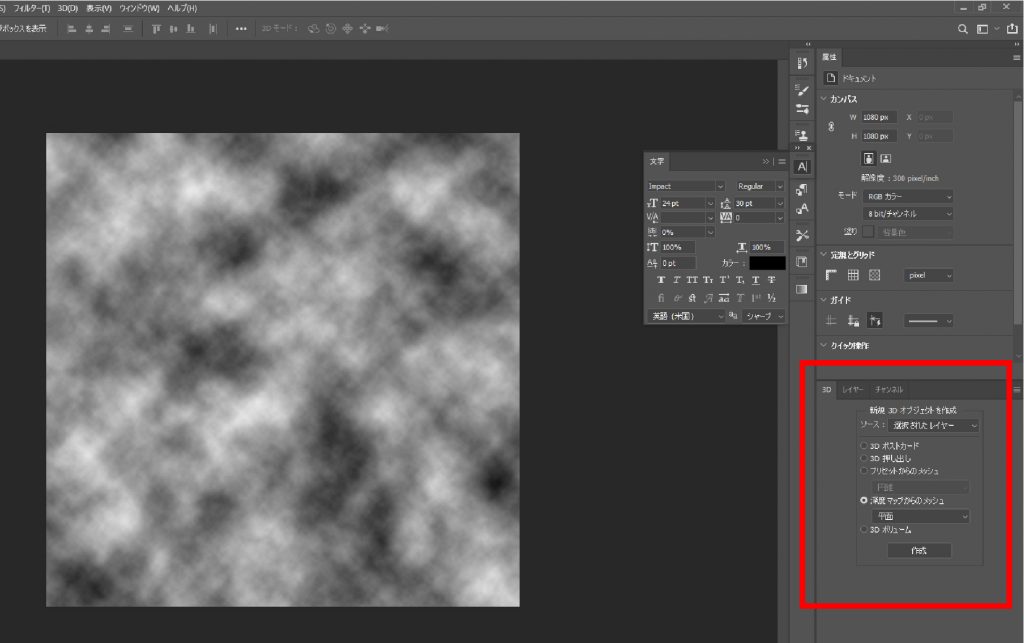
Select Filter > Painting > Clouds 1 from the top menu.
The cloud pattern has been drawn.
Creating a 3D model
Create a 3D model.
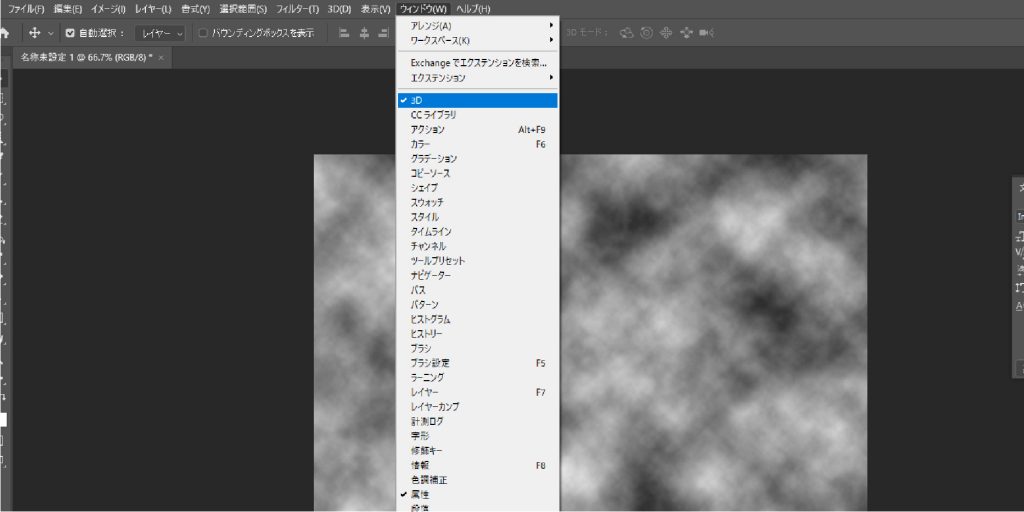
Select “Window [W]>3D” from the menu bar.
The 3D window will be displayed. Let’s place the 3D model in the desired location.
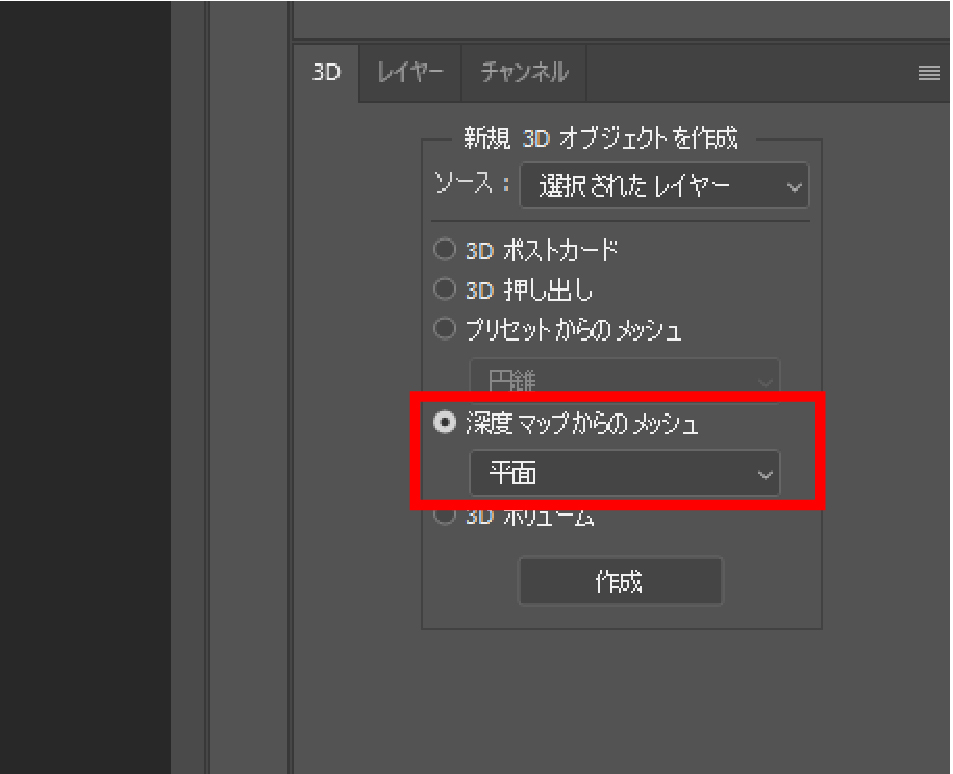
Select “Mesh from Depth Map” under “Create New 3D Object” in the 3D window.
For the menu bar, select “Plane”.
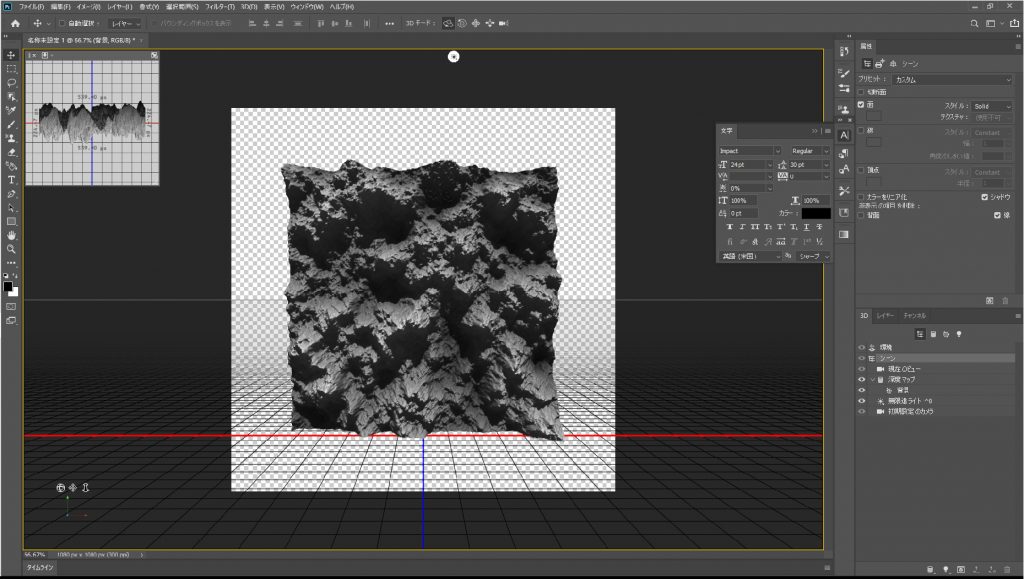
Press Create, and the 3D model will be created.
The 3D model will be created.
The model of the ground is now complete. It’s straightforward to do.
Import it into Unity and adjust it.
Exporting
Export the created 3D model.
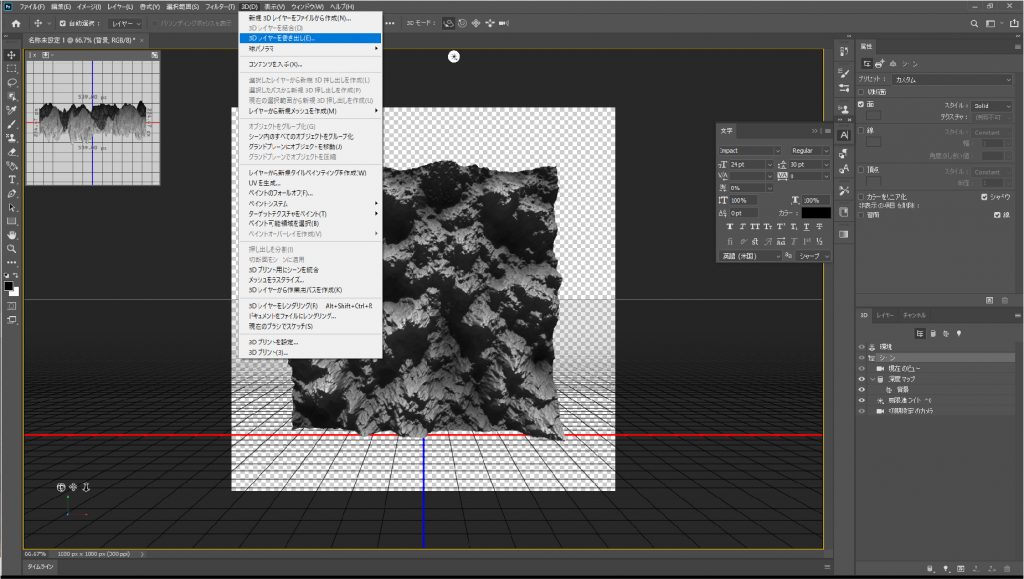
Select “3D > Export 3D Layer” from the top menu.
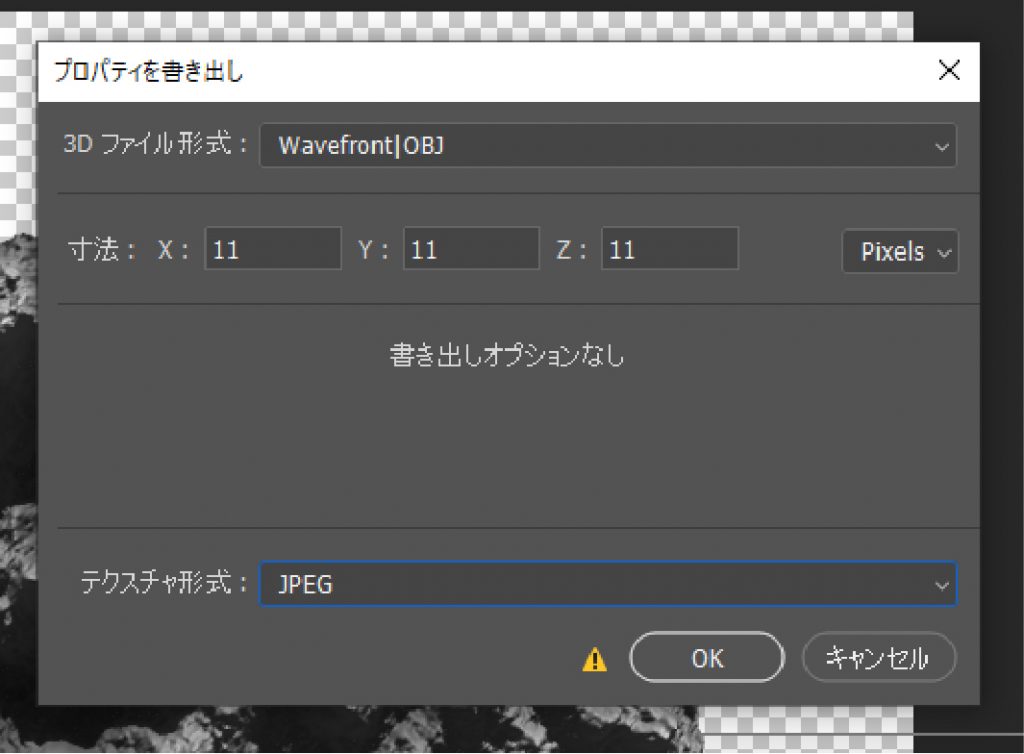
The export window will appear.
We have set the object’s format to OBJ, its size to 11, and its texture to JPEG.
Save the file to an arbitrary location.
The export is now complete.
What is a mesh from a depth map?
Before importing into Unity, I will briefly explain the feature I used in this article, which is “mesh from depth map”.
In Photoshop, the depth map is a function that represents light and dark values as a mesh of unevenness. Lighter colors create a raised mesh (closer to white), and darker colors create a depressed mesh (closer to black).
In a normal extrusion, the depth does not express the unevenness of the surface, it is treated as a texture.
In this way, a unique shape of unevenness can be created depending on the difference between light and dark.
If a gradient represents light and dark, the mesh is created with a diagonal shape.
The cloud pattern is represented by a gradation of light and dark, creating a diagonal mesh that looks like a mountain or the ground.
Let’s use this mesh in Unity to represent the ground.
Import to Unity
Let’s import the 3D model we just created into Unity.
Start a new project and create a scene.
Once the 3D model is imported, it’s time to place it on the scene.
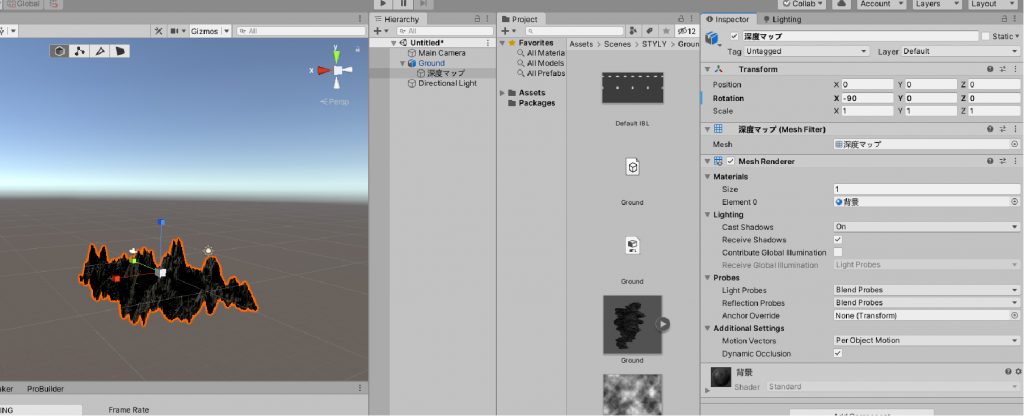
The model is oriented vertically when placed on the scene, so we need to adjust the angle.
Set the Rotation X to -90.
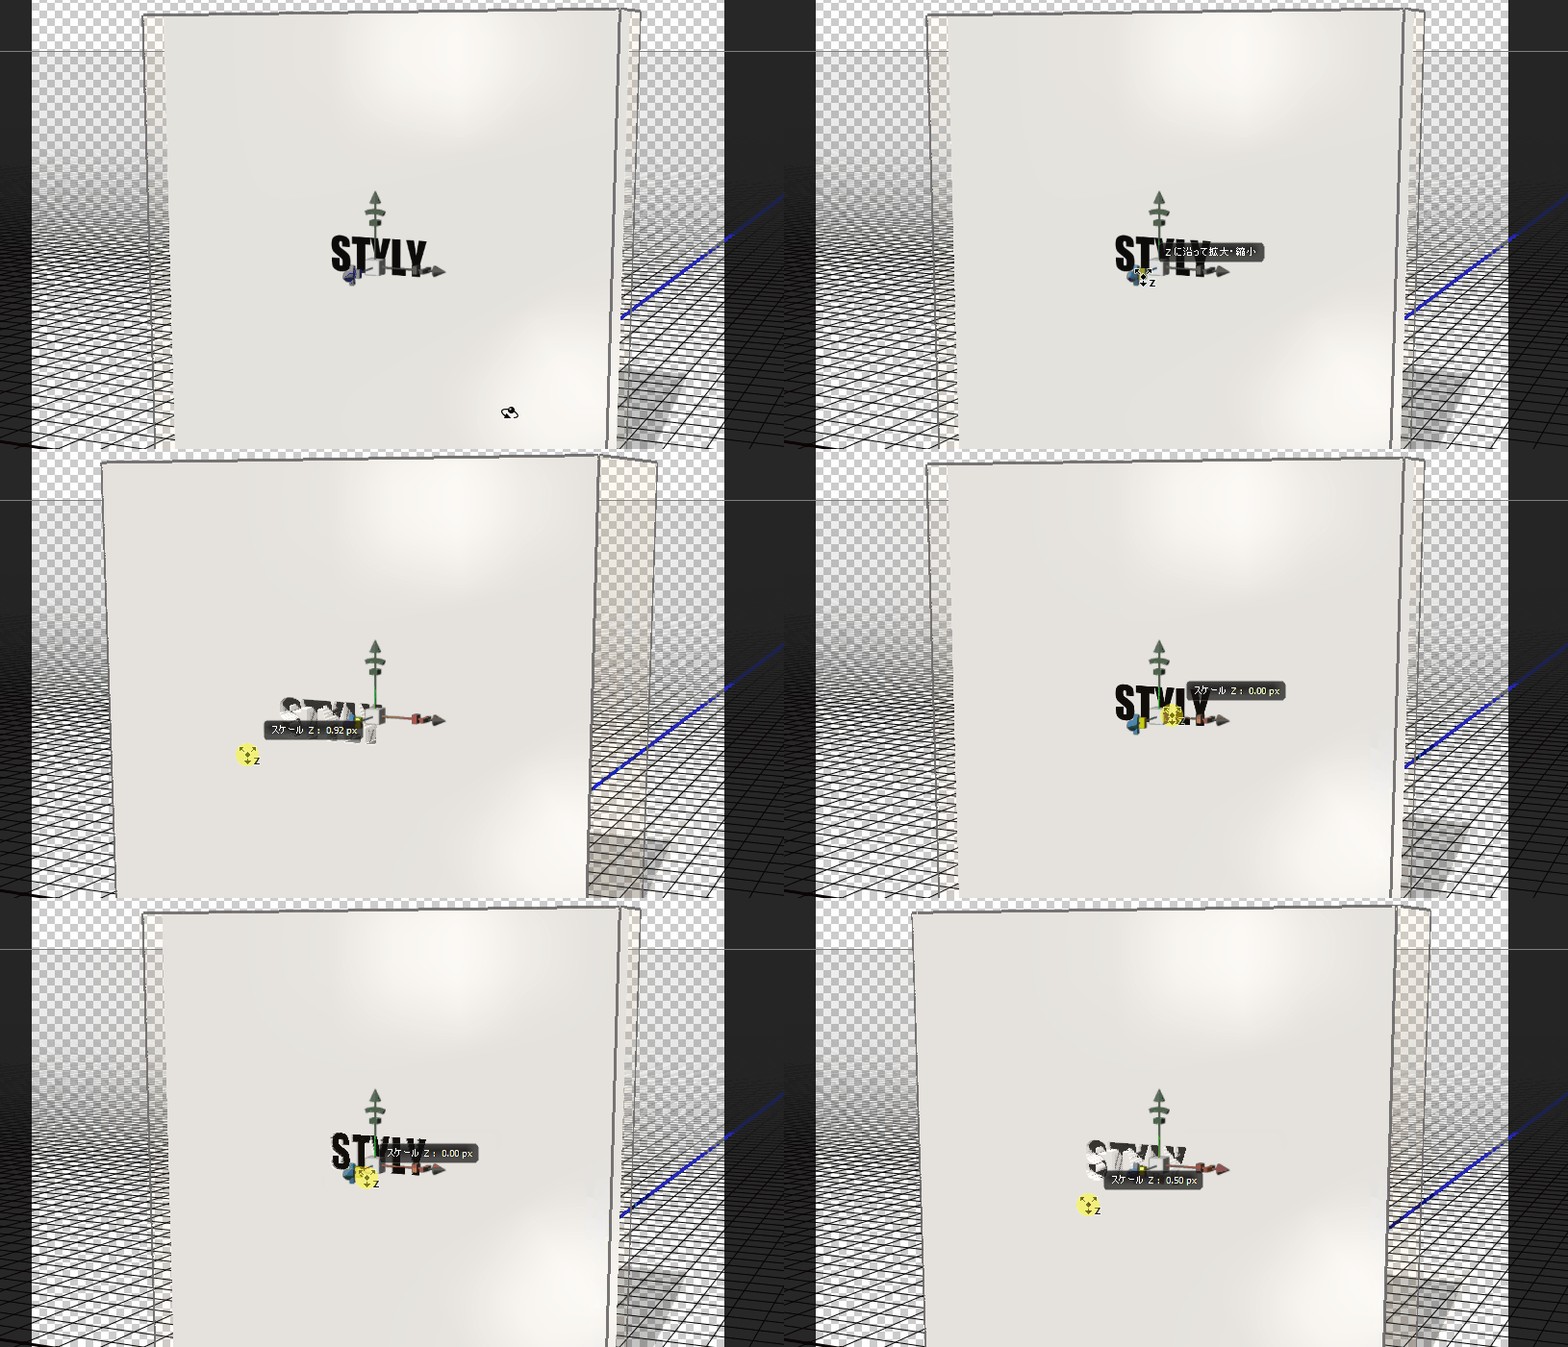
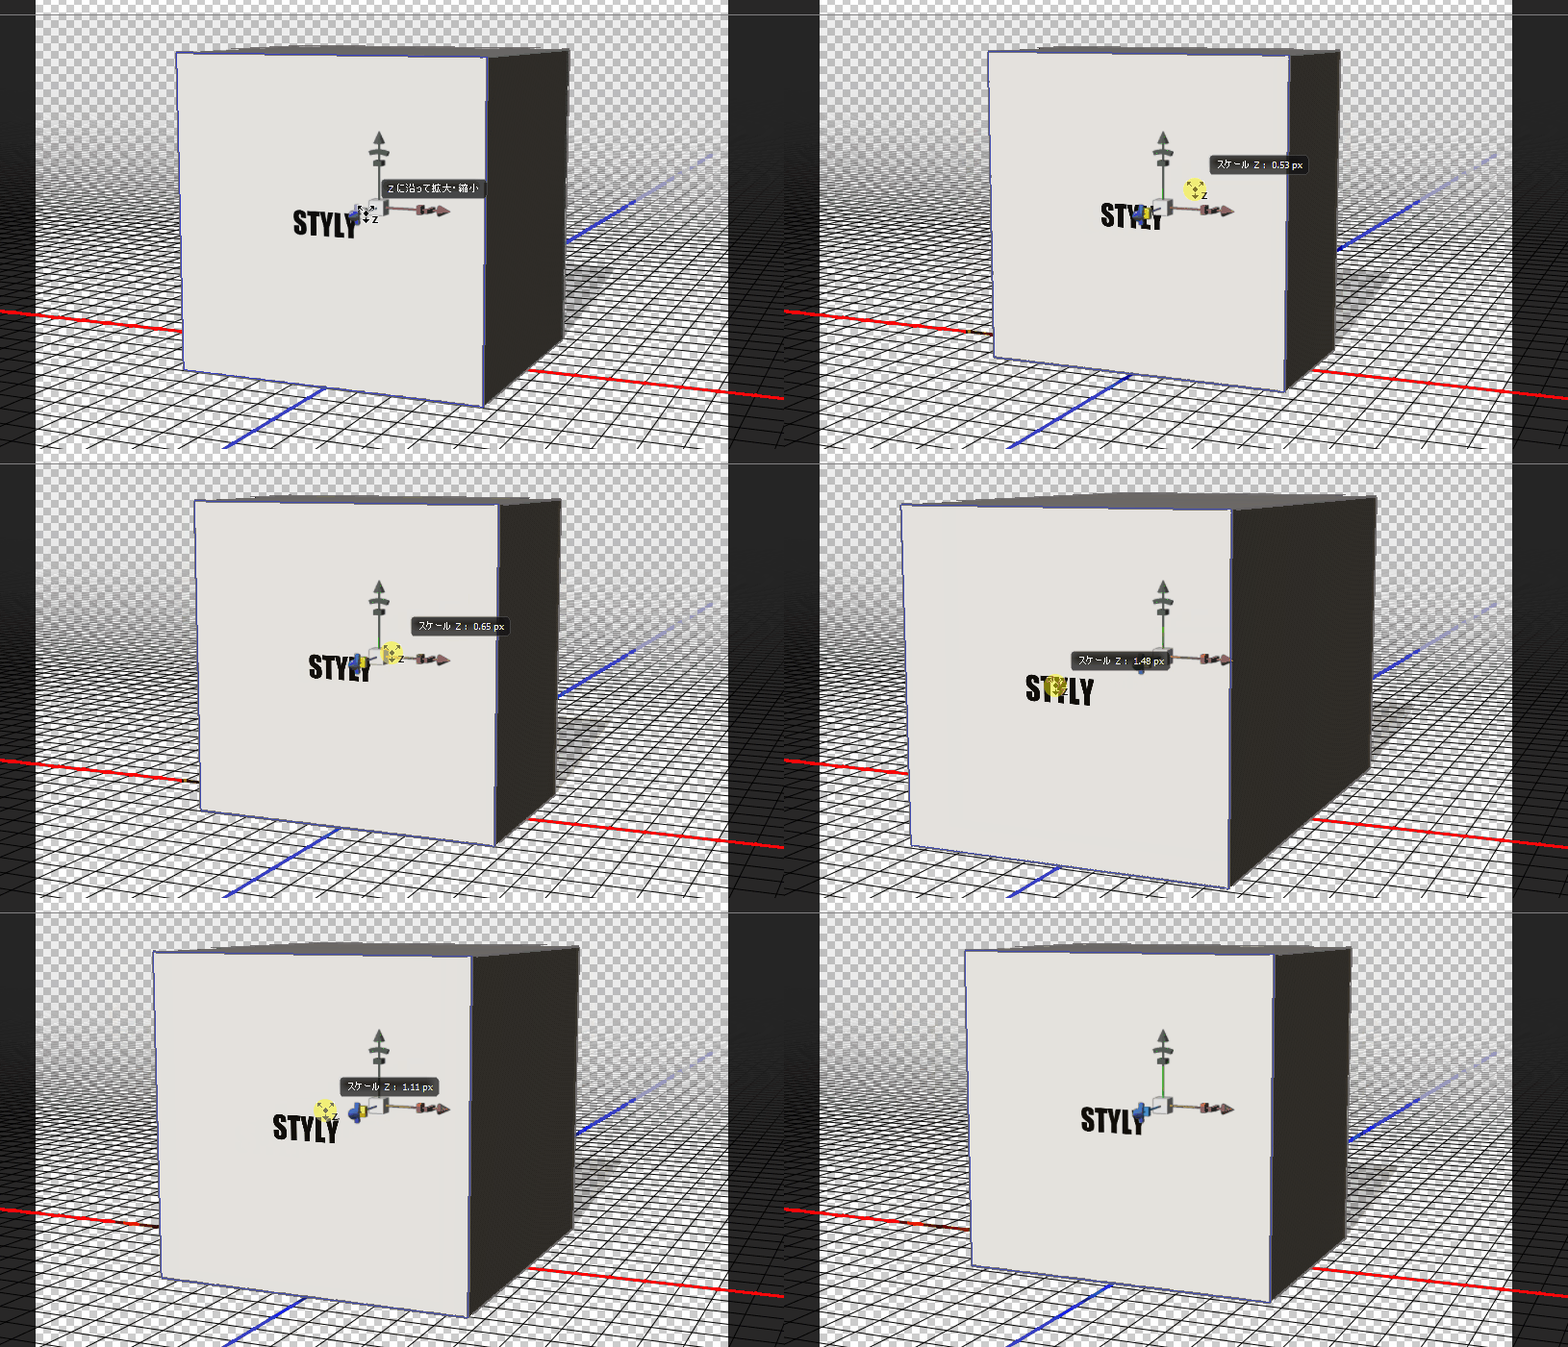
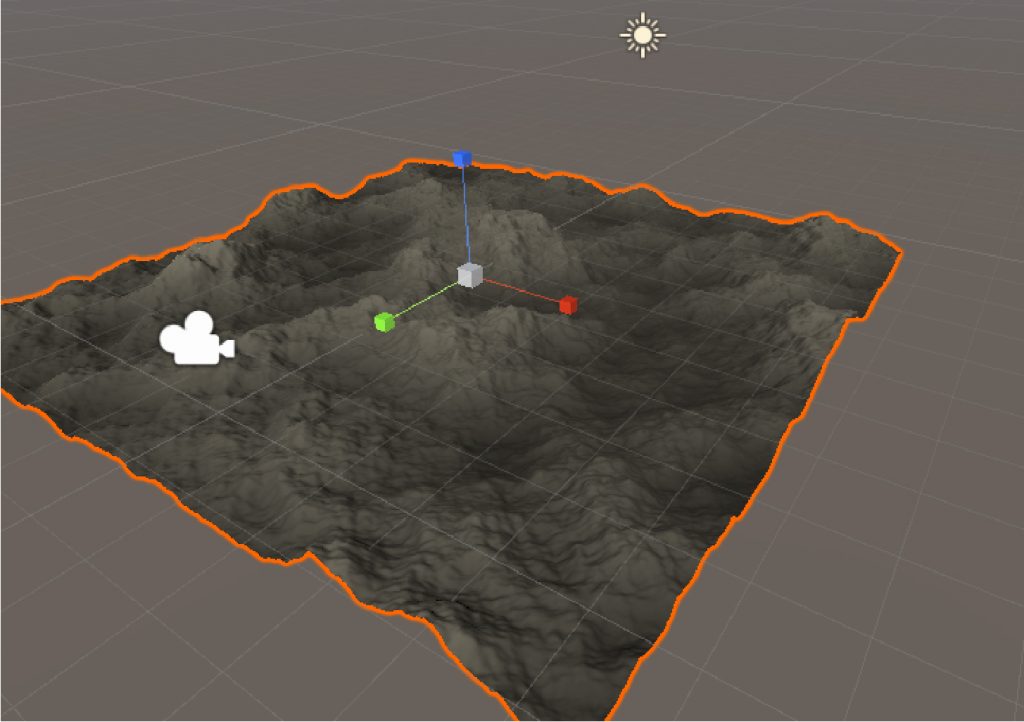
Let’s adjust the Scale because the bumps are large.
If you want to make the bumpy area smaller, you should adjust the Z in Scale.
In this case, we adjusted it as follows.
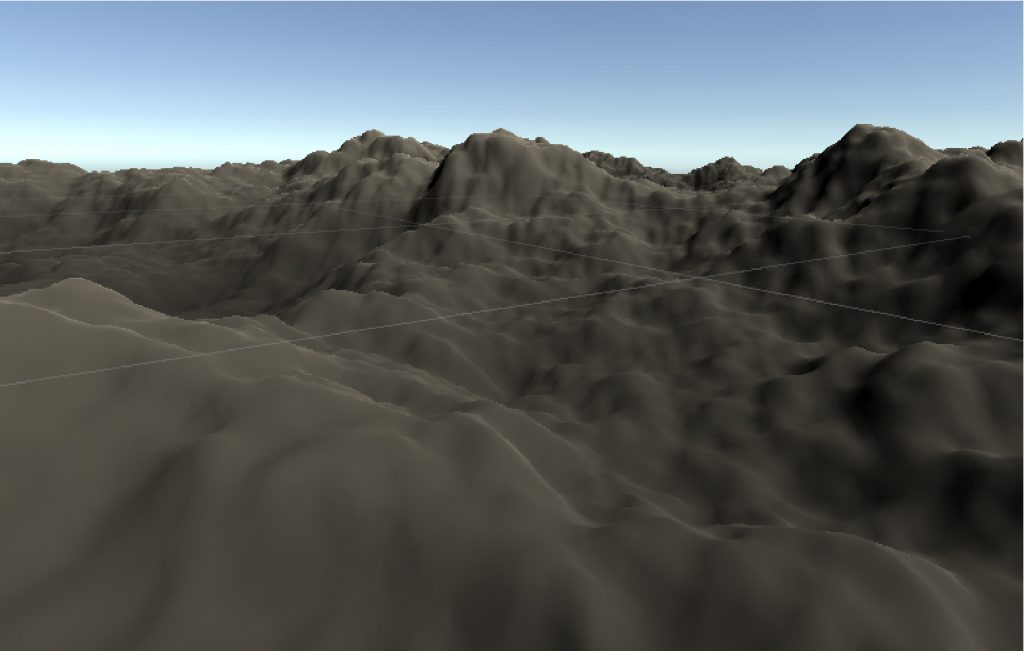
When you get closer, the size will look like this.
The creation of the ground is now completed.
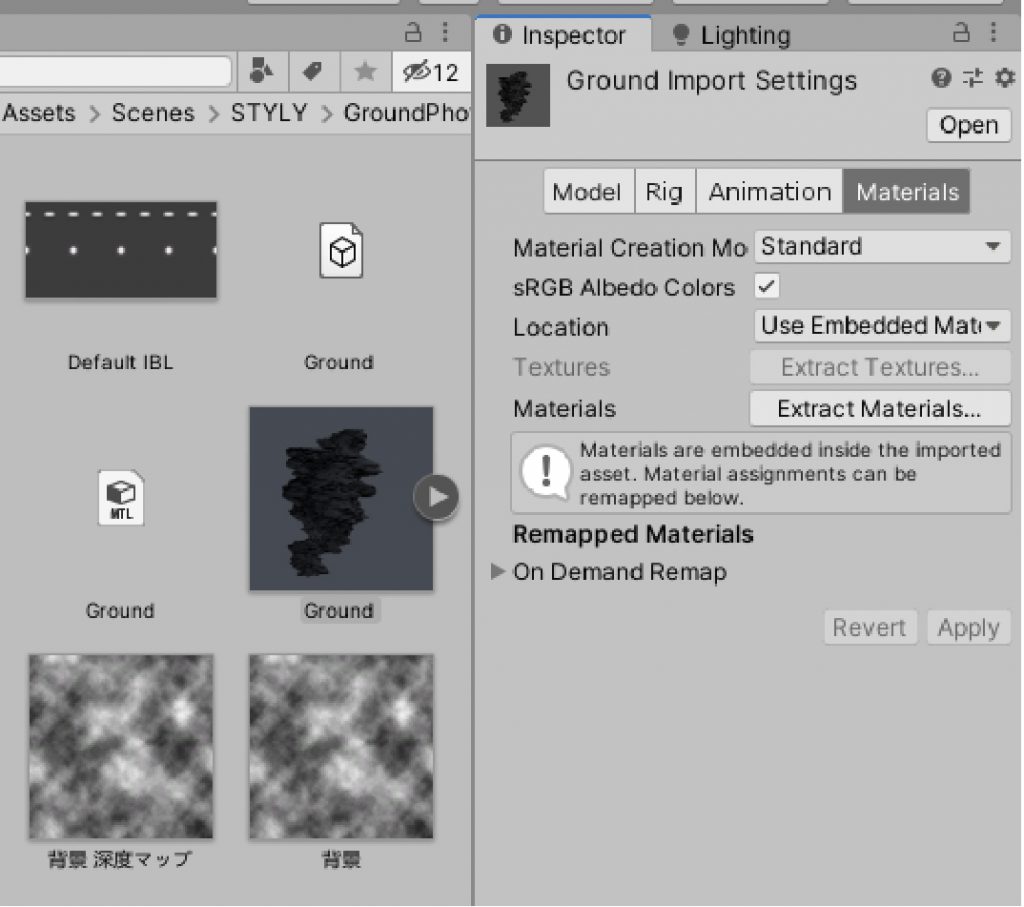
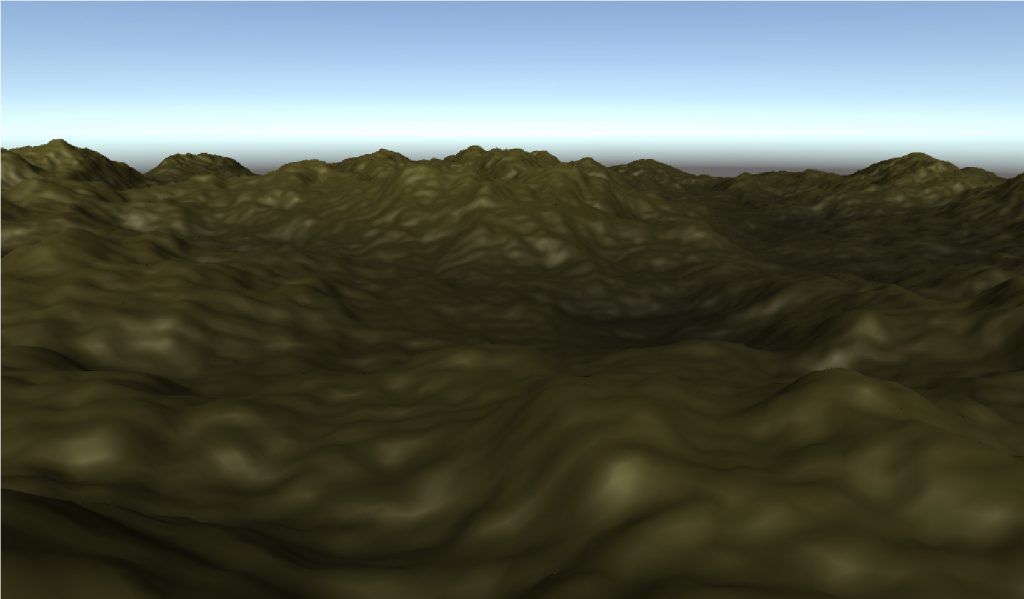
Adjust the materials to make it more expressive.
Upload to STYLY
Upload your 3D model to STYLY, and you’re done.
How to create an account
How to upload to STYLY
How to upload to STYLY from Unity
