This article is a summary of the Playmaker articles from STYLY Magazine.
I sorted topics by what you can do with Playmaker, so I think it will become handy for beginners.
What is Playmaker?
Playmaker is a visual scripting tool made for Unity.
The user can create logics without writing a single line of code, and doesn’t need program knowledge to create gimicks.
(Example: Camera movement, interactive objects, buttons to move the player)
Playmaker is not free, and is sold at the Unity Asset Store for $65.
The price gets a discount during asset store sales, so you could buy it if the timing is right.
STYLY and Playmaker Collaboration
STYLY supports importation of objects created using Playmaker to STYLY.
You can even create simple games that work on STYLY.
STYLY supports all the basic functions of Unity and (most) basic functions of Playmaker, so you can create a scene using these.
Examples of scenes you can create using Playmaker
REM – Moving Camera
dot.line- – Spawning objects at random
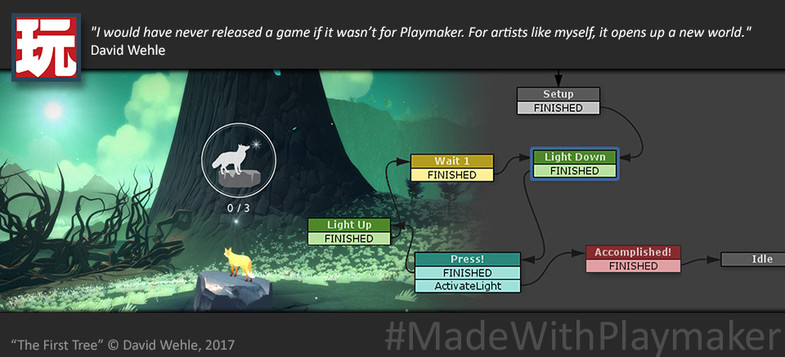
Sensor light – Creating a light that lights up when approached
How to install Playmaker
Playmaker is a paid tool sold within the Unity Asset Store.
To learn about how to purchase and how to install Playmaker, please refer to the following article.
Basic actions of Playmaker
Coming Soon…
What you can do in STYLY with Playmaker
By using Playmaker, you can move a camera, create interactions, and create many gimicks for STYLY.
I sorted Playmaker articles from the STYLY Magazine by category.
Accessing the camera and controller
By using an action called Find Game Object, you can access to the camera and controller. This is the most basic action used to create interactive contents using Playmaker.
Accessing the camera and controller
To access the camera and controller, you need to find the object with “Find Game Object”, and store it in a variable.
| Access Target | How to access |
| Access the camera | Change the With Tag to “Main Camera” by using “Find Game Object”, and store it as a variable |
| Access the right controller | Change the Object Name to “Controller (right)” by using “Find Game Object”, and store it as a variable |
| Access the left controller | Change the Object Name to “Controller (left)” by using “Find Game Object”, and store it as a variable |
Change the controller model to a different model
You can access the controller, and change the controller model to a different one.
The details are explained in this article.

Moving
Camera movement

Camera movement scene
By combining Playmaker and a free asset called iTween, you can easily control the movement of the camera. You need to set the A point and B point, and set the speed of the movement.
This article explains the details of how to move the camera.
Warping a Player
By using Playmaker, you can create an asset to warp your position to a certain point. You can create a function so that you can set the positions within the STYLY Editor.
This article explains the details of how to warp a player.
![Unity/PlayMaker] How to warp the player’s viewpoint](https://styly.cc/wp-content/uploads/2023/08/image2-160x160.gif)
Controller
Adding a collider to the controller
Example scene where objects fly away when touched
By adding a collider to the controller, you can create an scene in where you can touch objects. For example, you can create an scene that when you touch a floating object, the object flies away due to physics.
This article explains the details on how to add colliders to controllers.
By using the next global events, you can detect if the controller buttons are pressed or not.
You can use these events by creating them in the Playmaker Editor Events list, and placing them within the transitions.Be aware that the name has to be precise, or it will not run properly
| Controller movement | Left Controller | Right Controller |
| Trigger pulled | Global_TriggerPressDown_L | Global_TriggerPressDown_R |
| Trigger released | Global_TriggerPressUp_L | Global_TriggerPressUp_R |
| Grip button pulled | Global_GripPressDown_L | Global_GripPressDown_R |
| Grip button released | Global_GripPressUp_L | Global_GripPressUp_R |
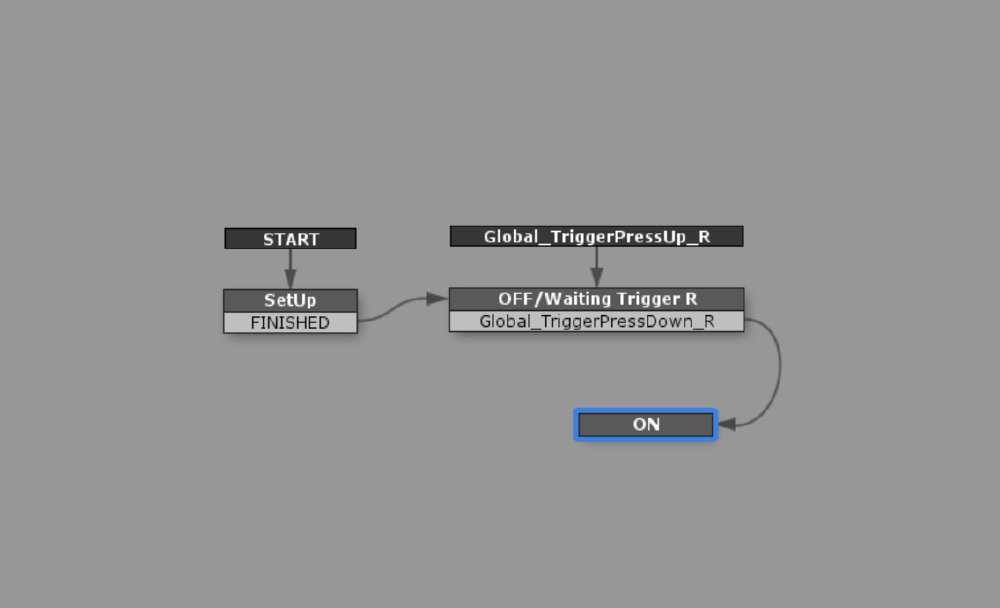
Example of a transition that uses global events
This article explains the details of how to detect controller button actions
Make a object grabbable
Torch
By learning how to make objects grabbable, you can implement items such as torches and guns. It will help you to create original scenes.
This article explains the details of how to make objects grabbable.
Access an faraway object with Raycast
Gimmick to pull a faraway object to your hand
By using an action called Raycast, you can create a gimmick where you can select faraway objects. You can use this action to many uses.
This article explains how to create a Gimmick to pull a faraway object to your hand using Raycast.
Interaction
Touch Interaction
Touch interactions are very effective when you aim to create interactive content. By using a global event called Trigger Enter, you can create a transition for connecting a collide trigger to the next event.
This article explains the details on how to use Trigger Enter.
Distance triggered Interaction
Sensor lights that light up when approached
By using the Get Distance action, you can figure out the distance between two objects. By using this action, you can create a distance triggered interaction. For example, you could create an automatic door, sensor lights, or birds that fly away when approached.
This article explains the details on how to use Get Distance.
Others
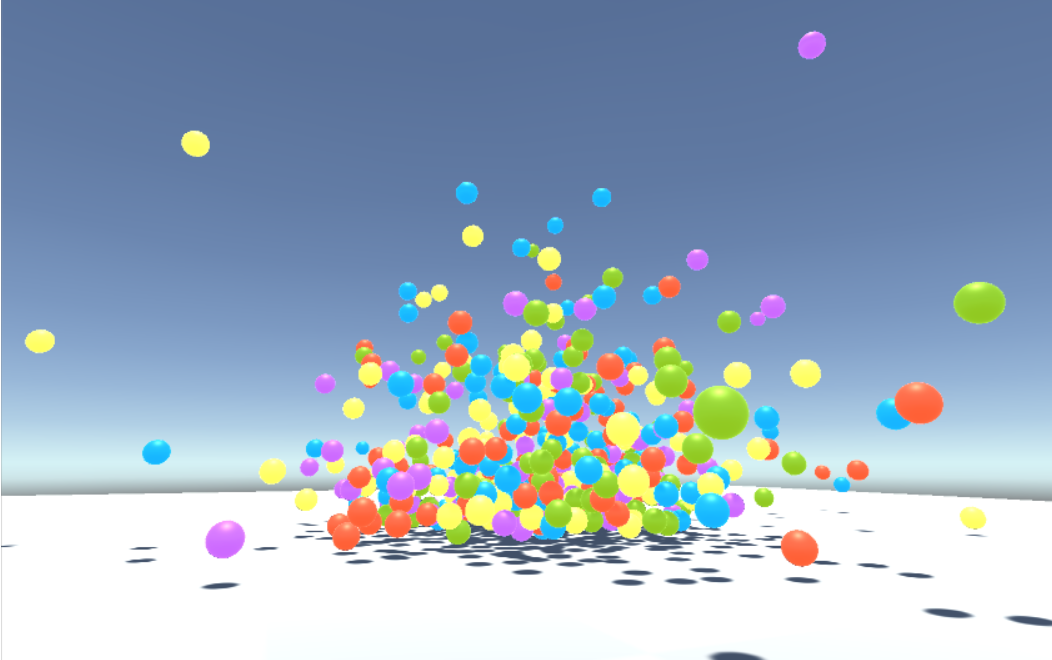
Spawn an object at a random position
Example scene for randomly generated objects
The function to generate objects randomly is useful for many scenes. For example, you could create a scene in where balls bounce around such as in the example above, or you could create randomly spawning enemies that chase the player.
This article explains the details on how to generate objects randomly.
Create a slow motion scene
Scene that uses slow motion
By using the Scale Time action, you can change the speed of time within your scene. You could use it for stage effects, and interactive content.
This article explains the details on how to use Scale Time.
Post-Processing settings
Use of Post Processing Stack
In STYLY, you can use the filter function to change the atmosphere of the scene. But if you want to get into depth, there may be times when you need to change the Post-Processing settings by yourself. You can use original PostProcessing Profiles by using Playmaker.
This article explains the details for how to use original PostProcessing Profiles
Creating complex scenes such as games
STYLY Magazine also introduces how to create complex scenes such as games using Playmaker.
Throw an object using a controller
Experience Archery in STYLY
Create a shooting game in STYLY
Create a soldiers game in STYLY
Upload to STYLY
You can upload objects created by Playmaker by creating a prefab from the object.
This article explains the details for how to upload assets from Unity to STYLY.

Conclusion
How was my article?
By using Playmaker, you can create a rich VR experience in STYLY.
I hope you create a scene with lots of interactions by referring to this article.