Let’s create the high-poly mesh of the casket modelled in Maya.
I will show how to add realistic details in ZBrush without too much effort.
Make the high-poly mesh of the casket
Unfold the UV mapping of the casket created in Maya and export it as an obj file.
Import it in ZBrush.
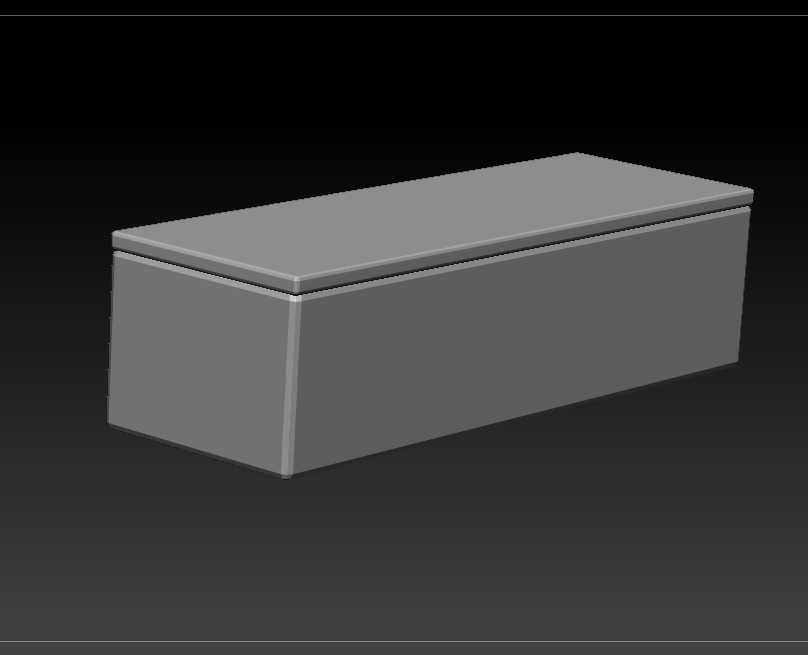
As we did in the previous article, apply ‘Divide’ to divide the polygons.
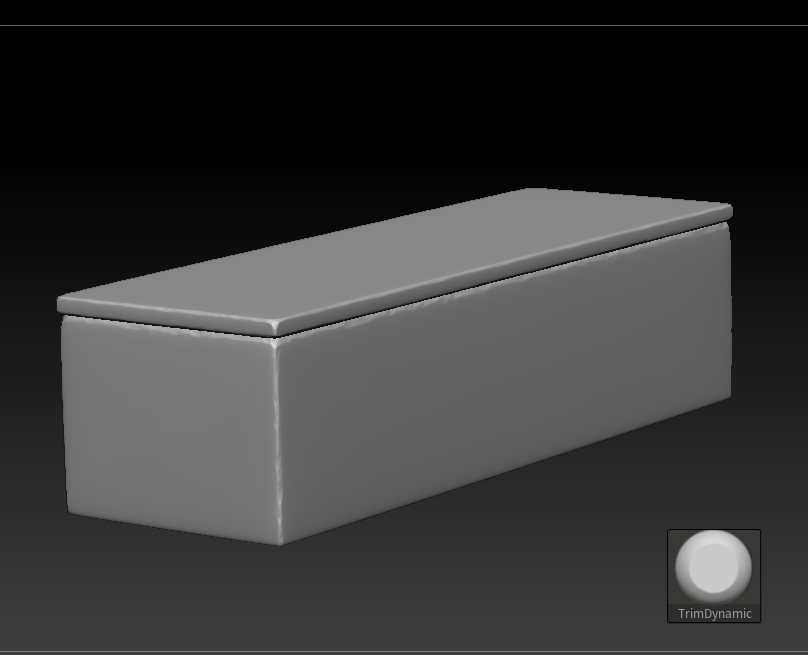
Once they have been divided into a relevant size, squash the edges with ‘TrimDynamic’.
Since you can adjust them later, sculpt them in a bold manner while checking the whole balance.
Make a shape feature by translation and scaling tool
Make a recess on the side face of the casket.
Firstly, mask where you want to make a recess.
I use the ‘MaskRect’ brush here.
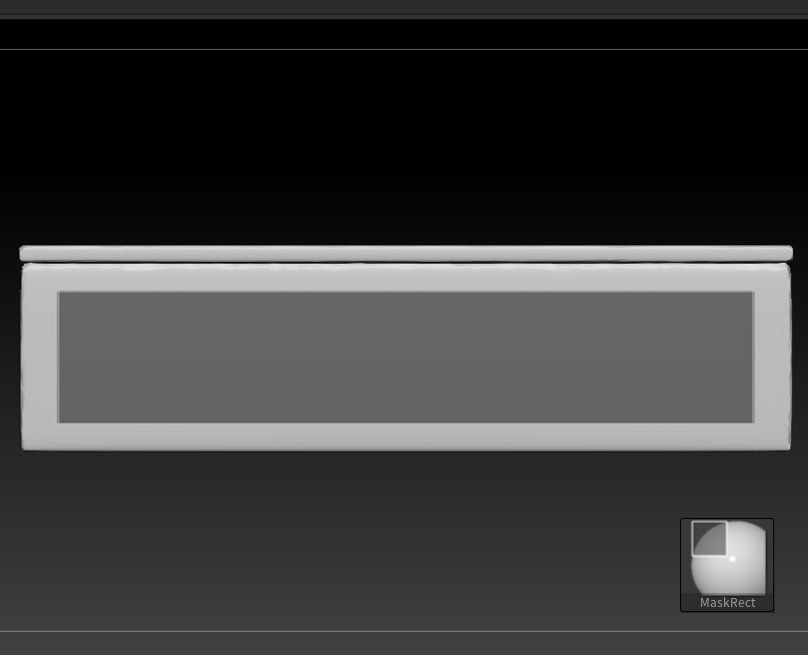
Now rectangular masks are set on both sides of the casket.
Next, invert the masks.
You can invert the masks by clicking a blank space with the Ctrl key held down.
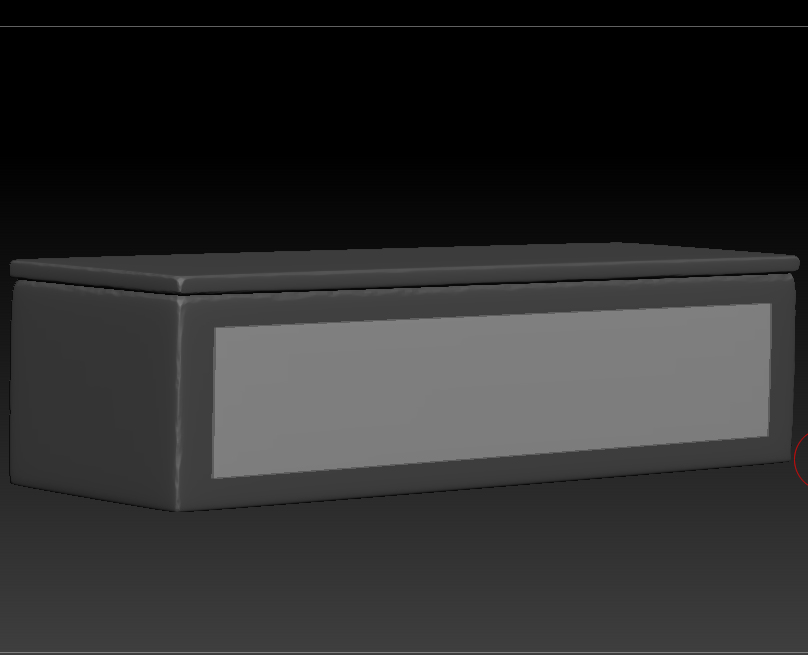
Now, you can sculpt just where you want to add recesses.
This time, instead of sculpting, I use a tool similar to the ‘Extrude’ tool in Maya.
As we also add the same recesses on the inside faces, I scale down the unmasked faces with the ‘Scale’ tool.
Stop the scaling at a relevant point.
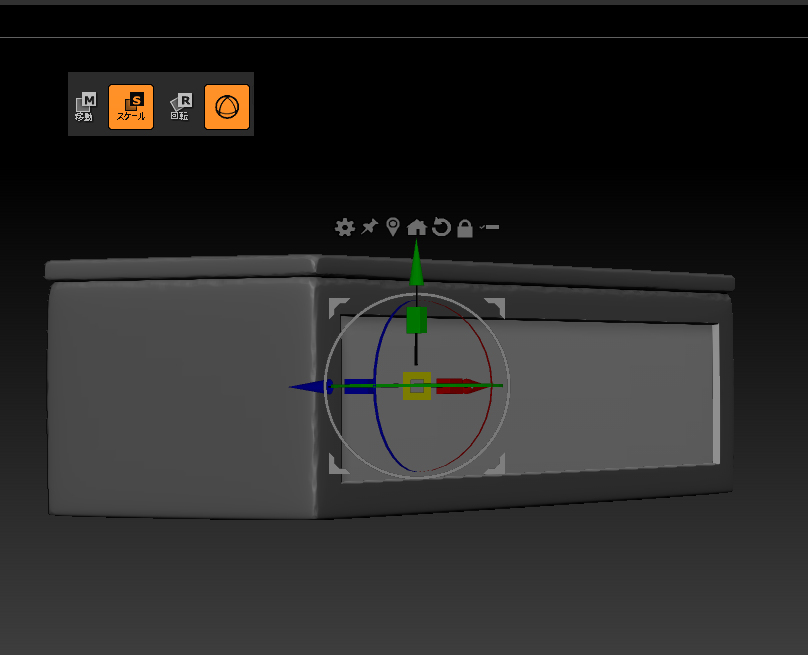
If you want to have recesses on the outer faces only, you could push them in with the ‘translation’ tool.
This kind of operation is unique to ZBrush.
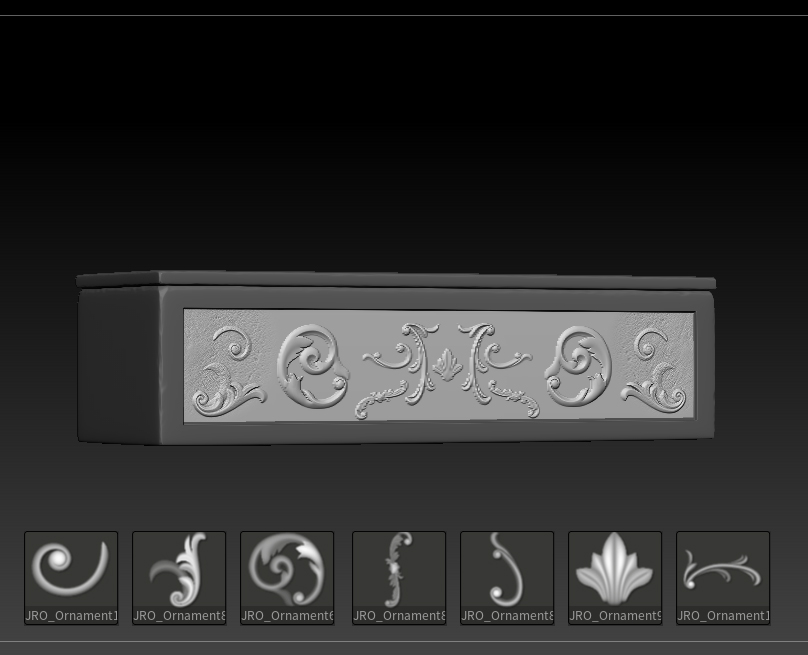
Sculpt ornament
Since it is a special casket with treasure in it, let’s add ornaments to make it look more luxurious.
We use greyscale images here again.
There are a lot of greyscale images that can be used in ZBrush, Substance Painter and so on, for free or not free.
You have to make the one if there isn’t what you want. Anyway, in various situations, it would be handy to have a lot of versatile image materials.
Although the brushes shown above are not free. But I recommend them as they are very cheap.
In the same way, sculpt ornament on other faces.
I put the logo of STYLY on the lid again!
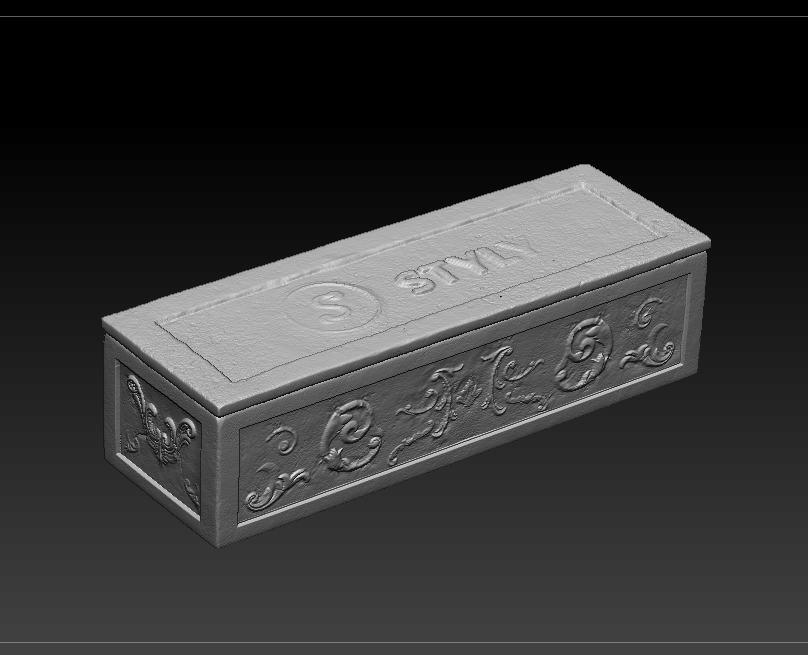
Although it’s not so easy to make a high-poly mesh, I love this task as I find it fun to see the details being built up one after another.
Those tasks are preparations for baking to create normal maps later.
As in VR software, to process 3D data in real time, it’s fairly important to make clean normal maps.
For that reason, modelling a proper high-poly mesh improves the finishing work.