This article shows how to create UV textures using the UV editing function of CLO, a 3D CAD software for apparel, and use them in other 3D software.
Using CLO’s UV texture creation and expansion functionality, you can easily export textures and expand UVs.
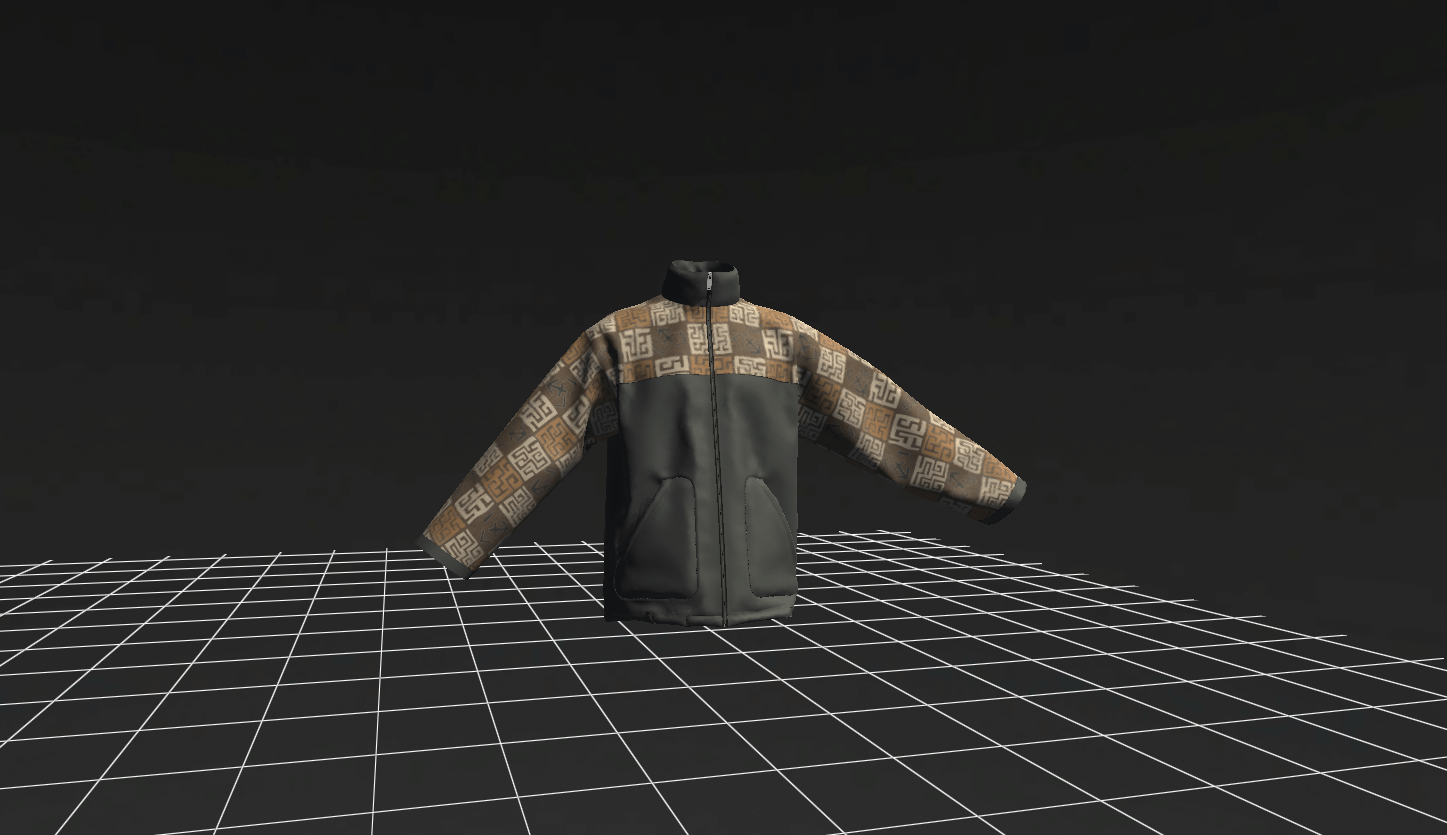
Completion sample
Preliminary Preparation
It is recommended to activate the “Node Wrangler” add-on before using UV textures created with CLO in Blender.
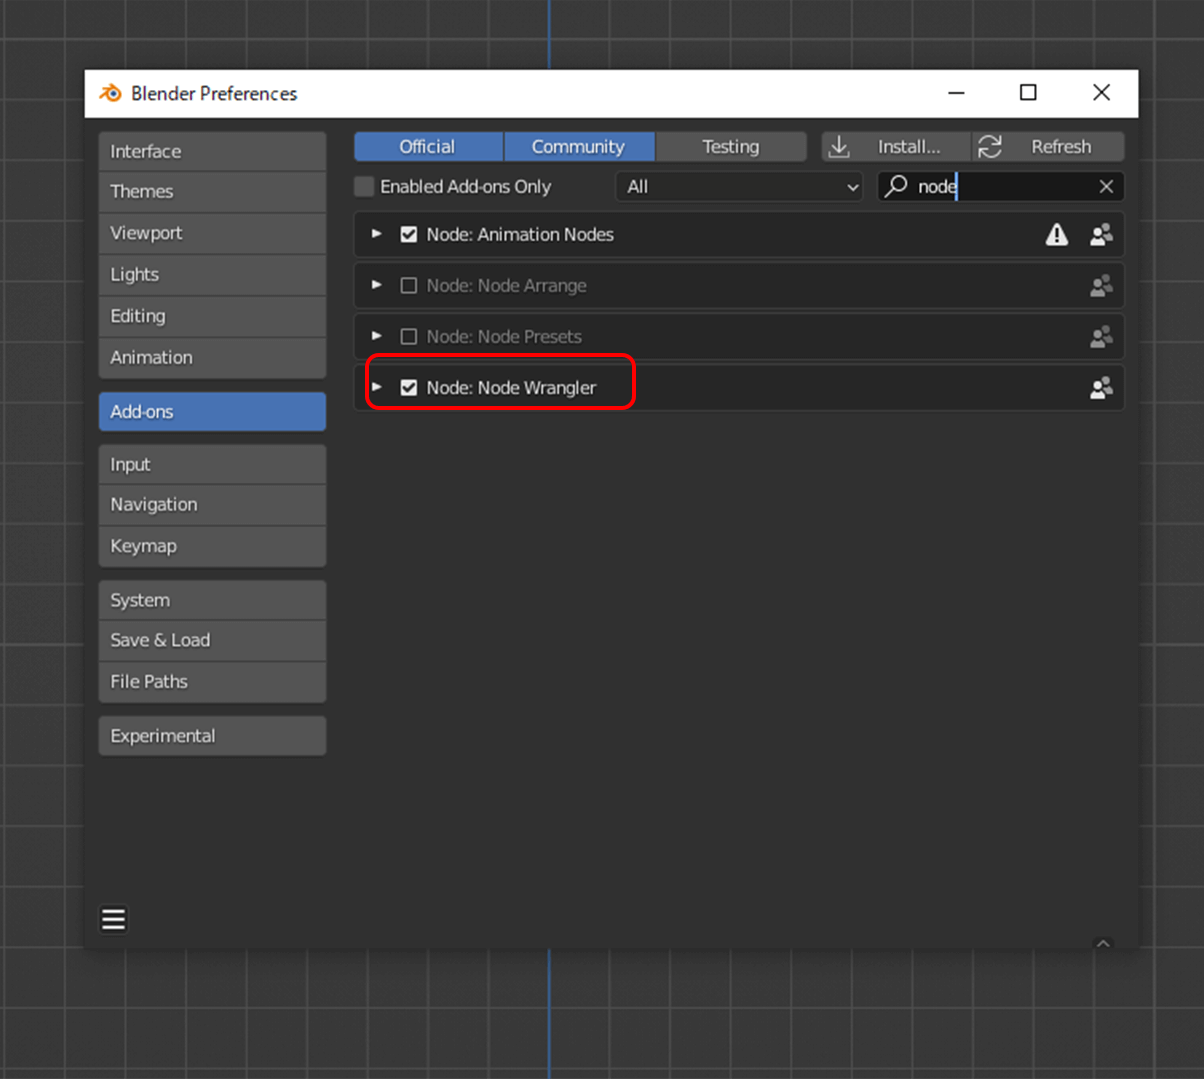
Node Wrangler addon
Change the normal blending to “UDN” in the CLO user settings.
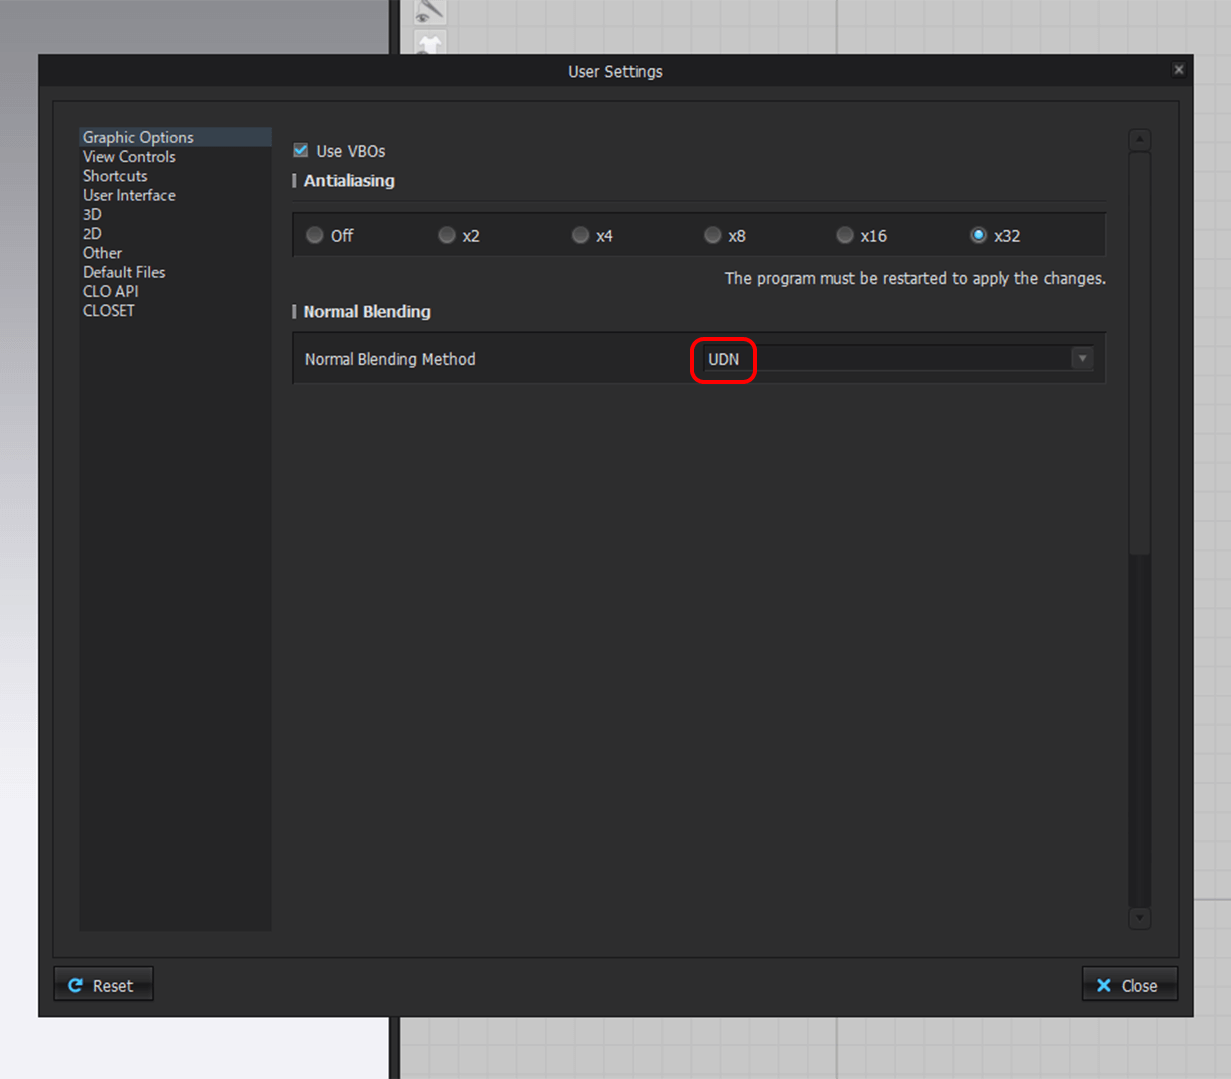
Change normal blending to UDN
Place the pattern in the UV EDITOR
Open the “UV EDITOR” tab from the Mode tab in the upper right corner of the screen.
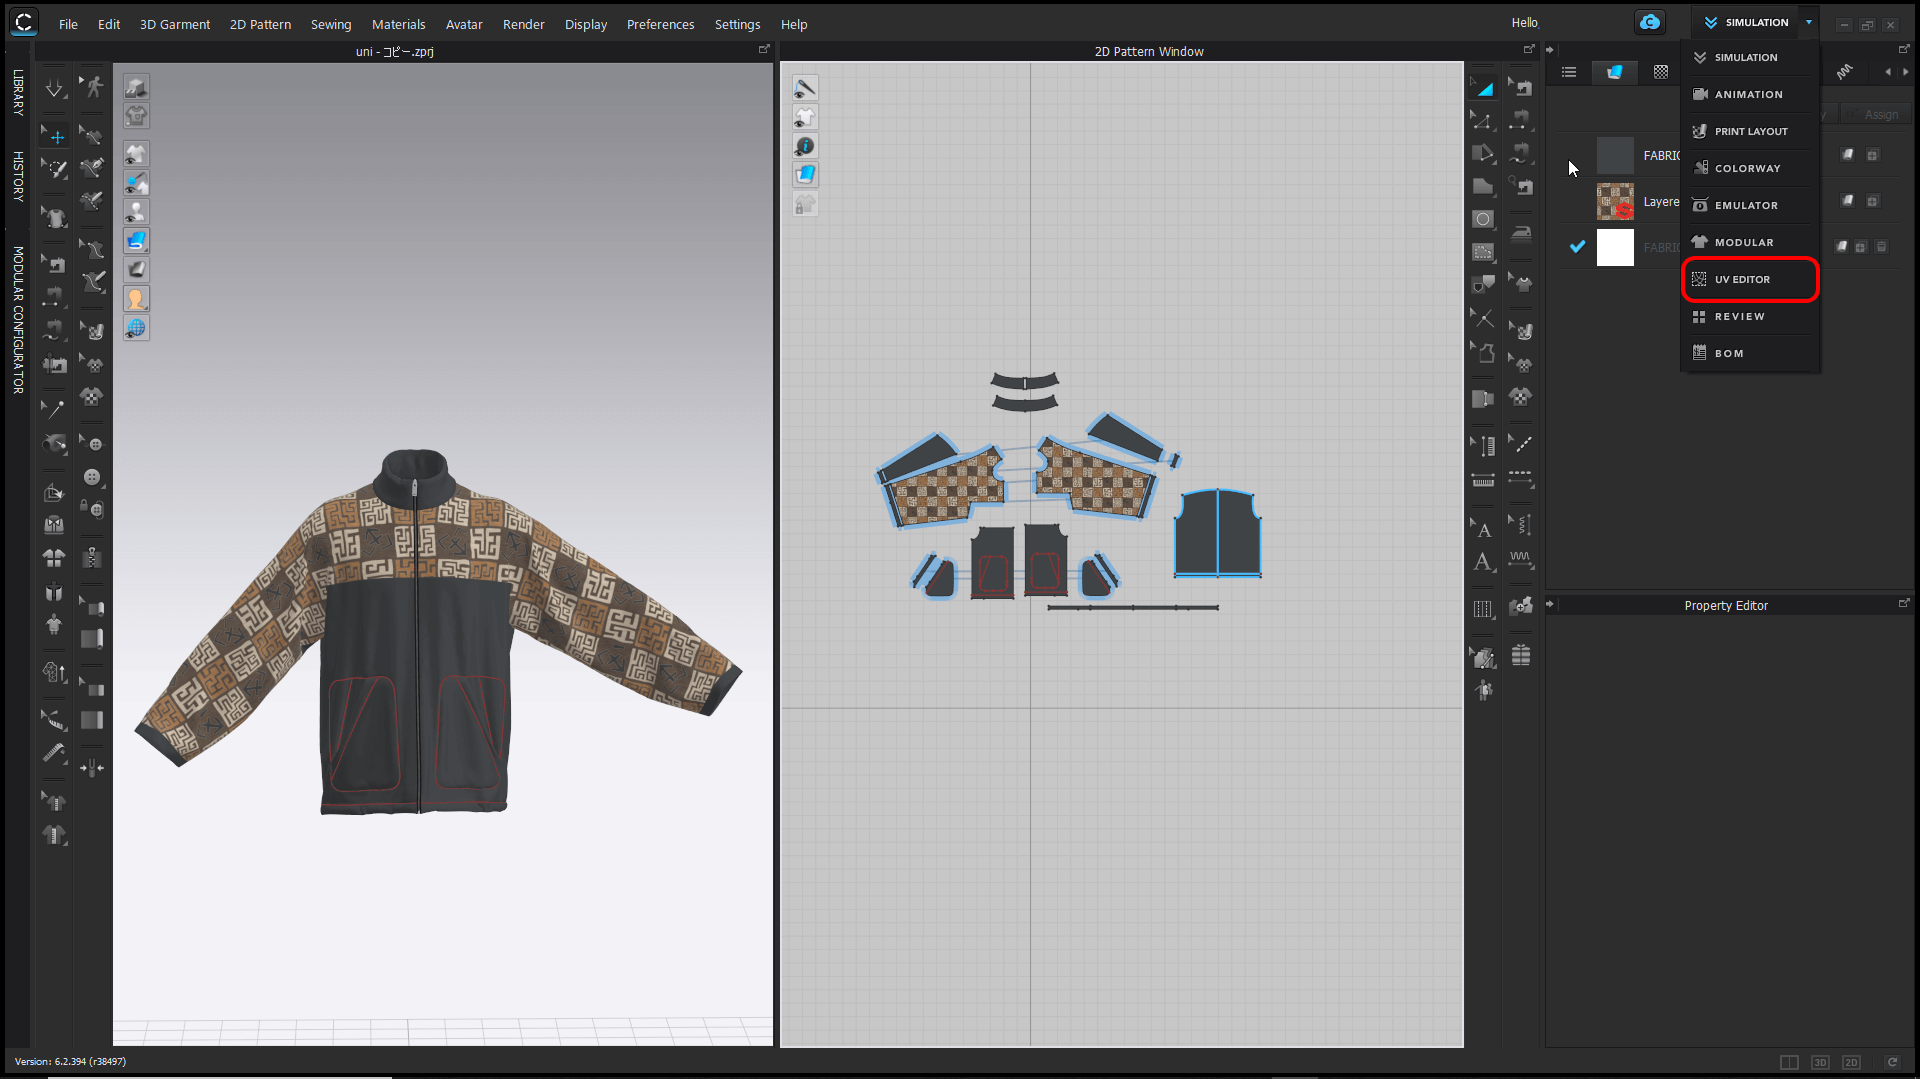
Select UV EDITOR
Right-click on the screen and select UV Initialize to 2D placement status.
The pattern will then be placed in the same way as on the 2D screen, so place the pattern so that it is as rectangular as possible.
Place the patterns manually to avoid overlapping of patterns such as fasteners.
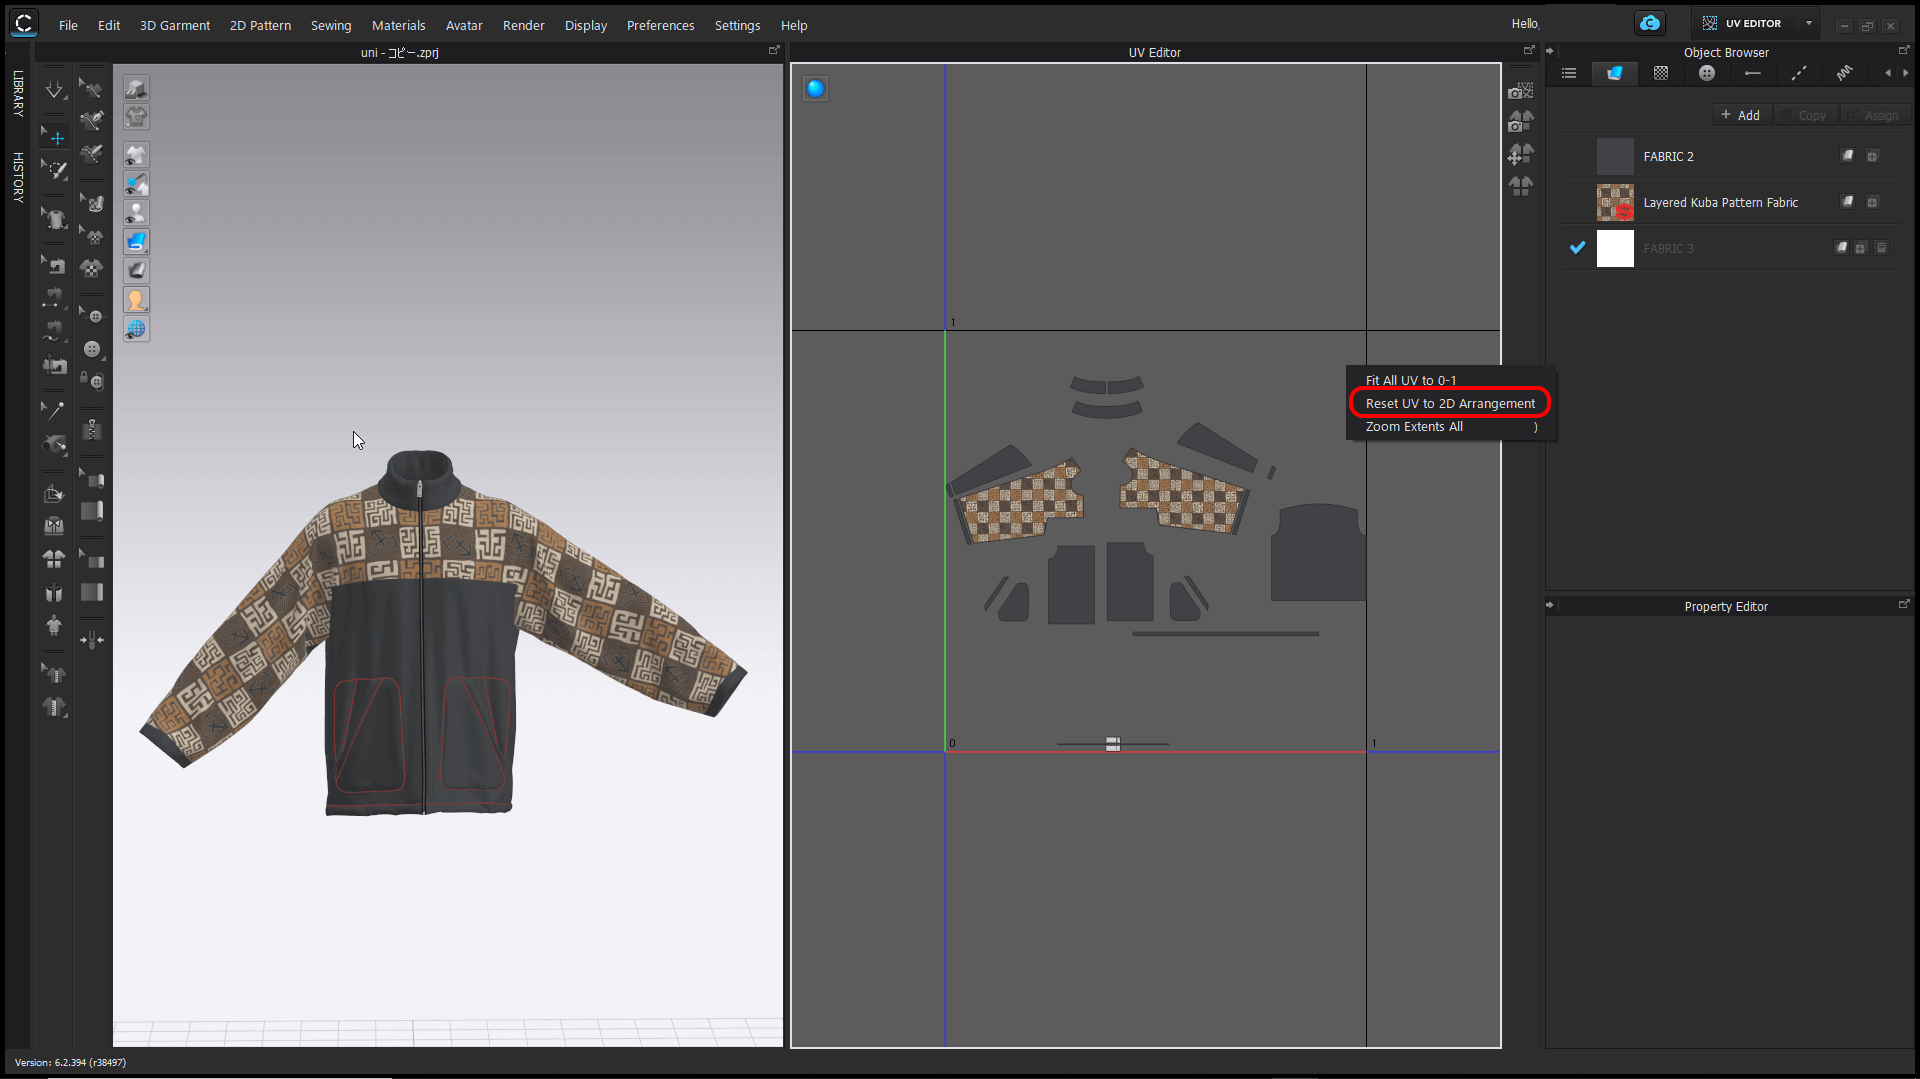
Change to 2D pattern placement
Once placed, right-click on the screen and select “Reposition All UVs to 0-1.
The pattern will then be placed nicely.
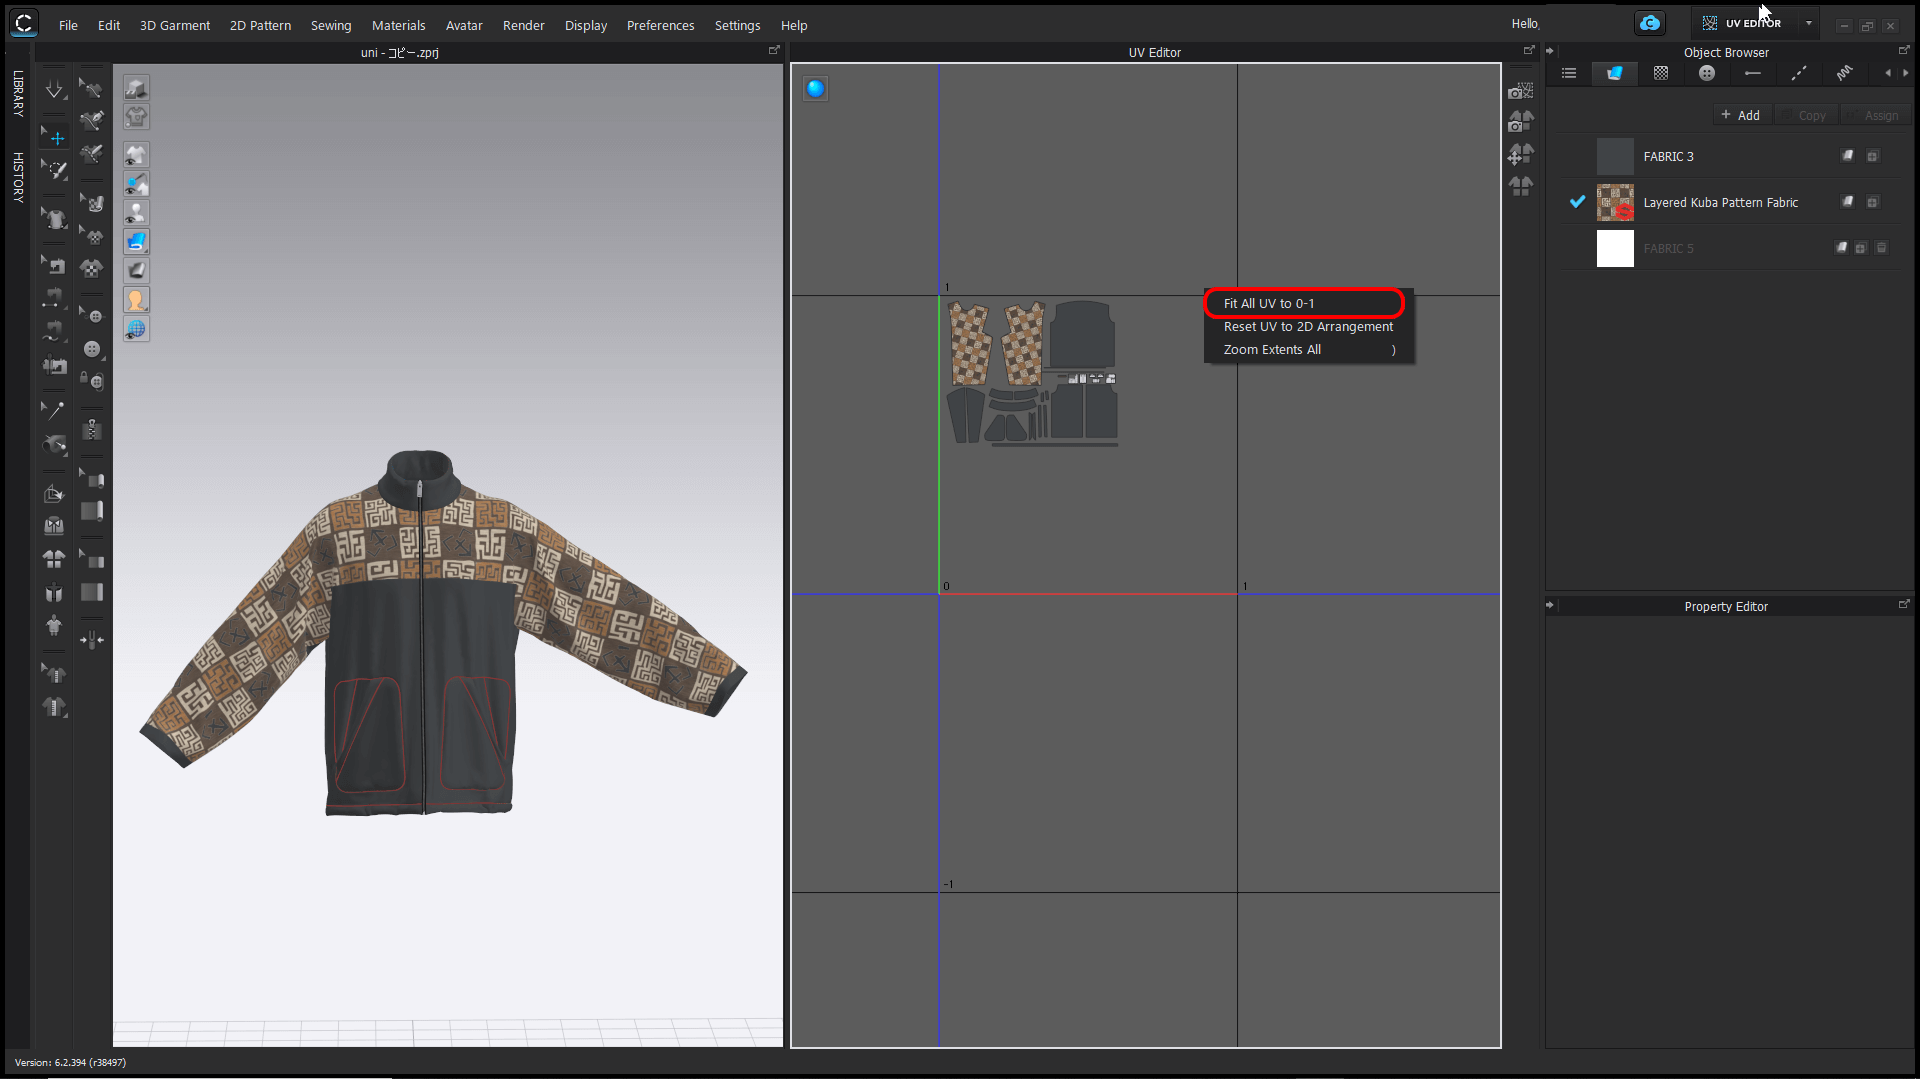
Place the 2D pattern on the rectangle and click on “Reposition all UVs to 0-1
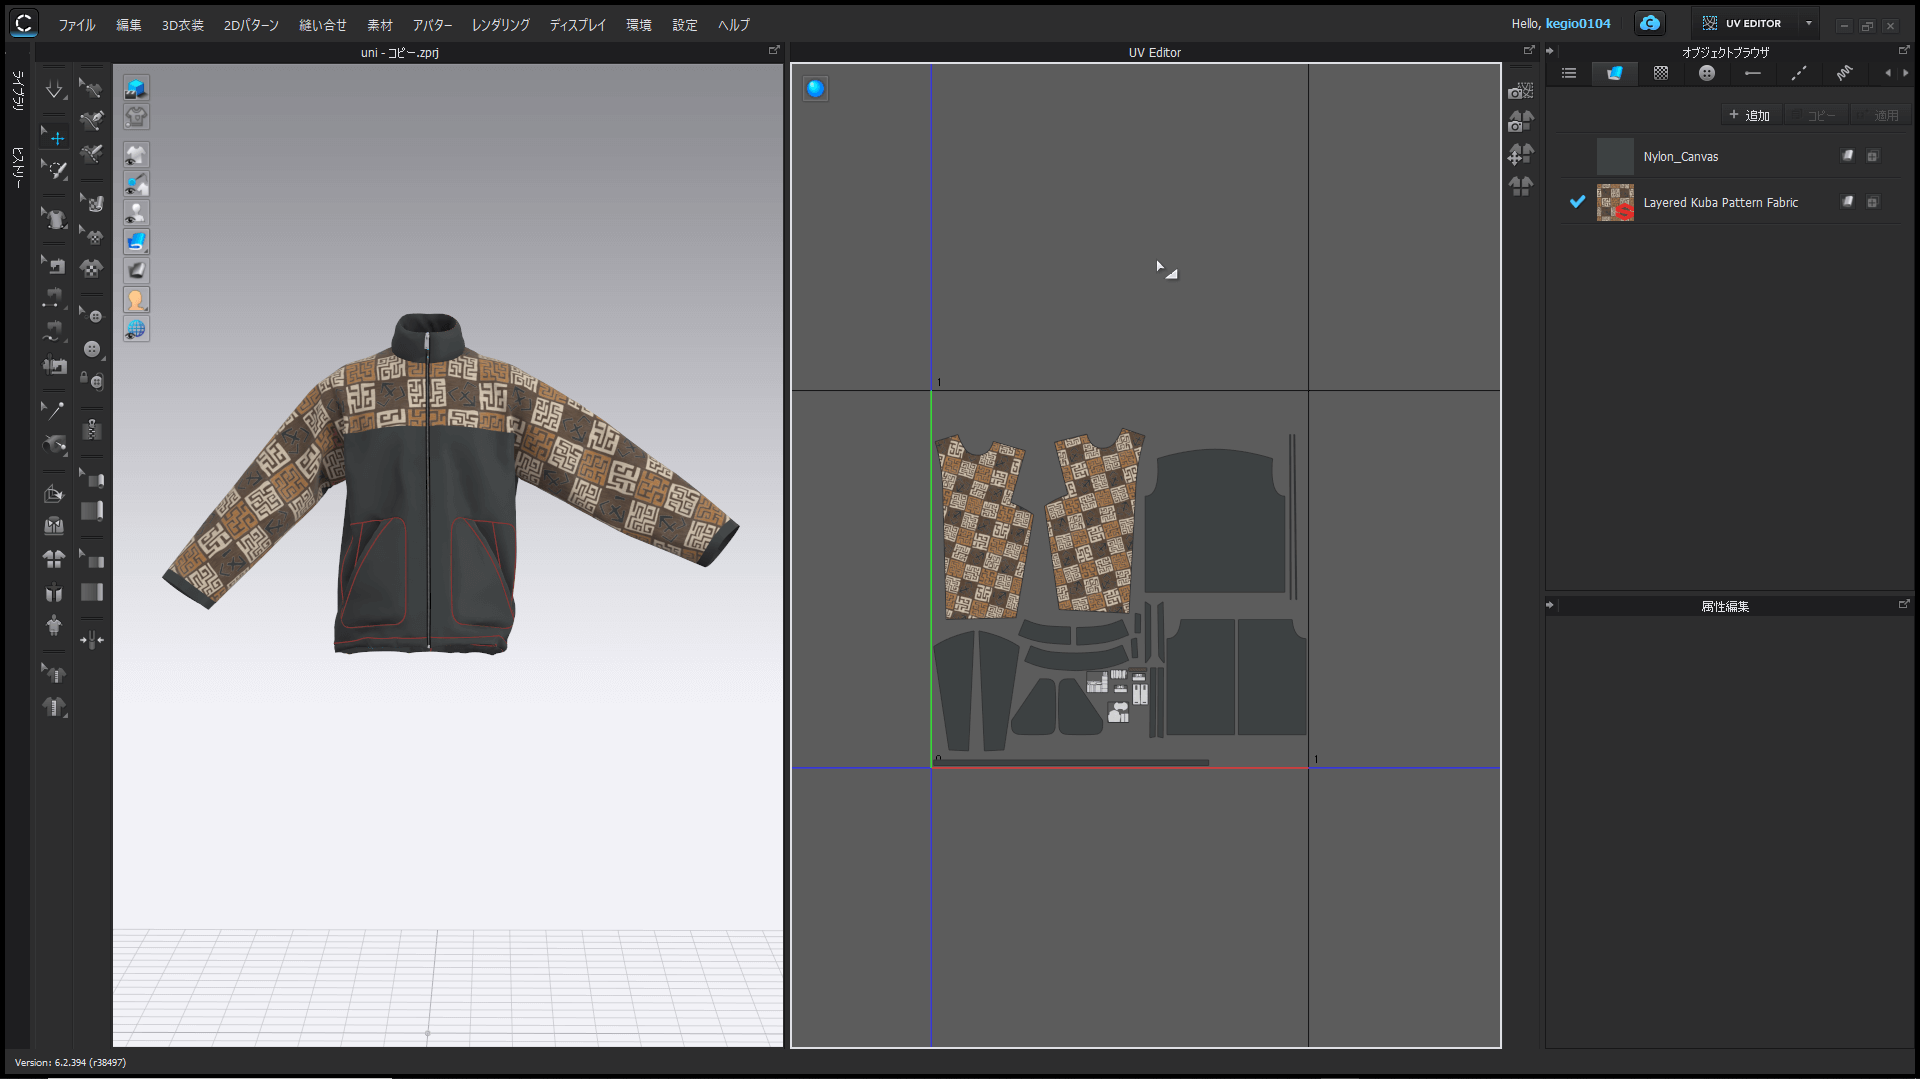
The pattern is now nicely aligned.
Exporting UV Textures
Once the pattern is in place, select “Texture Bake” and choose the destination, resolution, and texture map you need.
This completes the UV texture creation.
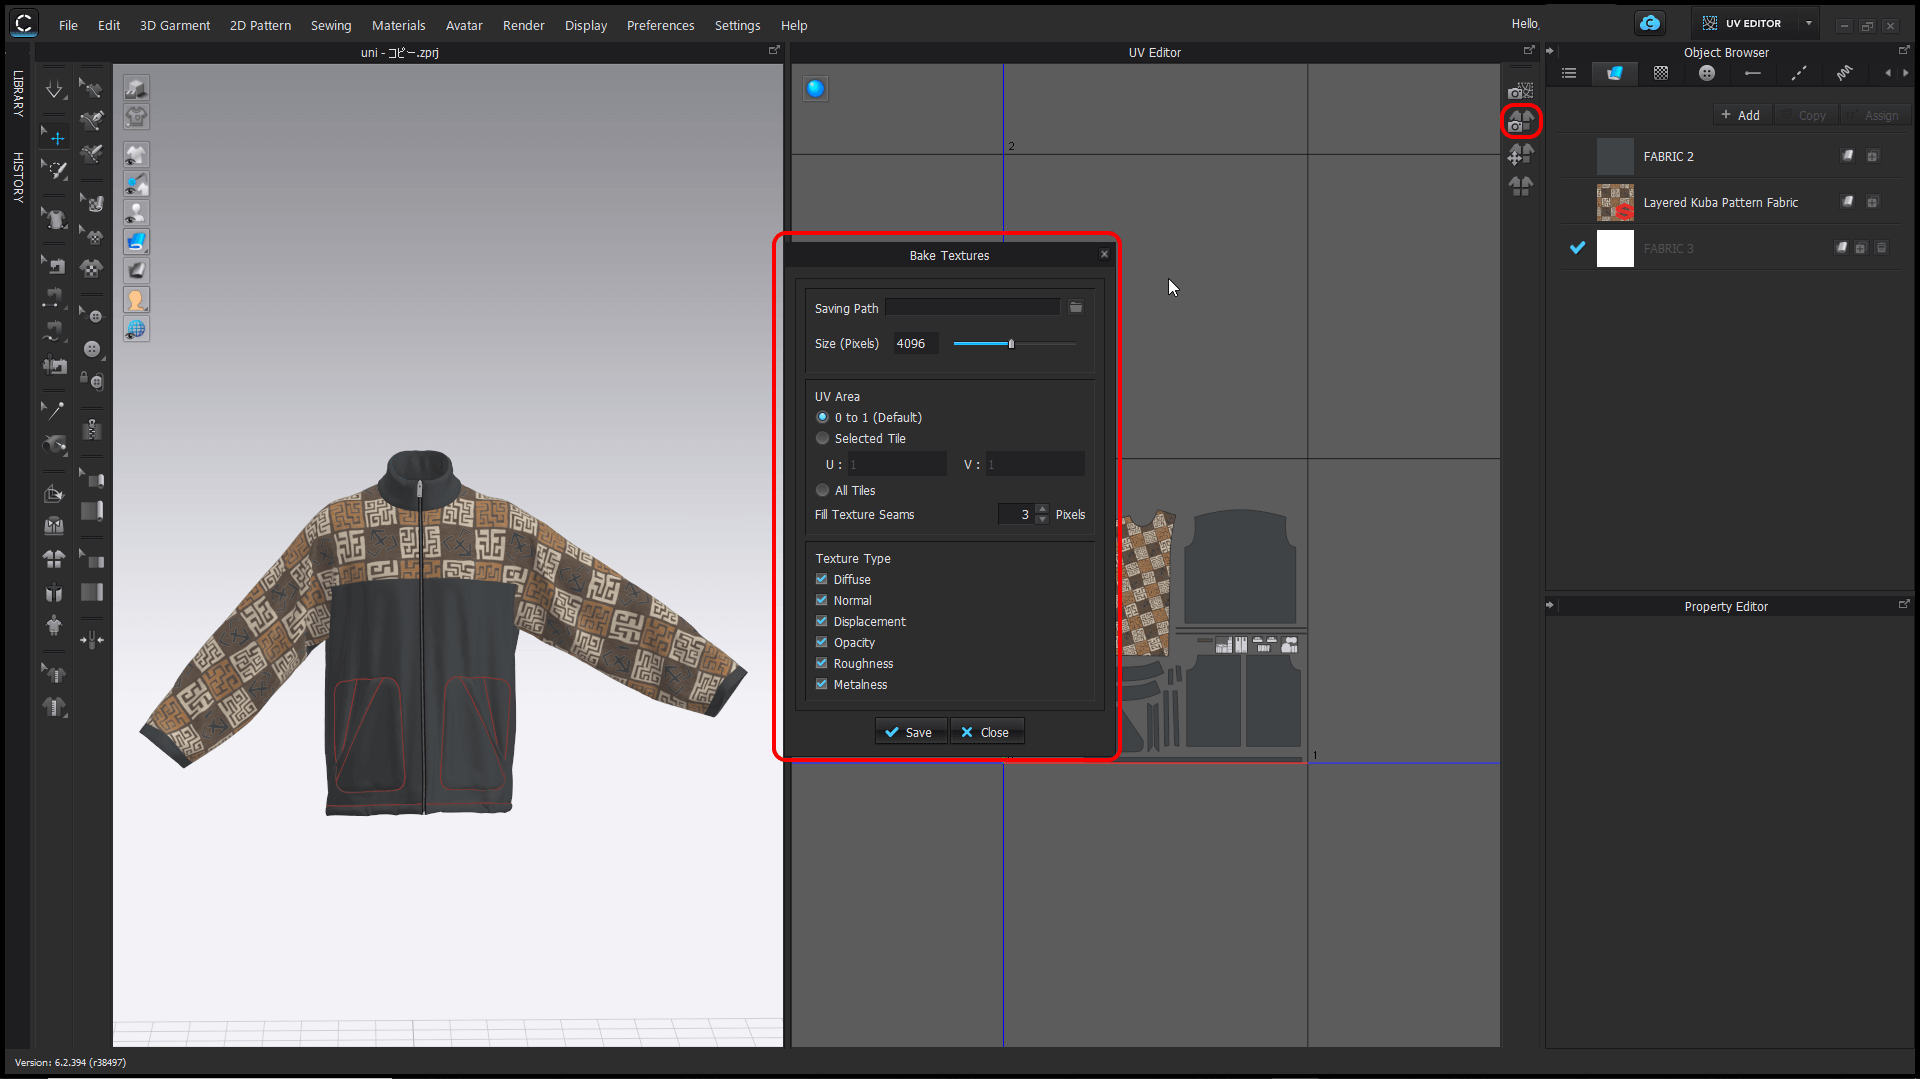
If the resolution is too high, the file size will be too large, so make sure it is the appropriate size.
Import 3D models and textures into Blender and Unity
To import and use in Blender
We will export a 3D model of a garment from CLO.
Select “File” → “Export” → “FBX” and click.
After deciding the file location and file name and saving the file, the “Export FBX” screen will appear.
![[File] > [Export] > [FBX].](https://styly.cc/wp-content/uploads/2022/03/7.png)
- Single object
- Thick (select thick when importing into unity as unity’s default shaders do not render the back side of polygons)
- Integrated UV Coordinates (PNG)
and click OK.

Export settings can be changed in detail
If you import the exported FBX into Blender, the texture may not be displayed correctly, so delete the existing material and create a new material. Blender does not need to be used for this operation.
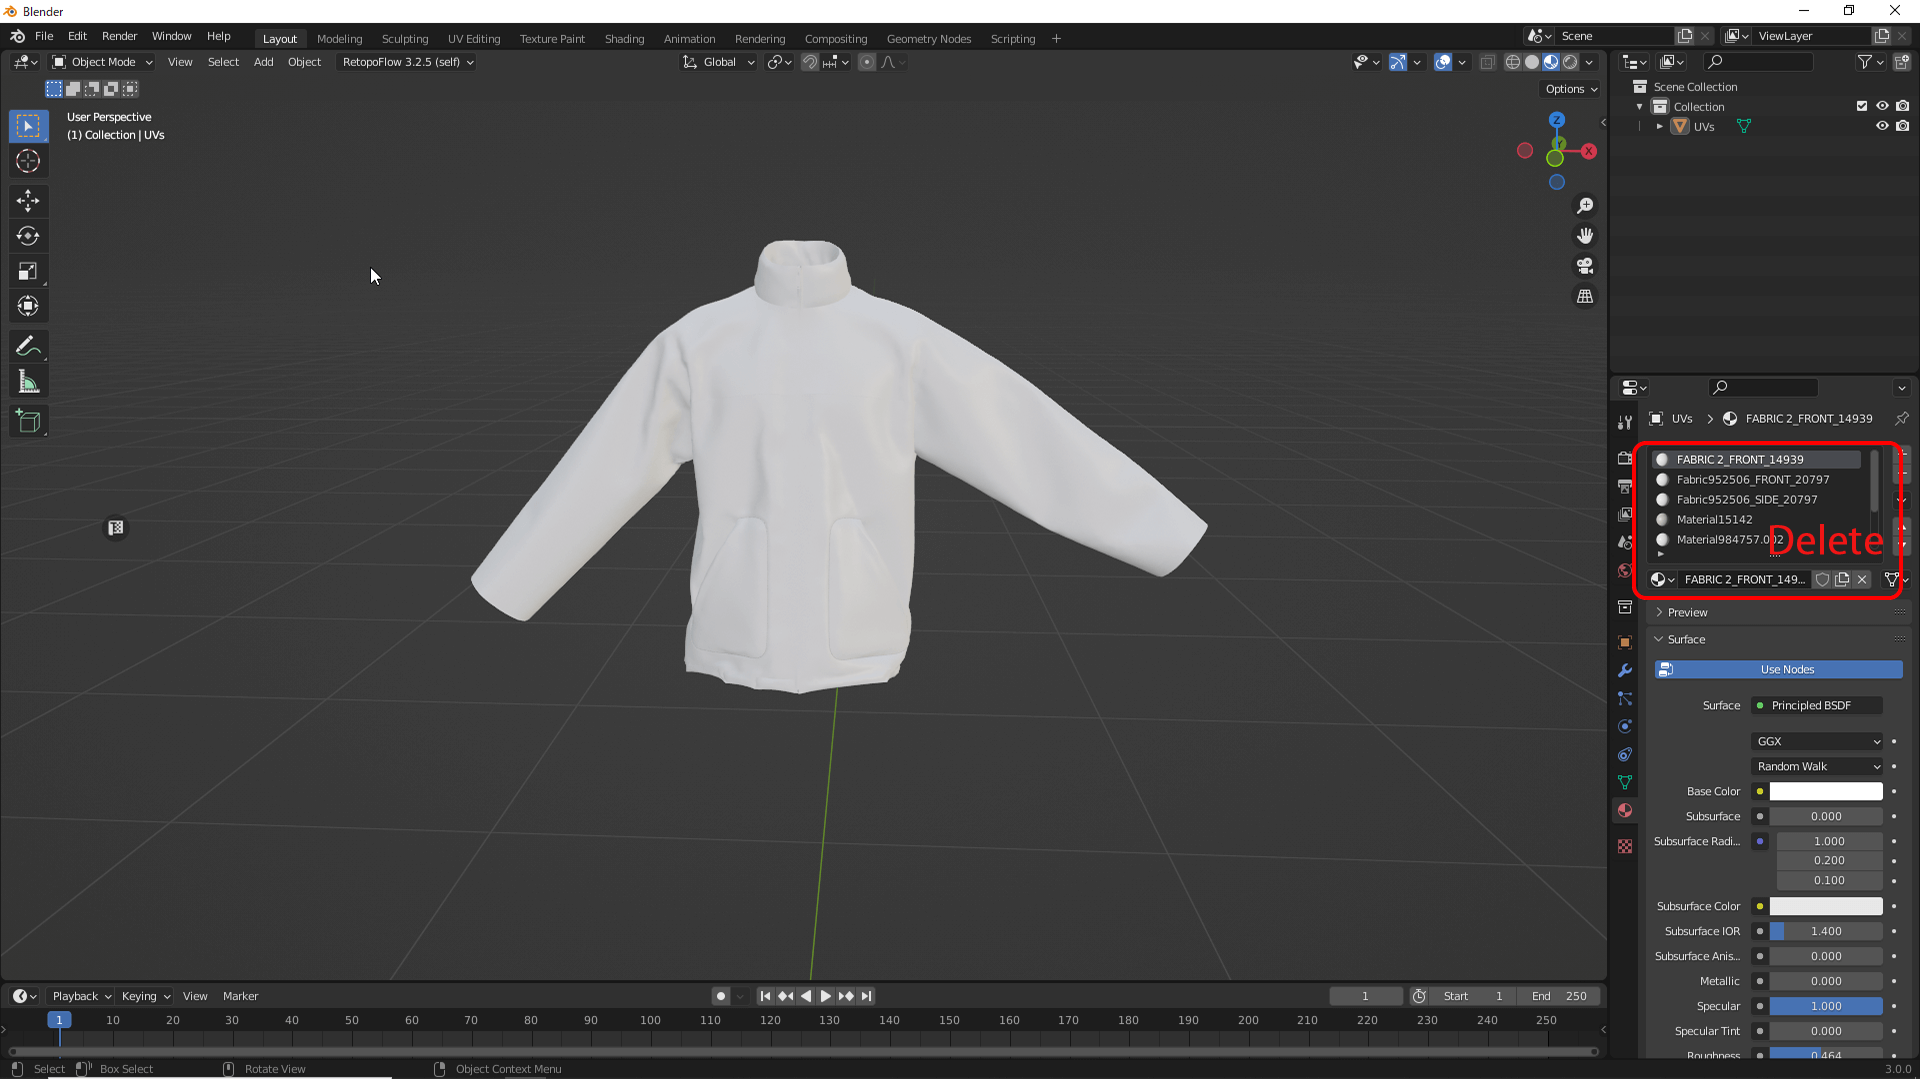
Deleting an existing material
Open the shader editor of the newly created material, and with the BSDF principle selected, execute the Node Wrangler shortcut (ctrl+shift+t) to assign the UV textures created with CLO to the material at once.
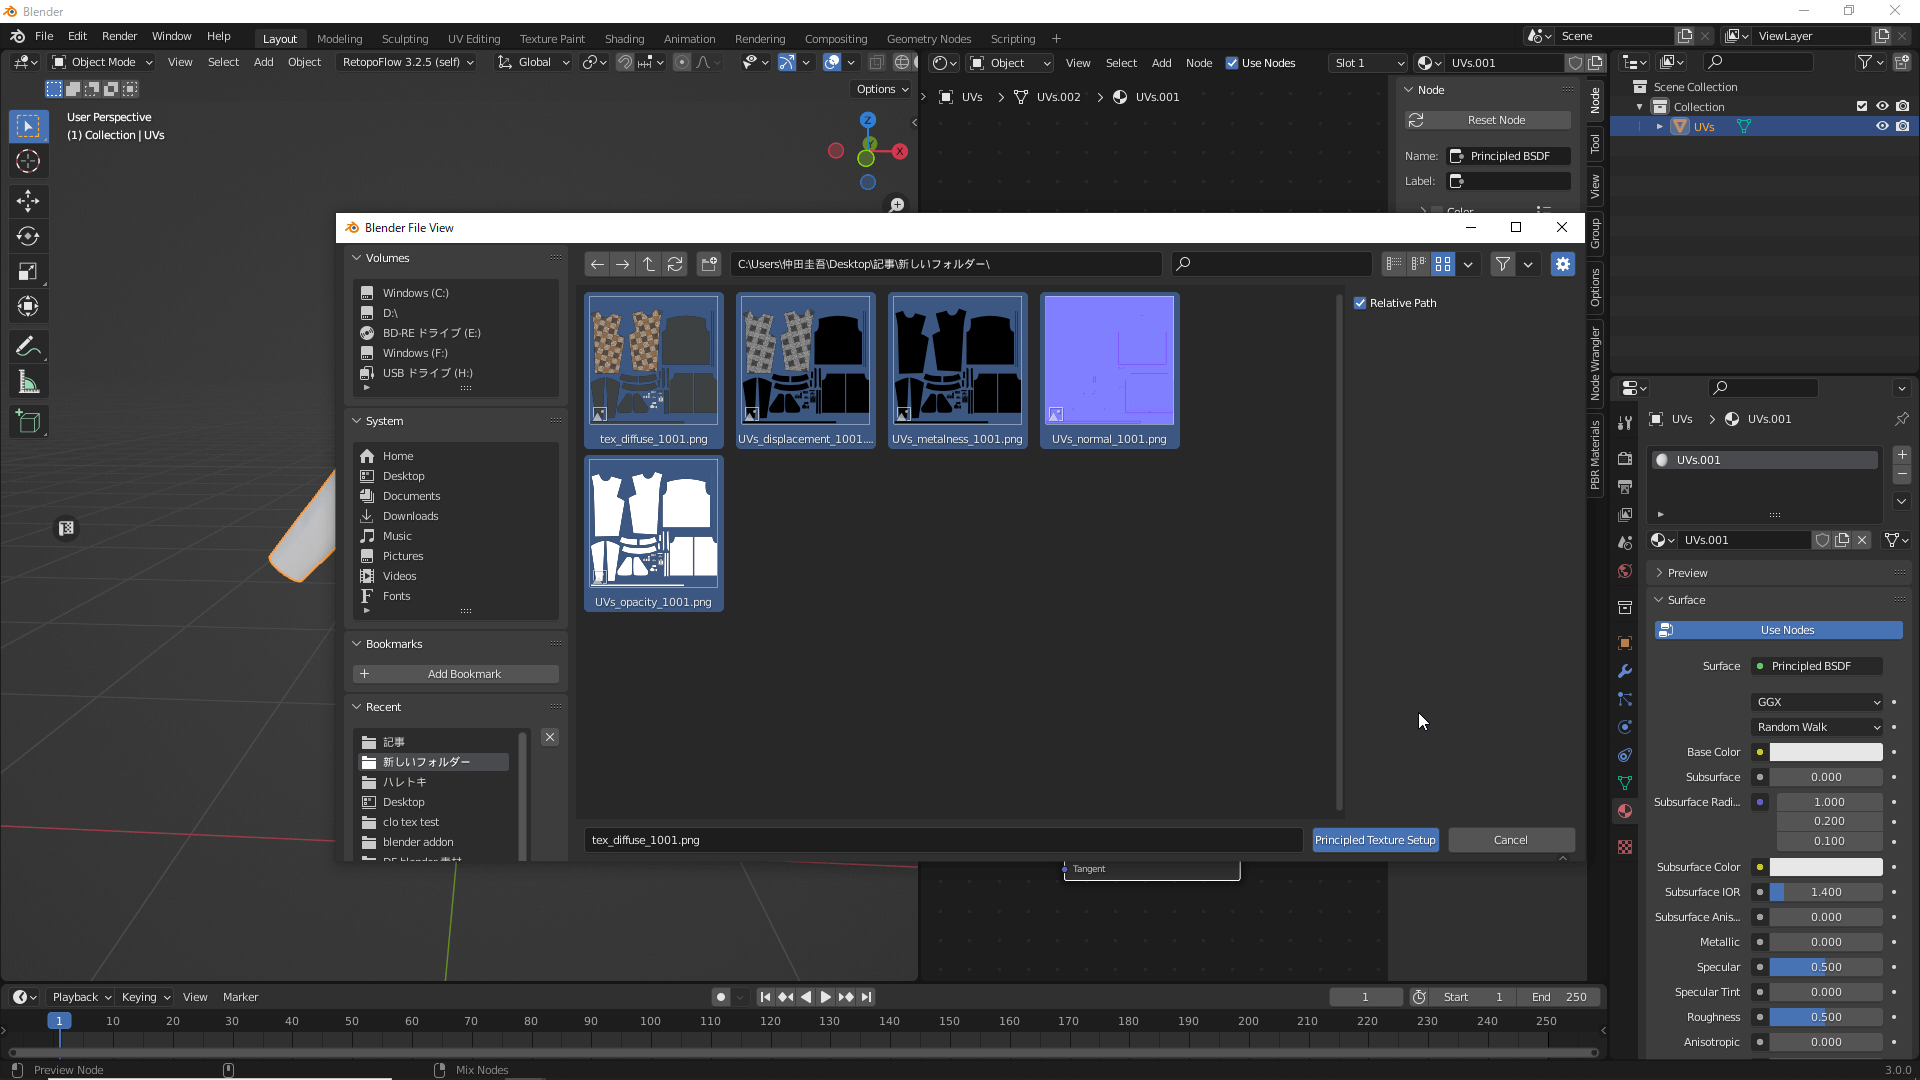
Node Wrangler shortcut (ctrl+shift+t)
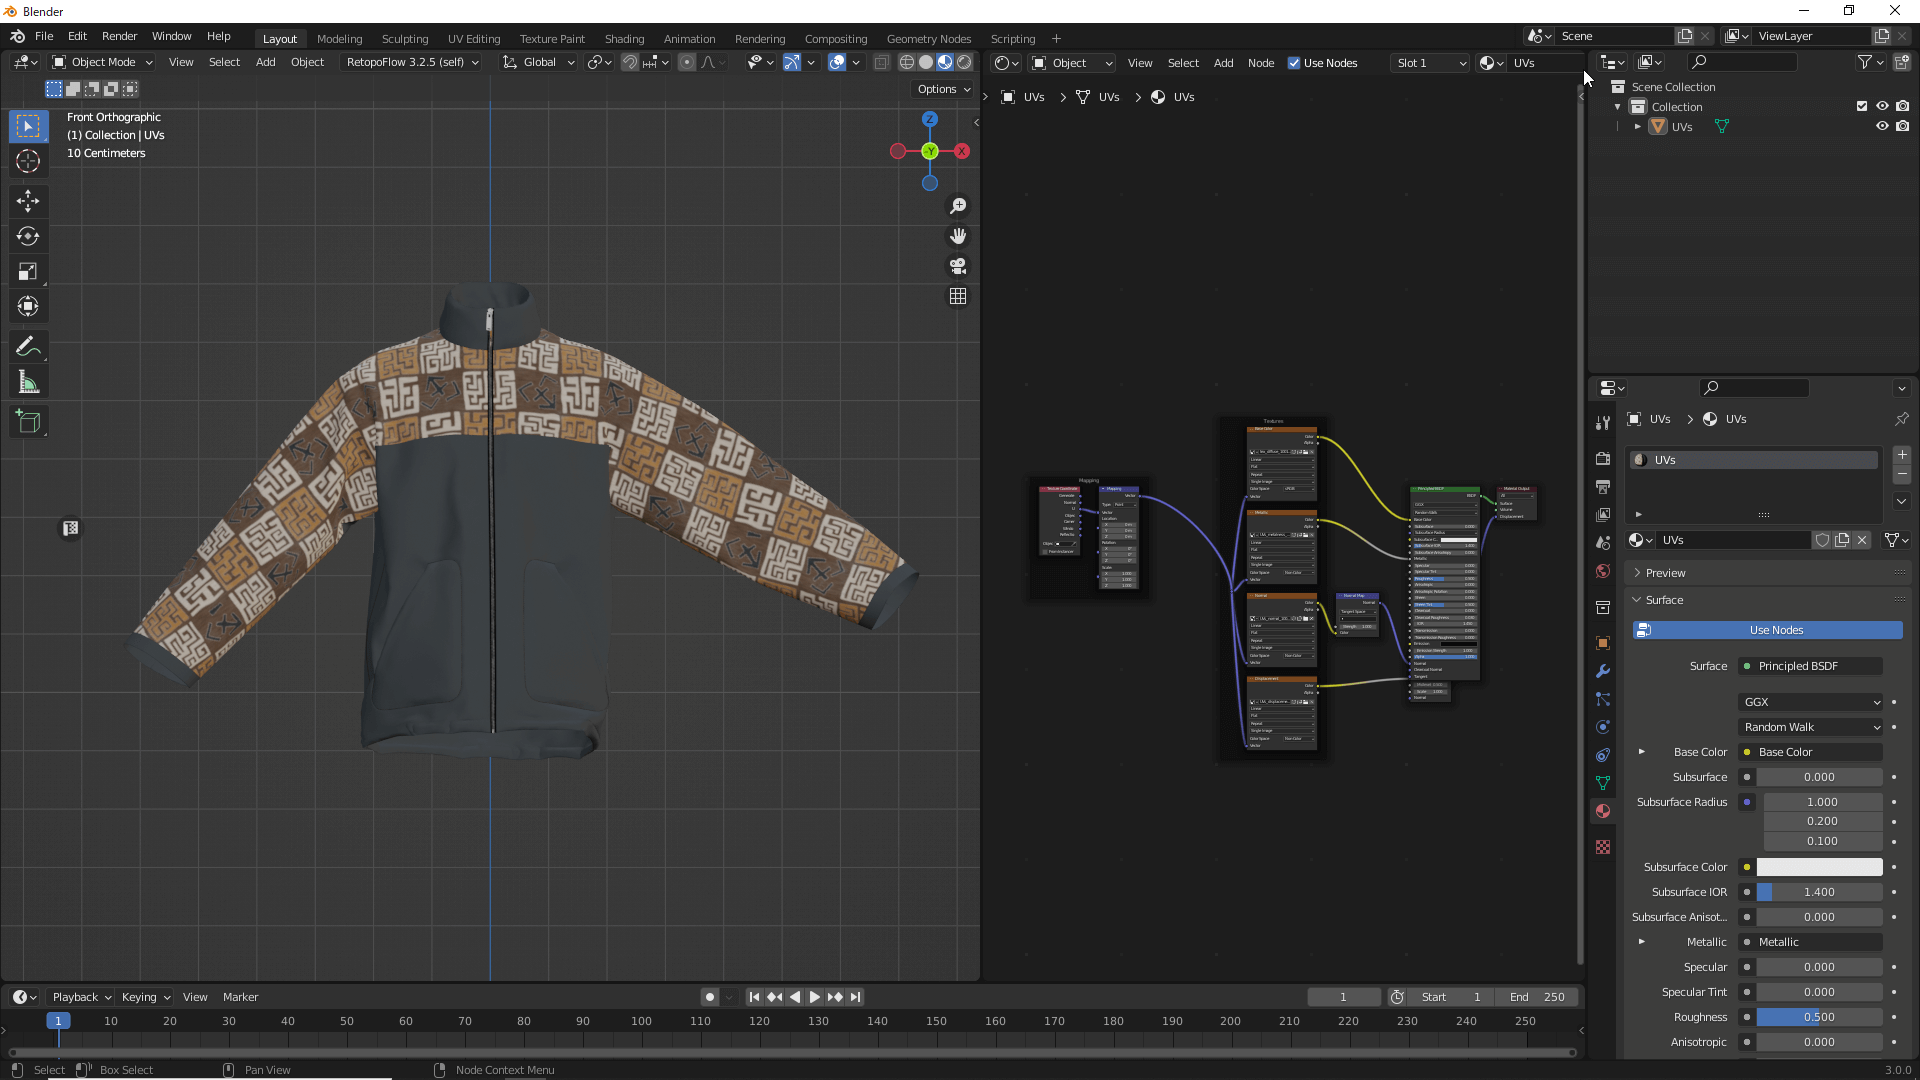
Correctly reflected
Then UV textures created by CLO are reflected correctly in Blender.
When importing to Unity for use
Import items by drag & drop
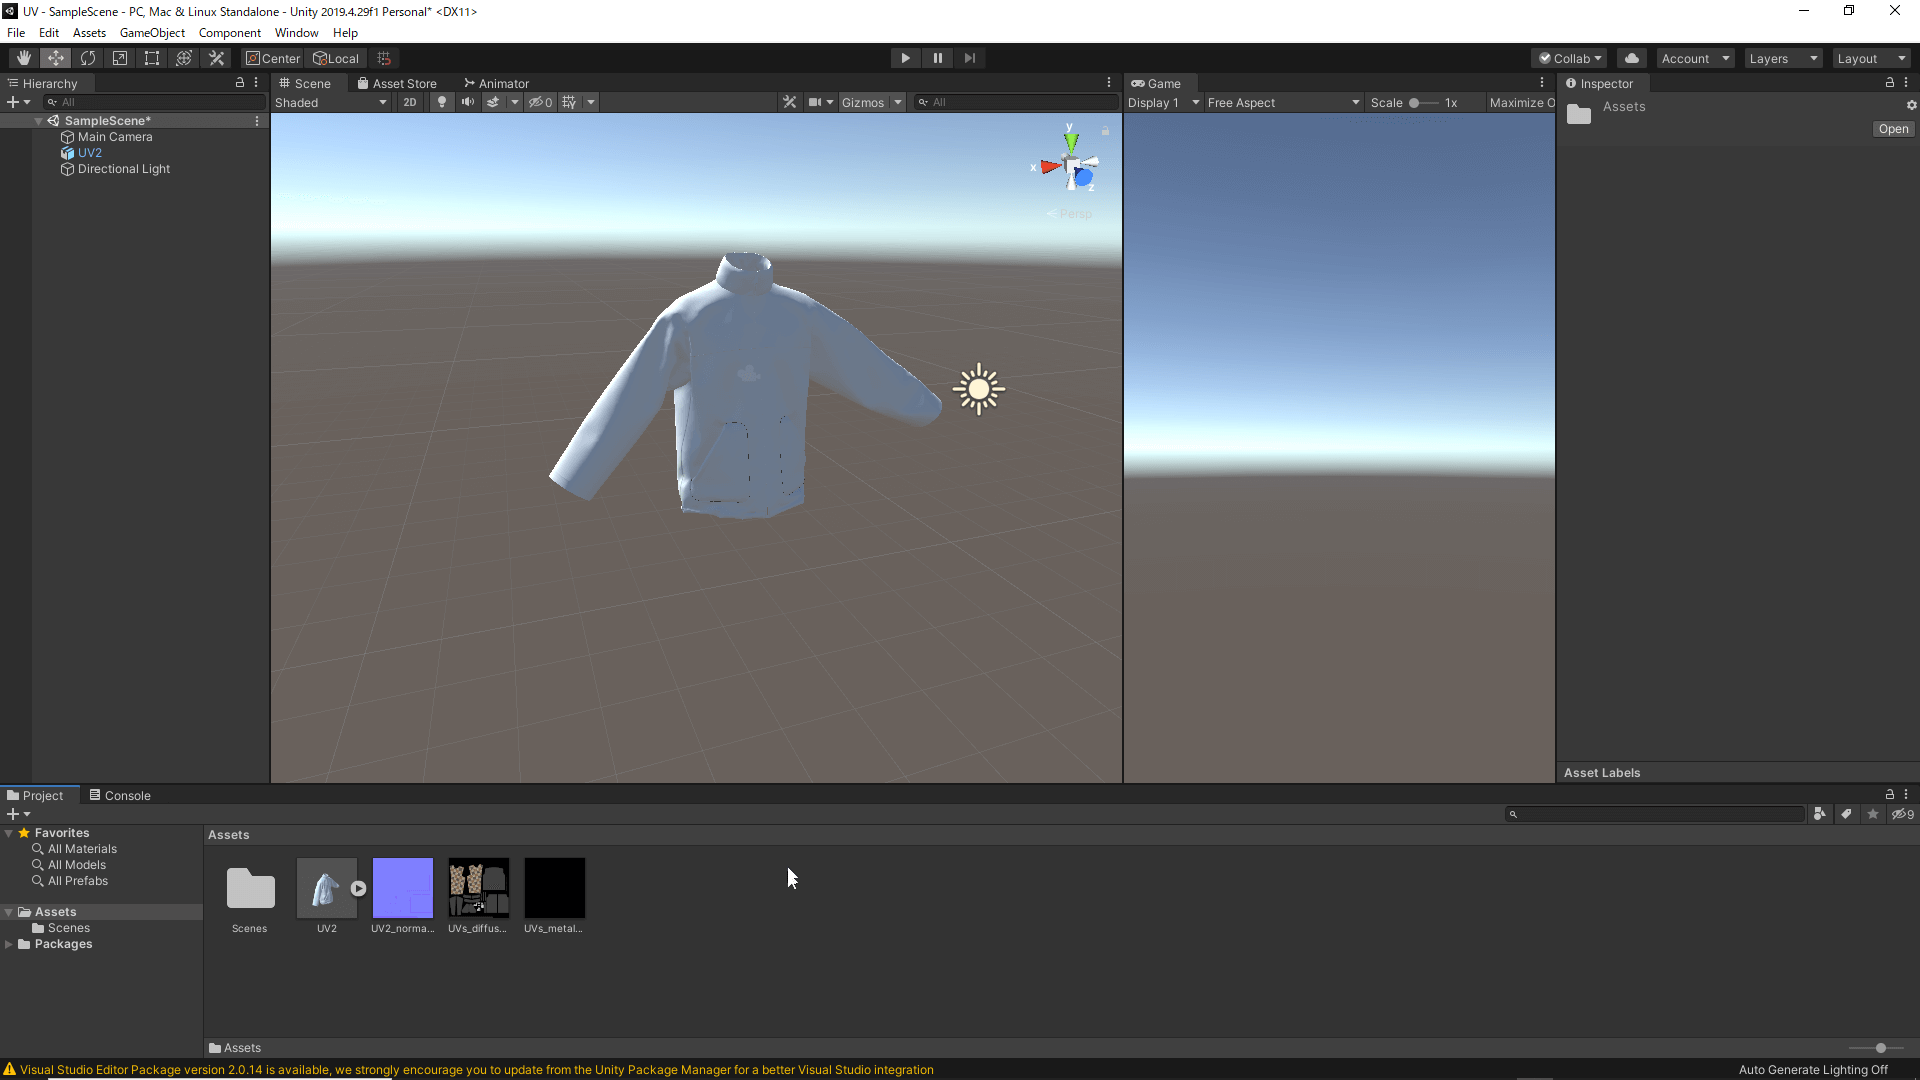
Import the FBX and UV textures (diffuse, normal, and metalness) exported to Unity by drag & drop.
After import is complete, right-click in the Assets folder and create a new material by selecting “Create” -> “Material”.
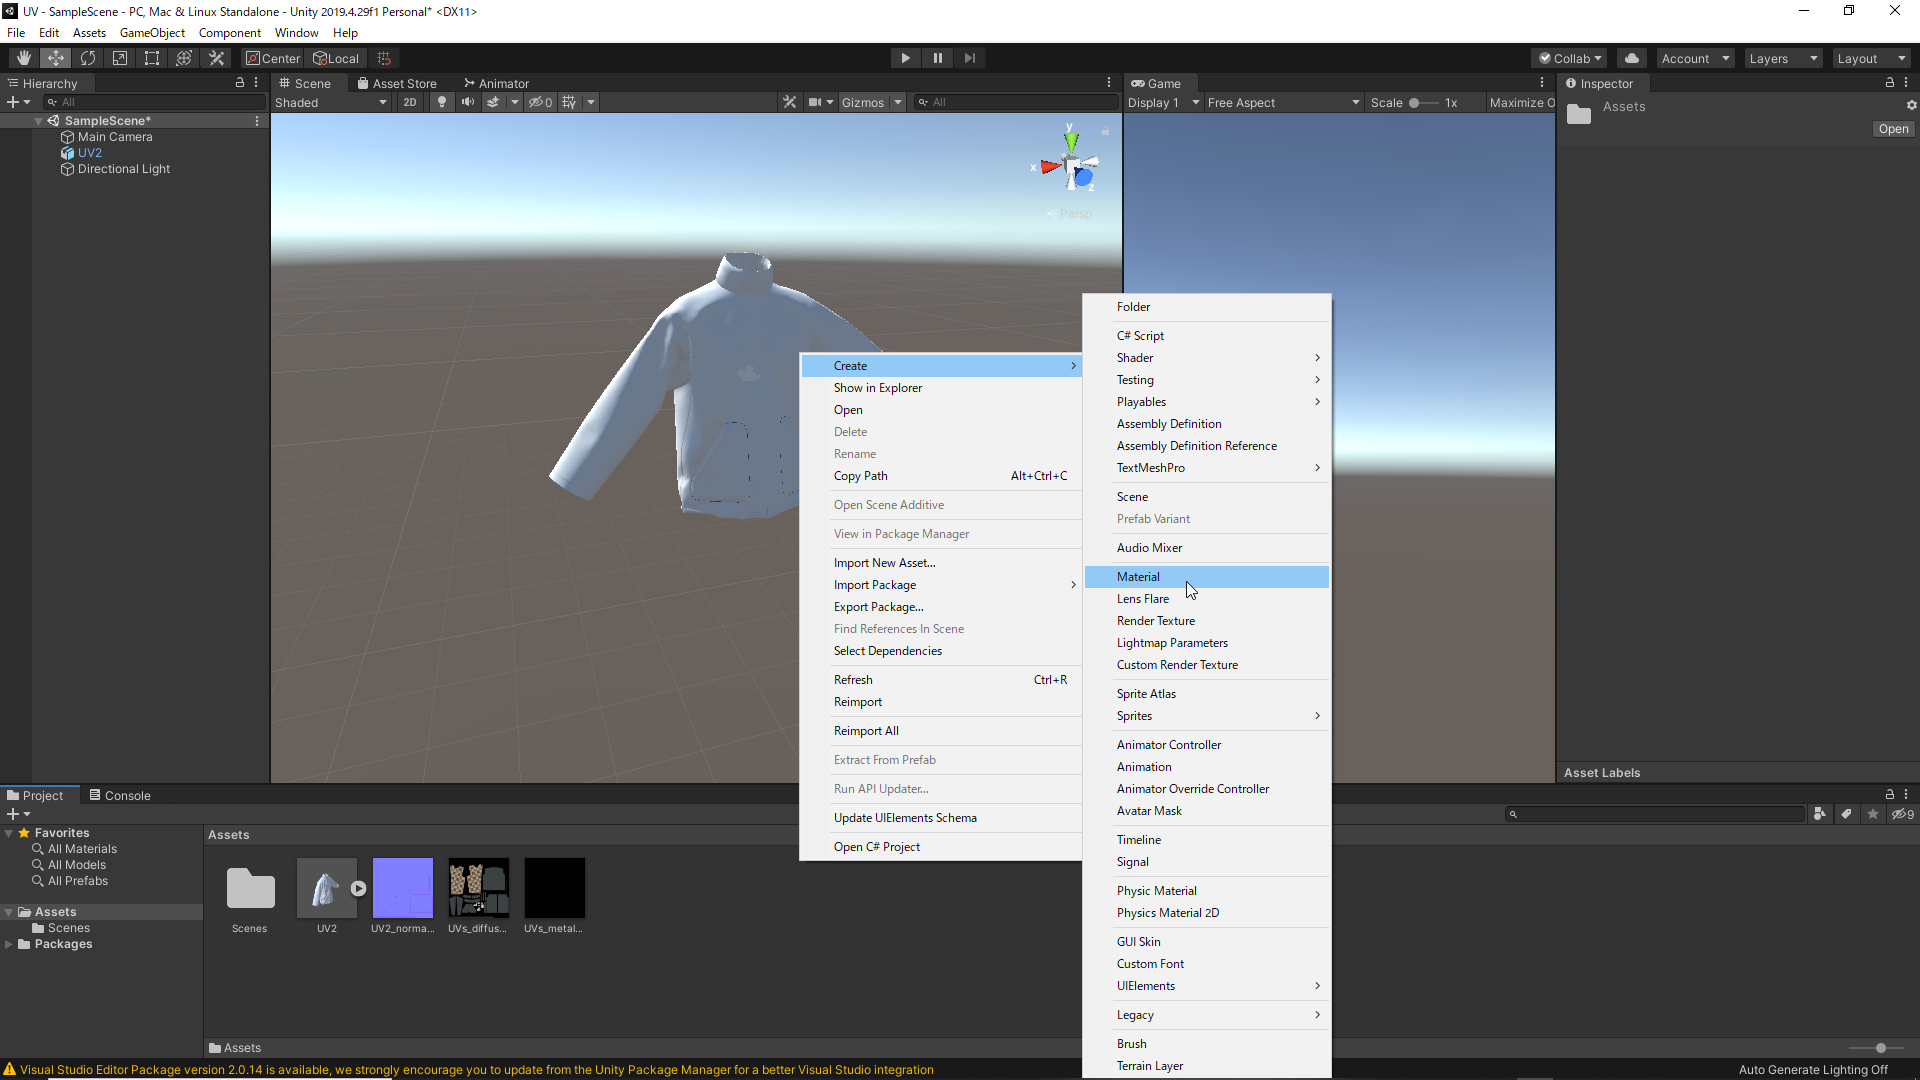
It is easier to understand if the material is renamed.
After assigning a UV texture to the material, drag and drop the material onto the garment object.
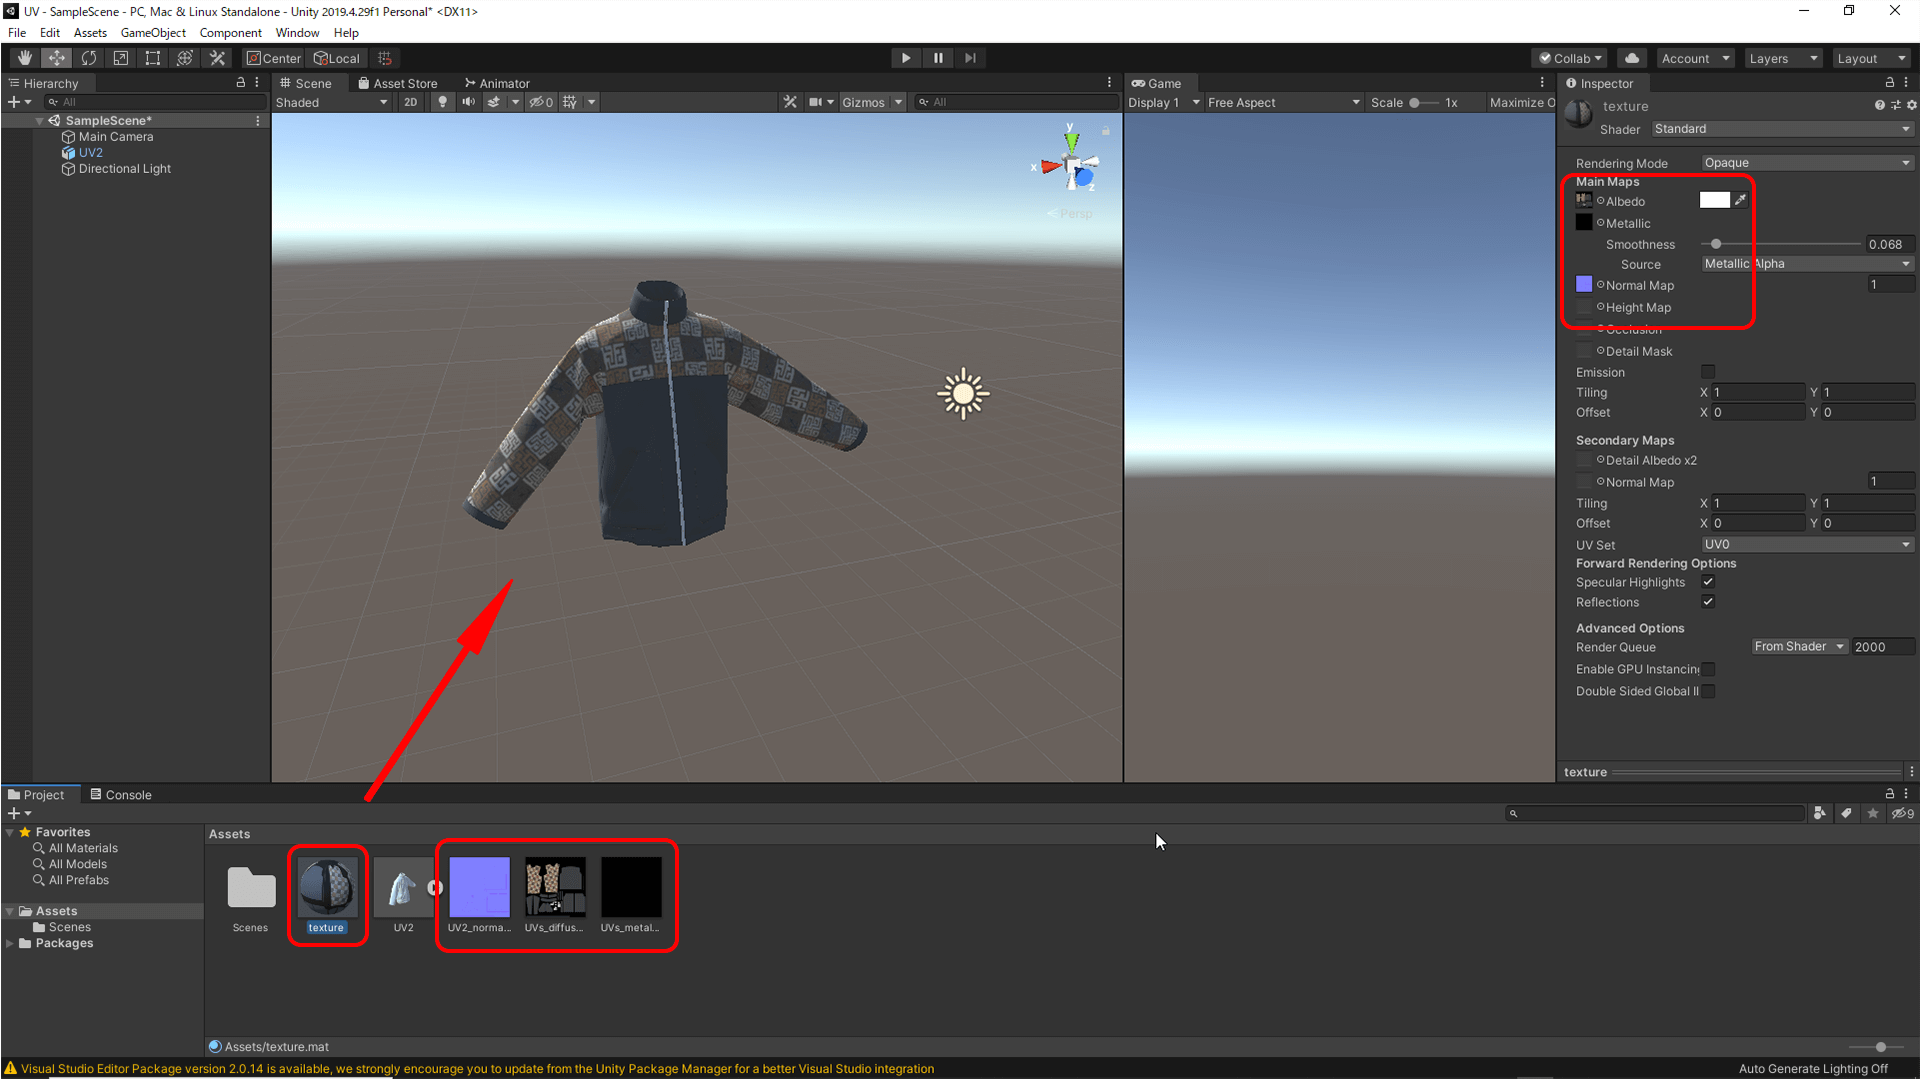
The texture is not yet reflected on the zipper part.
Now that the materials are assigned and the UV textures are applied, but the zipper is still white, open the Inspector of the 3D model of the garment and use “Remapped Materials” to replace all the materials with the ones you just created.
Click on the double circle to the right of “Remapped Materials” to open a tab where you can select materials.
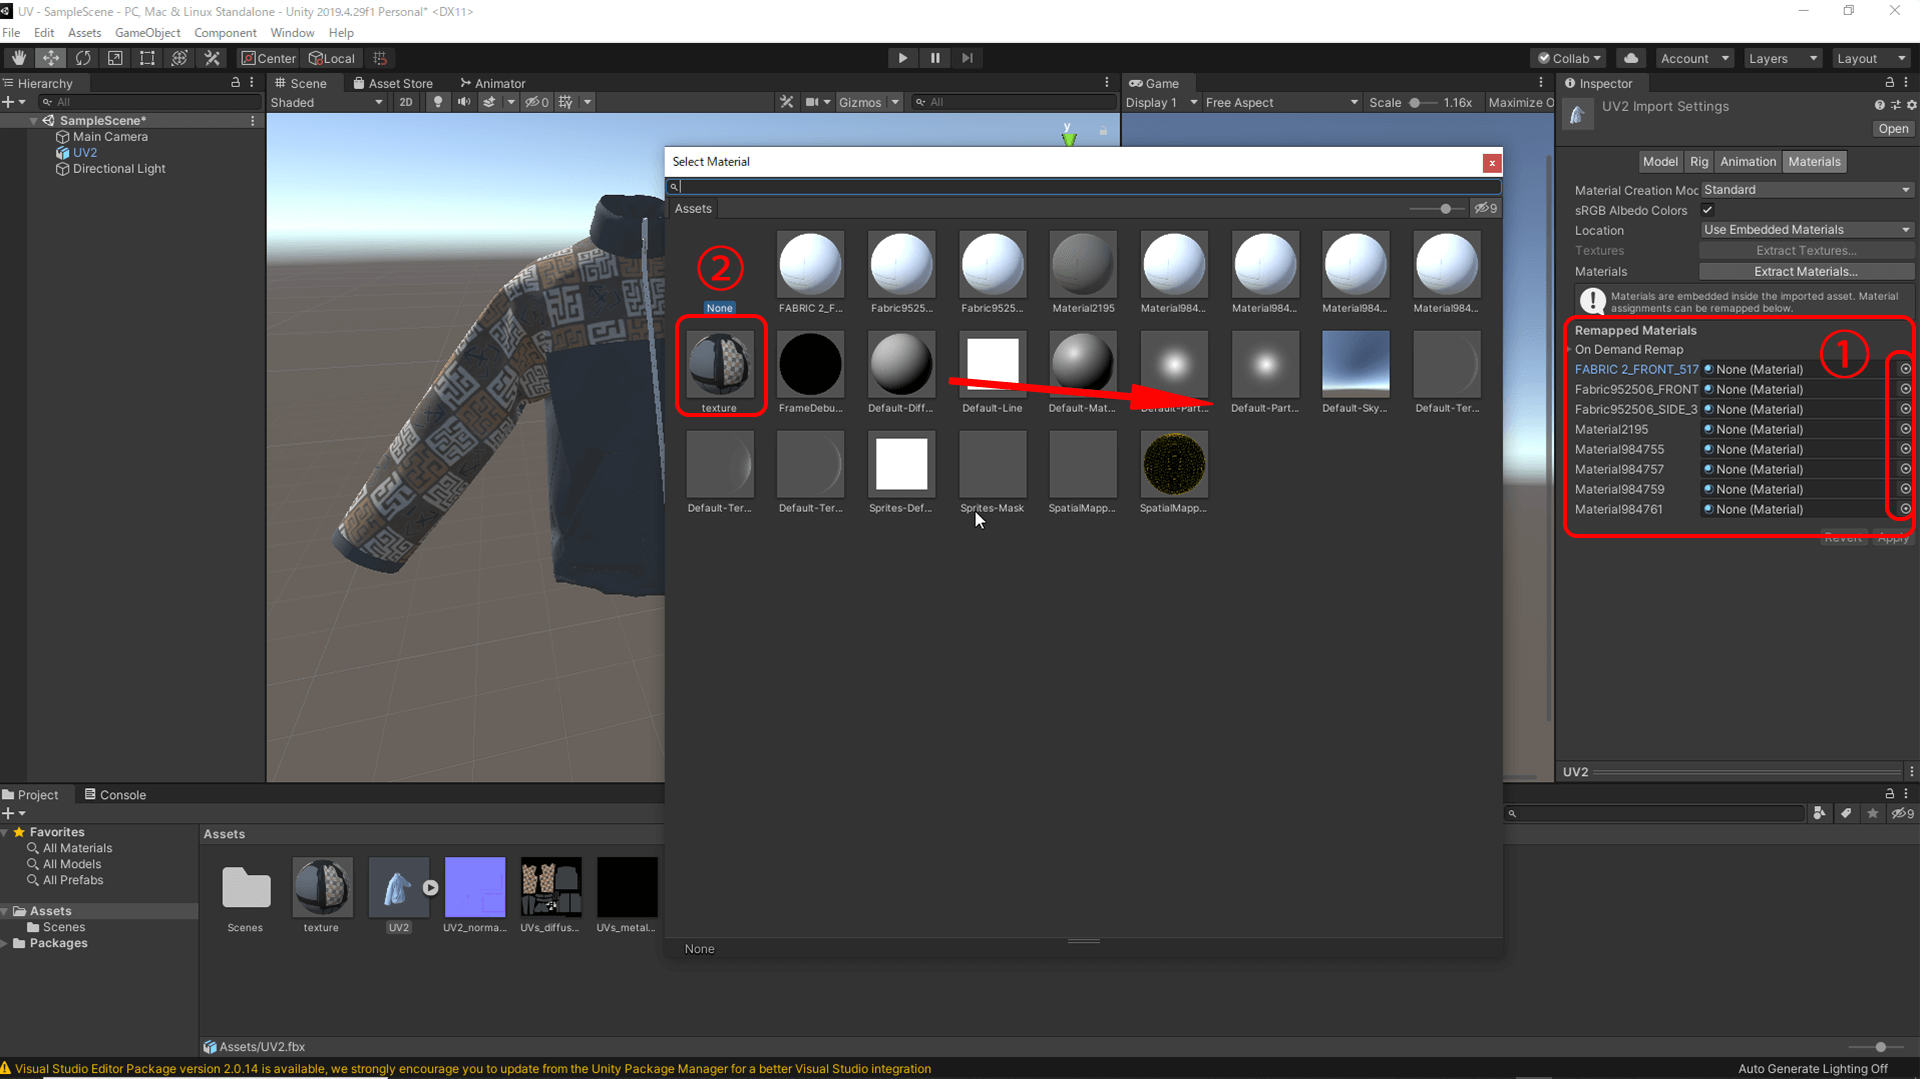
Replacing Materials
Once replaced, the texture will appear correctly.
How to upload to STYLY
How to create a STYLY account

How to Upload 3D models to STYLY

How to upload from Unity to STYLY

Uploading to STYLY is now complete.
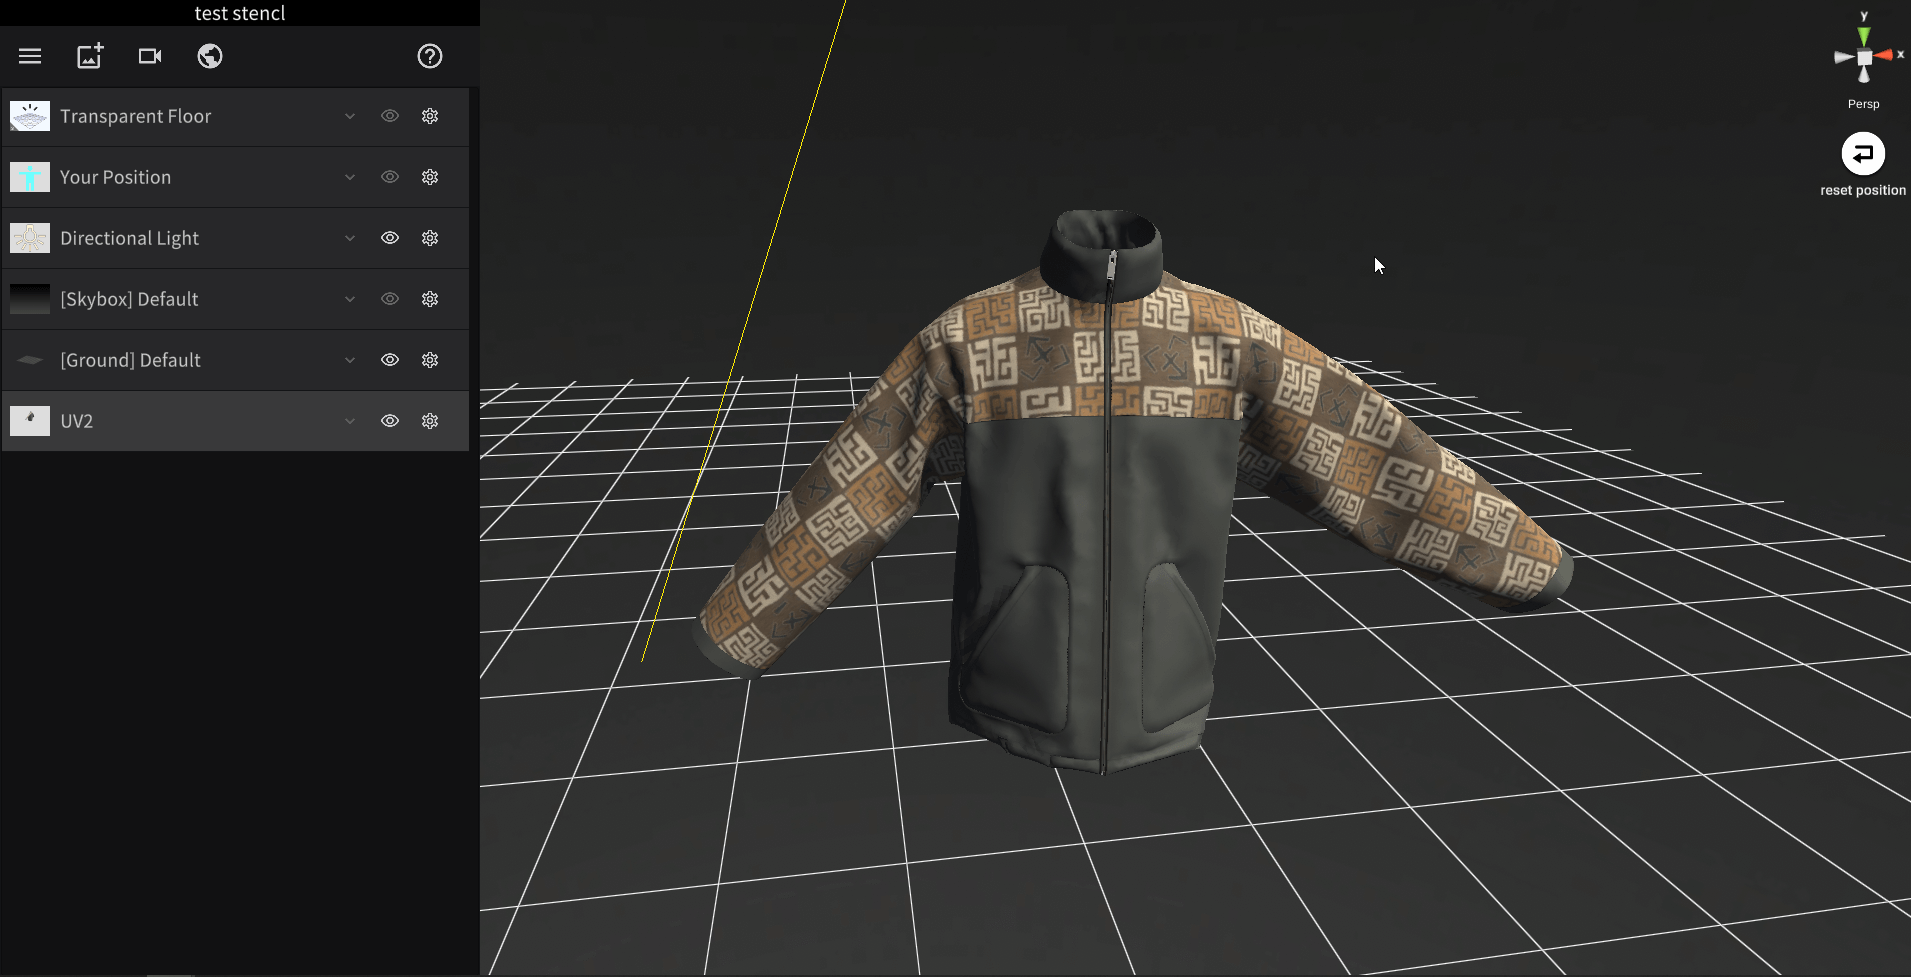
The 3D model now looks comparable to the 3D model created in CLO!
You can use STYLY FORUM to solve the problem. STYLY FORUM is a place where people can discuss a service or technical issue on STYLY, or provide bug reports on STYLY.
https://en.forum.styly.cc/support/discussions