This article explains how to generate textures with AI using STABLE PROJECTORZ.
STABLE PROJECTORZuses Stable Diffusion in the local environment and requires a GTX 1080 or higher, an appropriate CPU, and at least 12 GB of RAM. Check your own environment before use.
How to install
Access STABLE PROJECTORZ and click DOWNLOAD INSTALLER (EXE) to download the installer.
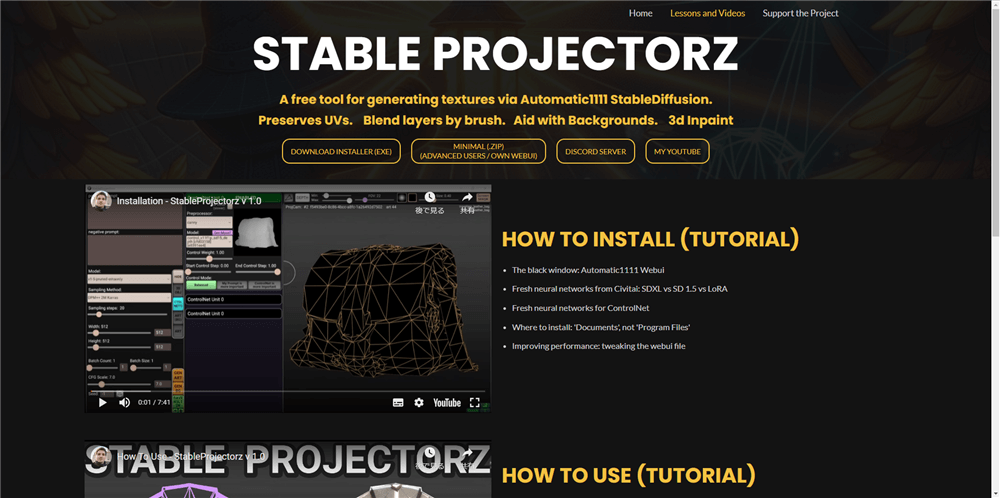
STABLE PROJECTORZ
Open the downloaded installer and press “Yes” as instructed on the screen.
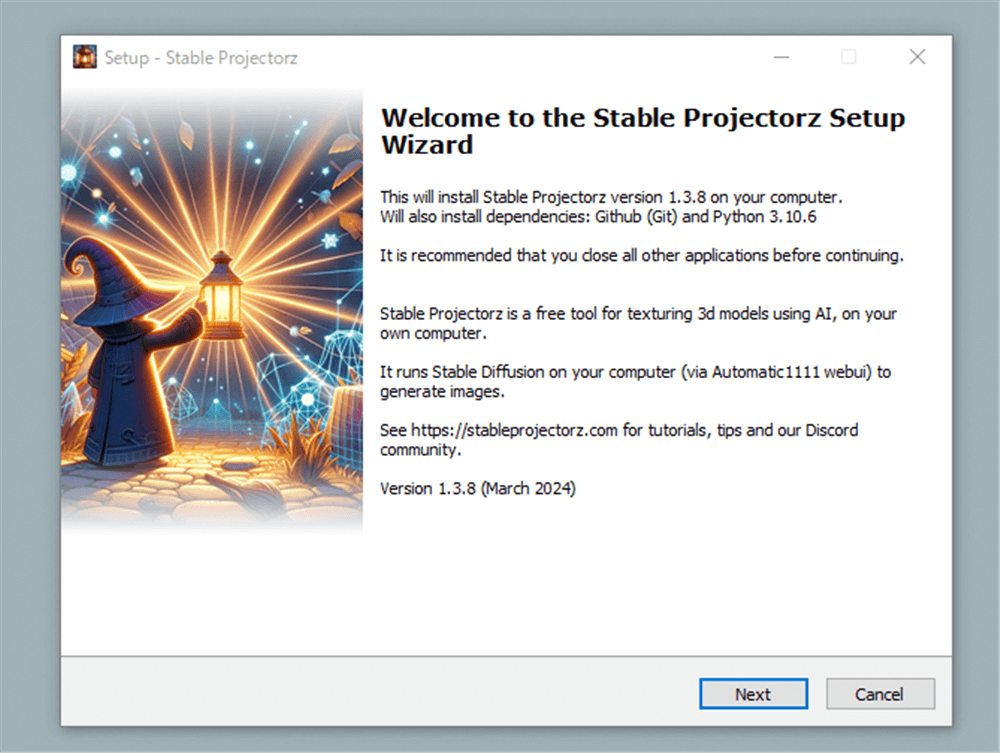
installer
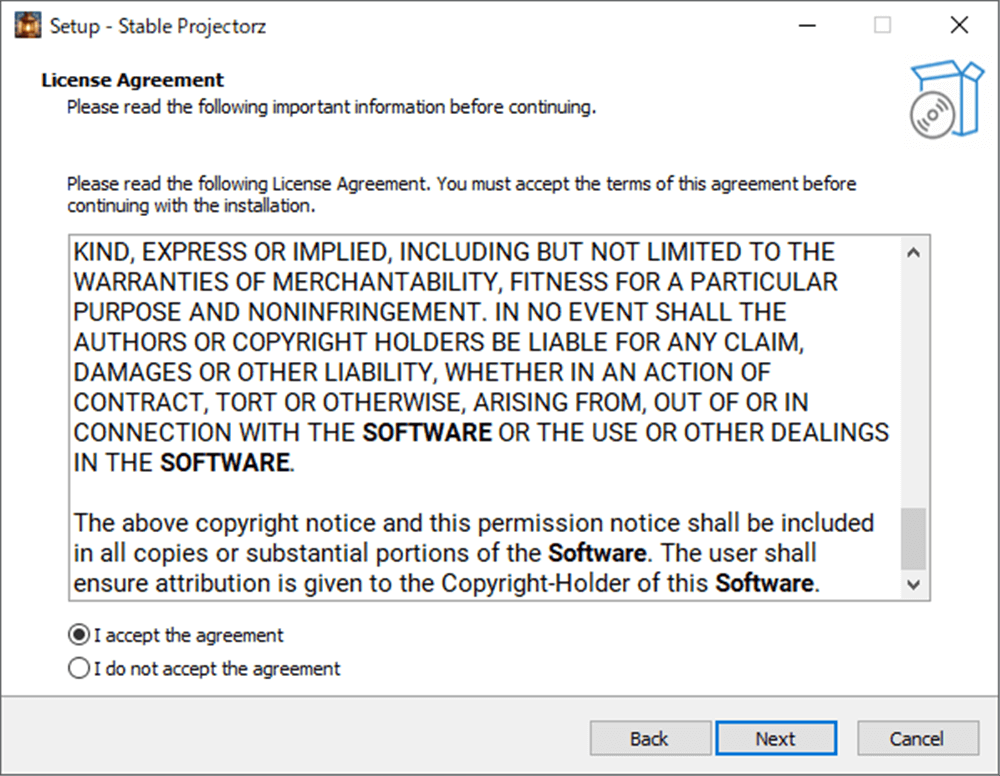
installer
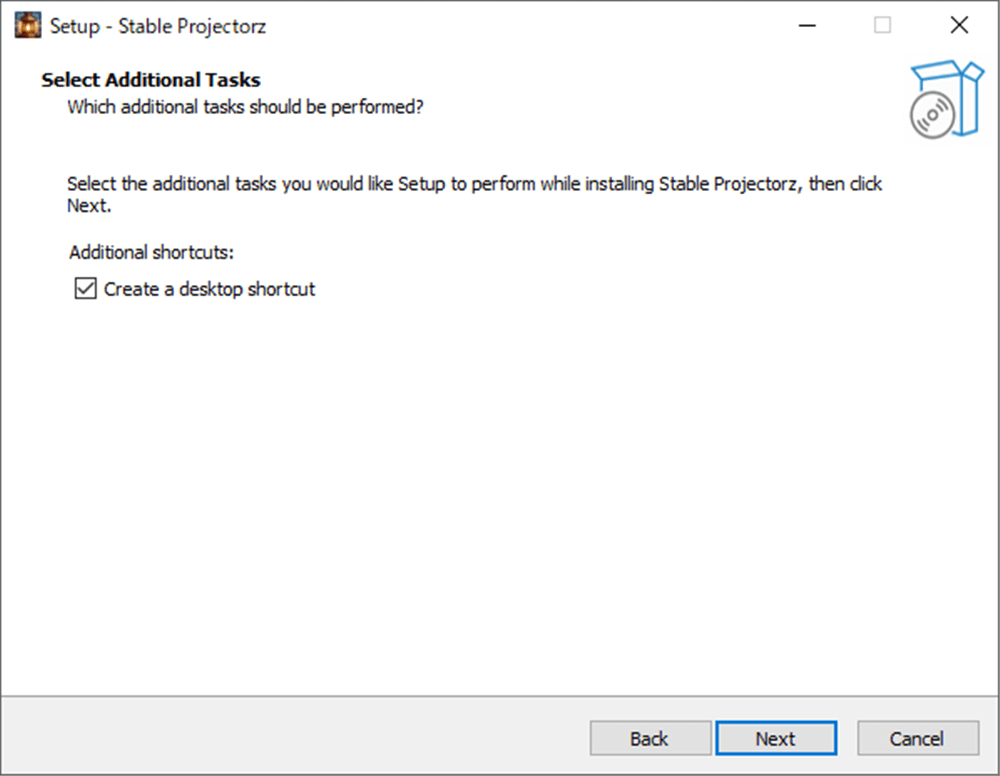
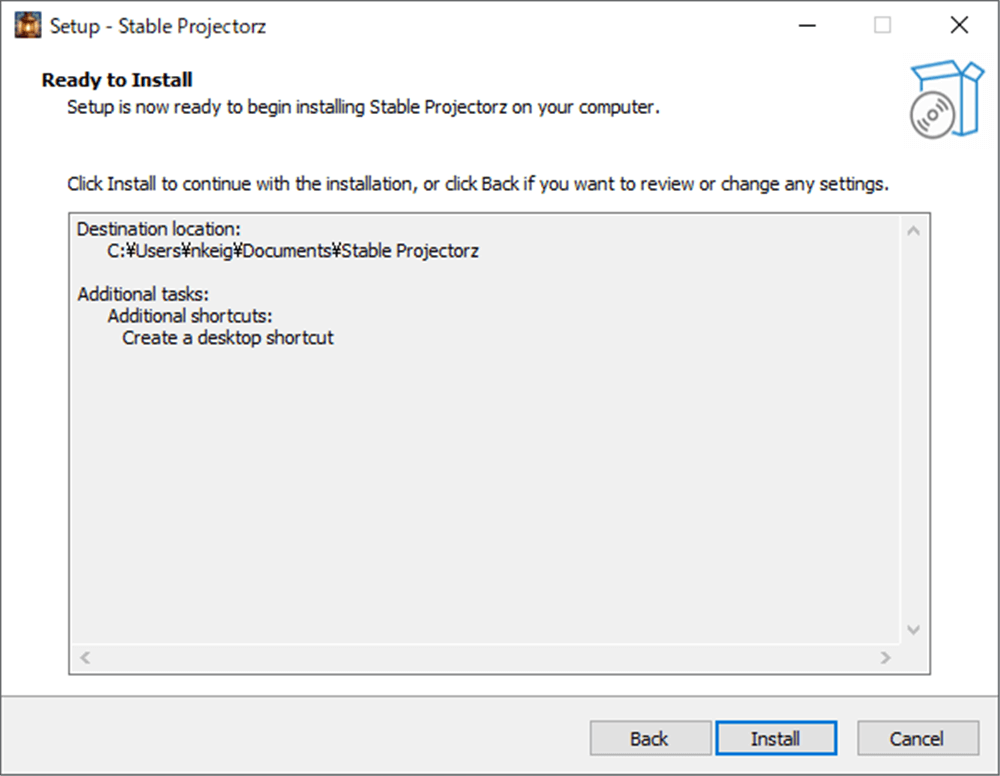
The default installation location is recommended, so proceed without changing anything in particular.
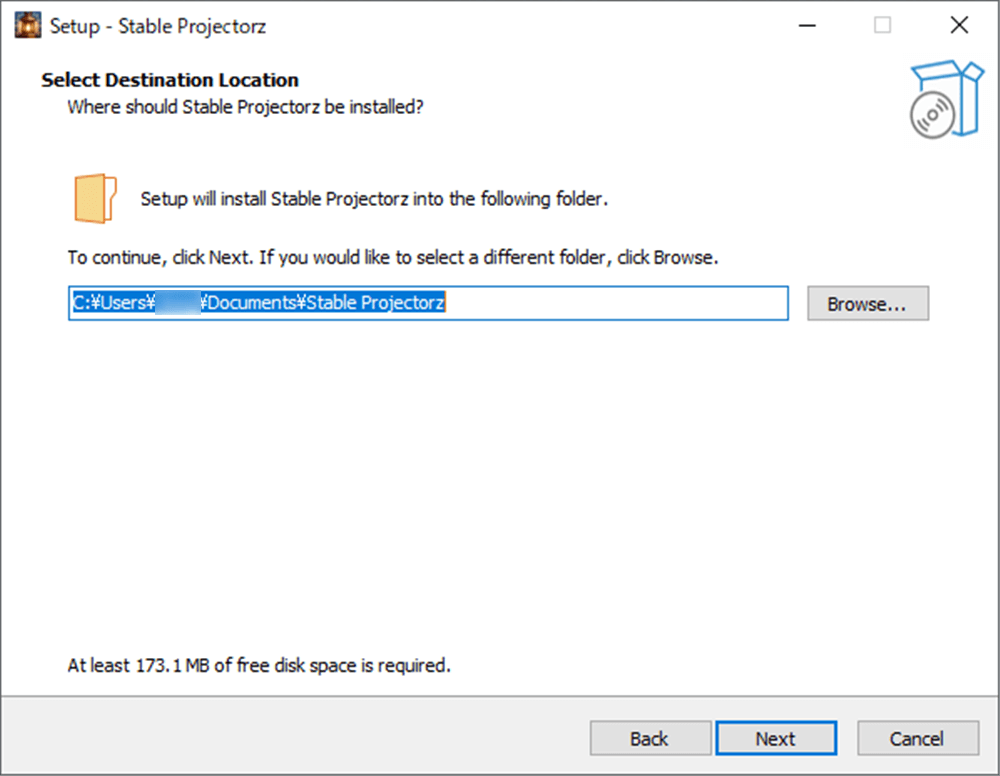
installer
installer
installer
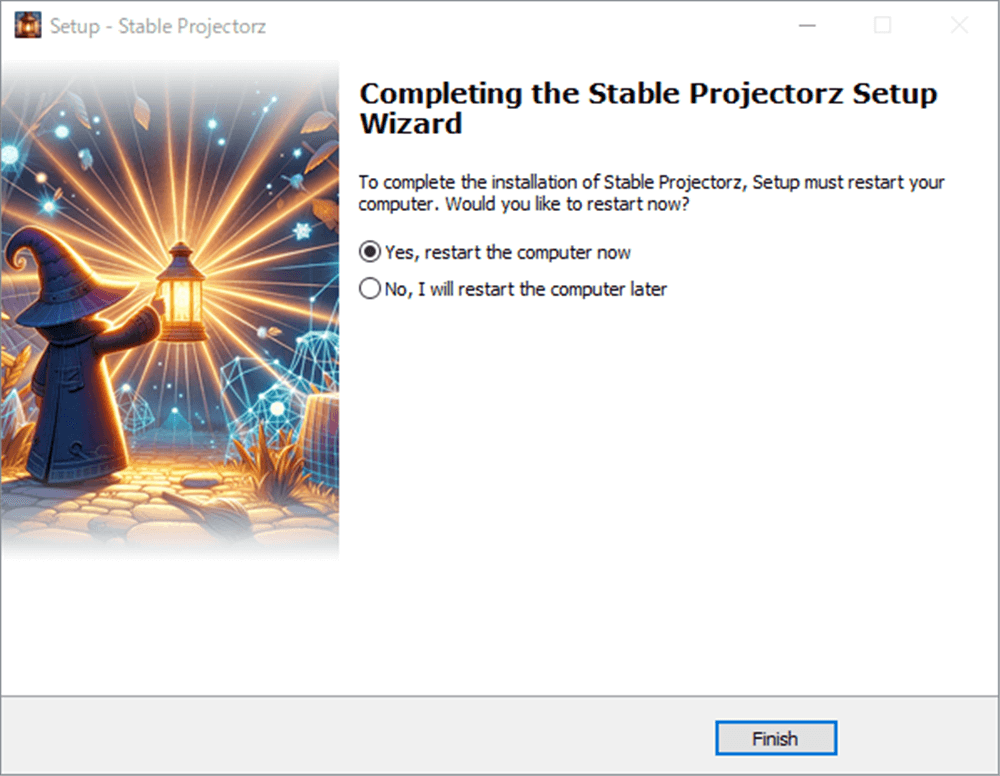
Remember to save the contents of other software before completing the installation, as the PC will need to be rebooted after installation is complete.
Finish
Restart your PC, start STABLE PROJECTORZ, and wait until the downloading of the necessary elements for Stable Diffusion starts automatically (about 5~30 minutes).

Download
When STABLE PROJECTORZ is ready to use, Stable Diffusion will automatically launch in your browser, and the radio symbol in the lower right corner of the STABLE PROJECTORZ screen will turn green.
Green mark
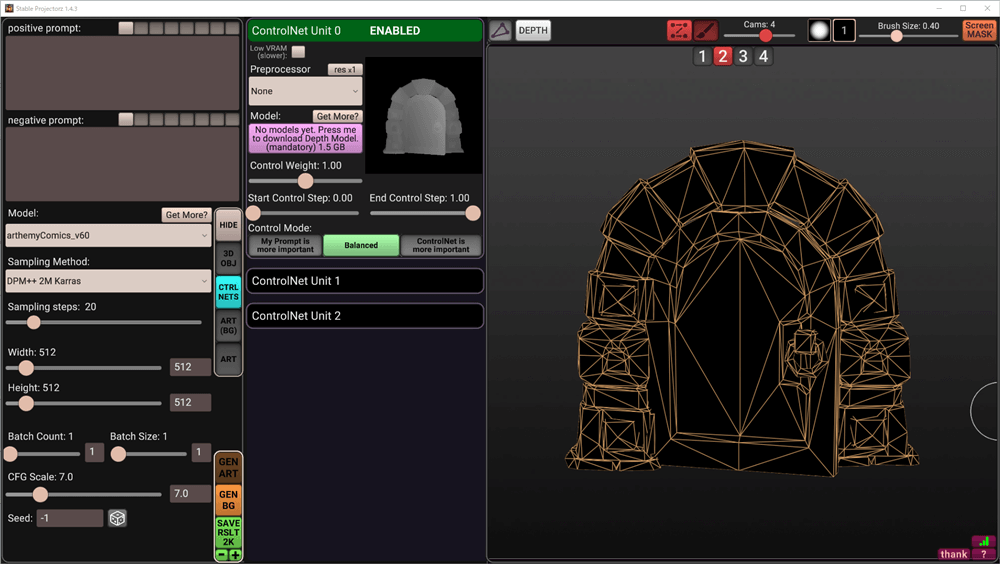
Click on the pink “No model yet.Press~” in the center of the screen to download Control NET’s Depth model.
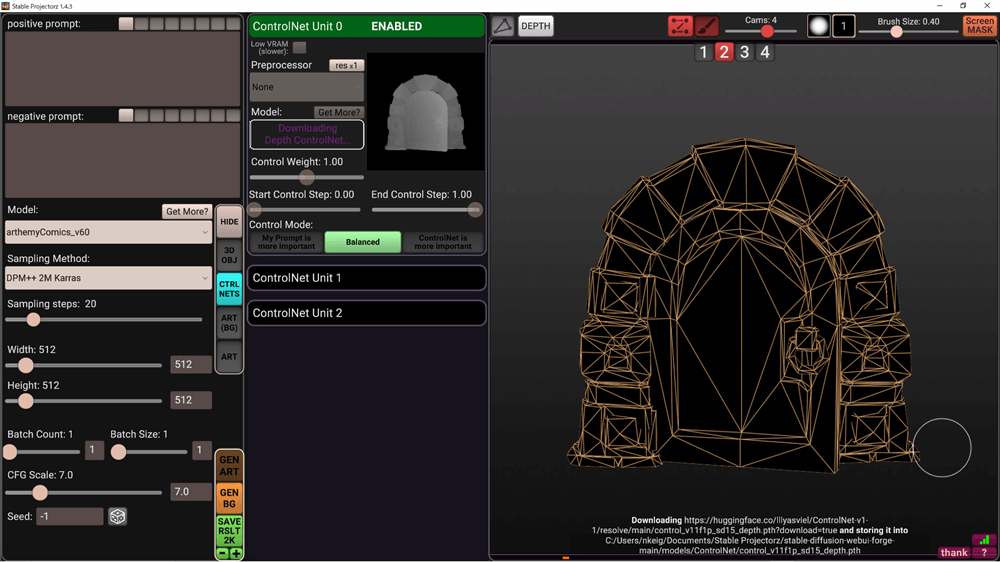
click “No model yet.Press~”
Next, go to C:\Users:ユーザ名\Documents\Stable Projectorz\stable-diffusion-webui-forge-main
and find the webui-user.bat file, right click on it and open it by editing.
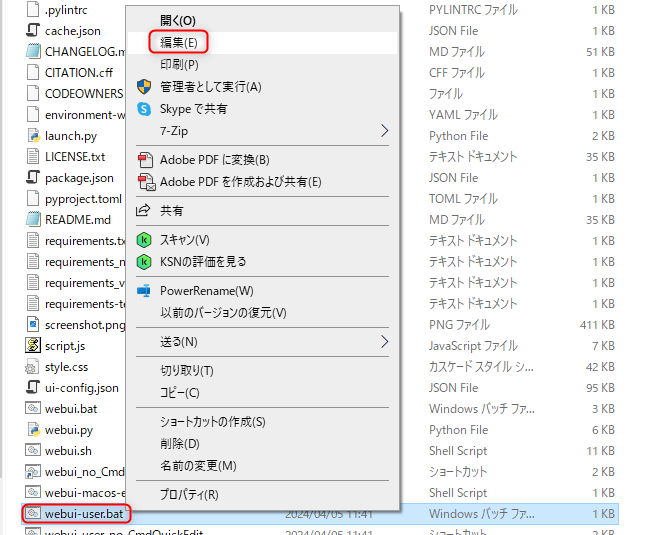
webui-user.bat→edit
Once open, find “set COMMANDLINE_ARGS= –api –skip-torch-cuda-test” and replace “skip-torch-cuda-test” with “xformers Replace “skip-torch-cuda-test” with “xformers” and save it.
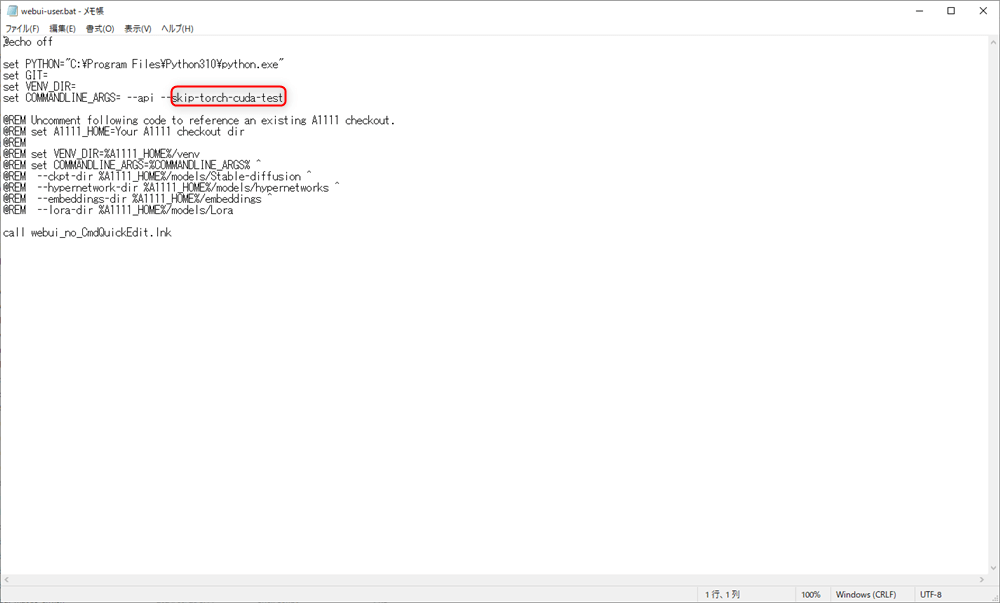
”skip-torch-cuda-test”→”xformers”
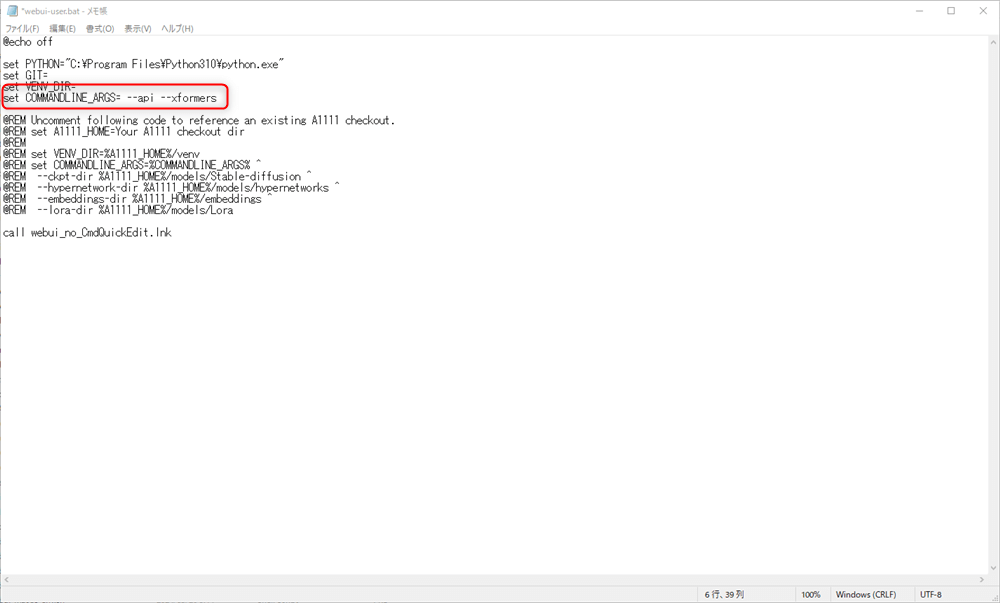
”skip-torch-cuda-test”→”xformers”
After saving, restart STABLE PROJECTORZ.
This completes the preparation.
Screen Explanation
Before explaining how to use the software, here is an explanation of the operation.
How to use
Model View
| Rotate | ALT+Left click |
| Viewpoint shift | Right click |
| Zoom in/out | ALT+Right click |
Prompt window
| Positive prompt | A place to enter a prompt. Decide what kind of texture you want. |
| Negative promt | nter the elements you do not want in the texture. |
| Model | Select the model you want to use. By default, there is only one model. |
| Sampling Method | Select the noise reduction method. Basically, “DDIM” or “DPM++2M Karras”. |
| Sampling steps | Adjusts the quality of the noise reduction. The larger the value, the more accurate the texture will be. The higher the value, the more accurate the texture, but the slower the generation speed. |
| Width & Height | Adjusts the resolution of the generated texture. |
| Batch Count | Selects the number of batch generation. The default is 1. |
| Batch Size | elects how many different images will be generated at one time. 4 is recommended. |
| CFG Scale | Decide how much to follow the prompts. The lower the number, the freer the output, and the higher the number, the more it obeys prompts. |
| Seed | Changing the seed value can produce slightly different results with the same settings. |
To save the project, press Ctrl+[S] and select a destination.
When reopening a saved project, the default screen will be displayed even if the project is opened directly by double-clicking on it.
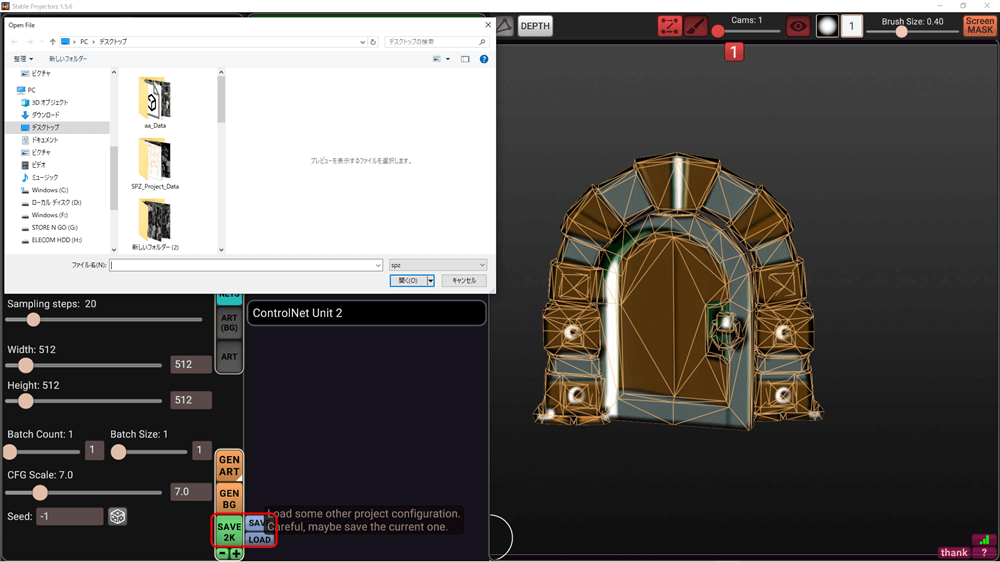
Start STABLE PROJECTORZ, hover the cursor over SAVE at the bottom of the screen and LOAD will appear, click there to start the saved model.
SAVE→LOAD
How to use
Now let’s actually generate a texture.
The model we will use this time is a mesh generated using Luma AI.
You can read more about Luma AI in the following article.
In the 3D OBJ tab, delete the default model and click Load Model to add another model.
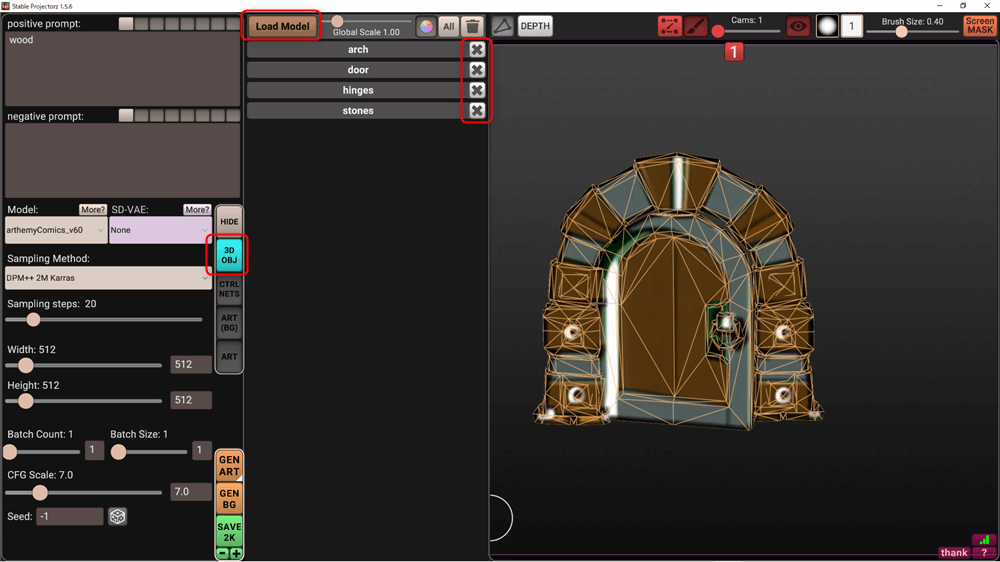
Load Model
Once added, go to the ART tab and click on BakeAO.
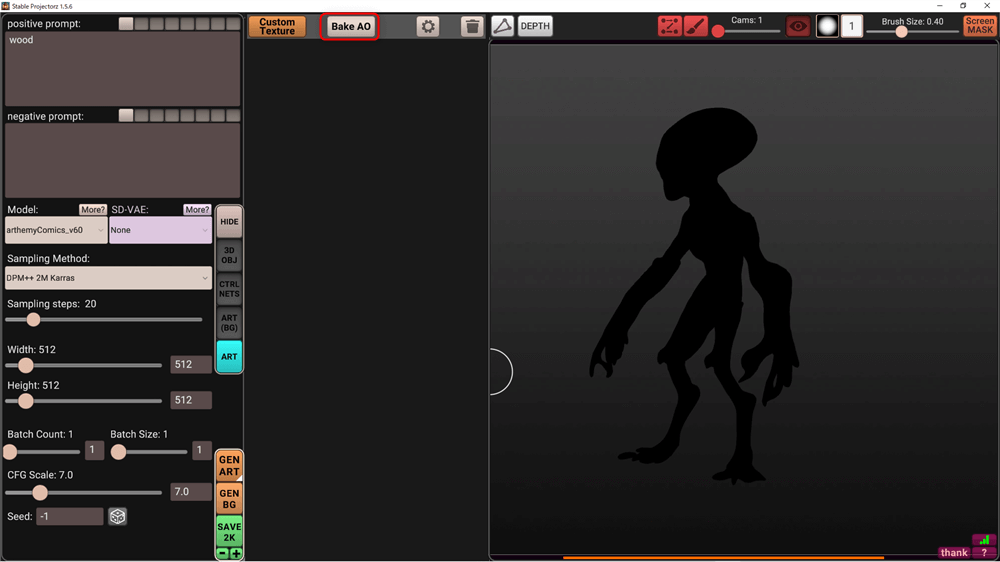
BakeAO
This will bake the ambient occlusion map.
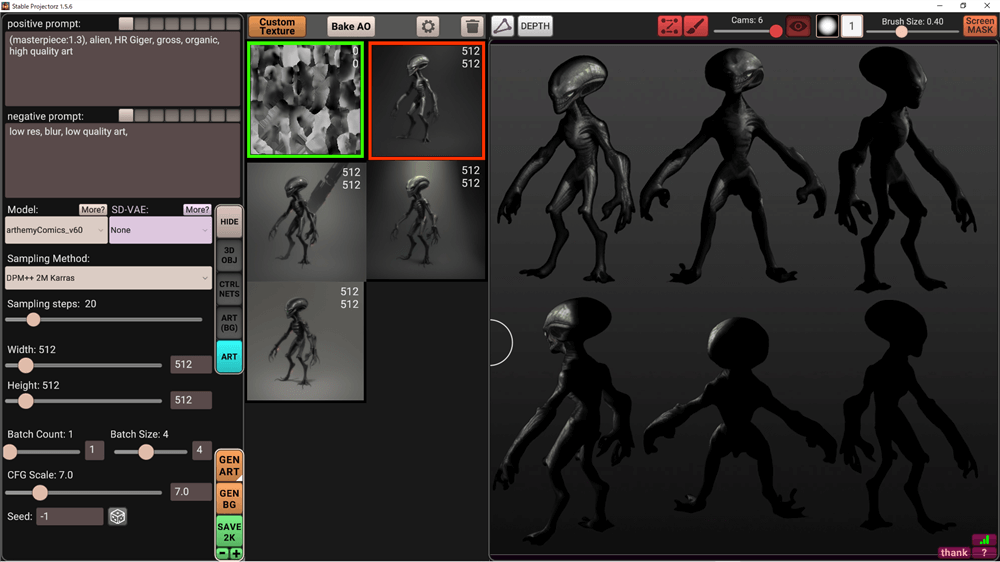
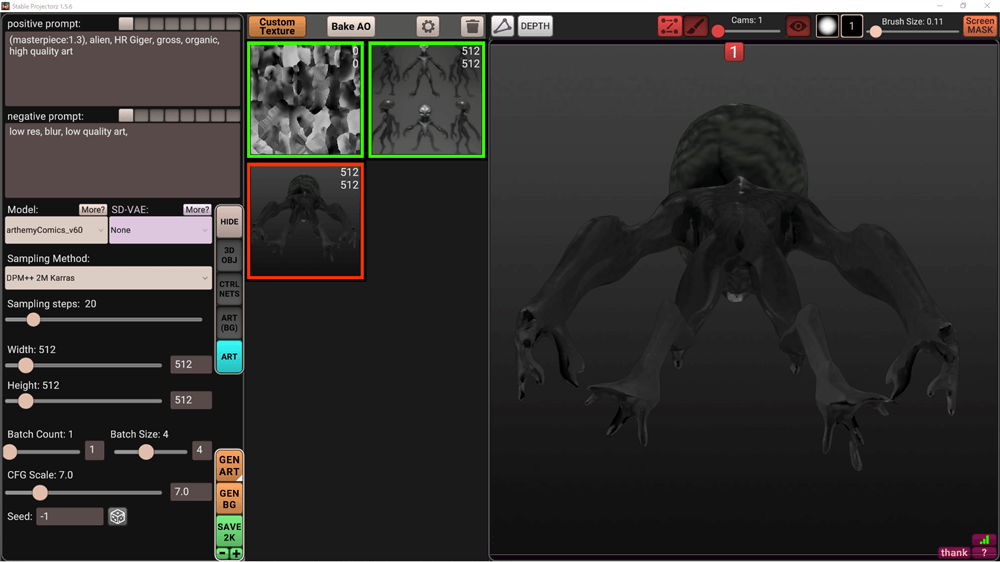
Let’s create a texture by entering a prompt once to try it out.
In this case, we want to create a texture of an alien, so we set the Positive Prompt to
(masterpiece:1.3), alien, HR Giger, gross, organic, high quality art
in the Positive Prompt, and in the Negative Prompt, enter
low res, blur, low quality art, and
in the Negative Prompt.
Once entered, change the Batch Size to 4 and click on GEN ART to start generation.
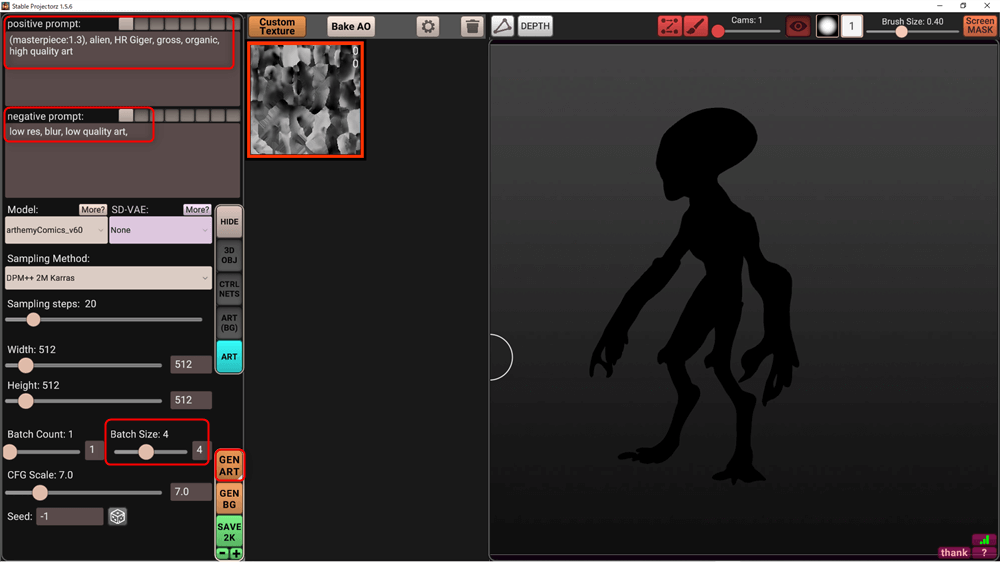
GEN ART
The texture has been generated.
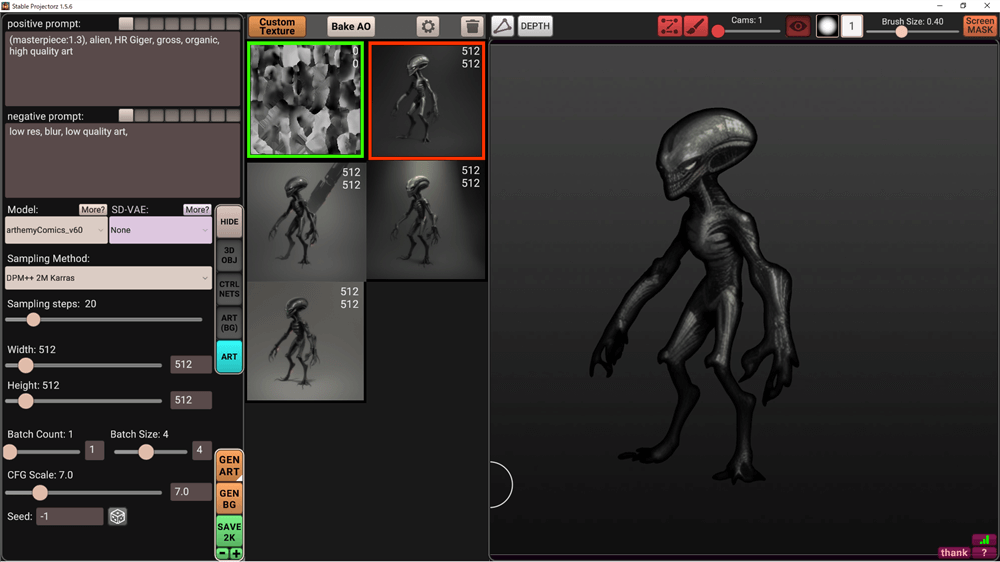
GEN ART
Now save the project.
You can save the project to an appropriate location by pressing Ctrl+[S].
When reopening a saved project, you can open it directly by double-clicking on it and you will see the default screen.
Start STABLE PROJECTORZ, hover the cursor over SAVE at the bottom of the screen and LOAD will appear, click there to start the saved model.
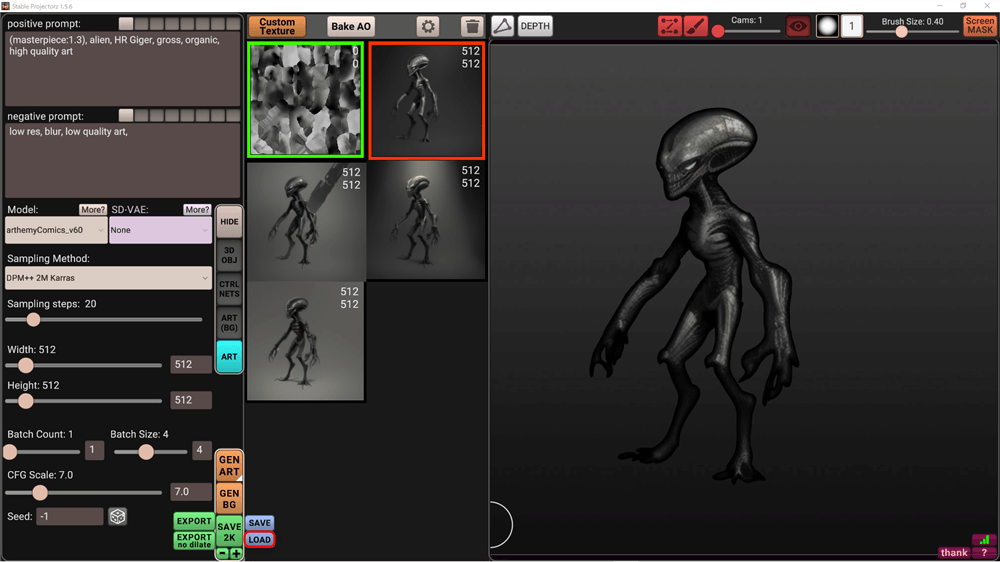
SAVE→LOAD
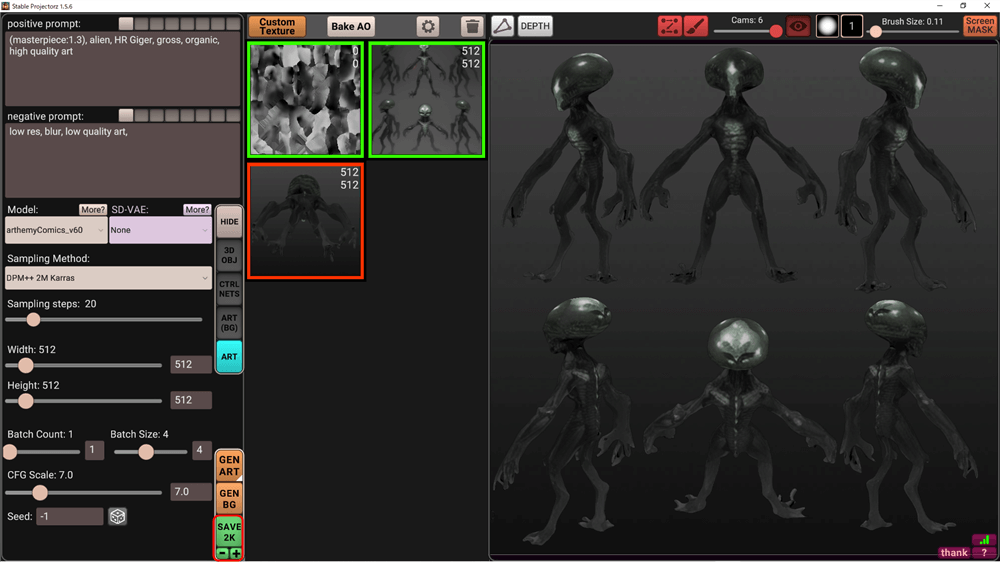
The model is placed so that the texture will be projected on all surfaces.
Slide the Cams bar in the upper right corner of the screen to increase the number of viewpoint cameras.
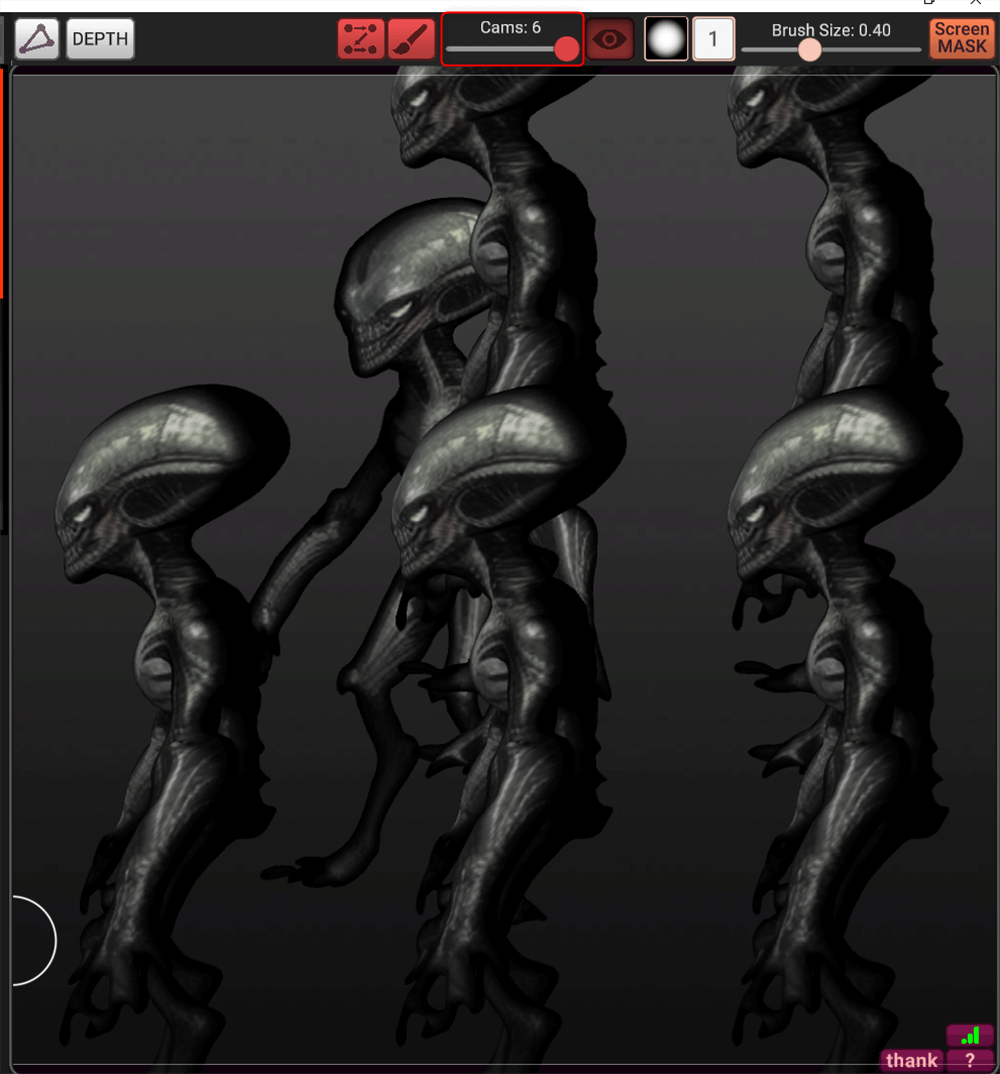
Cams
Change the camera value to 6 and hover the cursor over the model to see which camera is projecting the model at which angle of view.
Move each angle of view so that the entire model is visible.
Cams
After placing the model, click on GEN ART to generate the texture.
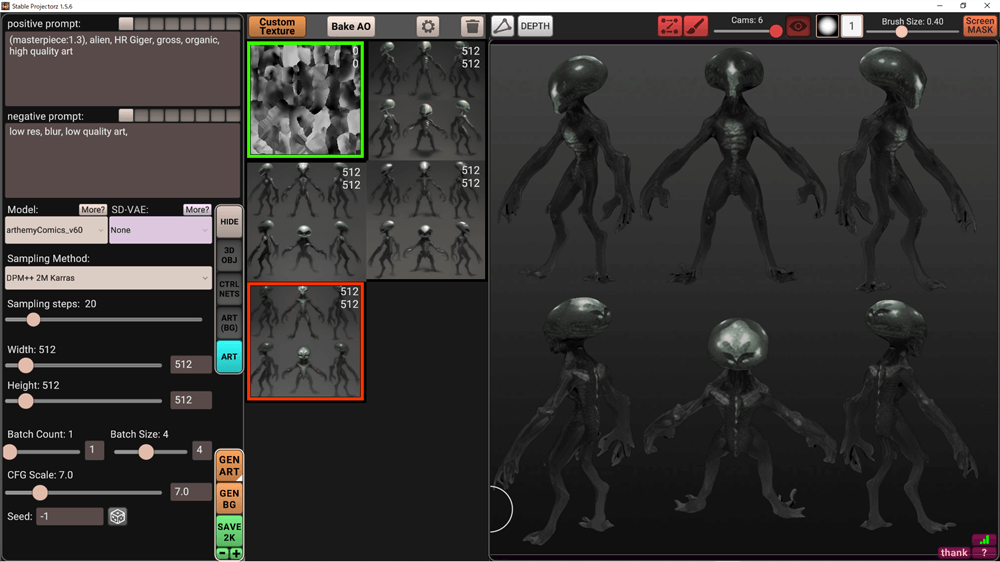
GEN ART
Check the model, and you will see that the entire model is colored, but there are some black areas.
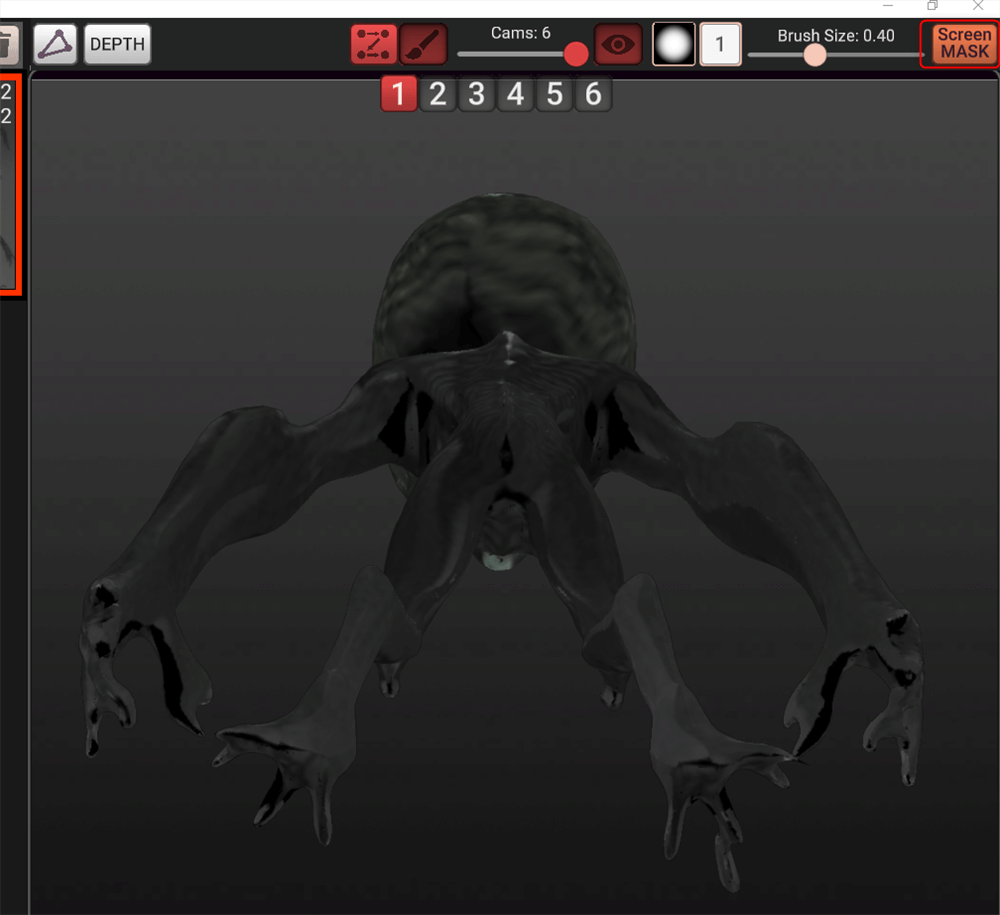
Painting Black parts
Select one of the models in the viewport so that the black areas are visible, then click on the ScreenMASK button in the upper right corner to paint the area you want to paint.
ScreenMASK
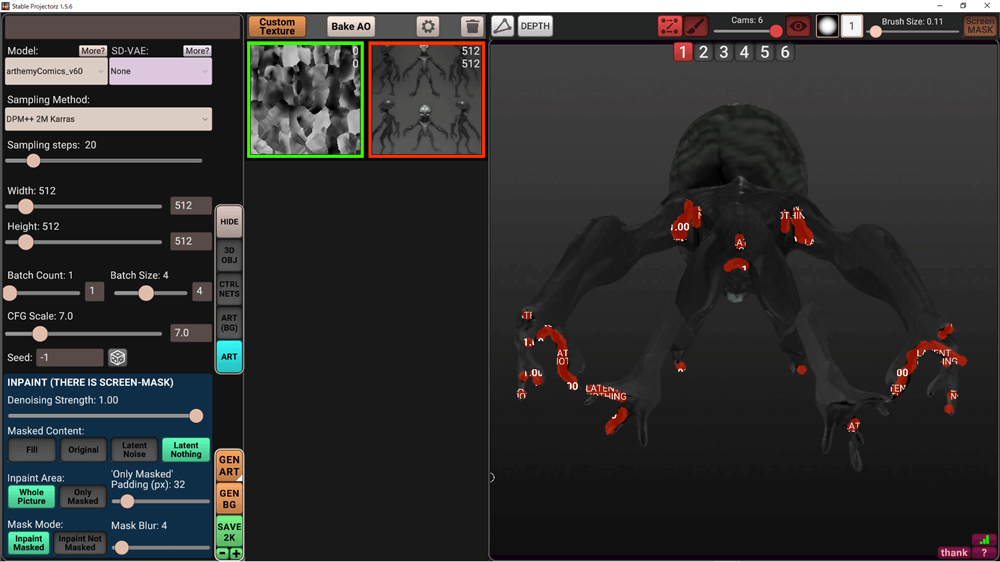
When you are done painting and click on GEN ART, a texture will be generated only for the painted area.
GEN ART
The texture will look a bit floaty compared to the rest of the image, so we will adjust the coloring.
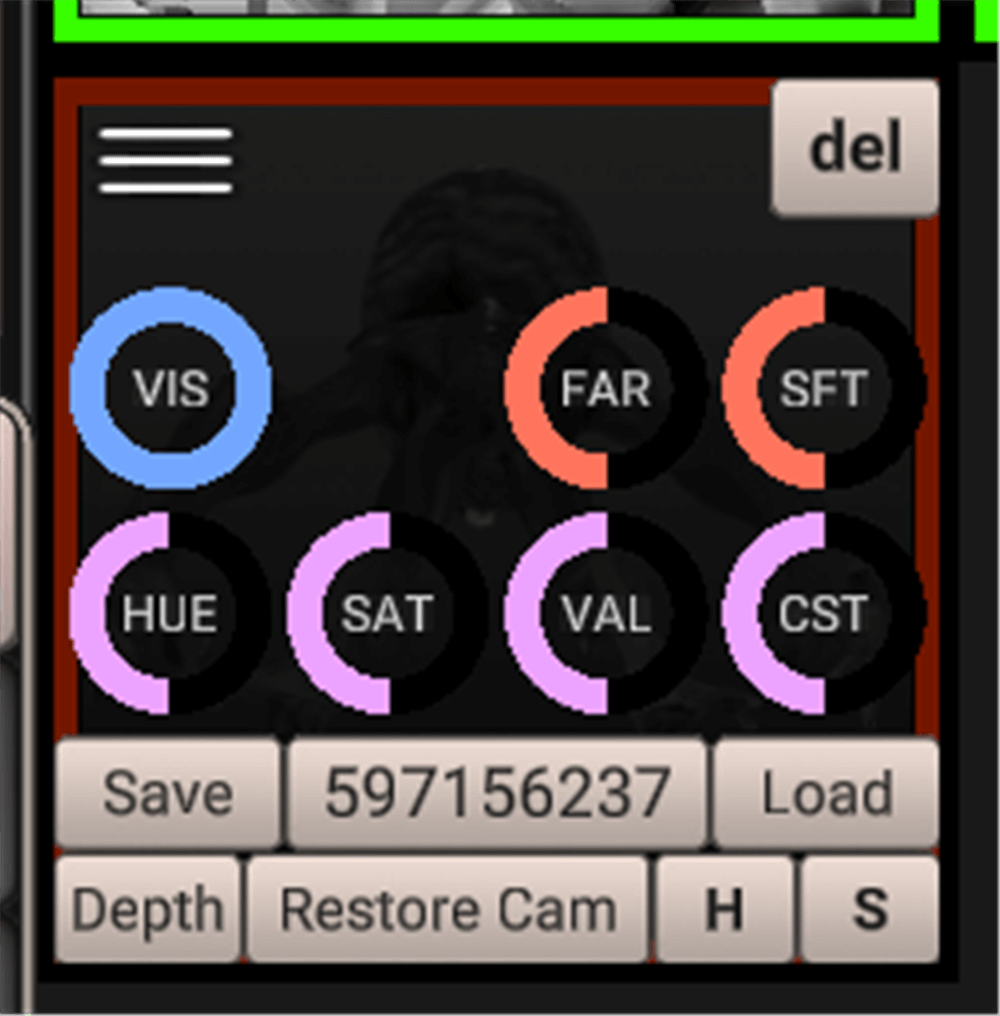
In the ART tab, move the cursor over the texture to display the circular parameters.
Drag & Scroll to change the value and adjust the color.
Drag&scroll
Exporting
Save the created texture.
Click SAVE at the bottom of the screen to save the texture.
At that time, you can select the resolution of the texture by clicking the -+ button at the bottom.
SAVE
The model is loaded in Blender. The texture is reflected.
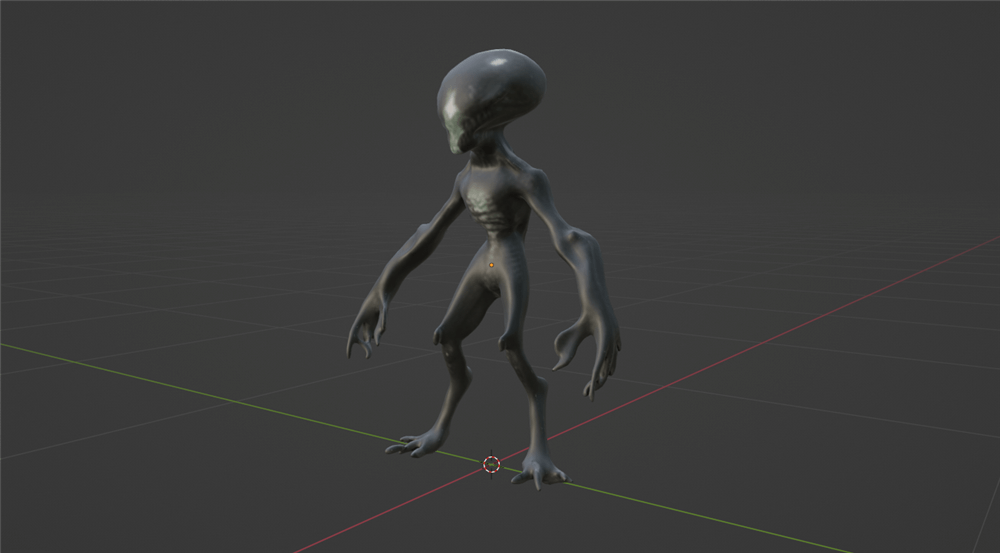
Blender
How to use other trained models
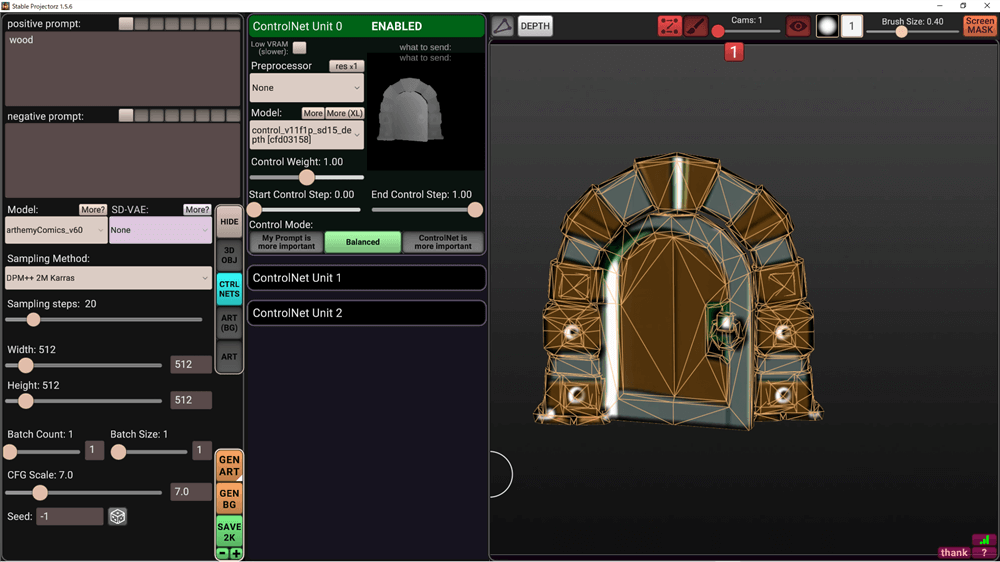
ControlNet
Go to the CTRLNETs tab and click More next to Model:.
If you want to use the SDXL model, click More(XL).
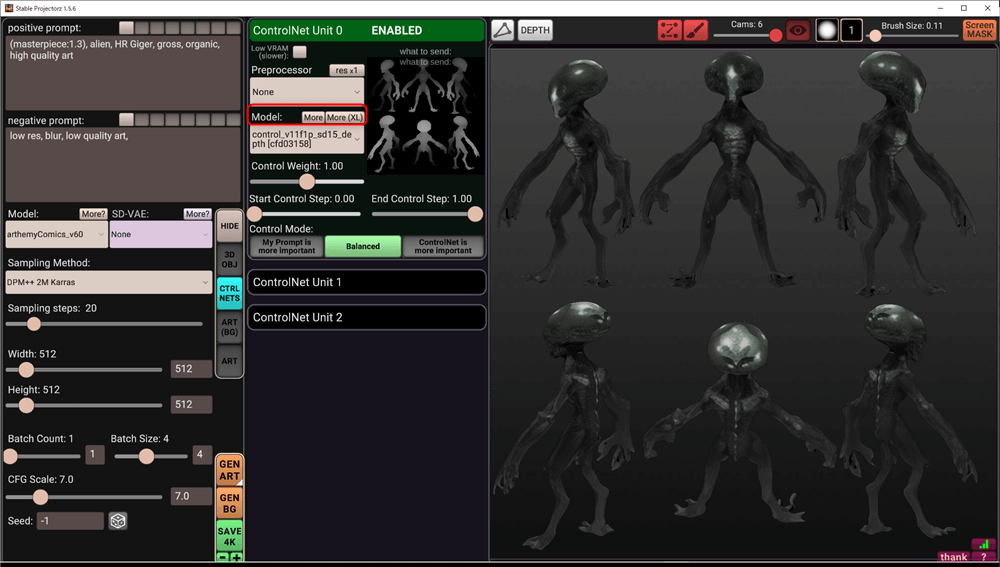
More(XL)
This will open the huggingface link and you can download any ControlNet.
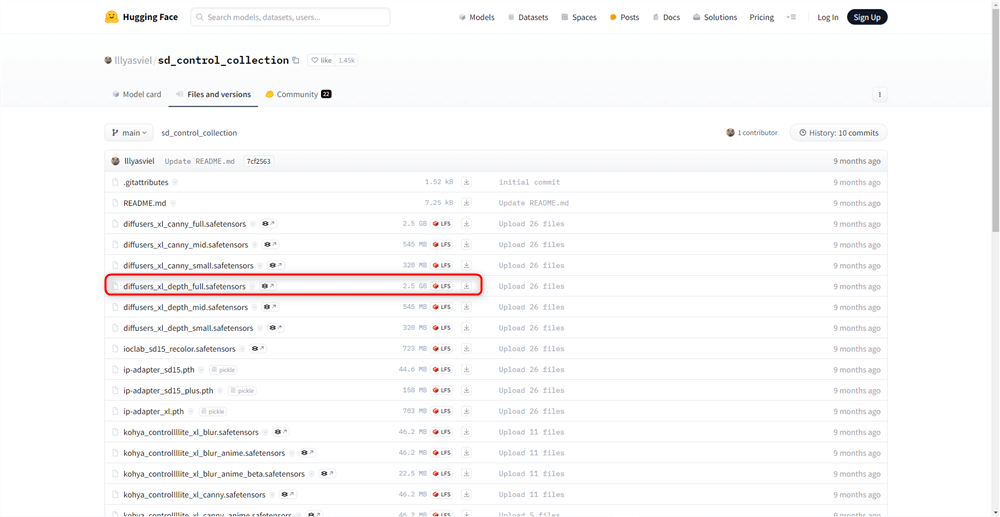
Download ControlNet
At the same time as the “huggingface” link opens, the STABLE PROJECTORZ ControlNet file will also open in Explorer, so move the downloaded ControlNet there.
Then go to the CTRLNETs tab in STABLE PROJECTORZ and click on Model to see the ControlNet you just added.
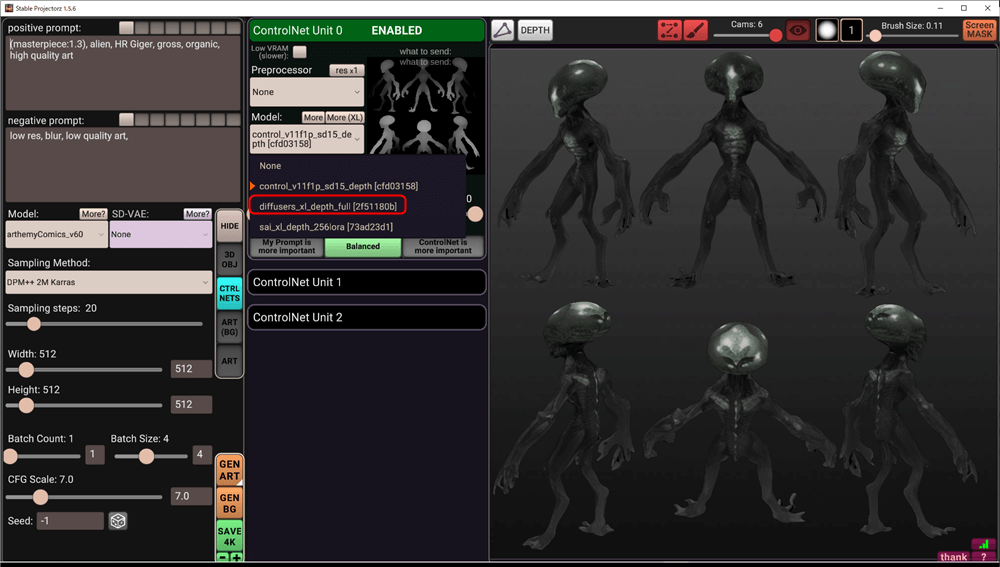
STABLE PROJECTORZ→ControlNet
Model
Click “More?” next to Model: on the left side of the screen to open the CIVITAI website. Download the BaseModel of your choice from this site.

Model→More?

CIVITAI
As soon as the CIVITAI link opens, the STABLE PROJECTORZ Stable-diffusion file will also open in Explorer, so move the downloaded model there.
Then go to STABLE PROJECTORZ and click on Model to see the model you just added.
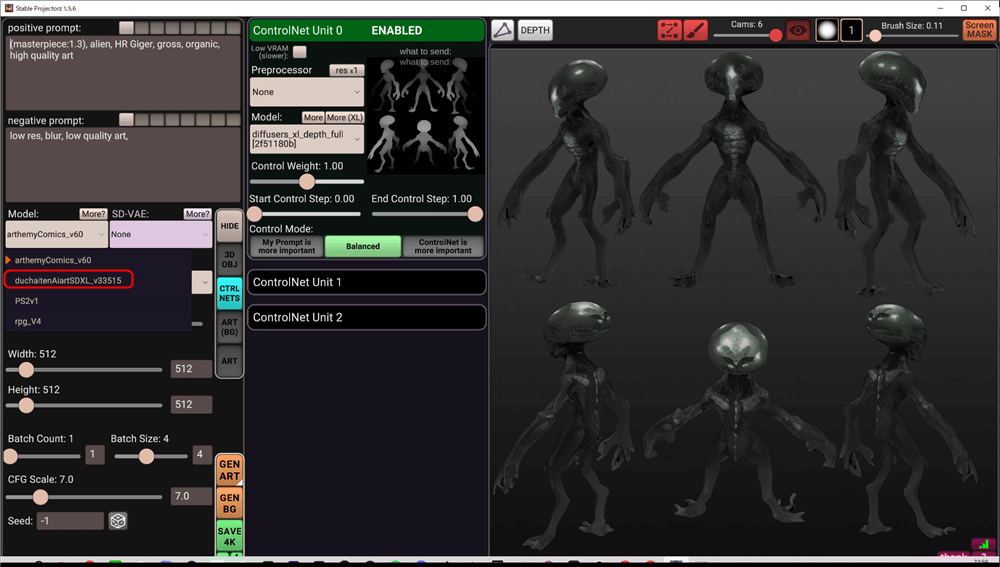
STABLE PROJECTORZ→Model
Note that models with XL in the name are only compatible with ControlNet, which also has XL in the name; if you use an SDXL model and a non-XL ControlNet, an error message will appear and no texture will be generated.
For more detailed information and updates, please visit STABLE PROJECTORZ homepage and Discord server.
Uploading to STYLY
Let’s actually upload the scene to STYLY and use it.
This time we will upload the Unity scene directly to STYLY.

account
