This article explains how to create a sci-fi effect using the Dissolve material in Unity.
The word “Dissolve” means “to dissolve”. As the word suggests, the Dissolve material can be used to randomly erase meshes.
We will combine this Dissolve material with animation to create a science fiction-like effect.

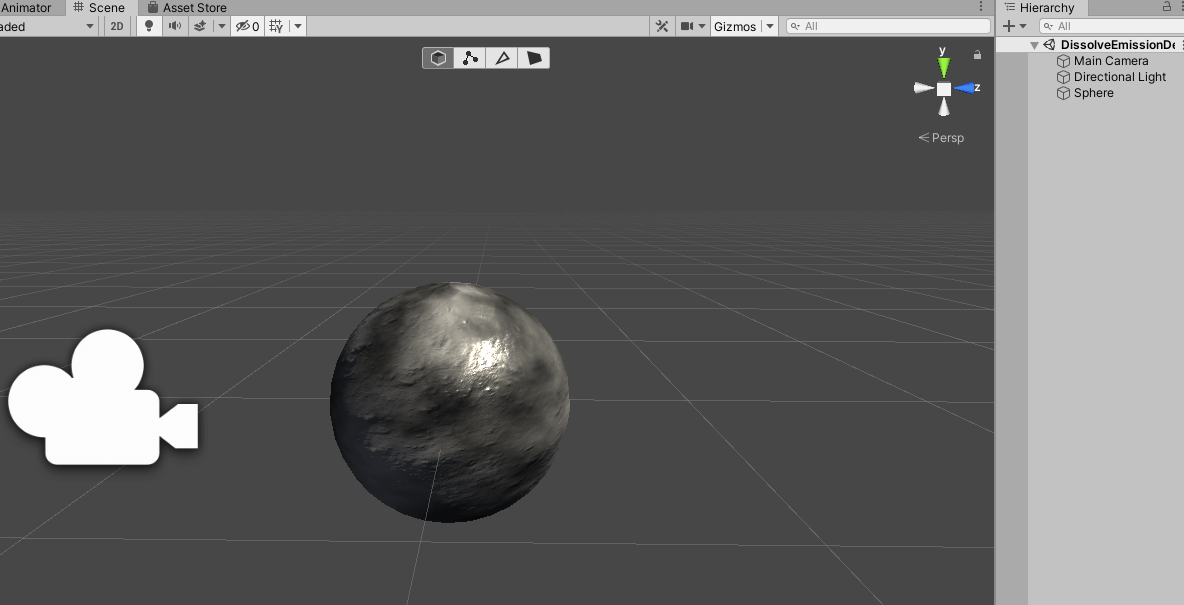
Example of Dissolve effect
Sample
This is a sample scene using the Dissolve material.
Let’s try to see what we can create.
Importing the Simple Dissolve Shader
The Dissolve material we will use this time is the “Simple Dissolve Shader”, which is distributed for free at the Asset Store.
Let’s access the “Simple Dissolve Shader” from the Asset Store.
https://assetstore.unity.com/packages/vfx/shaders/simple-dissolve-shader-123865
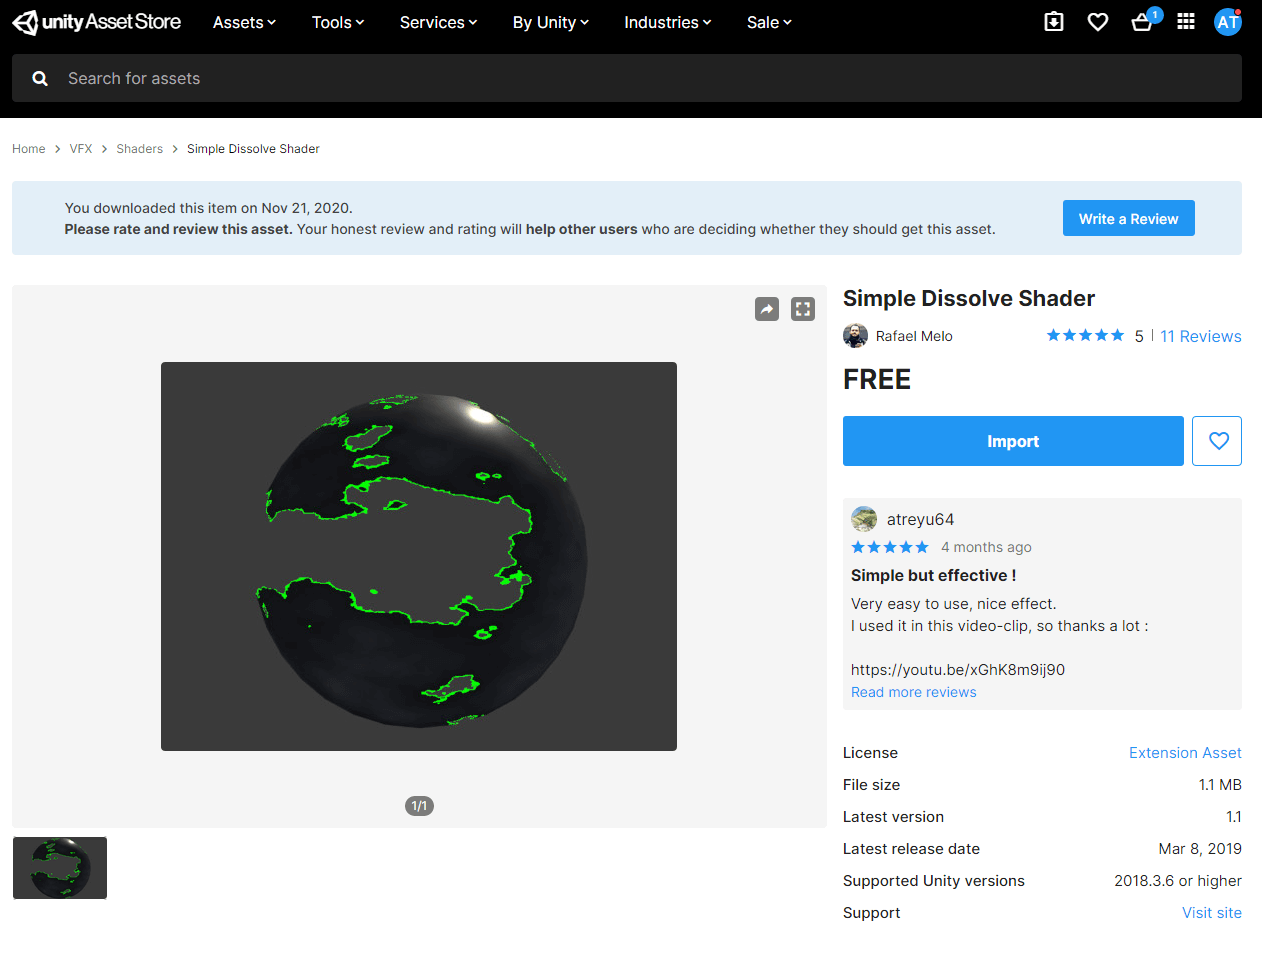
Simple Dissolve Shader
Download > Import, and prepare it in your project.
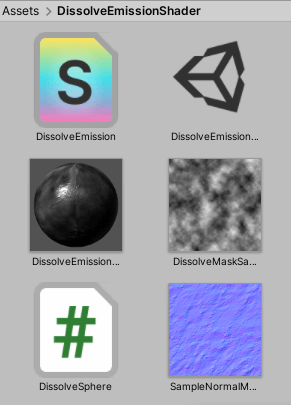
Contents of the package
We are now ready to start.
Setting up the material
Let’s attach the material to the 3D model and set the parameters.
First, we will create a Sphere in the scene.
Right-click on the Hierarchy window and select 3D Model > Sphere.
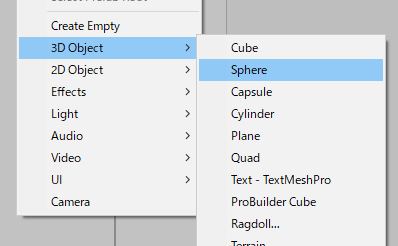
Creating a Sphere
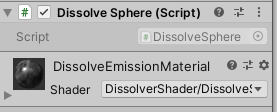
After creating the Sphere, let’s attach the DissolveEmissionMaterial to it.
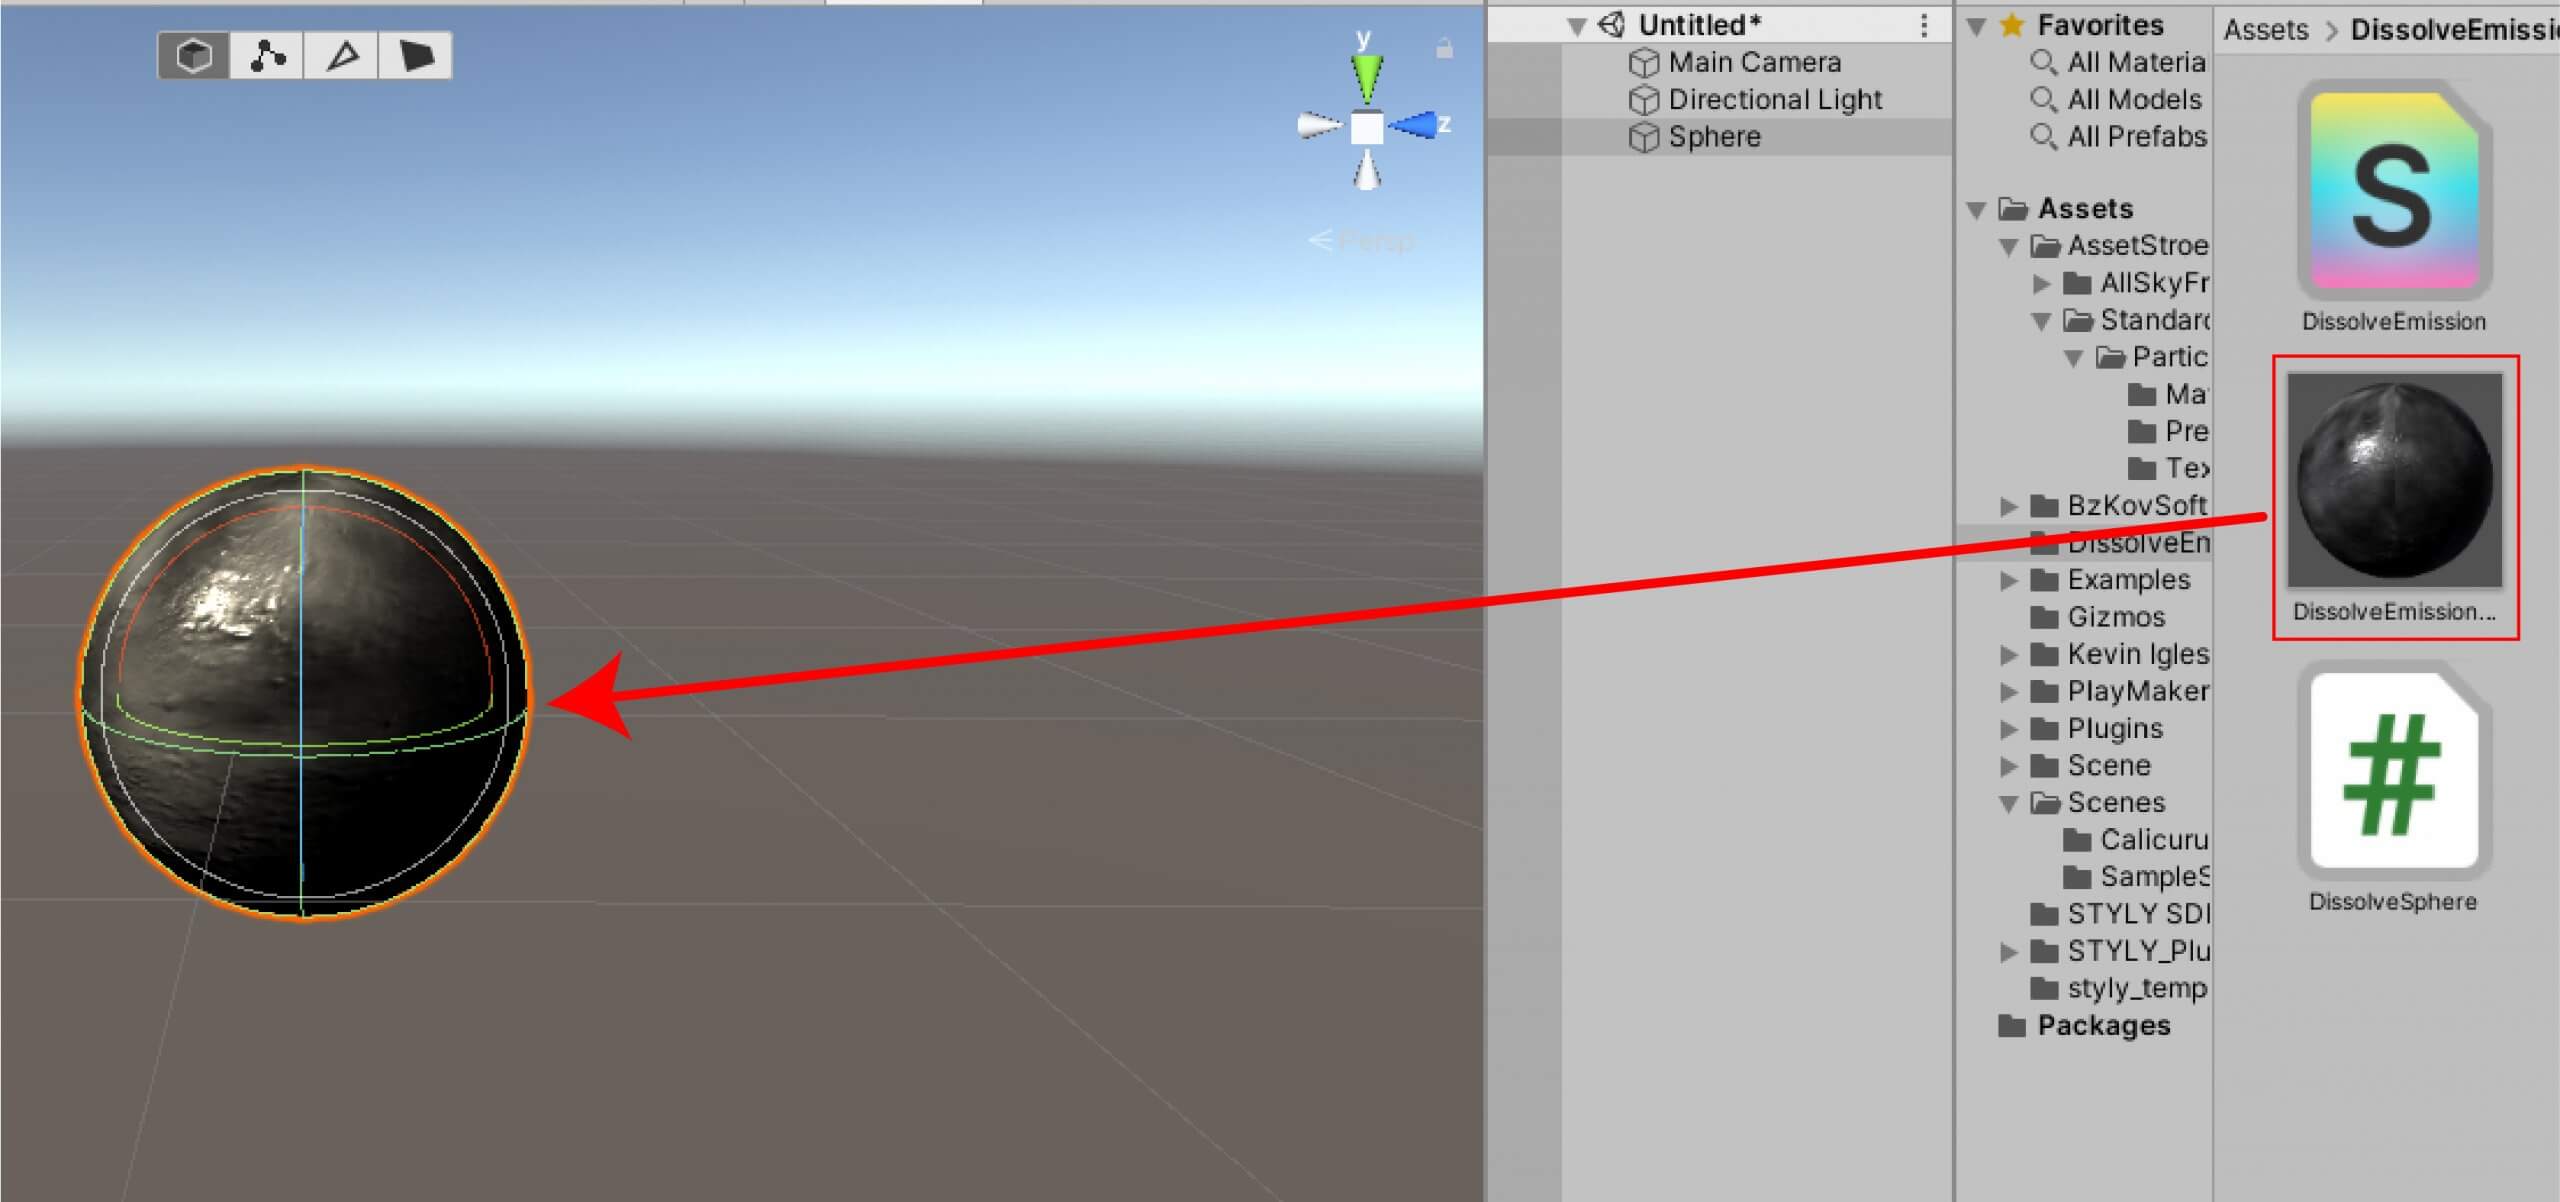
Attaching a material
With DissolveEmissionMaterial selected in the project window, bring up the Inspector window.
Then you can see the material items.
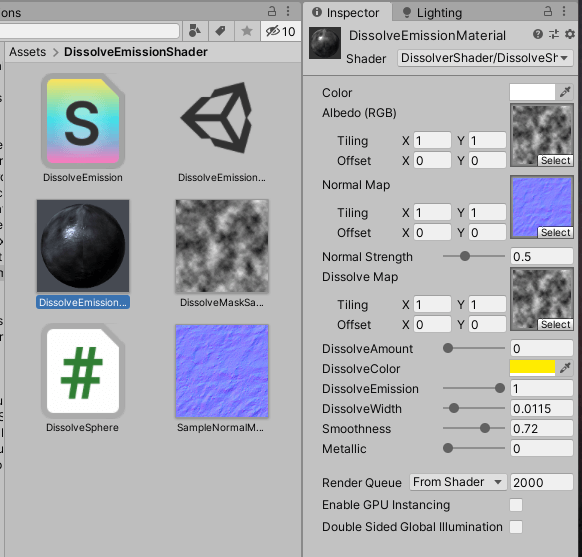
Each item of the material
You can create your own Dissolve material by adjusting each parameter.
In this article, I will explain only the most frequently used parameters.
DissolveAmount
DissolveAmount sets the amount (Amount) to dissolve.
When the value is 0, the material does not dissolve, that is, it does not change.
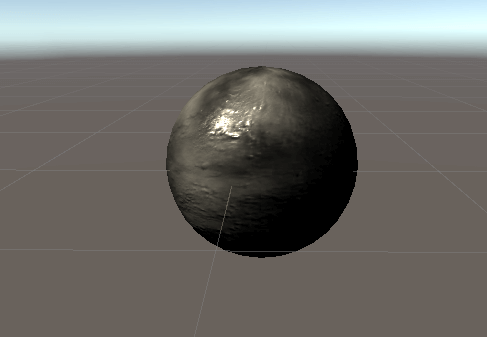
When the value is 0
When the value is 1 (=100%), Dissolve is 100%, which means that all the data has been dissolved.
In other words, everything disappears.

State with a value of 1
By setting this value to the midpoint, you can make it almost disappear.
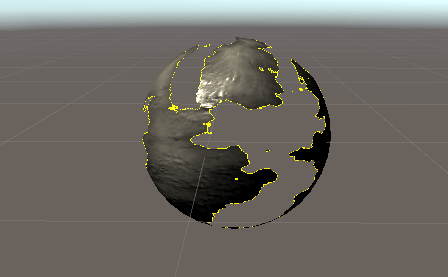
When the value is 0.4
By setting this value to the middle point, you can create a disappearing state.
See below for details.
DissolveColor
DissolveColor is the color of the boundary line when dissolving.
You can change it to any color you like.
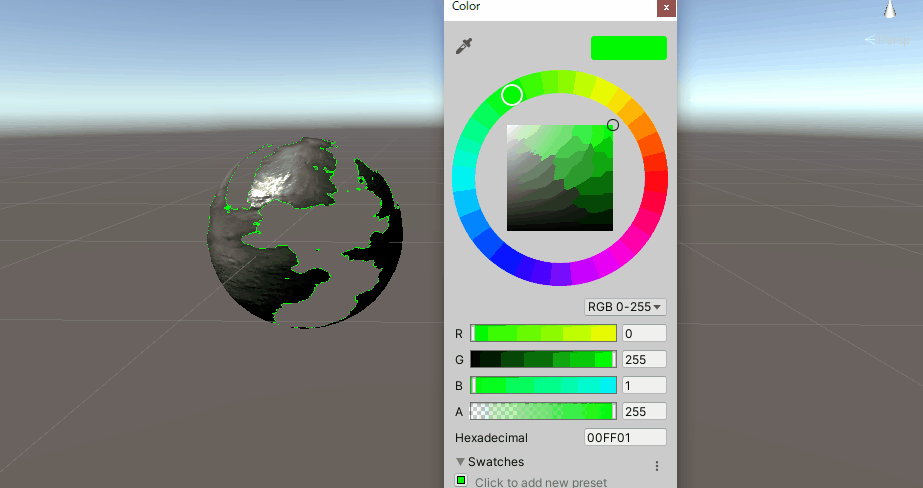
Setting DissolveColor
The above two are the basic settings.
Adjust the other settings to create your original material.
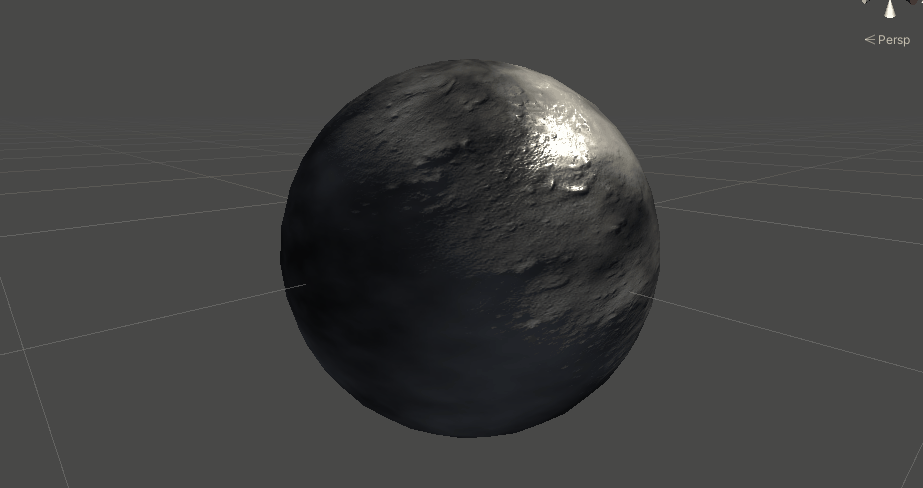
Creating a science fiction-like effect
Let’s open the “DissolveEmissionDemoScene” in the imported assets.
Inside the demo scene
We have a Sphere with a material attached to it.
Let’s play this scene.
The Dissolve value of the material changes, disappearing and appearing.
Dissolve effect example
This effect is generated by the C# script attached to the Sphere.
C# Script
However, C# scripting is not STYLY supported in STYLY.
Therefore, we will use animation to create the effect.
Prepare a Sphere
Create a Sphere using the Sphere we just created or a new scene.
We will attach a Dissolve material to the Sphere.
It should look something like this
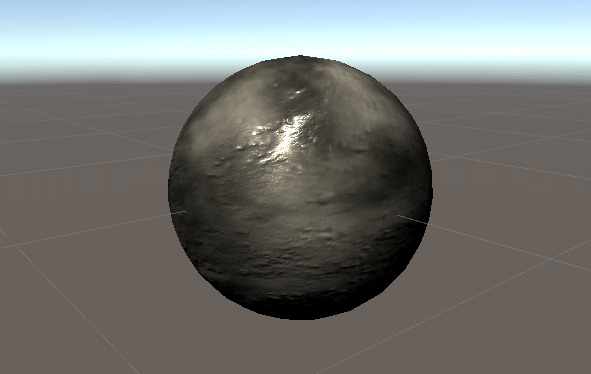
Sphere with the Dissolve material attached
Create the animation
We are going to animate the Dissolve material on this Sphere.
First, we will display the animation window.
Select Window > Animation > Animation from the top menu bar to display the animation window.
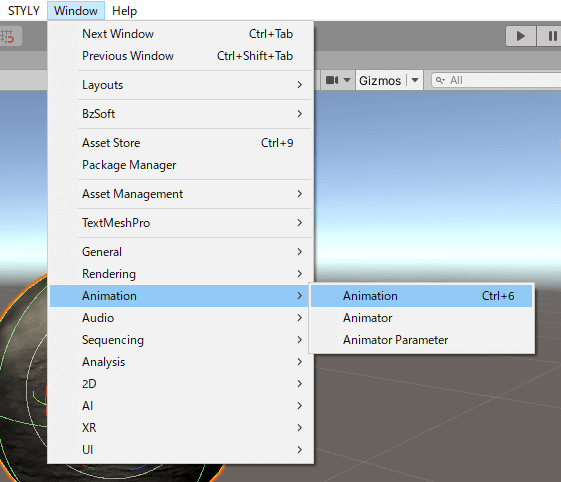
Display the Animation Window
Once the Animation window is displayed, select the Sphere, and then select Create.
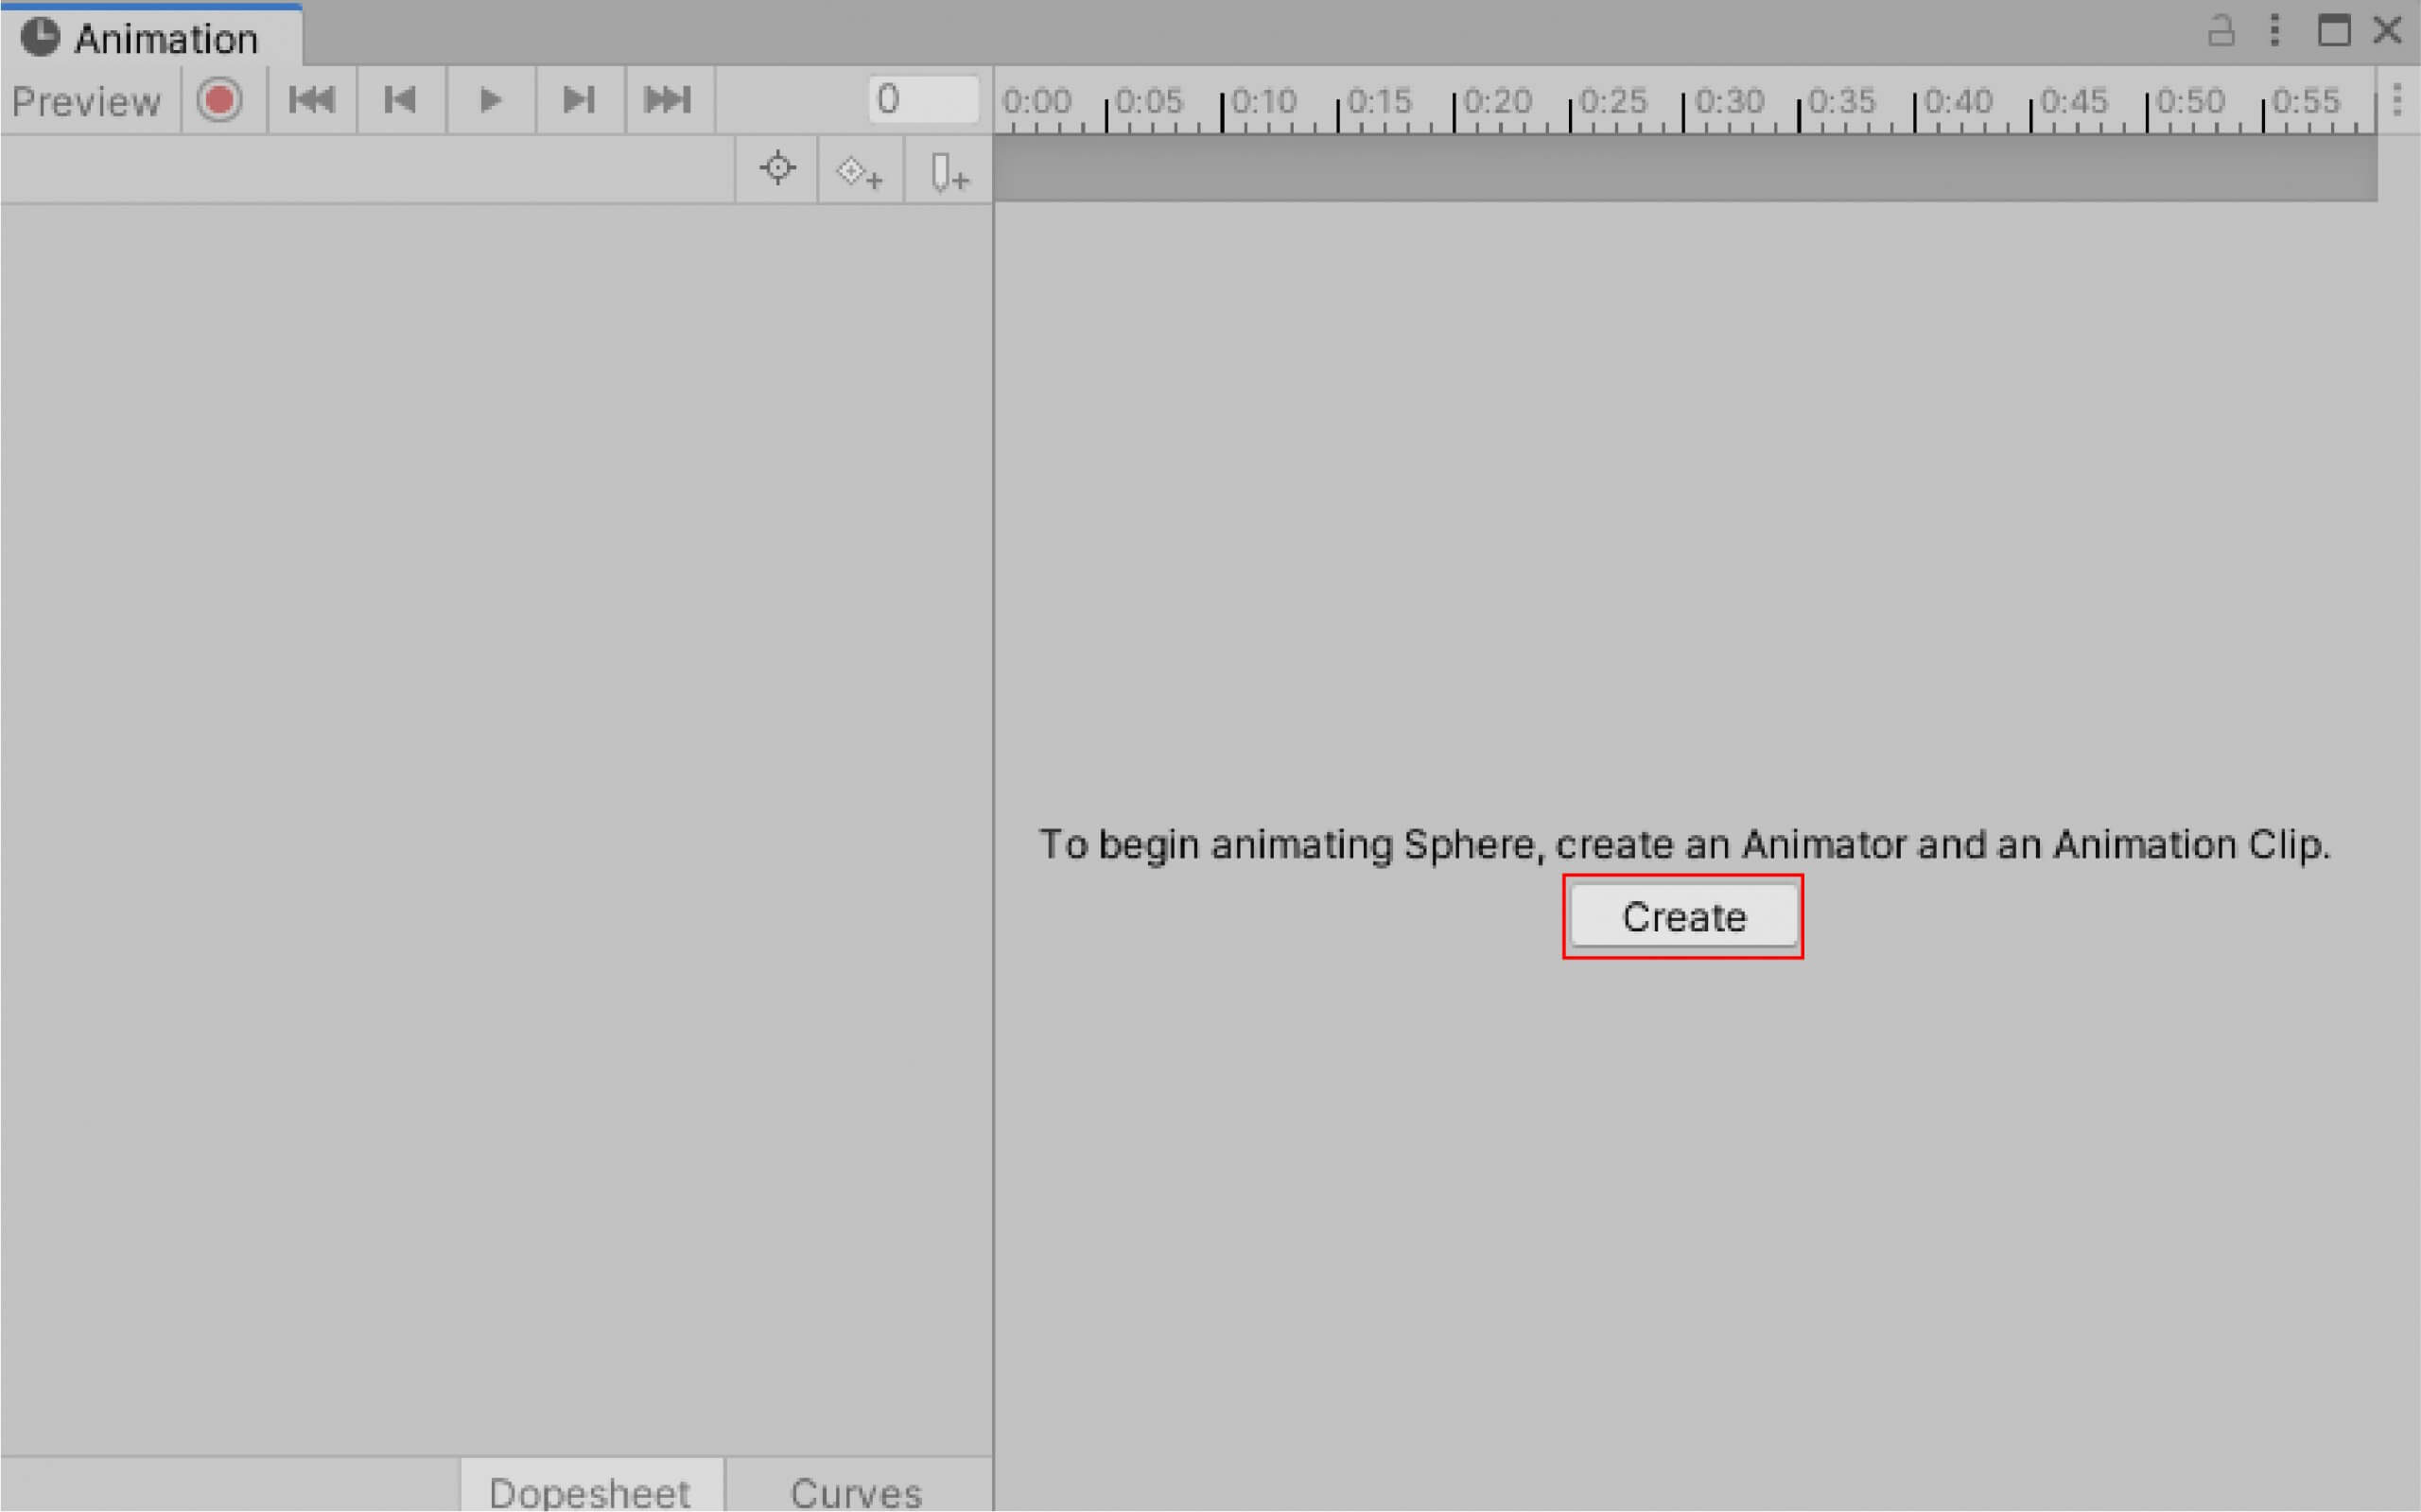
Select Create
A file save dialog will appear. Save the animation file to a desired location in the project with a desired name.
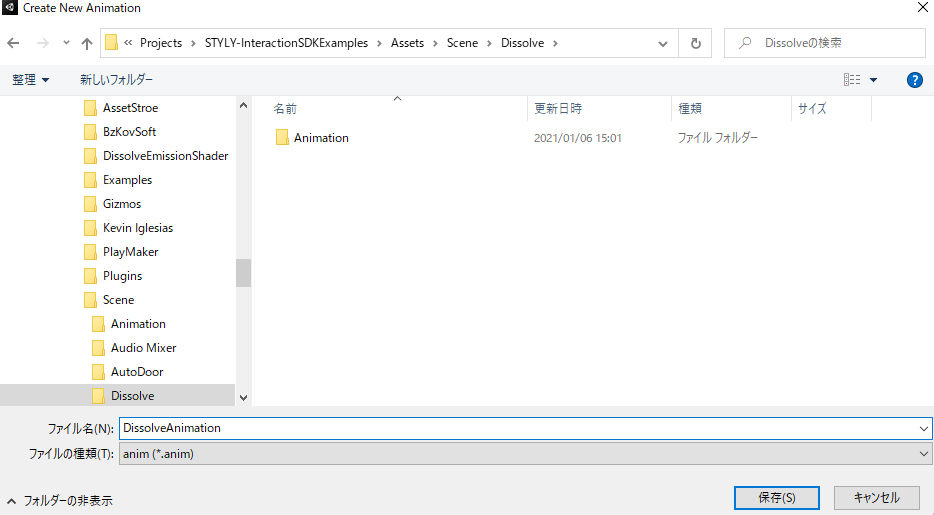
File Save Dialog
When the following message appears, your animation is ready.
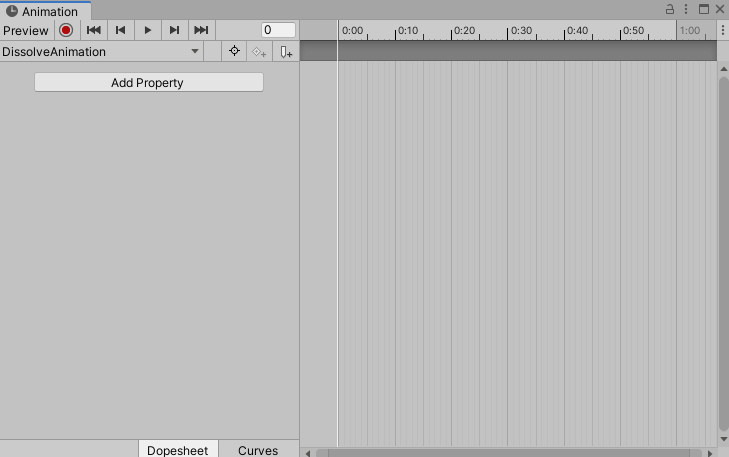
Animation is ready
Select Add Property > Mesh Renderer > (with right mouse click) Add Properties.
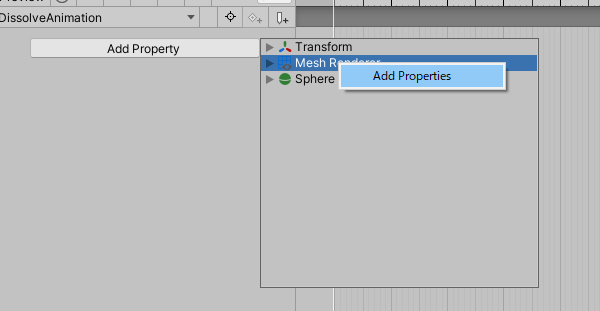
Select Add Properties
Each setting item will be displayed.
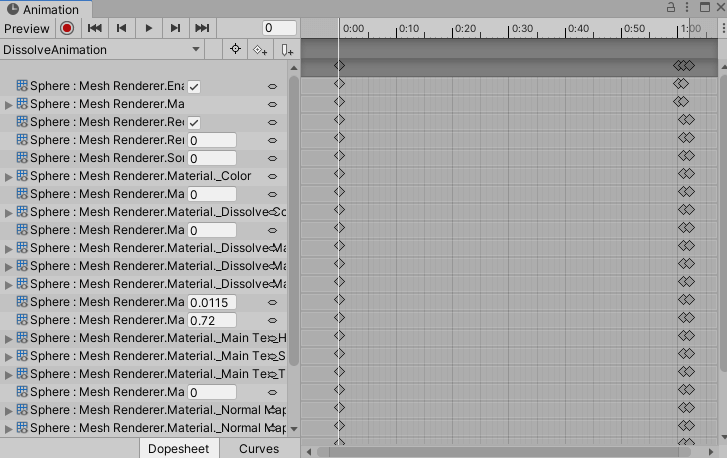
Animation Settings
This time, we will change the value of Material_Dissolve Amount.
Set the vertical bar of the sequence to the 0:30 position.

Adjusting the sequence
Let’s set the value of Mesh Renderer.Material._Dissolve Amount to 1.
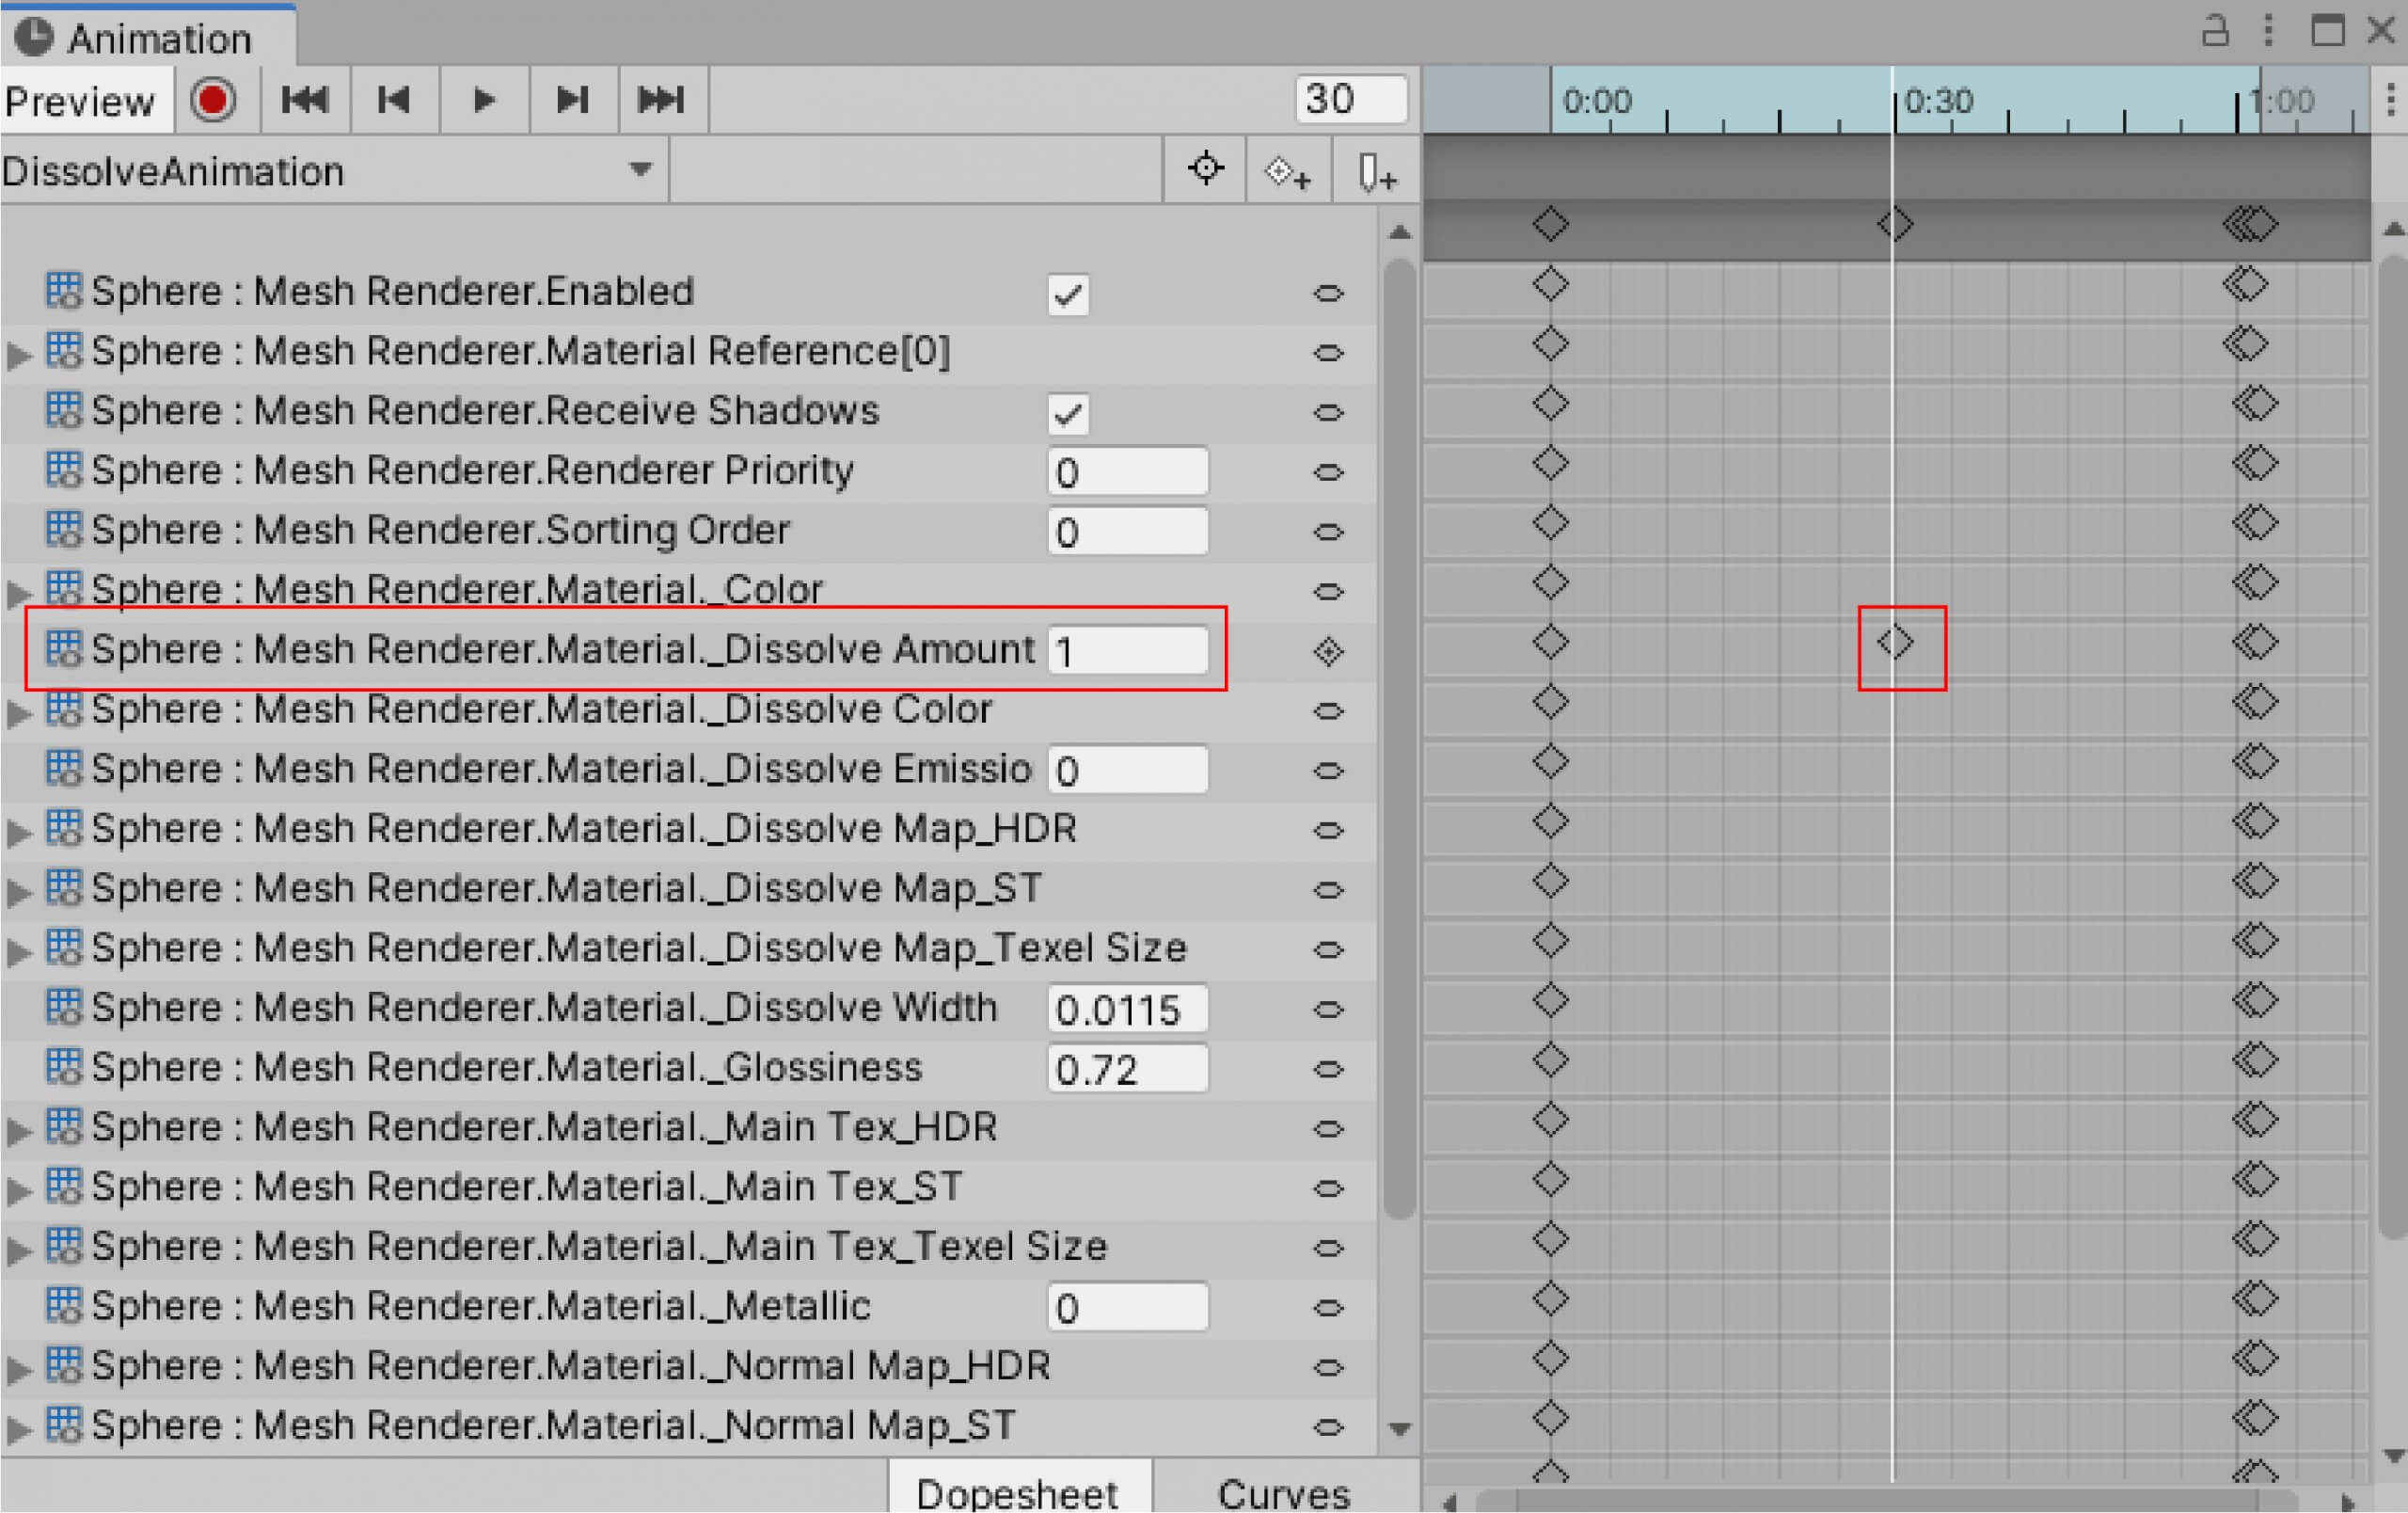
Changing the value
Next, we will change the length of the animation time. In the current case, the animation changes in 1 second, which is too fast.
Let’s set the sequence of actions from disappearing to reappearing to 5 seconds.
Select all the keyframes at the top of the sequence and make them wider.
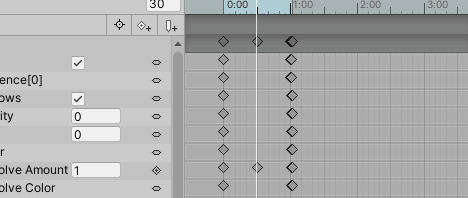
Time Adjustment
We are now ready to create the animation.
In the project window, check the animation file you just created and make sure that Loop Time is checked.
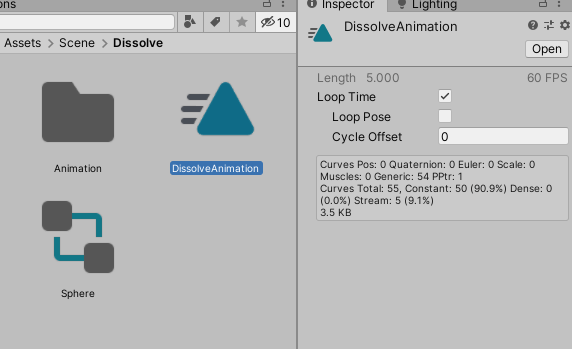
Check the check mark
If there is no check mark, the animation will not loop.
The settings are now complete. Let’s play it back.
If the Dissolve animation plays, it is successful.
Completed Dissolve animation
Let’s upload it to STYLY and use it effectively!
Upload to STYLY
Let’s upload the file to STYLY. This time, we’ll upload it in a prefab.
How to upload a prefab from Unity to STYLY

Let’s upload the timeline scene we created to STYLY.
If your scene is too large to upload to STYLY, please refer to this article.
How to create an account

Introduction to NEWVIEW SCHOOL ONLINE
NEWVIEW SCHOOL ONLINE is now open! Learn the basics of Unity and PlayMaker, necessary for creating VR/AR content, and learn the process (and creation techniques) for developing attractive content available on STYLY.
- Create VR/AR content without writing any programming code.
- Professionally supervised Unity courses available.
- Explore additional elements, such as photogrammetric production methods and content lightening.
- Learn the concept of creating VR/AR content.
