In this article, I will show you how to create a simple house with the modeling tool ProBuilder.
ProBuilder is a tool that allows you to model intuitively in Unity.
Also, by using the tool ProGrids at the same time, you can easily create linear objects such as buildings and rooms.
Advance preparation
How to import ProBuilder and ProGrids
I’m going to Import ProBuilder and ProGrids.
Click on the Window tab at the top of Unity and click on Package Manager.
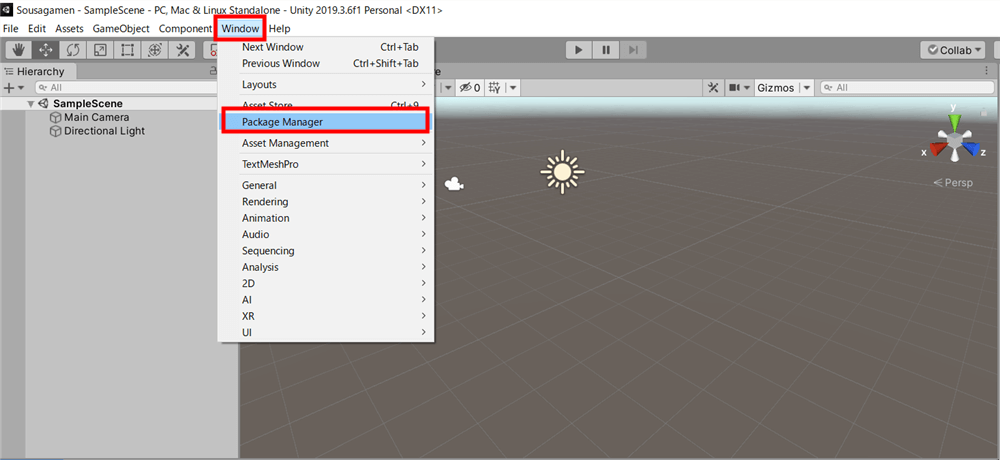
Open the Package Manager
When the Package Manager opens, search for ProBuilder in the form on the upper right to display it.
Click the Install button at the bottom right to install.
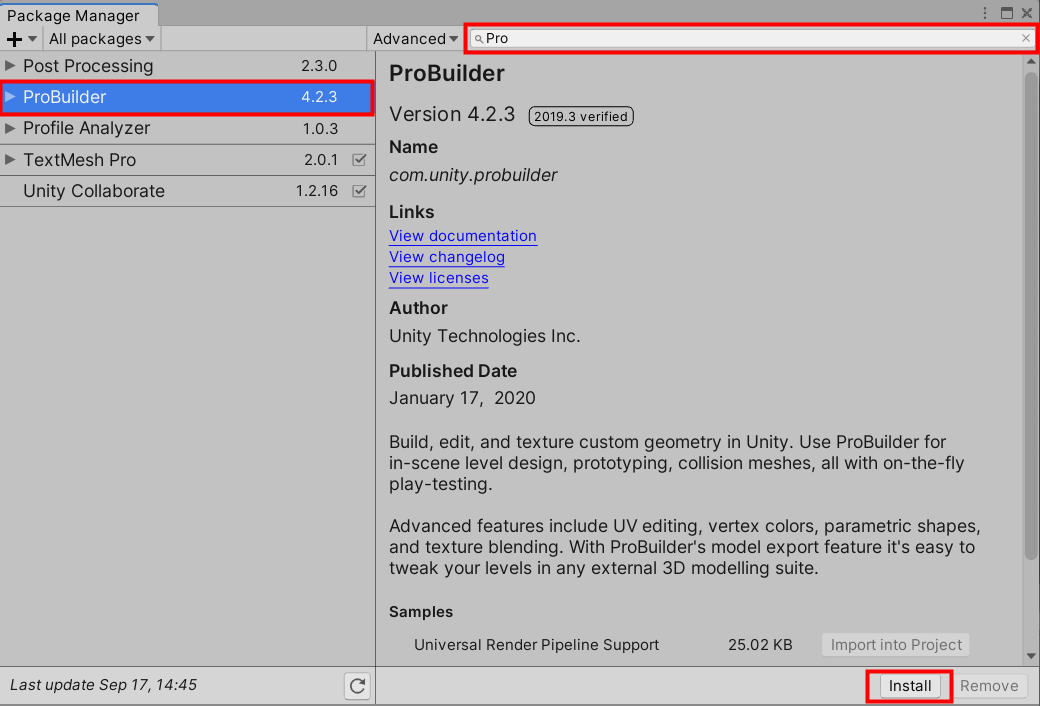
Install Probuilder
Since ProGrids is a Preview tool, it is not shown in the Package Manager as it is.
Click on Advanced and select “Show preview packages”.
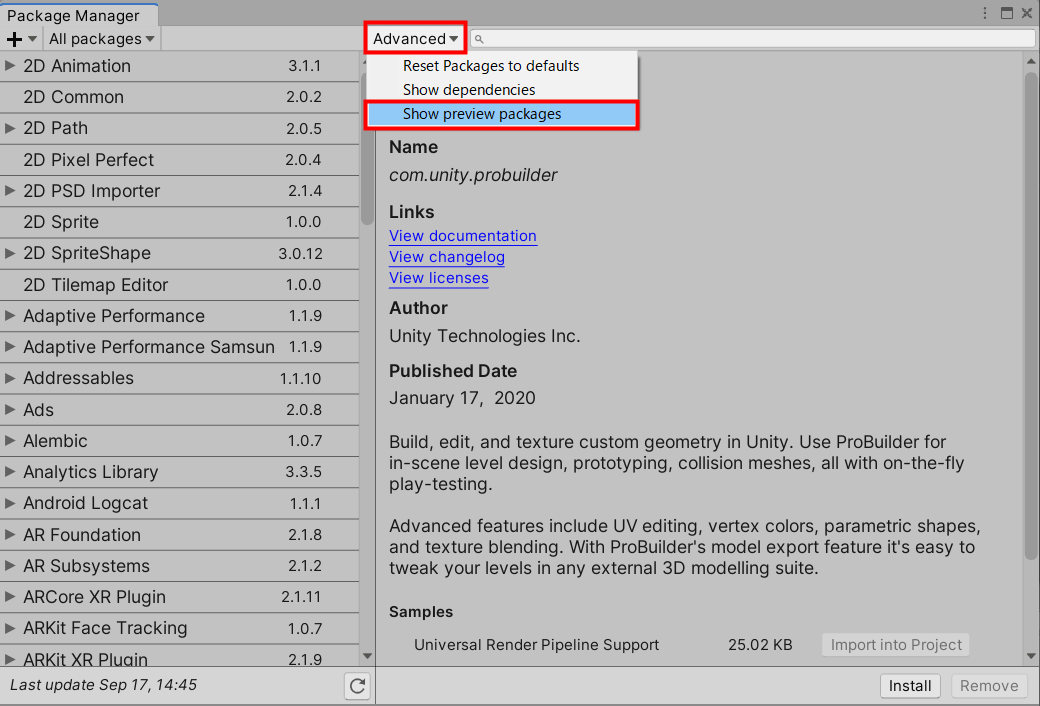
Show PreviewPackage
The Preview tool will now be visible.
Display ProGrids and click the Install button at the bottom right to install it.
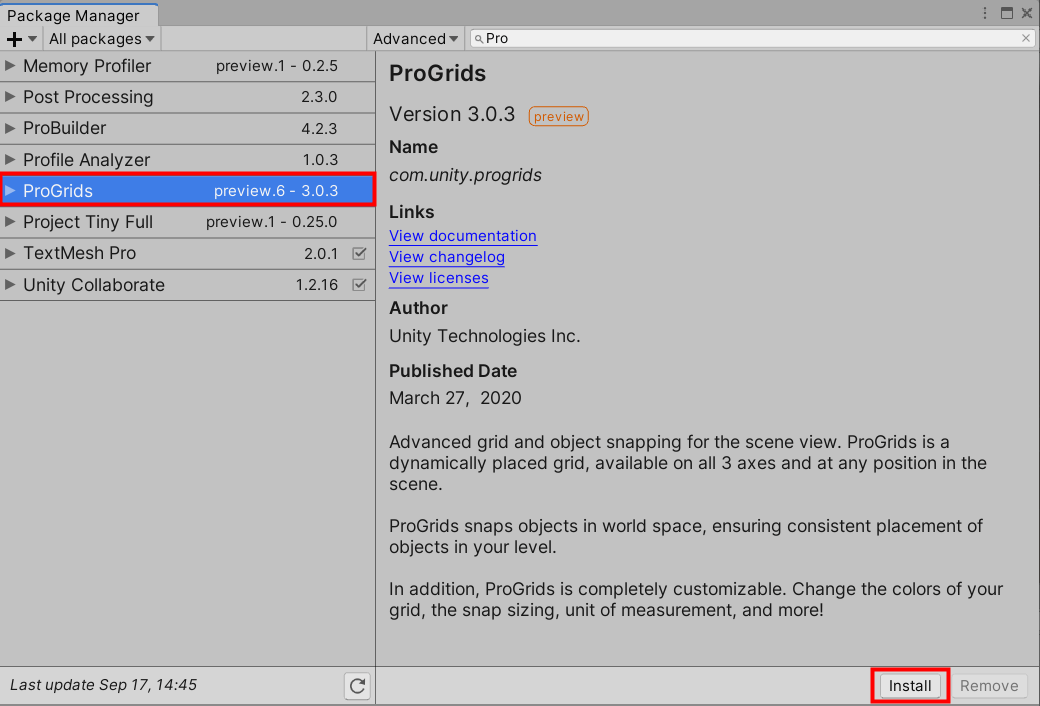
Installing ProGrids
After the import is complete, ProBuilder and ProGrids will appear in the Tools tab at the top of the screen.
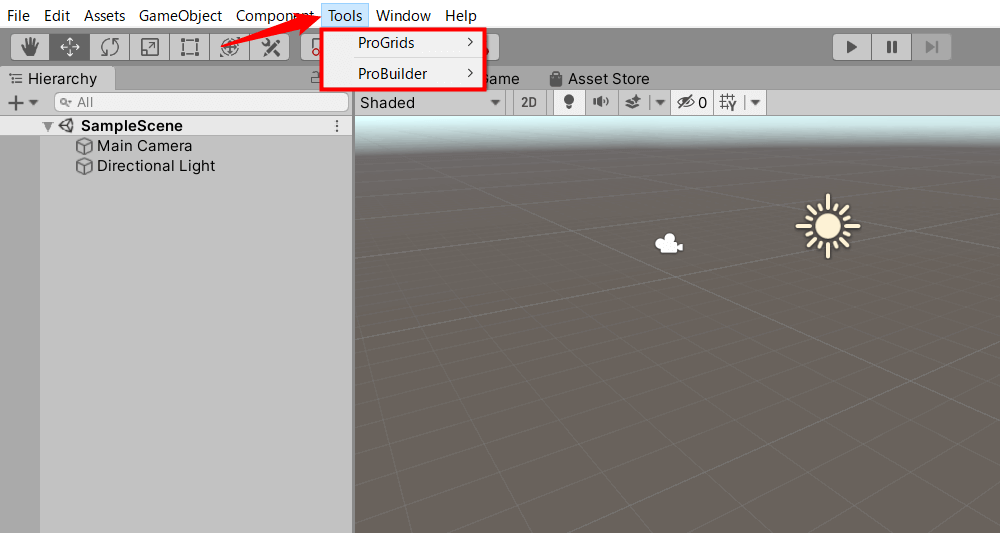
Displayed in Tools
How to display the window
Display the ProBuilder window from Tools > ProBuilder > ProBuilderWindow.
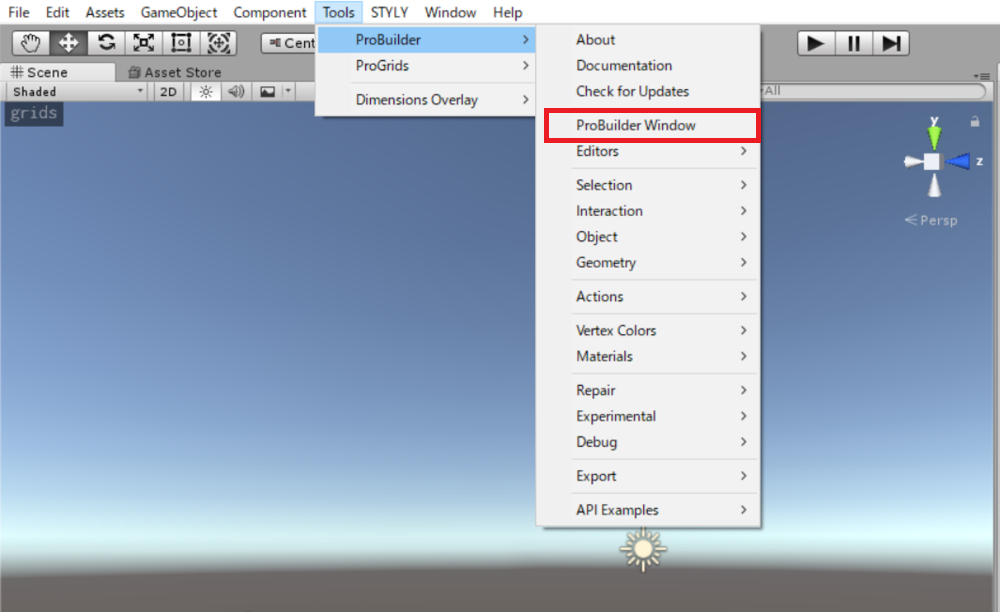
How to display the ProBuilder window
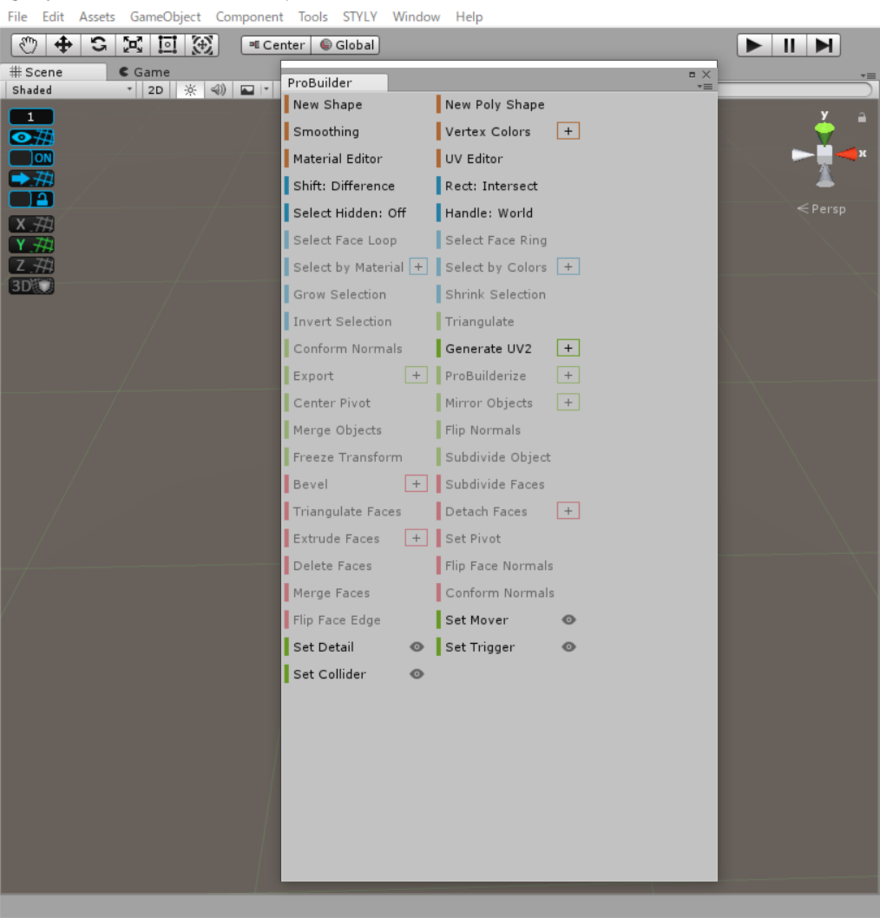
ProBuilder window
This window can be fixed anywhere on the screen by dragging it.
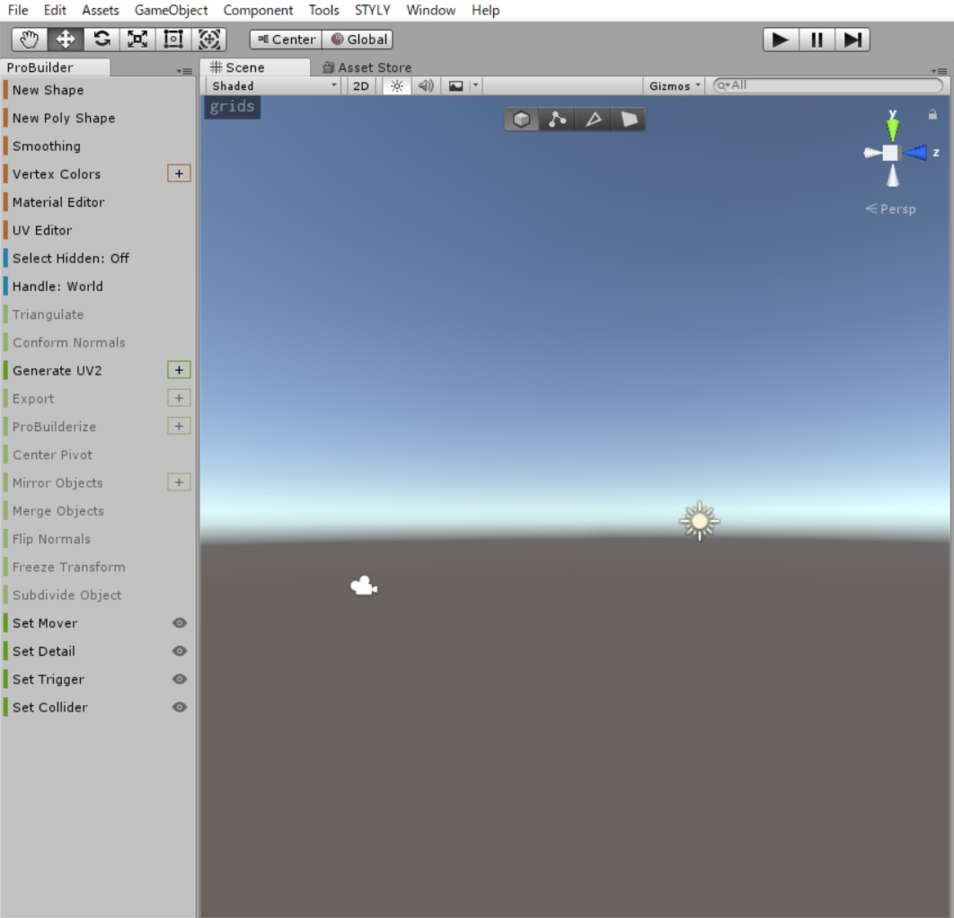
Pinning the ProBuilder window to the edge of the screen
Progrids can be added in the same way from Tools > ProGrids > ProGridsWindow.
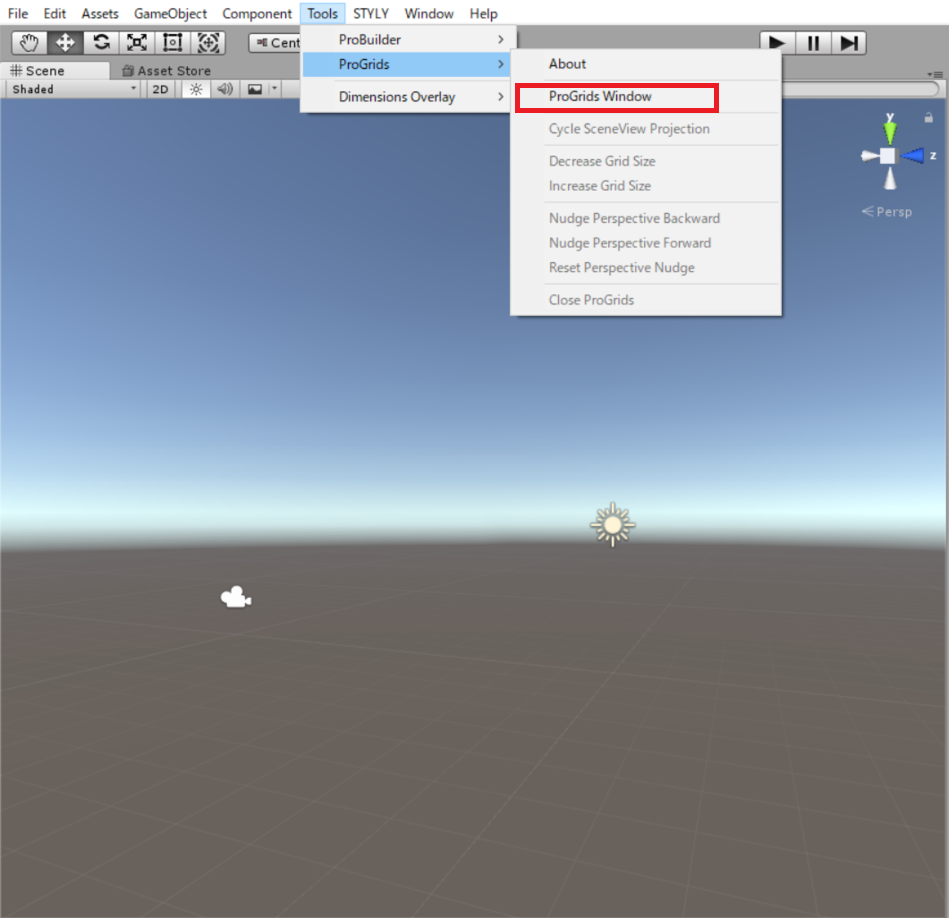
How to display the ProGrids window
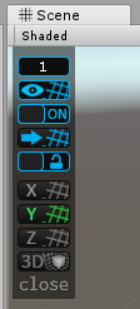
ProGrids window
ProGrids play the role of auxiliary lines when modeling with ProBuilder.
You can move and stretch objects along these auxiliary lines.
Basic operations
Object Selection
In addition to the basic operations of Unity, ProBuilder has its own unique operations.
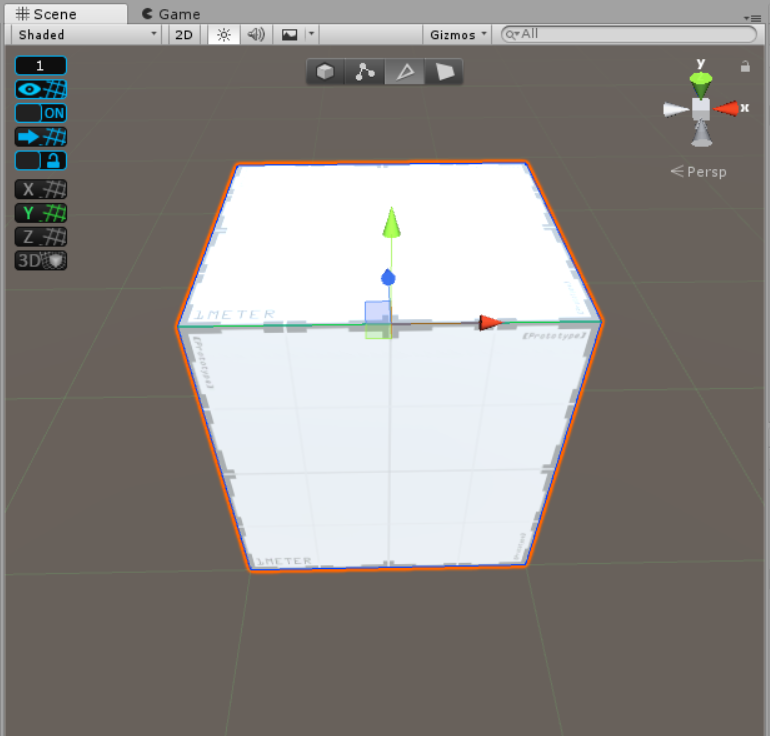
Four object selection modes are displayed at the top of the screen, from left to right
- Selecting an entire object
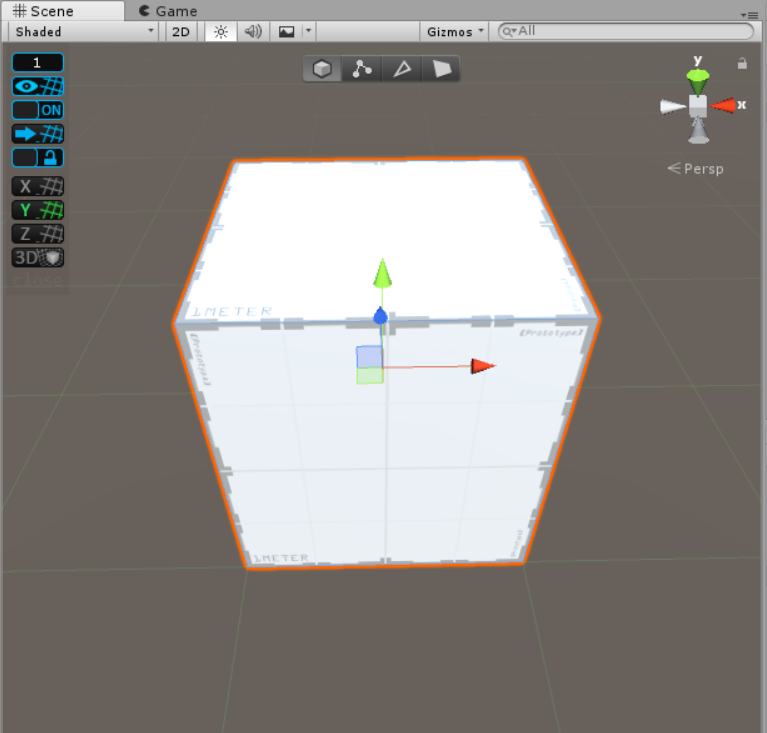
Unity Probuilder object selection
- Selecting an object’s vertices
Unity Probuilder Vertex selection
- Selecting edges of an object
Unity Probuilder Edge selection
- Selecting faces of an object
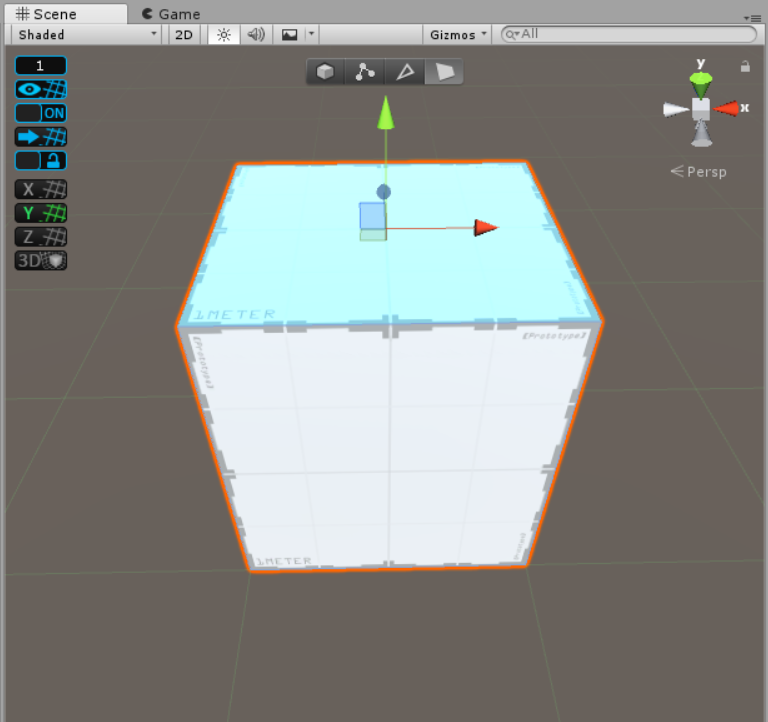
Unity Probuilder Face Selection
Once selected, the object can be moved, rotated, and scaled using the Unity operation selection.
Unity Operation Selection Screen
NewShape
By selecting NewShape from the Probuilder window, you can create a new object.
By default, a cube is selected, but you can create objects of several shapes, such as doors, stairs, spheres, etc.
- Cube
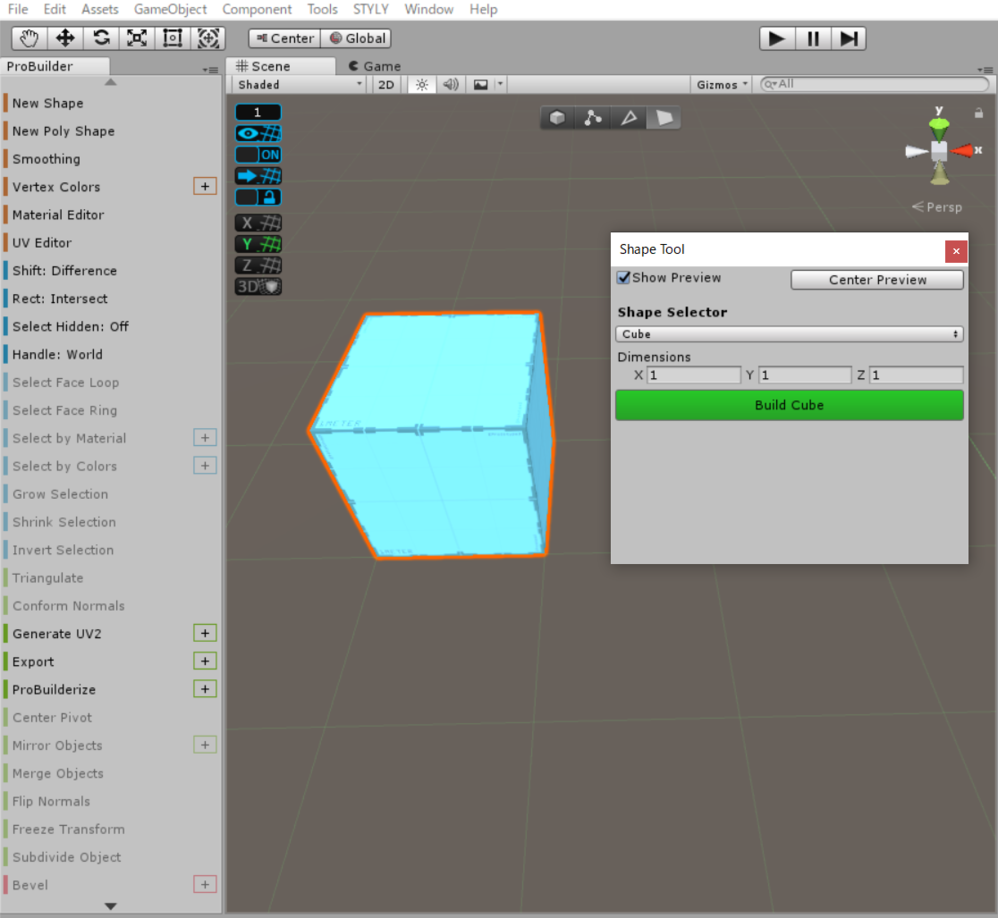
New Shape Cube
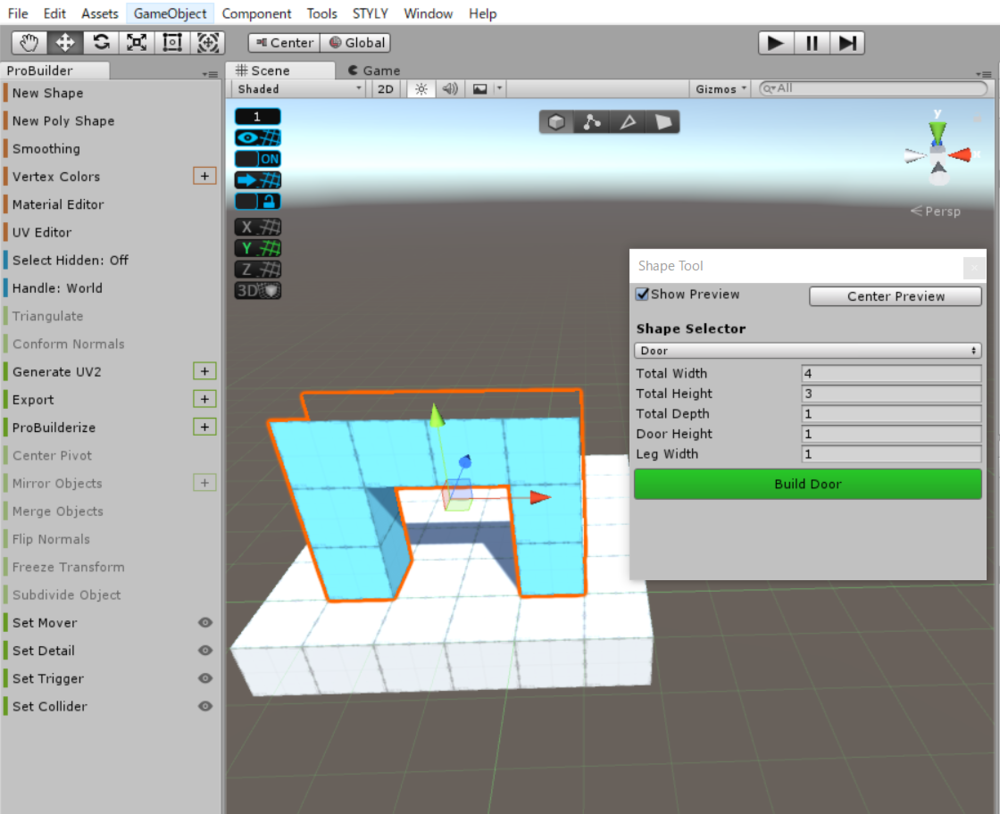
- Door
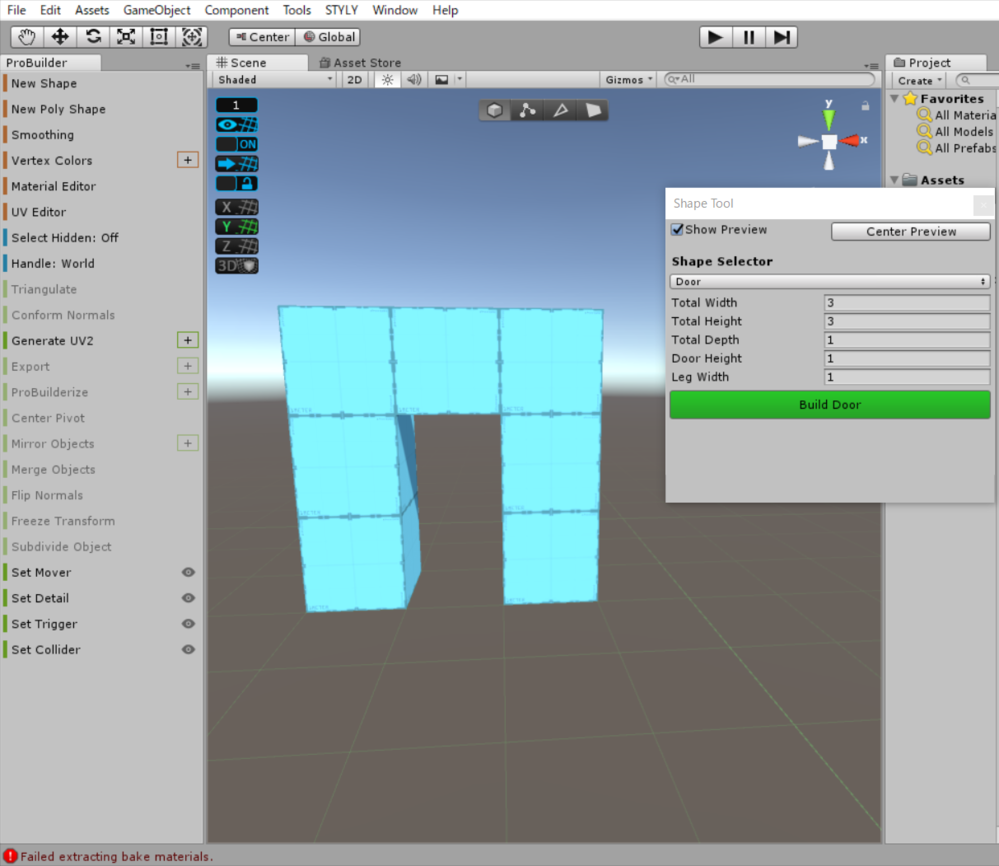
New Shape Door
- Staircase
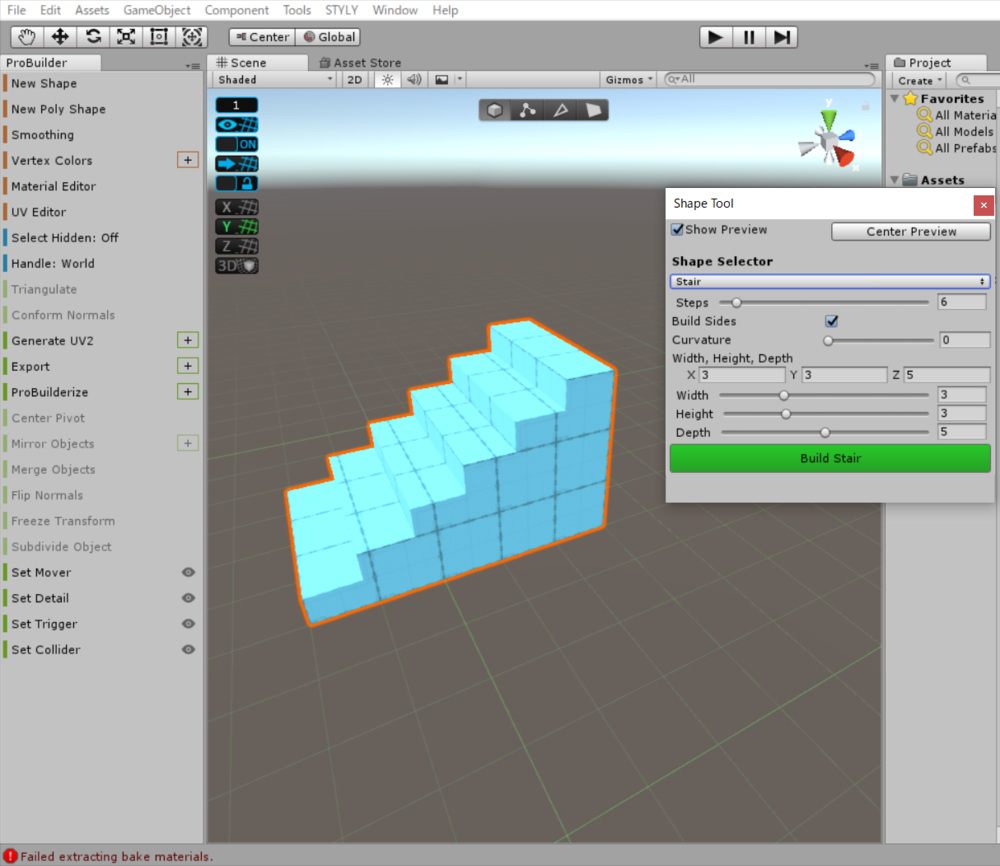
New Shape Stairway
- Sphere
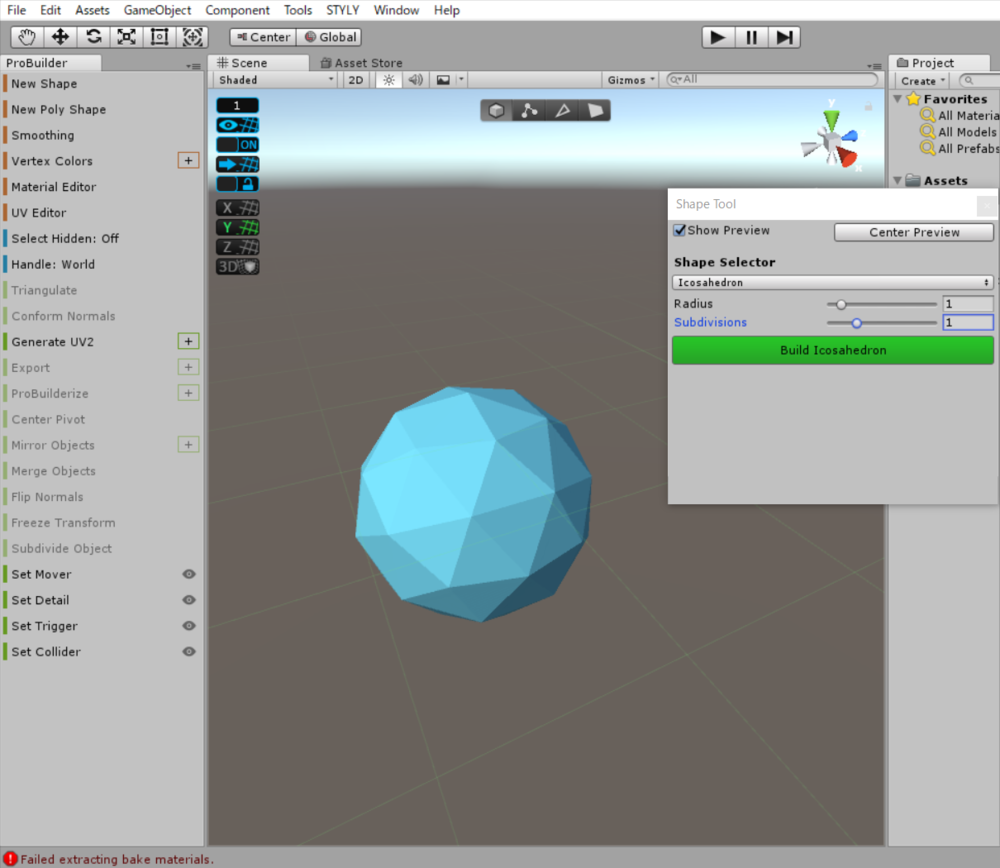
New Shape Sphere
You can also adjust the shape of the object by changing the value in the advanced settings during generation.
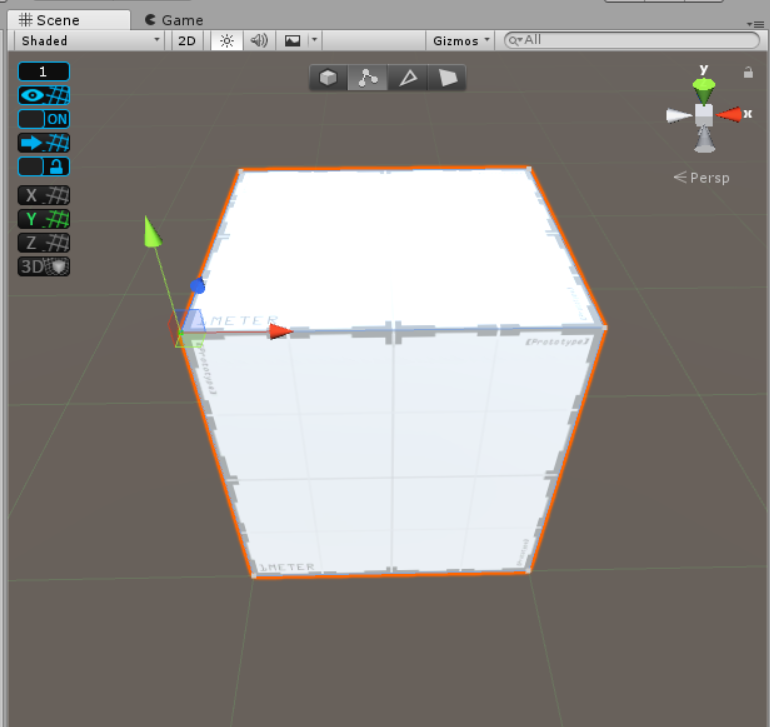
Stretching
You can stretch an object by selecting a vertex, edge, or face of the object and moving the arrow.
Unity ProBuilder Stretching
Thanks to the ProGrids tool, you can stretch an object by 1 meter along an auxiliary line.
ProBuilder makes good use of this stretching, which makes modeling intuitive.
Creating a Simple House
Creating a Floor
Now that you have learned the basic operations, let’s create a simple house.
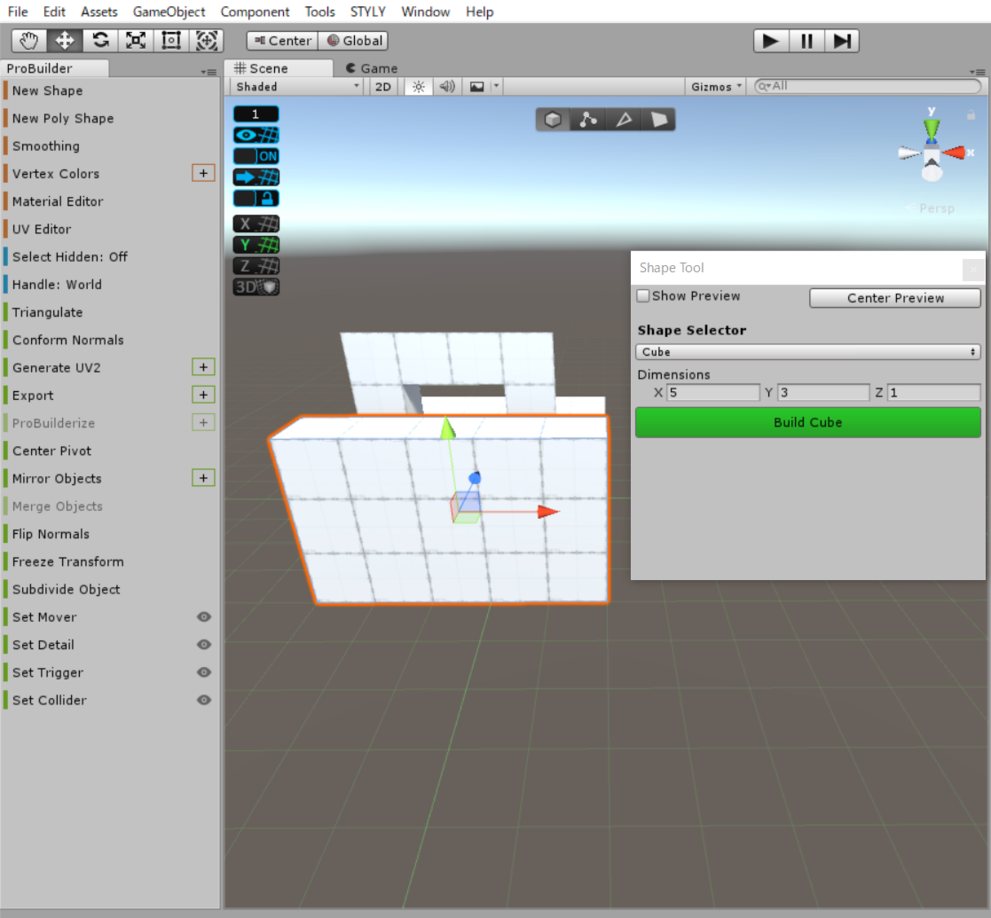
First, let’s create a cube from NewShape and stretch it to 6m x 6m to create a floor.

Floor of a simple house
Creating the entrance
We will create the entrance to the house by generating a door.
Change the object type from NewShape to Door, and set the detail settings as shown in the image.
A simple house door
Place the generated door on the floor.
Installing a simple house door
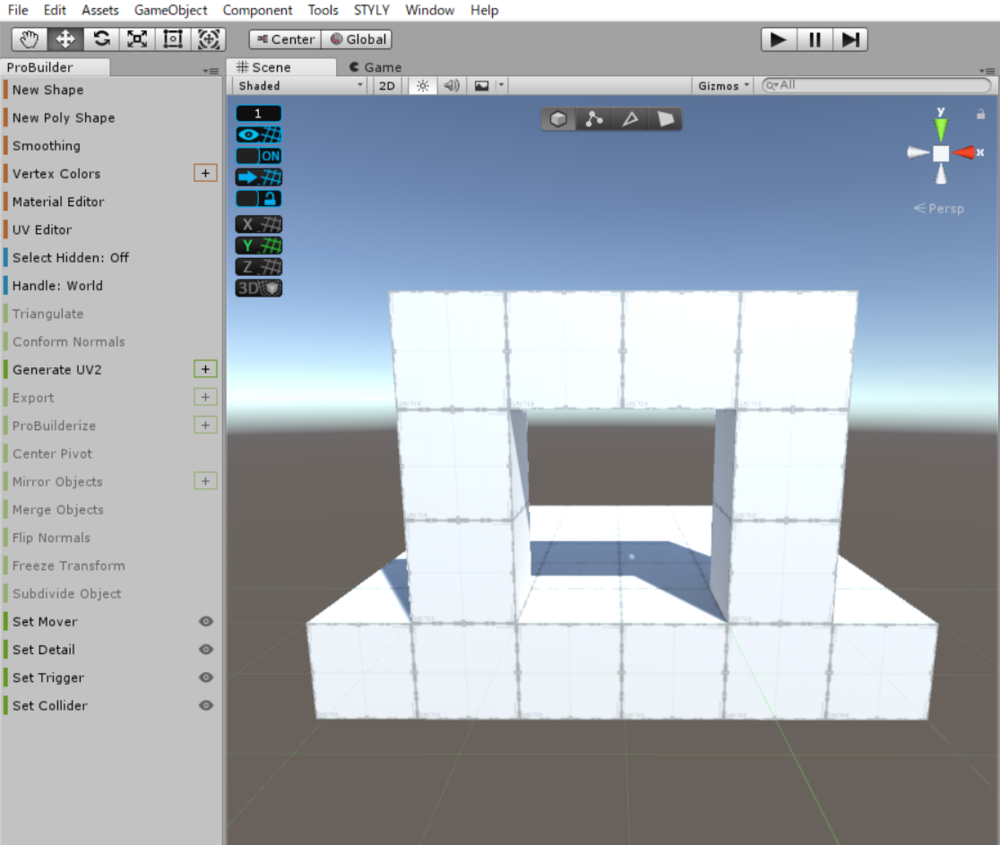
Creating the walls
Next, we will create the walls of the house.
We will generate three of them by changing the XYZ field in the cube’s detail settings as shown in the image.
Generate a simple house wall

Generate simple house walls x 3
Place the three walls on the floor.

Missing parts of the simple house wall
When the three walls are lined up, there are areas that are not long enough, so adjust them by stretching.
Stretching the walls of a simple house
Creating the roof
The next step is to create the roof.
Select Prizm from NewShape, and change the value of the detail setting as shown in the image.
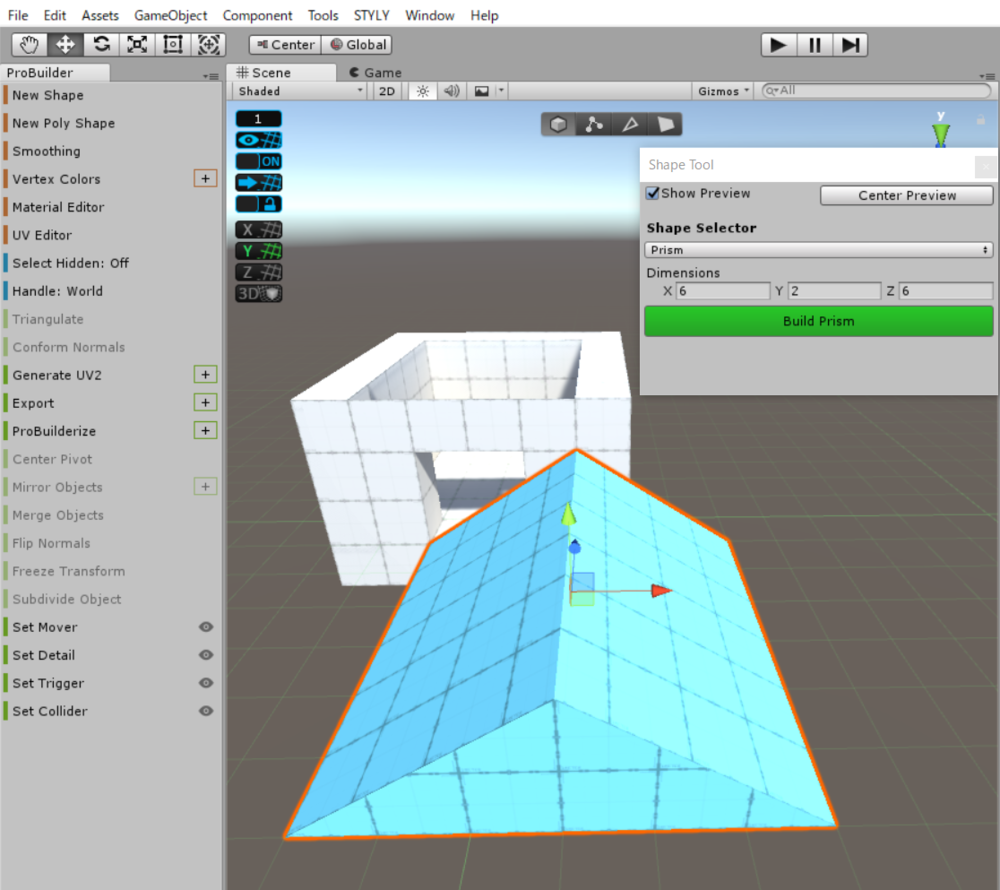
A simple house roof
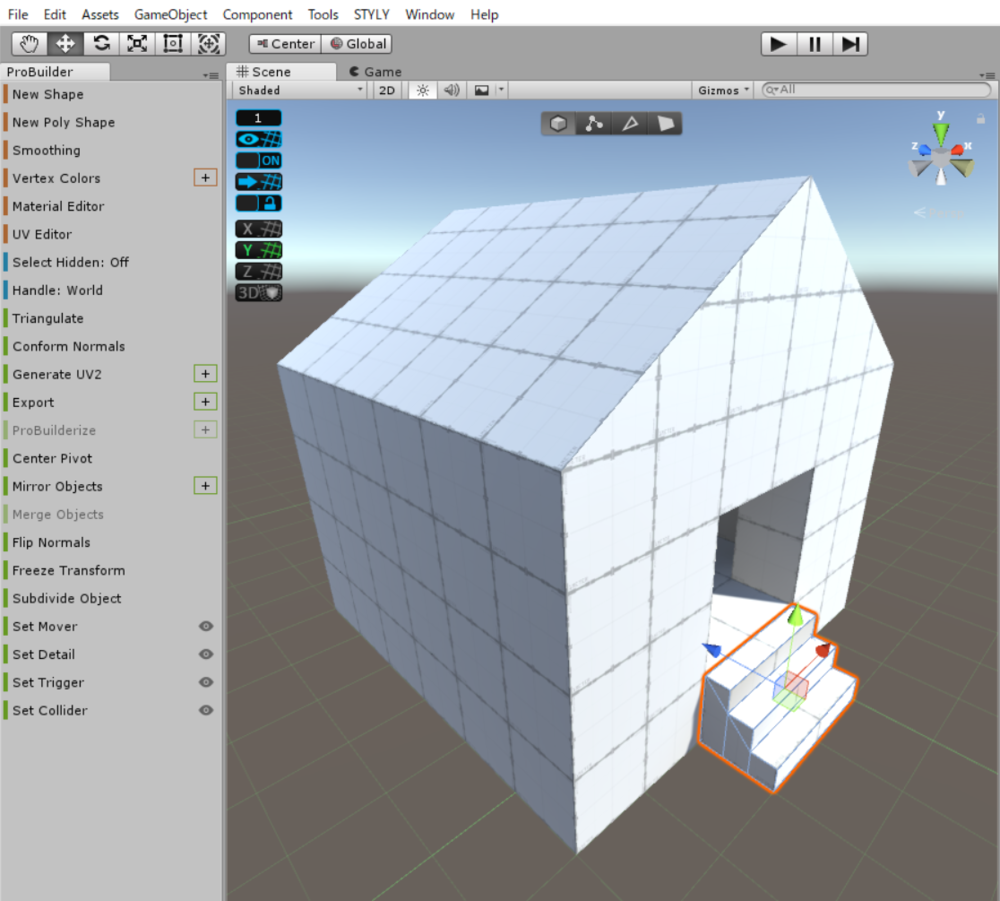
Let’s put the generated roof on the house.
Creating the stairs
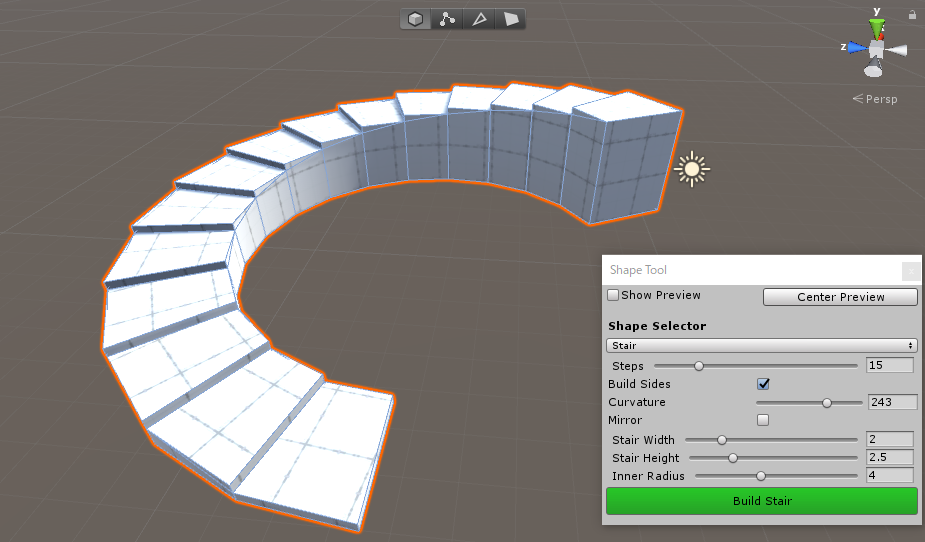
Finally, let’s create the stairs at the entrance.
Change the Advanced settings to the values shown in the image and place them in front of the door.
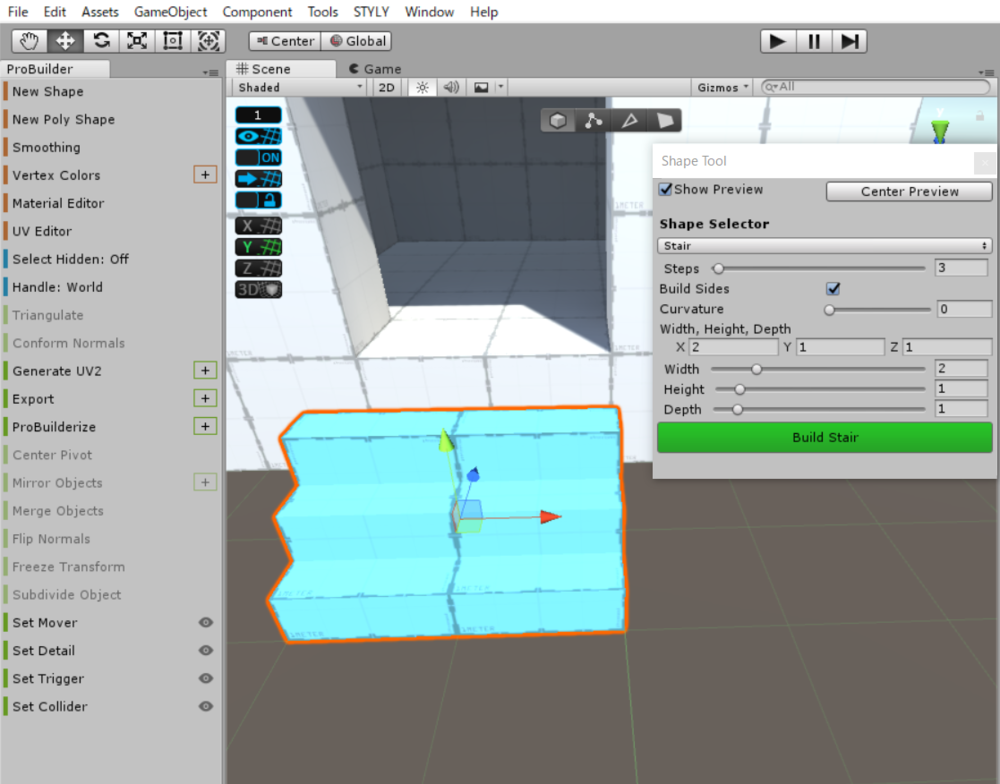
Simple House Stairs
This completes the modeling of the simple house.
Simple House
Adding Color to the House
Let’s add some color to the completed house.
To add color, create a material and set the color.
To create a material, right-click on the project →Ctreate →Maetrial
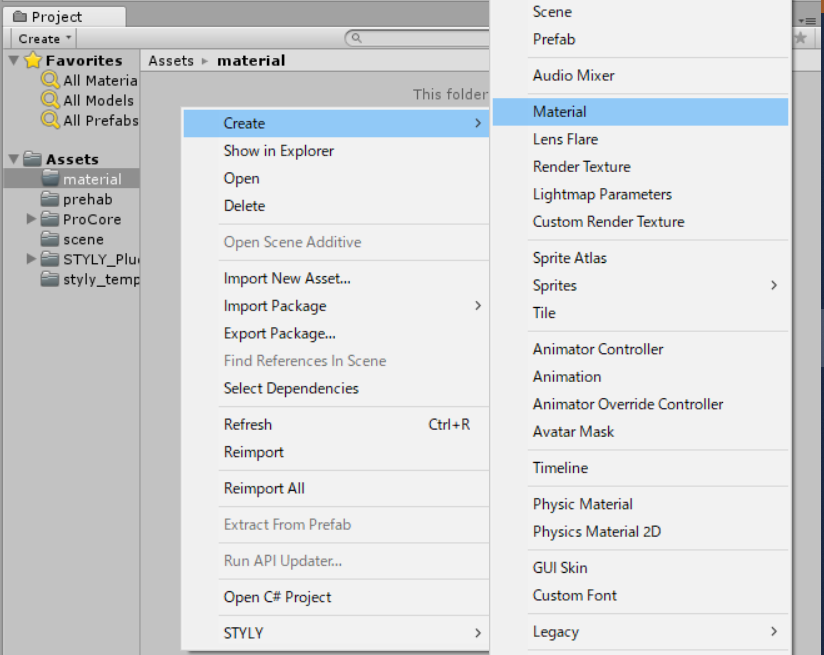
How to create a material
Give it a name and change the material’s color from the Inspector
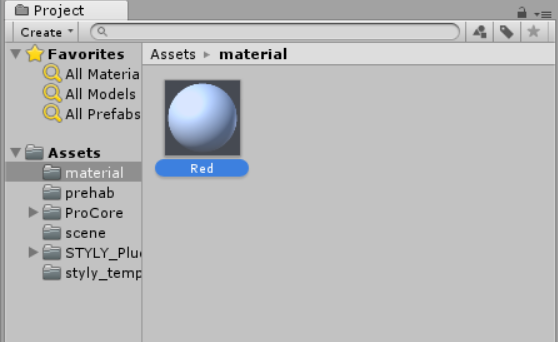
Rename Material
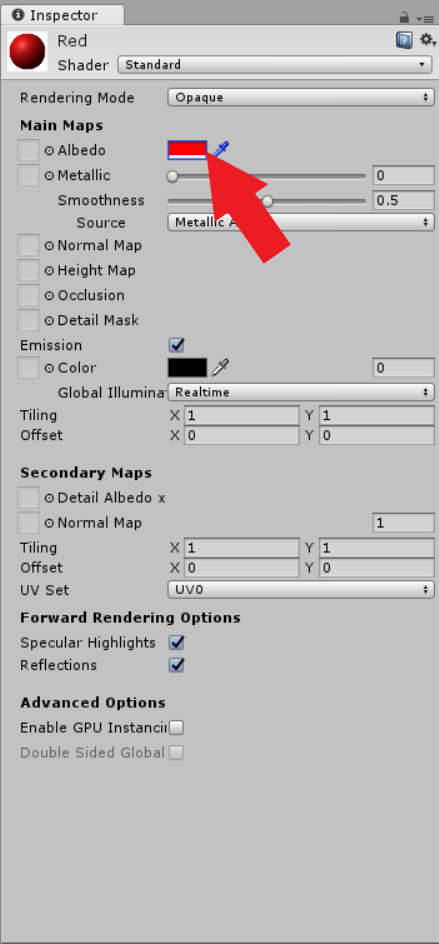
Change material color
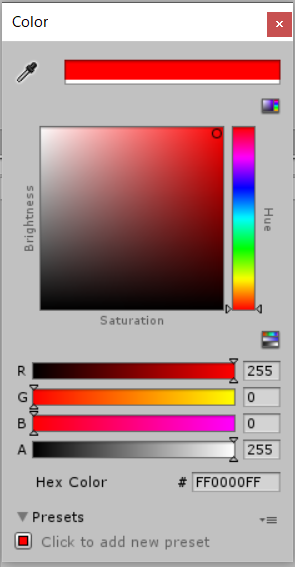
Color Palette
In this case, we chose red for the roof, beige for the walls and stairs, and brown for the floor.
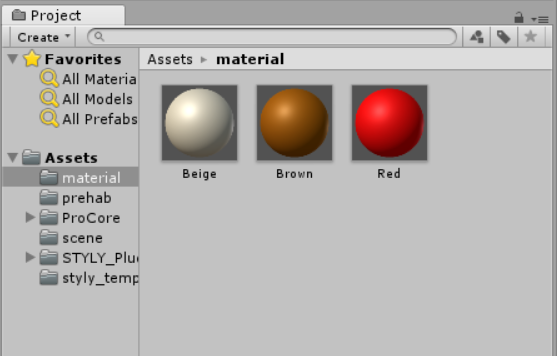
Prepared material
Drag the material you have created to add color.
How to add a material
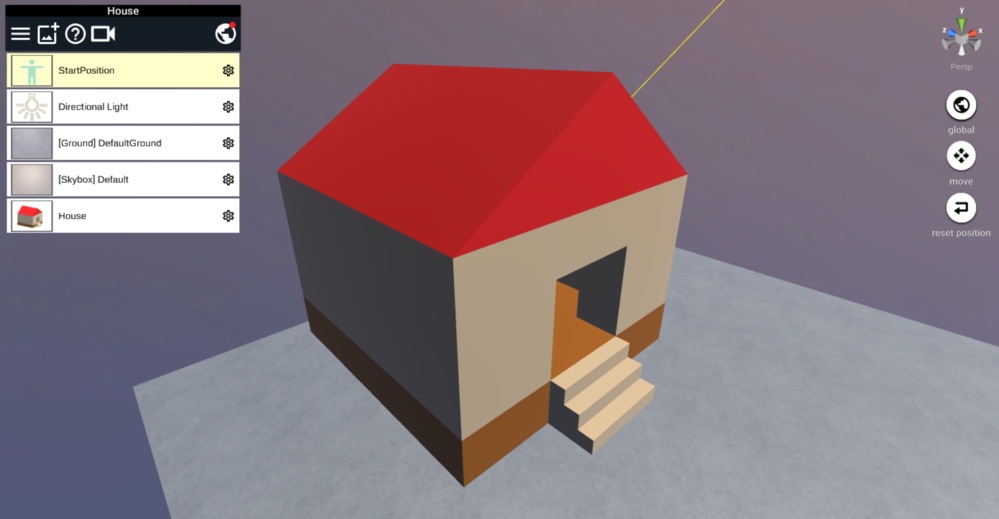
Once all the parts are colored, the simple house is complete.
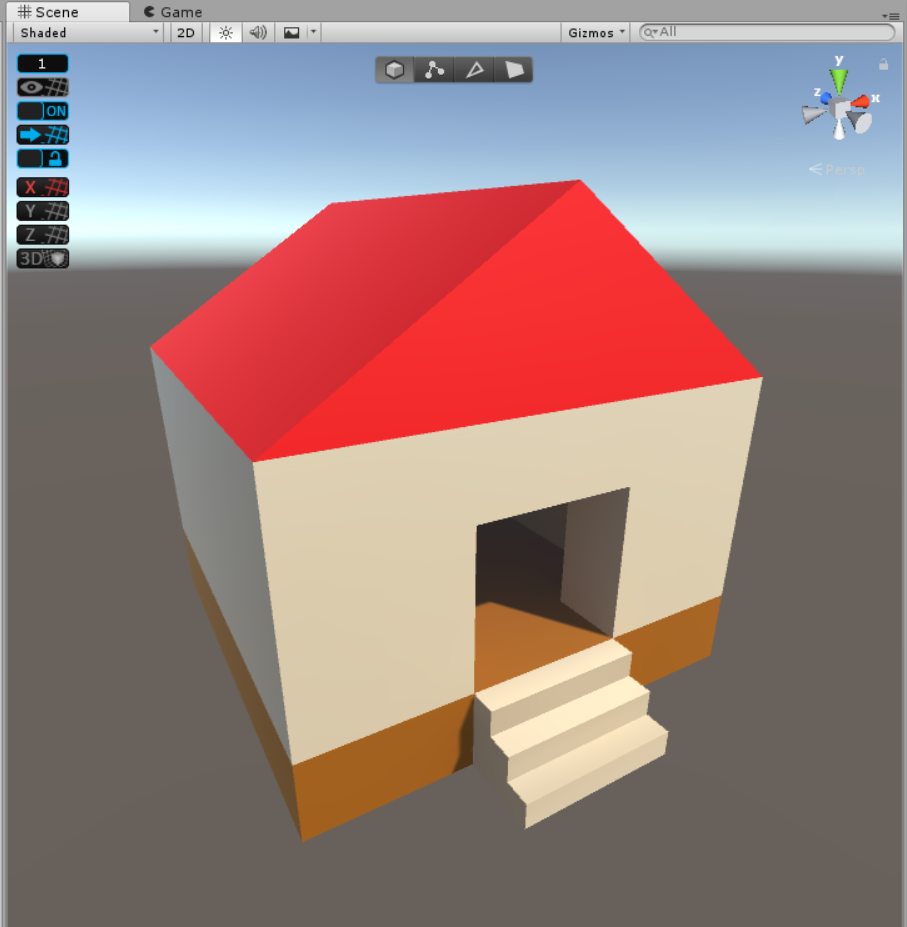
Completion of a simple house
Uploading to STYLY
Using the Unity Plugin For STYLY, you can upload your simple house to STYLY.
Combining Objects
The simple house you have created consists of several objects.
Since it is unwieldy as it is, we will merge them into a single object.
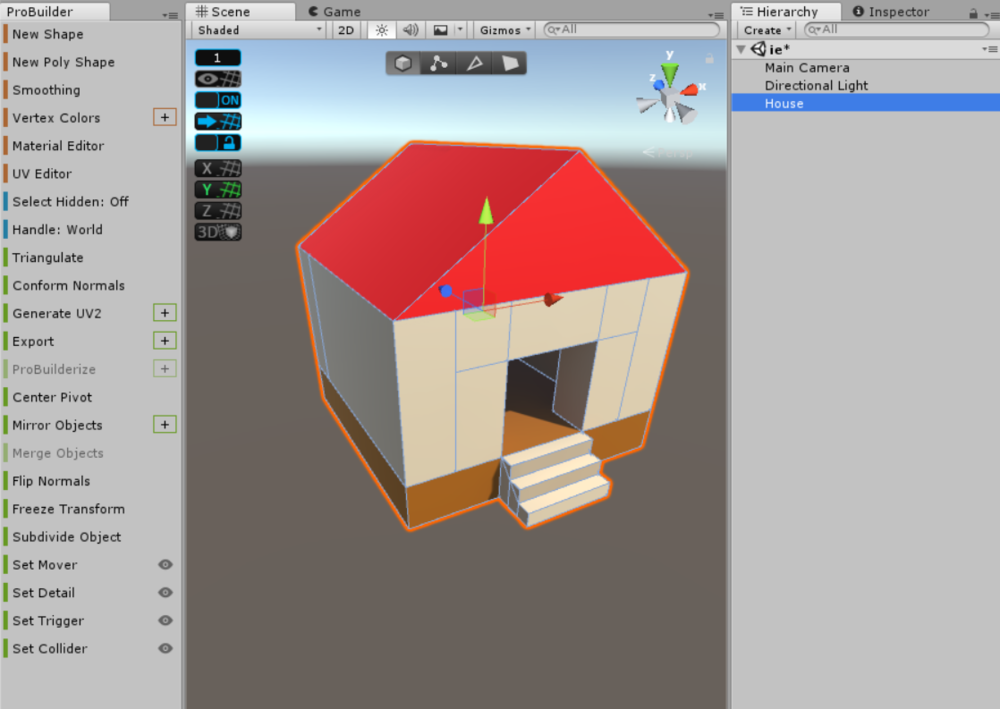
Select the objects you have created and choose Merge Objects in the ProBuilder window to merge them.
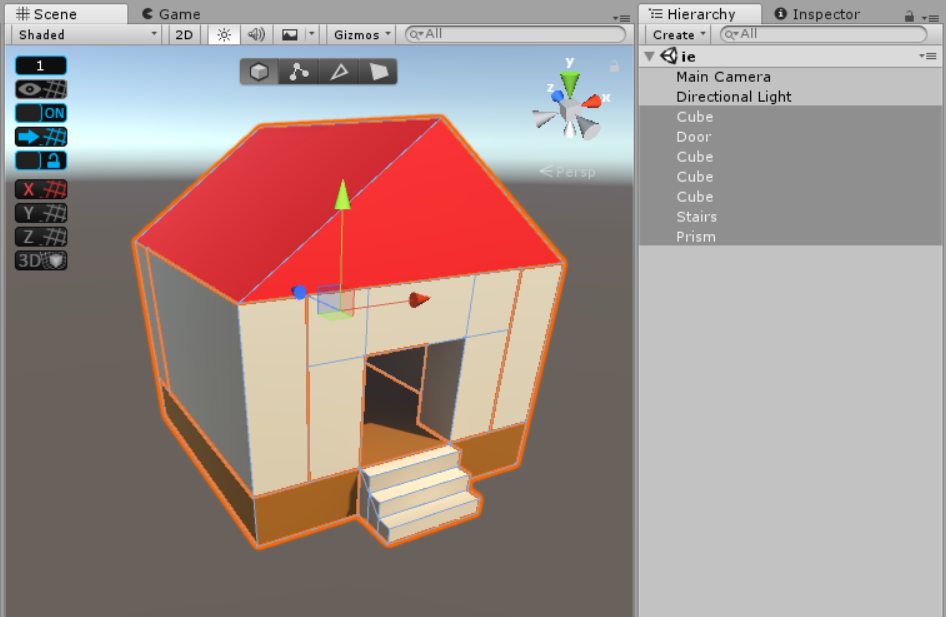
Select a simple house object
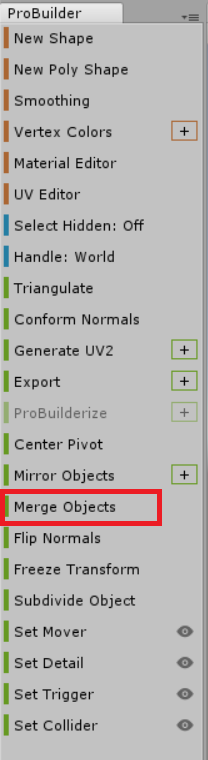
Select ProBuilder Merge Object
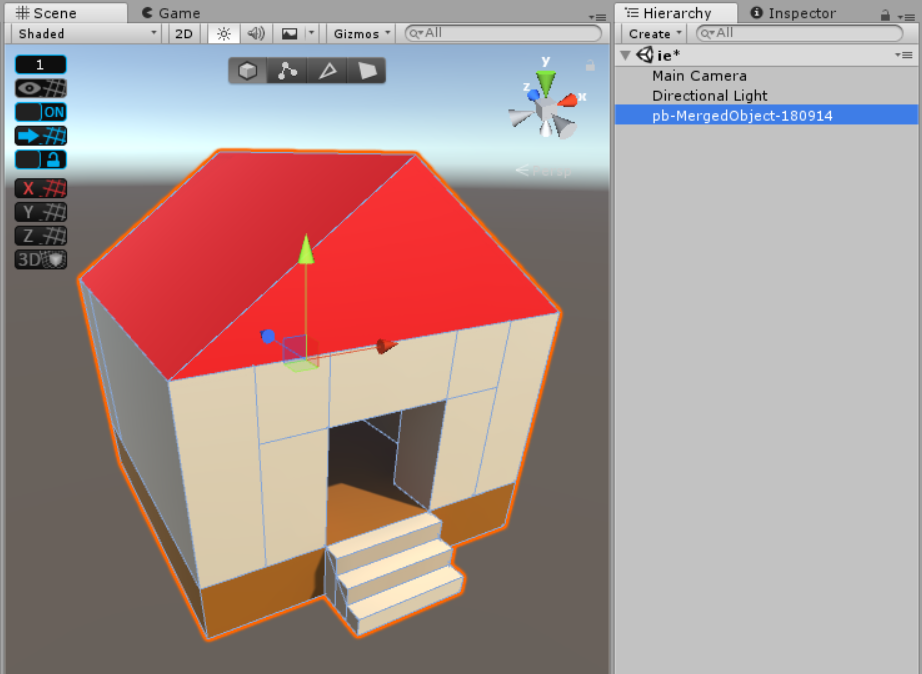
After merging objects
After merging, let’s also rename the object.
Select an object and right-click on it to rename it.
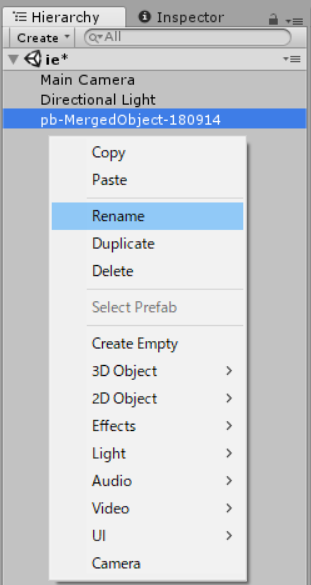
Rename Object
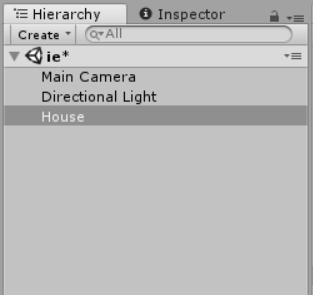
After renaming the object
After renaming the object
Download the Unity Plugin For STYLY
Download the Unity Plugin For STYLY in order to upload it to STYLY.
For more information on how to download and configure the Unity Plugin For STYLY, please refer to this page.

Upload the object you have created
You can export your created objects from Export in the ProBuilder window and upload them to STYLY.
For detailed instructions, please refer to this past article.
After the upload to STYLY is complete, you can place it like this.
Uploading a simple house to STYLY
In this article, we have created a simple house with ProBuilder.
You can easily model it by simply generating objects and stretching them.
Please give it a try!