In this article, I will show how to upload a 3D object drawn in Tilt Brush to STYLY.
Regarding the end of Google Poly (Added on March 19, 2021)
In this article, we used Google Poly to explain how to upload 3D models created with Tilt Brush.
However, Google Poly will be shutting down its service on June 30, 2021.
For instructions on how to upload a Tilt Brush 3D model to STYLY without using Google Poly, please refer to the following article.
About Tilt Brush
Tilt Brush
Tilt Brush is a 3D VR drawing tool provided by Google. By Tilt Brush, you can draw with a realistic sense of distance. It allows you to create your original 3D objects not only by brushes but also by various particles and some scenes, which are easy to modify. Now, let’s create a 3D object by Tilt Brush.
Create an object by Tilt Brush
Create an object by Tilt Brush #1
Once you launch Tilt Brush, the screen shown above will appear. It’s the home screen of Tilt Brush.
Create an object by Tilt Brush #2
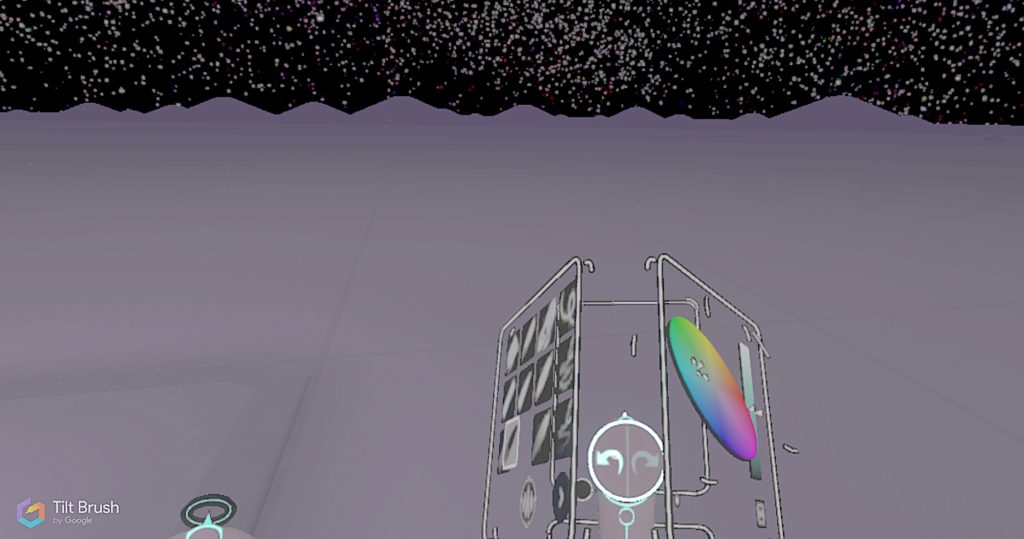
When you start Tilt Brush, the controllers change into paint tools. Initially, the right-hand controller is the palette and the left-hand is the brush. However, the UI supports both the right-handed and the left-handed so use them in your preferred way.
How to use the controllers
You can spin the palette on the right-hand controller by swiping left or right across the trackpad. It allows you to change brush type, colour, scene and particle. You can also export the data by it. The brush on the left-hand controller changes into the one selected by the right-hand controller. You can change the thickness of the brush by swiping left or right across the trackpad. You would find the operations easy and intuitive as you feel a feedback each time you take an action.
Create an object in Tilt Brush
This time, I sketch the head of a certain anime character. I am not good at drawing so please do not expect too much of the result.
Create an object in Tilt Brush #1
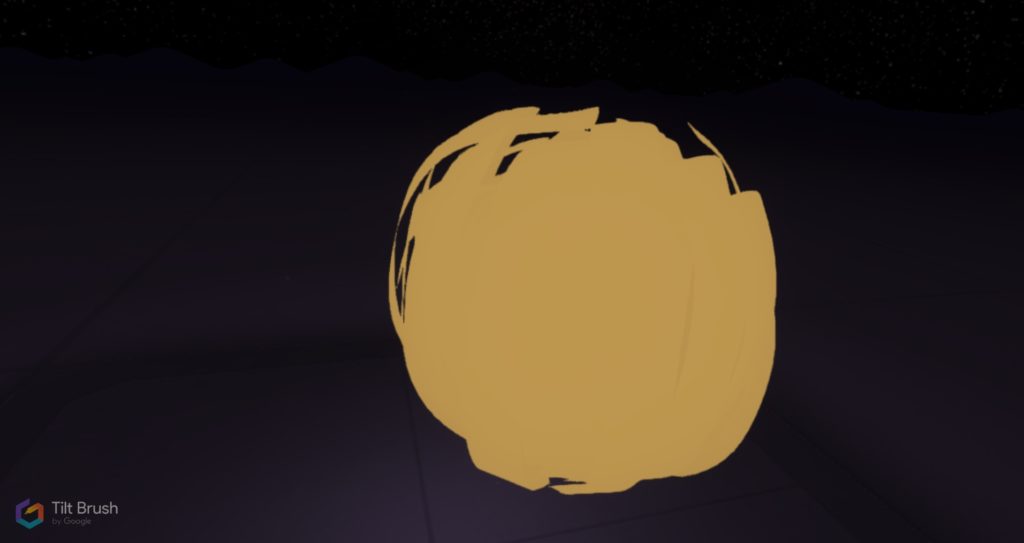
As it’s an anime character, let’s draw the outline of the head as a starter. It is quite difficult to draw a sphere so I recommend to draw ‘semicircles’ from the top to shape a sphere. I almost gave up at an early stage. It would be a painful task for people who are not good at drawing.

Create an object in Tilt Brush #2
Draw while changing colours. When using the blush (flat), I had to draw from various angles to make the drawing look three dimensional. So I changed my standing position every time I needed another different view. If you draw it with one fixed view, you would find the drawing ‘planer’ when you view it from the other side. As I added hair, I changed the background from black to white.
Create an object in Tilt Brush #3
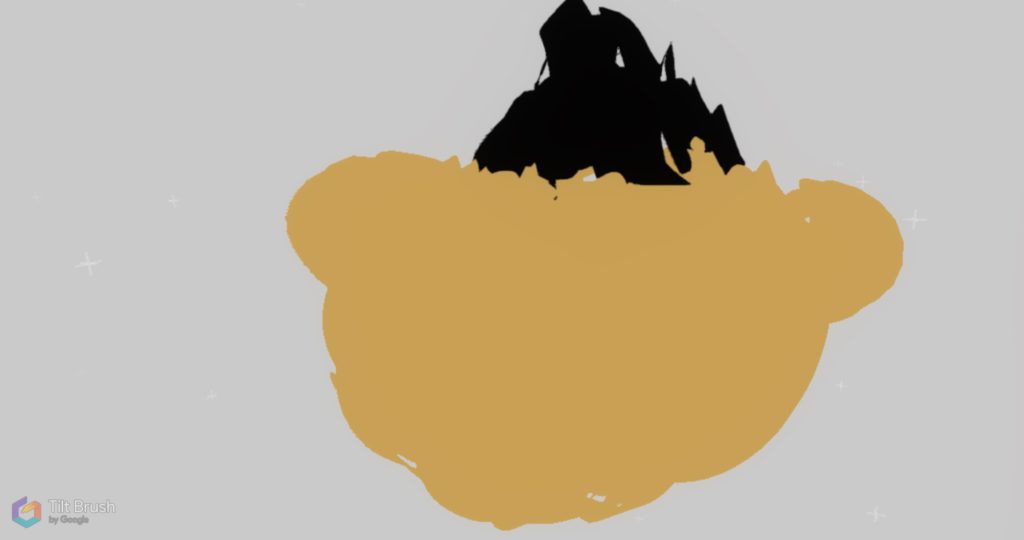
I scaled up the outline of the face and added ears. It’s getting there. I expect you fully understand how to use the controllers by coming this far. Although I also use other 3D software (Maya), I feel it is more difficult by far to dive in 3D and draw a 3D object. It’s even more challenging for people who are not good at drawing. In addition, this software rather depends on your own drawing skill and imagination as the UI is straightforward once you got familiar with it.
Create an object in Tilt Brush #4
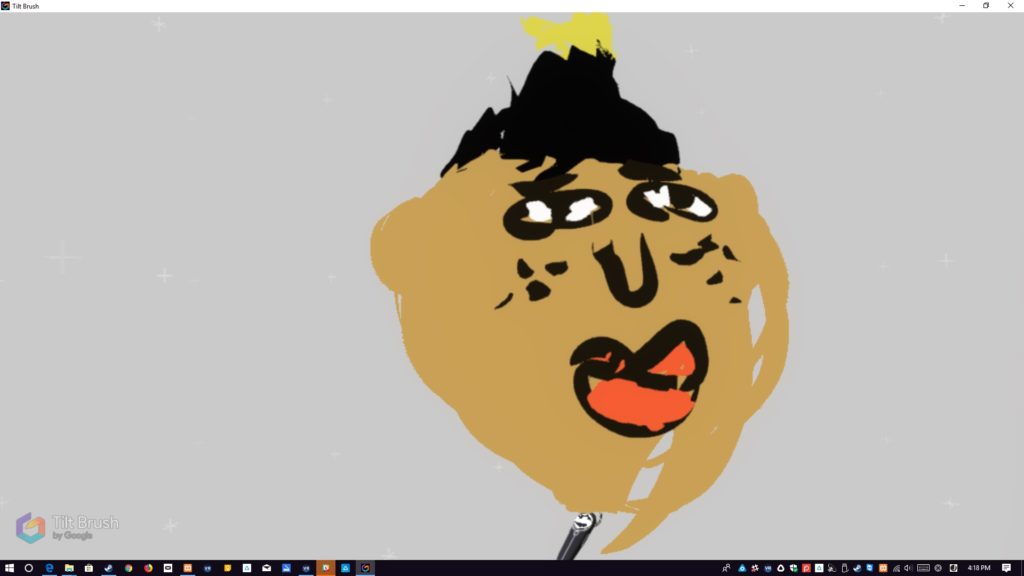
I completed the drawing by adding face components and a cap. I found it important to be aware of the object’s relative position to you when I was drawing. The tools themselves found very versatile.
Import from GooglePoly to STYLY
Tilt Brush is linked to GooglePoly and STYLY is linked to Google Poly. The object created in Tilt Brush can be used in STYLY at once by uploading it to Google Poly.
1.Upload the data in Tilt Brush
Import an object from GooglePoly to STYLY #1
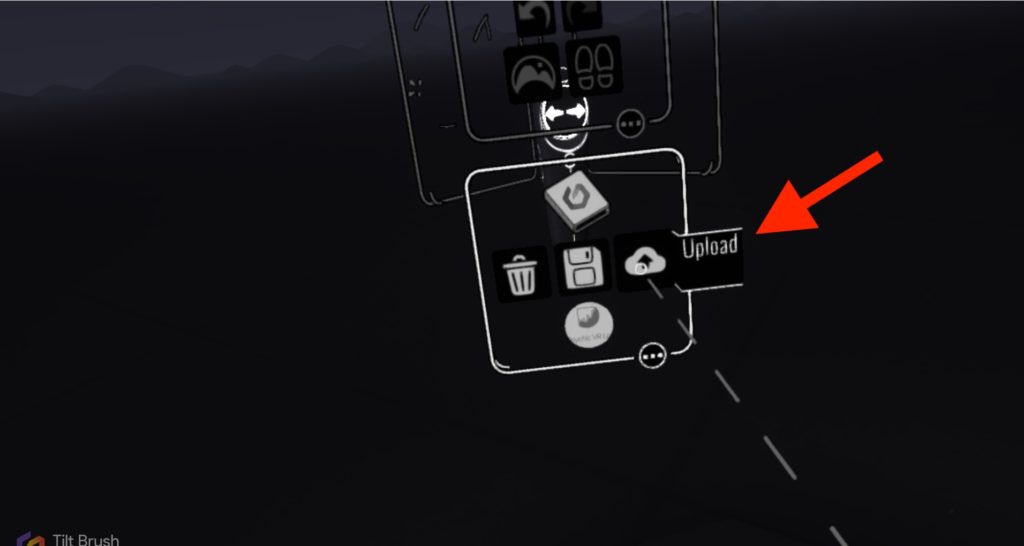
Click the Upload icon ( the Cloud icon) on the Tilt Brush controller.
Import an object from GooglePoly to STYLY #2
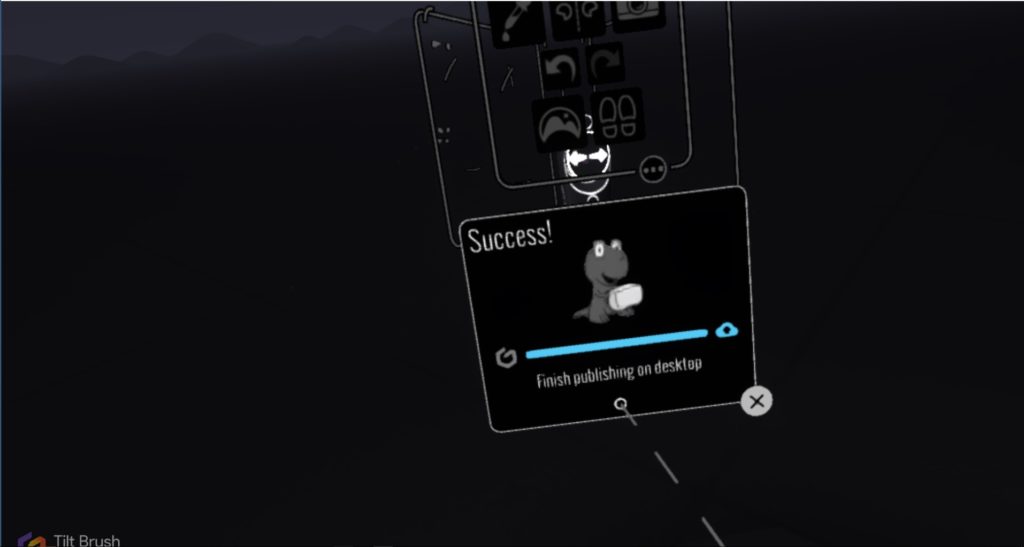
Once the data is uploaded, you will see a window pop up as shown above.
2.Access to Google poly
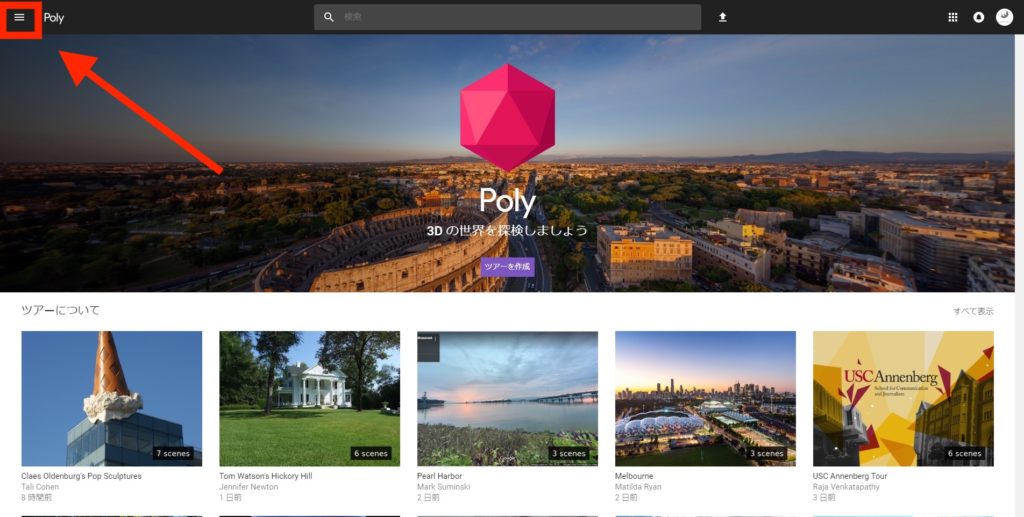
Import an object from GooglePoly to STYLY #3
Click the Hamber button in the upper-left corner of Google Poly top page to display the list. ※To use STYLY later, I assume you registered the same e-mail address to Tilt Brush and Google Poly.
3. Click ‘Your uploads’
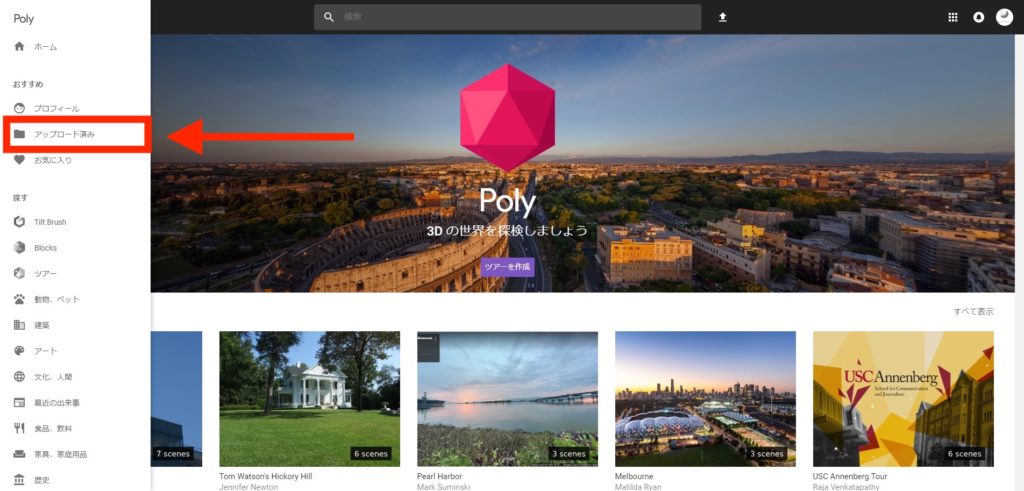
Import an object from GooglePoly to STYLY #3
Click ‘Your uploads’.

Import an object from GooglePoly to STYLY #4
It displays a list of the objects you uploaded.
4. Setting to publish

Import an object from GooglePoly to STYLY #5
The settings about publication are displayed on the right side of the screen, so fill the fields for the object to publish. Once you filled it, click ‘publish’.
5.Publication
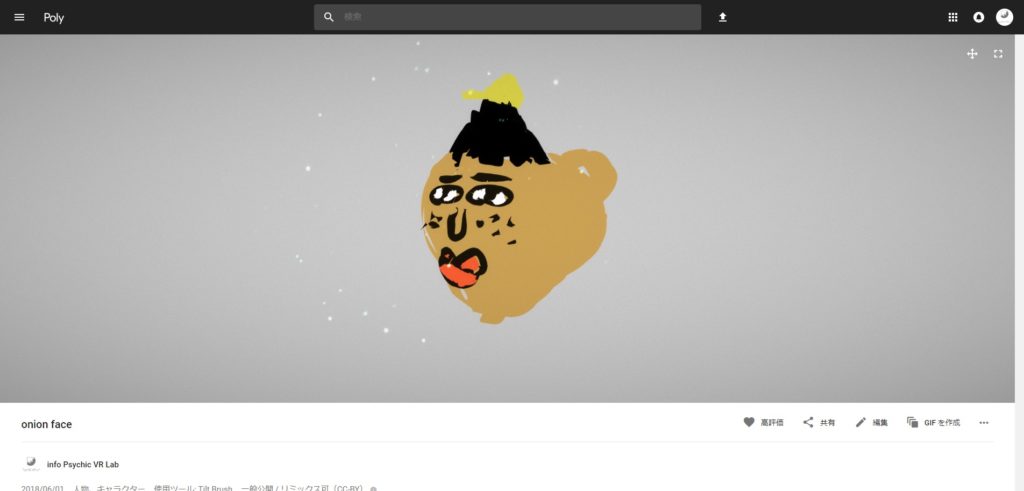
Import an object from GooglePoly to STYLY #5
Now it’s published in Google Poly.
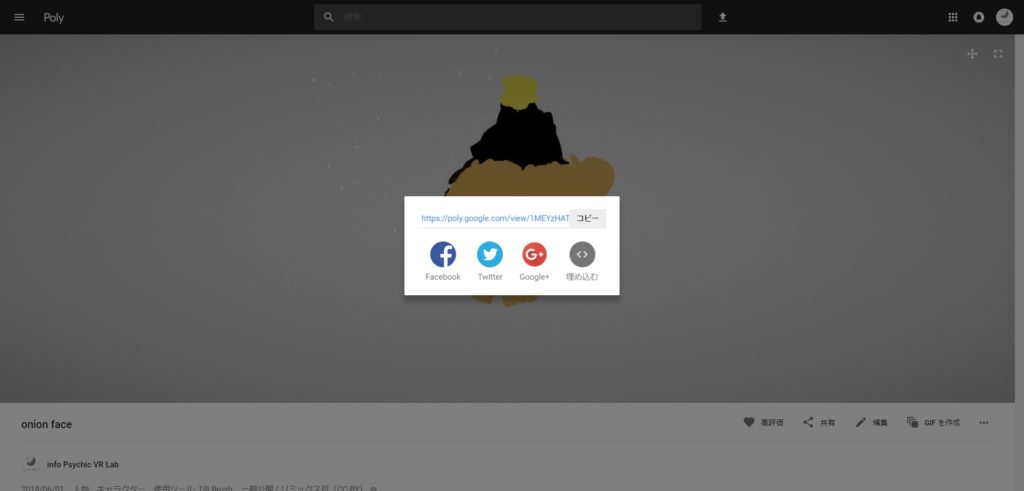
Import an object from GooglePoly to STYLY #5
On the screen of the published object, you can find the ‘Share’ button in the bottom-right corner. When you click it, a window appears as shown above. You can share your work with SNSs by it.
Upload your work in Tilt Brush to STYLY
How to upload your work in Tilt Brush to STYLY #1
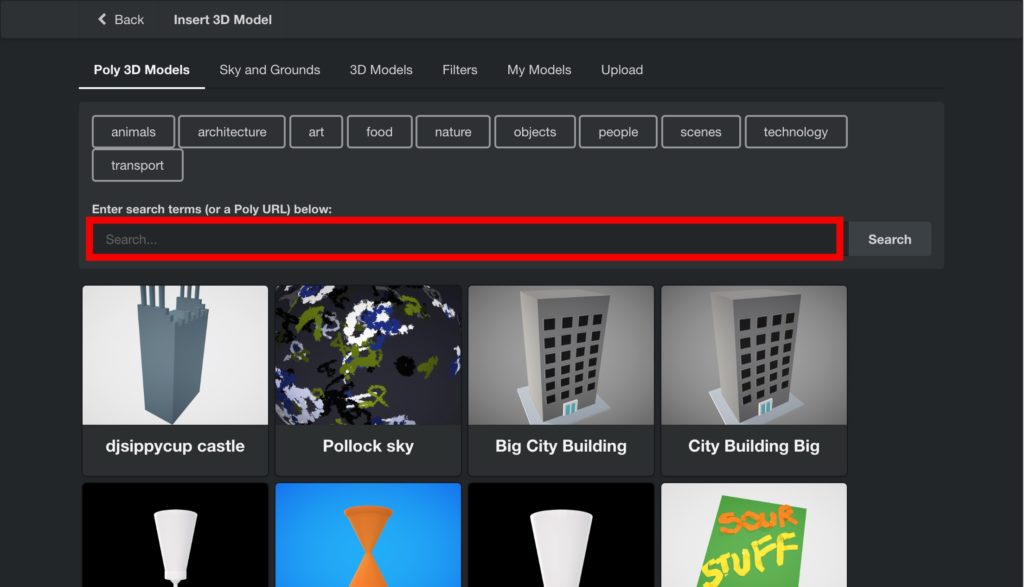
Access to STYLY. Go to Assets>Insert 3D Model. Then, in the search box, enter the object name registered to Google Poly or the URL copied by the ‘Share’ button. Note that there is a delay to complete the upload. The URL tends to find it better.
How to upload your work in Tilt Brush to STYLY #2
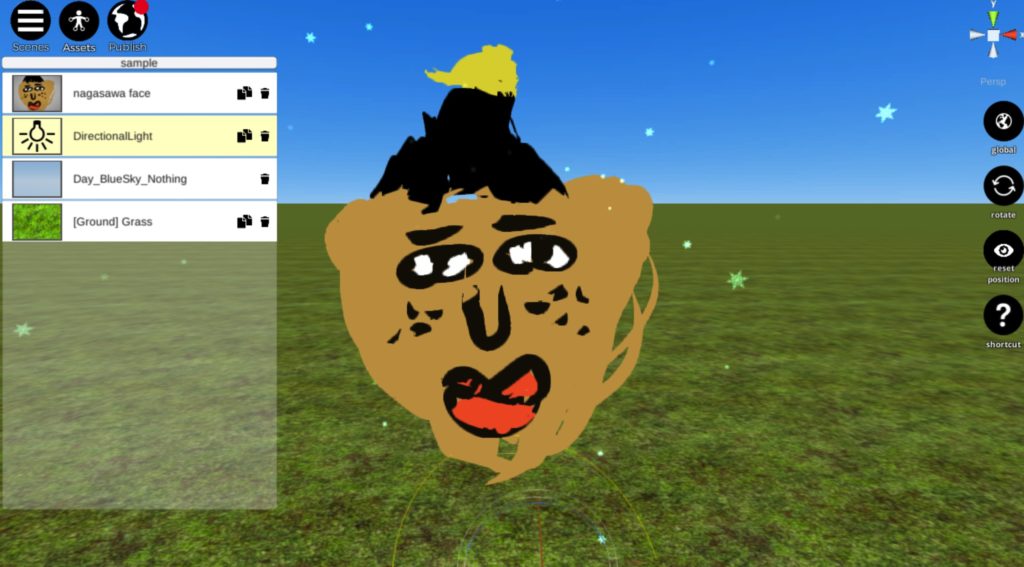
The above is how it looks in STYLY. The Star particles added in Tilt Brush also seem to be uploaded successfully. Why not create your 100% original object and upload to STYLY?
![How to Upload a 3D Model Created with Tilt Brush to STYLY [Latest Version]](https://styly.cc/wp-content/uploads/2021/03/EYECATCH-1-160x160.jpg)