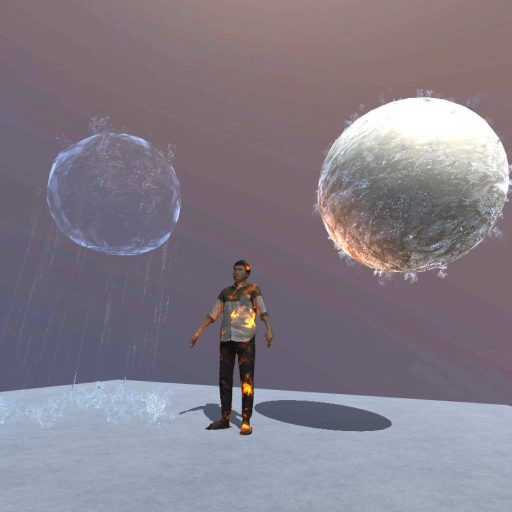
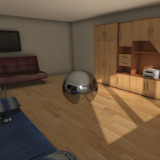
A scene using this asset, in the Oculus Go version STYLY
In this article, I am going to introduce one of my favorite assets for Unity, that you can use in STYLY.
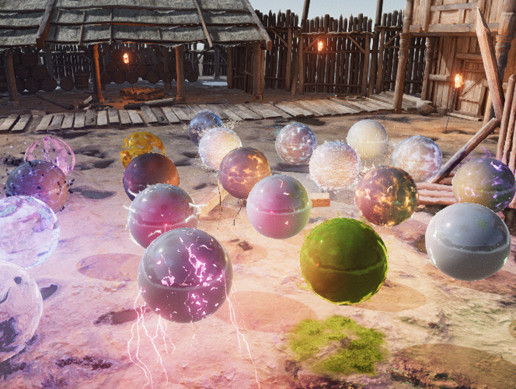
The asset I am going to introduce today, is an asset called “Mesh Effects”.
“Mesh Effects” is a package of more than 20 magic mesh effects.
There are effects such as fire, ice, dark, and light magic.
By adding attributions to objects, you can add details and make them look cool.
First, I will give you a brief overview of the asset.
Then, I will explain how to download and import the asset to Unity, and how to upload the asset to STYLY.
Sample
You can experience the “Mesh Effects” asset in VR in the STYLY GALLERY.
Mesh Effects
Mesh Effects
Total file size : 60.8MB
Supported Unity Version : from 5.5.4 and higher
Price :$22
Asset Store URL https://assetstore.unity.com/packages/vfx/particles/spells/mesh-effects-67803
Downloading and Importing to Unity
So, lets access the Unity Asset Store from Unity, and download and import “Mesh Effects”.
For details of how to download and import assets from the store, please refer to this article.

For those who are already familiar, search for “Mesh Effects”, and download it.

Search for Mesh Effects
Adding attributions to objects
Let’s set up the object and add an attribution.
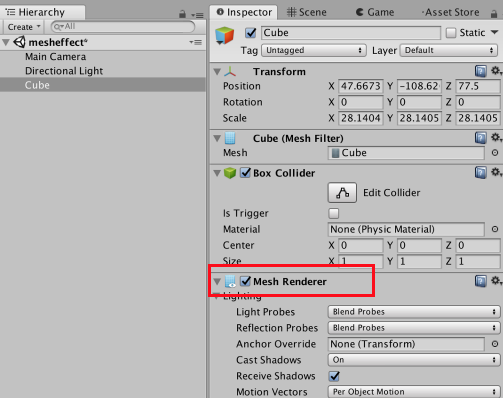
Mesh Renderer
Create a 3D object in the Hierarchy window.
Open the Inspector window of that object, and check if the Mesh Renderer is in it.
If the Mesh Renderer is not in it, click “Add Component” >> “Mesh Renderer” and add one.
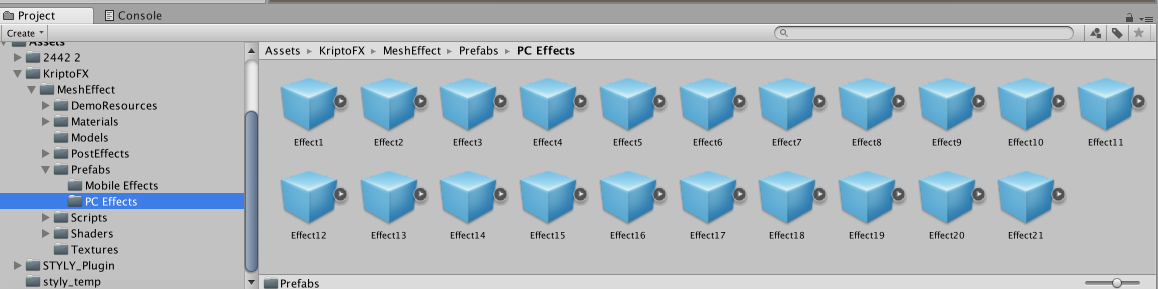
List of effect prefabs
Go to the Project window, select “Assets”, “KriptoFX” → “MeshEffect” → ”Prefabs” → ”PC Effects” , so you can see the list of effect prefabs.

Applying the effect
Select an effect you like, and store it in the 3D object you just created.
Then, open the Inspector window of the effect, select “Mesh Object”, and set the object you want to apply the effect to (In the tutorial, I selected Cube).
Click “Update Mesh Renderer”, and the effect will get applied to the object.
Play the scene to see the effect in use.

Checking the effect
A cool effect shows up, right?
Delete the effect prefab, and add another effect prefab to change the effect.
Try and find an effect you like the most!
Uploading to STYLY
Let’s upload the “Mesh Effects” asset to STYLY.
For details of how to upload assets to STYLY, please refer to this article.

If you want to upload a whole scene to STYLY, please refer to this article.
The image below is a scene using the “Mesh Effects” asset in the STYLY Web Editor.
Check the asset in the Web Editor
As in the tutorial scene, you can add magical effects to objects in your scene by using Mesh Effects!