Continuing from my last article, I am going to create a “VR Manga” using “Tilt brush”, a software that you can use to draw and paint in VR!
Let’s use Tilt Brush to draw a VR Manga!! -Part 1- ( Click the image to open the article )
In this article, I am going to introduce the manga I drew, and how I created it.
Ok, I hope you enjoy my VR manga, ”Apple Bunny”#2!!
If you have access to VR, you can view my manga in VR! Please go to STYLY GALLERY from here! ☞http://gallery.styly.cc/OEKA_AKI/3d8a6ee5-d876-11e8-b34d-4783bb2170d0
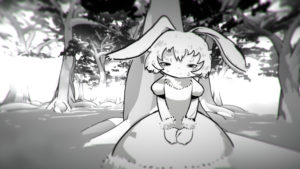
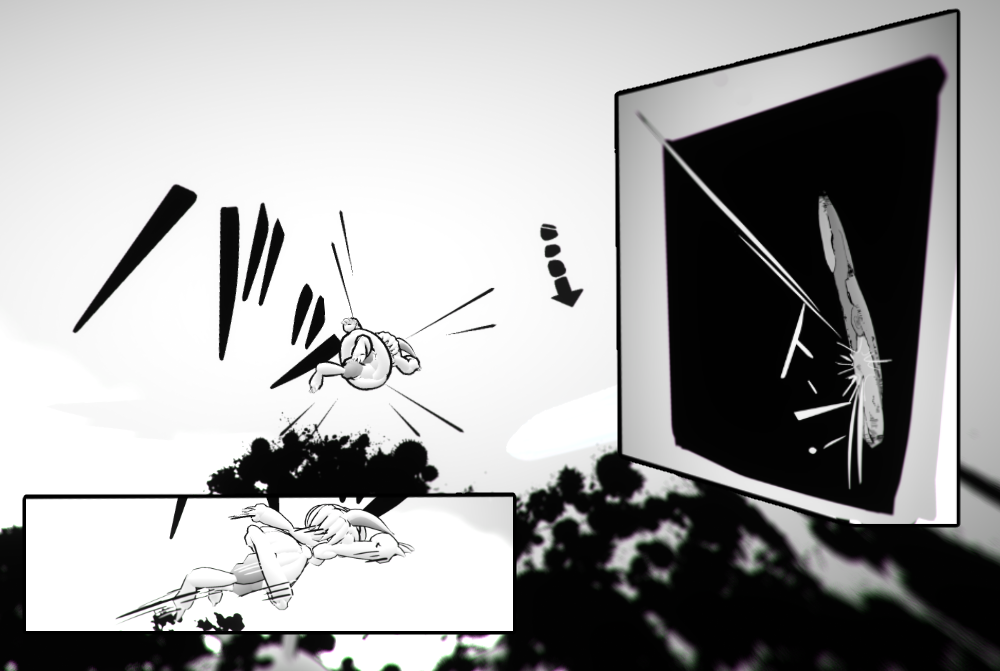
“Apple Bunny” #2
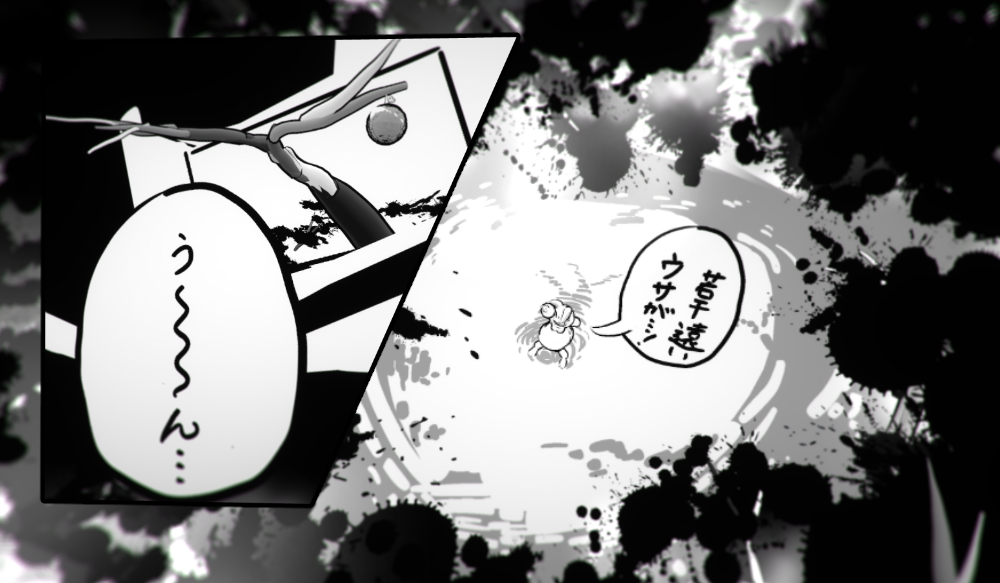
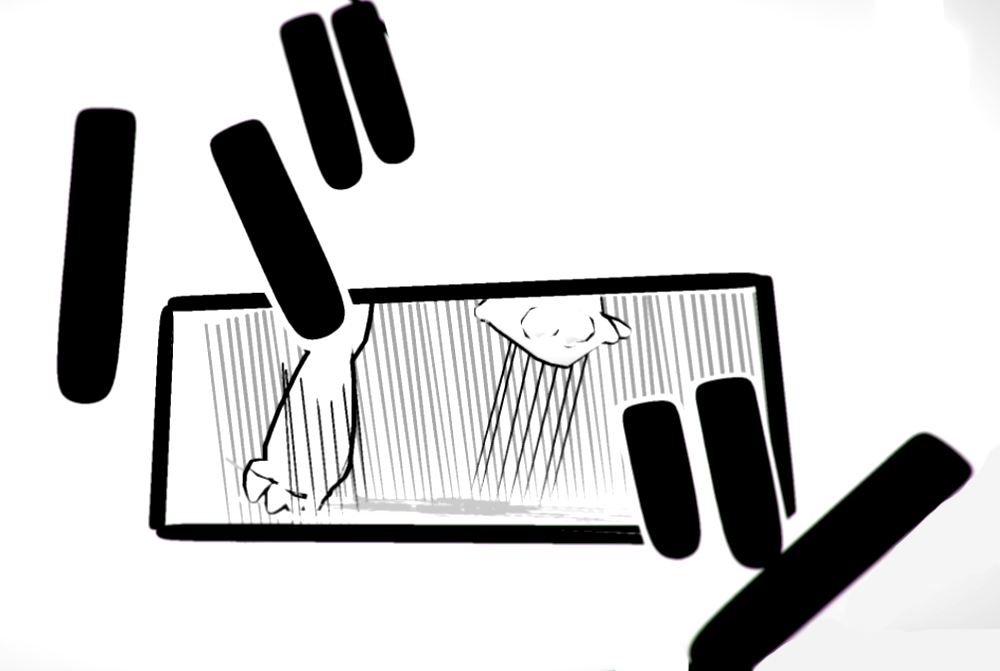
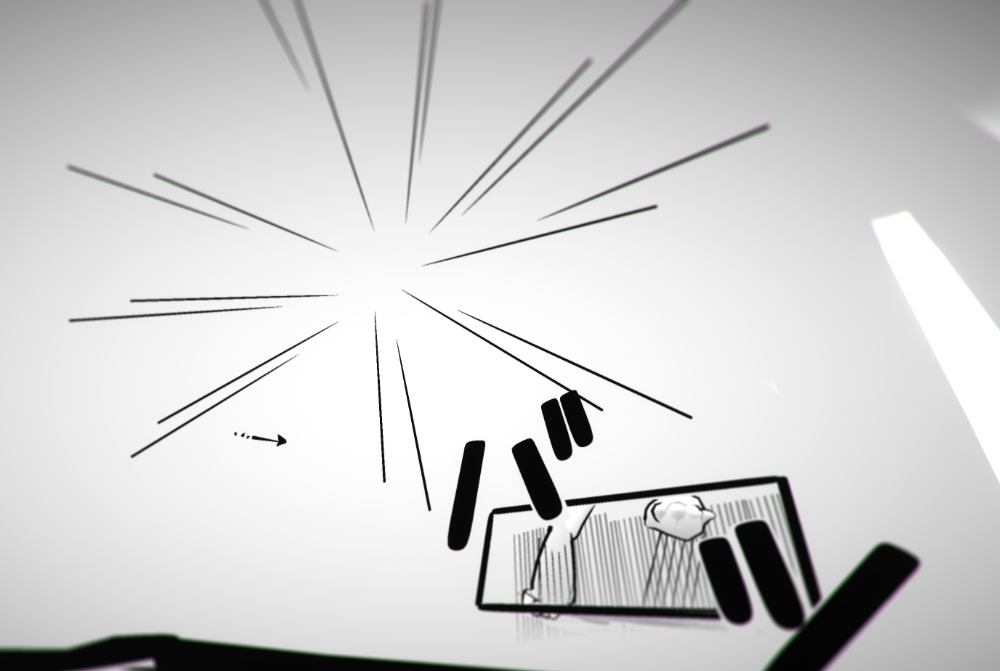
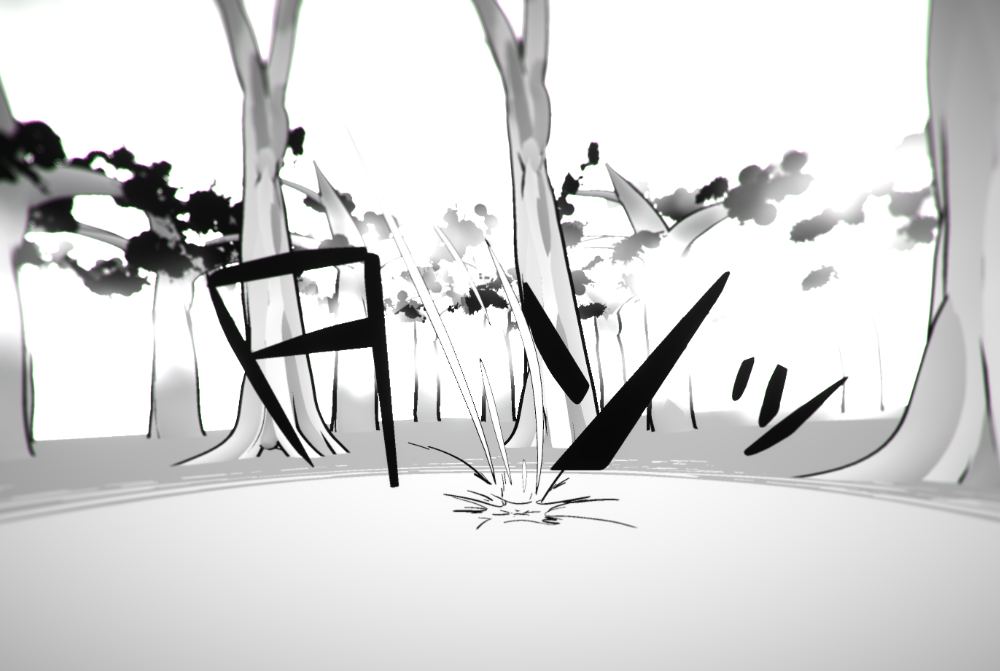
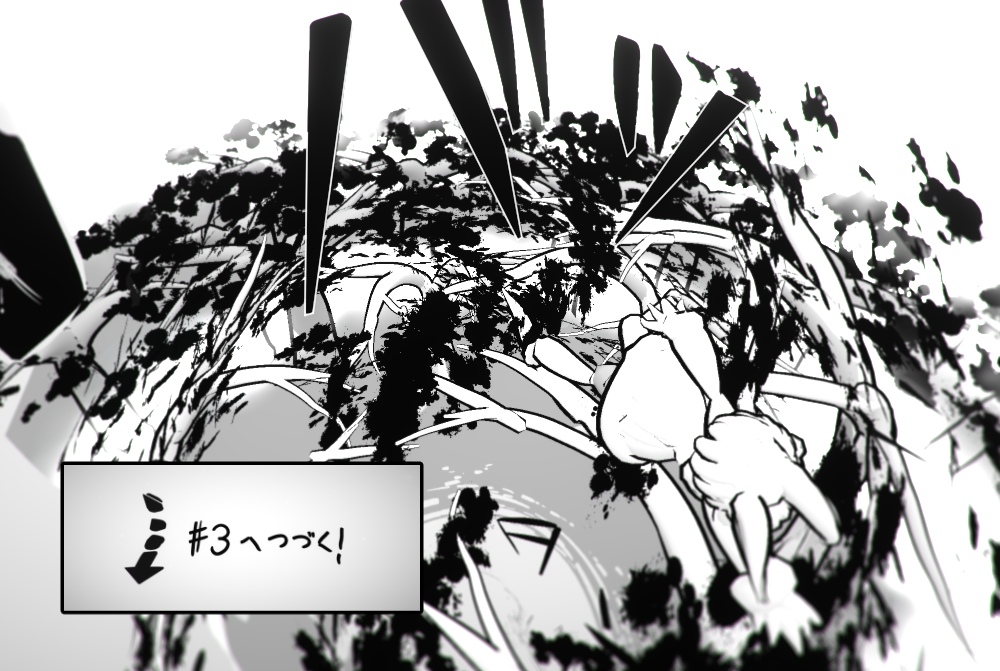
To be cont.
In today’s manga, I more focused on using the space and changing the point of view
of the reader.
So, I am going to talk mainly about the panel layout!
Let’s start the tutorial!!°˖✧◝(⁰▿⁰)◜✧˖°
Panel Layout
A panel layout is a very important element of manga.
Using manga-like expressions is very important for your VR manga.
I might go as far as saying, as long as you are using a panel layout, it is a manga!!(⁉)
There are several ways of creating panel layouts in VR space, but I will introduce 3 basic ways.
Using a picture frame
Picture Frame Panel Layout
By surrounding a panel with a picture frame, you can create a panel without depth .
To use the strength of VR space, depth is important too, but using depth means more work and problems with space.
Also, you can use manga expressions easily with two dimensional pictures , and you don’t need to think about different points of view, so the workload is smaller.
You can use a picture frame panel like an object, and place it wherever you want, so it is useful for the visual guidance technique, which I am going to introduce later in this article.
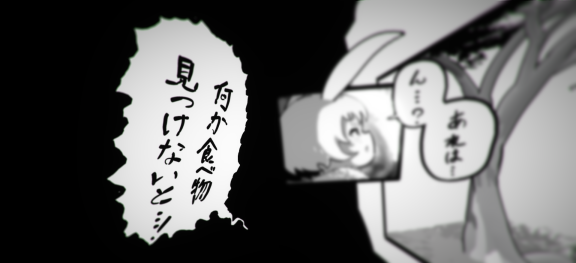
You can also place it near a faraway object, and make it look like a zoomed view
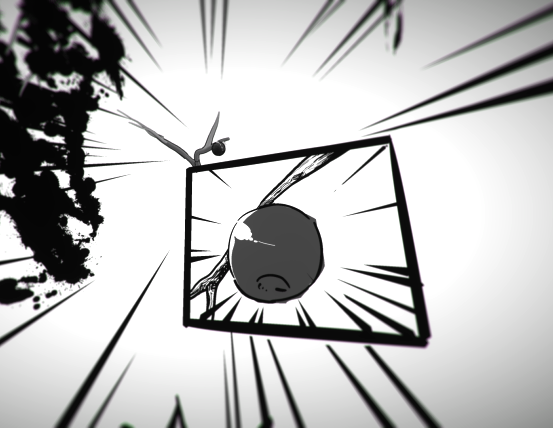
Using a box frame
Box Frame Panel
A strength of the box frame panel , is that it looks more VR than a picture frame panel and is easier to handle compared to a window frame.
A box frame panel has details inside the frame, and has depth.
It has depth, but it is not large enough for the reader to jump inside .
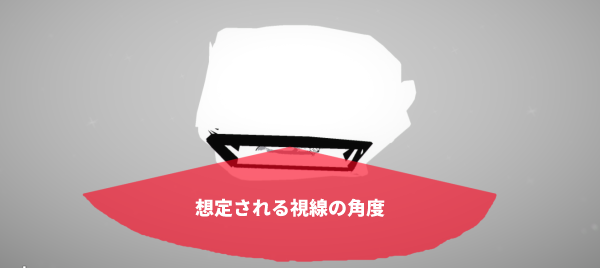
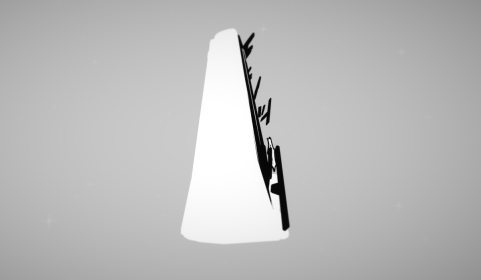
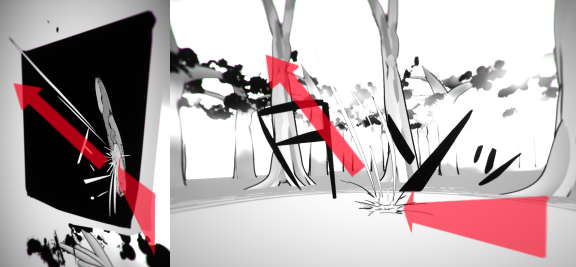
The range of view is limited
As shown in the image above, the panel cannot be seen from the sides or the back.
The angle for the top and bottom can be adjusted by the height of the panel.
The panel collapses when seen from the side, but by limiting the angle, you can create three dimensionality
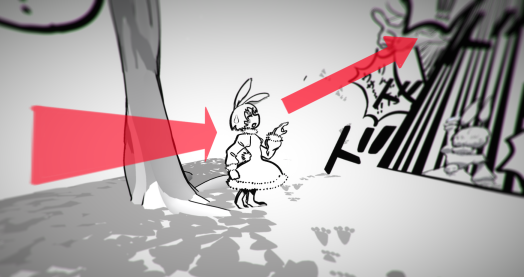
If you want to place objects in the picture like in the image above, in a position that collapses when seen from the sides or back, you can use a box frame to limit the viewer’s viewpoint range.
This idea to ”limit the viewpoint range according to your expression technique” will be used several times in my article series.
But take note that since a box frame has depth, it sticks out when seen from the side, and might be disturbing.
If there is a background, the panel will stick out and seem clumsy
Using a window frame
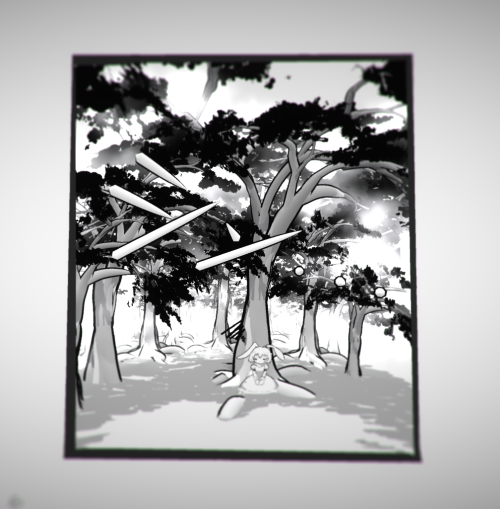
Window frame panel
Finally, the window frame panel. There is a large 3D space inside the panel, and the reader can even jump inside.
I recommend using this panel for a signature panel, for a important scene in your manga.
This panel is one of the biggest strengths of VR manga, since the reader can enter inside the manga, which you can never do on paper. But since you need to create a whole 3D space, it is very time-consuming.
For the details on how to create the background inside a window panel, I am planning to introduce the details in my next article.
Although it is called a window frame, you can also place this panel on the floor or the ceiling create a panel with large presence.
An example of a window frame placed on the floor
A window frame placed on the floor does not have the reader entering the scene in mind, so it is close to a box panel.
Placing your panels
After you finish creating your panels, let’s put them in place. We’re almost doen creating VR manga!!
In paper manga and illustrations, there is a method called visual guidance.
In VR, you not only have to think about what the reader is looking at, but you have to think about the whole field of vision of the reader.
This is because in paper, the reader can see the whole page, but in VR, you must consider how the reader moves their sight, and the order that the reader sees your panels.
I am going to introduce 3 techniques you can use.
Visual guidance from right to left
When writing vertically in Japanese, you read from the right to left, so place your panels accordingly. This is the same as with paper manga.
If you are using a different language, please change this according to your language.
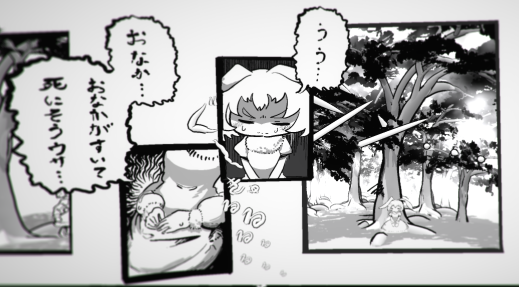
Visual guidance from right to left
Basically, you can use this technique when you set your panels two dimensionally.
By placing the panels so the reader can see them all at once, you can make the reader look at the panels from right to left.
Visual guidance from near to far
VR manga has depth, but that is not limited for inside panels.
By placing panels in order using the Z-axis, from near to far, you can make the reader read the near panels first.
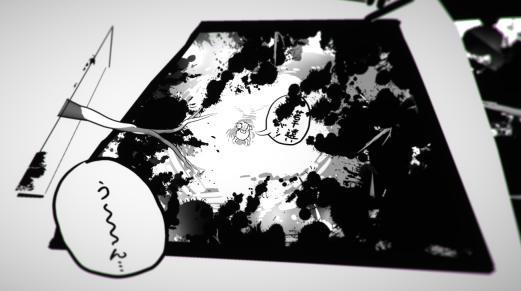
Visual guidance from near to far
In the image above, I am only using this technique for speech bubbles but by placing the first bubble nearer, I caused the reader to read the first bubble first.
By using depth and this technique, you can make the reader read from left to right, which is difficult in paper manga.
For example, for a scene in where multiple characters speak in the same panel, you might be able to place the character that speaks first nearer.
For manga’s with many characters and many lines, it is difficult to guide the reader, so this technique will come in handy.
Visual guidance using characters
The last technique is tricky, but is very interesting.
Imagine someone suddenly points at the sky, and shouts “Look! There’s a U.F.O in the sky!”. You would look at where he or she is pointing, right?
This technique is just like that.
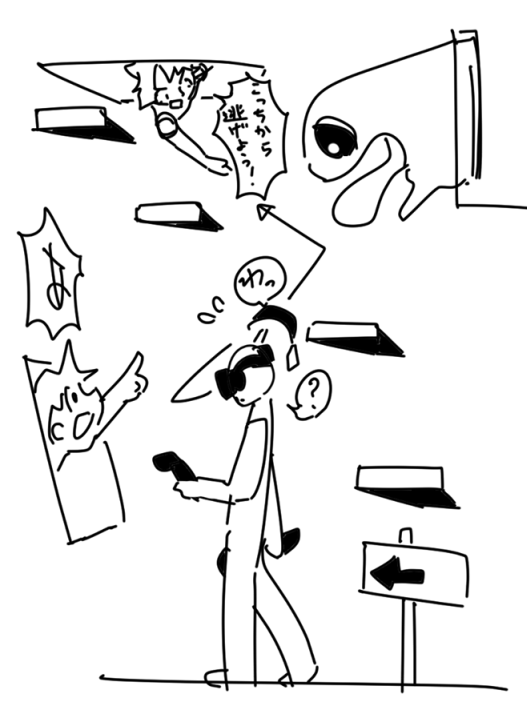
Visual guidance using characters
In the image above, the character points towards where you want the reader to look next.
By using this technique, I think that you can place your panels more freely where you want inside 3D spaces.
The guidance tech I used in Apple Bunny #2
I am experimenting with placing panels in blind spots, and surprising the reader with a panel emerging when the reader turns around.
Visual guidance gimmick ideas
That will be all for panel layouts!
There are infinite possibilities with panel layouts in three dimensional spaces!!
It is tremendous fun exploring new ideas, and is like creating a new ride in an amusement park!!
I hope you use your own creative ideas to create your very own panel layout!°˖✧◝(⁰▿⁰)◜✧˖°

Let’s use Tilt Brush to draw a VR Manga!! -Part 3- ( Click the image to open the article )