Continuing from my last article, I am going to create a “VR Manga” using “Tilt brush”, a software that you can use to draw and paint in VR!
Let’s use Tilt Brush to draw a VR Manga!! -Part 2- ( Click the image to open the article )
In this article, I am going to introduce the manga I drew, and how I created it.
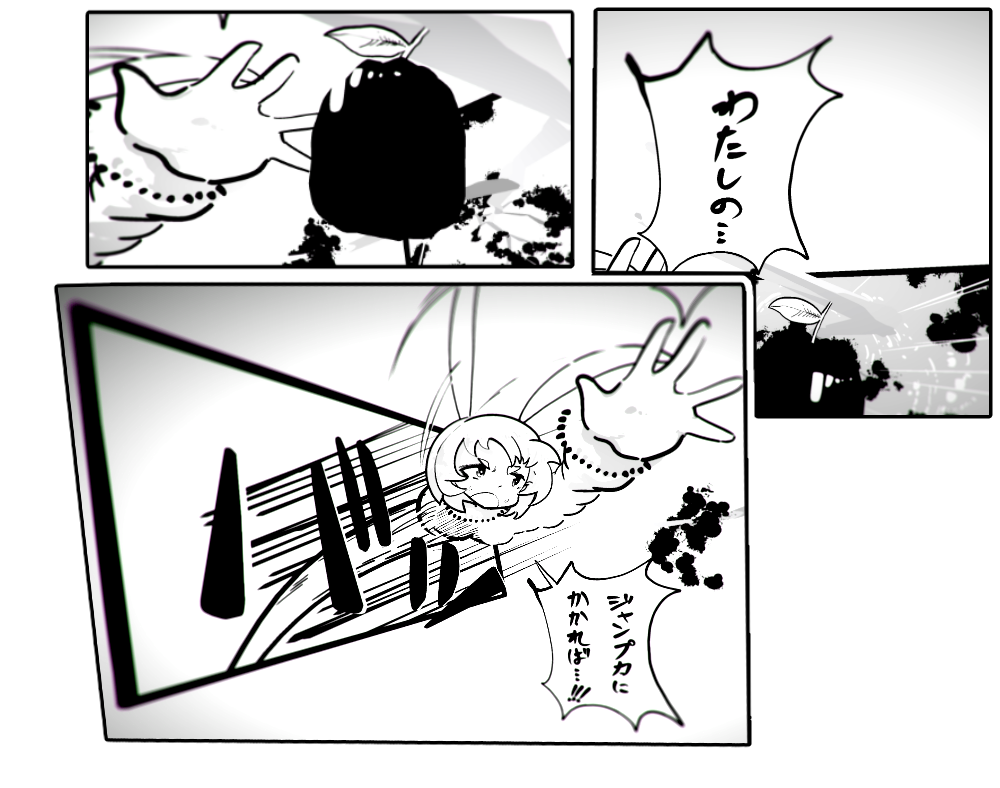
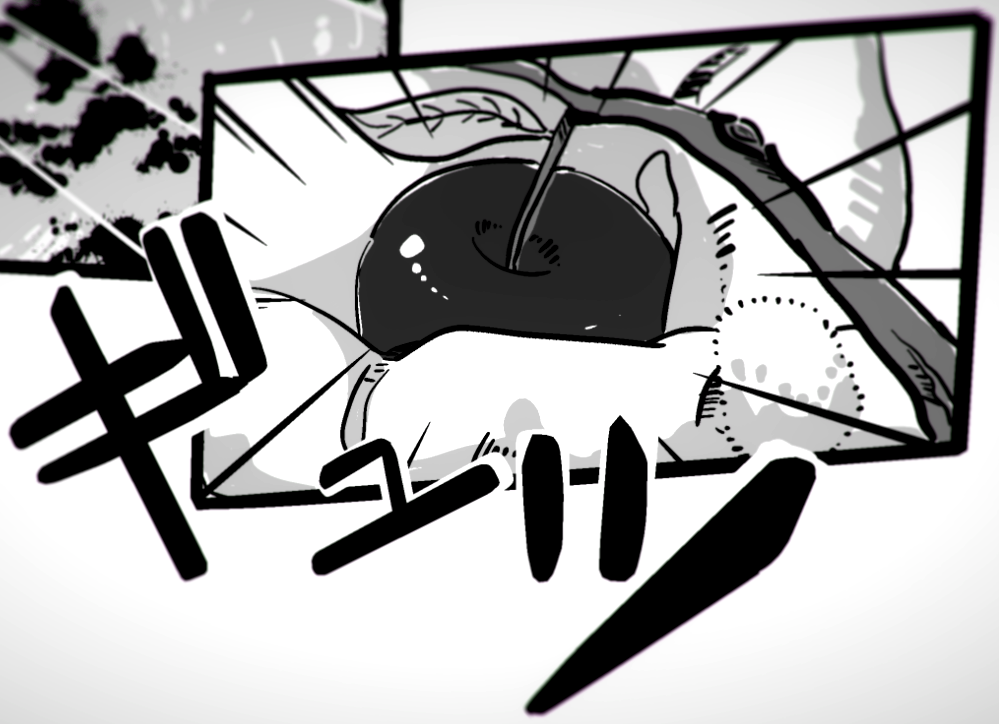
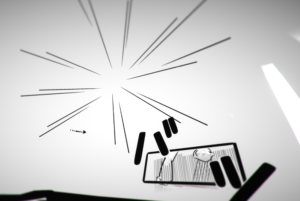
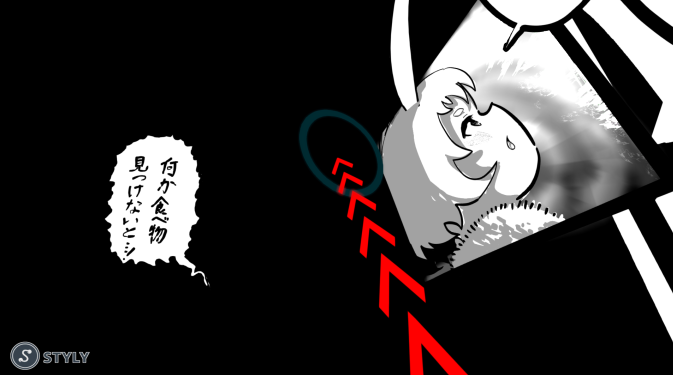
Ok, I hope you enjoy my VR manga, ”Apple Bunny”#3!!
If you have access to VR, you can view my manga in VR! Please go to STYLY GALLERY from here! ☞ http://gallery.styly.cc/OEKA_AKI/642091c0-e047-11e8-b34d-4783bb2170d0
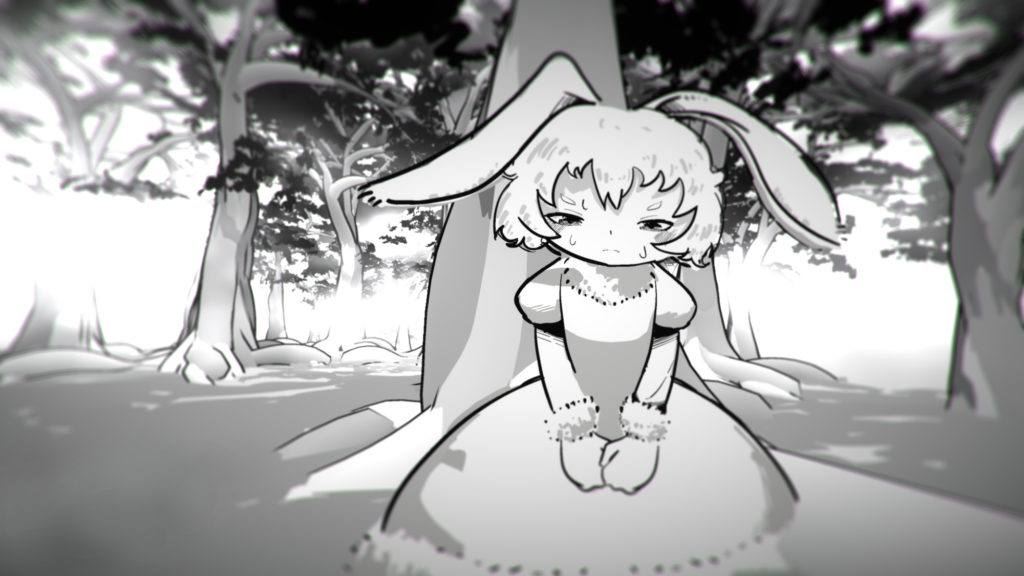
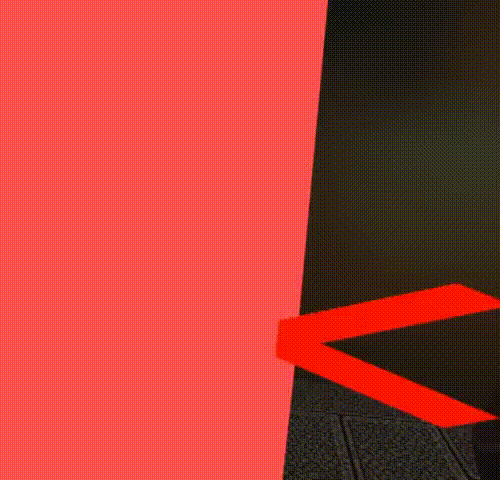
“Apple Bunny” #3
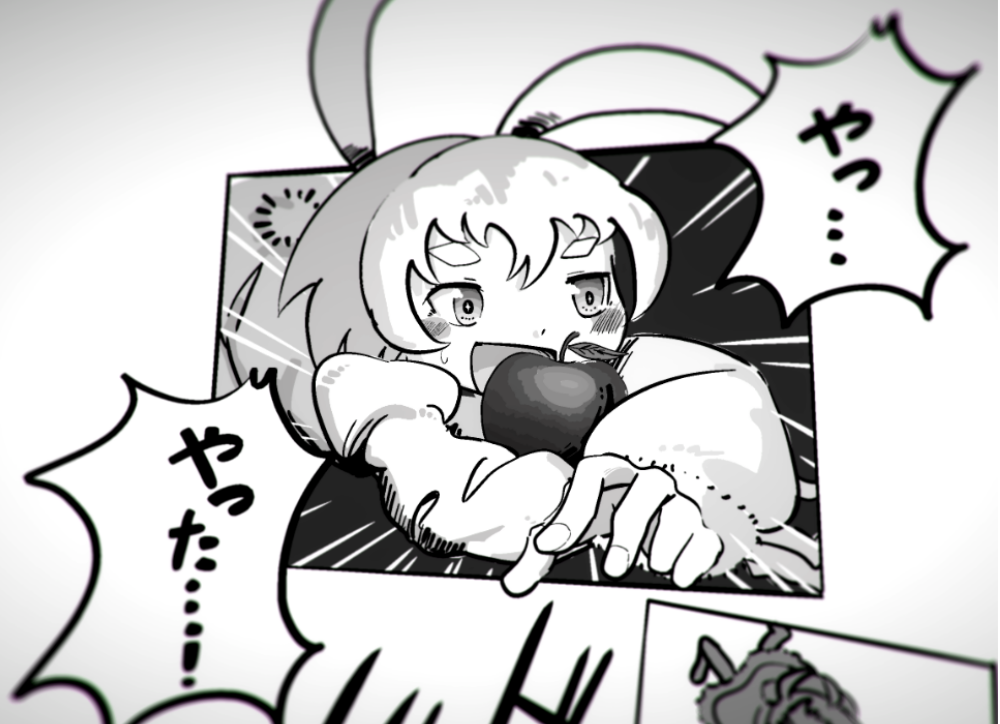
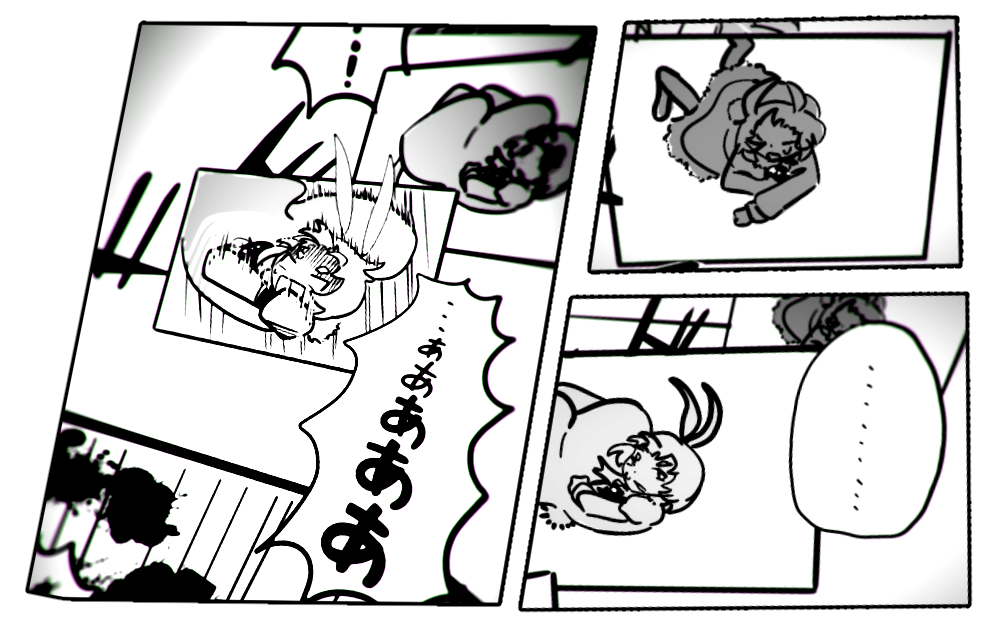
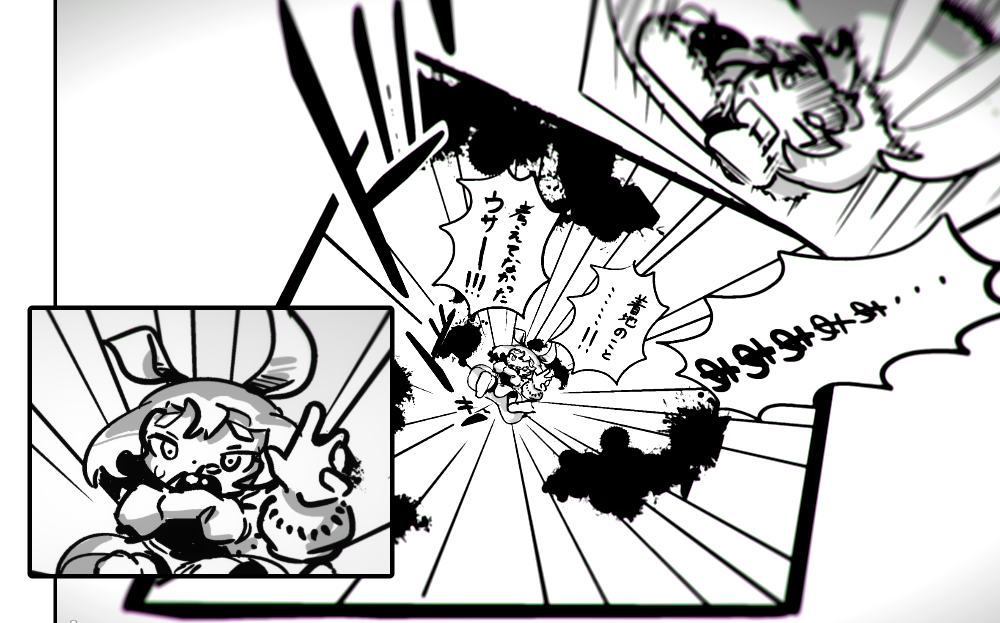
To be cont.
In today’s manga, I focused more on the character’s movements and the tempo of the story!
I am going to talk about how I drew the background and landscape.
Let’s start the tutorial!!°˖✧◝(⁰▿⁰)◜✧˖°
Drawing the background
When you create the background, you are going to create a 3D space using Tilt Brush. Use your imagination fully!!
I have some tips for you to improve your efficiency, and things you should take caution of.
Many things depend on what you are drawing, but I hope you find them helpful!
Using a bordered brush
The ”Toon” brush I introduced in part 1 is a very useful brush, and it can be used to draw three-dimensional lines with borders.
But the brush is roundish, so it is difficult to use it for sharp edges such as those of buildings.
Use the characteristics of the Toon brush wisely for your drawings!
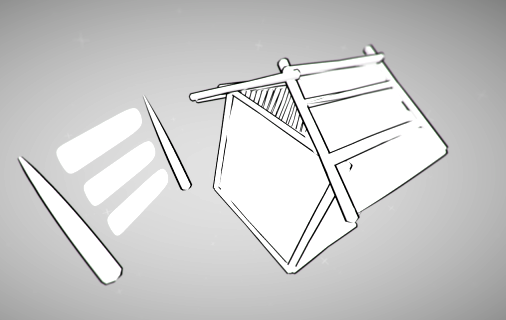
Example of drawing a house with “Toon”
In the image above, I used Toon for the pillars, and used Marker for the walls.
By using Toon for the border lines, the whole house becomes bordered!
Understanding the pros and cons of each brush, and using them in combination is very important.
Using a polygon brush
When drawing a three-dimensional space, I recommend using a polygon brush! If you use ”Unlit Hull”, a brush I introduced in part one, you can draw a solid object sensuously.
Unlit Hull
A polygon brush connects the coordinates the brush passed through as the trigger button was pressed down, and creates a block covered by faces.
By using a polygon brush, you can create objects like buildings and houses, furniture, and trees in a very short time!
Take note that the brush is not bordered, so you could add lines afterwards, or use the brush for distant objects, which you don’t need the borders for.
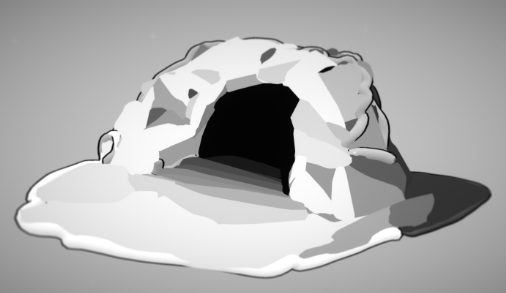
A Cave drawn using Unlit Hull
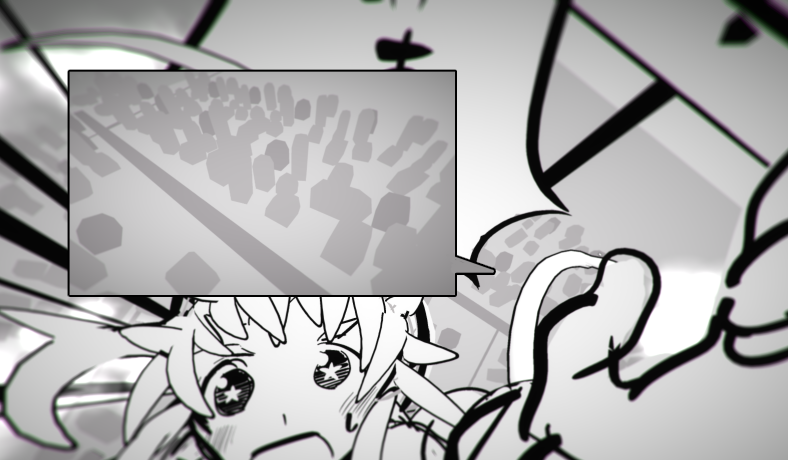
Distant buildings in the background, drawn using Unlit Hull
Duplicating
For scenes in where you need many objects that look alike, such as city buildings, or trees in a forest, use the duplicate function!
You can learn how to use the duplicate function in this article. Let’s draw VR illustration by Tilt Brush ~ advanced.
A forest created with duplicated trees
Unlike two-dimensional illustrations, even if the object is a copy, it looks very different depending on the distance and the angle.
Don’t be afraid to use this function, and use it to create a large scene!
CAUTION!! Use this function for objects with small file sizes, and keep the number low!!
If you duplicate detailed objects, the data size of the scene will become huge, and might result in an error when trying importing to STYLY.
For my forest scene, in order to use as few trees as possible, I created a deep fog around.
Managing the data size is very important too, especially as the manga gets longer, but let’s talk about that in my future articles.
Creating a landscape
In my VR manga, I enabled the reader to move around inside the manga, so I needed to prepare landscapes too.
You can use your creations in Tilt Brush as objects in STYLY, and use them as walls or floors.
By using this feature, you can enable the reader to climb to the sky, or block their path with object walls.
I would like to introduce some characteristics of Tilt Brush creations in STYLY.
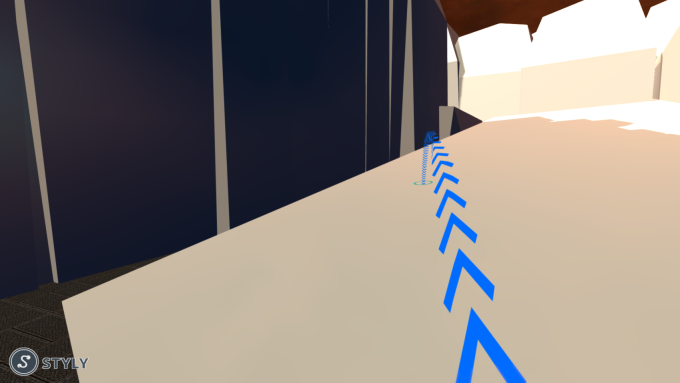
There is a front side and a back side
If you draw a flat surface with a flat brush, it looks the same from either side.
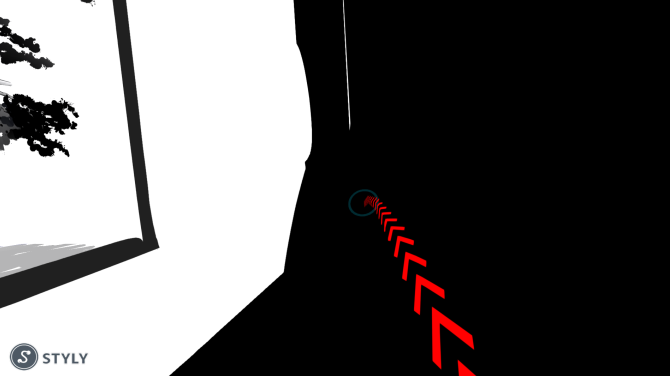
But in STYLY, the front side has collision detection, but the back side does not ( objects just go through ).
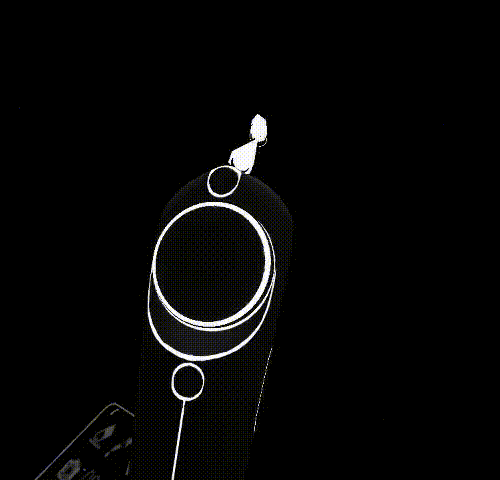
The arrow goes collides on the front side, but goes through from the back side
If you are using a flat brush, the front side is the side that has a collision detector.
Take care which side you are using when you want to create walls, floors, or stairs.
If you are using a polygon brush, the outside faces will be the front side, and the inside faces will be the back sides.
If you want to place objects with a collision detector, you might want to use polygon brushes.
The above scene of Apple Bunny#2 uses this feature, and once you go through the wall, you can’t return
Angles that the user can move on to
You must be careful when creating a hill. This is because users cannot jump on to objects or floors with a steep angle.
If you plan to enable the reader moving on your objects, you should basically use flat surfaces.
Even if you intend to use a flat surface, if the object surface is distorted, the reader may not be able to move on to it.
If you create a slope, keep the angle in mind
On the contrary, you could place a steep slope where you do not want the reader to move on, and block transportation.
For example, if the reader moves too near to the wall, the reader might jump through the wall without intending to. You can prevent this by placing a slope there.
Example of blocking the path with a slope
Dividing the landscape data
Sometimes, the brush features I just explained are not applied in STYLY.
The reason is unknown, but it seems to happen sometimes when you upload a very large amount of data at once.
Movement is blocked but there is supposed to be nothing there
When this happens, it affects the reader’s movement largely.
If your manga’s data size becomes too large, you should divide it into several parts, and upload them to STYLY one by one.
Even if it is too time-consuming, you are probably better off if you divide the landscape data in different parts.
Uploading panels and landscapes apart
That will be all for today’s article!
The latter parts were not exactly about drawing techniques, but I hope the tips I introduced help you when you try to create a VR space using Tilt Brush!
In the next article, I plan to talk about how to express flipping pages in VR.
See you in part 4!! ヾ(≧▽≦)ノ
Let’s use Tilt Brush to draw a VR Manga!! -Part 4- ( Click the image to open the article )