Continuing from my last article, I am going to create a “VR Manga” using “Tilt brush”, a software that you can use to draw and paint in VR!
Let’s use Tilt Brush to draw a VR Manga!! -Part 3- ( Click the image to open the article )
In this article, I am going to introduce the manga I drew, and how I created it.
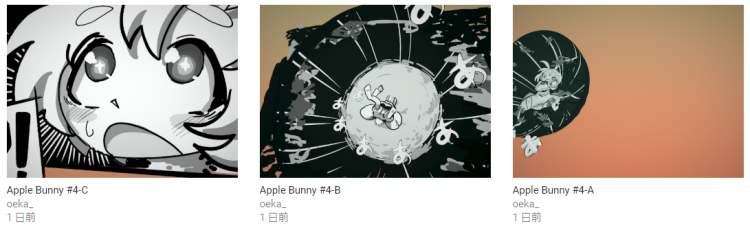
Ok, I hope you enjoy my VR manga, ”Apple Bunny”#4!!
If you have access to VR, you can view my manga in VR! Please go to STYLY GALLERY from here! ☞http://gallery.styly.cc/OEKA_AKI/c474edcb-e5c1-11e8-b34d-4783bb2170d0
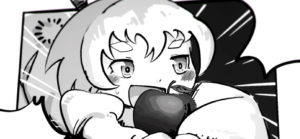
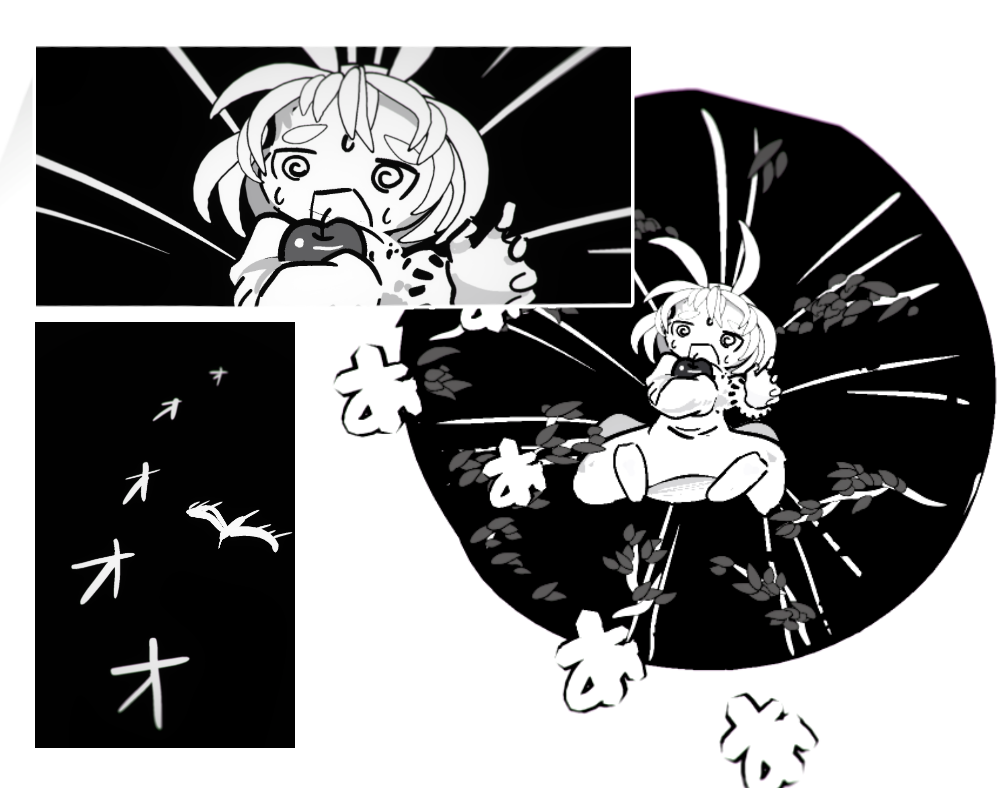
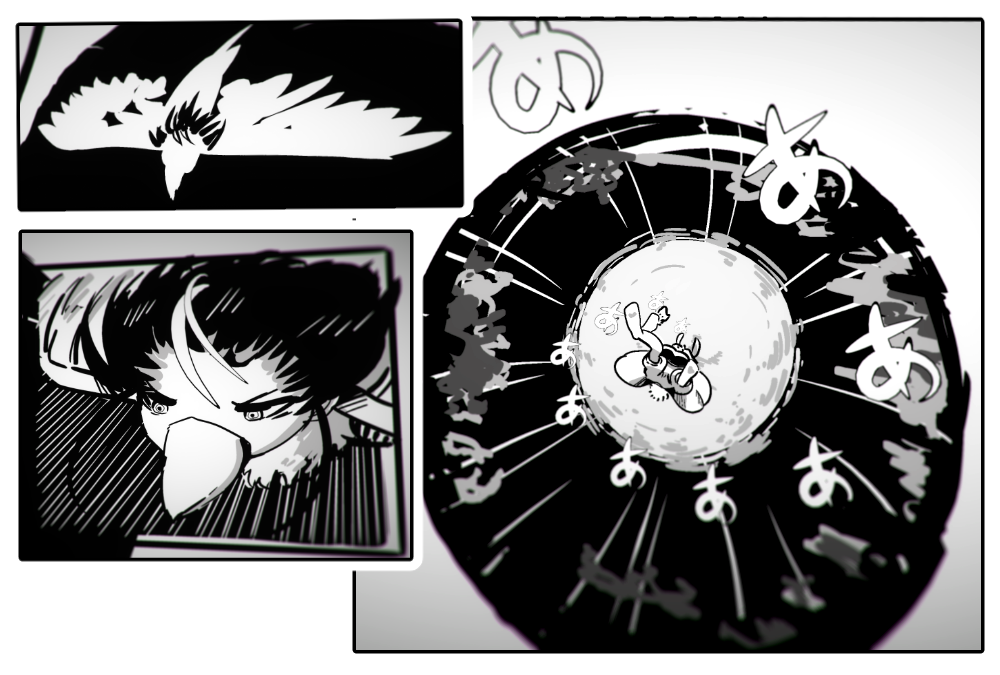
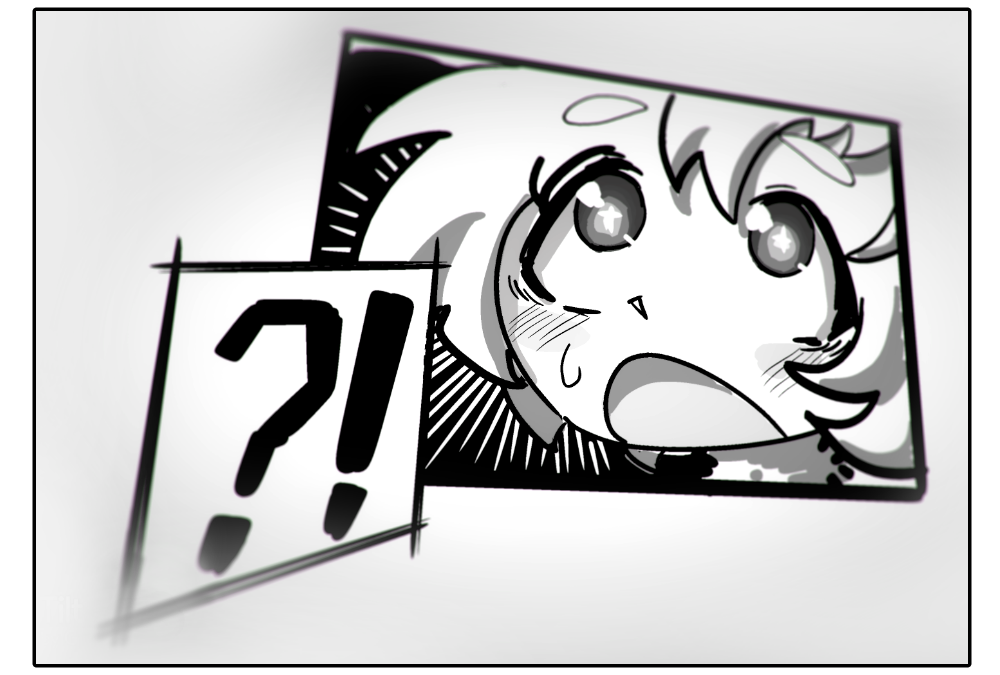
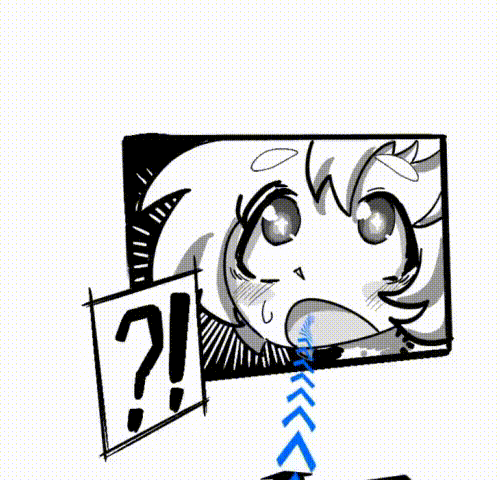
“Apple Bunny” #4

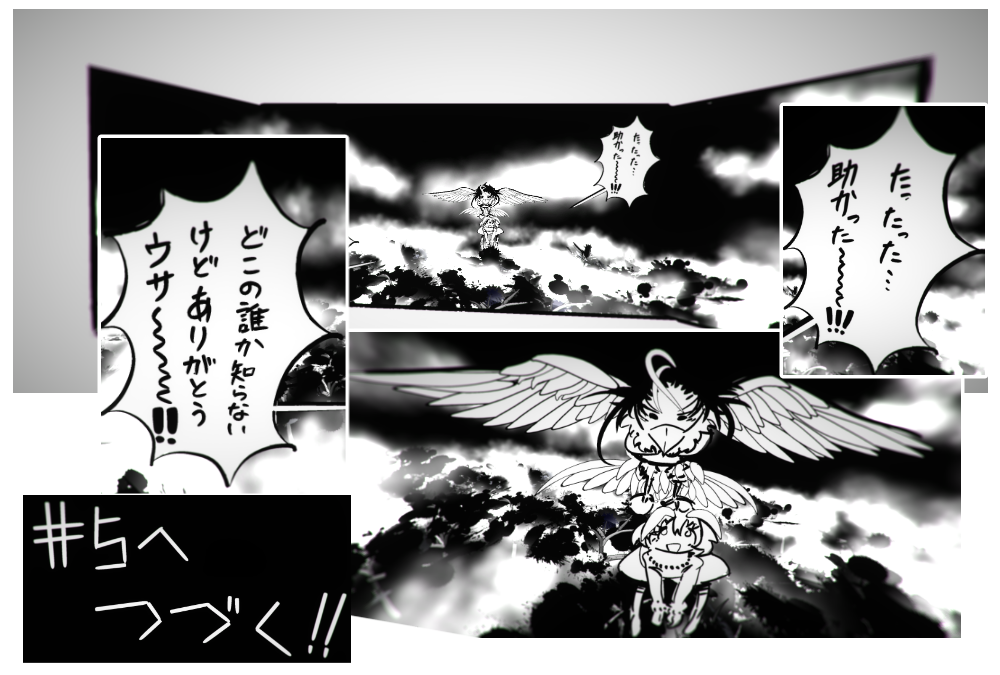
To be cont.
In today’s manga, I used panels that the reader can slip through, which makes the reader unable to see the next panel!!
If you can see my manga in VR, I hope you enjoy the experience!
In today’s article, I am going to talk about how to express flipping pages in VR.
Let’s start the tutorial!!°˖✧◝(⁰▿⁰)◜✧˖°
Flipping Pages
When you read a manga on paper, the reader sees two pages at a time, and the reader has to flip the page to go to the next page.
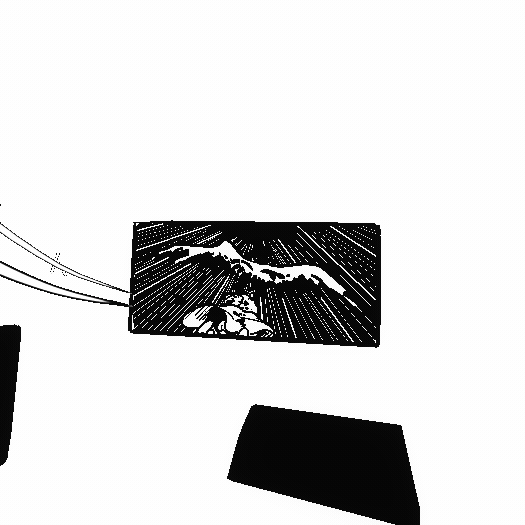
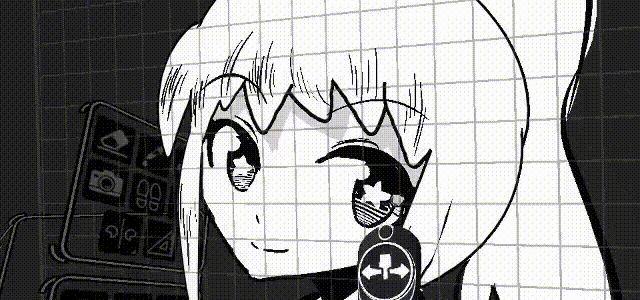
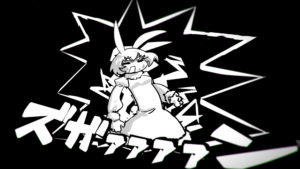
Since the reader cannot see what happens next, creating a hook in the last panel is very effective, making the reader use his or her imagination and wonder “What’s going to happen next!?”.

The last panel highlighted in red makes the reader get excited to read the next page
But in VR, there is no such thing as a page.
So, what do we do? By limiting the reader’s sight, there are some technique’s we can use to create an effect like flipping.
Today, I am going to explain the technique’s I used in Apple Bunny.
Flipping effects in VR
Using Corners
To make it short, if the reader cannot see the next panel, it has a similar effect. Using Corners is one of the simplest yet effective ways for this.
Hiding the next panel by using a corner
This technique is very simple, and we don’t have to create a complicated landscape to control the reader’s view.
But it depends on where the reader is standing, and sometimes the reader might be able to glimpse the next panel.
Corners may not be suited if you want the next panel to be seen at once.
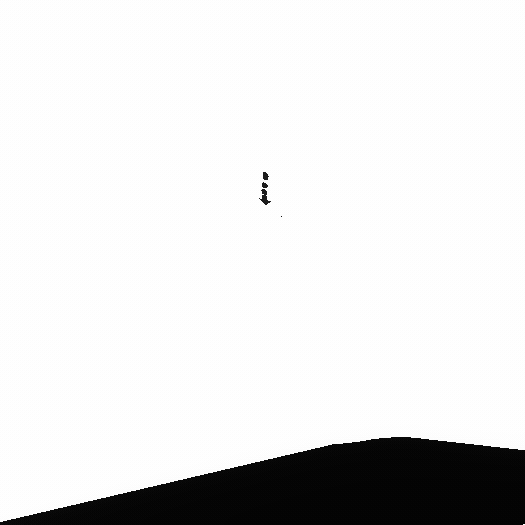
There are some tips to control the reader’s standing point, such as placing stepping stones to jump on, so the user only jumps to the positions you want him or her to.
Using different heights
This technique uses the height to hide the next panel from the reader.
The reader has to climb up or climb down in order to see the next panel.
The reader jumping up to see the next panel.
To use this tech, we need to enable the reader to move accordingly, so we have to create a three-dimensional landscape.
We have to set the landscape so that the reader can easily move and jump onto in STYLY, so this method takes more effort compared to using corners.
Using blind spots
You can also control the reader’s field of vision by placing the next panel on the opposite direction of where the reader is looking at and moving towards, and making the reader look in that direction afterwards.

Placing the next panel on the opposite direction of the reader’s view
One problem is that you have to lead the reader well, because if you don’t, the panel will just stay unrealized.
Imagine placing the next panel in a landing between staircases, so that when the reader turns around to climb to the next floor, the panel suddenly comes into view.
Using a wall that the reader can slip through
You can also use the characteristics of the front side and back side of a brush, which I explained in part 3.
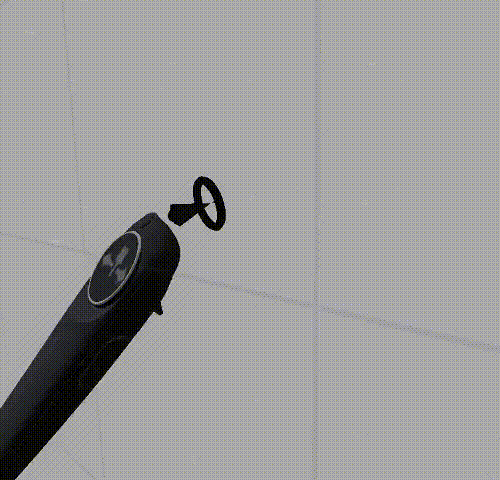
If the reader enters a wall painted with the back side of a brush, the reader can just slip through.
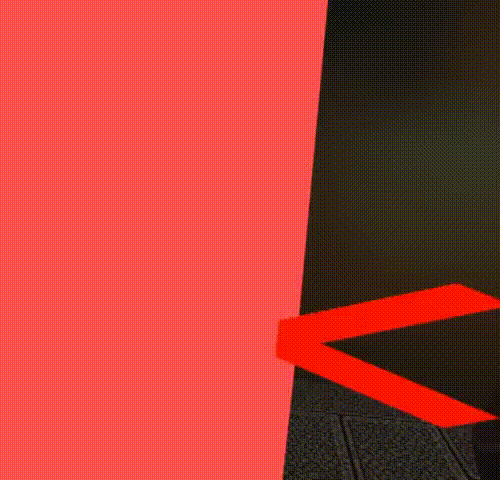
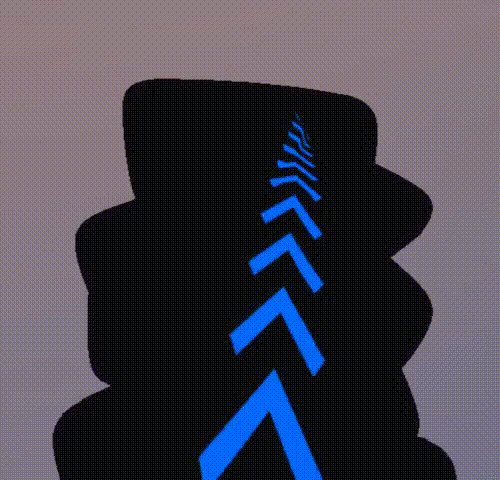
The arrow goes collides on the front side, but goes through from the back side
We can use this fact to create a wall or panel that the user can slip through.
Place the next panel so that the reader can only see it after passing the last one.
The next panel can be seen only after jumping through the last one
By dividing the space with walls, you can use rooms as you would use a page in paper.
All you have to do is place walls, and you can create a completely different scene easily, so this technique is very well suited for creating a flipping effect for your manga.
Creating walls is fairly easy, but panels the reader can pass through are somewhat tricky, so I will explain the details!
How to create panels you can pass through
If we create a panel just as we did in part 1, the front side will come to the front, which means the side that we cannot pass through comes to the front.
This is not what we want, so we need to draw a panel from the back side!
If you draw the panel normally, the front side will come to the front, and you cannot pass through
You want to know how to draw a panel backwards? The answer is to hold the controller backwards, so the brush is directed at you, and draw in that direction.
……That’s almost impossible!!
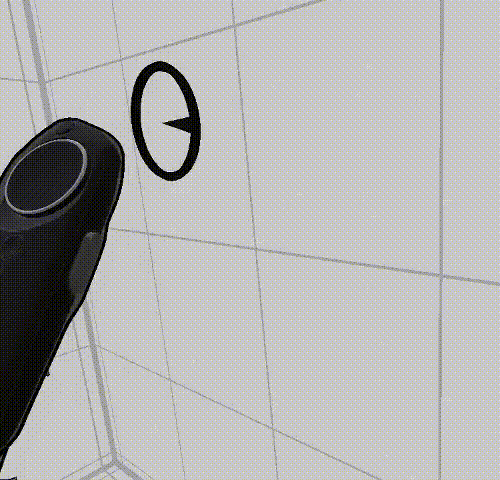
So, we are going to use the guide tool.
Drawing from inside the guide
When the guide tool is used, the brush gets pushed to the surface of the guide.
If we draw from inside the guide, the brush gets pushed and is directed to you, meaning that we can draw backwards without holding the controller backwards!
The brush gets pushed and is directed to you, if you draw from the inside
By drawing like this, we can create a panel watching the side we can pass through.
By the way, since the brush becomes backwards, if you draw over or paint over the last surface, the color shows up on the opposite side.
Also, try not to press the grip button for scaling since you will find yourself grabbing the guide, since you are inside the guide.
Do not fold back with your brush
There is a front side and back side for brushes, which is why we can create a panel that you can pass through in the first place.
But if you fold back as you are pressing the trigger button, the front side and back side swaps and turns opposite
If there are both sides in your panel, you cannot pass through. Take care you don’t do this.
It is hard to see in Tilt Brush
There are front and back sides in STYLY
Take extra care when you are filling the colors, since you find yourself doing this without realizing.
Uploading panels one by one
I talked about why you should take care of the data size you are uploading.
The whole panel will be spoiled if you cannot jump through, so to prevent this from happening, upload panels one by one to the Poly, and set them up in STYLY.
Upload panels one by one
Also note that if the panel data size is too huge, some problems might occur even when you upload a single panel.
Some tips you can use are using big brushes for base colors, and try to draw with few strokes as possible.
That will be all for today’s article! The next article will be the final article for this series!
In the next article, I am going to talk about what I was thinking as I created Apple Bunny, and what I discovered after I created it.
See you in part 5!!°˖✧◝(⁰▿⁰)◜✧˖°
Let’s use Tilt Brush to draw a VR Manga!! -Part 5- ( Click the image to open the article )