Creating AR Scenes in Unity
Preparation
Please prepare the following
- Unity
- STYLY Plugin for Unity
- PlayMaker
- UniGLTF v1.27
Create a new project in Unity.
Please check the supported Unity versions under Supported Unity Versions.
Import each of the following into your Unity project in the following order
Importing Immersal map data into Unity
Go to https://developers.immersal.com/ and download the two map data
- bytes file
- glb file

Import the glb file you just downloaded from the Developer Portal from the UniGLTF menu into Unity.
Click UniGLTF-1.27 > Import in the main menu.

Select the glb file.

The glb file will be prefabricated and saved.
Create a Prefabs folder and save the glb prefabs under the Prefabs folder.

Import the byte files into Unity.
Create a Bytes folder in your project and import the byte files into the Bytes folder.

Create a PlayMakerFSM mechanism to link Unity and Immersal.
Place the ImmersalExamplePrefab (hereafter referred to as ImmersalExample) in your project in the hierarchy.
You can find ImmersalExample under Project > STYLY_Plugin > STYLY_ImmersalUI > Example.

Select ImmersalUI under ImmersalExample.
Click Edit in the PlayMakerFSM of the ImmersalUI object.

Click Edit Instance.

Select the ImmersalDetect state.
Drag and drop a byte file from your project onto the Map File section of the ImmersalDetect action.

Create an AR scene
Create the AR scene you want to display under ImmersalSample > ARContents.
Once the scene is placed under ARContents, it will be displayed on STYLY Mobile.
There is a Primitive object as a sample, so you can create it for display confirmation, or you can delete it.

Let’s display the actual map data in Unity (applying real locations).
Place the glb object under ARContents.

Change the Rotation Y of the glb object to 180*.

*Supplemental explanation
In order to make the glTF file have the correct axis in Unity, we change the Rotation Y to 180.
For detailed explanation, please refer to the following website
Let’s place the object using the glb object as a guess for the real location.
A sample content that displays a Cube at the AR experience location has been created.

Register an image that “guides you to the AR origin location.
When you launch an AR scene using Immersal on the STYLY mobile app, the message “Please point the camera at the location of the image” and the image “to guide you which location to point the camera” will be displayed.
Here is how to register the image.

Prepare an image of the origin location.
Import the image into Unity.
Change the Texture Type of the image data to Sprite (2D and UI) and click the Apply button.

Select ImmersalUI in the Hierarchy and drag & drop the image data to the SamplePicture location.

Upload Prefab to STYLY
Delete the map data object from the hierarchy.
Uploading to STYLY with the data left will increase the size capacity of the scene.

Deactivate ARContents.
ARContents will switch to active when the PlayMaker FSM process detects the location and is able to match the map data.

Change the name of the game object in ImmersalExample to Prefab.

Upload the Prefab to STYLY.
Under the ImmersalUI object, there is a built-in mechanism to run the system using Immersal.
To run an AR scene using Immersal in STYLY, the following configuration is required.
Game object (parent)
└ImmersalUI (child)
└ARContent (child)
└AR scene content
Creating and publishing an Immersal scene in STYLY Studio
Edit and publish an Immersal template scene
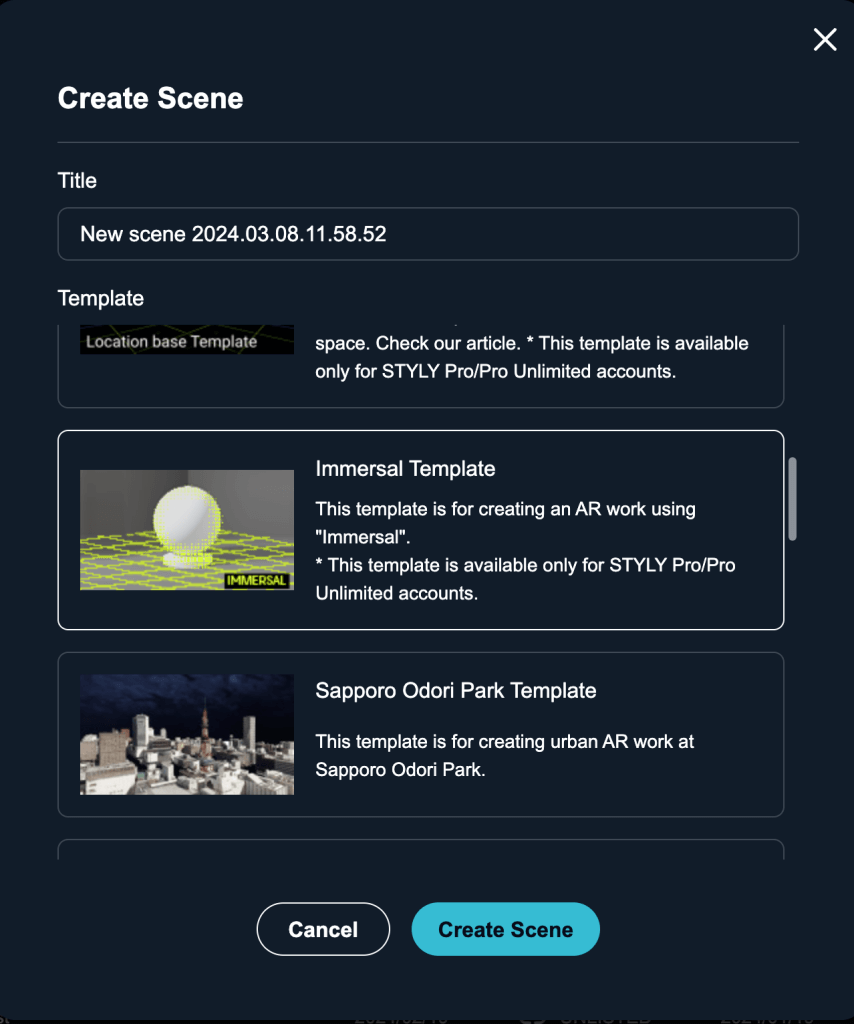
An Immersal Template scene will be added to STYLY Studio, so please edit the scene.
Do not delete the Immersal assets placed in the Immersal Template scene, as they are important assets that make the Immersal scene work.
If you delete them, please recreate the scene from the template.
Place the Prefab uploaded from Unity in your scene.
Publish your scene.
You may want to set “Immersal” as a tag.
Experience an AR scene with Immersal
Download the STYLY Mobile App
Download STYLY Mobile from the following app stores
iOS: https://apps.apple.com/jp/app/styly/id1477168256

Android: https://play.google.com/store/apps/details?id=com.psychicvrlab.stylymr

Play the scene
Launch STYLY Mobile and tap the scene you created from “My Page”.
Once the scene is played, hold the camera over the location where you want to experience the scene.
Once the camera position is matched with the map data, the scene will start playing.

Notes on Experiencing Scenes with Immersal
There is a bug that causes positional misalignment on Android.
There is a bug on Android only that causes a large shift in location, which is currently being investigated by the development team.
This has not occurred on iOS at this time.
Please try the experience in the same environment as the time of day and the brightness of the lights where the map data was created.
The map data generated during the experience is compared to the real location.
The positioning accuracy will be higher if the experience is conducted in the same environment as the time of day and brightness of the lighting where the map data was created.
Examples of positioning failure include the following.
(1) In the case of an outdoor environment, the map data generated during the daytime is different from
the brightness of the sunlight experienced at night, so there is a high possibility that the alignment will not be successful.
②If indoors, the brightness of the lighting is different from
the amount of lighting is as different as sunlight day/night, there is a high possibility that the alignment will not work well.
In common with both outdoor/indoor, try to experience the Immersal scene in the same environment as the brightness (sun and lighting) at the time the map data was created.
Questions about STYLY, bug reports, and requests for improvements should be sent to STYLY FORUM
https://en.forum.styly.cc/support/discussions
For business use, please contact us at:
https://styly.inc/contact/
Certified (QA) by uechan


