The SkyAndLights Set is an asset that has a Skybox with matching Lighting as one asset.
It can be used to quickly create realistic lighting in your scene, such as natural lighting or photo studios.
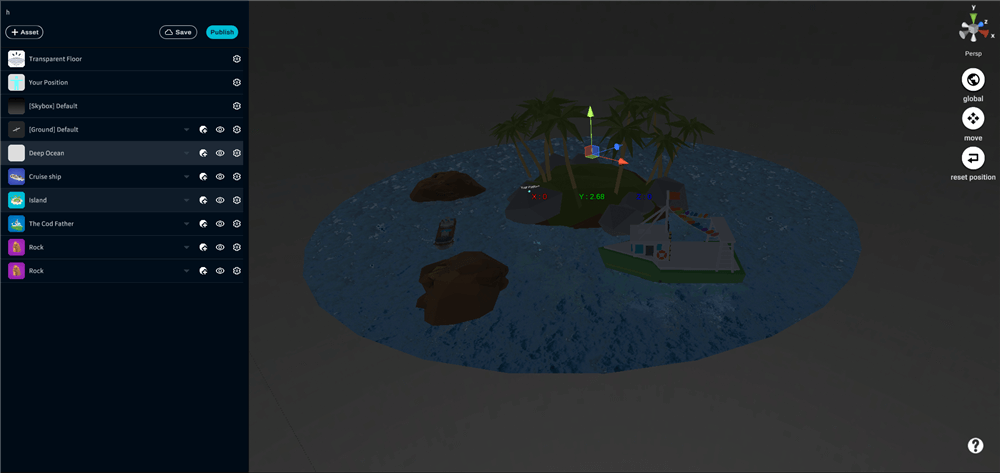
Sample Scene
Below is a sample scene using the SkyAndLights Set:
Where to find the SkyAndLights Set
You can find the asset by following the instructions below.
First, click the add assets icon.
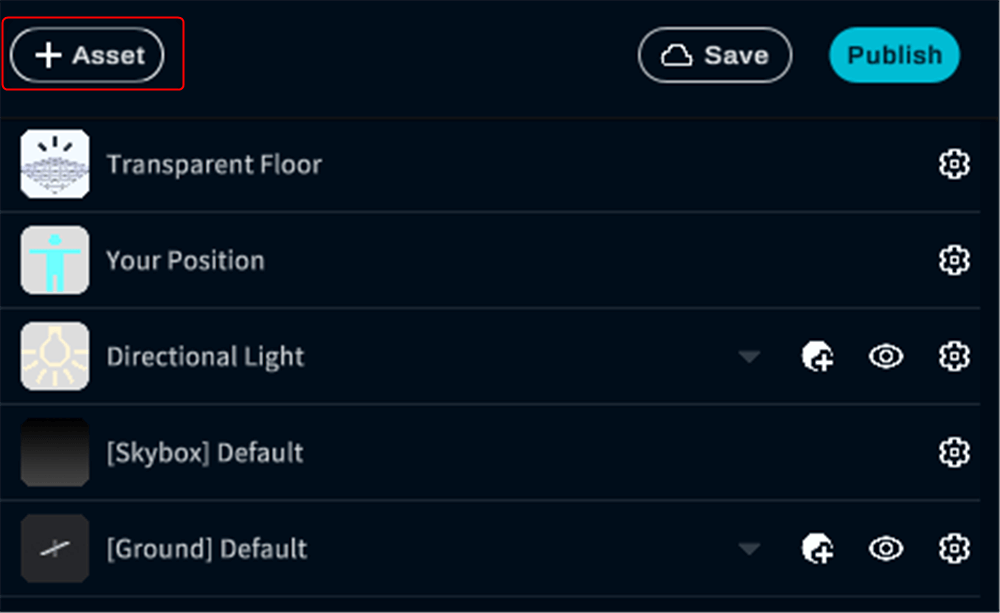
Click the add assets icon
Then, click “Environment.”
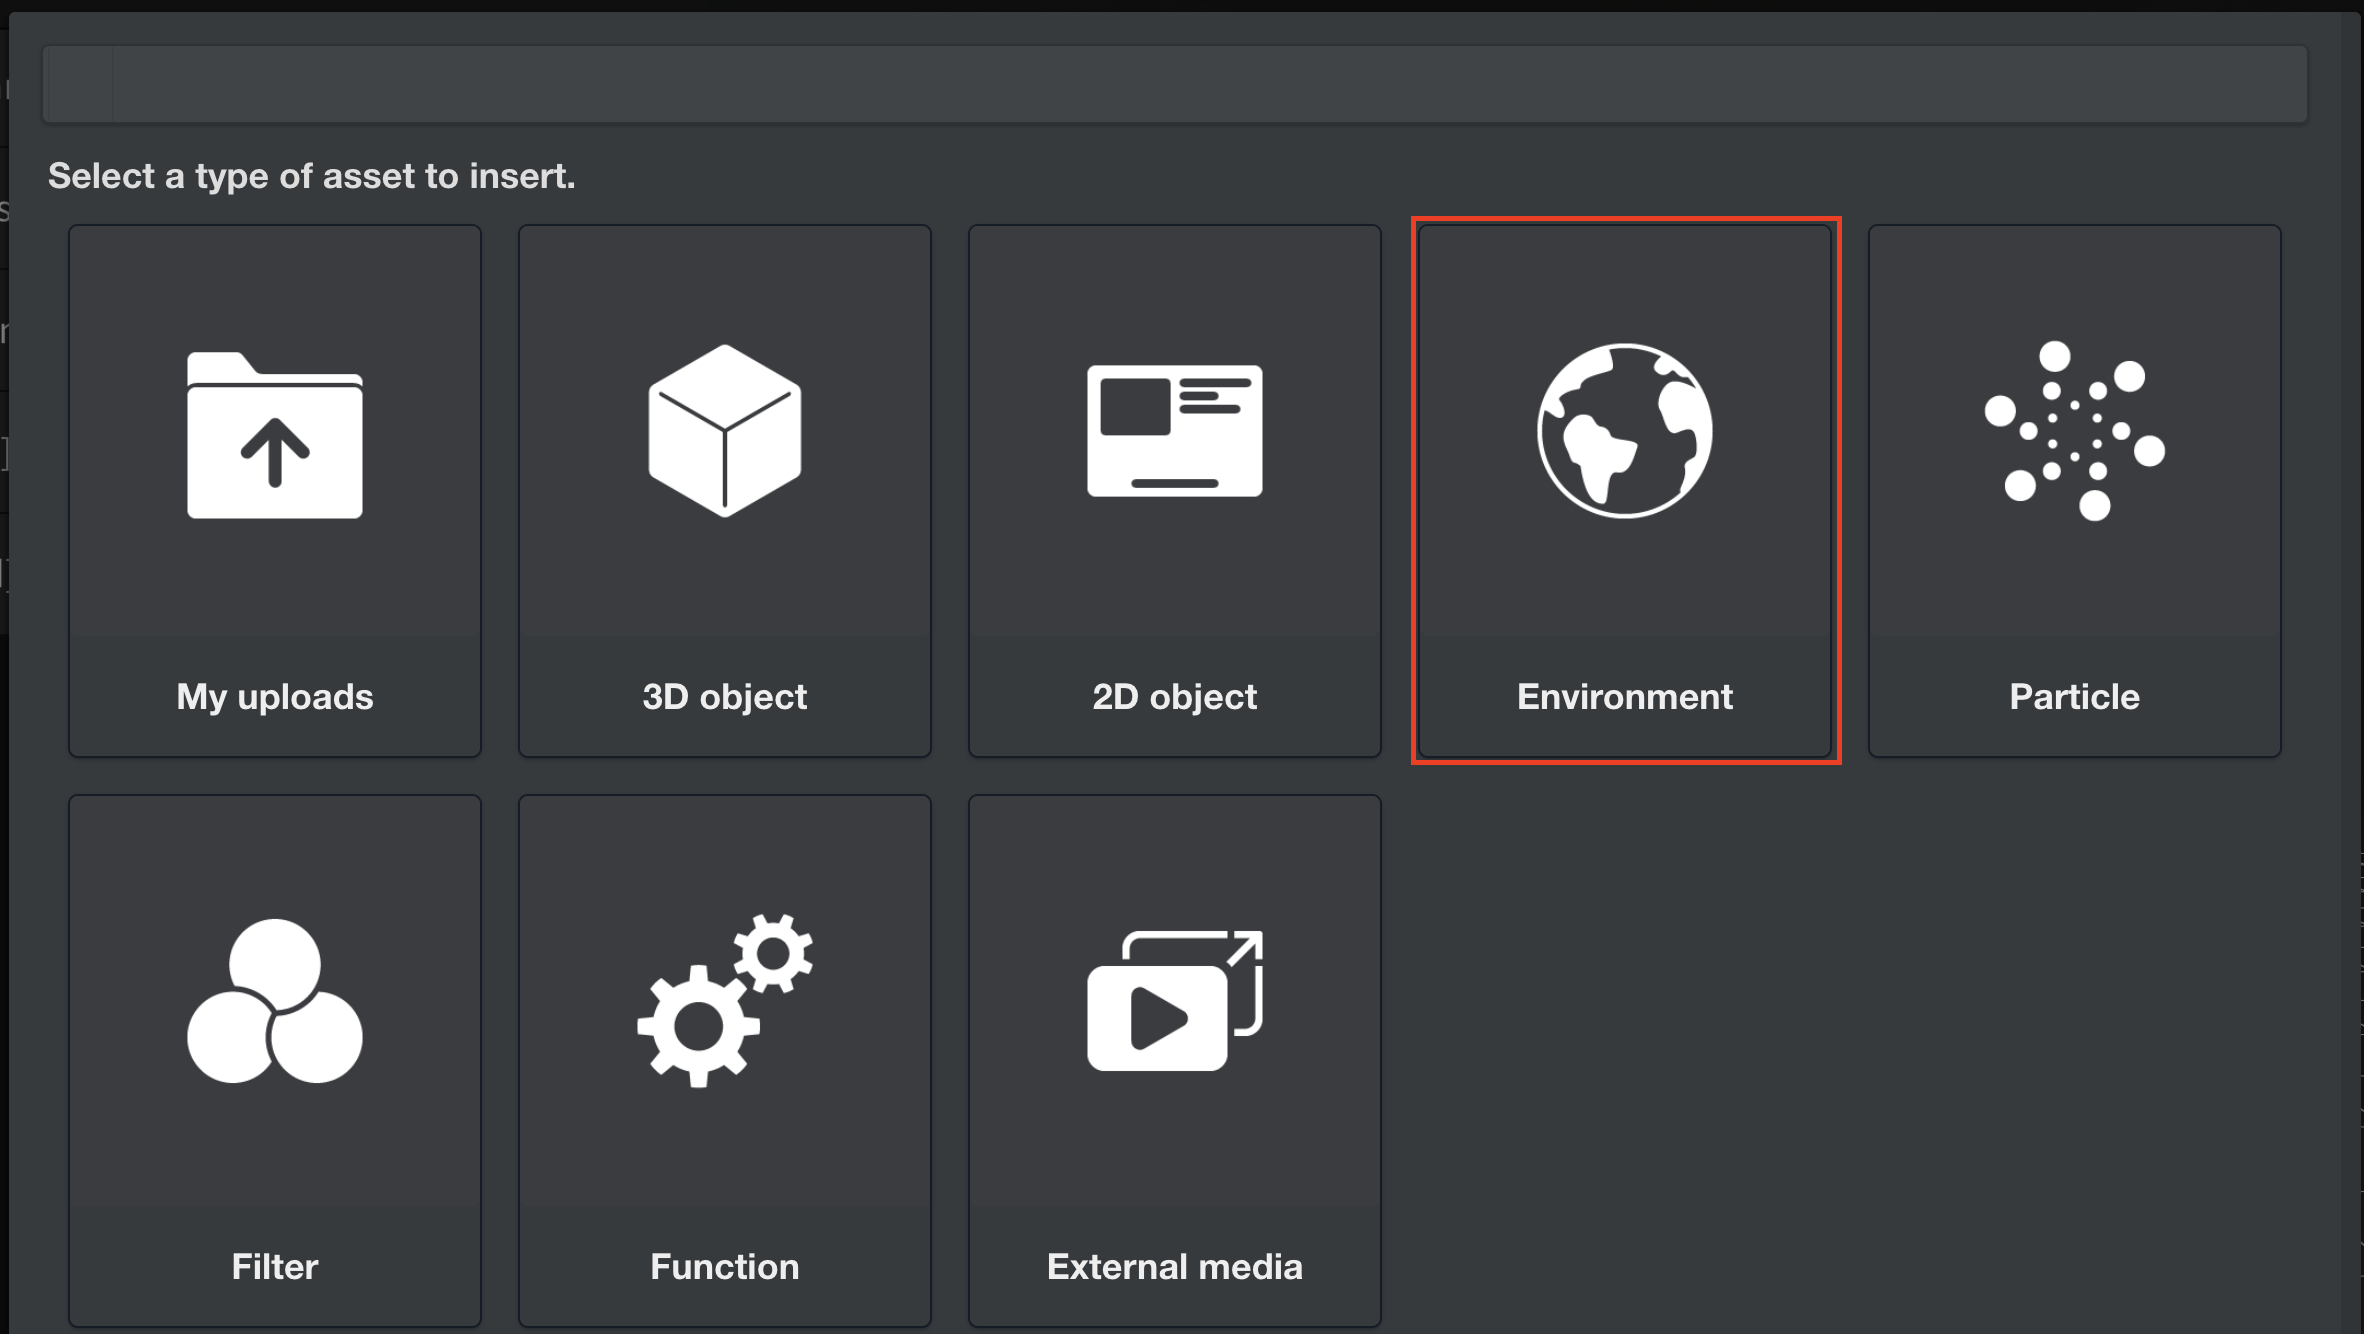
Click “Environment”
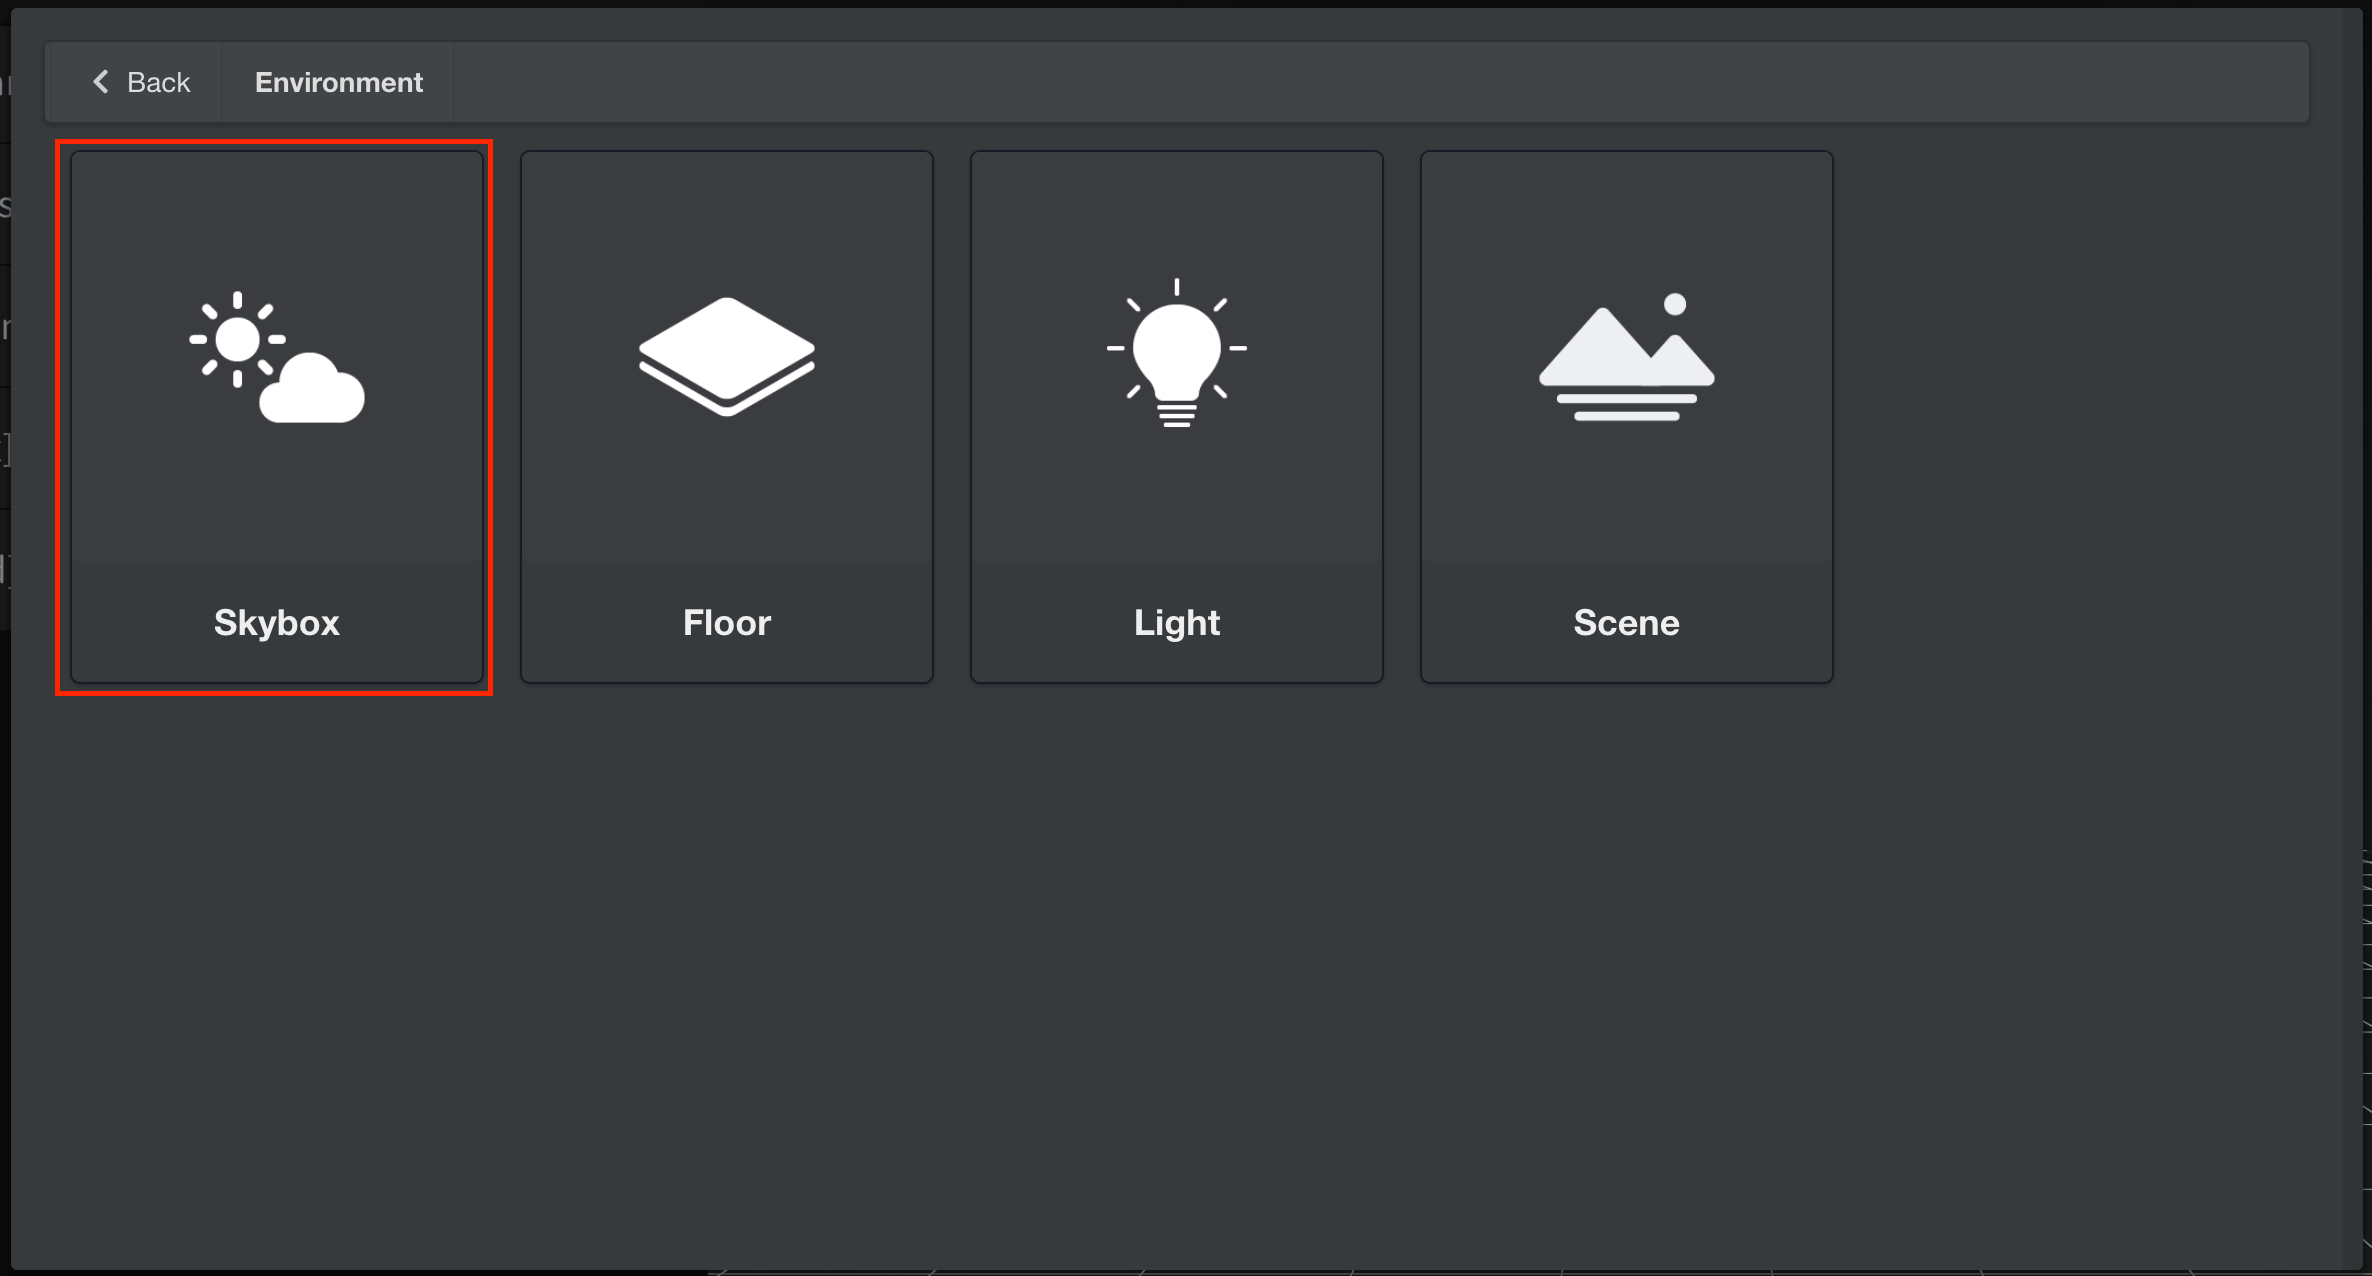
Lastly, click “Skybox” to open the list of Skybox Sets, and “Light” to open SkyAndLights Sets.

Click “Skybox” to view Skybox Sets, and “Light” to view SkyAndLights Sets
List of Assets
SkyAndLights Set
The SkyAndLights Set will add a Skybox with suitable Lighting to your scene. This will automatically set the lighting and reflections in the correct state.
As of now, there are 26 Lighting sets in total.
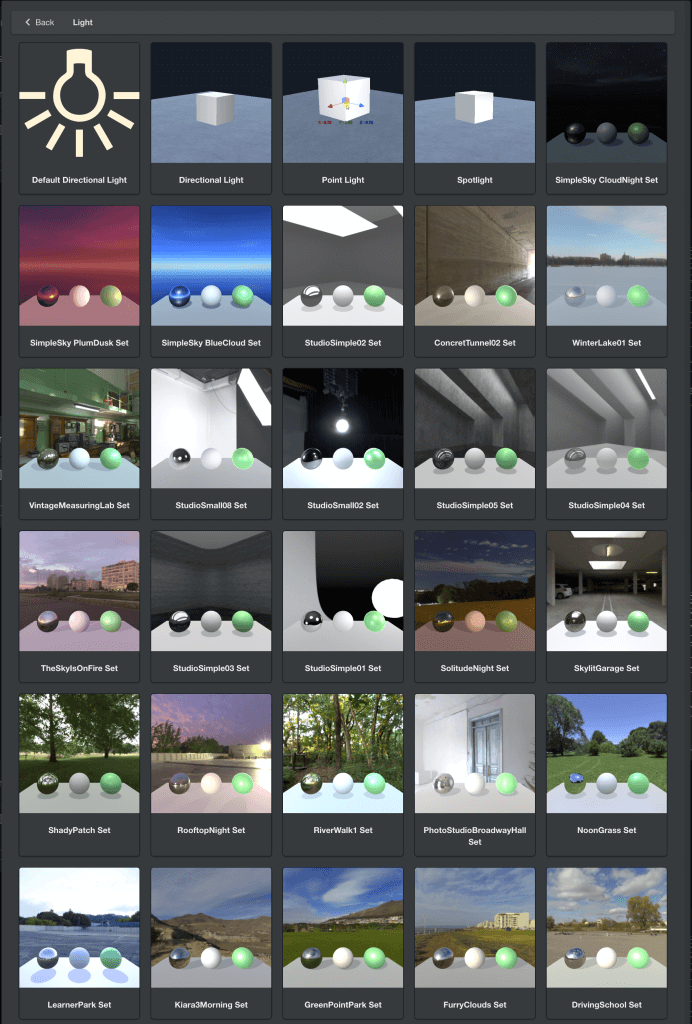
List of SkyAndLights Sets inside the Light menu
Skybox Set
The Skybox Set includes 26 types of Skyboxes, such as landscapes and photo studios.
Unlike the SkyAndLights Set, the lighting of your scene will not be affected by the Skybox you choose.
Skybox Sets can be found inside the Skybox menu
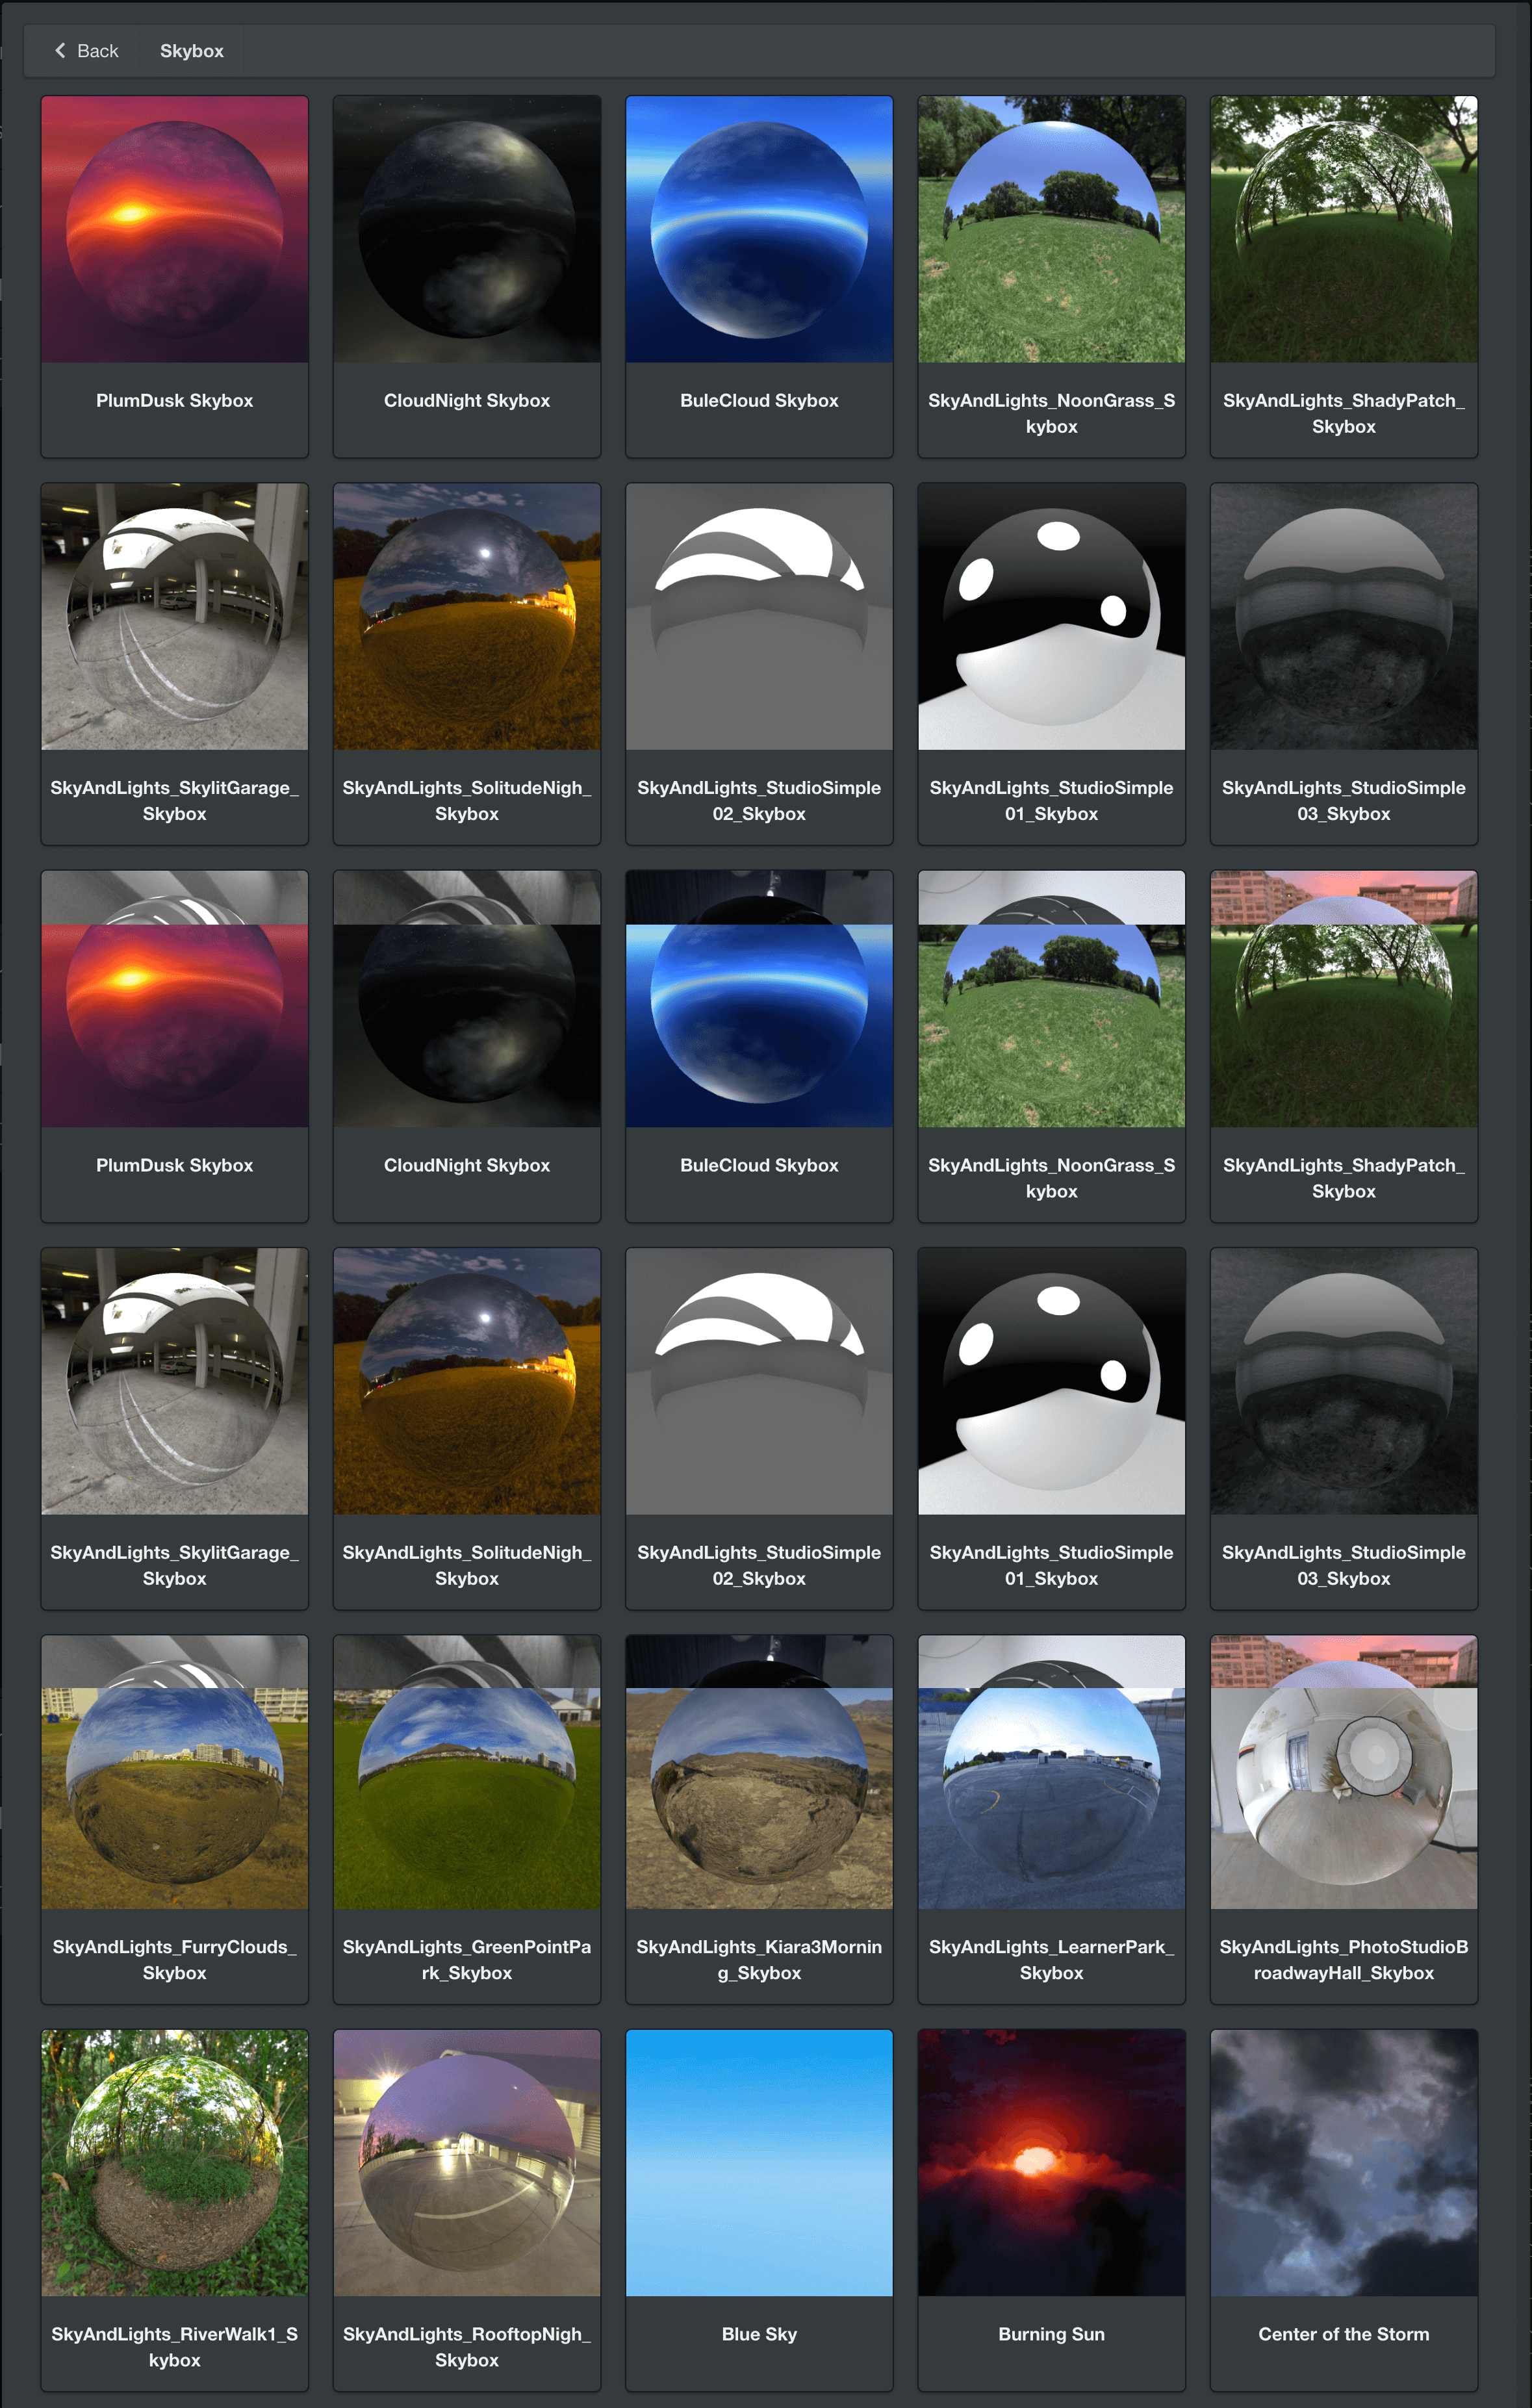
List of Skyboxes
SkyAndLights_ChangeableGradient_Skybox
The color of Skyboxes are fixed by default, but the asset “SkyAndLights_ChangeableGradient_Skybox” lets you choose up to three colors to create a custom skybox gradient.
As with other Skyboxes, you can add it from Add Assets > Environment > Skybox.
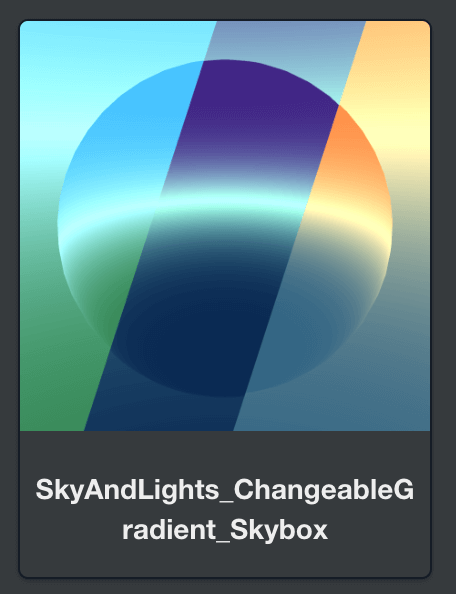
| sky color | Sets the sky color |
| horizon color | Sets the horizon color |
| ground color | Sets the ground color |
How to the Use SkyAndLights Set
Create a Scene
First, open STYLY Studio and create a new scene using the VR Scene Template.
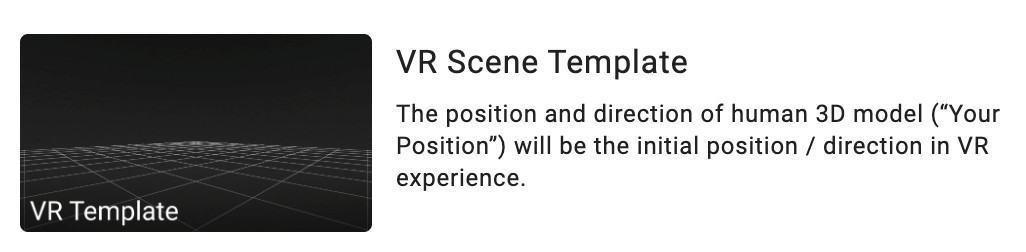
VR Scene Template
Delete the default Directional Light by clicking the gear icon in the Directional Light menu and selecting “Delete.”
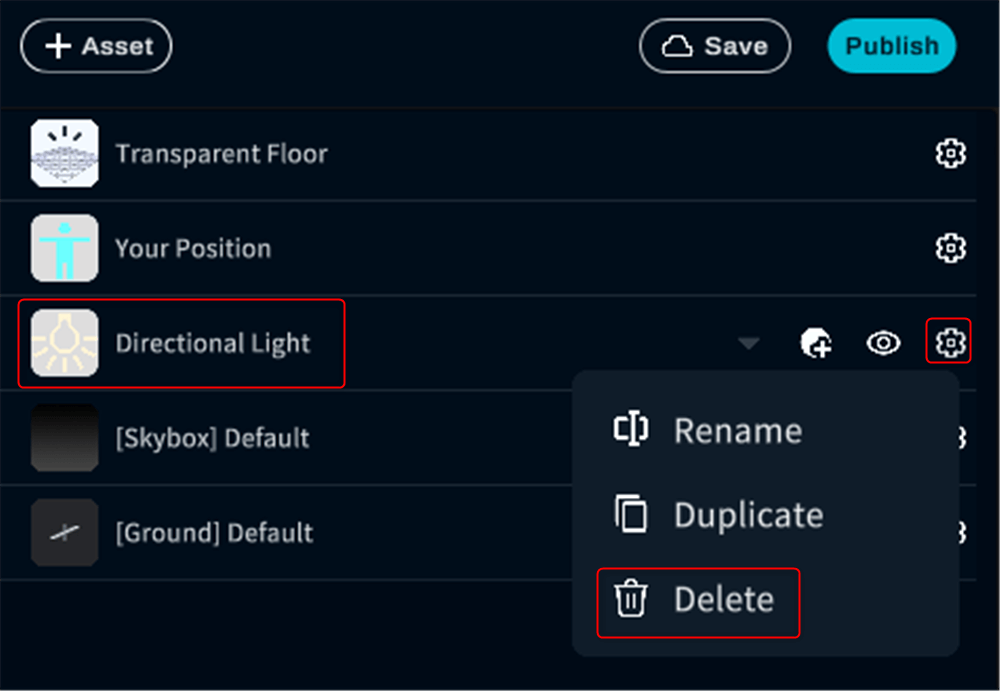
Deleting the default Directional light
Next, let’s place some models inside your scene.
Place your own 3D model from Add Assets > My Uploads > 3D Model, or select a 3D model from Add Assets > 3D Object > Model
Placing objects in your STYLY Studio scene
Add a SkyAndLights Set
Now, let’s choose a SkyAndLights Set from Add Assets > Environment > Lights.
A Skybox and matching Lights will be added to your STYLY scene.
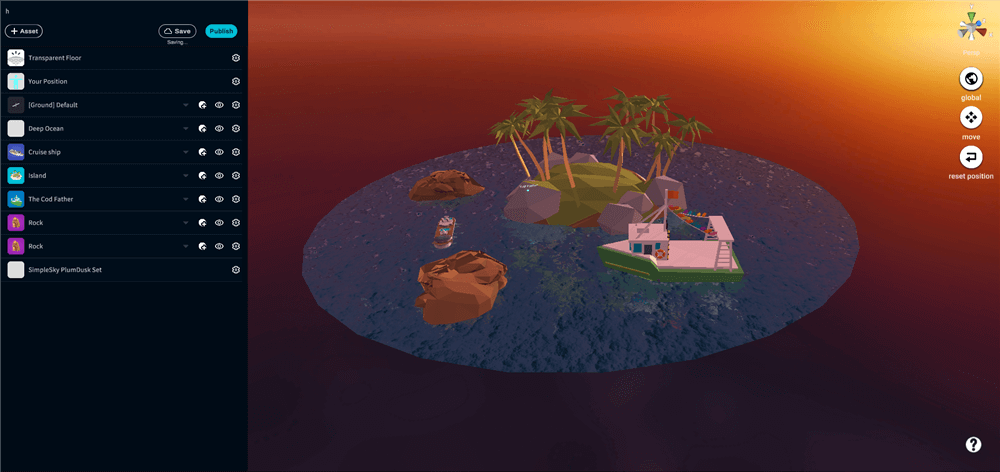
Example of the SimpleSky PlumDusk Set
Using the Style Change Modifier
You can add a Style Change modifier to an object and change its appearance.
To add the modifier, click on the object’s gear icon and select “Add modifier.”
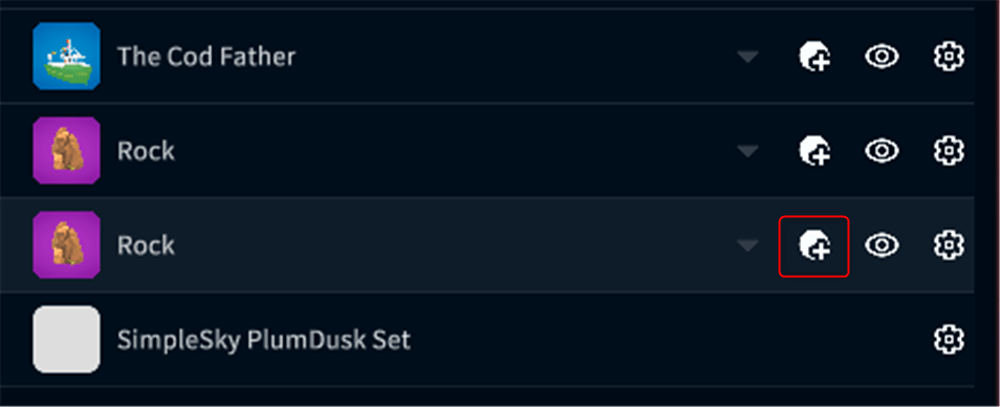
Add modifier
Type “Style change” into the search bar, and select a modifier you’d like to use on your object.
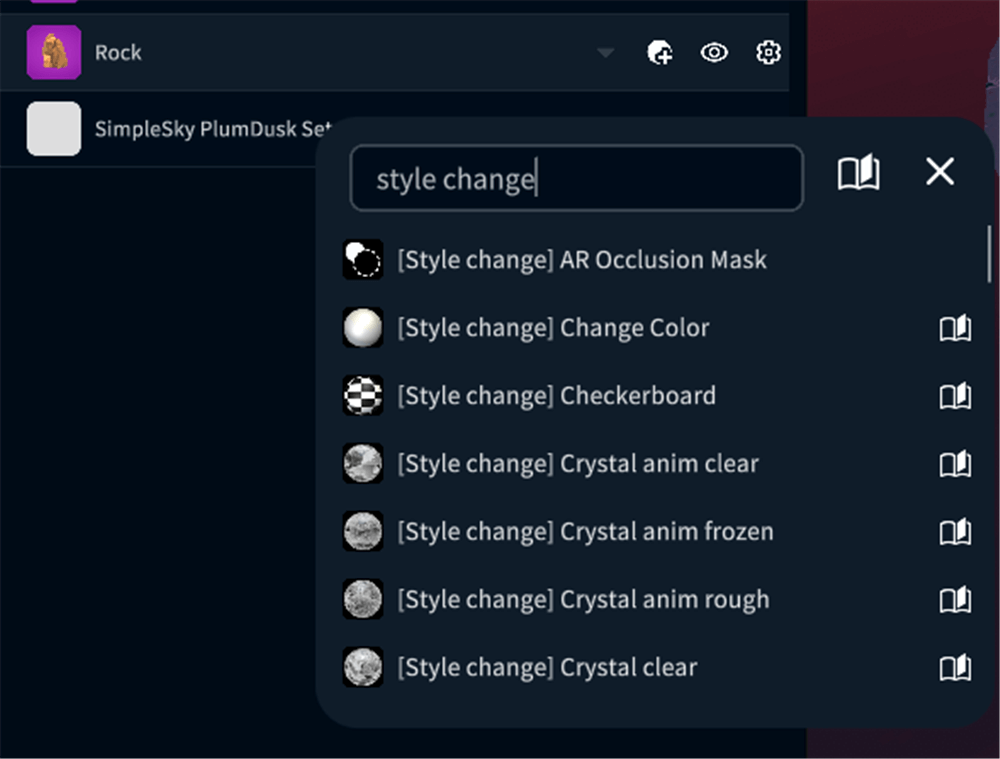
Style change
Please refer to the following article to learn more about the style change modifier:
![[STYLY Modifier] How to Use the Style Change modifier](https://styly.cc/wp-content/uploads/2022/05/SnapCrab_NoName_2022-6-6_17-29-12_No-00-160x160.png)
Caution
Keep in mind that only one SkyAndLights Set or Skybox Set can be placed in each STYLY scene.
Therefore, if a Set is placed in a STYLY scene where there is a Skybox already, the original Skybox will be replaced.
For questions about STYLY, bug reports, and improvement requests, please contact the STYLY FORUM:
https://en.forum.styly.cc/support/discussions
Certified (QA) by Shota Shawn Yoshizawa
Edited by SASAnishiki
Translated by cpnnn