In this article, we will show you how to create landscapes and planet terrain using the free add-on ANT Landscape.

ANT Landscape
What is ANT Landscape?
ANT Landscape is a built-in add-on for Blender, available from Blender 2.81 onwards.
It is already available inside Blender, so there is no need to download it from an external site, and it is simple to install.
You can quickly generate various landscape and terrain shapes by simply changing the parameters of the presets.
Setting up ANT Landscape
To start using ANT Landscape, we need to open “Preferences” and install the add-on.
First, click the editor type selector in the upper left corner of the Blender menu, and click the “Preferences” icon.
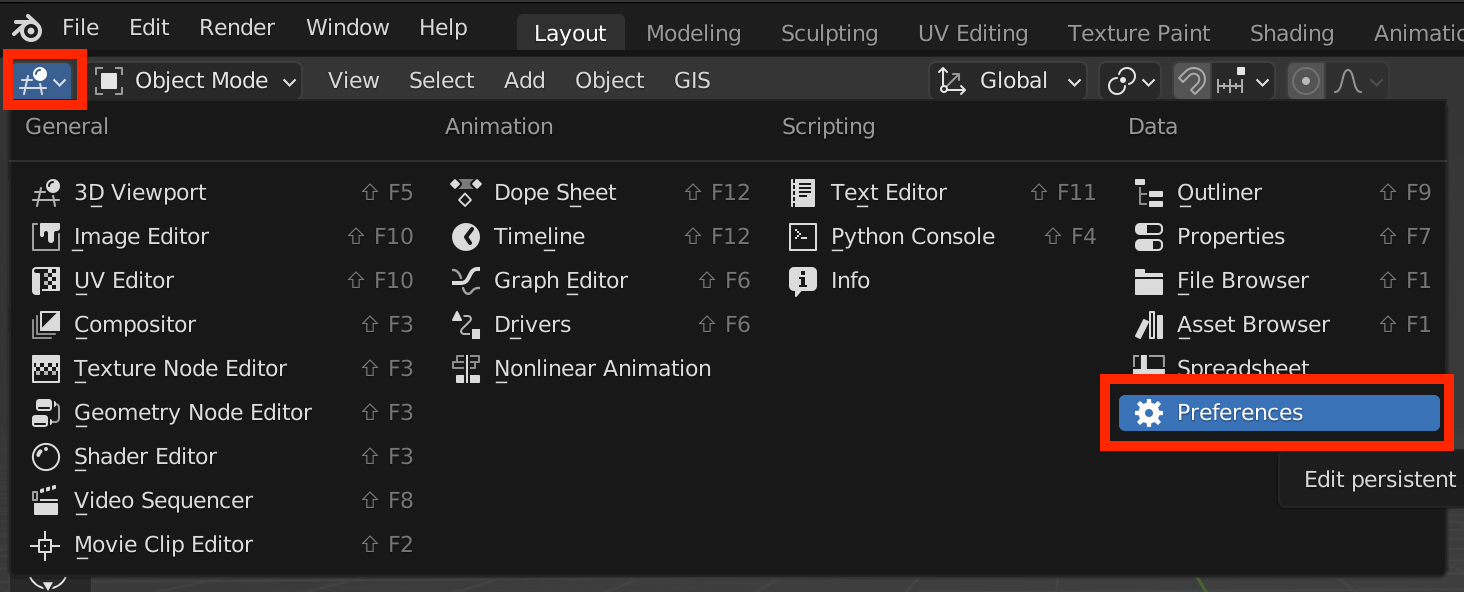
Preferences
Then, select “Add-ons”, and type “A.N.T” in the search bar in the upper right corner.
After this, “Add Mesh: A.N.T.Landscape” should appear.
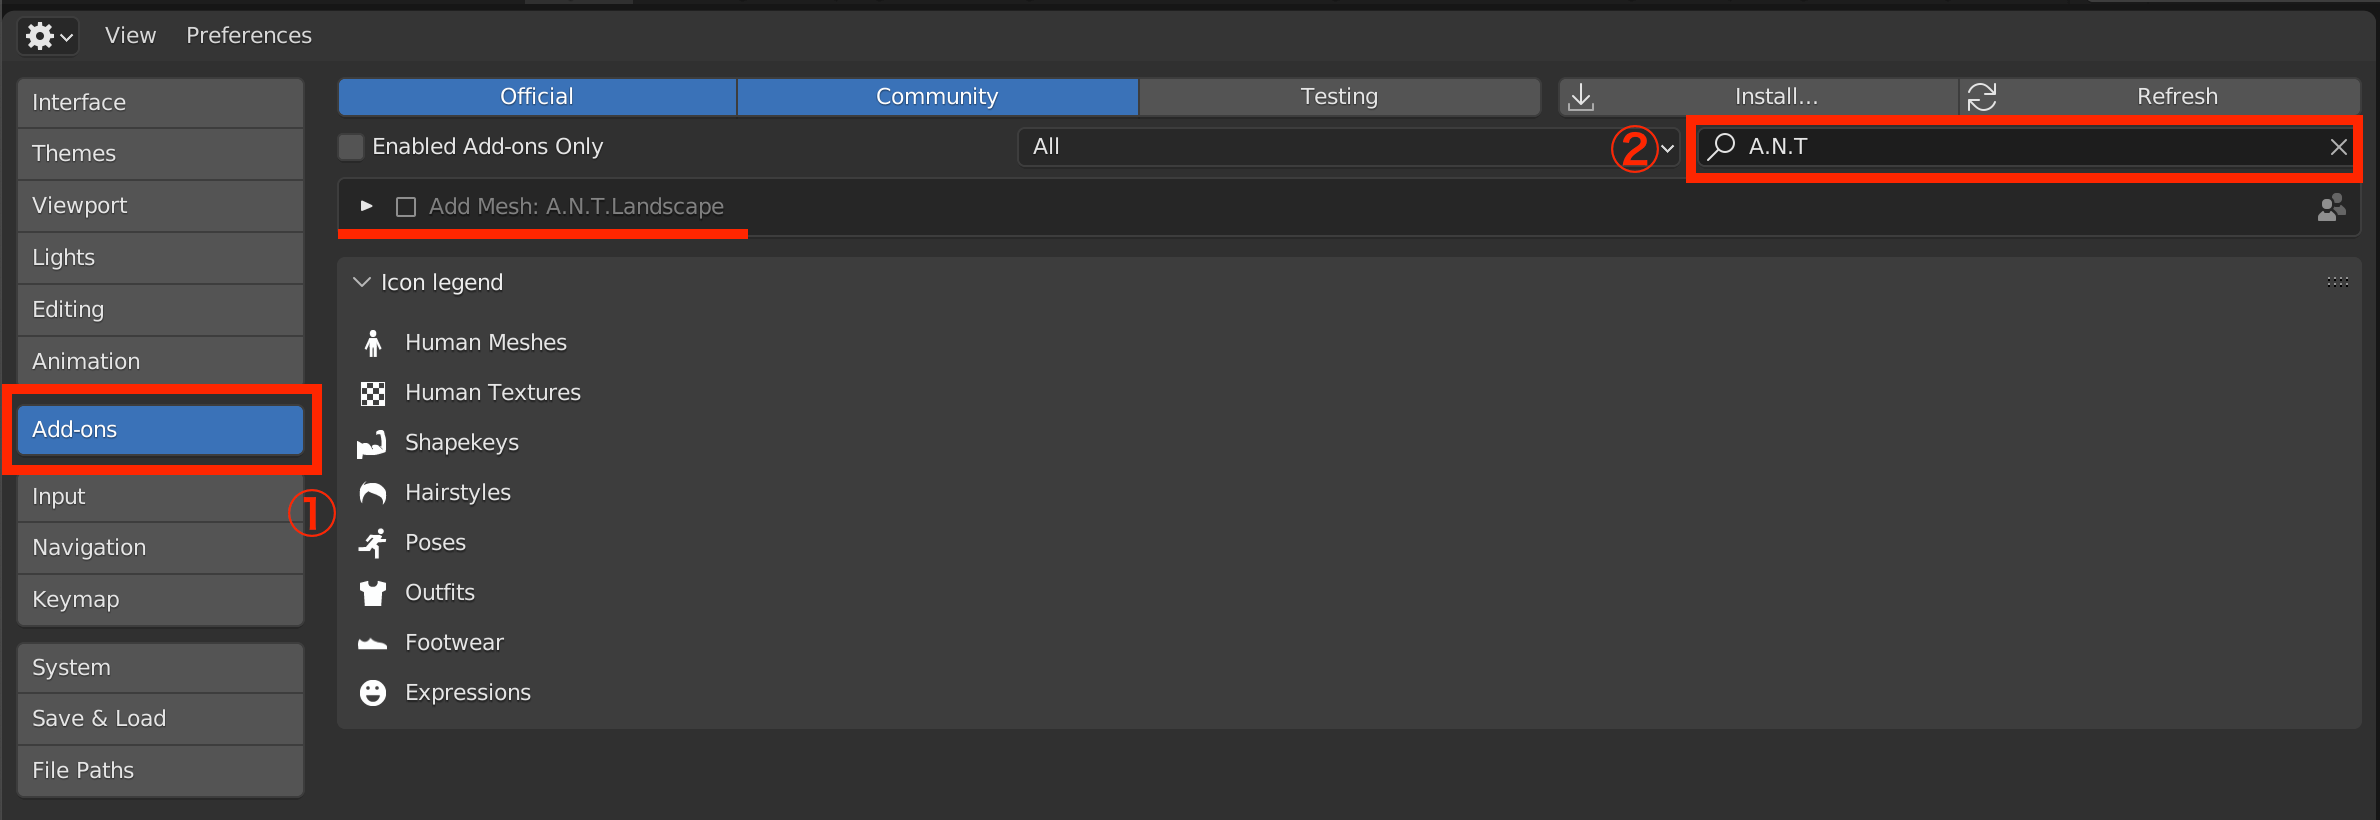
Add-ons
Click the checkbox next to the title, and you are now ready to start using ANT Landscape!
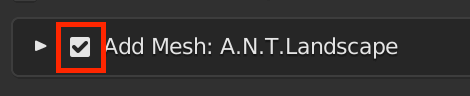
Click the checkbox
Using ANT Landscape
Let’s go back to the 3D Viewport by clicking the gear icon in the upper left corner of the screen. Next, click Shift+A to open the Add menu.
You will see a new menu item “Landscape” at the bottom of the Mesh selection, and clicking on it will add a terrain model.

Add > Mesh > Landscape
If you want to add further modifications, you can do so in advanced settings by clicking on the menu in the lower left corner of the screen.
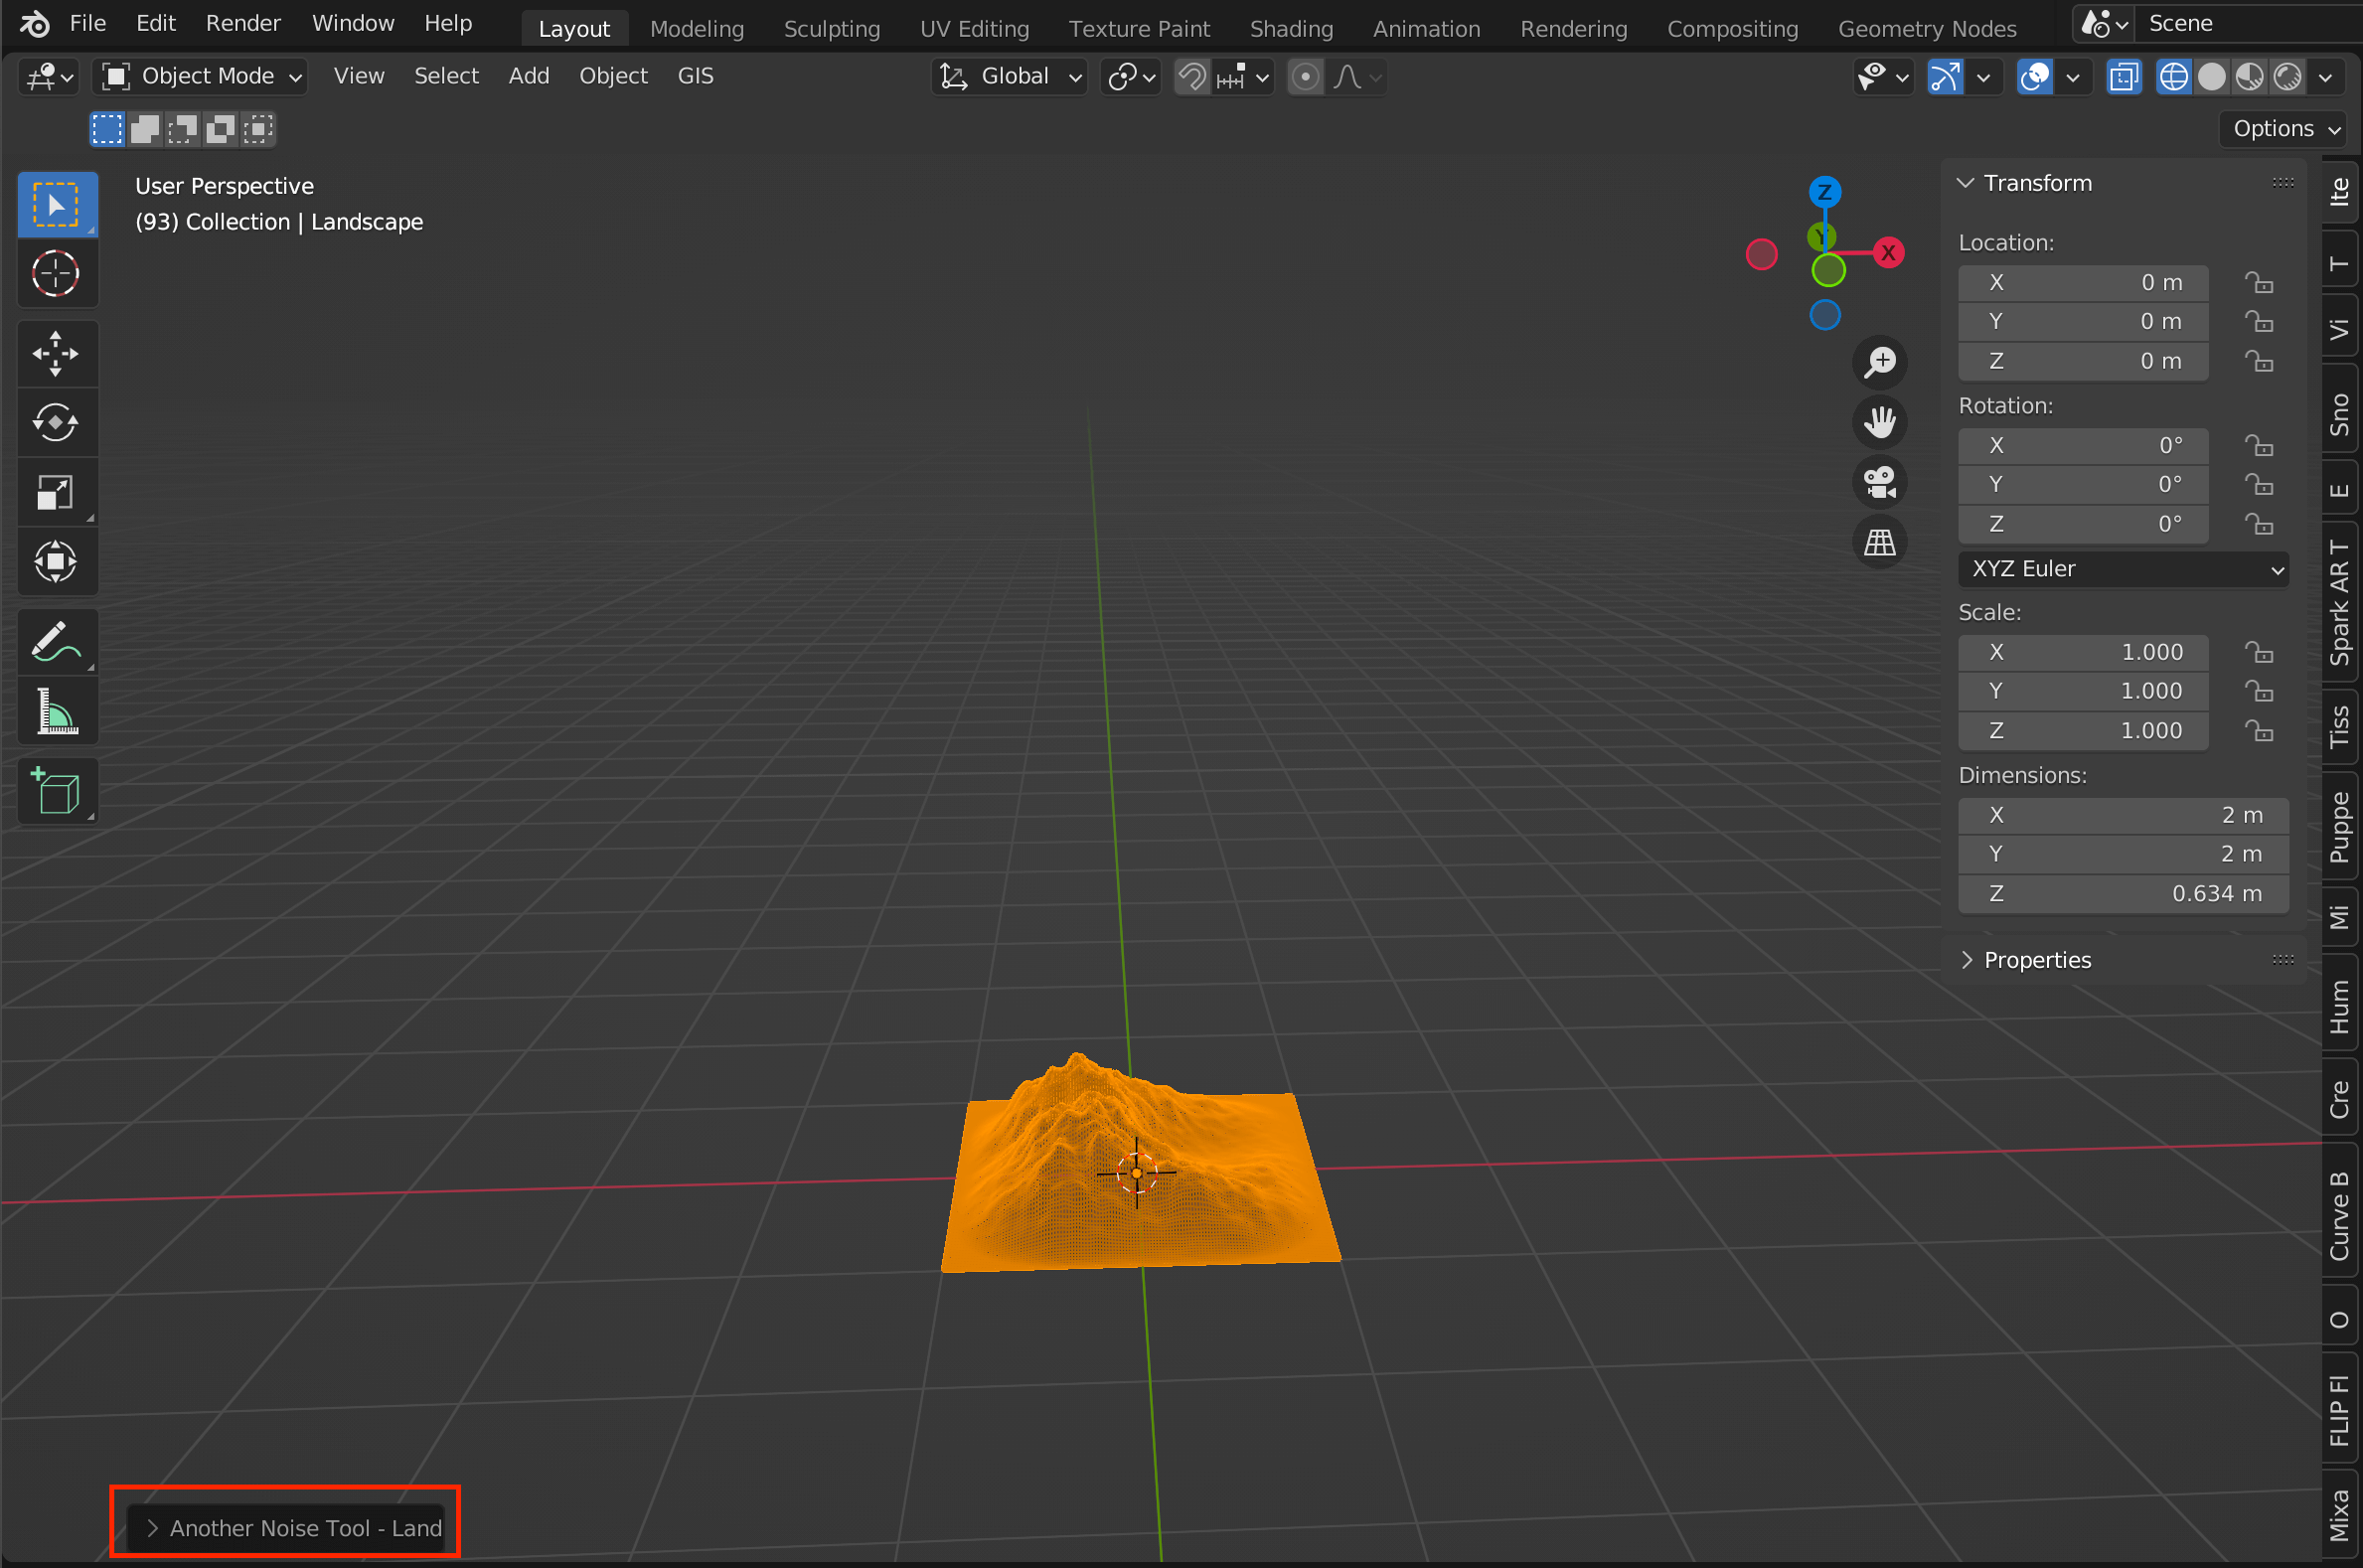
A terrain model has been added
Menu
Click above the “Another Noise Tool – Landscape” menu to see a list of shapes (Operator Presets).
From the list, select the landscape that is closest to the shape you want to create.
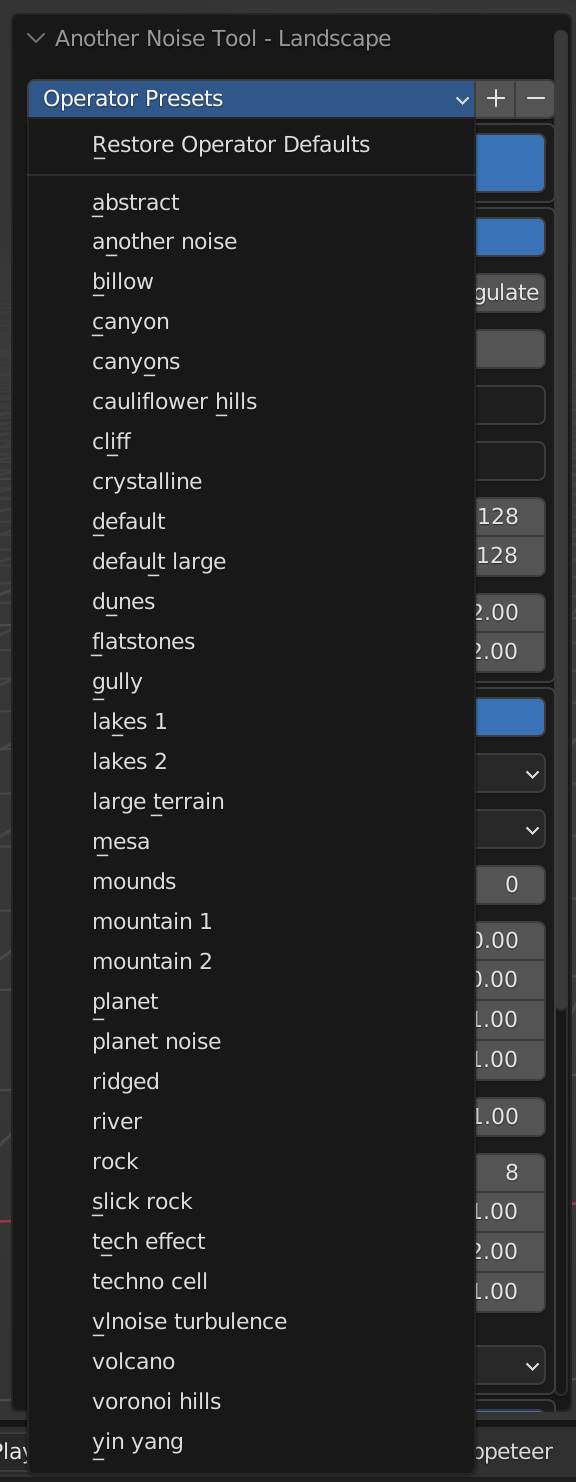
Operator Presets

Preview of various presets
Adjusting the Terrain Model
Advanced settings for each item vary slightly depending on the preset. In this article, we will use the default preset as an example.
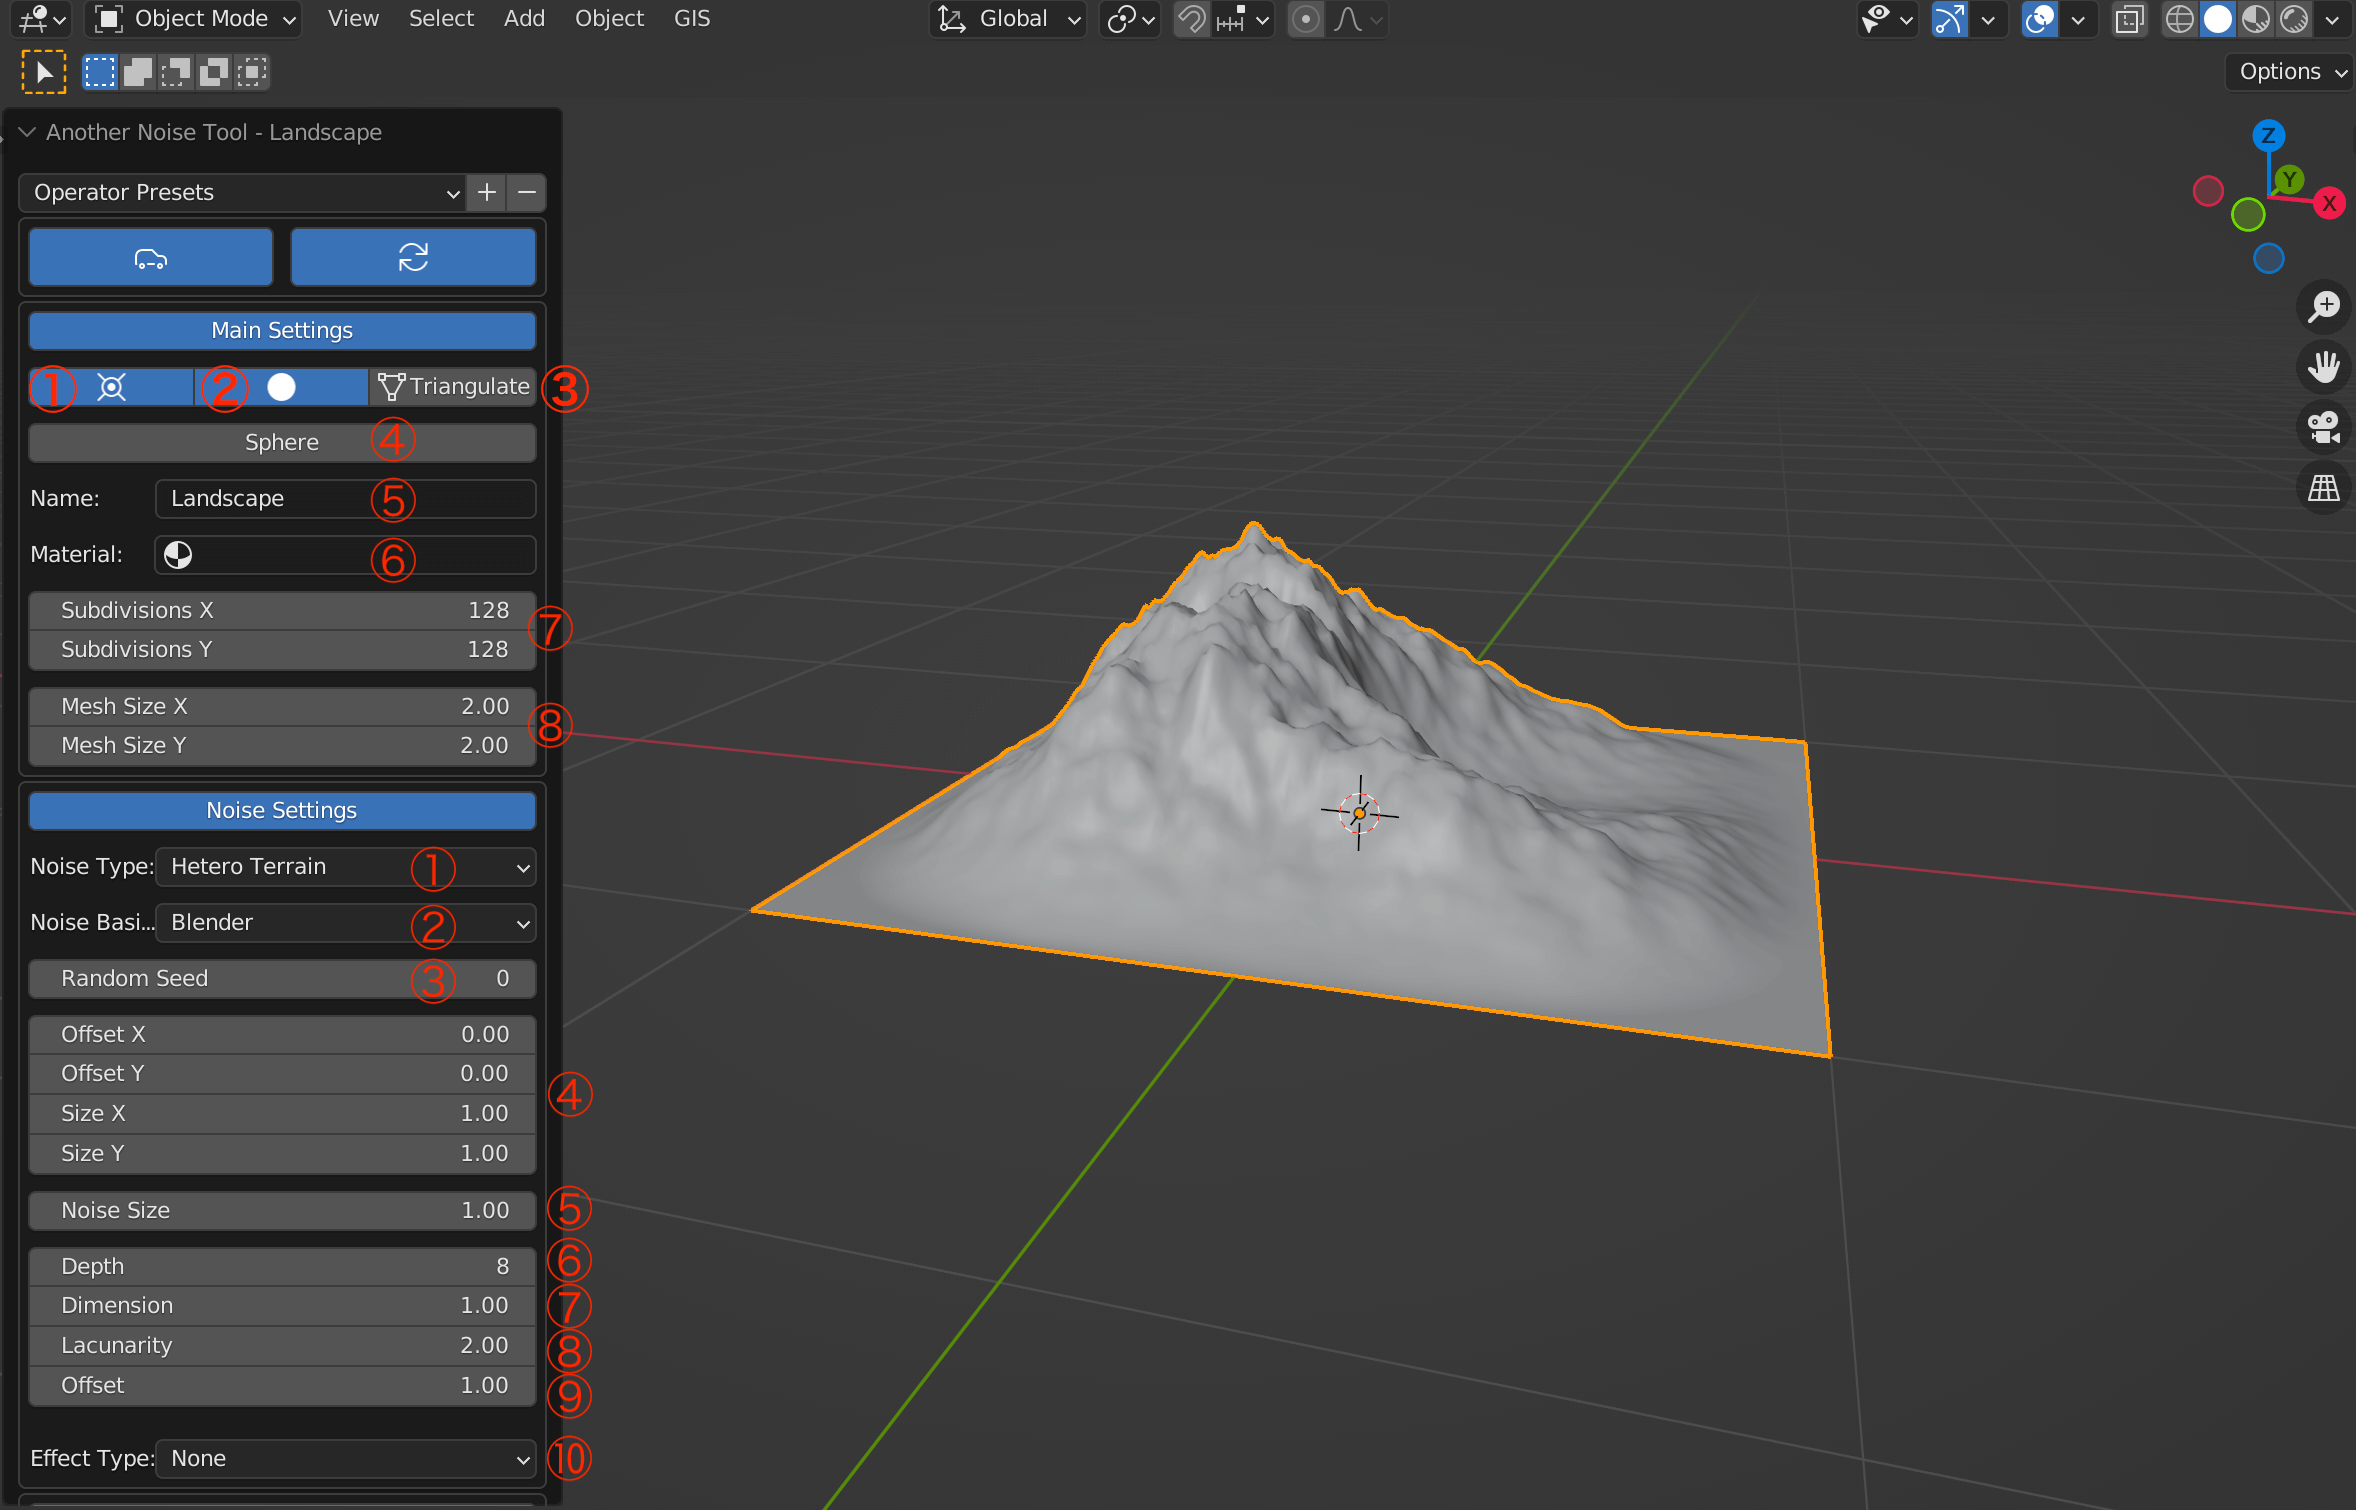
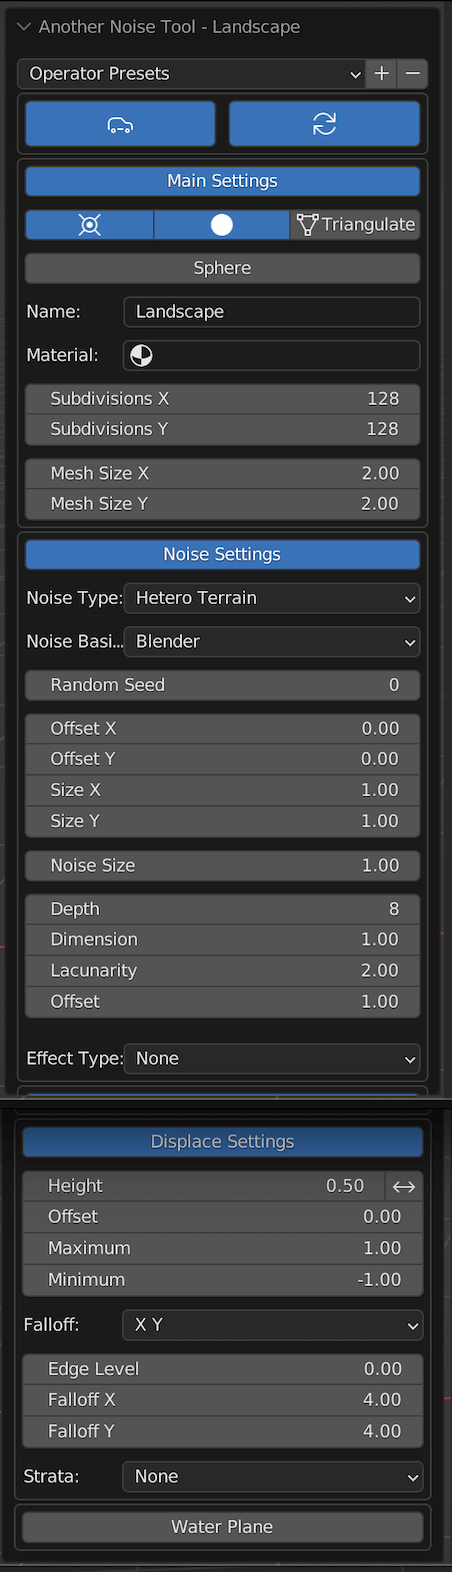
default (Main Settings / Noise Settings)
Main Settings
| ① | Place cursor at location |
| ② | Shade smooth |
| ③ | Triangulate faces |
| ④ | Generate uv sphere |
| ⑤ | Name |
| ⑥ | Material |
| ⑦ | Subdivisions (x/y axis) |
| ⑧ | Mesh size (x/y axis) |
Noise Settings
| ① | Noise type |
| ② | Noise basis algorithms |
| ③ | Random seed |
| ④ | Offset and size (x/y axis) |
| ⑤ | Noise size |
| ⑥ | Depth |
| ⑦ | Dimension |
| ⑧ | Lacunarity |
| ⑨ | Offset |
| ⑩ | Effect type (adds surface effects e.g. rocks, waves, lunar) |
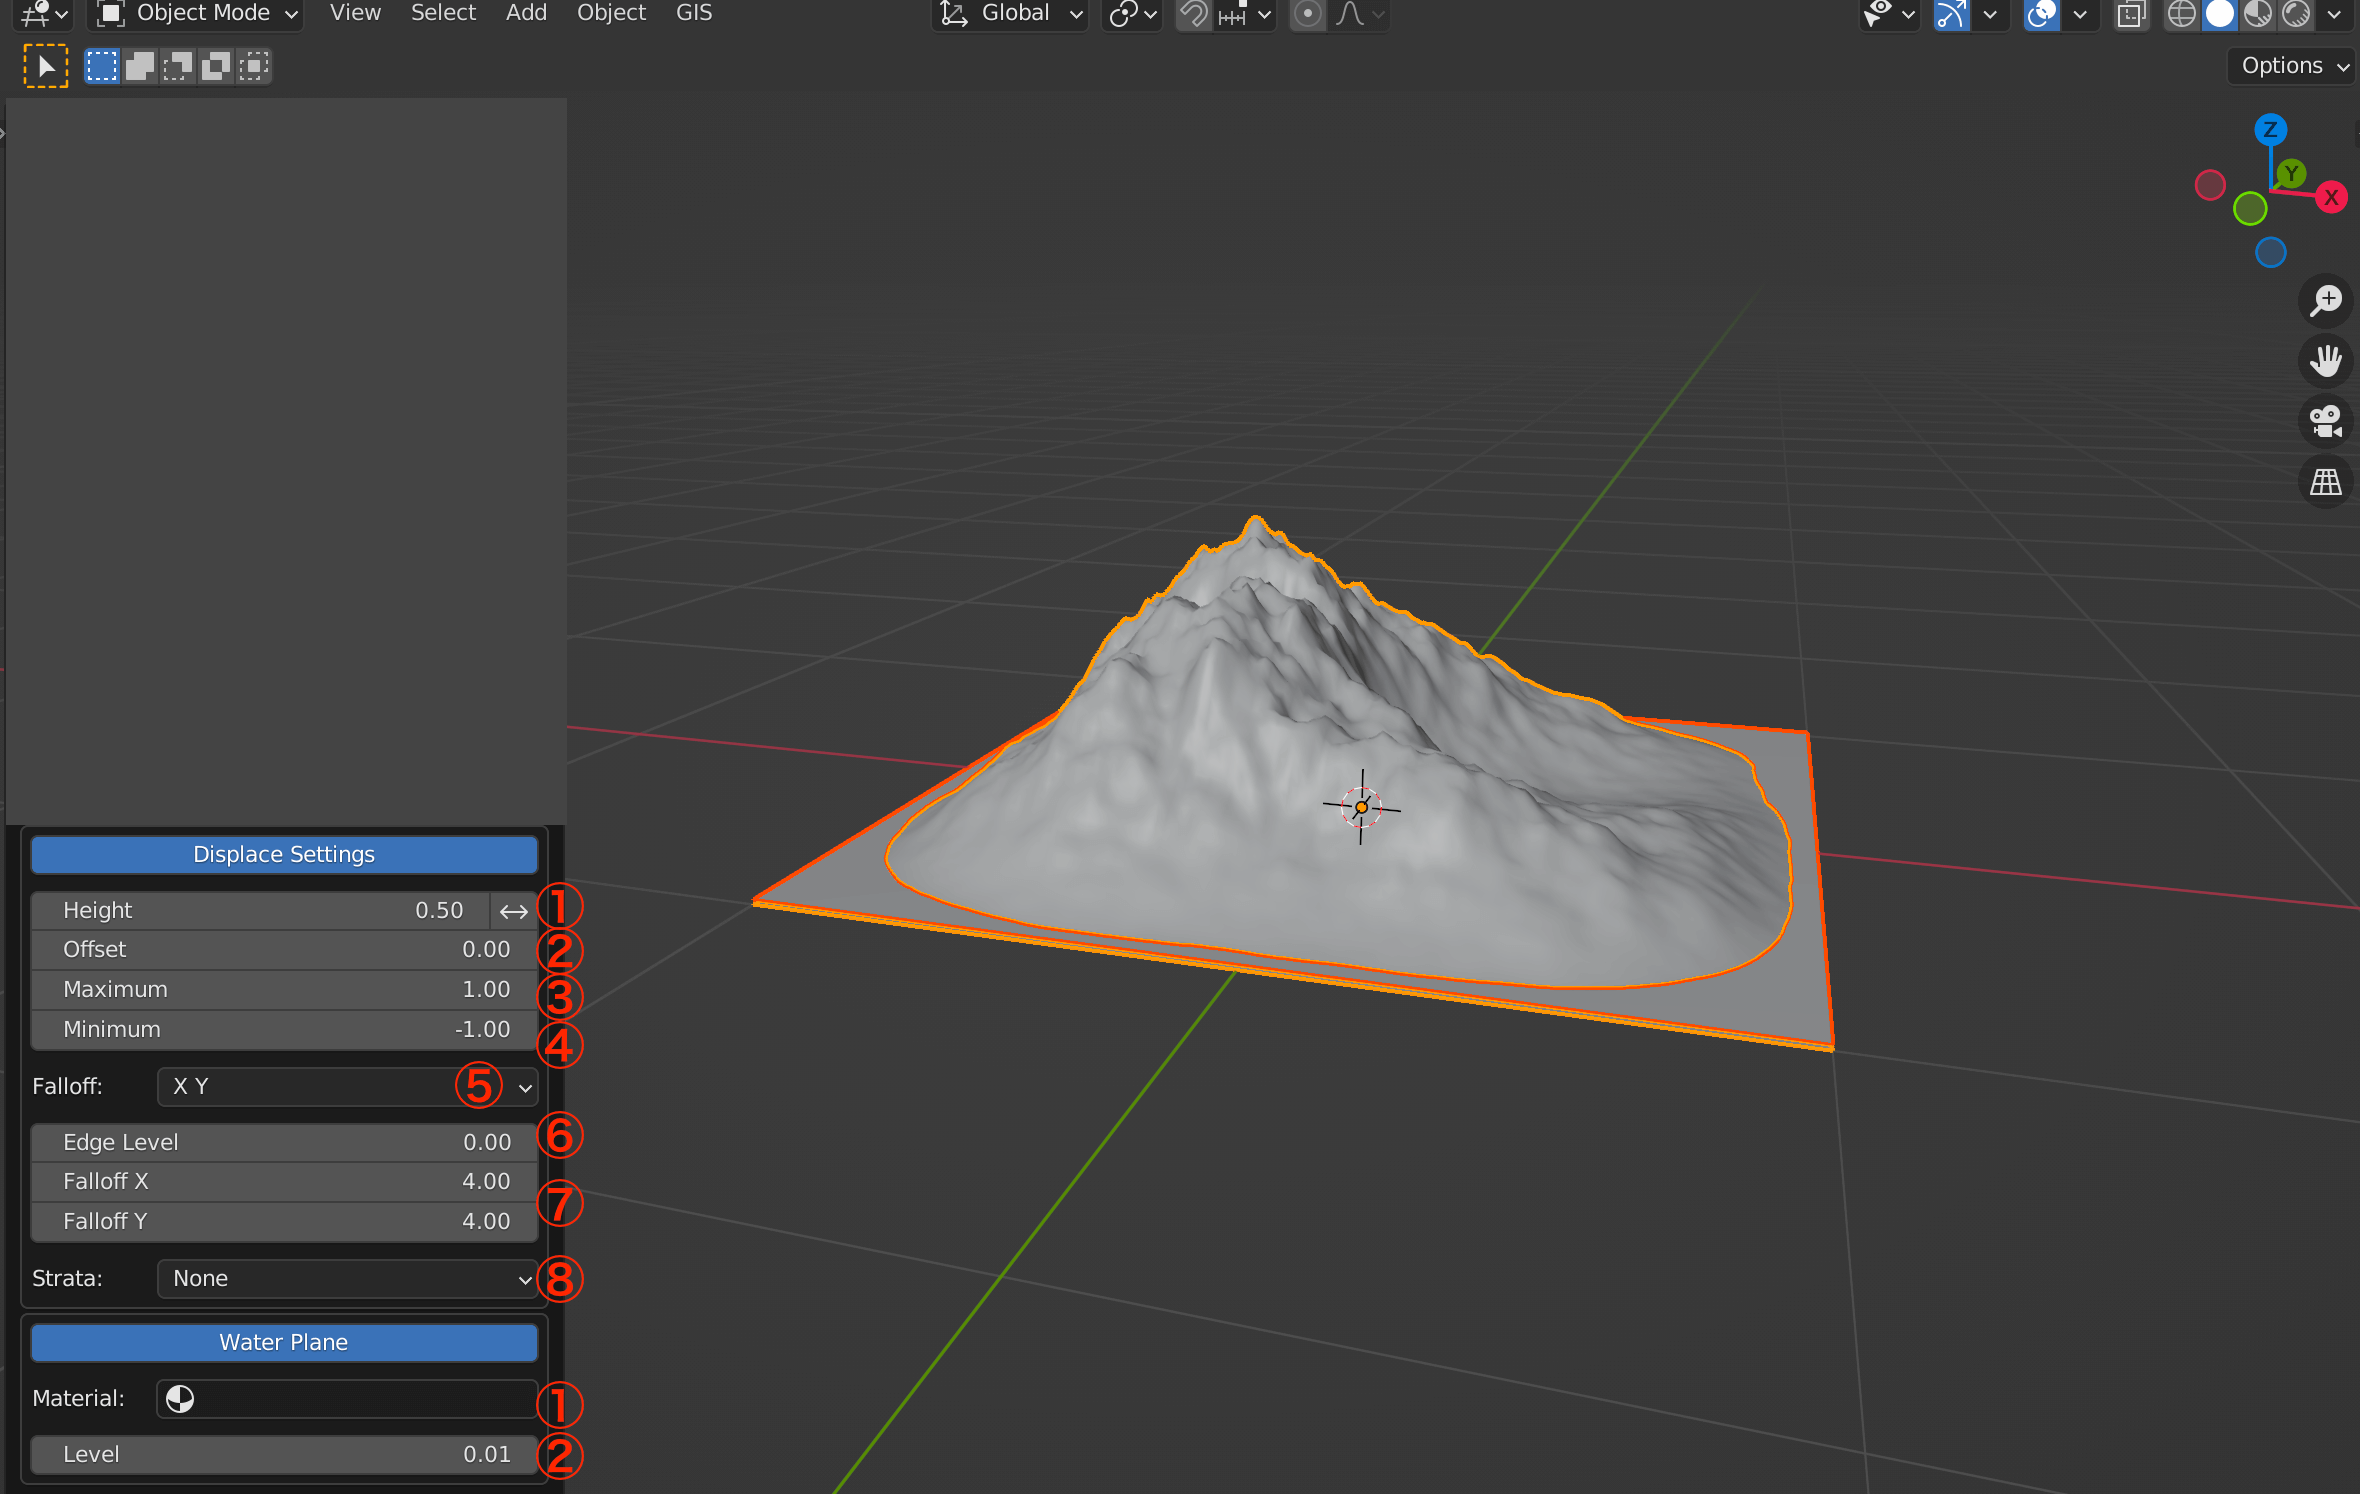
default (Displace Settings / Water plane)
Displace Settings
| ① | Height |
| ② | Offset |
| ③ | Maximum |
| ④ | Minimum |
| ⑤ | Falloff axes |
| ⑥ | Edge Level |
| ⑦ | Falloff (x/y axis) |
| ⑧ | Strata |
Water plane
With this setting turned on, you can add water to your terrain model.
| ① | Material |
| ② | Level (the height of the water) |
Adding / Deleting a Preset
After completing the modifications, click the “+” next to the top item, enter a name for the model, and click “OK” to add the shape to the Landscape Operator Presets.
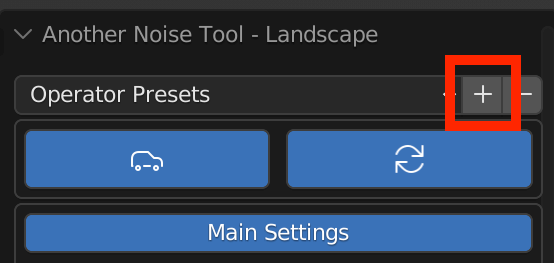
Click “+” to add a preset
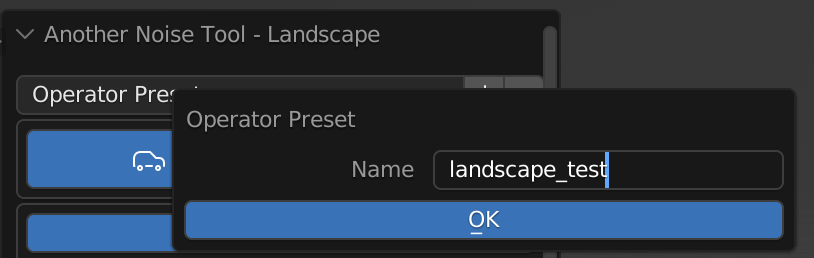
Enter the name of your preset
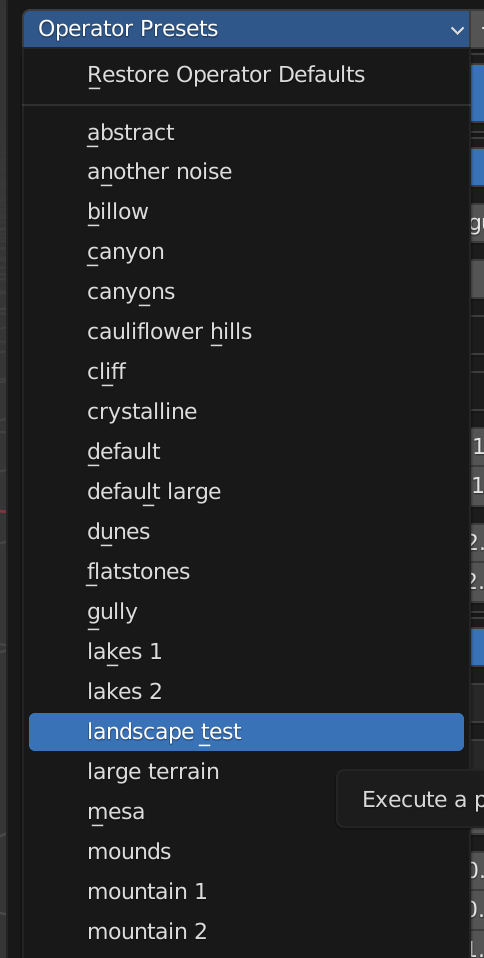
Your preset has been added to the list
To delete the preset from the list, select the preset you want to delete and click “-”.
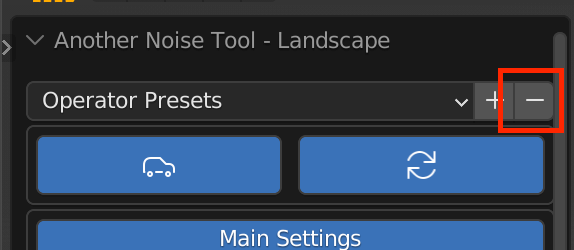
Click “-” to delete the preset
For questions about STYLY, bug reports, and improvement requests, please contact the STYLY FORUM
https://en.forum.styly.cc/support/discussions
Certified by (QA) Shota Shawn Yoshizawa
Edited by SASAnishiki
Translated by cpnnn