In this article, we introduce how to use “Molecular Nodes”, an add-on that allows you to handle and visualize molecular data in Blender.
Molecular Nodes allows you to import, animate, and manipulate molecular data in Geometry Nodes.
The Molecular Nodes add-on works only with Blender 3.2 or higher, so this article uses Blender 3.3LTS.
This add-on requires Python operations to use some functions, but it is not difficult, so we encourage you to try it.
How to Install
Installing Addon
Go to GitHub at the following URL and download the zip file of the latest release:
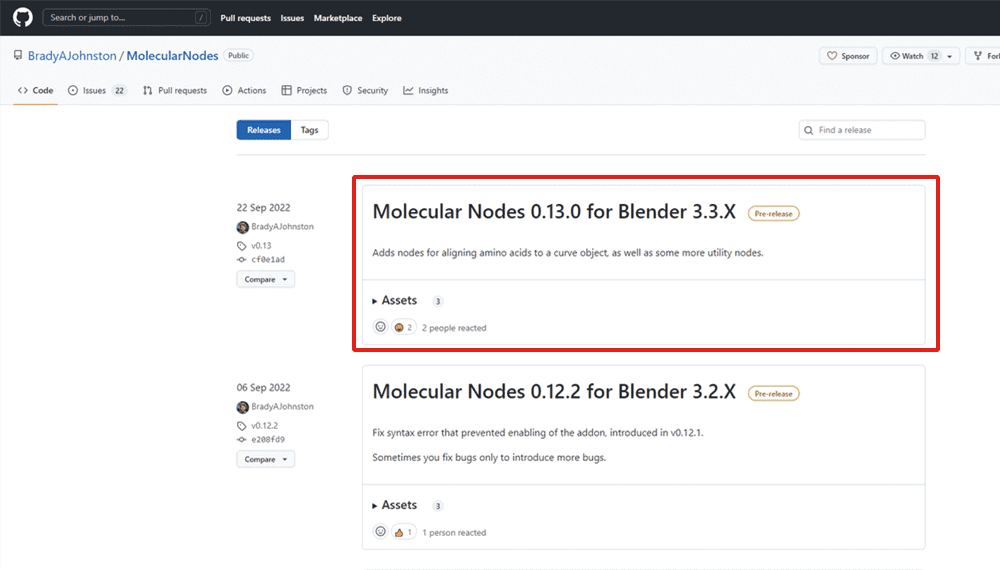
Select latest release
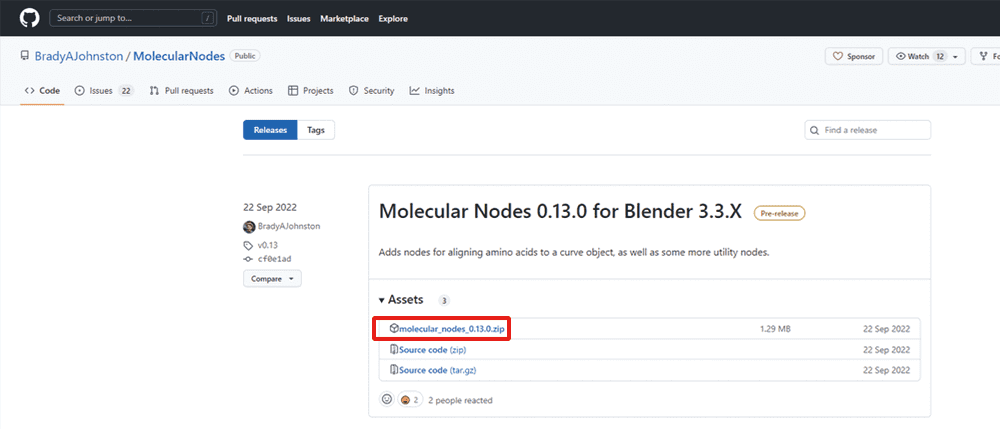
Download Molecular Nodes addon .zip file.
Save the downloaded zip file in any location without unzipping.
Start Blender, go to Edit→Preferences and select Add-ons.
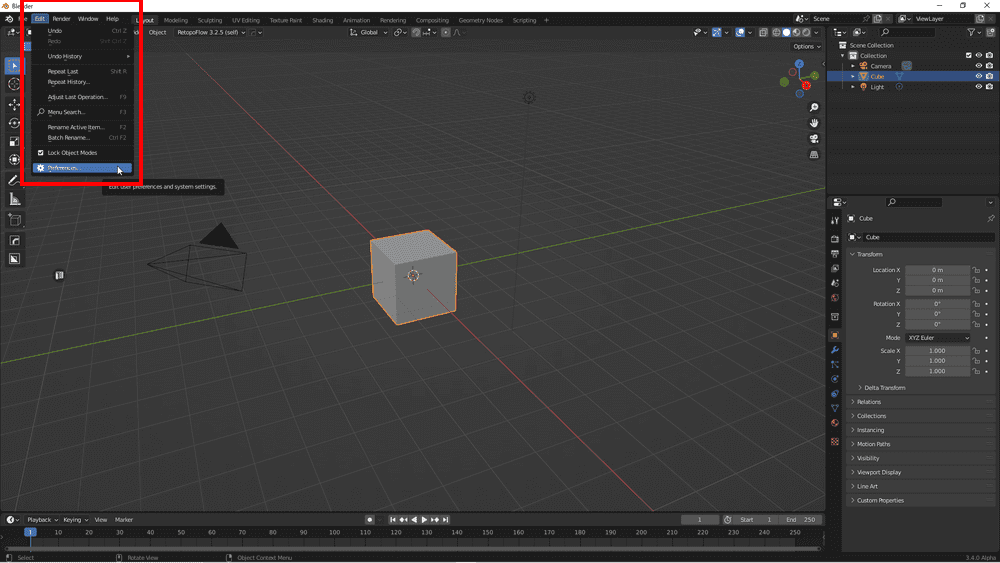
Go to Edit→Preferences and select Add-ons
Click Install in the upper right corner. Select the zip file you just saved and install.
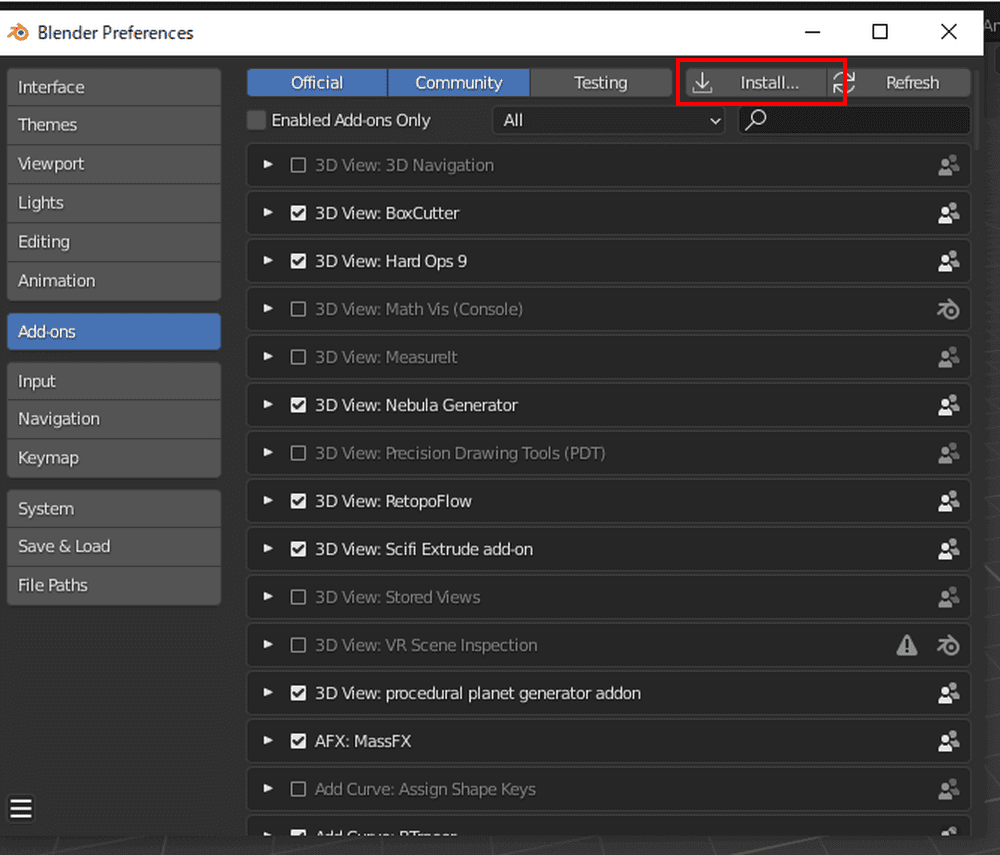
Click Install
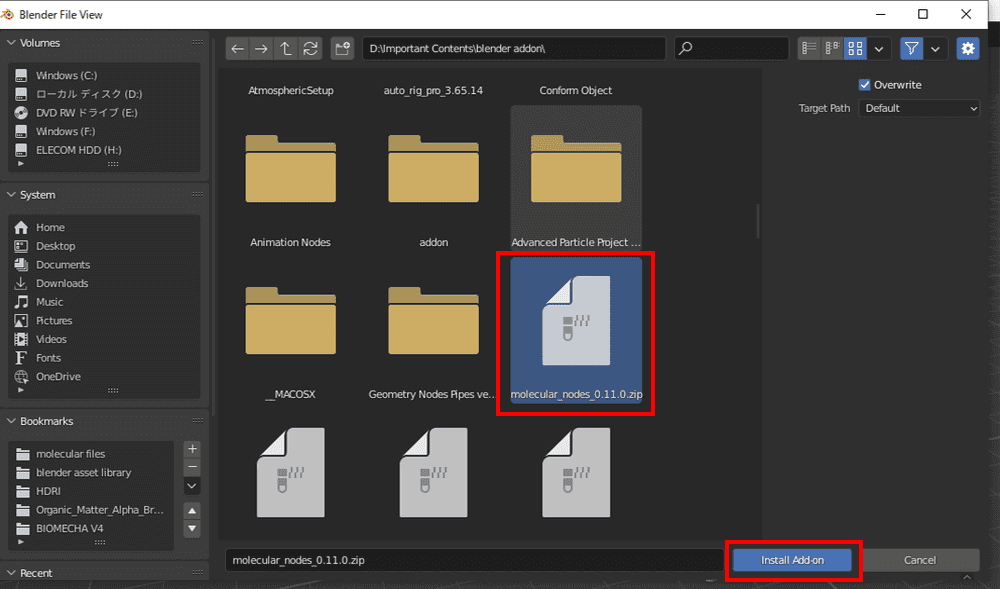
Select “Molecular Nodes” ZIP file
When the add-on appears, check the box next to the name to activate it.
Click the triangle next to the checkbox to display the details.
Click on “Install Atomium”, which is shown in red.
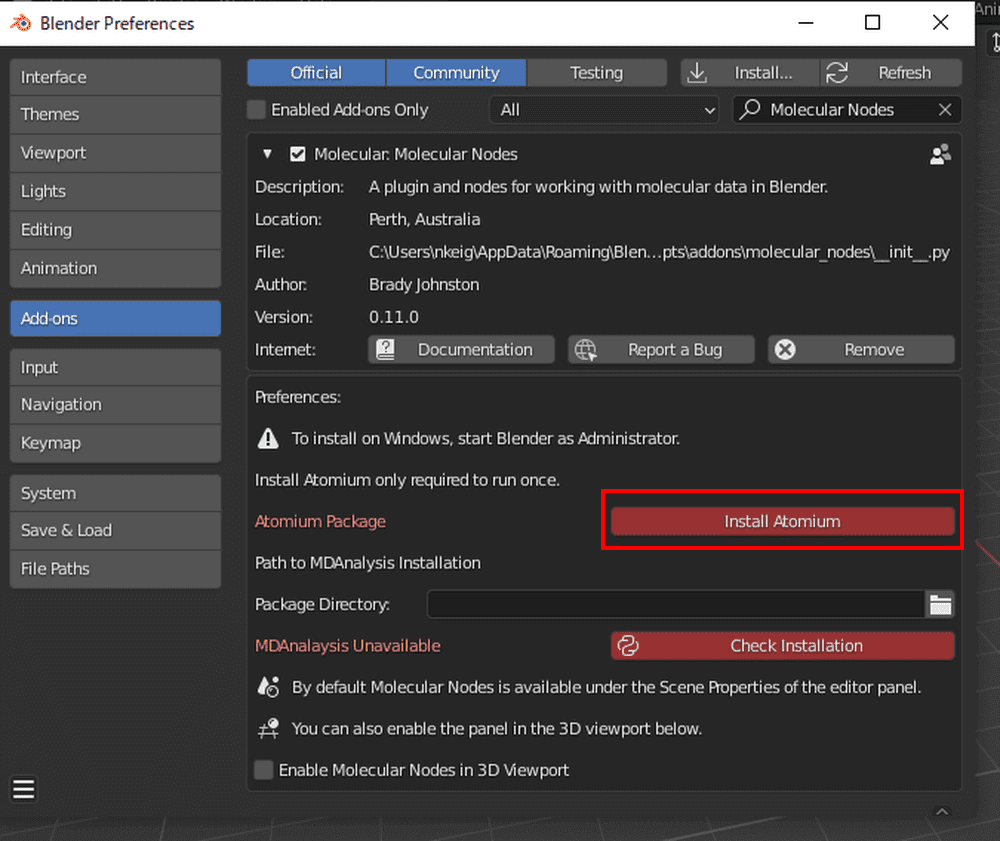
Click “Install Atomium”
Wait for a while: when the color changes to gray, the installation of Atomium is complete.
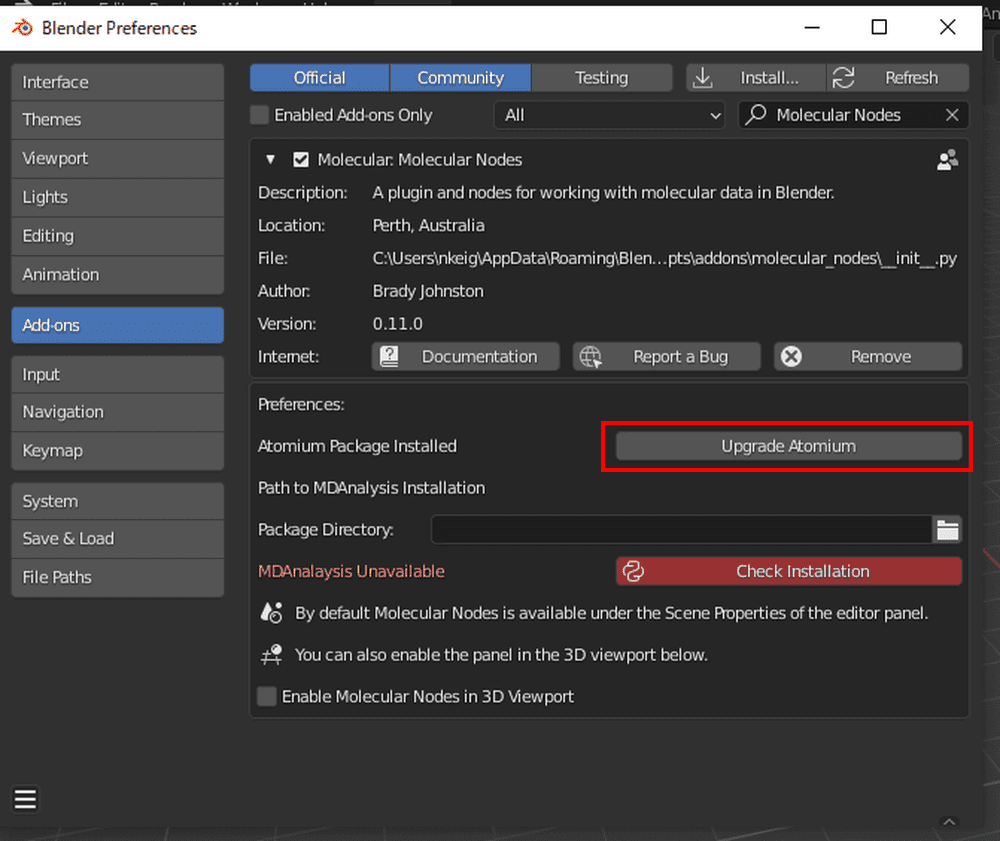
When color changes to gray, installation is complete.
Installing MDAnalysis
To read complex molecular data or data with special extensions, install MDAnalysis and associate it with the Molecular Nodes add-on.
If you only want to use some of the add-on’s features, you can skip installing MDAnalysis; we suggest you try it only if you can afford to do so.
Blender 3.1 or higher is bundled with Python 3.10 or higher, so install Python 3.10 or higher.
Type “Microsoft Store” in the search field of the taskbar and launch it.

Microsoft Store
Search for Python in Microsoft Store and install Python 3.10.
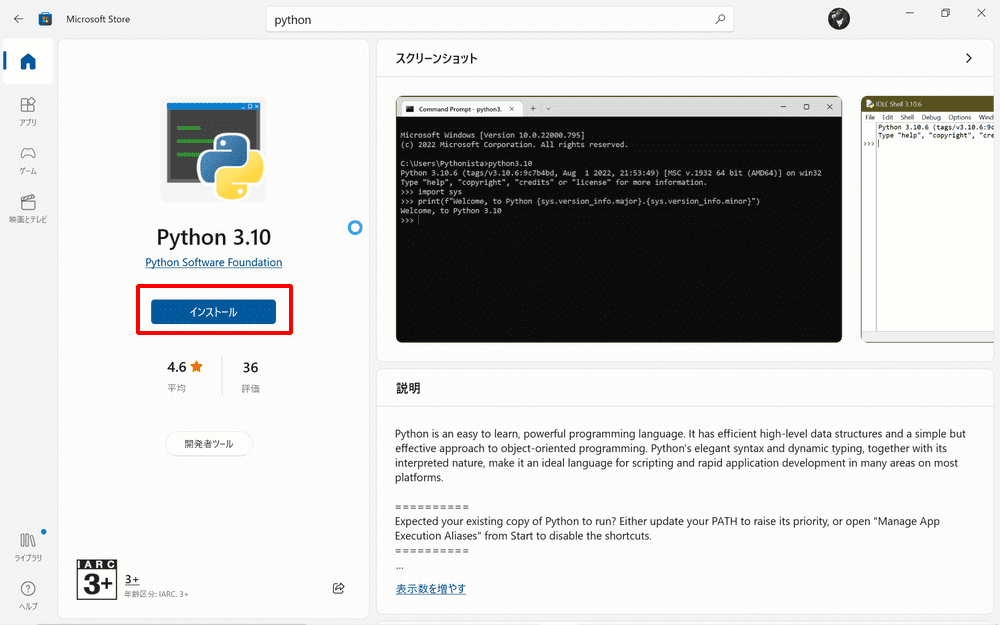
Install Python 3.10
Once Python has been successfully installed, open the Command Prompt.
Type “cmd” or “command prompt” in the search field of the taskbar to start it.
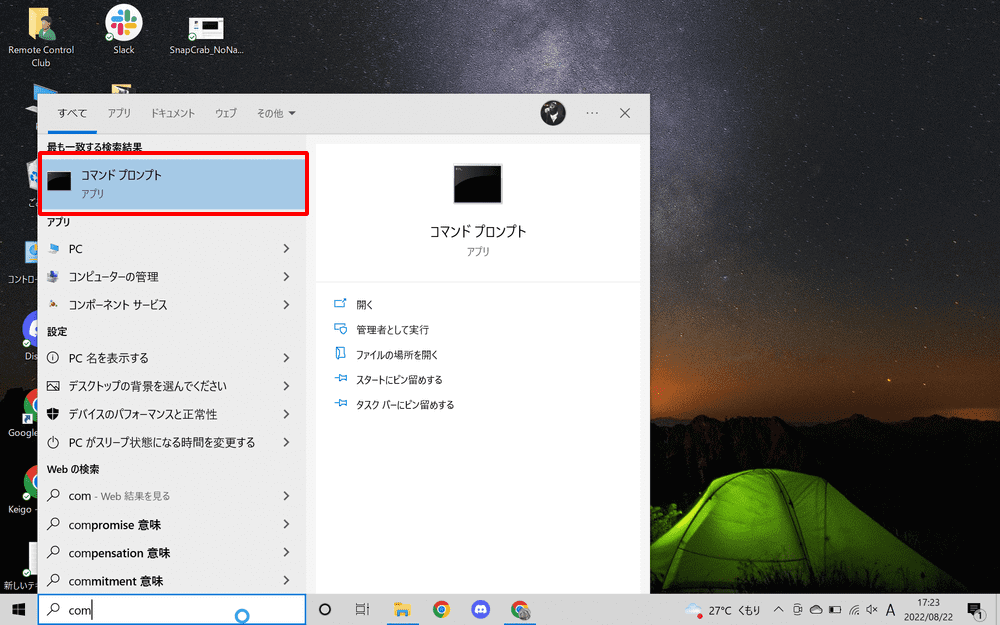
コマンドプロンプトを起動
After launching the command prompt, copy and paste the following command:
python3 -m pip install MDAnalysis
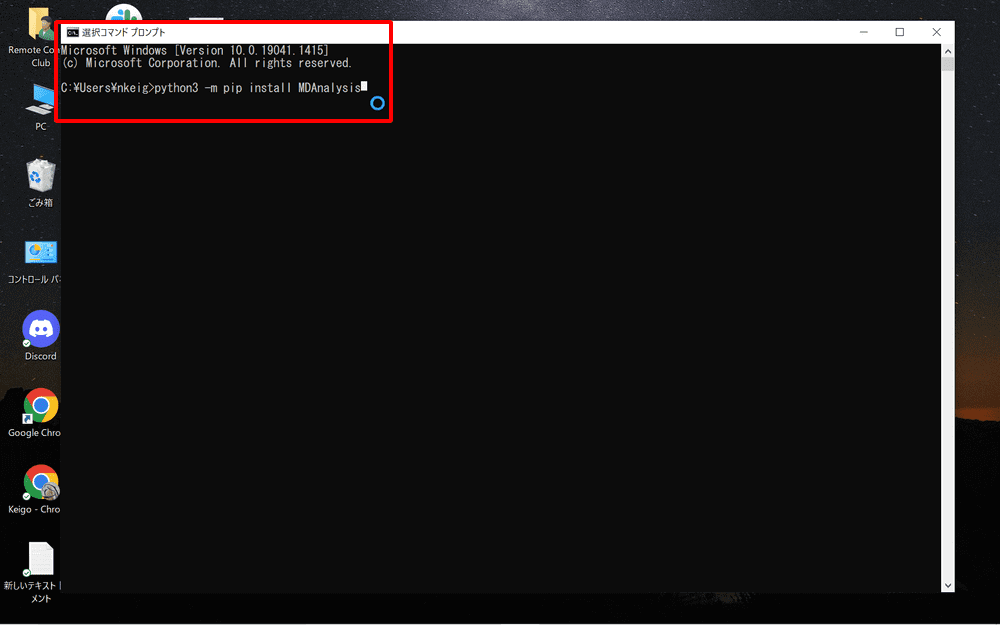
python3 -m pip install MDAnalysis
MDAnalysis will be installed.
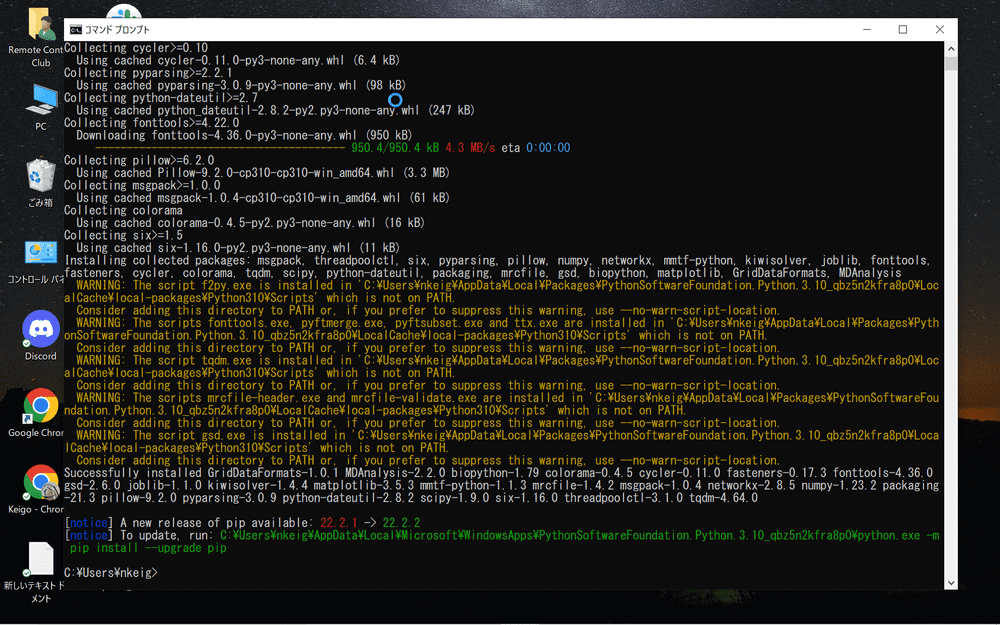
Installed
Once the installation is complete, enter “python3” to start the Python command line.
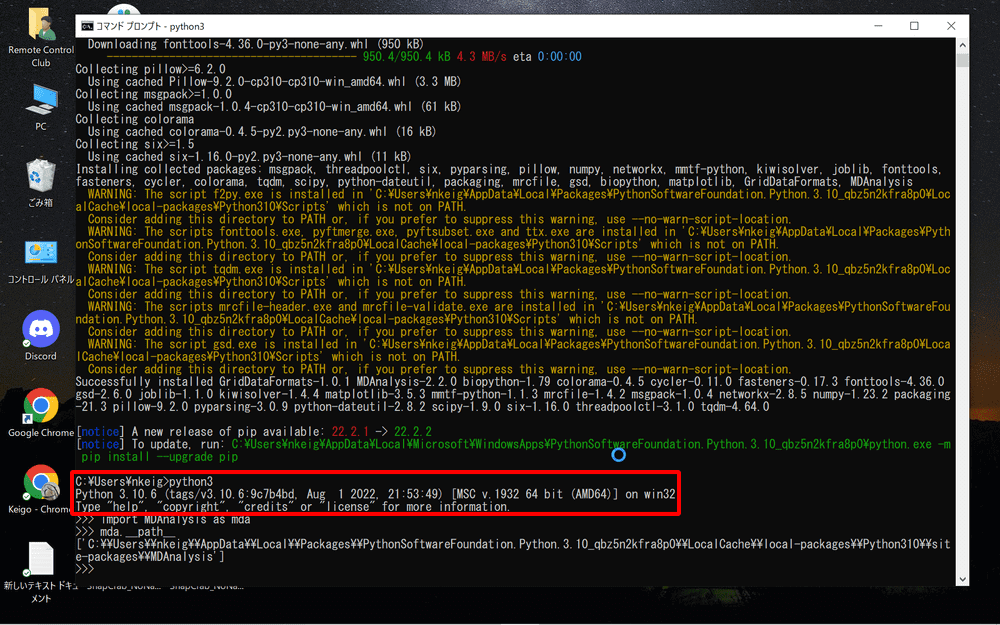
python3
Next, enter the following command to display the MDAnalysys path:
import MDAnalysis as mda
mda.__path__
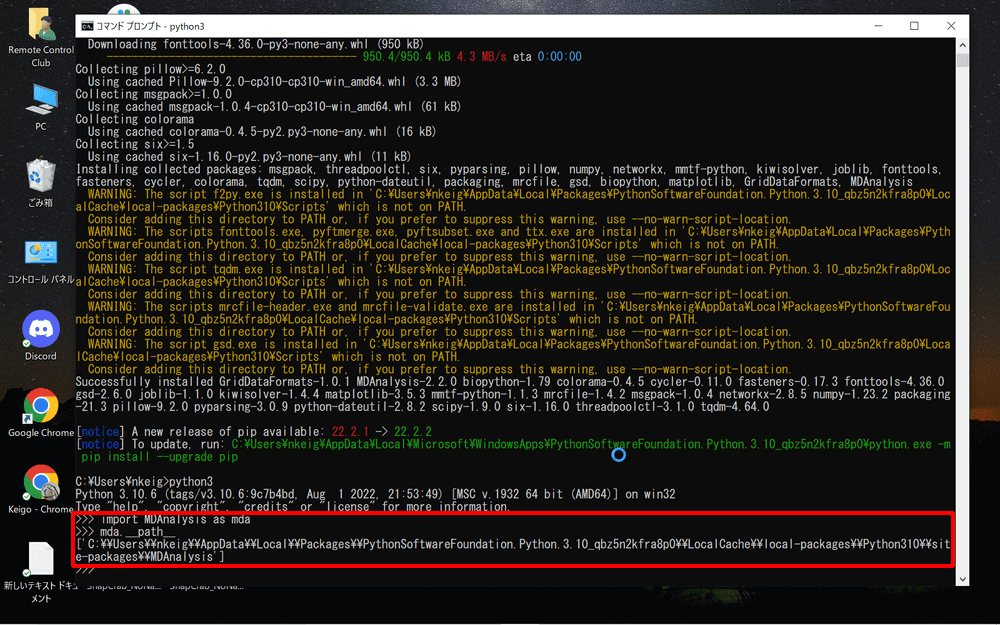
import MDAnalysis as mda mda.__path__
Copy the path starting with C: and return to Blender.
For my case in the example, the path will be “C:\\Users\\nkeig\\AppData\\Local\\Programs\\Python\\Python310\\lib\\site-packages”
After returning to Blender, paste the path into the Molecular Nodes add-on’s Package Directory and click Check Installation.
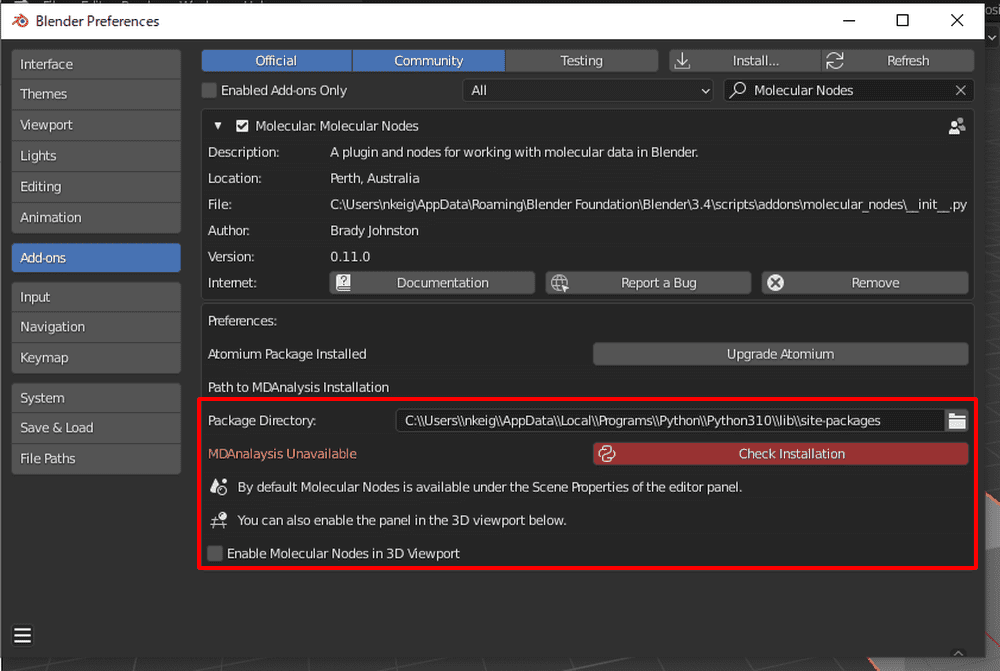
Click “Check Installation”
It is successful when the color turns gray (after a while).
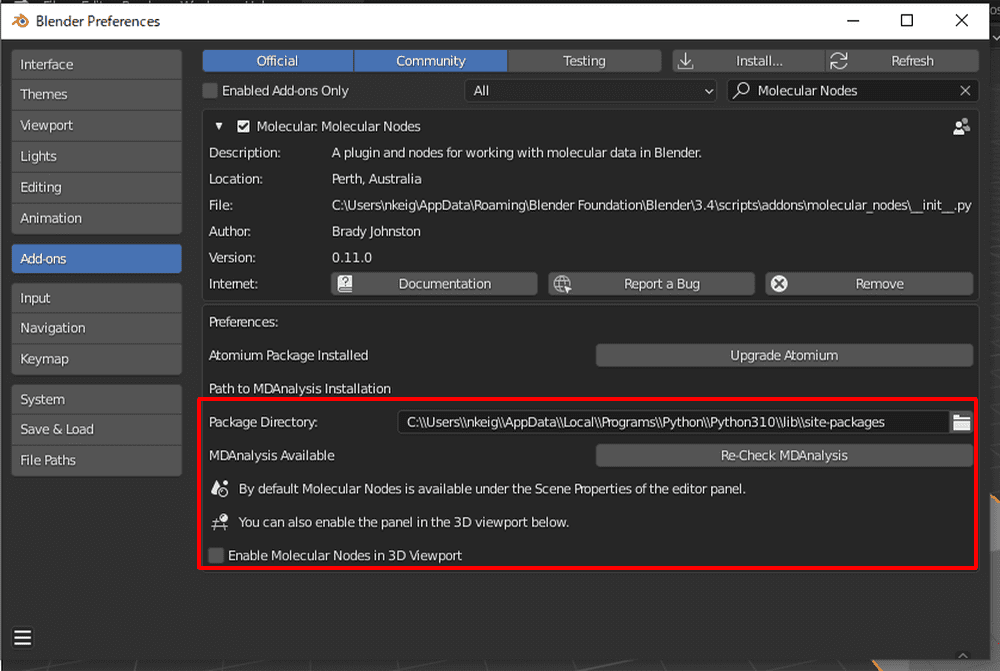
Color turns gray
This completes all installation of Molecular Nodes.
The specific usage of the Molecular Nodes Addon is explained in detail in the following article:
![[Blender] How to Handle Molecular Data with “Molecular Nodes” Addon (Part 2)](https://styly.cc/wp-content/uploads/2022/08/2-30-160x160.png)
For questions about STYLY, bug reports, and improvement requests, please contact the STYLY FORUM
https://en.forum.styly.cc/support/discussions
Certified (QA) by Shota Shawn Yoshizawa
Edited by SASAnishiki
Translated by passerby1