In this article, we will show you how to create mouth parts such as teeth and tongue using a photogrammetric model for creating a natural mouth.

Completed image
Introduction
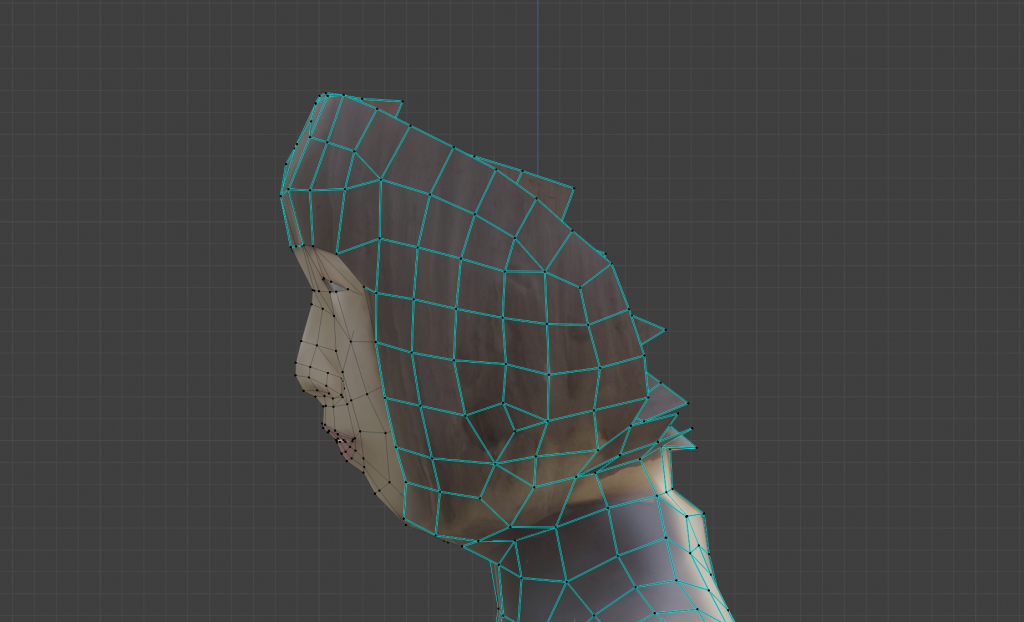
When moving the mouth of a photogrammetric model, you can see the mesh at the back of the head if the mesh at the mouth is removed.
You need to model the back of your mouth, tongue, and teeth parts to make visible the internal side of your mouth.
You can’t see the mesh in the back
You don’t need to make it real because it’s the less visible part, but let’s take a look at the steps.
Operating procedure
Create the image of deep inside the mouth
To make it easier to work with, we first hide the mesh at the back of the head.
Roughly select the mesh for the back of the head in edit mode.

Select the back of the head
Hide the back of your head
Pressing the [H] key hides the selected mesh. It was not deleted and can be re-displayed by pressing [Alt]+[H] (even in the hidden state, it will be displayed when switching to object mode).
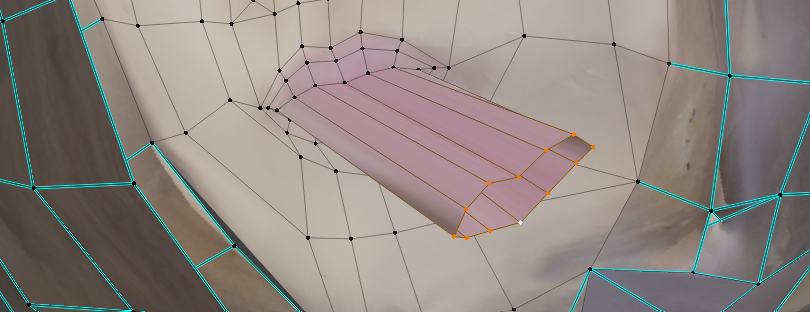
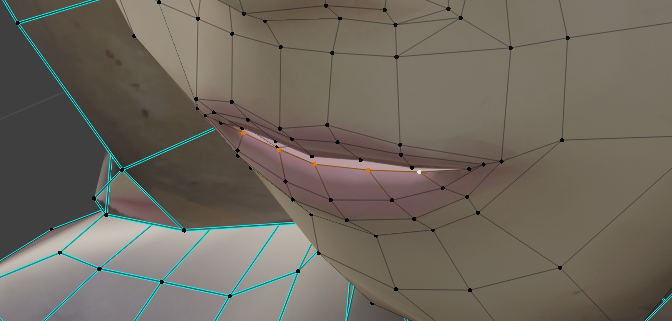
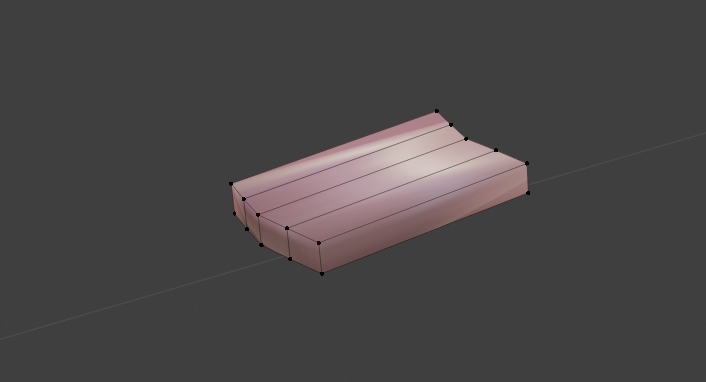
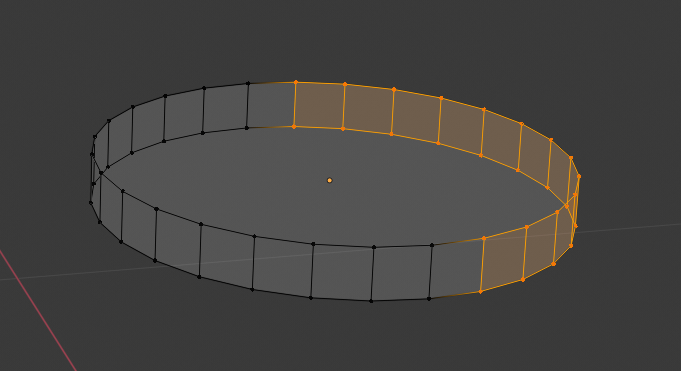
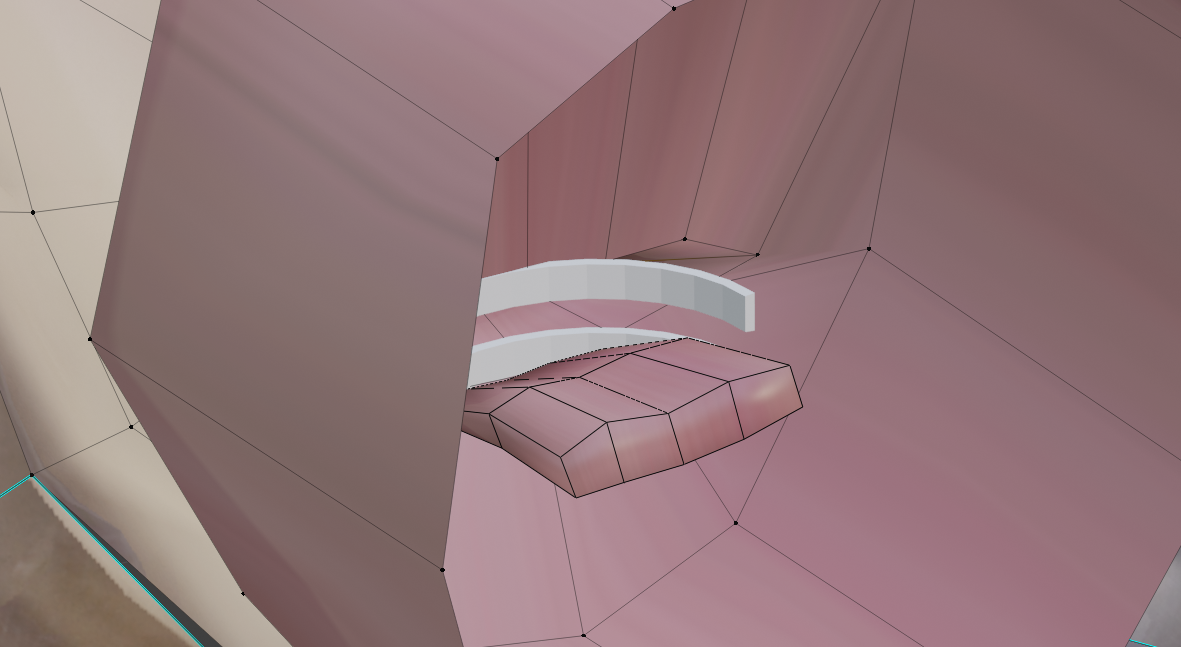
Select one round of mesh at the innermost part of the mouth.
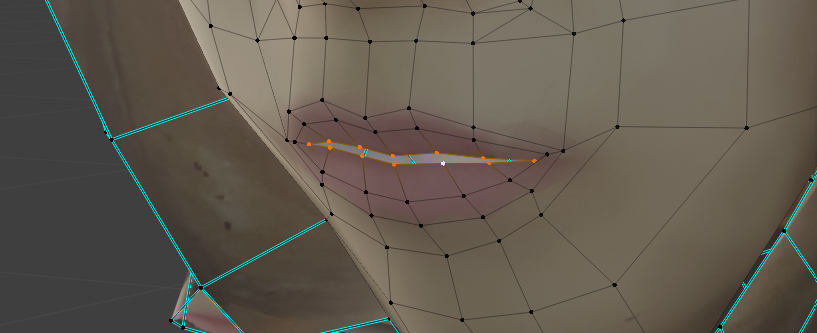
Choose the inside of your lips
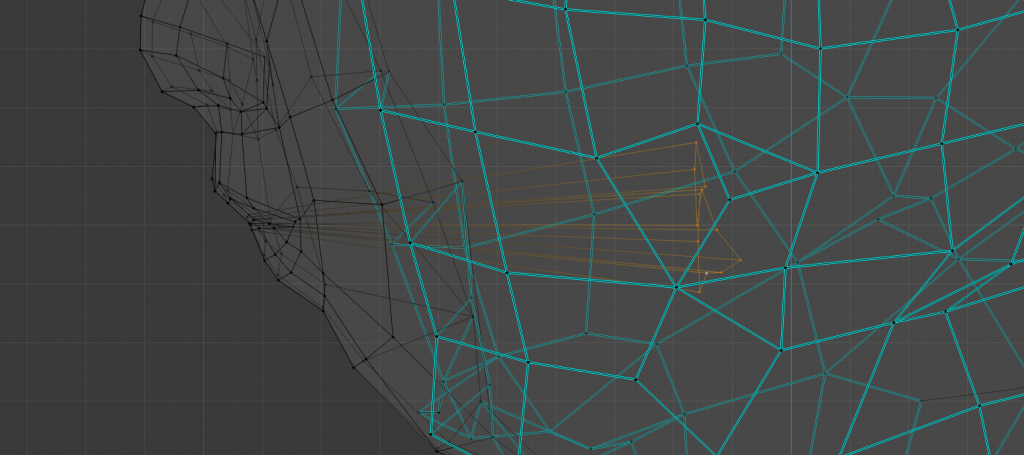
push to the back
Press [E] key to push the camera to the far side, and press [S] key to enlarge it.
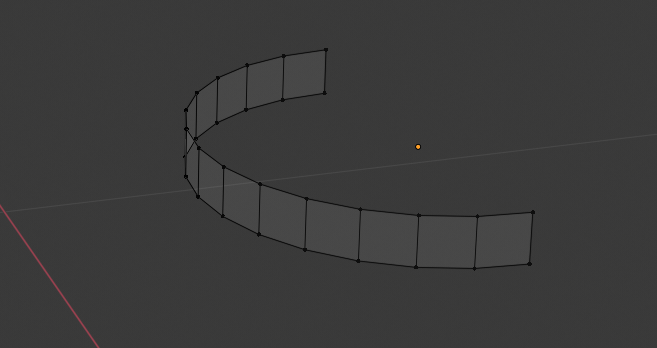
This is what it looks like from the back side (the side of the mesh that I’ve just hidden).
Extrude while expanding
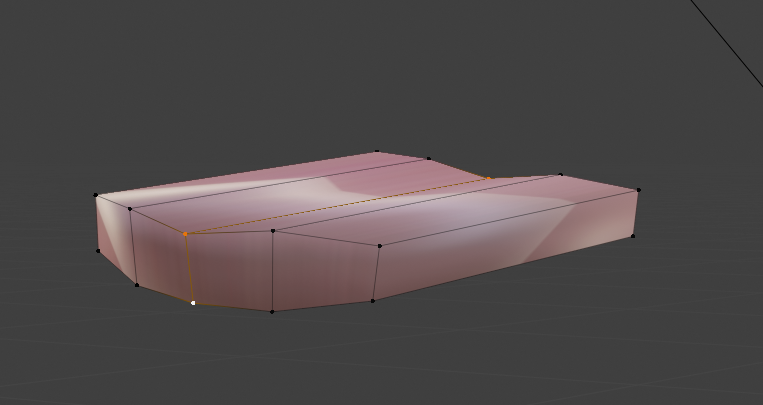
Arrange the vertexes
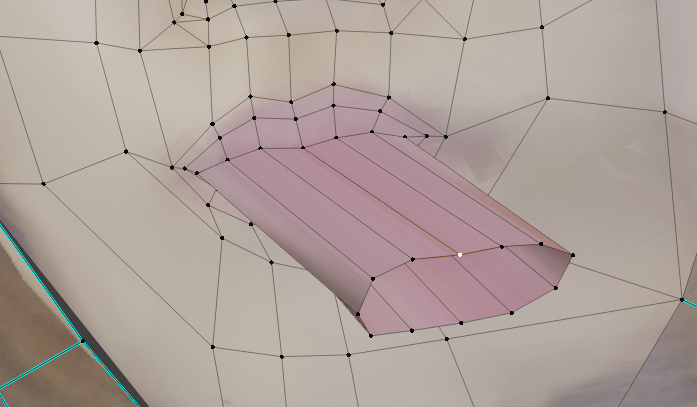
Arrange the vertexes
Press [Ctrl]+[R] to make a loop cut and add vertexes in between.
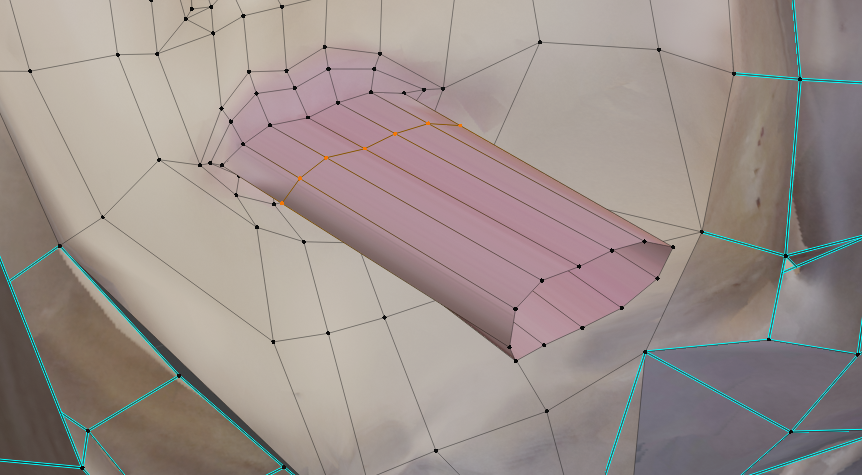
Raise the vertex with a loop cut
It is further enlarged in the X and Z axes, and finally adjusted to a size that can accommodate the tongue and tooth parts.
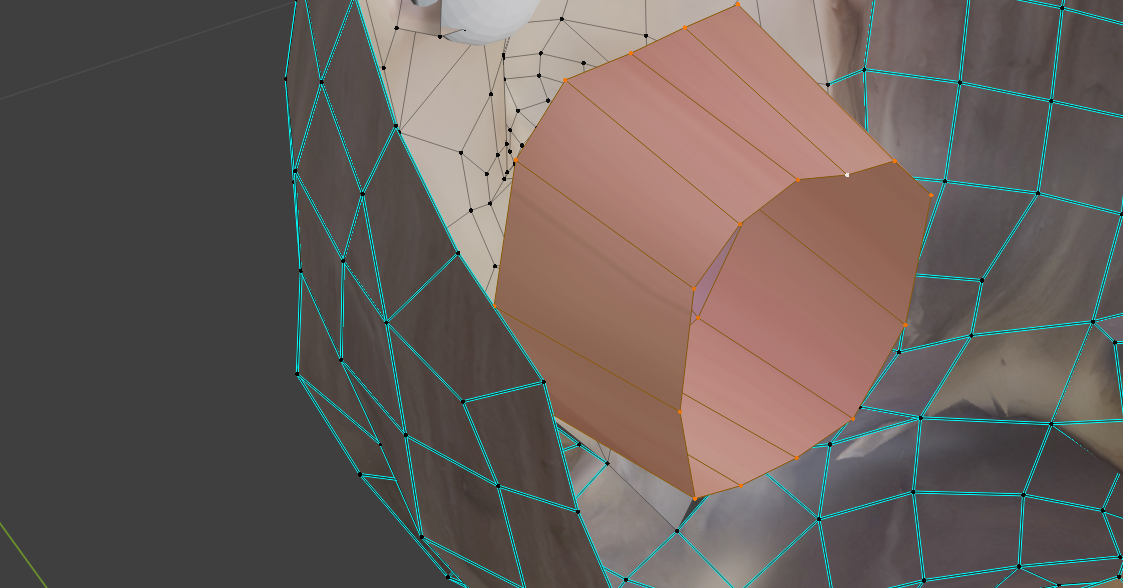
Enlarge to fit the parts
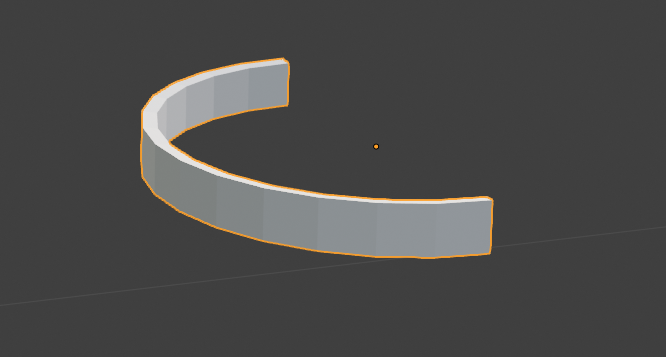
Make up one’s own tongue
The tongue can also be made by deforming it from Cube or other materials, but it is stretched and separated from the lips because it uses the same texture as the lips.
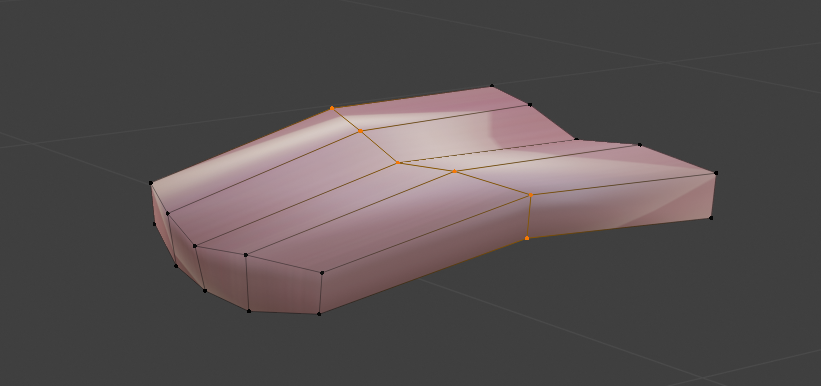
Select the inner, lower half of the mouth.
Select the lower vertex
Press [E] to stretch forward.
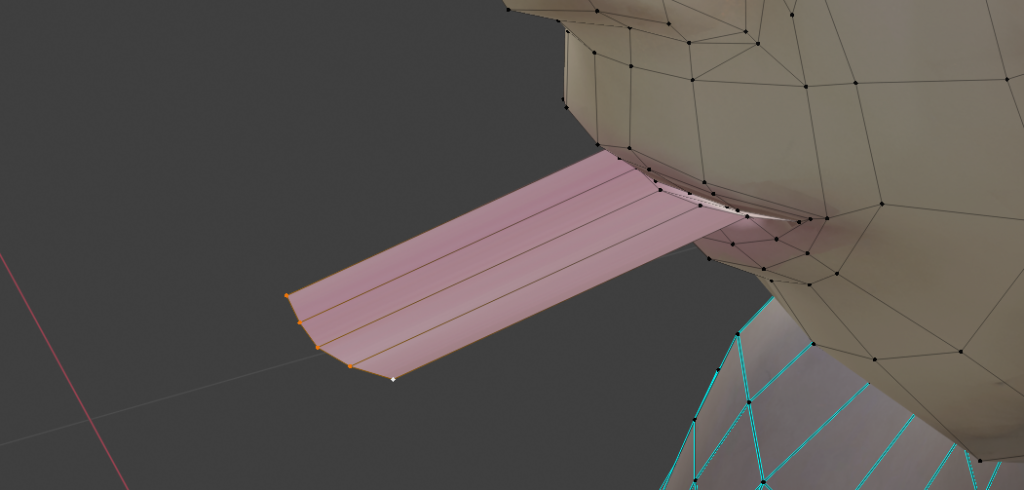
Draw forward
Select the original vertex and the stretched vertex, then select “Selection” from the [P] key’s Separate and separate them at the selection.
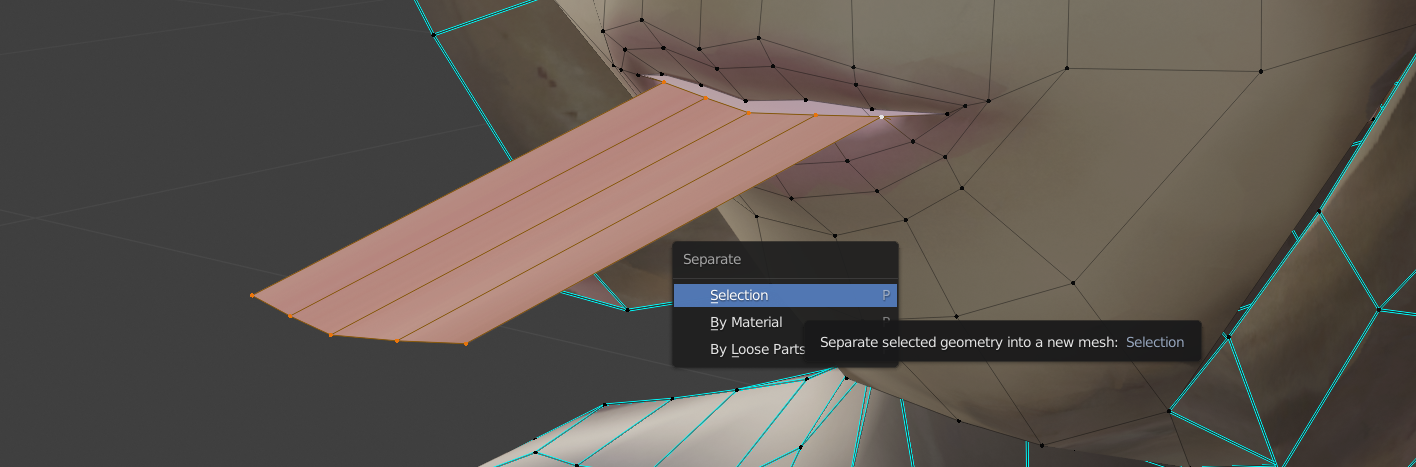
Separate parts of the tongue
Switch to object mode and move it away from you for easier viewing.
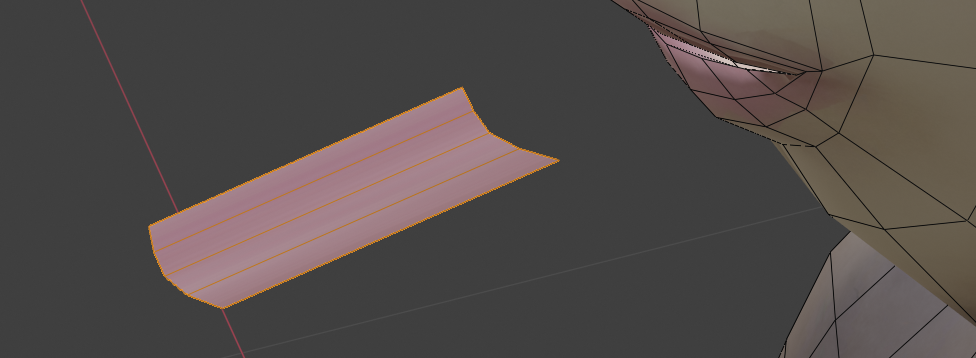
Move it
Press [E] key to stretch the entire image in the Z-axis direction to make it thicker. Use the [S] key to adjust the size appropriately.
I made it thicker
Move the middle side down a bit.
Concave the middle edge
Increase the vertex in the middle of the long side with a loop cut and adjust the height of the vertex.
Adjust the vertices
Making a tooth
Add a cylinder
Press [Shift]+[A] to add a version of the cylinder and scale it as shown below.
Select all the vertices in the back half and delete them.
Select half of the vertices
Delete half the vertices
After extruding it inward, shrink it slightly and thickness it as shown below.
Extrude on the inside to add thickness
Placement
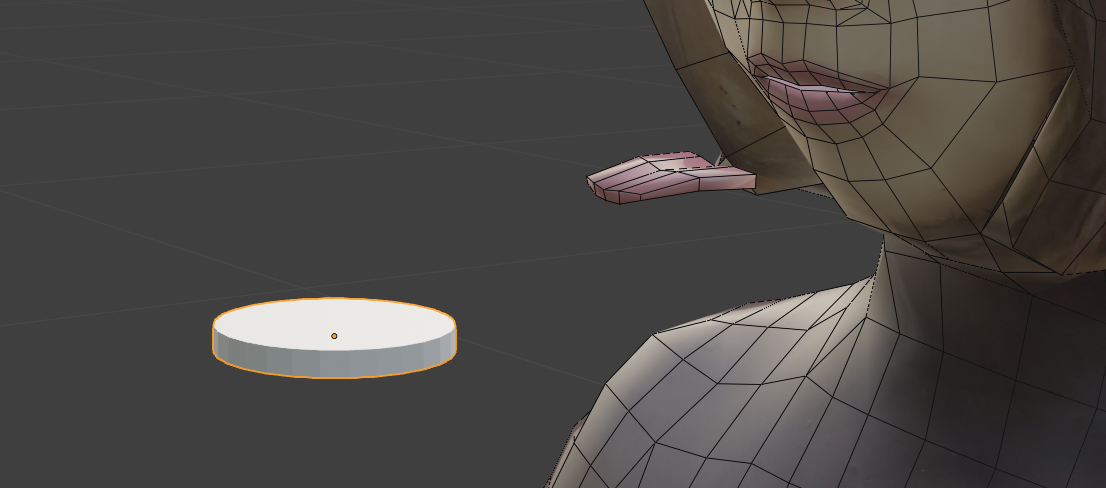
Once you have the teeth and tongue parts, place them as follows.
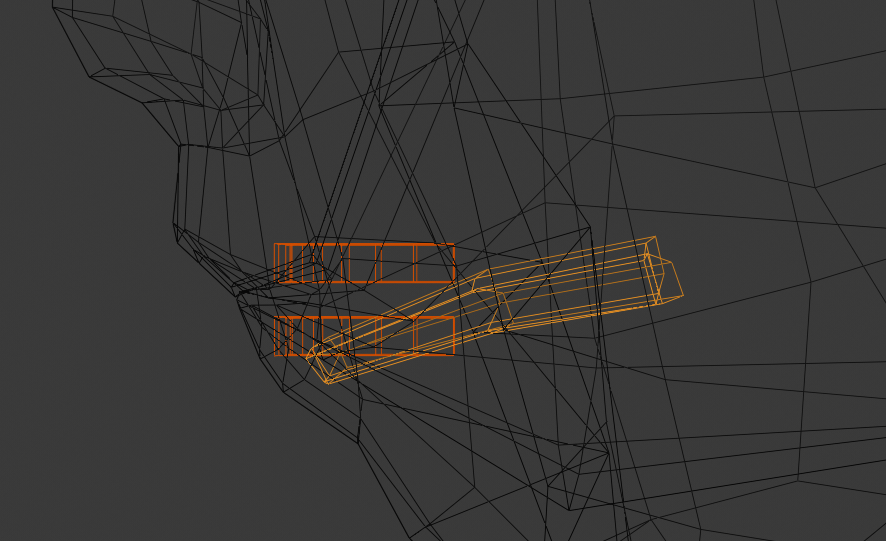
Place your teeth and tongue
If you look at it from the back, it looks like this.
Back view of the arrangement
After the placement, press [F] key to apply and close the inner-most part of the mouth.

Block the back of one’s mouth
Finally, press [Alt]+[H] key to re-display the mesh at the back of the head that was hidden.
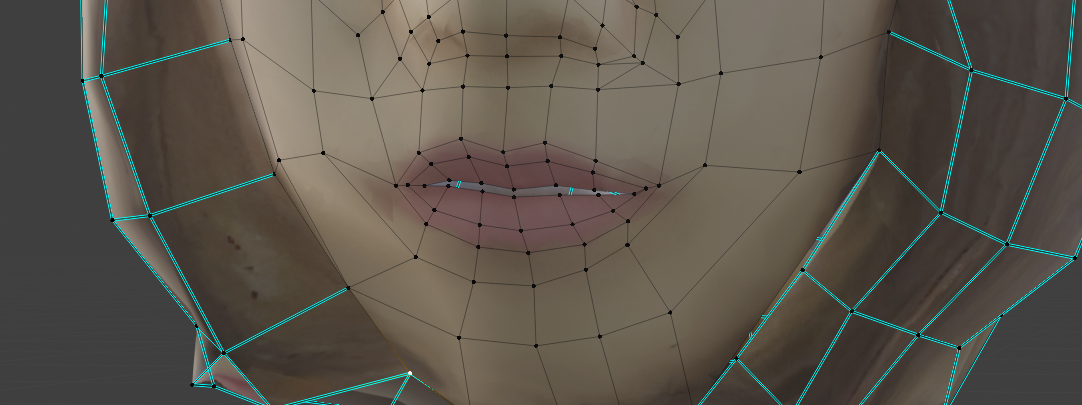
When I checked from the front, my mouth looked natural like this.

You could see to the deep inside, but it looks natural