When you scan a person’s body with photogrammetry, you can’t move the eyes under normal conditions. In this article, I’m going to show you how to move eyes by creating a separate eyeball using Blender.
Introduction
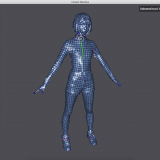
The eyes, face, and body photogrammetric model are all connected by a mesh. The arms and legs can be moved simply by inserting the bones, but in order to move the eyes, the eye parts need to be separated from the face.
In this article, I am going to use the following photogrammetry model with Instant Meshes for the entire body, BSurfaces for the face only, and baked post-combination textures.
Make holes in the eyes and mouth.

litho-logged model
- What is Lithopology?
It’s a method to replace a 3D model with low polygons from one with multiple vertices. - What is baking?
It’s a method of creating textures from original 3D model in a post-lithology one.
Please refer to the following for more information about these processes.
How to use “Instant Meshes”, a free software that does lithology automatically
How to use “BSurfaces”, a standard add-on of Blender to do lithology manually.
![[Blender 2.8] Manual retopology using BSurfaces](https://styly.cc/wp-content/uploads/2020/03/スクリーンショット-2020-03-02-18.10.58-160x160.png)
How to bake a texture on a 3D model after lithology
![[Blender 2.81] Baking textures into retopology models](https://styly.cc/wp-content/uploads/2020/03/キャプチャ6-160x160.png)
Operating procedure
Stretch the edges of one’s eyes inward
Before making the eyeball part, stretch the eye’s edge inward. This is a process that prevents a gap from forming between eyeballs and the face.
Select the vertex around the eye.

Select the apex of the eye.
Press the [E] key to push it to the back.
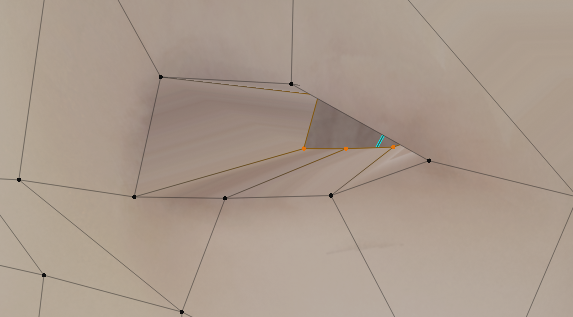
Push to the back
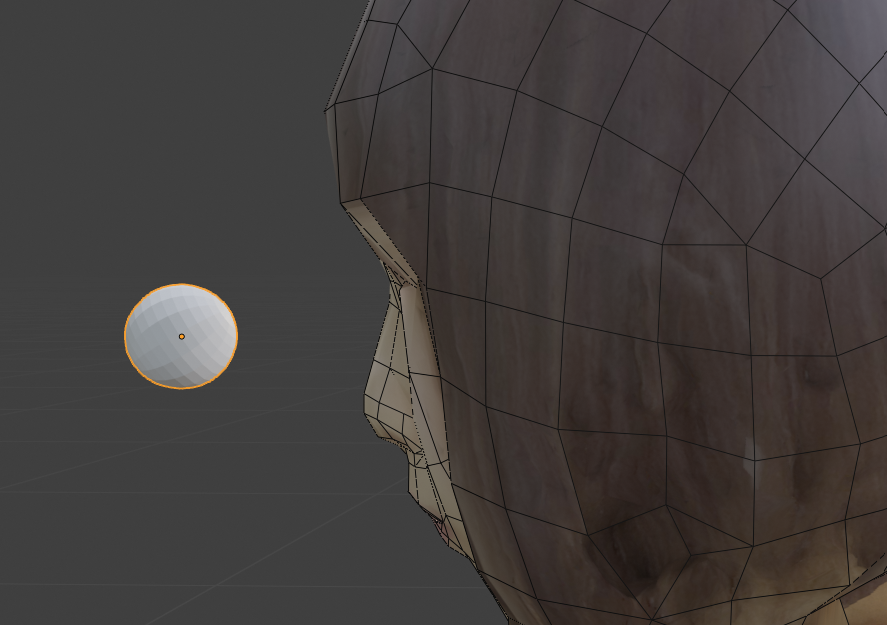
Place your eyeballs
In character models, the shape of the eyeballs also needs to be slightly deformed, but photogrammetric models use the same sphere shape as human eyeballs.
Press [Shift]+[A] to add Mesh→UV Sphere and adjust the size to fit your eye size.
Add a UV bulb
Place both eyes in the correct position.
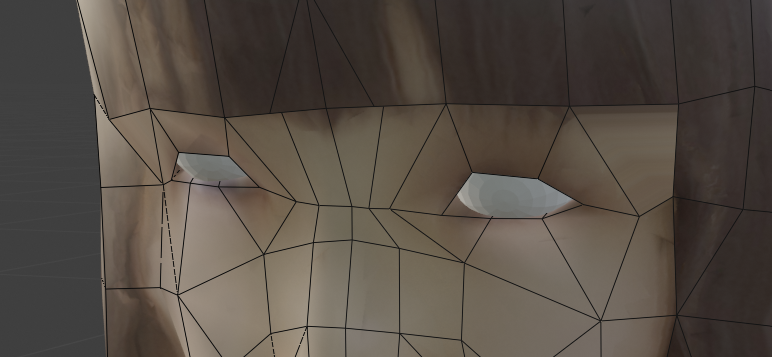
Move to the same position as both eyes
Go to Edit mode and select the outermost circumference of the eyeball.
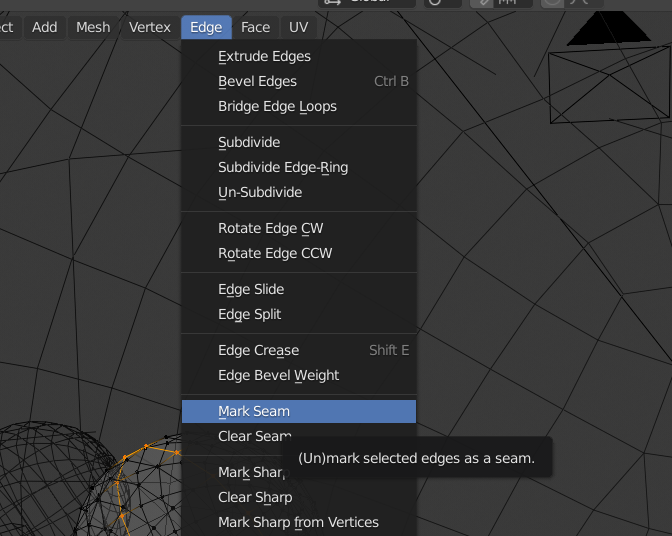
Make a seam
Select “Mark Seem” from “Edge” to expand the UV nicely. The edges of the seam will be cut and open when the UV is deployed.
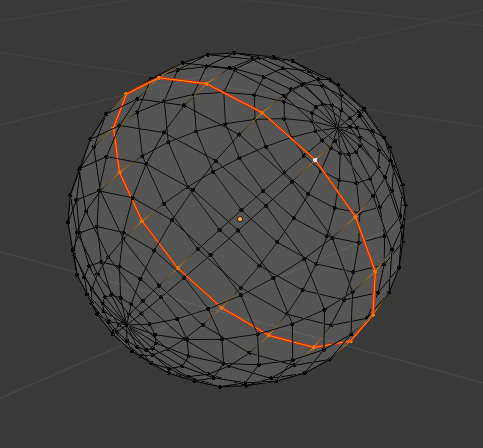
You have got a seam
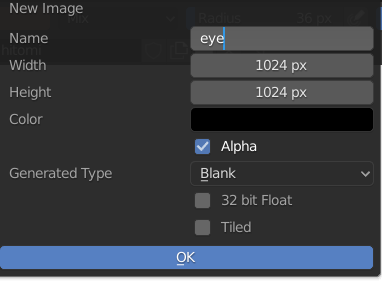
Go to the “UV Editing” tab, select all the vertices of your eyeballs, then press [U] to select “Wrap” or “Smart UV Project” to expand the UV on the left side of the screen.

Deploy the UV
Once it’s expanded, let’s create a new texture image.
Paint the eyeball texture
Go to the “Texture Paint” tab and start drawing textures. I also painted the shade so that the border does not look unnatural.
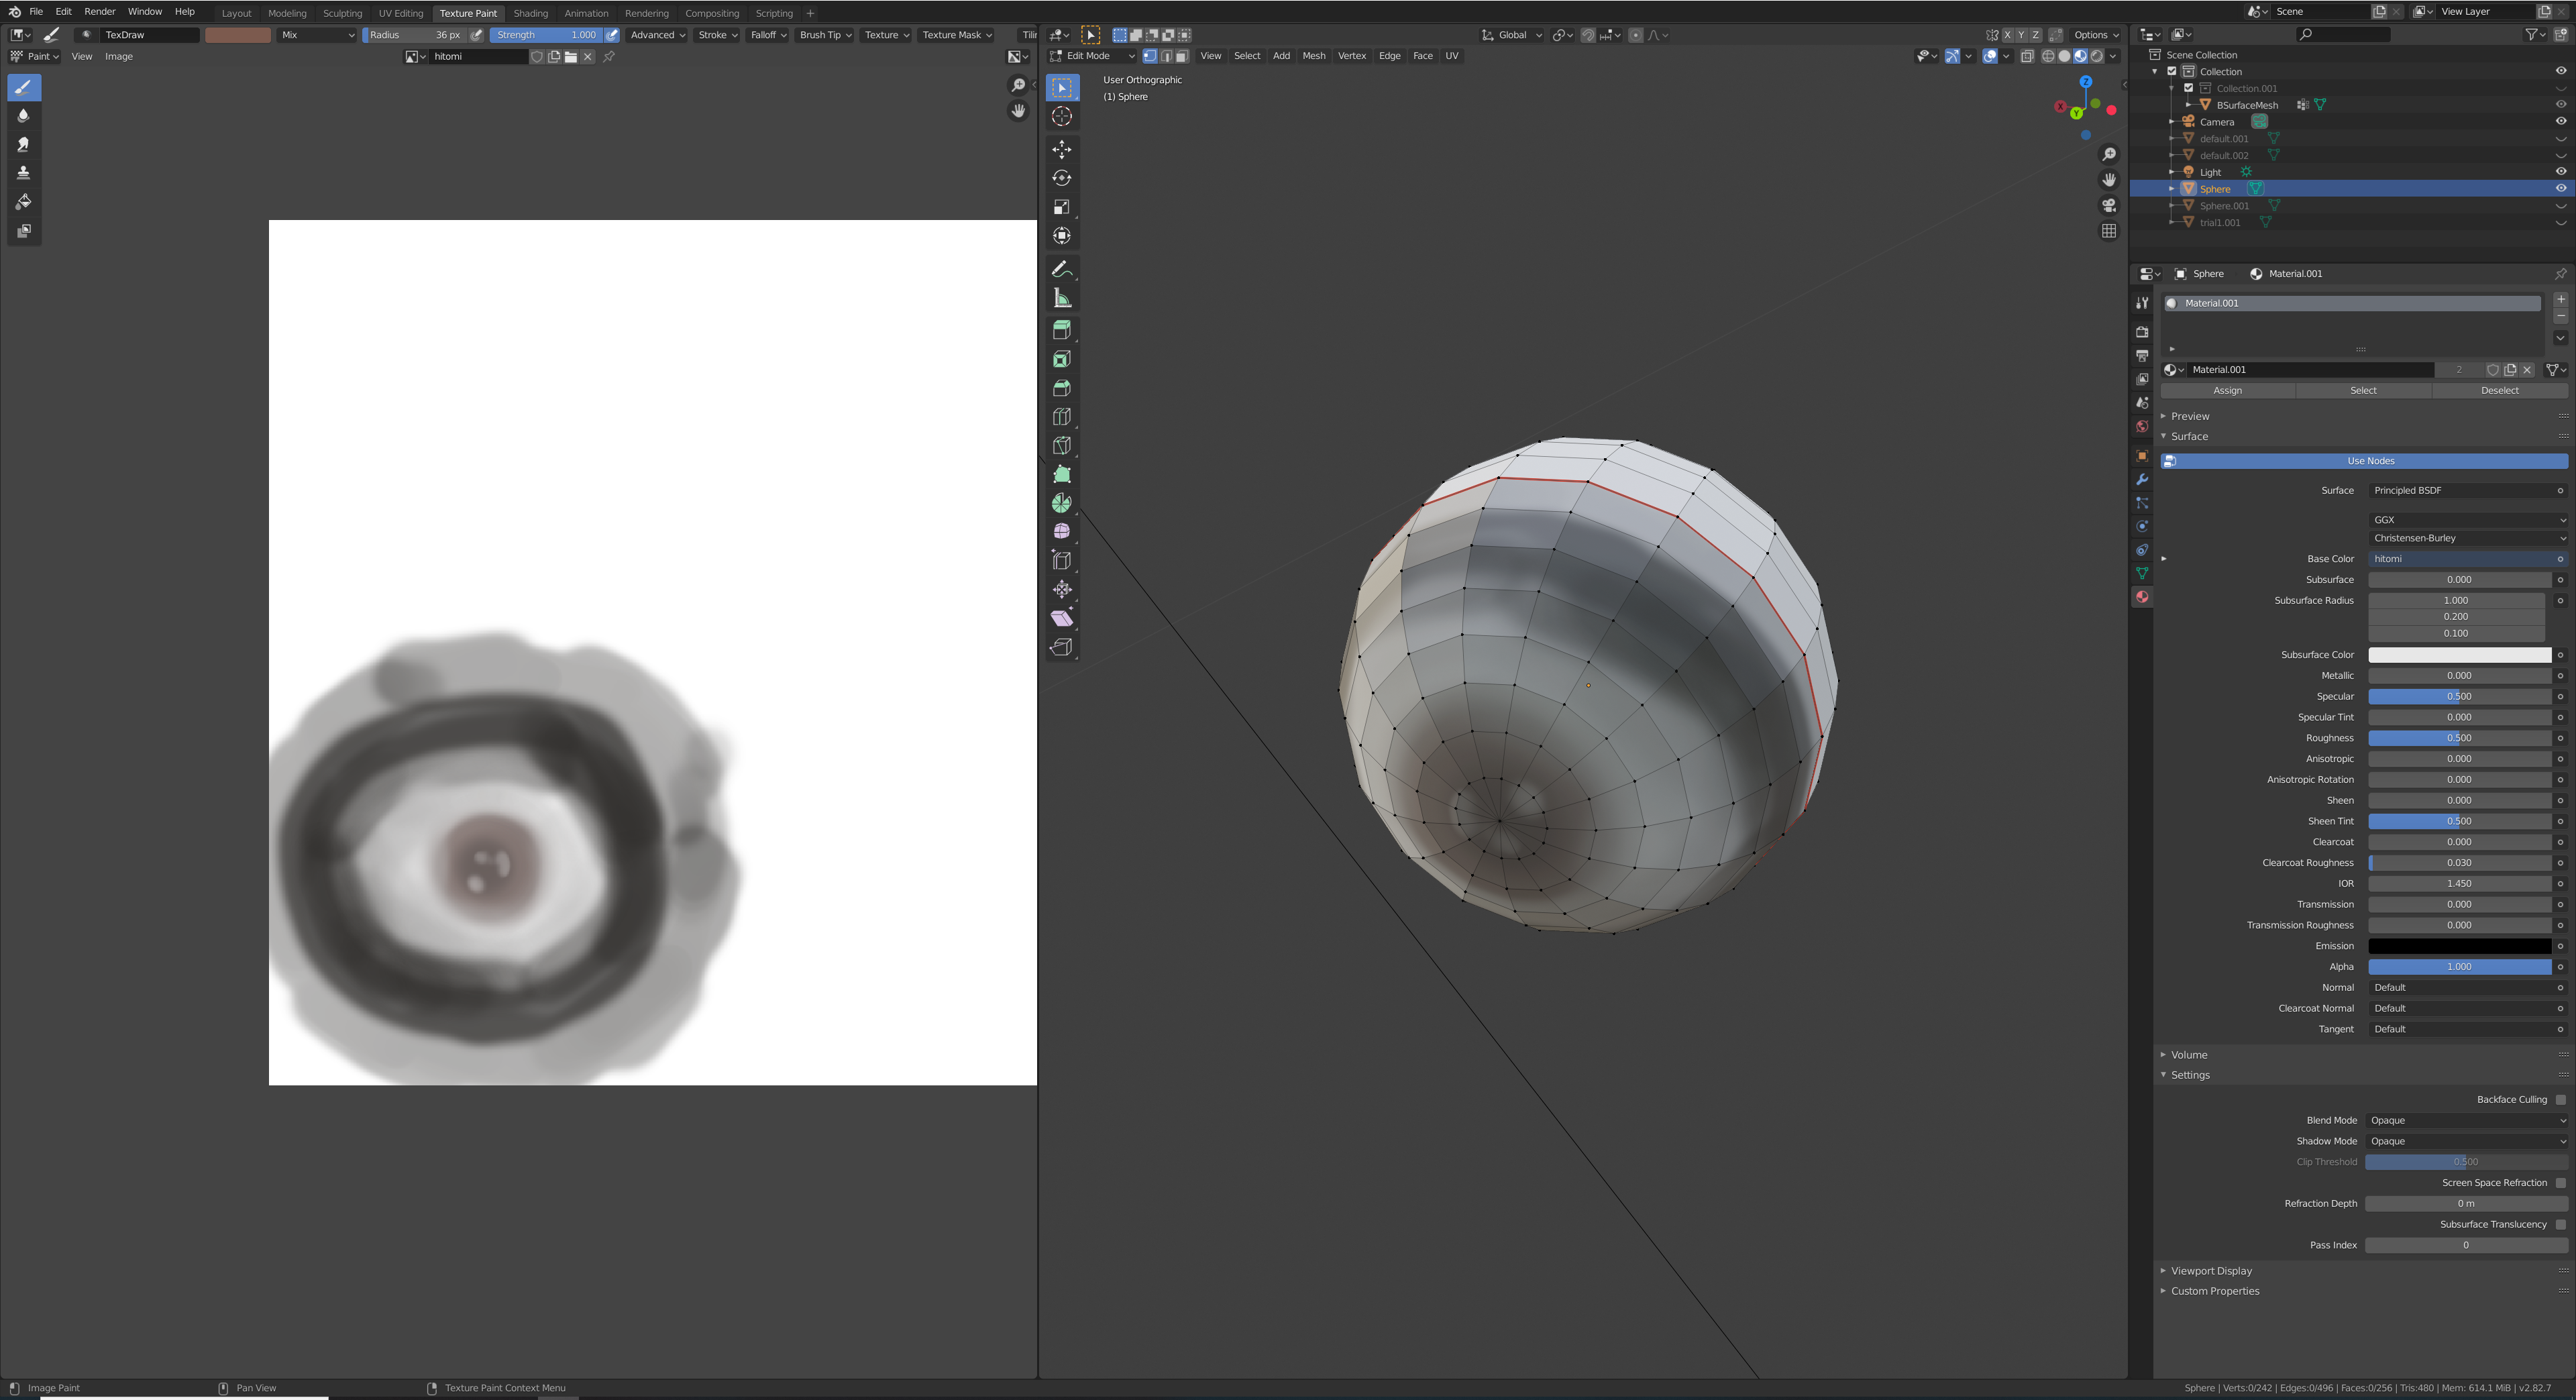
Apply a texture
I also adjust the mesh of the eye contour and the texture around the contour to match the face and eyeballs appropriately.

The texture on the face side is also slightly adjusted
Move the eyes
Select “Armature” from the [Shift]+[A] keys and add a bone to move the eye. They are placed at the position of the eyeballs.
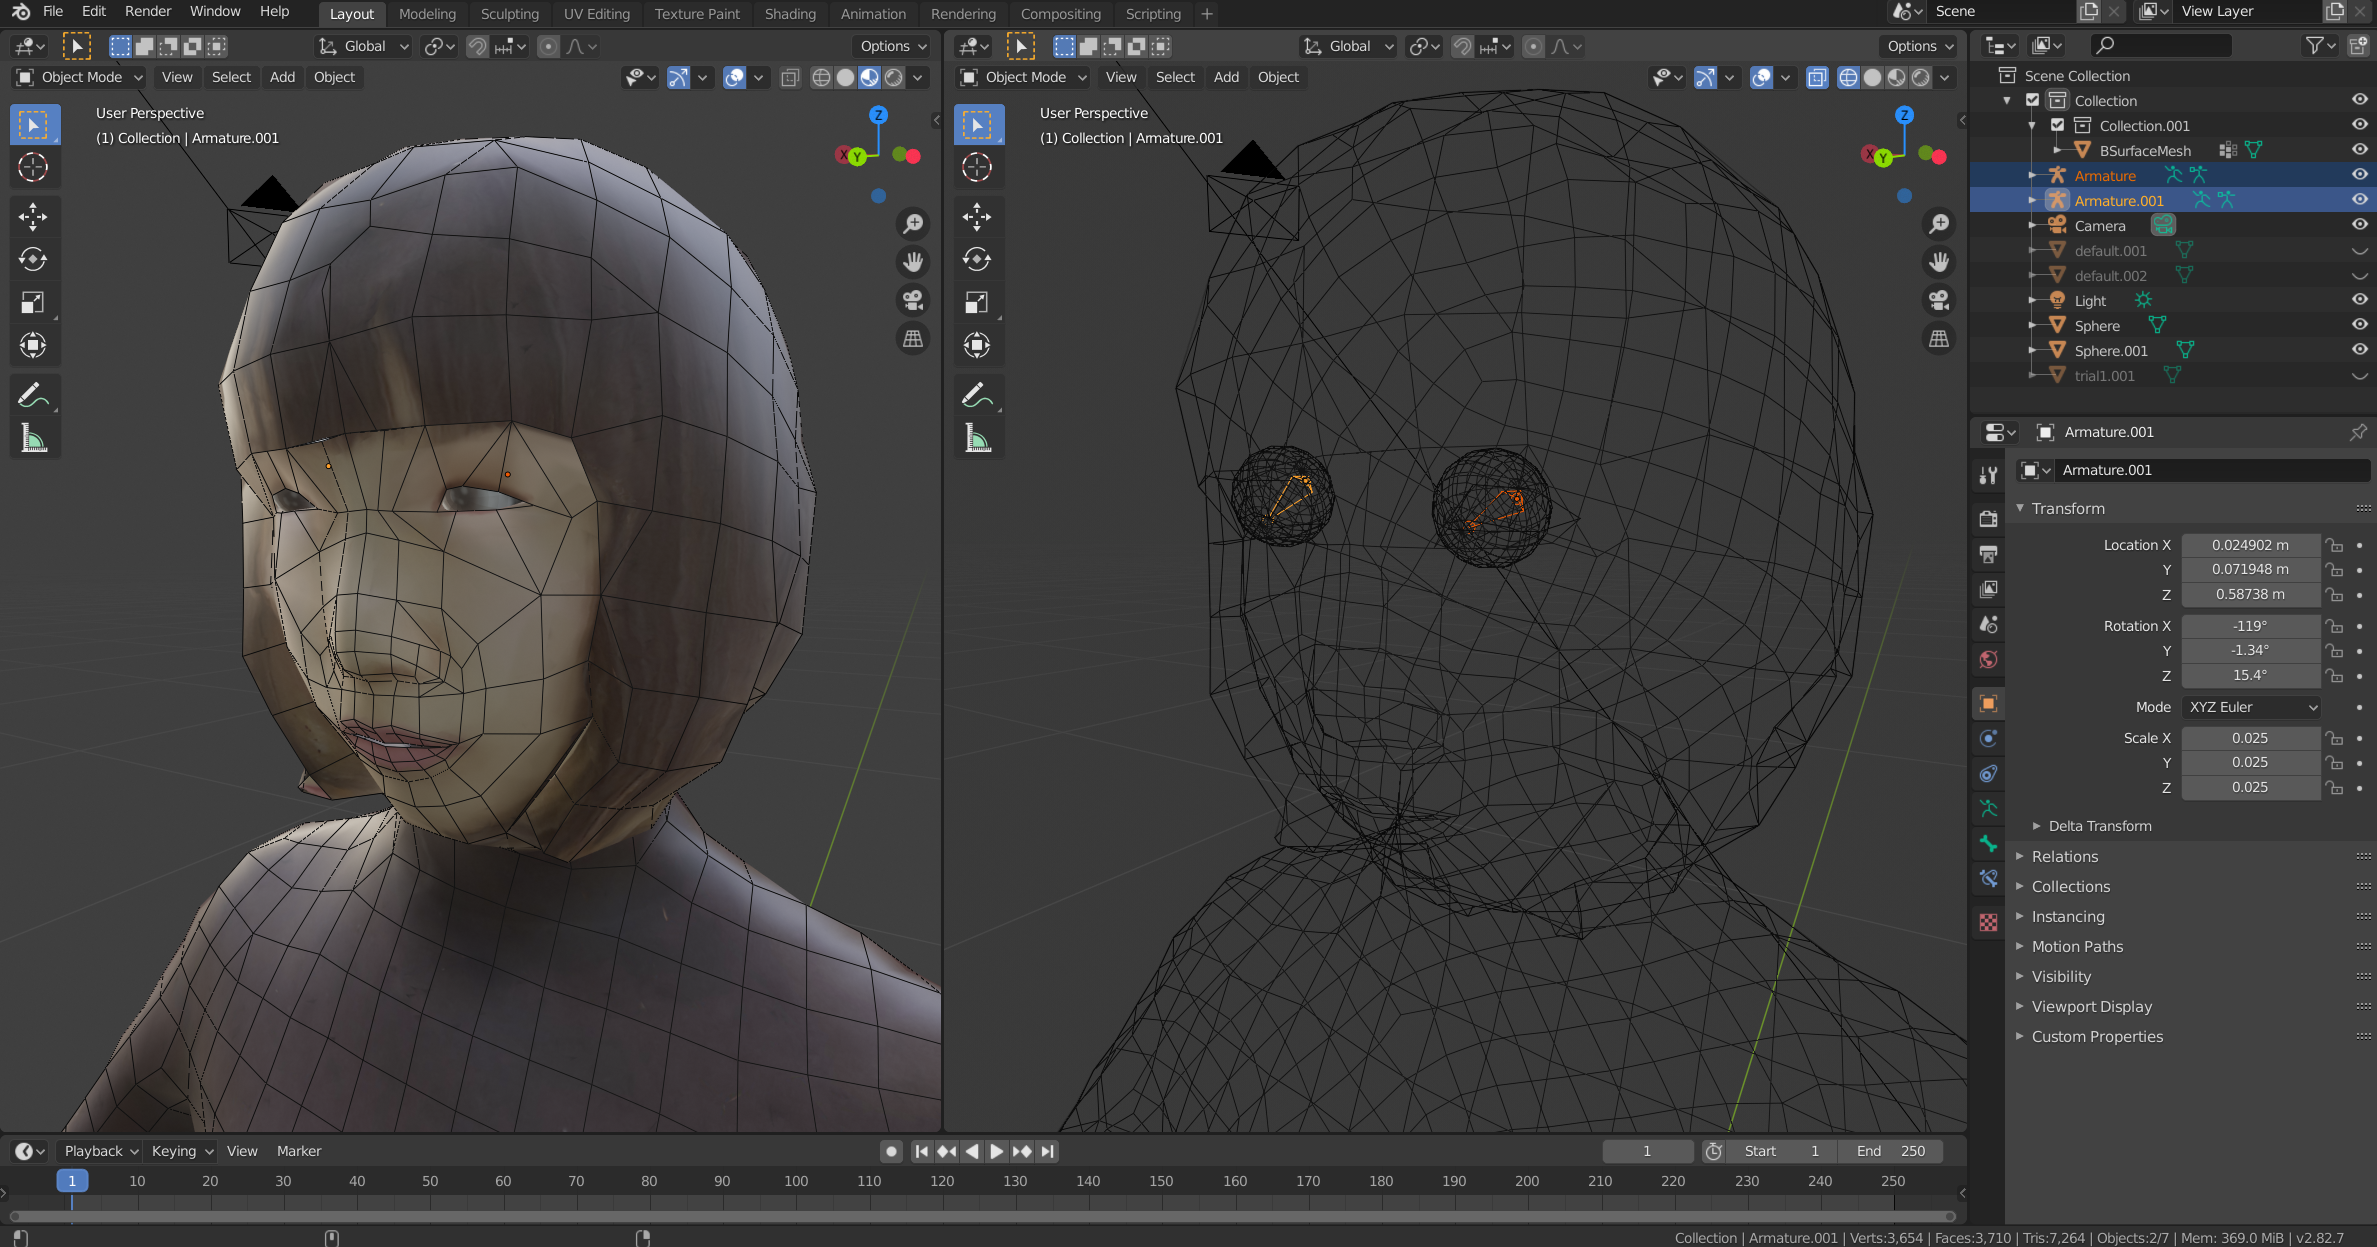
Add a bone
After selecting Object > Bone, press [Ctrl]+[P] to pair the object and the bone from “With Automatic Weights”.
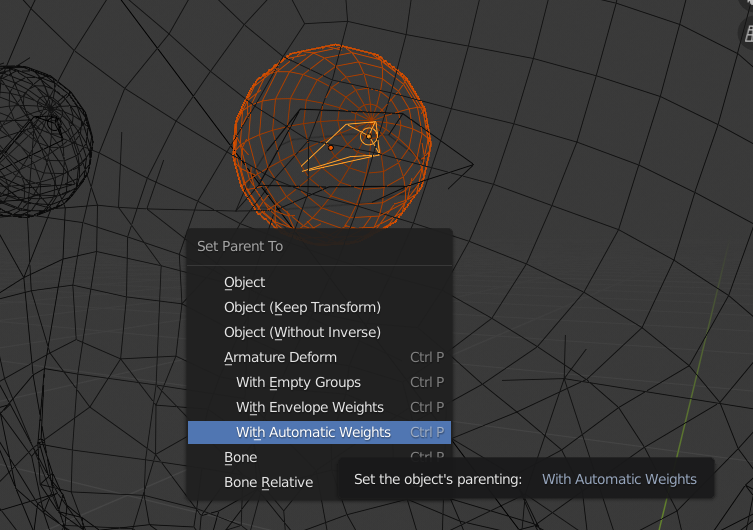
Pairing
Switch to pose mode and rotate the bones to see how the eyes move.

Eyes can now move