Continuing from the previous article, this time I will show you how to set up and upload the clothes, pose, and facial expressions.
The version of Blender used in this article is 2.92.
Decide what to wear
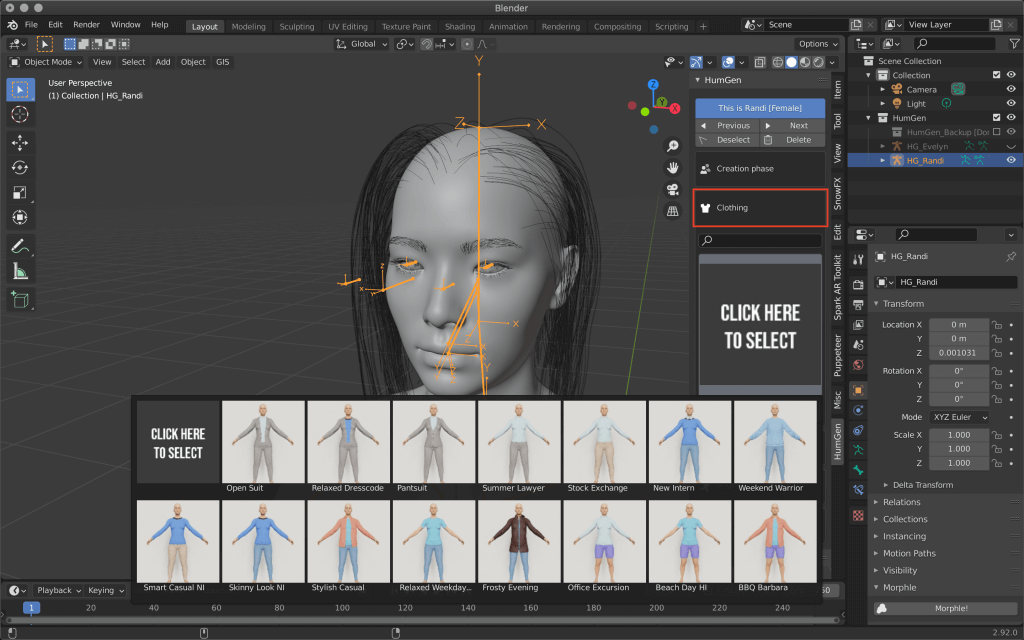
Click on CLICK HERE TO SELECT in the Clothing section and choose your outfit.
I have selected Relaxed Weekday NI.
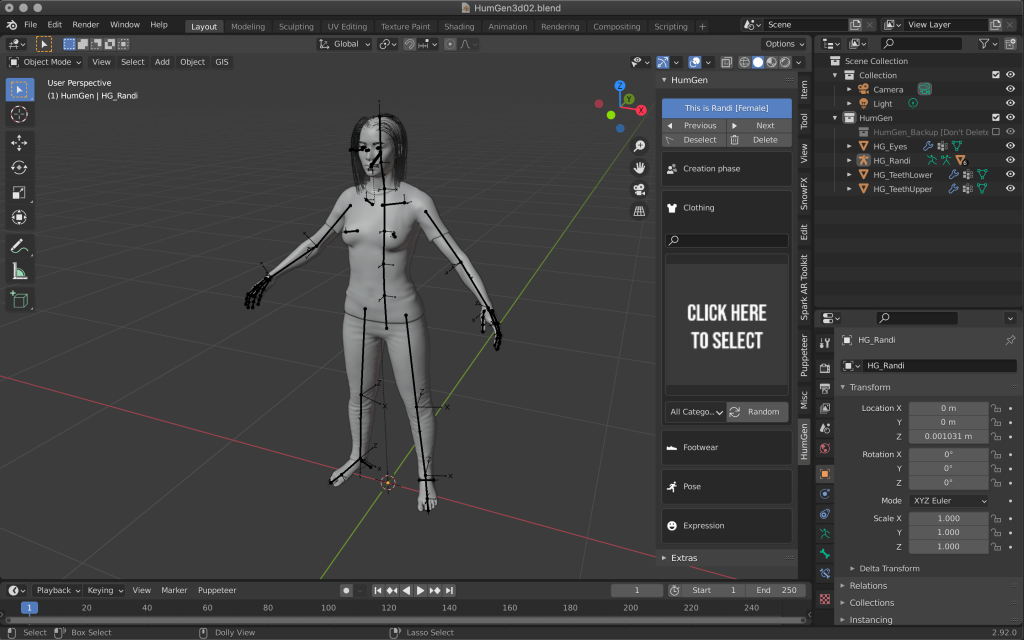
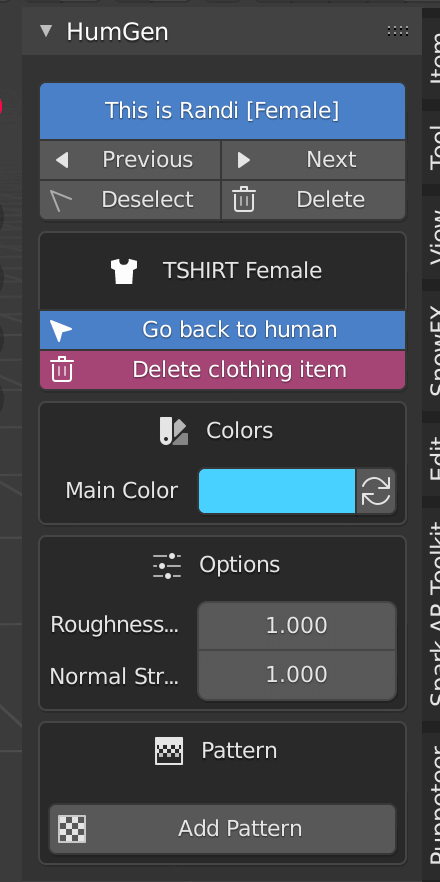
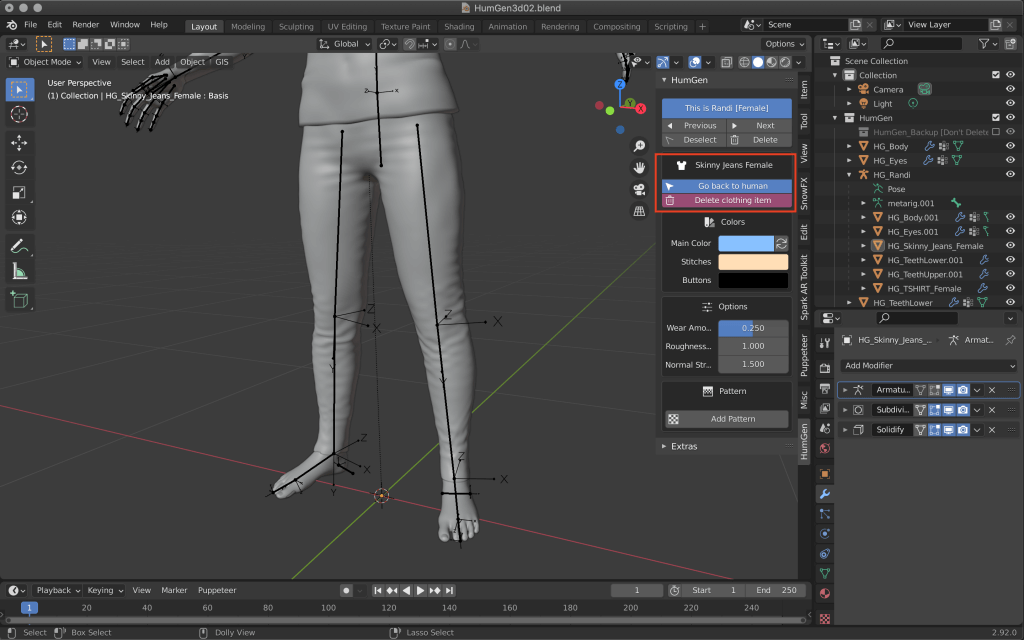
The clothing has a menu that looks like this.
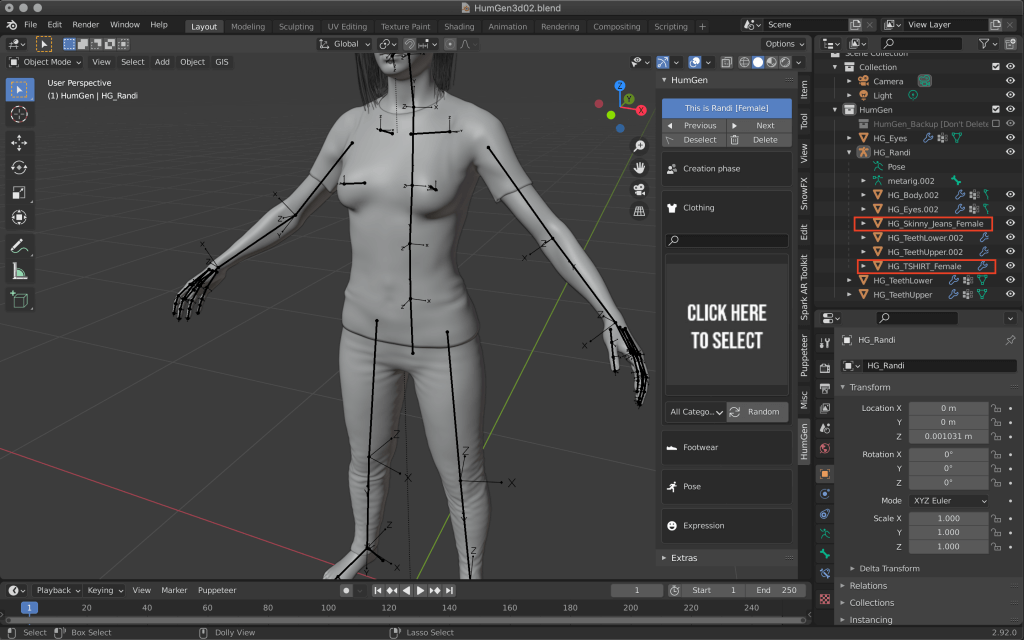
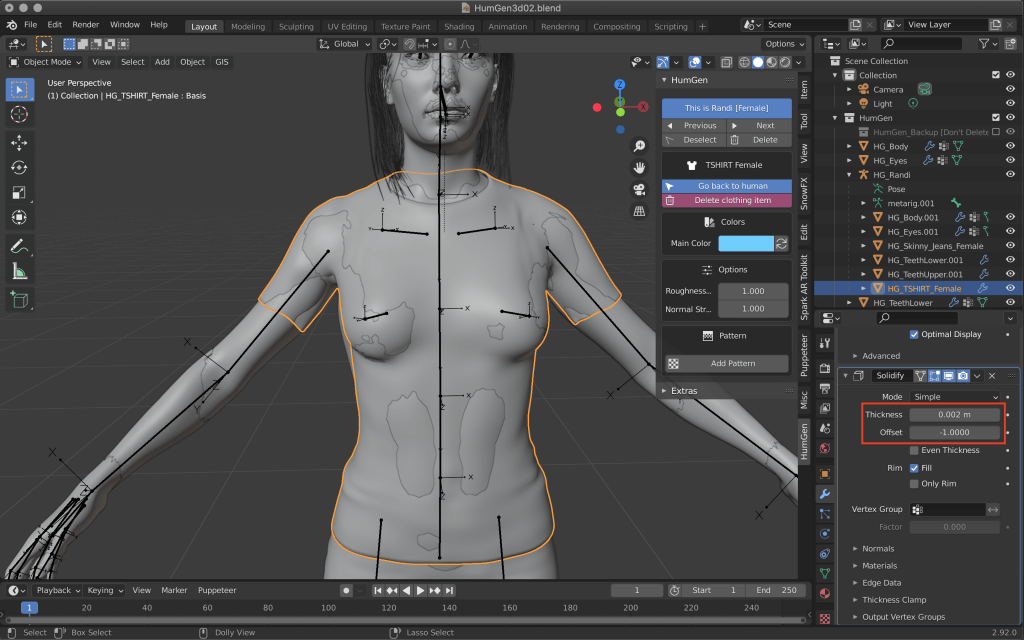
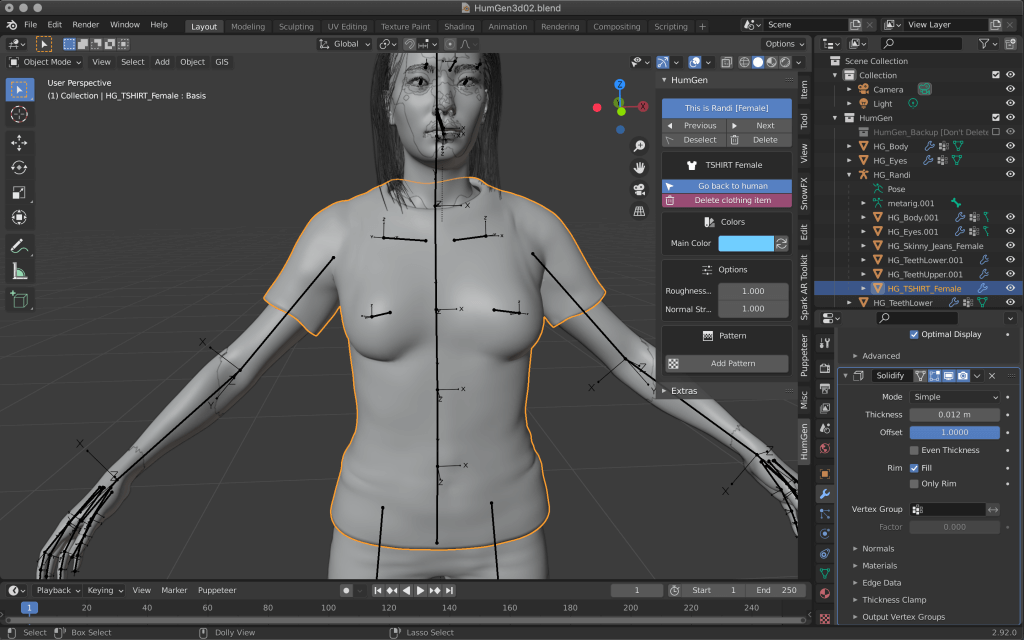
If you want to change the thickness, you can edit it from the modifier at the bottom right of the screen.
Solidify is a function that produces the thickness of the selected object.
Thickness is the thickness of the selected object, and Offset is the multiple to which the thickness width is added.
If you want to improve the unnatural way the clothes are filled in, switch to Sculpt mode in the upper tab and reshape the object.
Select the brush and drag the area of concern, and the mesh will no longer sink.
Pattern
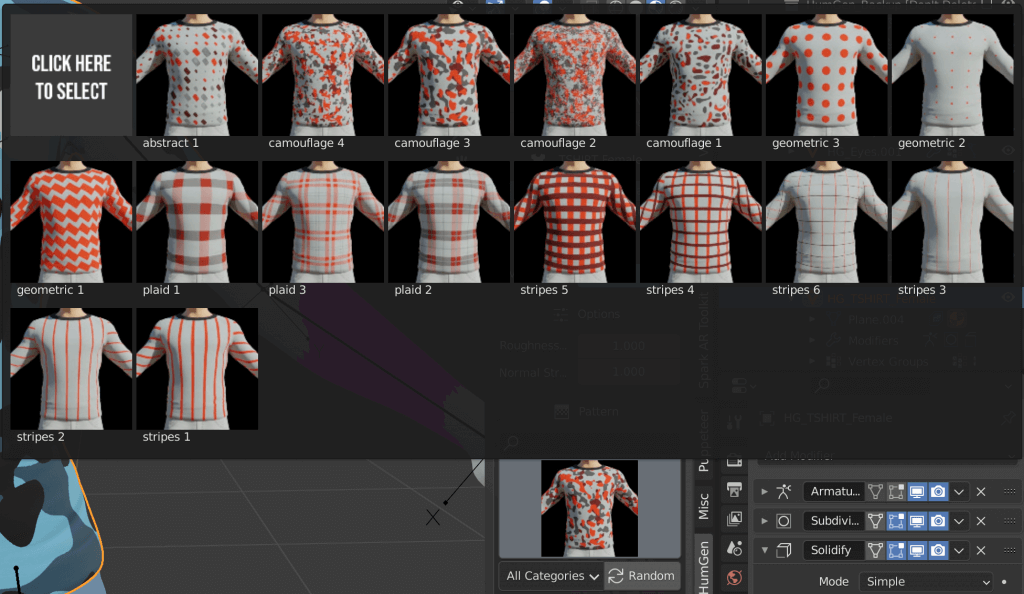
Click “Add Pattern” to change the pattern of the T-shirt.
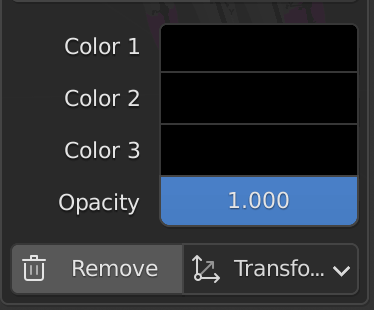
After selecting a specific pattern, the following items will appear in the menu.
You can change the shade of the pattern by setting the color of Color1 to 3.
Putting on the shoes
When you have finished editing the clothes, click “Go back to human” to return to the general menu.
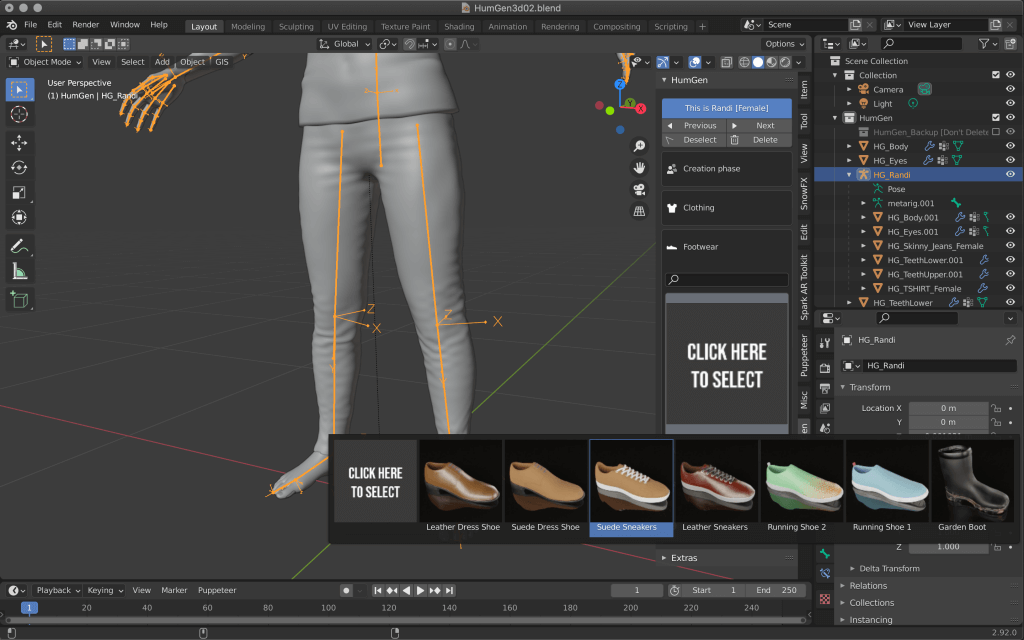
Click on CLICK HERE TO SELECT under Footwear to select a pair of shoes.
Setting the Pose
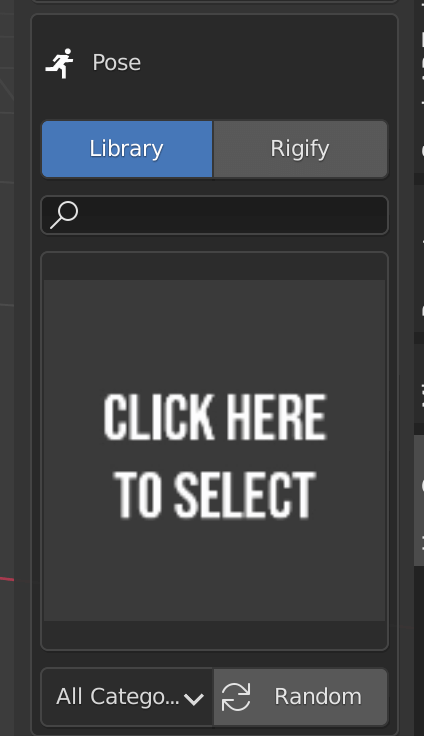
You can set various poses in the Pose section.
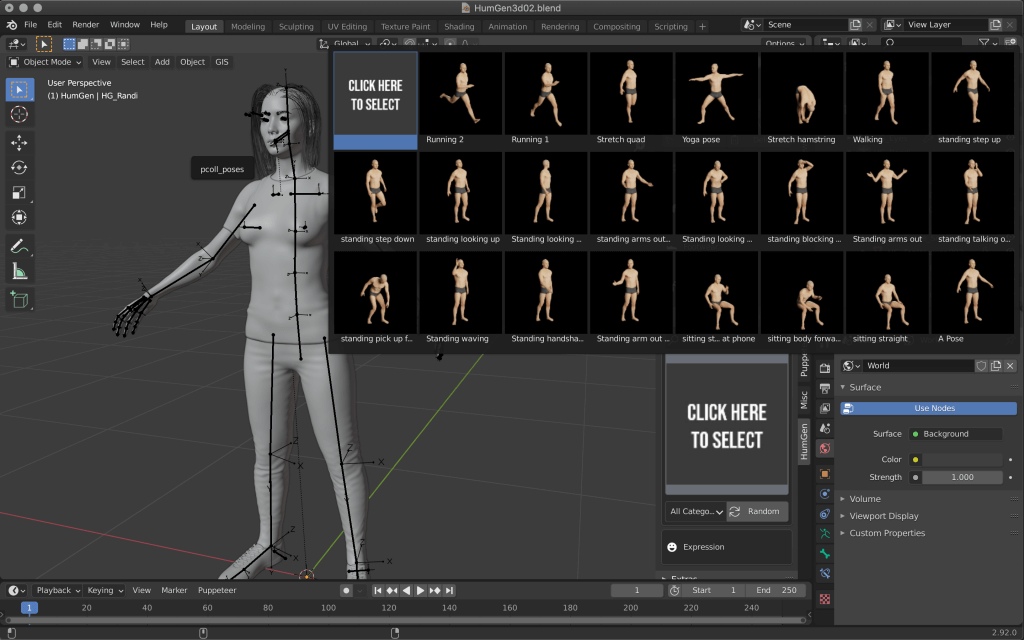
As in the previous settings, click on CLICK HERE TO SELECT to see the list of poses.
The Random button will randomize the poses.
Setting Expressions
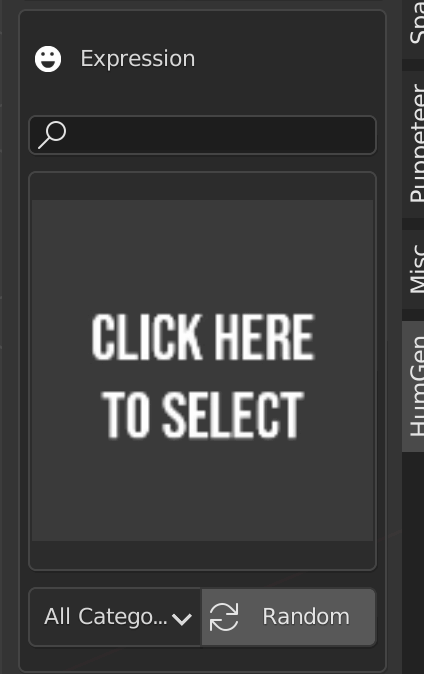
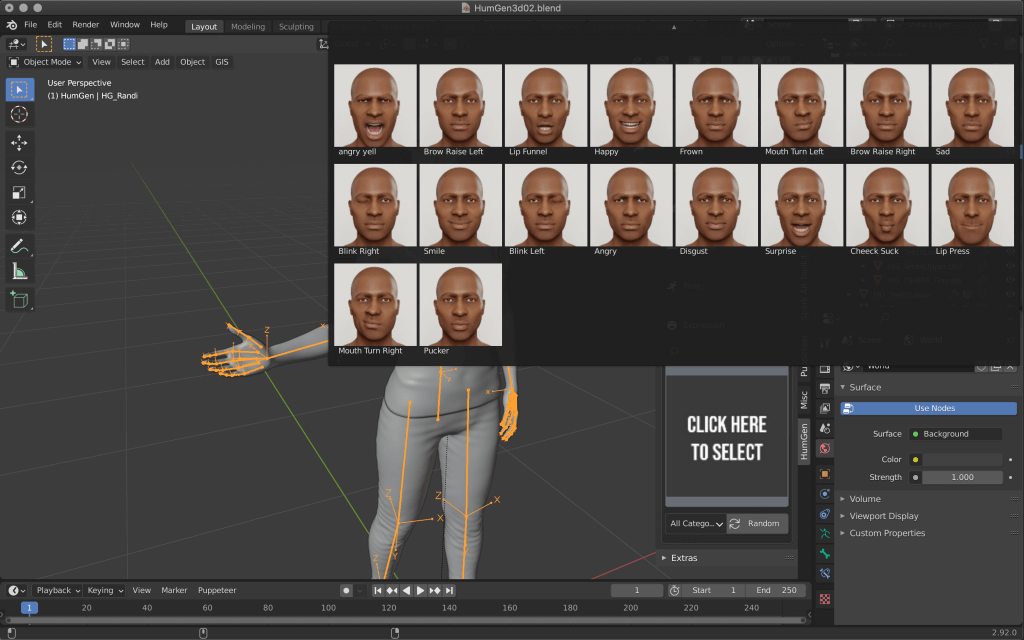
In the Expression section, you can set the expression.
If you want to add more movement, you can use the bones that HumGen3d comes with to create animations.
Save
When you are done with all the settings, save it.
If you want to edit the created object in Unity or upload it to STYLY, you will need to follow some steps, as it uses a number of Blender-only features that are not applicable to other apps.
I won’t explain it in this article, but if you are interested, please give it a try.
![[Blender Add-on] Creating Virtual Humans with HumGen3D (1) “How to install and set up the human body”](https://styly.cc/wp-content/uploads/2021/05/eyecatch-160x160.png)

![[Article Summary] How to Move a Human Model](https://styly.cc/wp-content/uploads/2018/09/eye.jpg)