In this article, I’ll show you how to create a “normal map” in Photoshop, which is one of the mappings that makes textures more realistic.
There is a way to create “normal maps” and “height maps” from images that can be used for 3D models without any plug-ins on Photoshop.
Since you only need images for this method, you can make free images which have textures that are not materialized, into realistic textures in Unity.
Due to the 3D features in Photoshop being discontinued, the process of creating normal maps will differ from the steps in this article.
In the future, we recommend using Normal Map Online explained in this article to create normal maps.
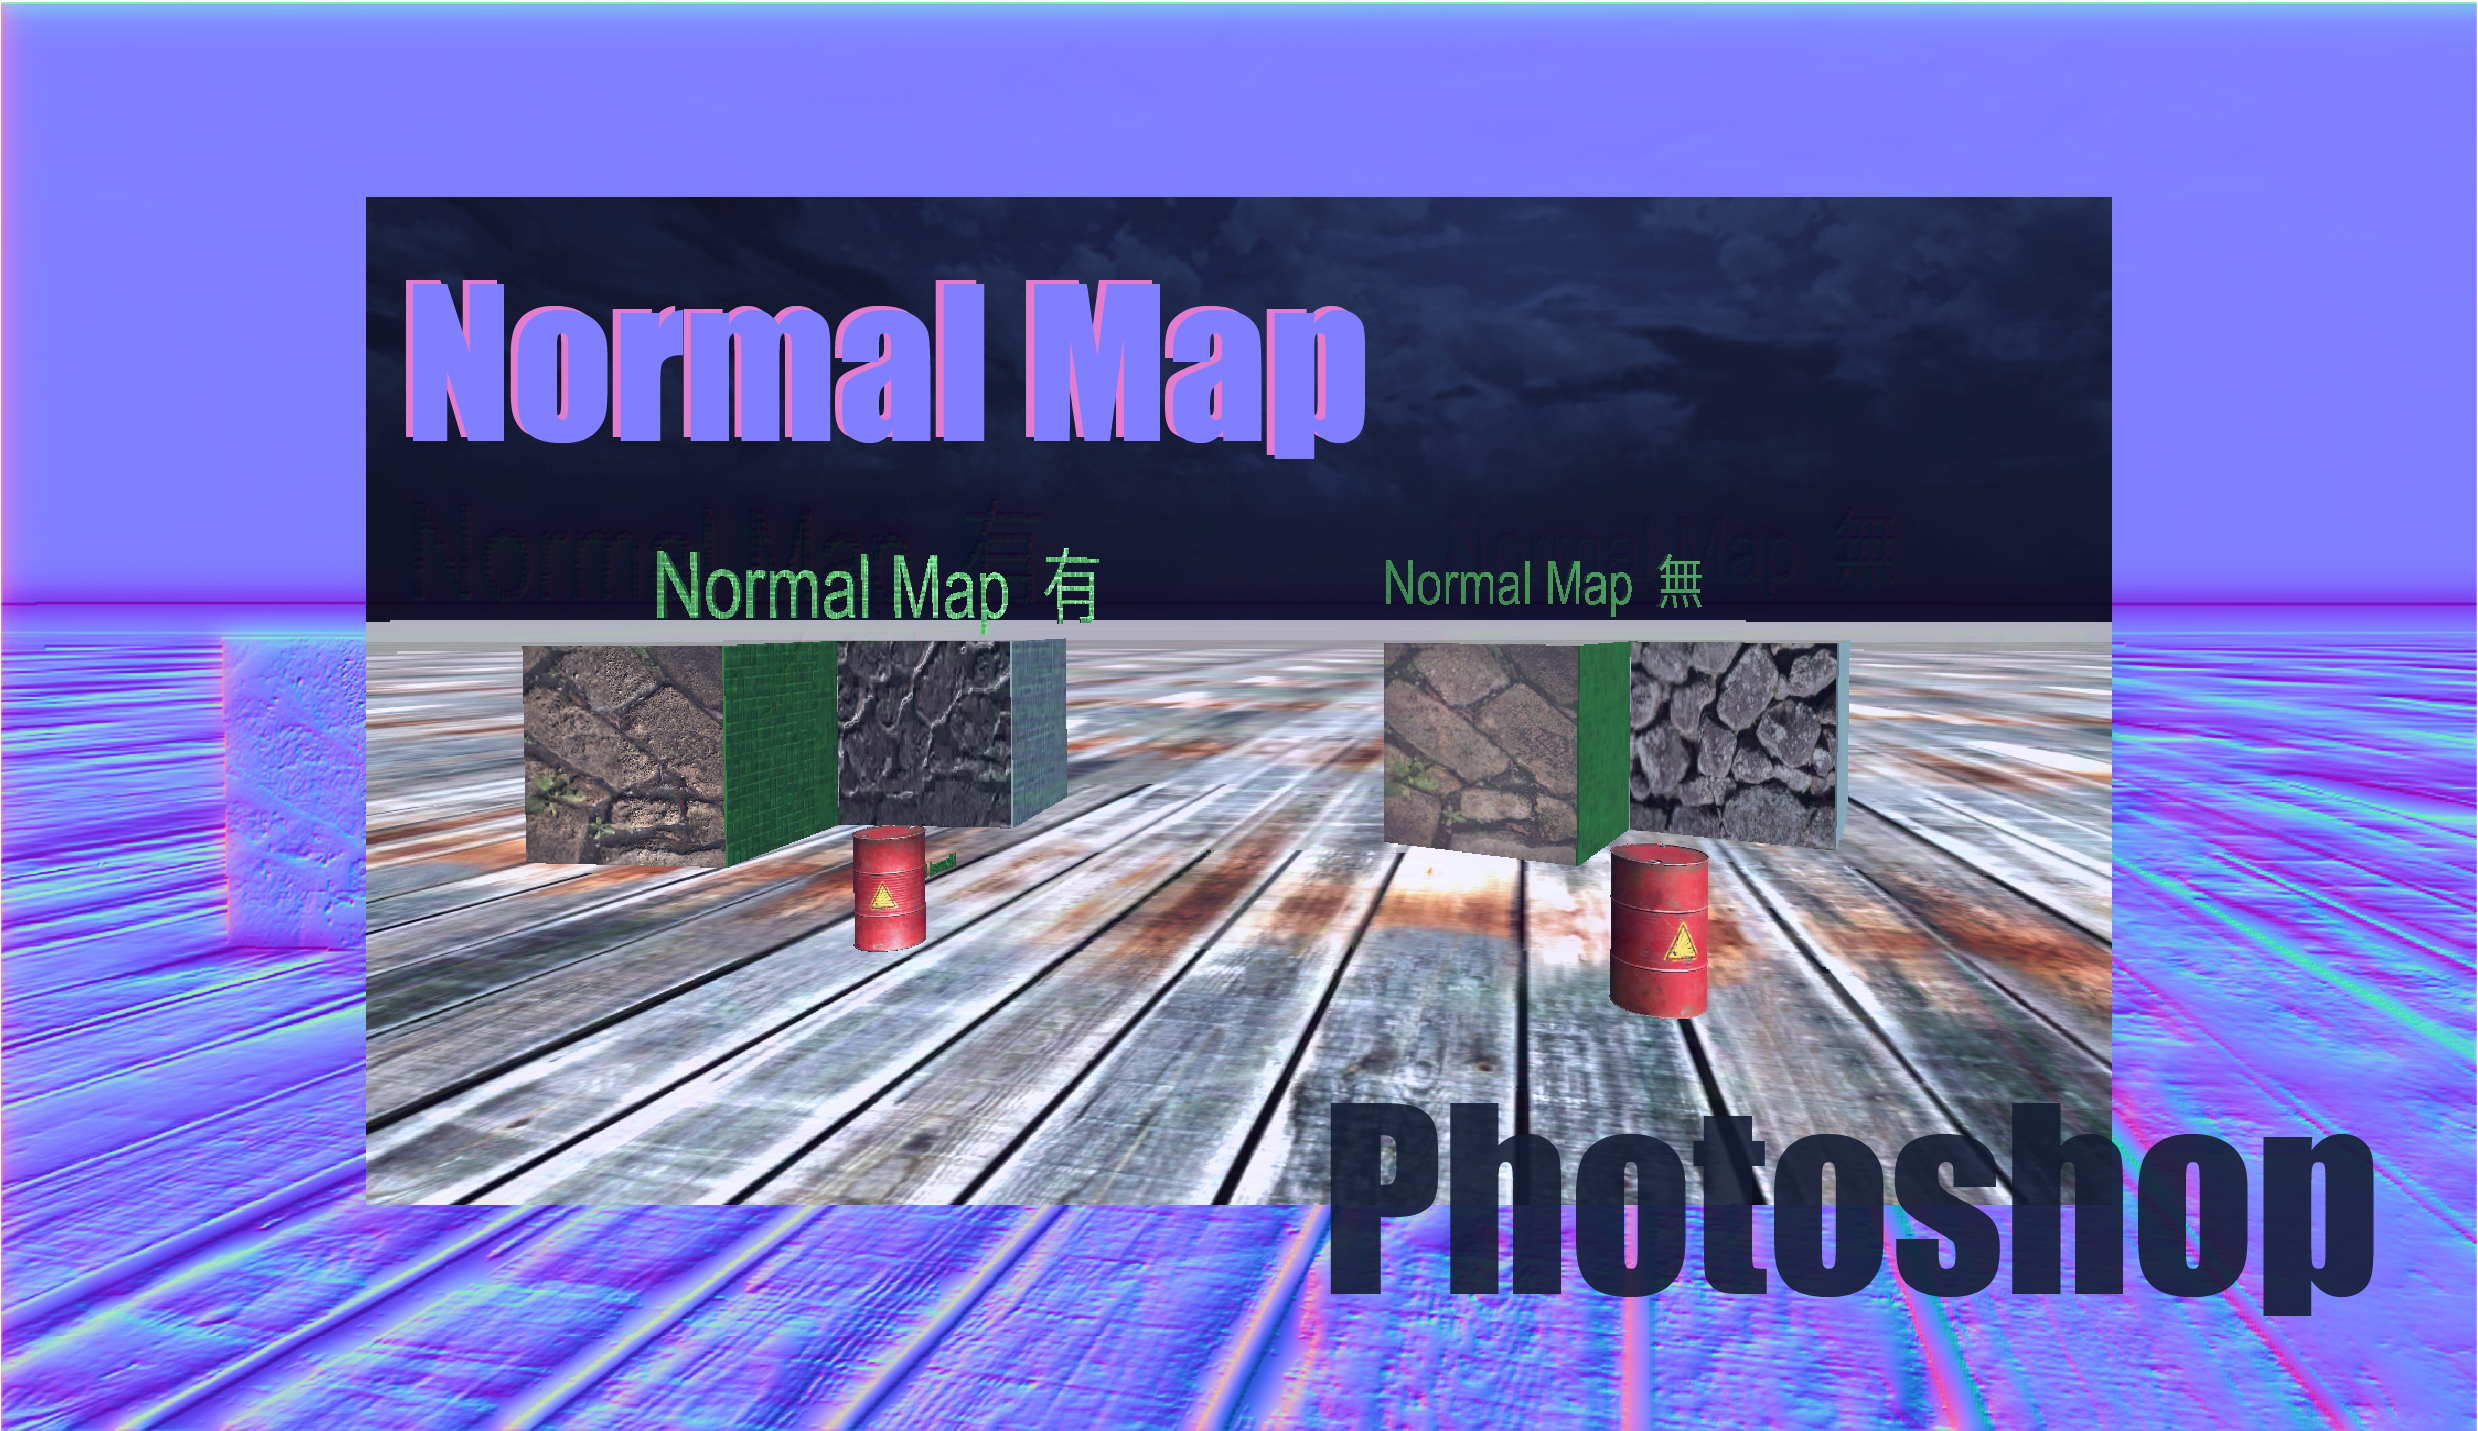
Sample space
This is a sample scene made with a 3D model using the textures used in this article and the textures of the normal map.
I have prepared a 3D model with the normal map and a 3D model without the normal map.
Try to experience how it looks while also comparing the differences.
What is a normal map?
First of all, what is a normal map?
According to the CG terminology dictionary in CGWORLD Entry.jp,
“It is also known as normal mapping. A technique that uses information from textured images to make the surface of a flat model appear uneven.”
Citation: CGWORLD Entry.jp
https://entry.cgworld.jp/terms/ノーマルマッピング.html
This may be hard to understand in words. Let’s take a look at the image.
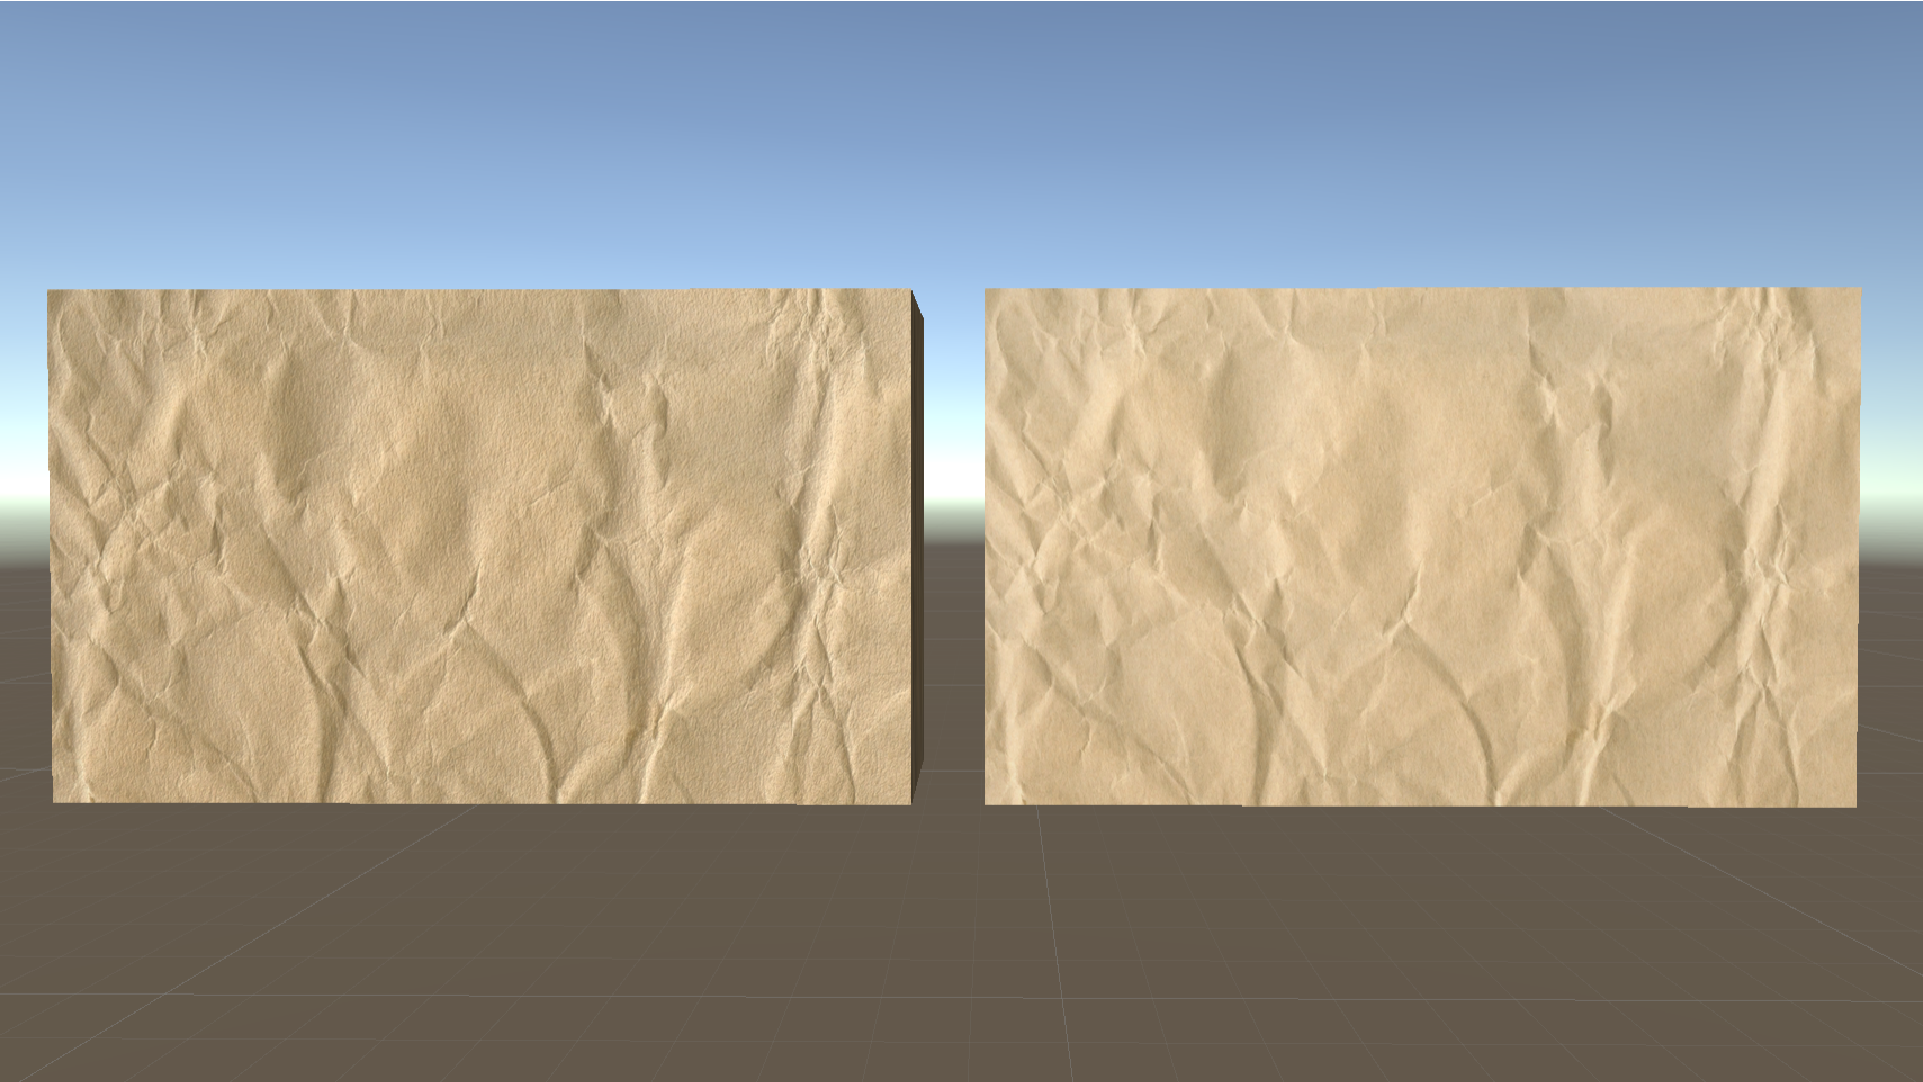
With and without normal mapping
On the left is the material with the normal map pasted on it, and on the right is the material without it.
Compared to the right, the shading on the left is more pronounced and it feels more real.
This is not using meshes to represent the bumps and dents, but is rather a pseudo-unevenness that appears on the material depending on how the light shines on it.
As you can see, you can easily express the bumps and dents by using the normal map.
By using the normal map, you can easily create a more realistic model.
Let’s make a normal map
This section explains how to prepare textures, create a normal map in Photoshop, and apply it in Unity.
What I’ll be using this time is an image and Photoshop (only compatible with versions 2015 or later).
We do not need plug-ins for Photoshop. Let’s use the default version.
Preparing images (textures)
First, let’s prepare a texture.
Download free images and textures that are available on the Internet.
This time, I will use textures uploaded to “BEIZ images“.
I downloaded the paper textures in the link below, but you are free to choose your own.
https://www.beiz.jp/%E7%B4%A0%E6%9D%90/%E3%83%86%E3%82%AF%E3%82%B9%E3%83%81%E3%83%A3/00062.html
Once you’ve downloaded the image, save it to any folder you want.
Launching Photoshop
Next, let’s launch Photoshop and let it display the image.
Once you’ve launched Photoshop, select “Open” on the left.
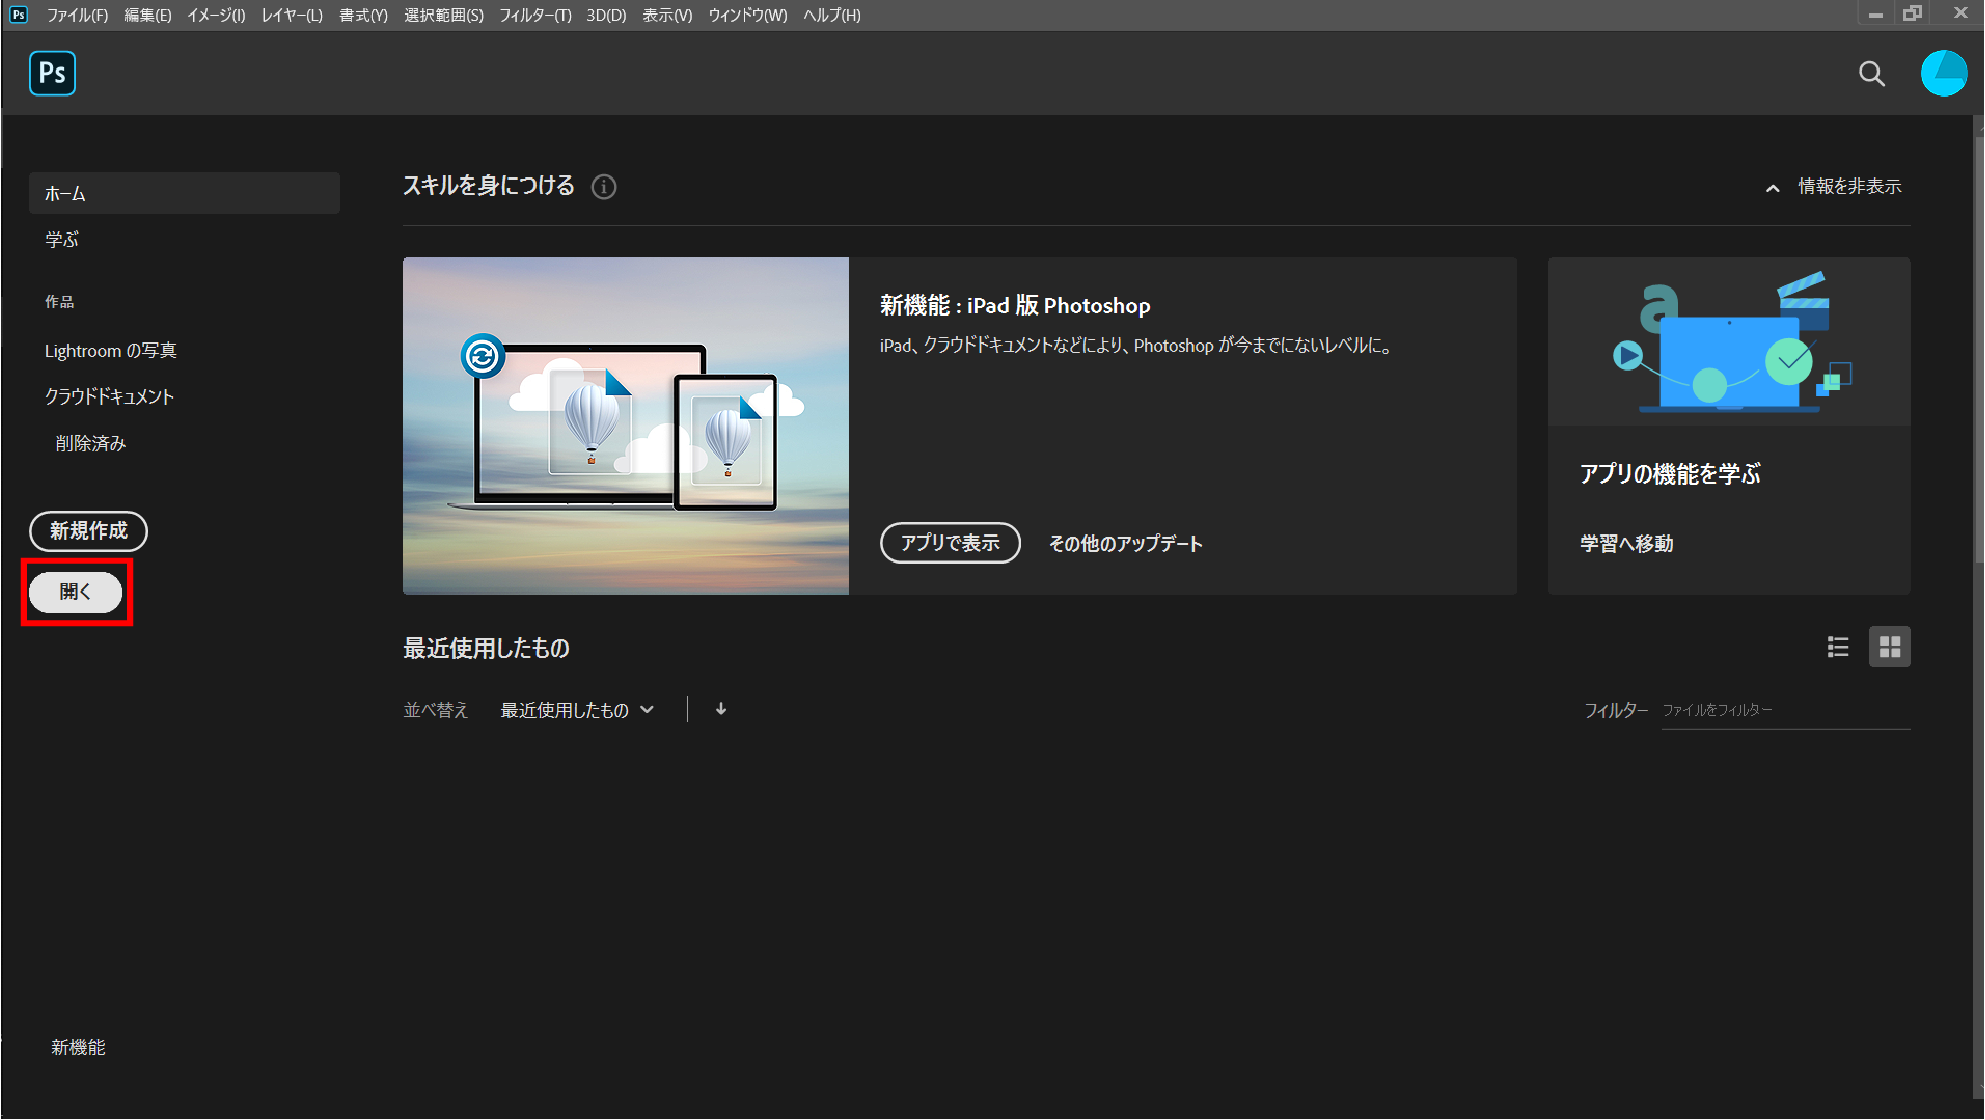
Select an image from “Open”.
Select an image and let it show up. When you see a screen like this, Photoshop is ready to go.
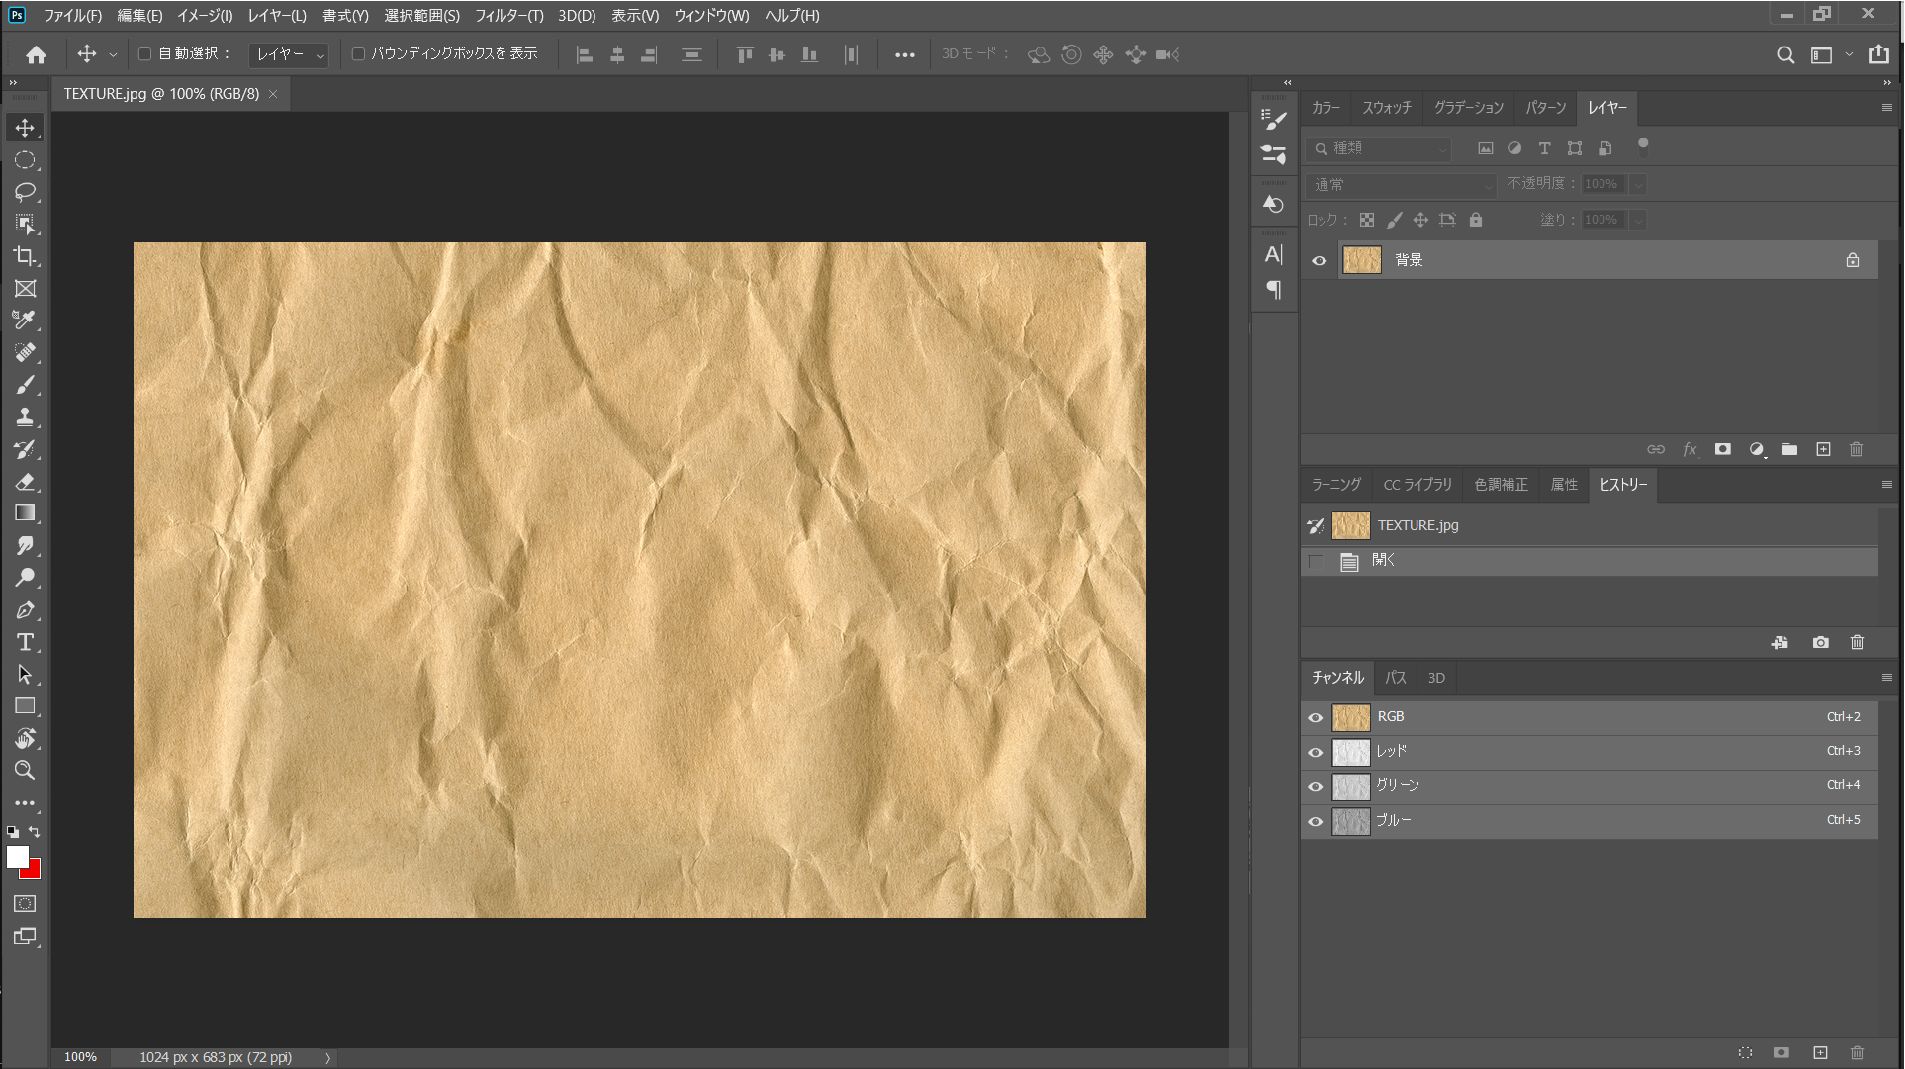
Display the image
Apply a filter
To make a normal map from an image, use the filters in Photoshop.
From the menu screen above select.
Filters > 3D > Generate Normal Map
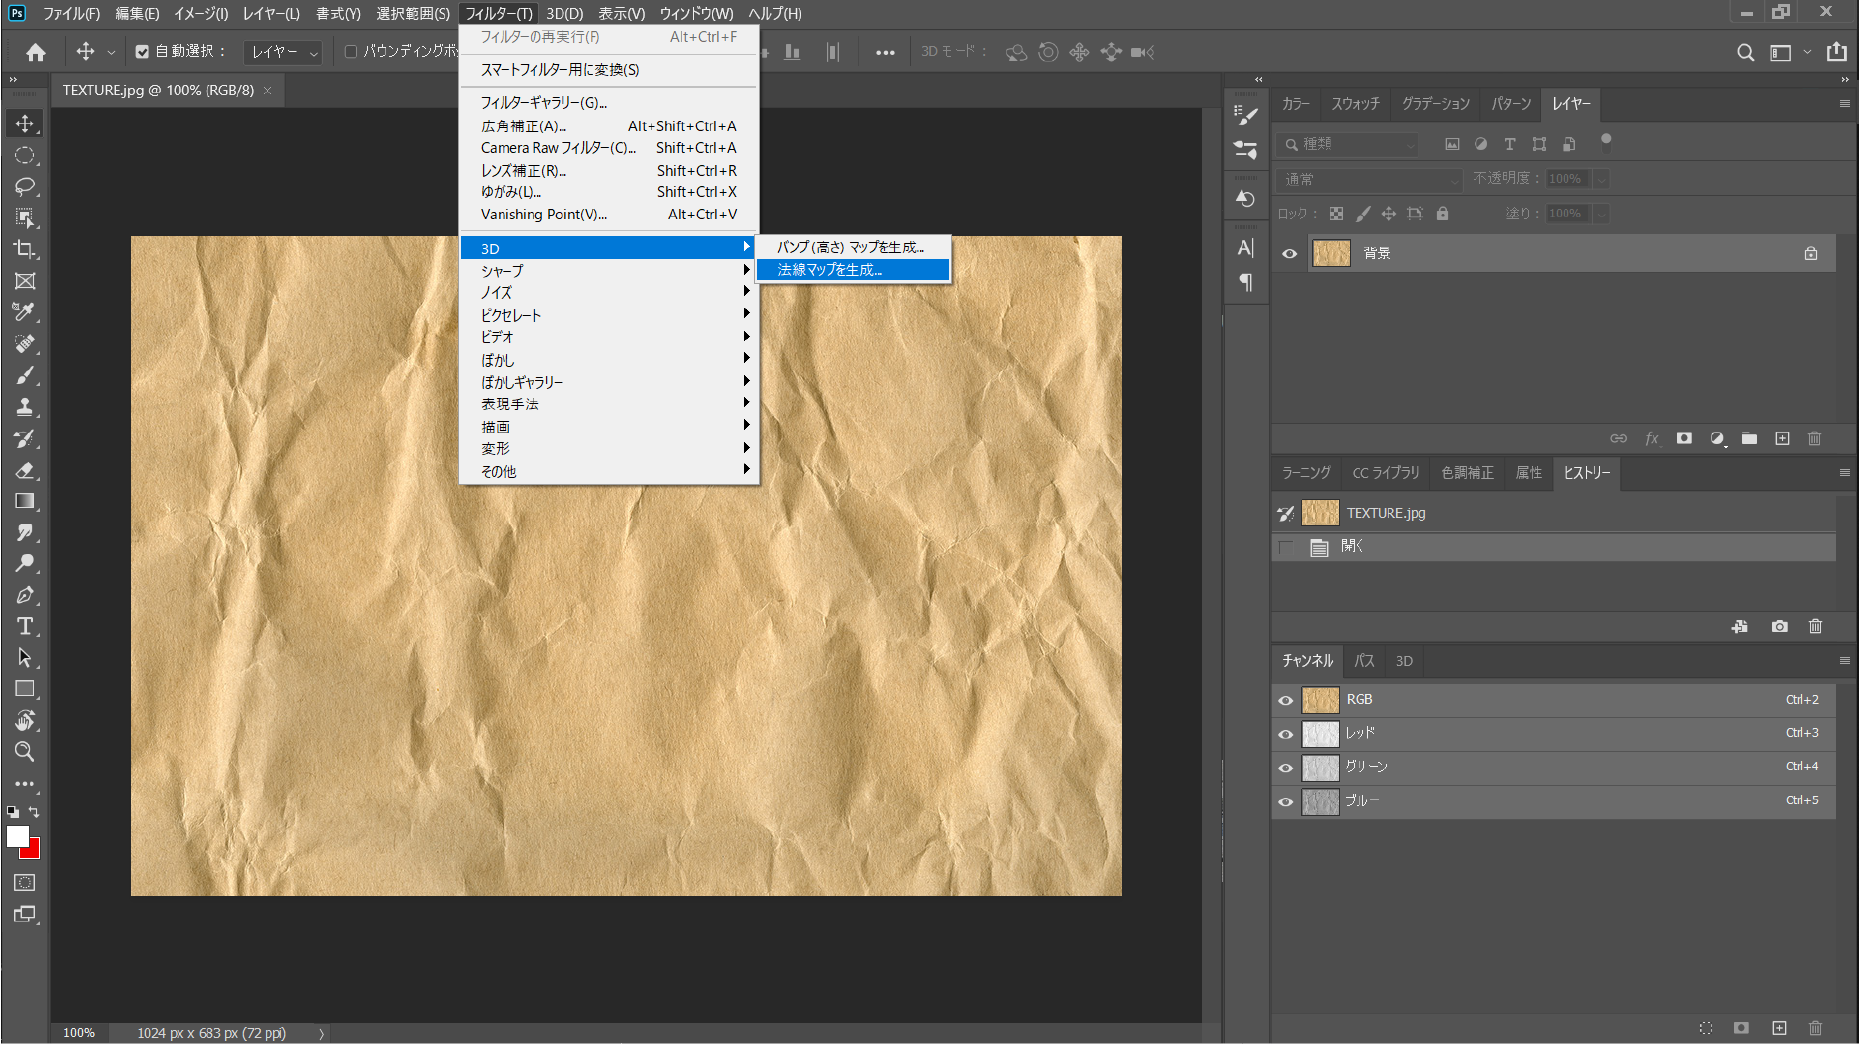
Apply a filter
Then the following window will be displayed.
Window is shown
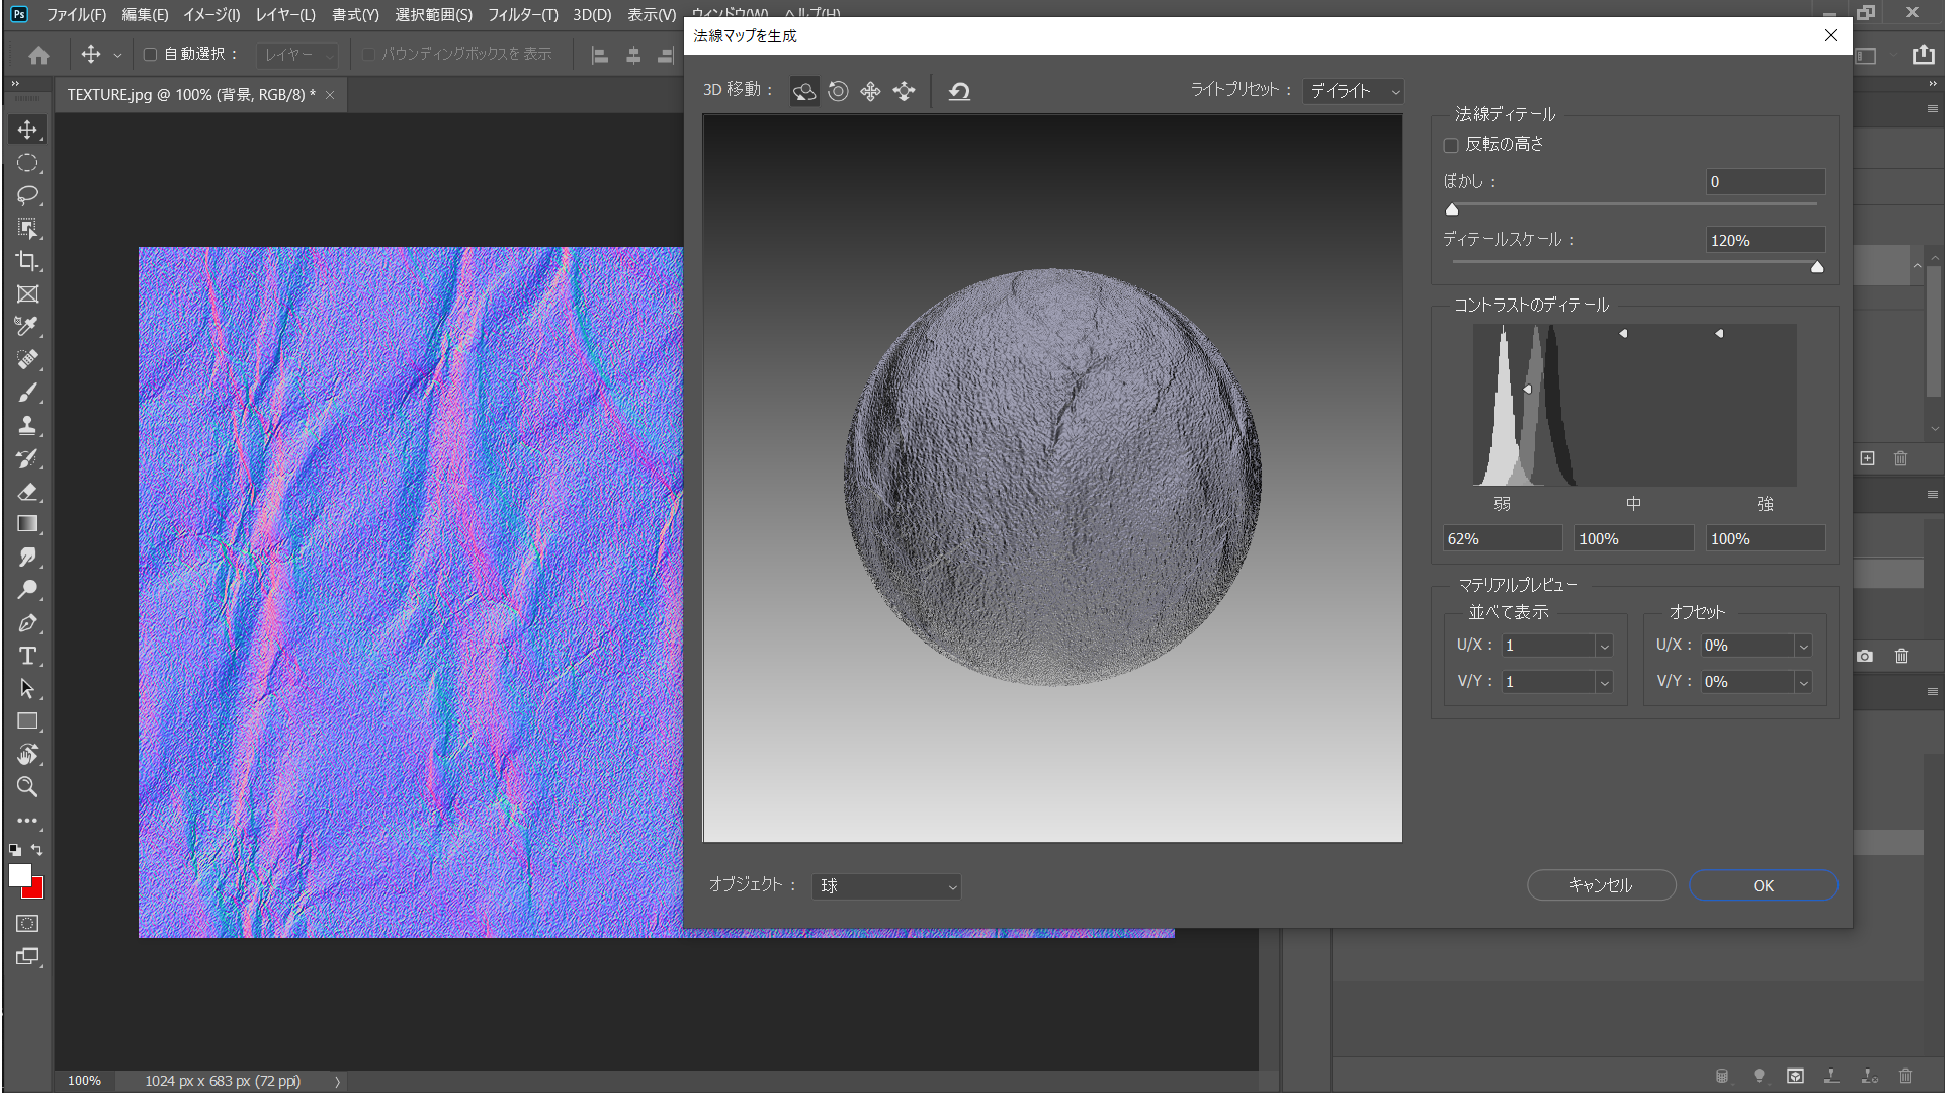
You can use this as is as a normal map, but you can create a more detailed normal map by adjusting the parameters.
Making Adjustments
In this window, the sample object is shown as a “sphere”. In order to make the display easier to understand, this time we will switch to a cube.
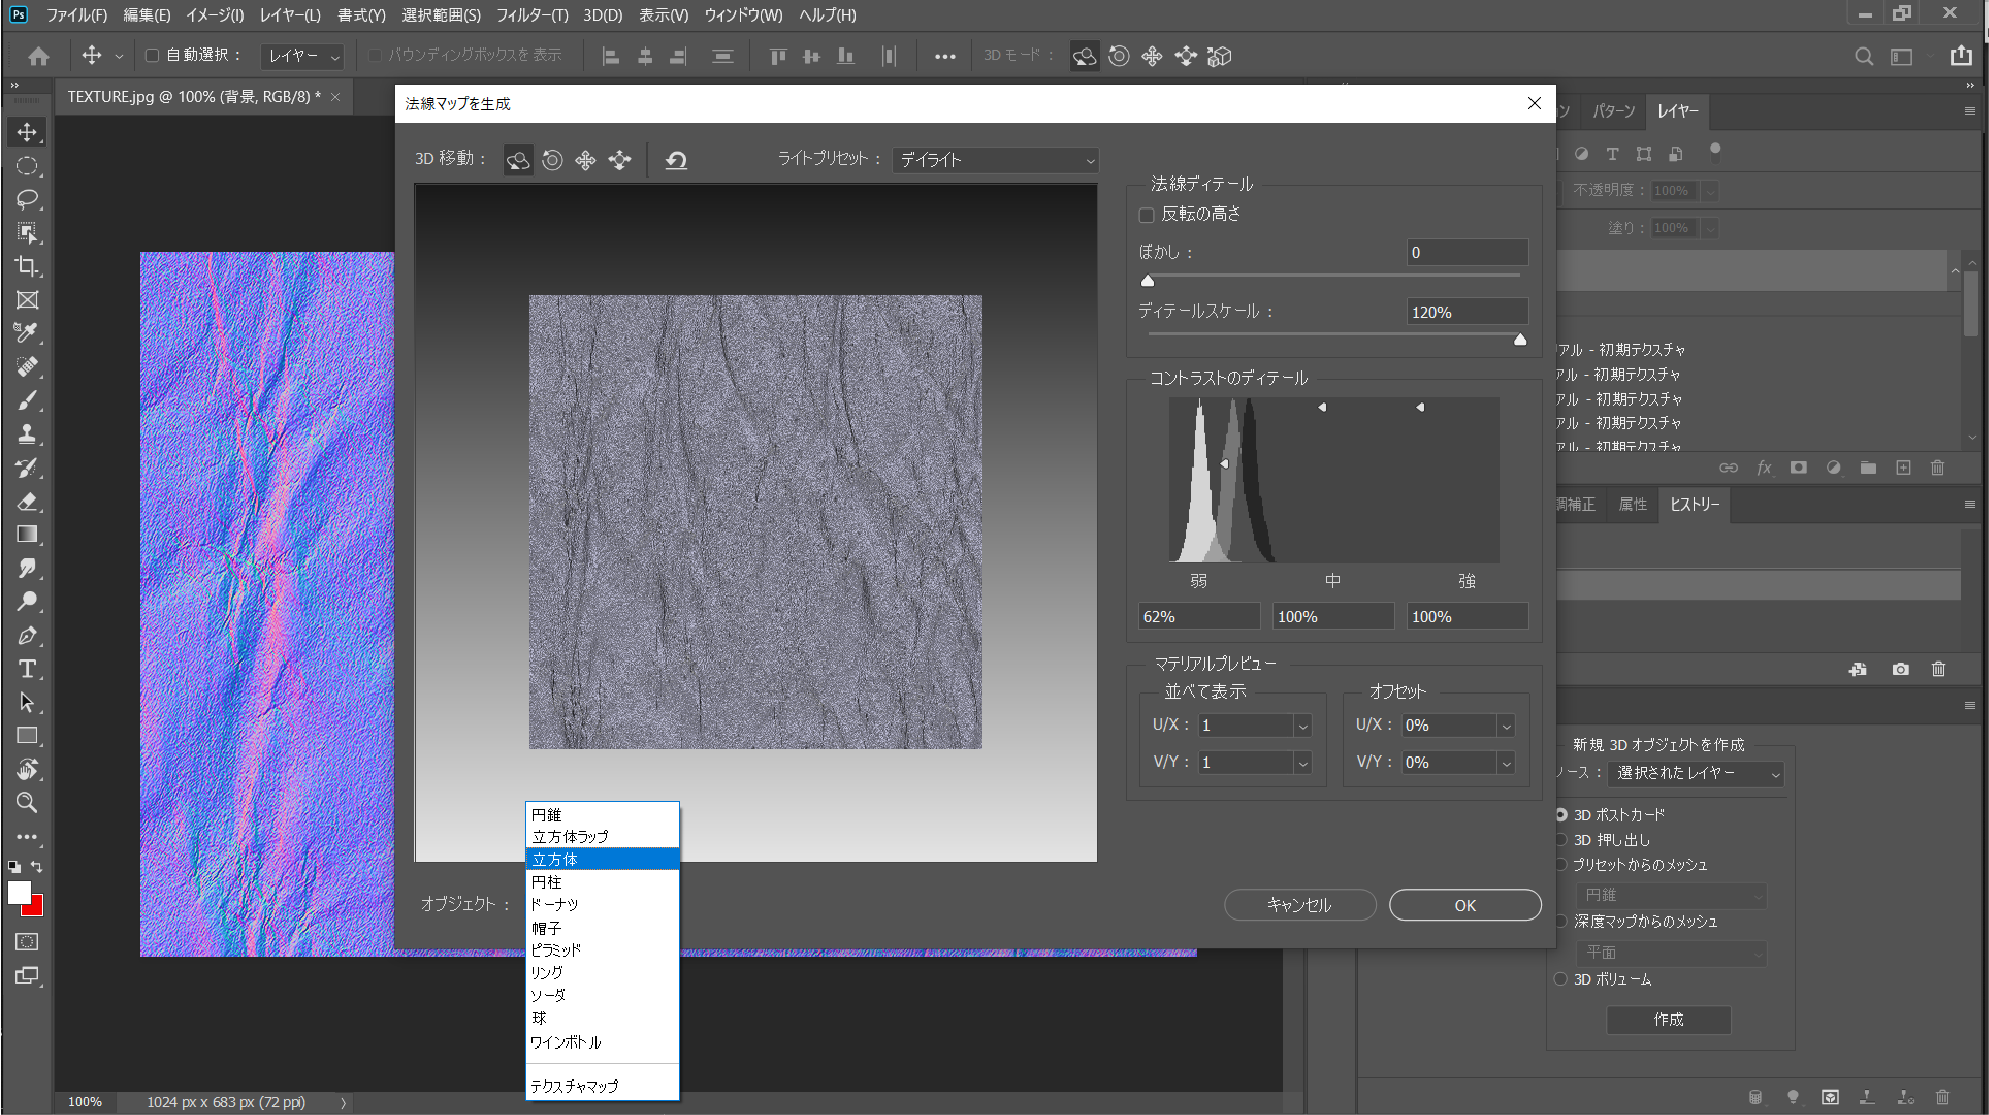
Switch to a cube
As it is, the surface is too rough, so let’s smooth it out.
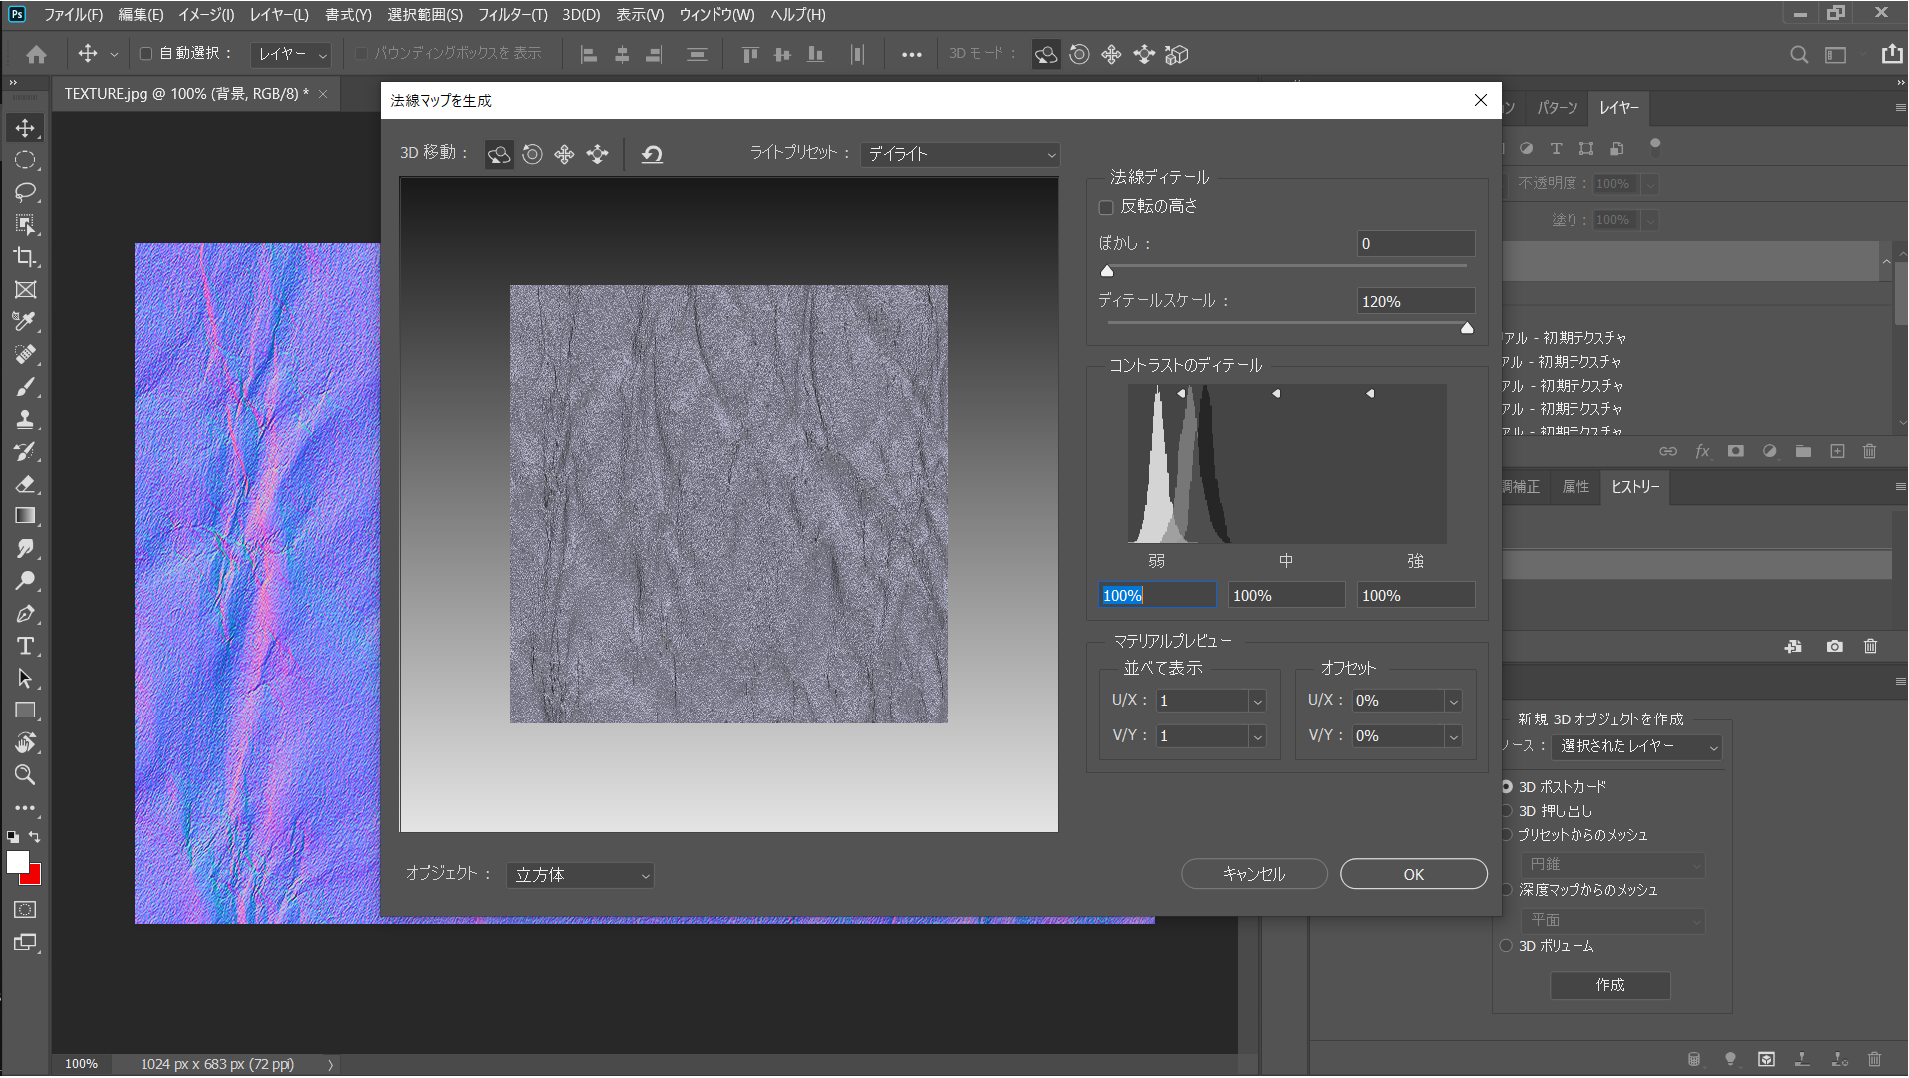
Let’s go from 62% to 100% contrast detail.
Adjust
In this case, I only adjusted the contrast, but you can adjust other parameters to create a variety of expressions. Please give it a try.
When you have made the adjustment, press “OK” on the bottom right.
It will return to the screen with the filter of the normal map applied.
Export
Finally, let’s export it.
There are no rules about the file type in most cases. This time, I exported it as a .jpg.
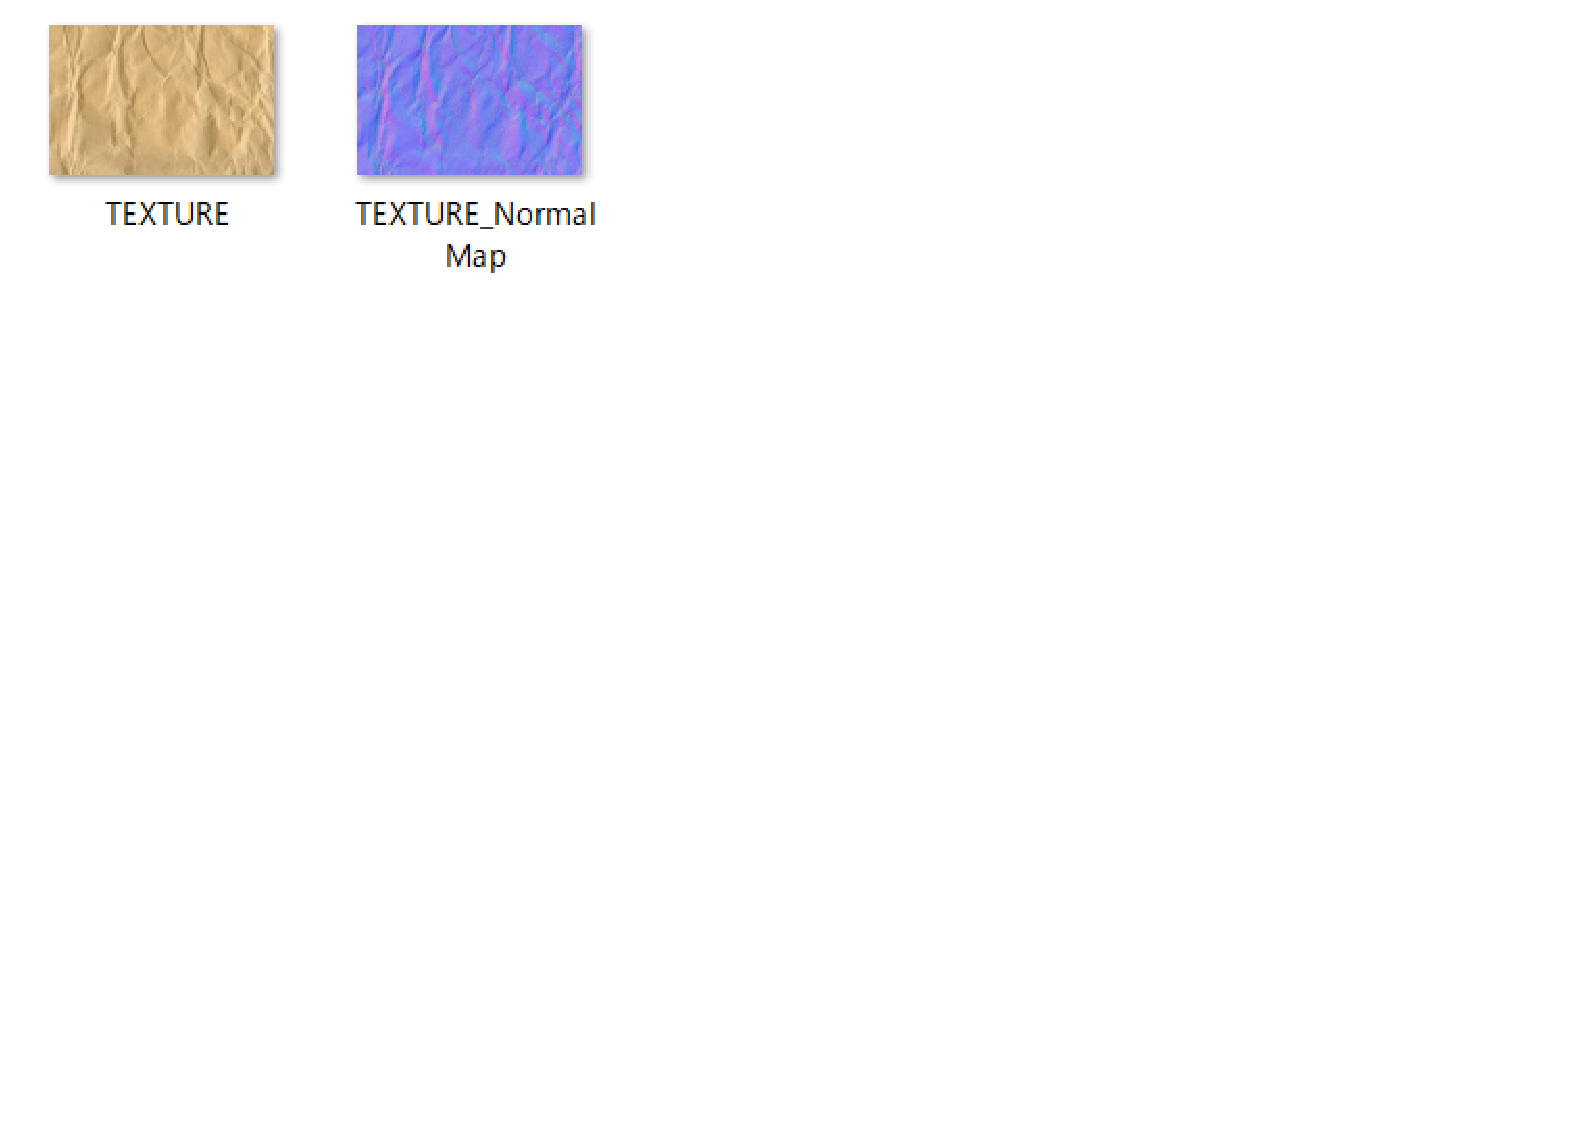
Exported files
Let’s paste it onto an object in Unity to see the texture.
Let’s paste textures in Unity!
Let’s import the texture and prepare a 3D model of the appropriate shape in the hierarchy using the Cube tool.

Importing
Right-click in the Project and click
Create > Material
to create a material. This time we will use the Standard Shader.
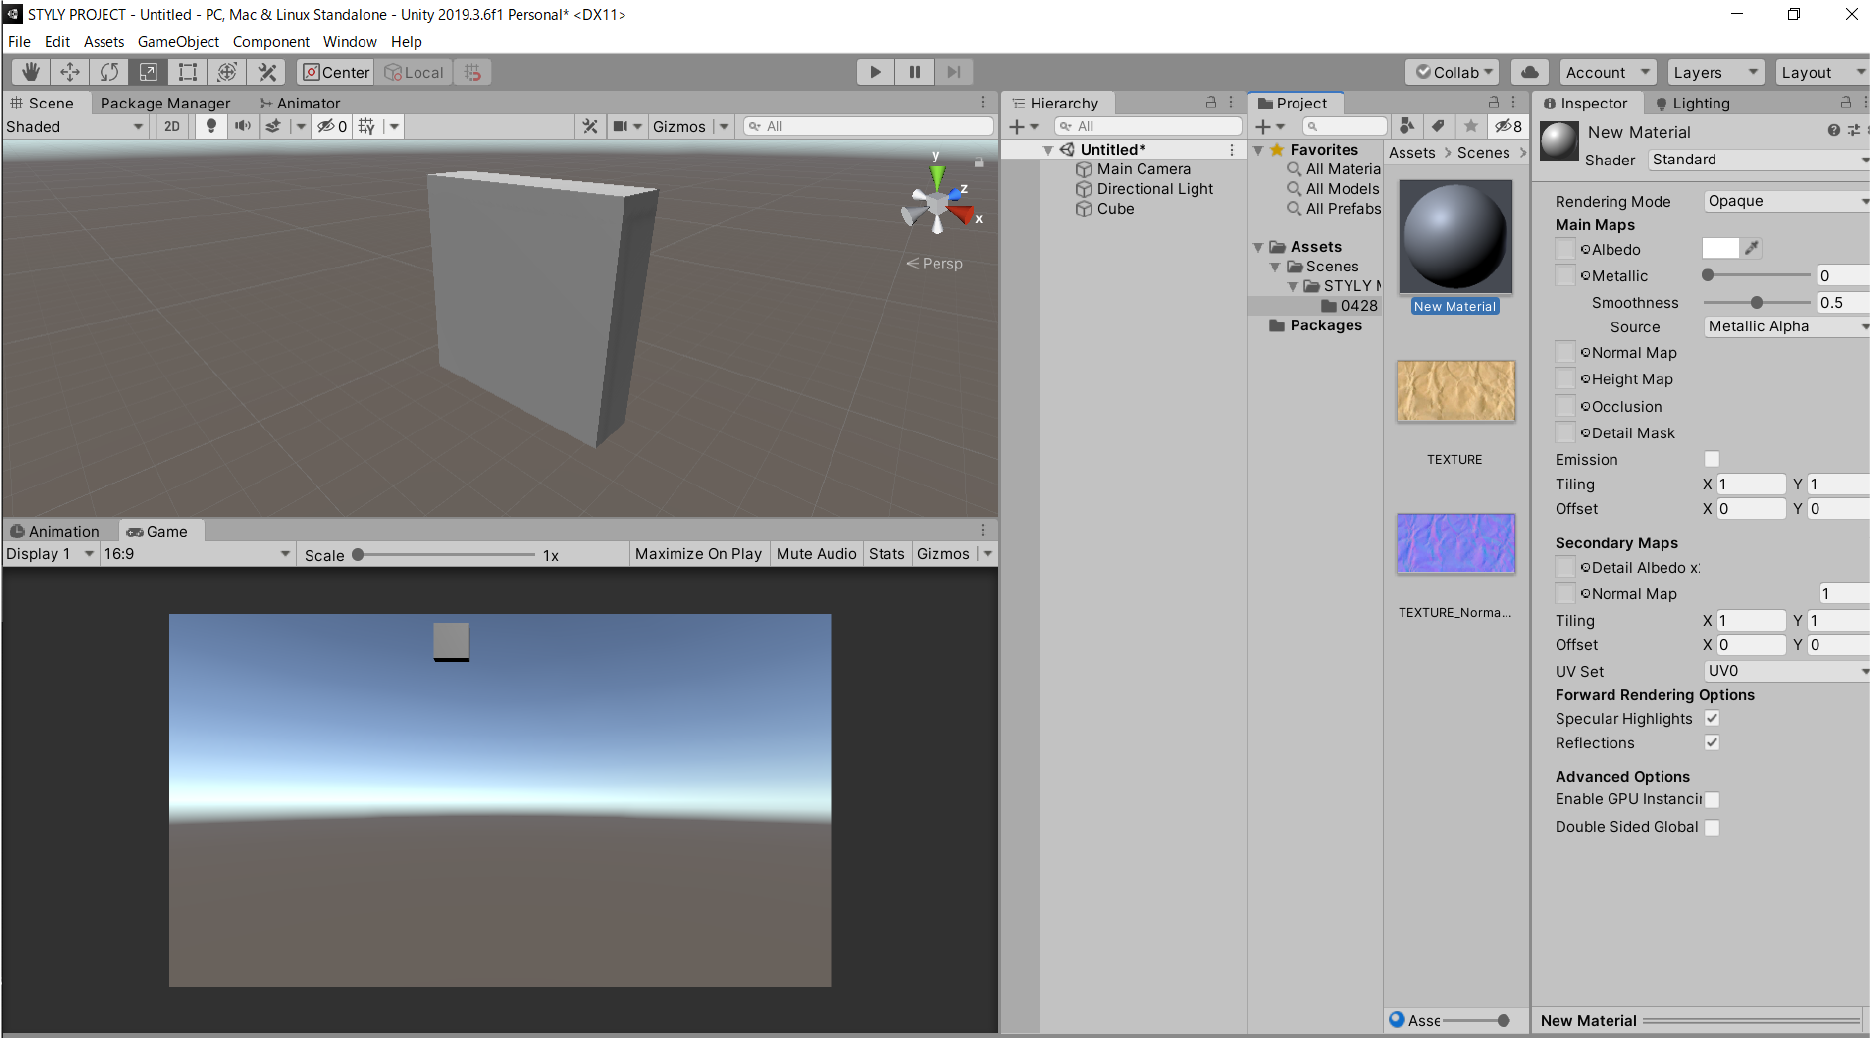
Create a material
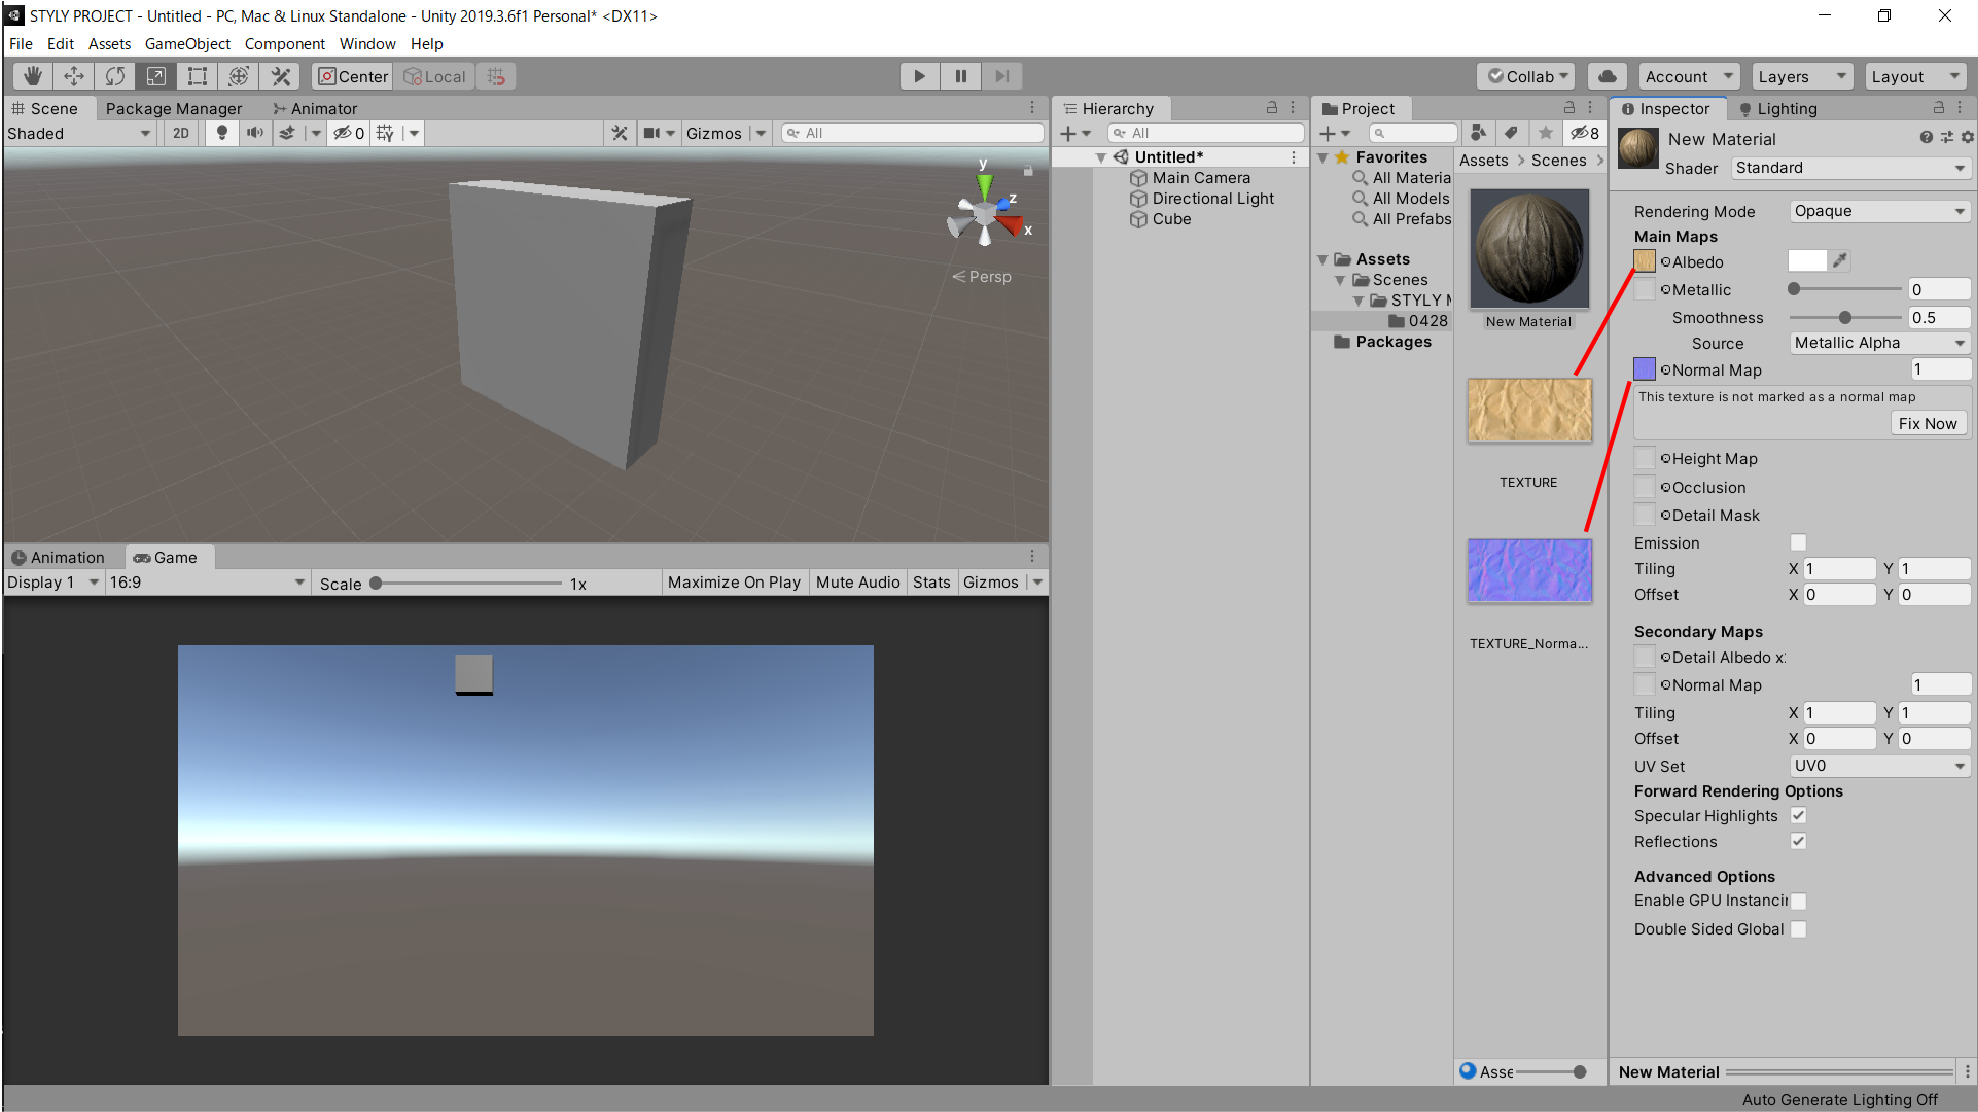
Let’s paste the two imported textures onto a material.
Let’s paste the non-normal map texture on the □ left of “Albedo”,
and paste the normal map texture on the □ left of “Normal Map”.
Pasting a texture to a material
Once the texture is pasted, it’s time to paste the material into the Hierarchy 3D model.
Don’t press “Fix Now” in Normal Map at this time.
Once pasted in, it looks like this.
Pasting the material
However, in this situation the dents are too deep and the initial image of what it should look like is lost.
Let’s adjust the depth of the normal map.

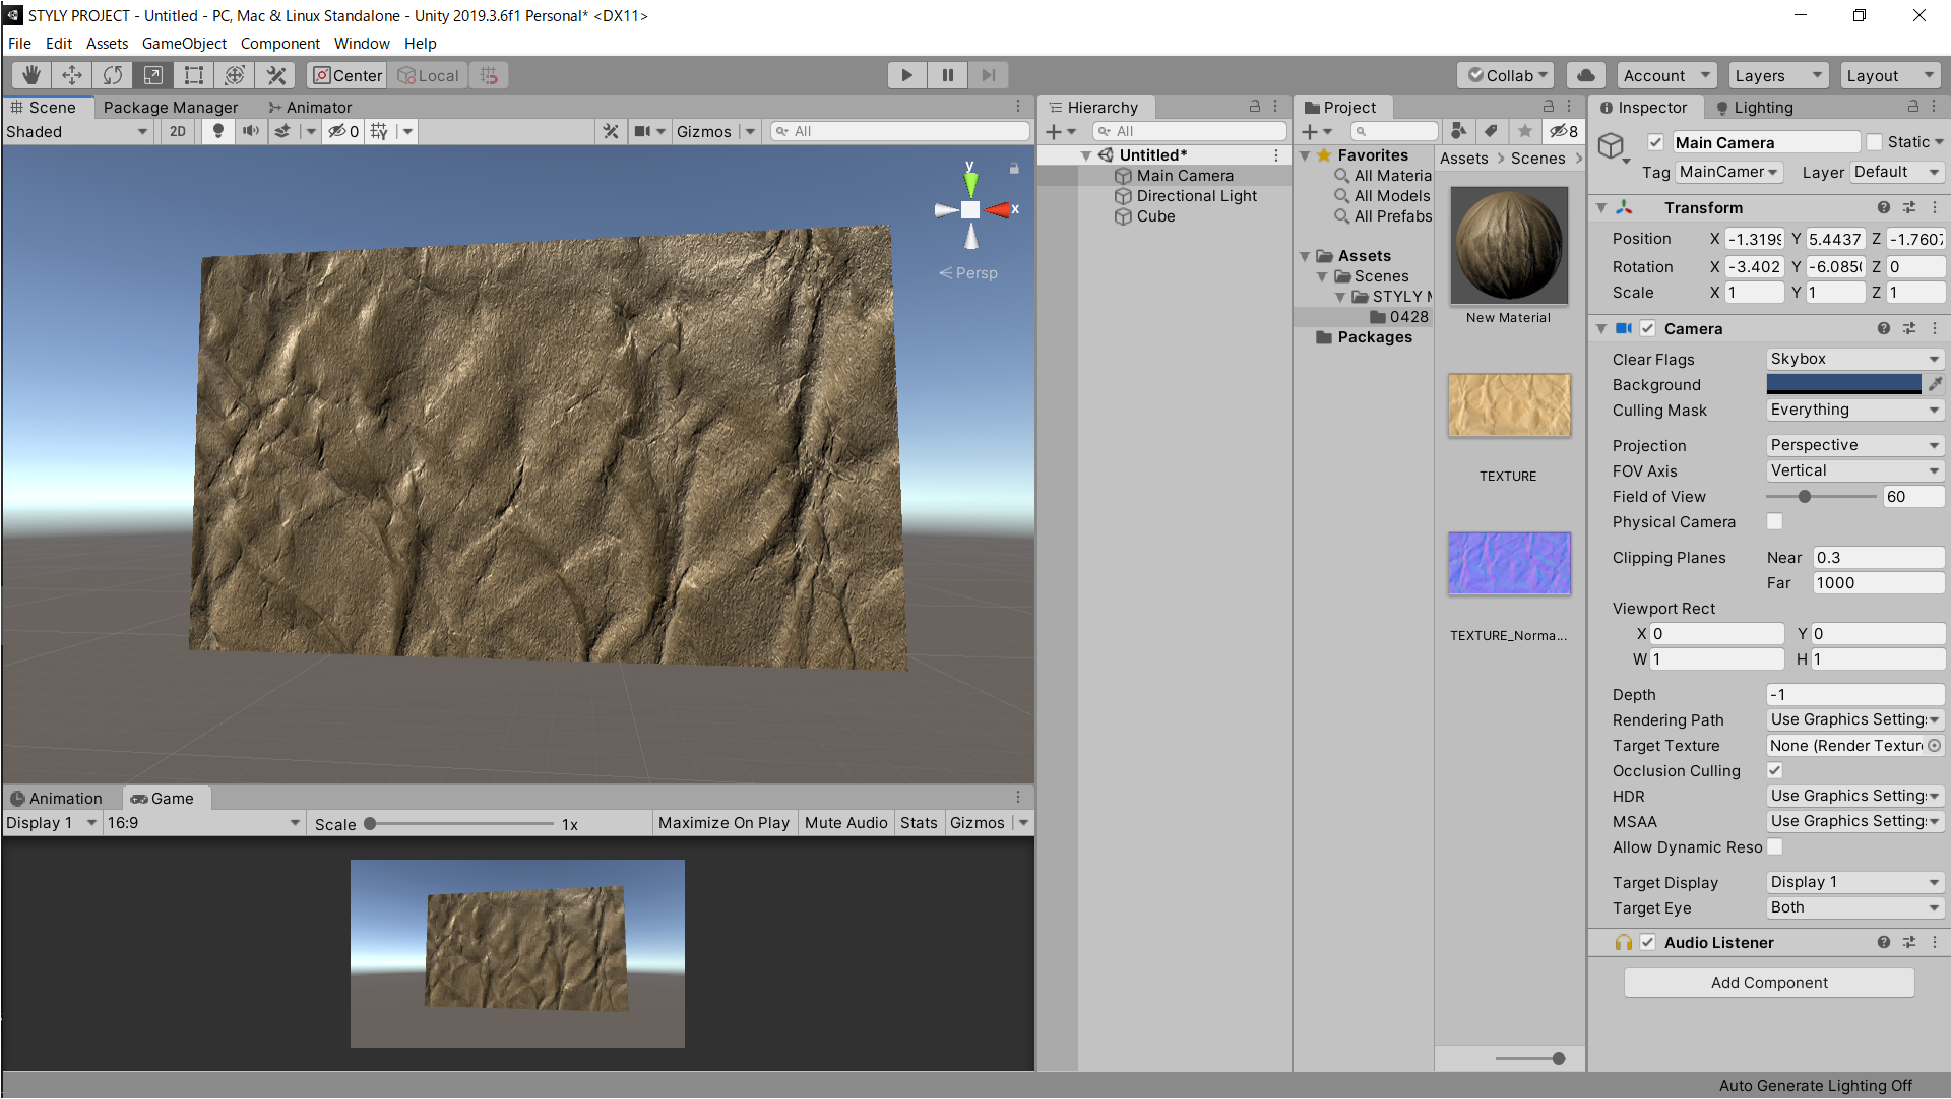
Adjusting the material
Once you have adjusted the material, select “Fix Now” at the bottom right of the normal map.
This is the difference between having a normal map and not having one.

Difference with and without the normal map
For the left one which has a normal map, the shading is clearer and it feels more real. The one on the right, the one without a normal map, looks a little flat.
The normal map changes depending on how the light hits it. Try making it more realistic by adjusting the materials and lighting.
Finally, let’s upload to STYLY.
Uploading to STYLY
Let’s upload a 3D model to STYLY.
Create a STYLY account
How to create an account

How to upload to STYLY

How to upload to STYLY from Unity

We’ve prepared a scene that compares having and not having the normal map, so please try experiencing it.