“picoCAD” is a free software that allows you to create 3D models of pixel art with simple operations.
This software uses the functions of a game engine called “PICO-8” that can create retro games. It can easily create visuals that look like retro games, although it does not have the same specifications as PICO-8, such as 16 colors and 128*128 pixels.
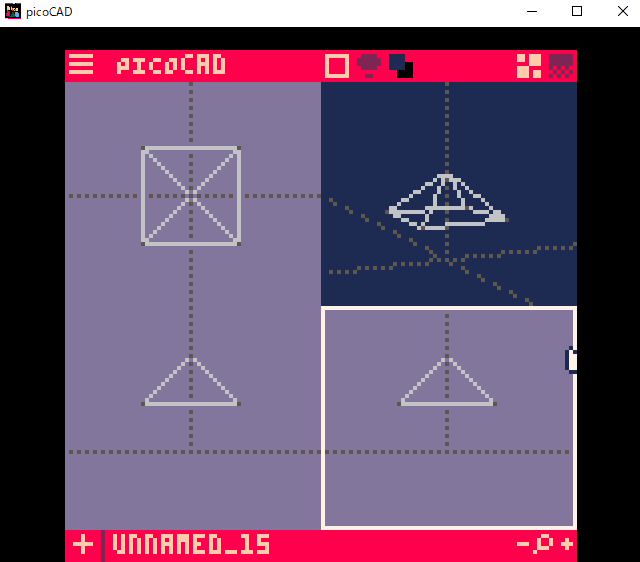
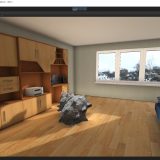
Sample scene of a model created with picoCAD
3D models created with picoCAD are placed in a scene.
Download picoCAD
picoCAD is a 3D modeling software that you can use for free.
You can download it from the following web page.
https://johanpeitz.itch.io/picocad
When you open the page, you will see a “Download Now” button in the upper left corner, so click on it.
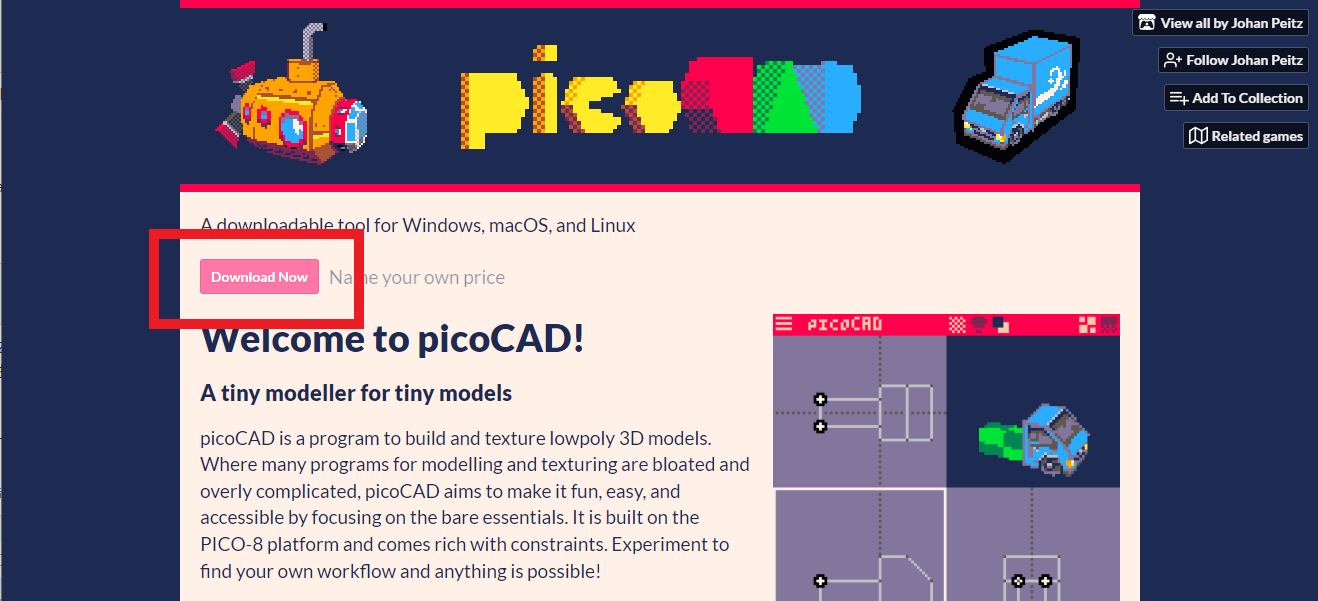
picoCAD download procedure 1
When the pop-up window for downloading is appeared, the default value of $10 is entered.
This is a donation-based system, and you can also use it for free by clicking “No thanks, just take me to the downloads” at the top of the amount form, or by entering 0 for the amount.
After using it for a while, you can enter any amount and donate it later.
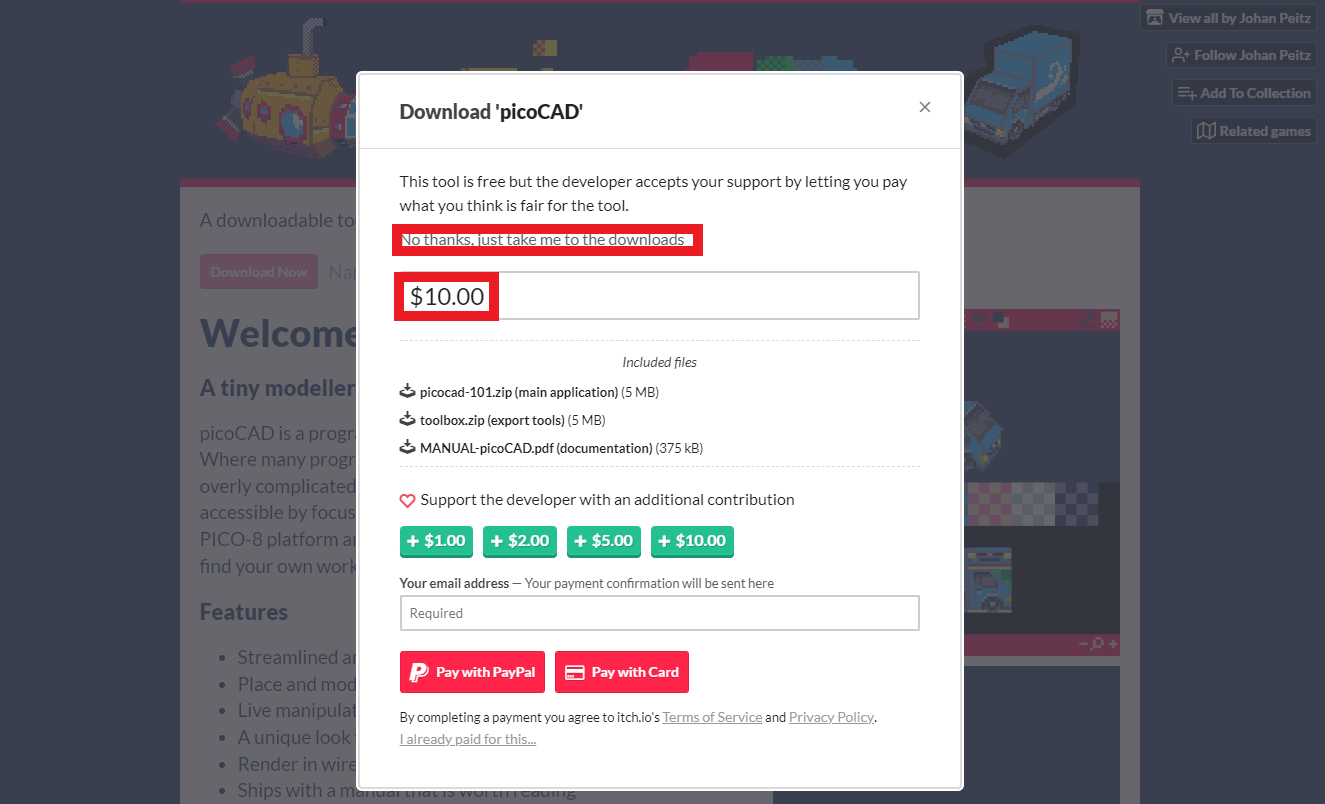
picoCAD Download Procedure 2
The download is divided into three parts: “picocad-101.zip (main application),” “toolbox.zip (export tools),” and “MANUAL-picoCAD.pdf (documentation).
If you want to use picoCAD for the time being, there is no problem to download only the main application, but since we are going to output obj as a 3D model, please download the export tools as well.
The documentation describes how to use picoCAD in English, so please download it if necessary.
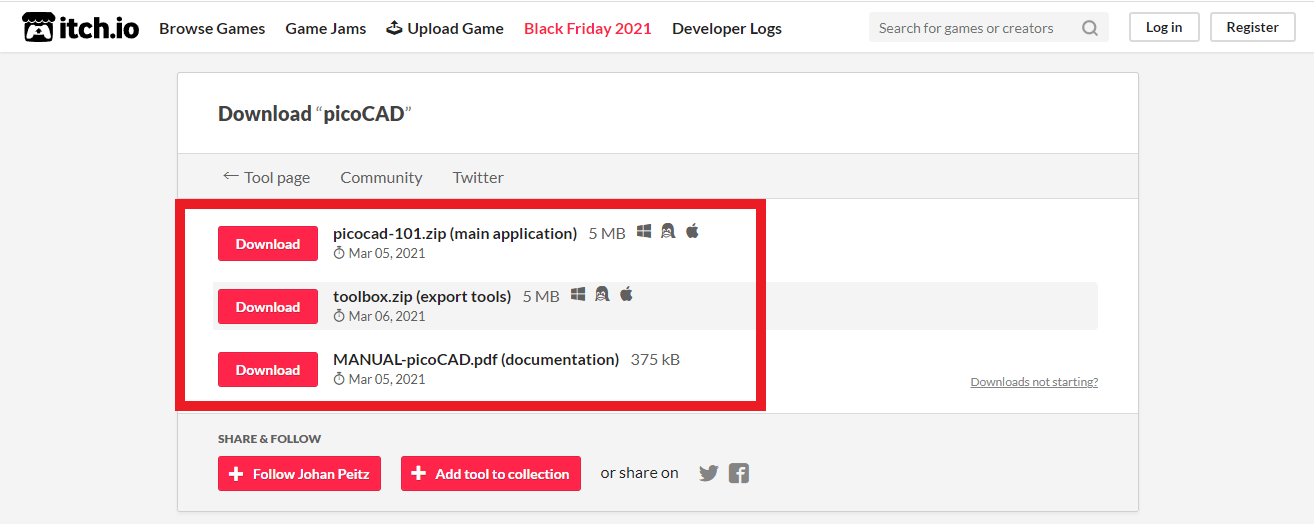
picoCAD download procedure 3
You can use picoCAD on the spot without installing it by unzipping the zip file, so move it to any location and you are ready to go.
Modeling with picoCAD
picoCAD is compatible with Windows, Mac, or Linux operating systems.
There are folders for each of them, so you can choose the one that best suits your environment.
In this case, I’m working on Windows.
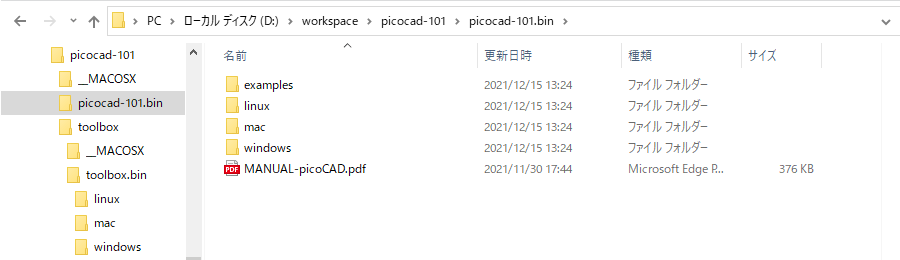
picocad-101/picocad-101.bin
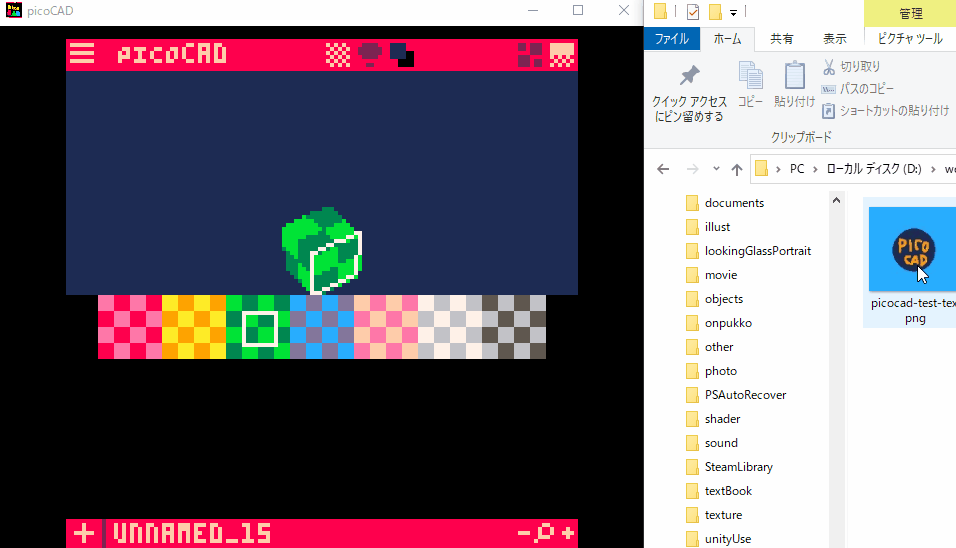
Start any folder /picocad-101/picocad-101.bin/picocad.exe.
When the following window is displayed, the startup is complete.
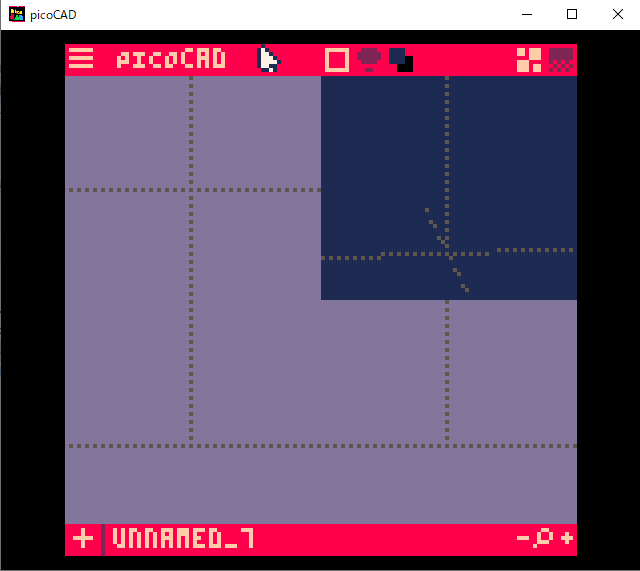
Startup window of picoCAD
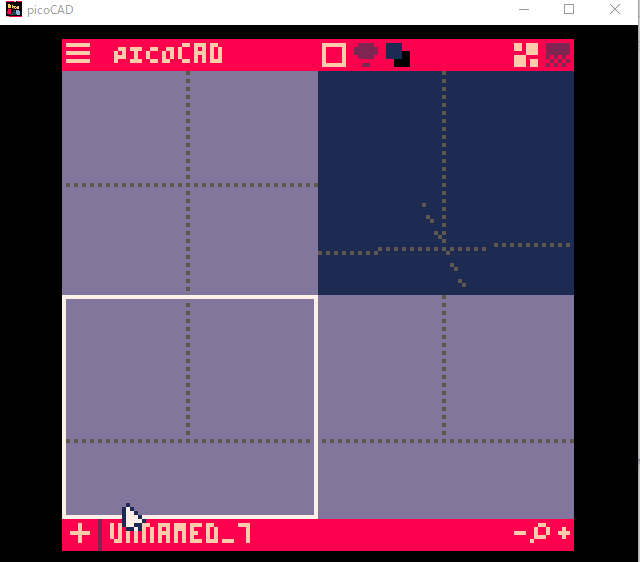
Creating a new 3D model with picoCAD
Click the [+] button at the lower left of the picoCAD screen to display the following item for adding a primitive object.
Modeling in picoCAD proceeds by transforming and adding the following objects.
| ADD PYRAMID | Add a quadrangular prism |
| ADD PRISM | Add a triangular prism |
| ADD CUBE | Add a cube |
| ADD PENT.PRISM | Add a pentagonal prism |
| ADD HEX.PRISM | Add a hexagonal prism |
| ADD CYLINDER | Add a cylinder (octagon) |
| ADD PLANE | Add a plate |
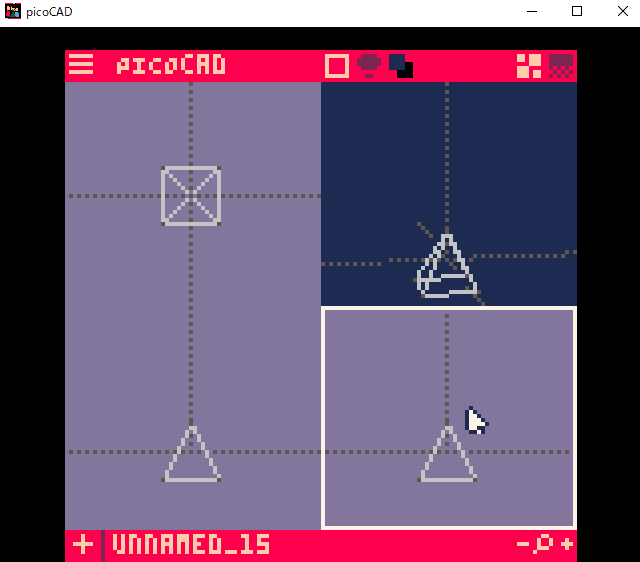
picoCAD Modeling Step 1 Add a pyramid type
The added object can be deformed by moving the vertices with the arrow keys or by dragging the vertices.
Move the vertices
You can also extrude a face.
Place the cursor over the face you want to extrude, right-click, and click “Extrude Face” (second from the top), or press [E] to extrude the face.
When you hover the cursor over the selected face, it will blink and a red dot will appear.
If it is difficult to understand, you may change the drawing mode (see below) to texture mode or something similar.
Extruding a surface
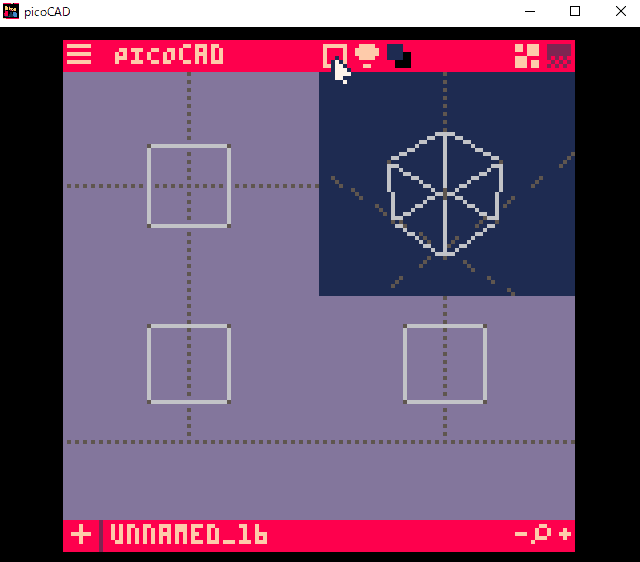
While an object is being added, it is possible to add another object.
You can model complex shapes by merging multiple objects, but the more objects you have, the slower it gets, so it’s best to keep it to a minimum.
Adding another object
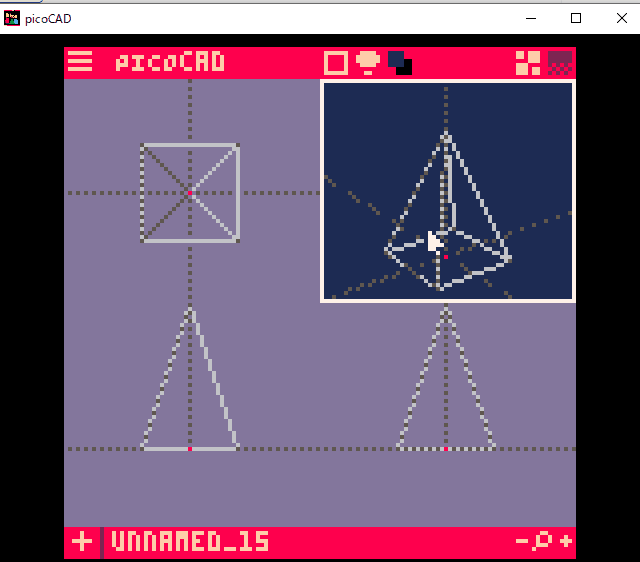
How to move the viewpoint
The picoCAD screen is divided into four sections. The upper right is the 3D view window that can be rotated vertically and horizontally, and the other windows are fixed as shown below.
The other windows are fixed as shown below. Here, we have added a triangular pillar for clarity.
- 3D View
- Fixed right above
- Front view fixed
- Fixed horizontally
Explanation of the picoCAD screen (triangular pillars)
When overlapping multiple objects or moving vertices in difficult-to-see locations, you can model as intended by checking in multiple windows.
You can zoom in and out by scrolling while the cursor is on one of the four screens.
About switching modes and views
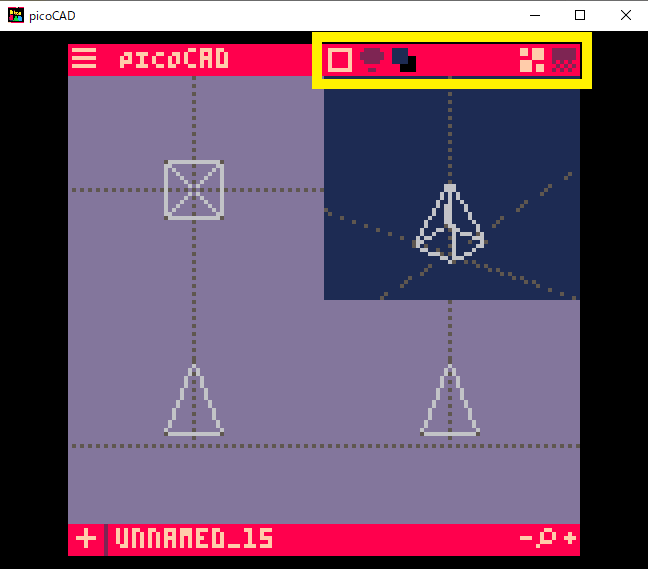
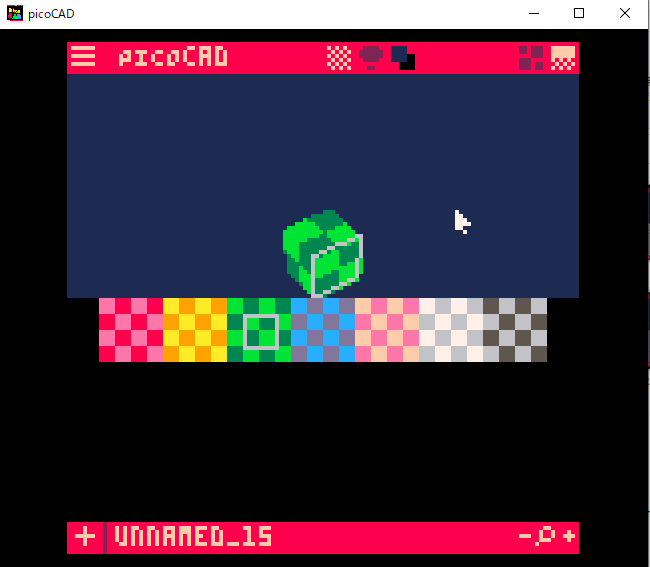
There are three drawing modes in picoCAD: “Wireframe,” “Fill,” and “Texture,” which can be switched with the touch of a button.
In addition, you can also switch shading settings and alpha settings.
The square icon on the far left is for “Drawing Mode,” the round icon to the right is for “Shading,” and the icon to the right is for “Background Color/Alpha.
The two icons on the right side allow you to switch between the modeling view and the texture view.
They will be used later when applying textures.
Switching modes and views
Work in the view you are comfortable with, switching between drawing mode and shading.
Switching between drawing mode and shading
Background color is the background color of the 3D view screen in the upper right corner.
You may want to change this if the default background color becomes confusing due to the texture you have applied.
The Alpha setting makes one of the 16 colors transparent, but since it is not applied to the OBJ output, it may not be used very often.
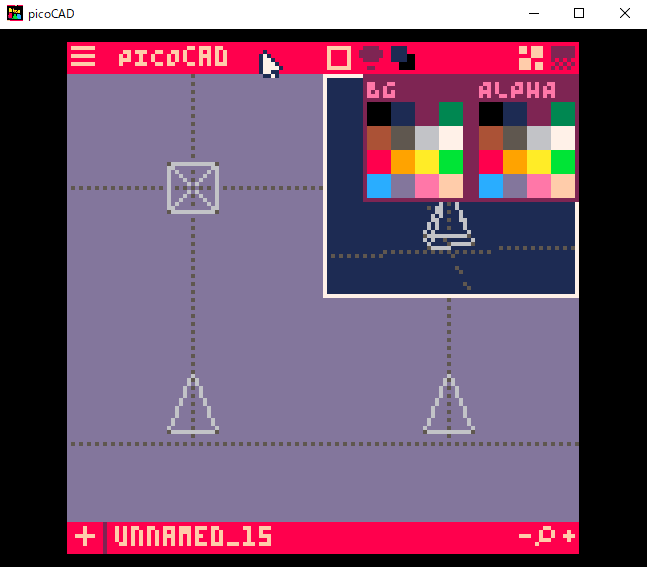
Background Color and Alpha
Applying a texture to picoCAD
Any texture can be applied to the 3D model created with picoCAD by assigning a png file of the same size as the picoCAD file.
In this article, I will show you how to create textures in PhotoShop.
If you own a tool suitable for drawing pixel art, you can skip the next section.
Creating a texture for picoCAD in Photoshop
Create a new 128×120 file.
You may need to change the profile depending on the file you are working on immediately before, but RGB will be fine.
The original file size is 128×128, but since some of it is used by picoCAD, the bottom part is not displayed by 8 pixels.

Create a new file in Photoshop
picoCAD, like the original pico-8, can only use the 16 colors that are defined.
It is convenient to register the 16 colors in the swatches, so let’s do that first.
After opening the swatches window, select the folder icon at the bottom, create a new group of swatches, and then add the colors.
Select the color picker and copy and paste the color code of the color you want to add to # to select the exact color.
Once the color is displayed, you can add it by clicking “Add to Swatch”.
| Color Code | Name |
| #000000 | black |
| #1d2b53 | dark-blue |
| #7e2553 | dark-purple |
| #008751 | dark-green |
| #ab5236 | brown |
| #5f574f | dark-gray |
| #c2c3c7 | light-gray |
| #fff1e8 | white |
| #ff004d | red |
| #ffa300 | orange |
| #ffec27 | yellow |
| #00e436 | green |
| #29adff | blue |
| #83769c | indigo |
| #ff77a8 | pink |
| #ffccaa | peach |
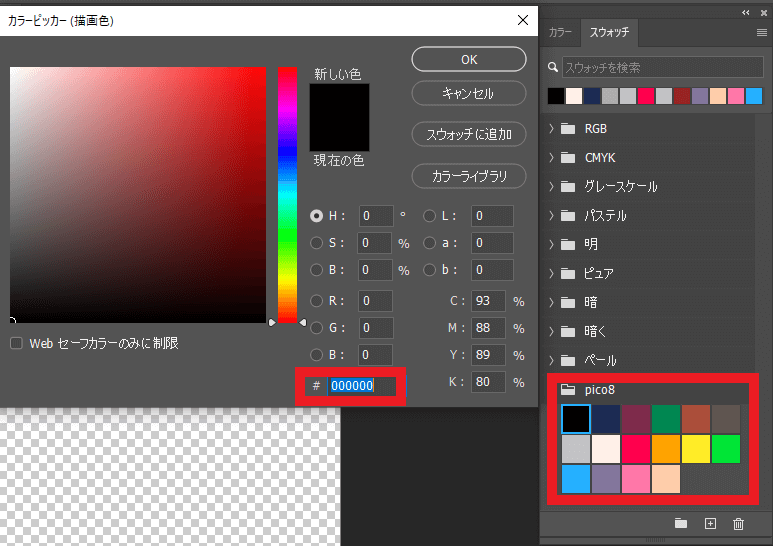
Create a swatch
When drawing, turn off anti-aliasing so that you can work without color blending.
Select “Pencil” for the brush tool, and when using the shape tool, change the mode to “Pixel” and turn off anti-aliasing.
If anti-aliasing is turned on, colors will be blended automatically, resulting in intermediate colors other than the 16 colors.
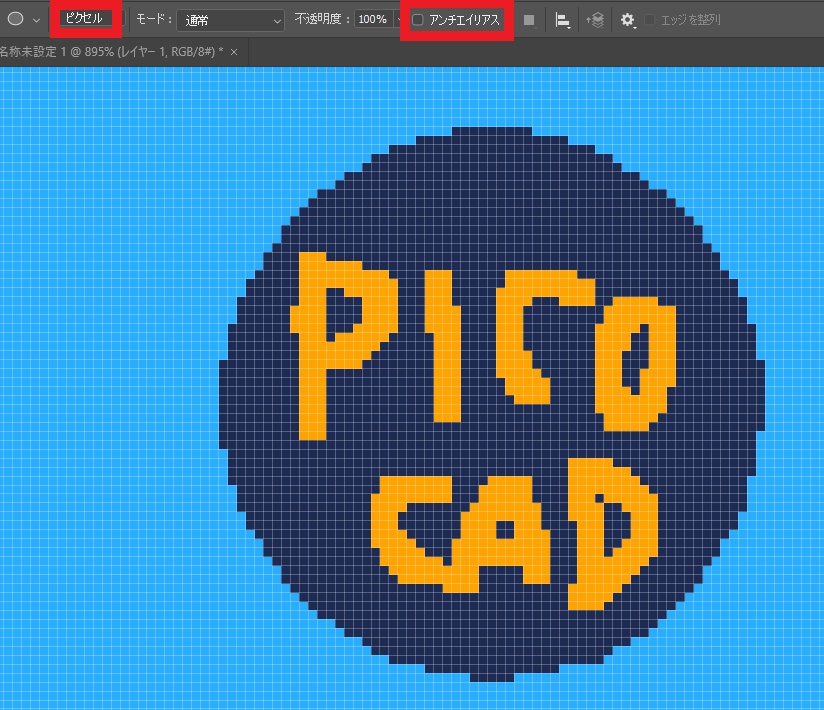
Turn off anti-aliasing
When the texture is complete, output it as a png and save it in a location where you can easily work with it.
Assigning textures
In order to assign the texture you created to the object you are modeling in picoCAD, load it in picoCAD.
Click the button on the upper right to change the picoCAD screen to the texture view.
Texture view
Drag and drop the texture you want to assign directly onto picoCAD.
Drag and drop the texture directly onto picoCAD.
Textures can be mapped to each surface.
Click on the face you want to edit at the top and move the mesh vertices in the texture view at the bottom.Textures can be mapped to each surface.
Click on the face you want to edit at the top and move the mesh vertices in the texture view at the bottom.

Moving mesh vertices in the texture screen
When the model is complete, save it.
Exporting an OBJ file
To export the OBJ file, use the toolbox that was downloaded with picoCAD when you first downloaded it.
Run any folder /toolbox/toolbox.bin/windows/toolbox.exe to start toolbox.
Drag and drop the saved data where it says “Drop a project file”.
The saved data is stored in a slightly obscure location, so look for the data you want to output as OBJ in the following location.
Save data location
C drive/Users/Account Name/AppData/Roaming/pico-8/appdata/picocad
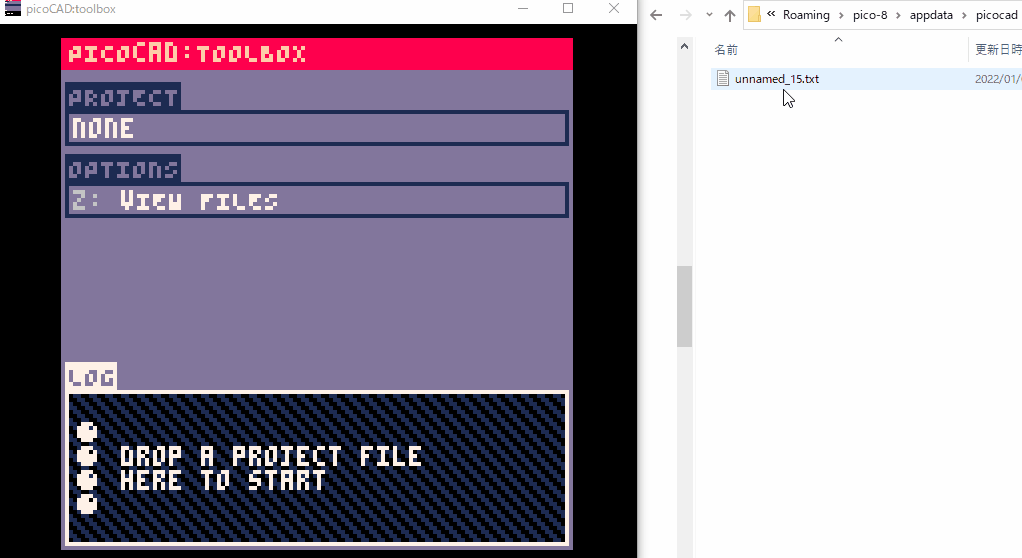
C drive/Users/Account Name/AppData/Roaming/pico-8/appdata/picocad
When the import of the dropped data is completed, the word “Imported” will be displayed in yellow letters, and you can see the output OBJ file by keyboarding in the number [1] to select “Export OBJ, MTL, & PNG” from the option menu that appears next.
How to upload to STYLY
Let’s try to upload your 3D model to STYLY.
How to create an account

How to upload 3D model to STYLY

How to upload to STYLY from Unity

Points to note when using Unity
The 3D model created with picoCAD will not be drawn properly with Standard Shader, so you need to use Unlit Shader.
However, since the shader is not affected by light sources, it will not cast shadows.
If you want to cast shadows, please refer to the following article and apply an UnlitShader that drops shadows.
The sample scene was created by applying an UnlitShader that drops shadows in Unity.
You can use STYLY FORUM to solve the problem. STYLY FORUM is a place where people can discuss a service or technical issue on STYLY, or provide bug reports on STYLY.
https://en.forum.styly.cc/support/discussions