In this article, I am going to introduce the movement of the enemy character and the way to make a collision detection using Unity’s PlayMaker.
Enemy characters are made to come at the player whereever the player is.
And it’s set to disappear when it hits the player’s sword.
The previous article describes the settings so far, take a look.
Previous post
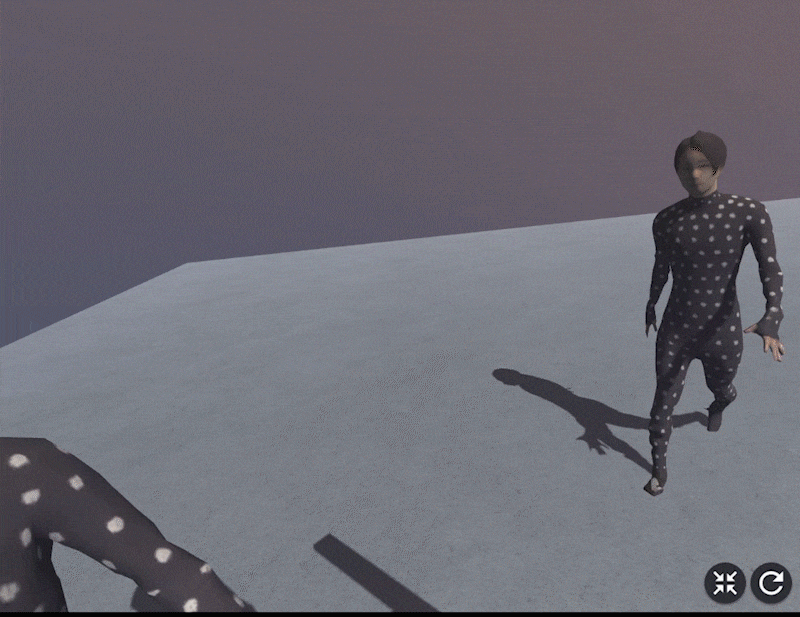
completed scene
Sample
You can experience the sample space from STYLY GALLERY.
You can download the Unity project described in the article here.
Assets in use
Use the PlayMaker and Move Motion Free Pack.
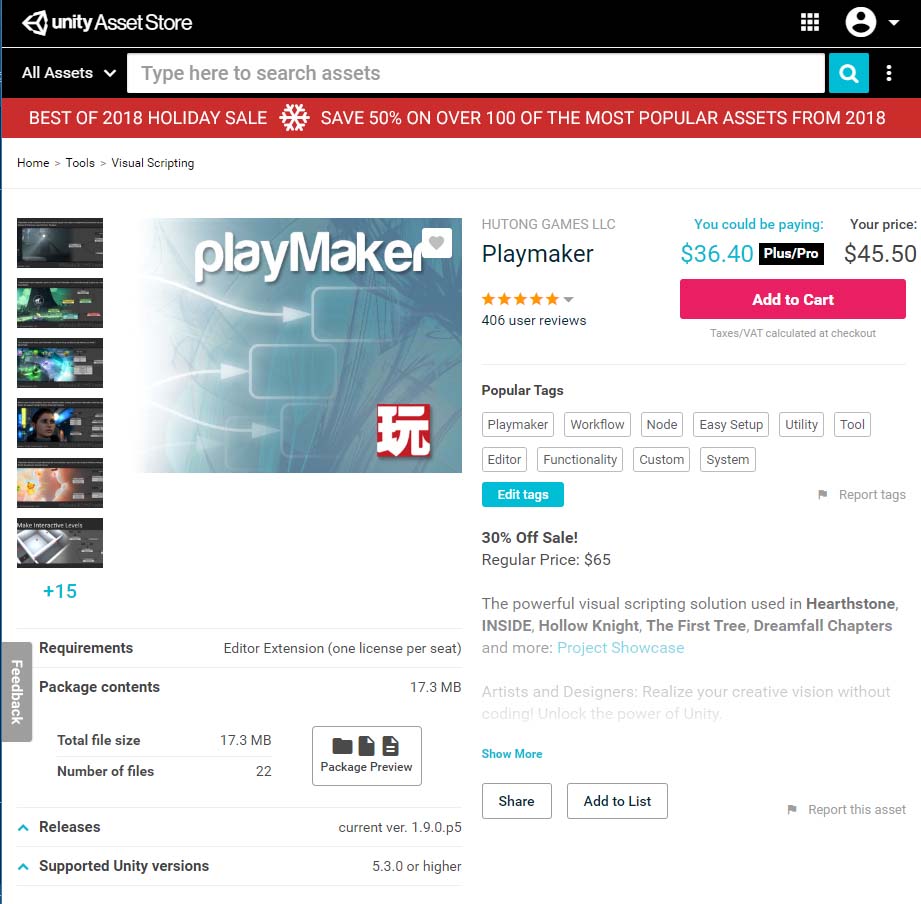
Use PlayMaker
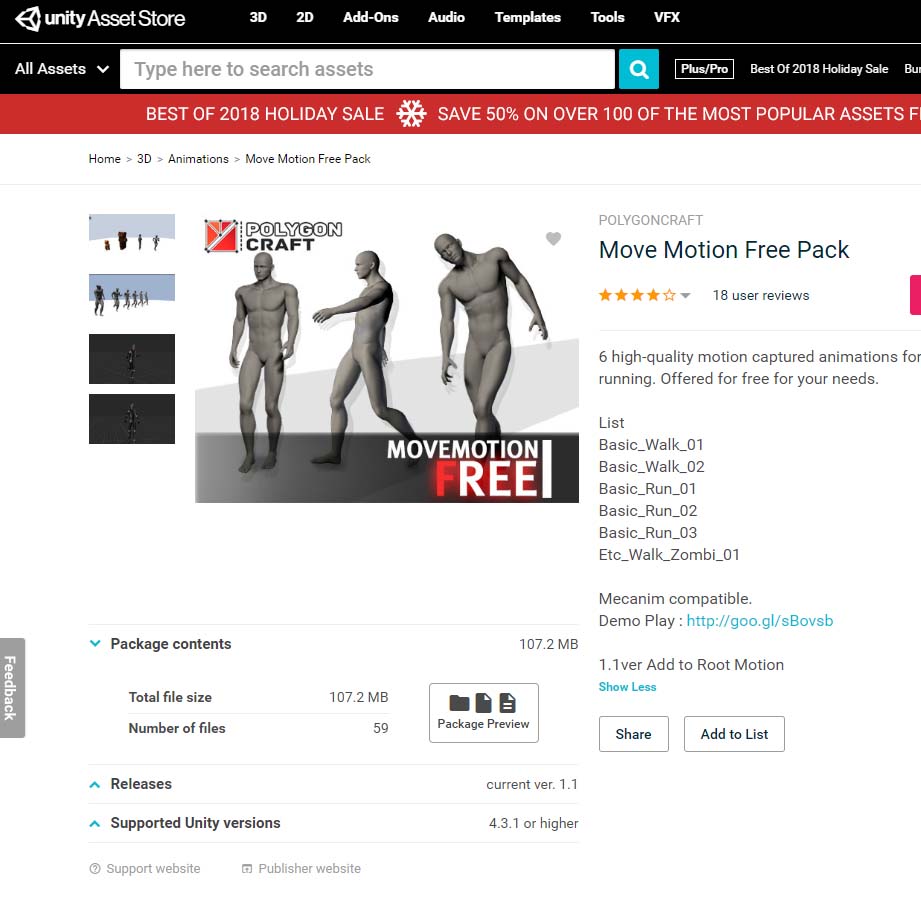
Move Motion Free Pack
Setting up a character
Adding a component
First, it gets a hit judgment.
For more information on how to do this, see the article below.
![[Unity / Playmaker]How to Cause an Event to Occur when the Controller Collides with an Object(COLLISION EVENT)](https://styly.cc/wp-content/uploads/2020/03/1-160x160.gif)
Add a Rigidbody and a Capsule Collider to get a hit signal when a character is attacked.
Select a prefabricated “Nakagawa” to add components.
Uncheck “Is Kinematic” for Rigidbody.
Use Gravity is also unchecked.
Uncheck the Is Trigger on Capsule Collider.
Adjust the Center, Radius and Height values to fit the body shape.
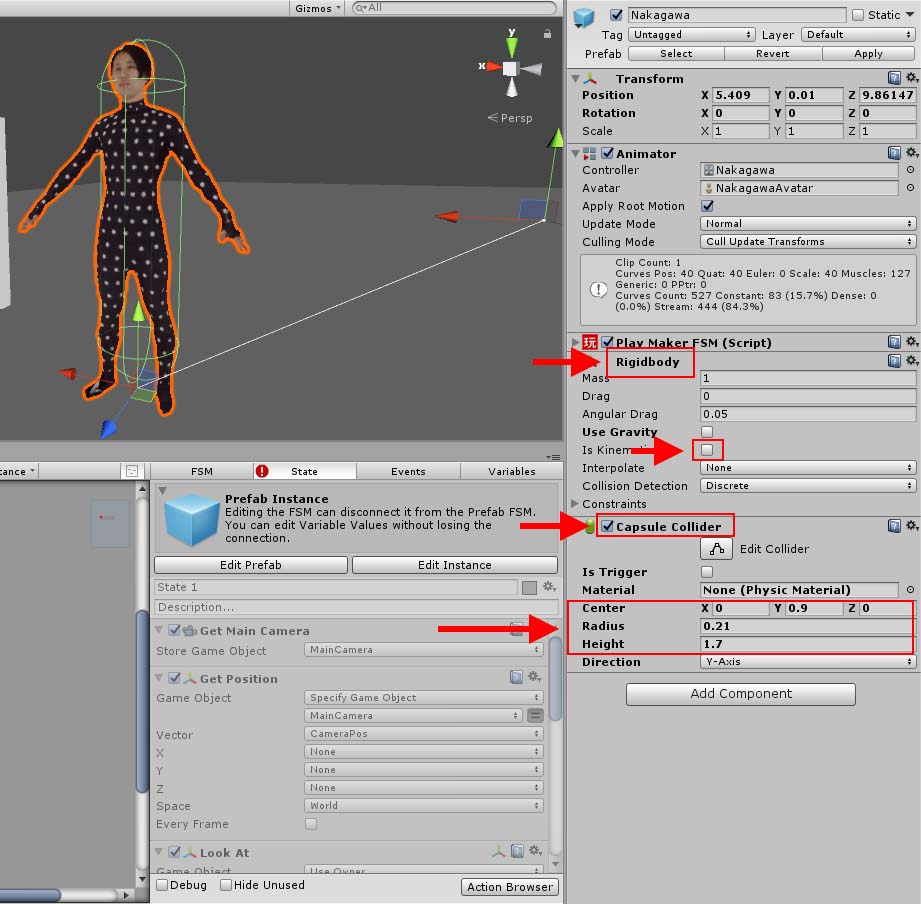
Adding Rigidbody and Capsule Collider
Setting the State
Select “Nakagawa” in the Prefabs folder and add the FSM here.
Right click the PlayMaker Editor and create a new state from Add State.
For information on how to attain camera information (player information), see the article below.
![[Unity/Playmaker] How to implement camera acquisition and interaction with camera](https://styly.cc/wp-content/uploads/2020/01/GIF2-4-160x160.gif)
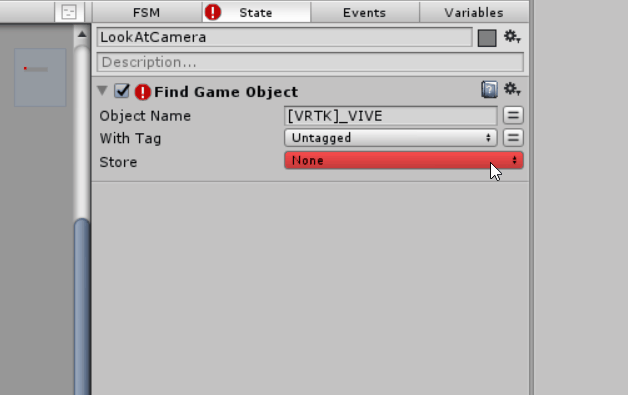
Get the main camera to get the player on VR. Add a Find Game Object.
Set the Object Name to “[VRTK]_VIVE”.
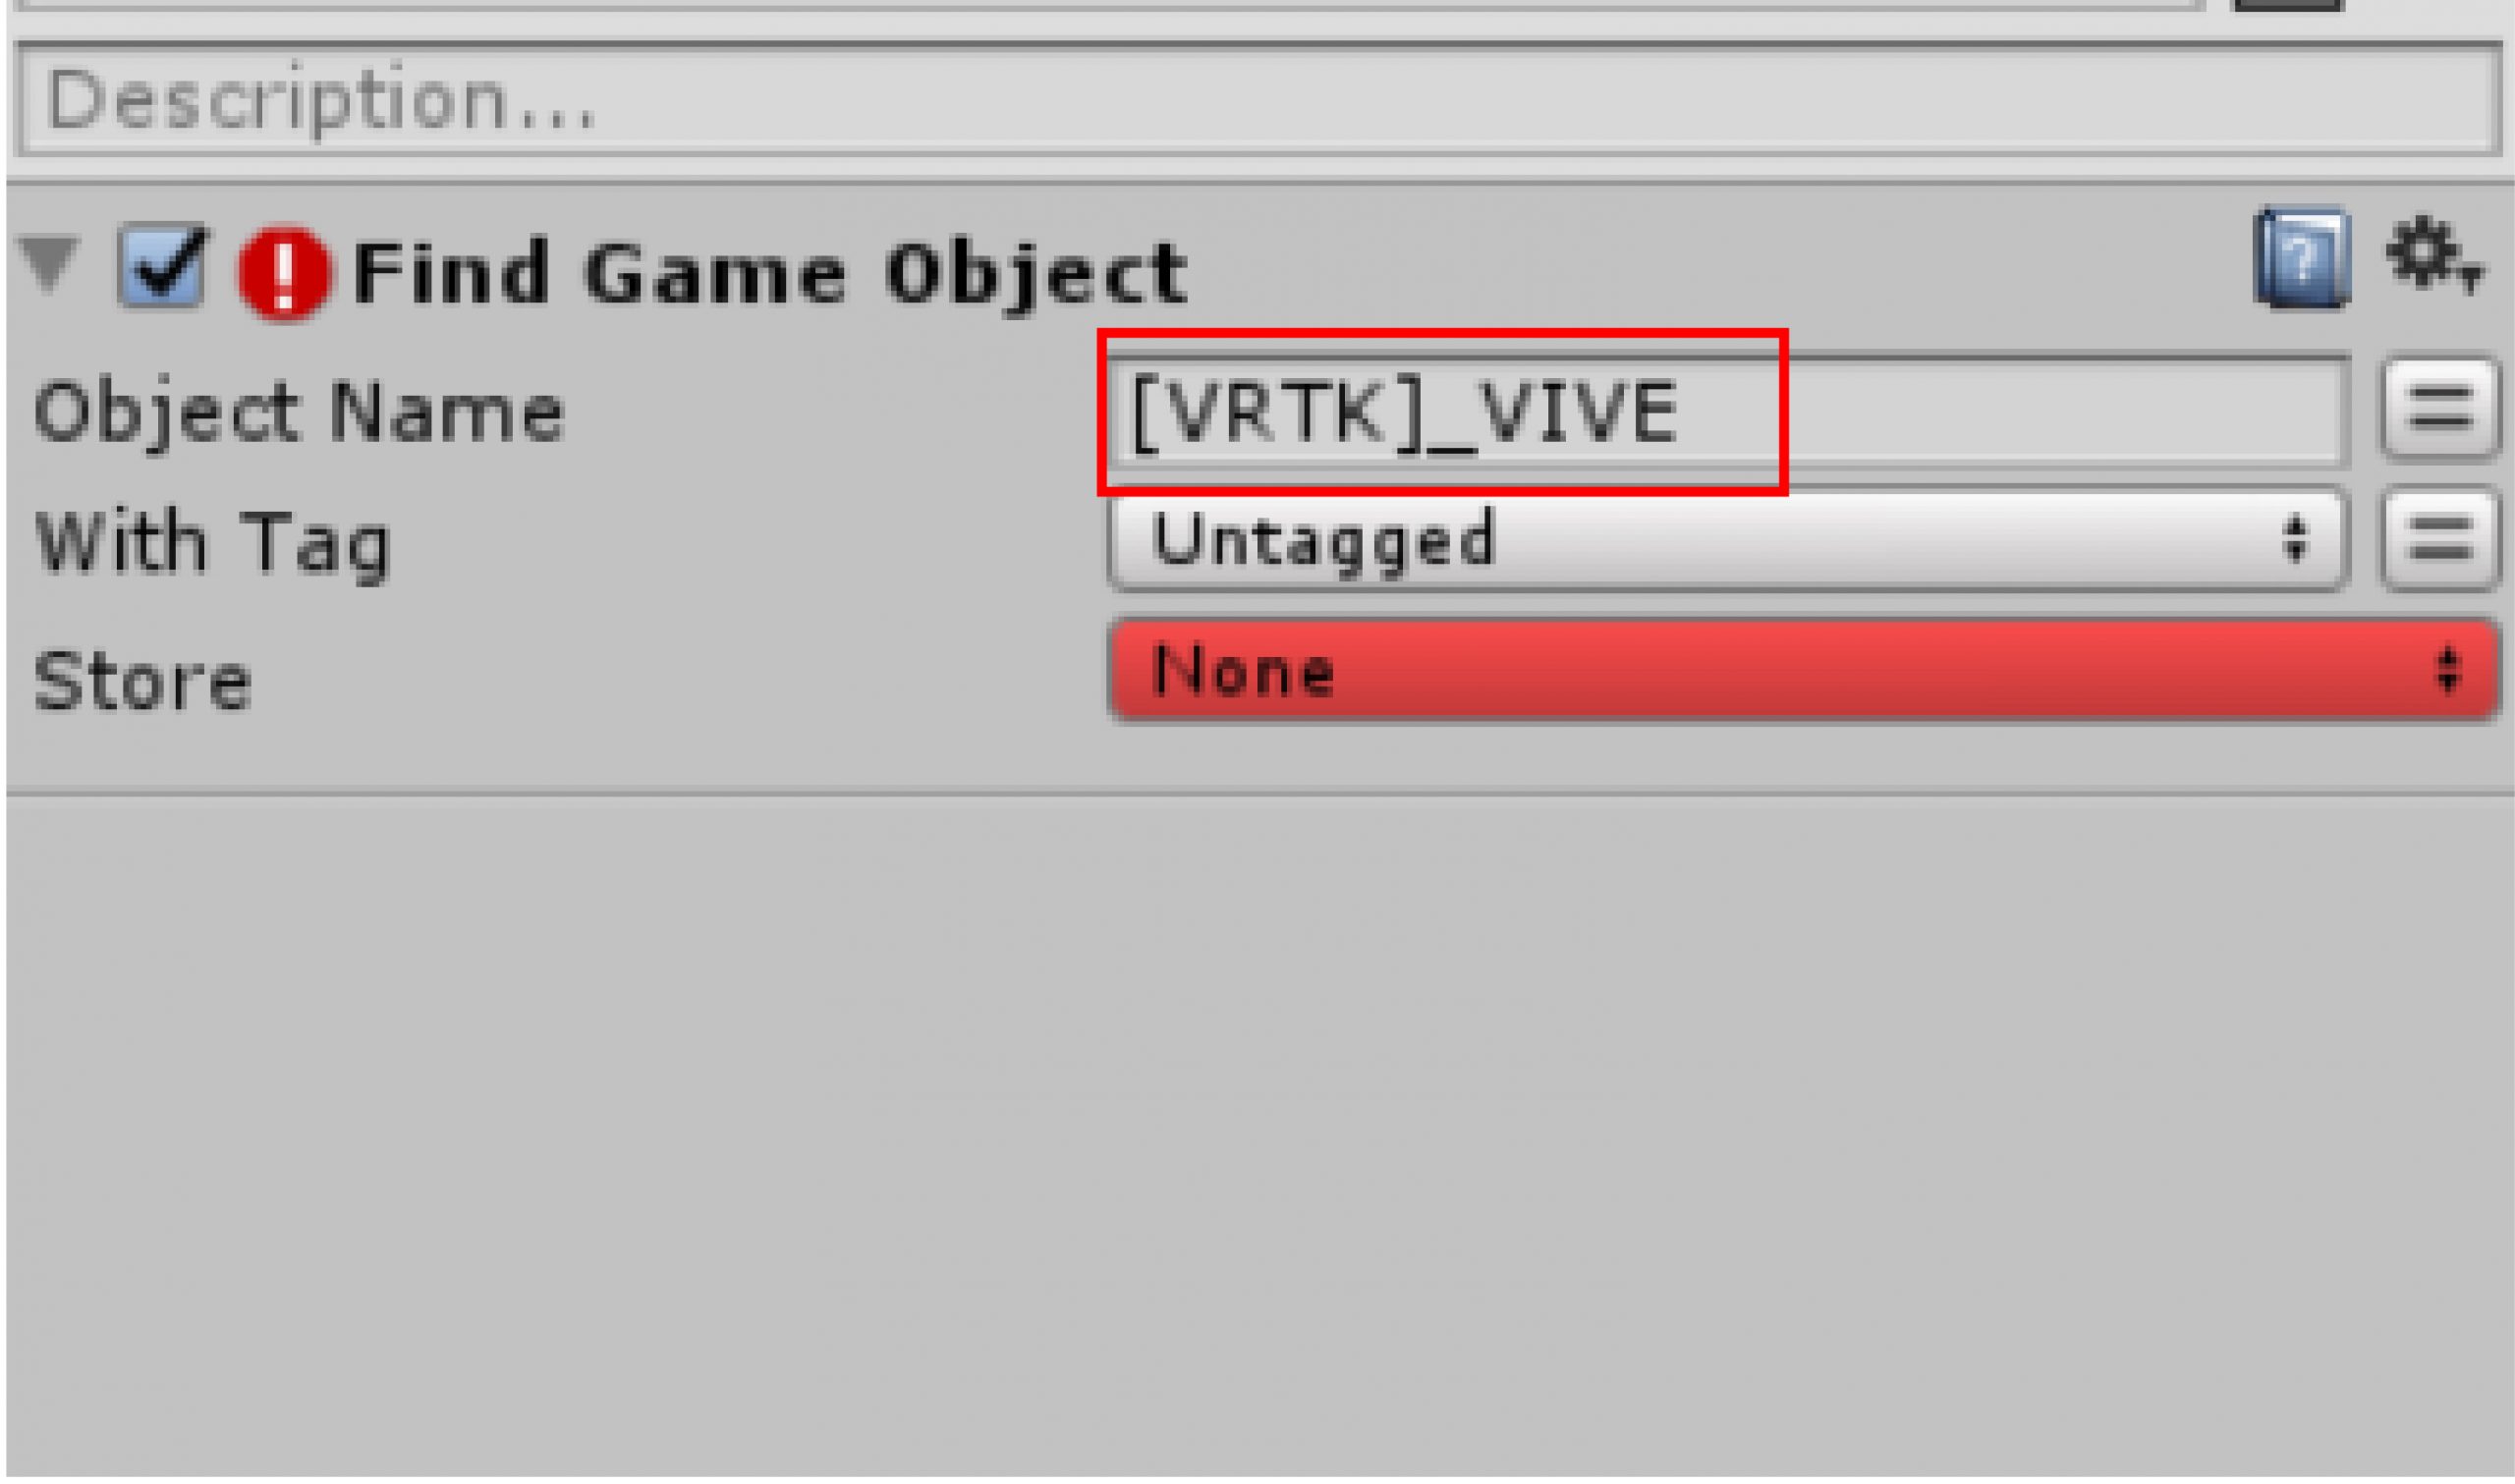
[VRTK]_VIVE
Select a Store and store it in the “MainCamera” variable.
Stored in “MainCamra” variable
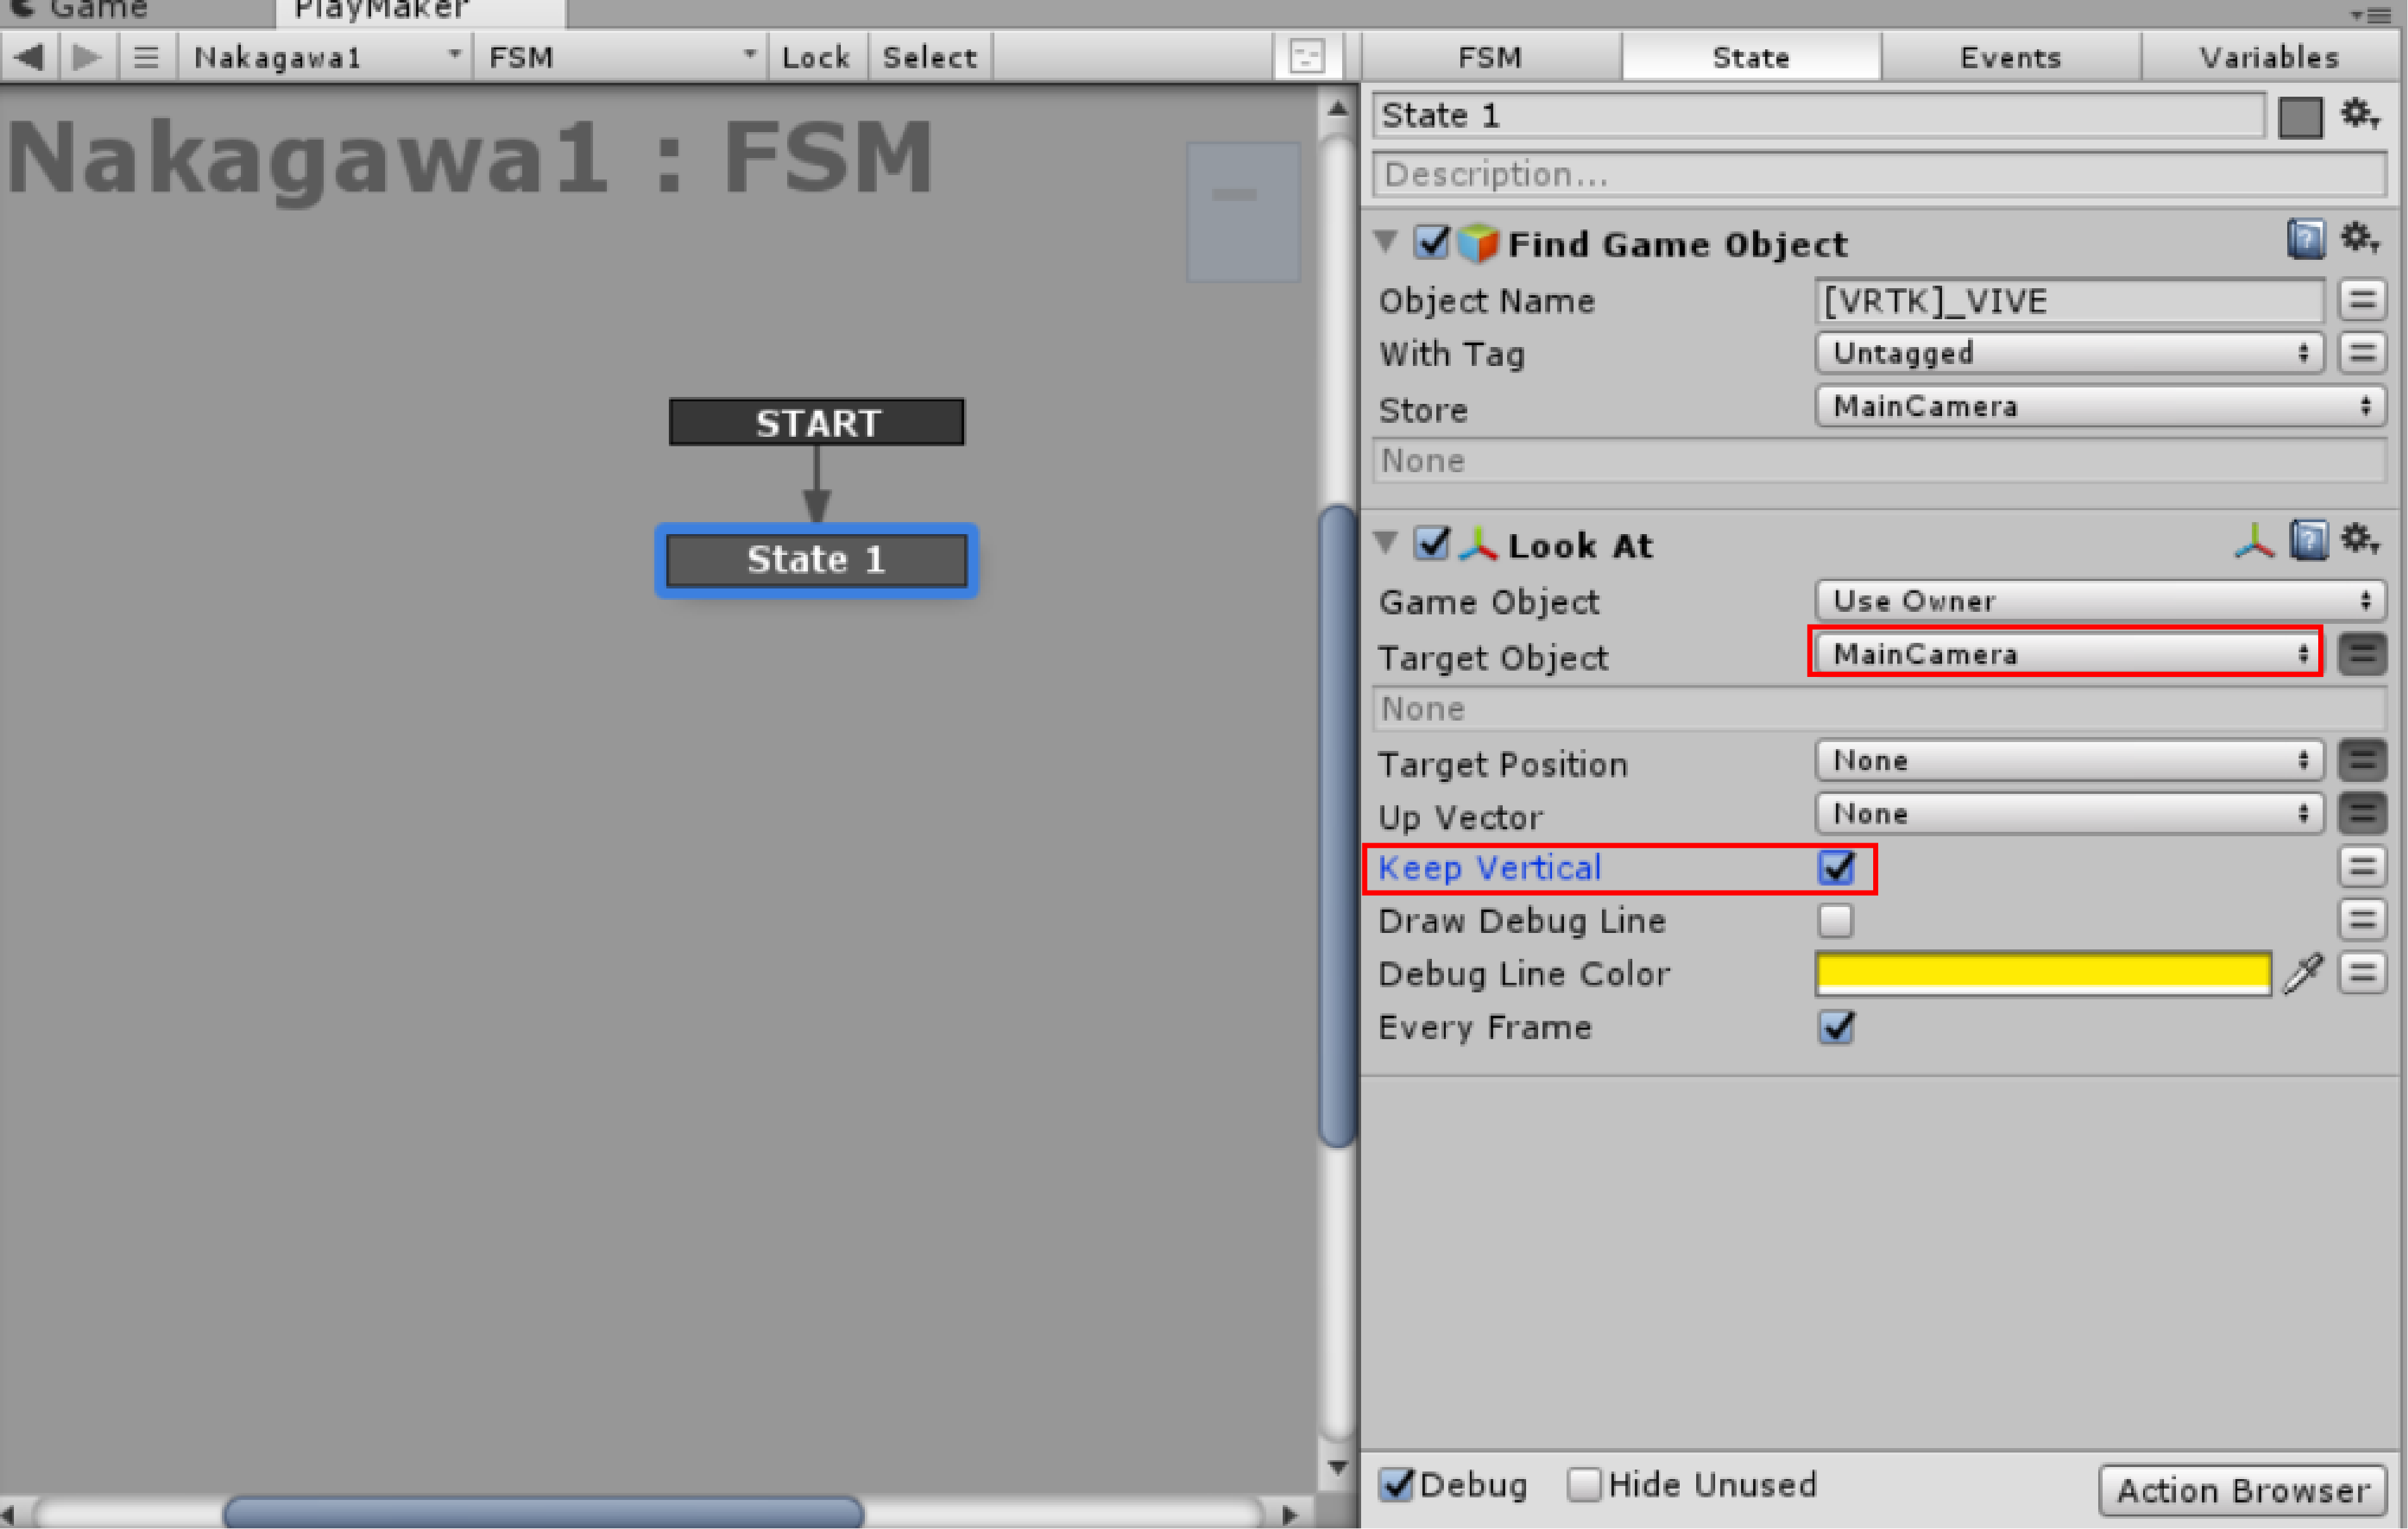
Add a Look At so that the character faces the player.
Specify MainCamera for the Target Object. Check the Keep Vertical box.
Look At settings
Now the character is facing the player (MainCamera).
Next, we try getting closer to the player.
We’ll be using Move Towards here.
Specify MainCamera for the Target Object.
Check the Ignore Vertical box.
Set the value of Max Speed to 2 in this case.
Finish Distance is left at 1.
If you set it to 0, it will move to the target object’s position, but if you set it to 1, it will stop a little before the target object.
The higher the number, the farther it is going to stop.

Add Move Towards
Now you have a character that goes to the player.
Let’s add a COLLISION ENTER event to State1 in order to get a win decision.
With State 1 selected, right-click and select Add Transition > Ststem Events > COLLISION ENTER.
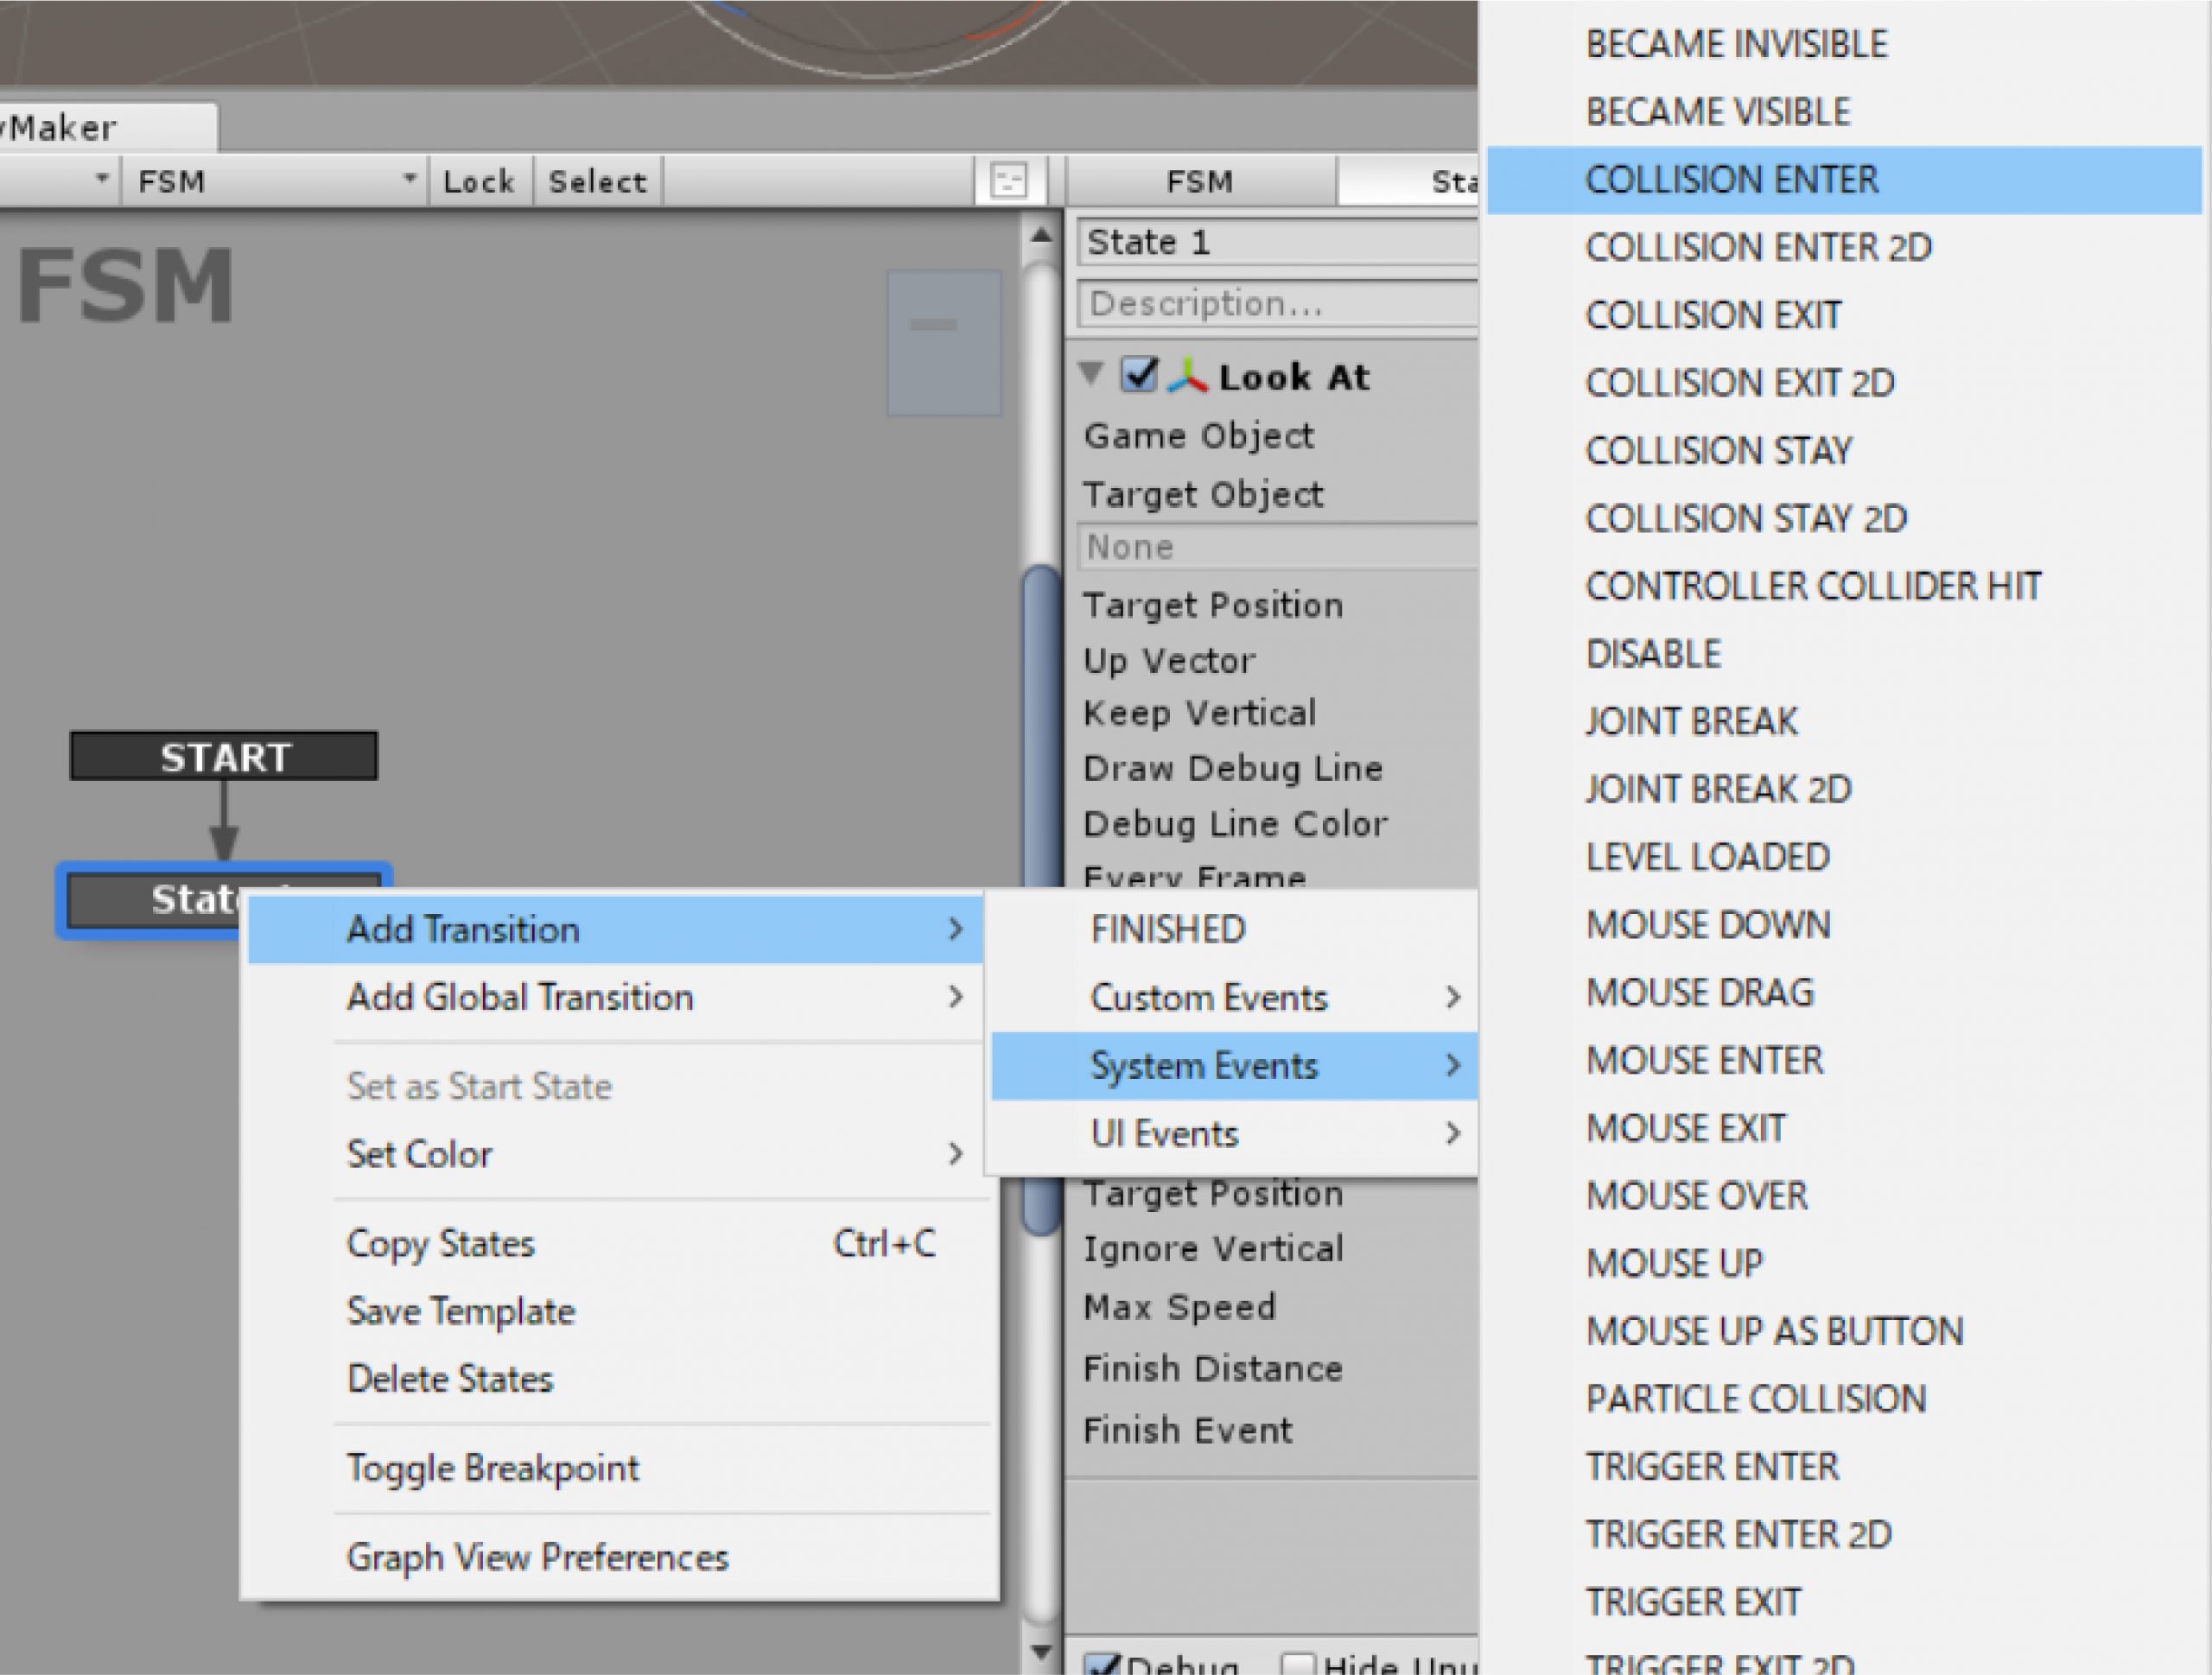
Add COLLISION ENTER
We want the object to be deleted when it collides, so we’ll add a state to do so.
Add Destroy Self to remove itself when it collides.
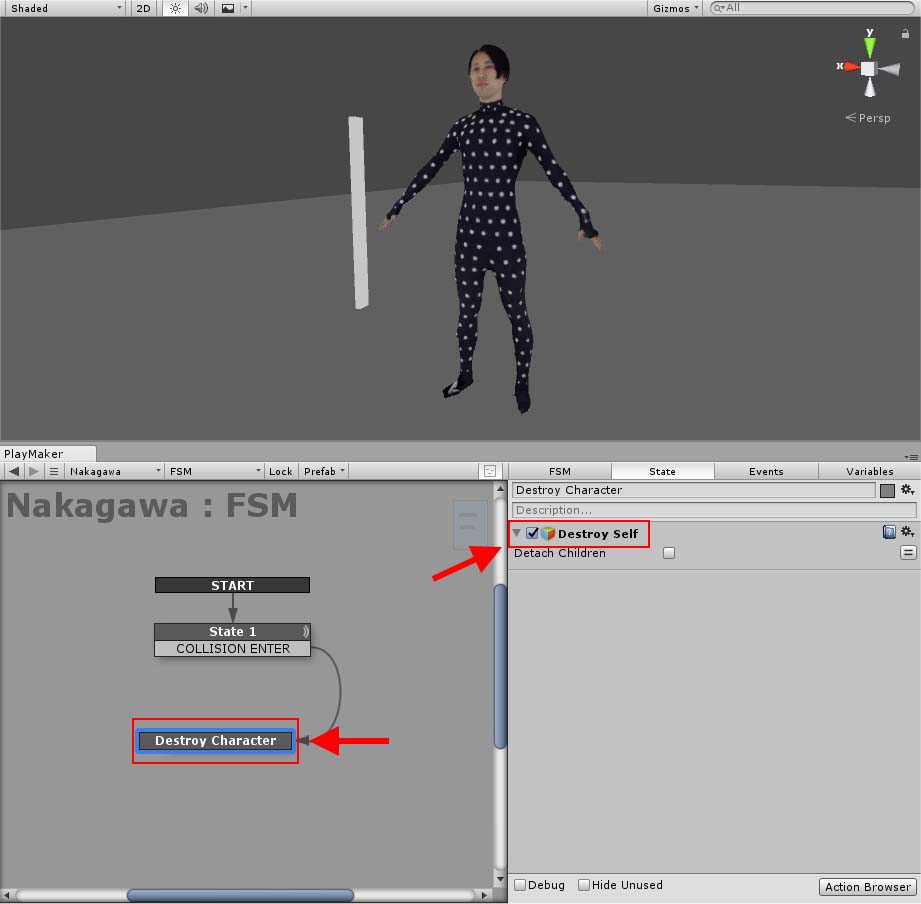
Adding Destroy Self
This completes the configuration.
All that’s left is to upload the prefabricated “STYLYmusou” made in Vol.1 to STYLY and place it in the scene.
How to upload assets from Unity to STYLY

In this article, I have introduced how to use PlayMaker to determine the direction of character movement and collision detection.
In the two-part series with Vol.1, I have introduced the way to make a warrior-like game with STYLY.
I think VR and Warriors-like games are very compatible, so I’d love to create more of them.
The game would be more powerful if you added a beatdown motion when attacked or added with sounds and effects.
It’s great that you can turn your scan data into a VR game and publish it easily.
The 3D model used in the article can be found in the sample project.
The use of 3D models is available only in STYLY.
As long as you can use it within STYLY, there are no restrictions on modification or alteration.