This article introduces Unity’s Real Materials Vol.0 [FREE] (hereinafter called “Real Materials”), which can be used in STYLY.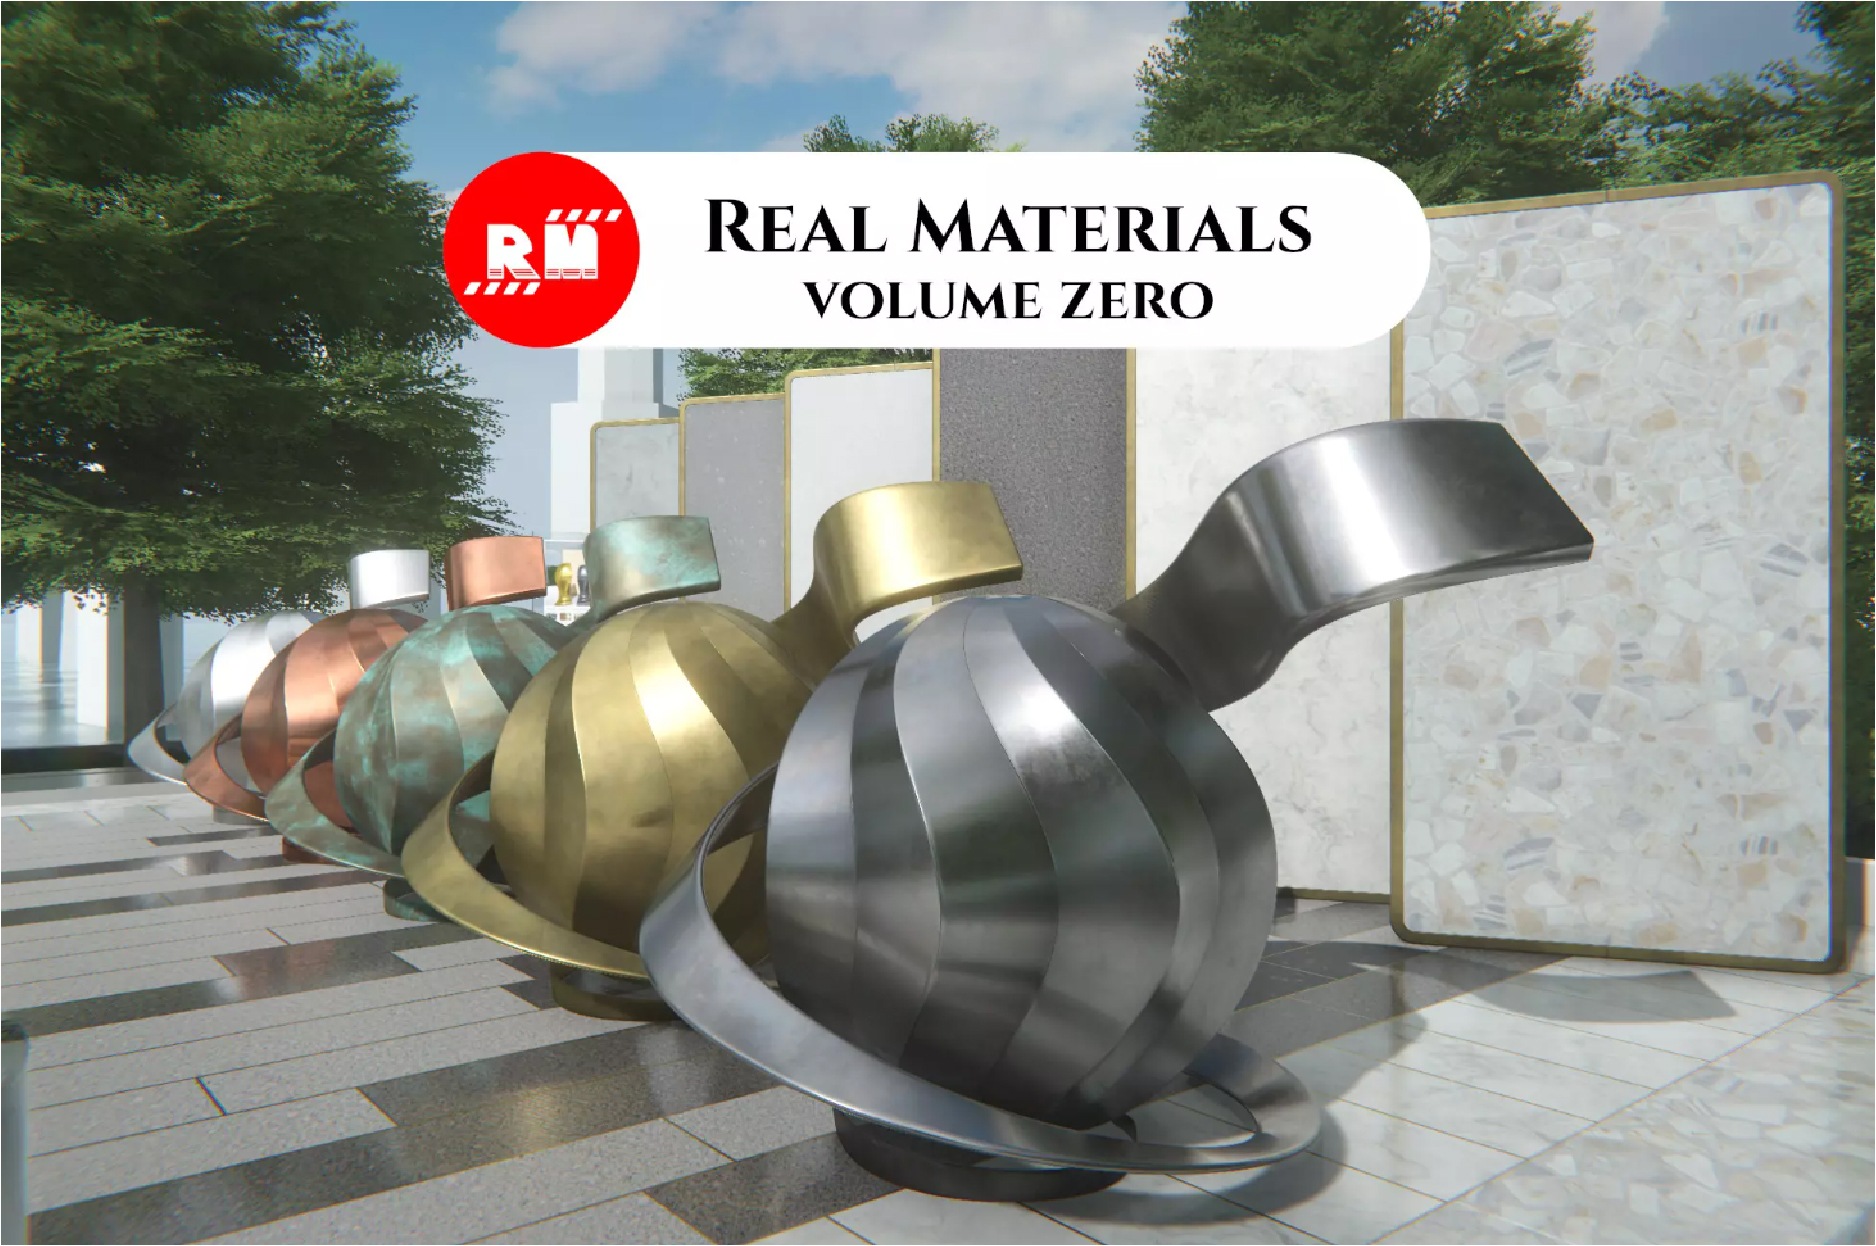
Real Materials are free assets that can be downloaded from the Asset Store.
Realistic materials can be used to represent materials such as metal and concrete.
They can also be combined with a Reflection Probe for a richer look.
Use Realistic Materials to enrich your spatial expression!

Sample
I created a simple sample scene using Skybox and the real materials I will be using for this project. Please take a look at it as a reference.
I only used Unity’s existing 3D models (Plane, Sphere and Cube)
The Skybox I used can be found here.
![Recommendation of Unity Assets you can use in STYLY [AllSky] Sky](https://styly.cc/wp-content/uploads/2018/11/cf0d44c8-6afb-4ed8-94f3-6baeb6912c67_scaled.jpg)
Preparation
We’ll be using Unity 2019.3.6.f1. Let’s start a new project on Unity.
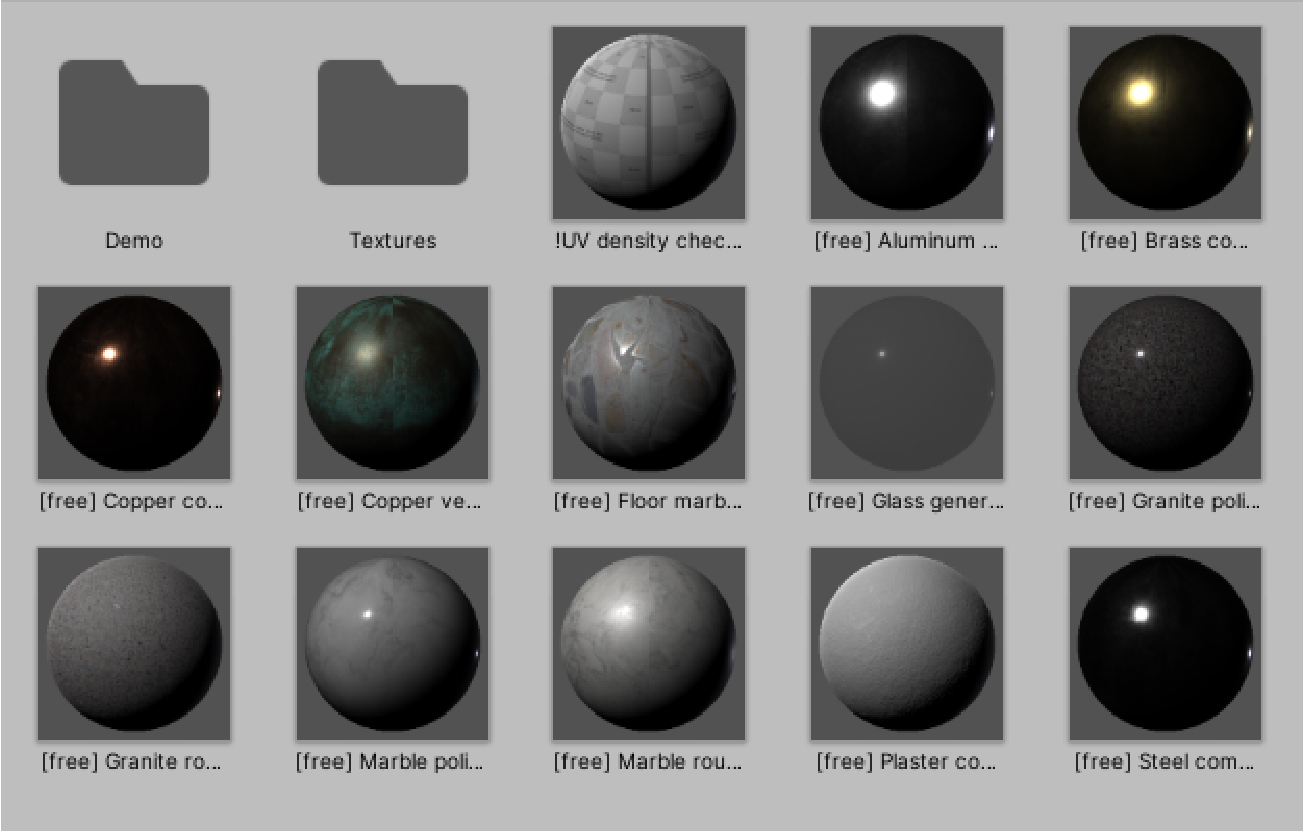
Once your project is up, download your real materials from the Asset Store.
Open the Asset Store – you can select the Asset Store window from the Window menu at the top.
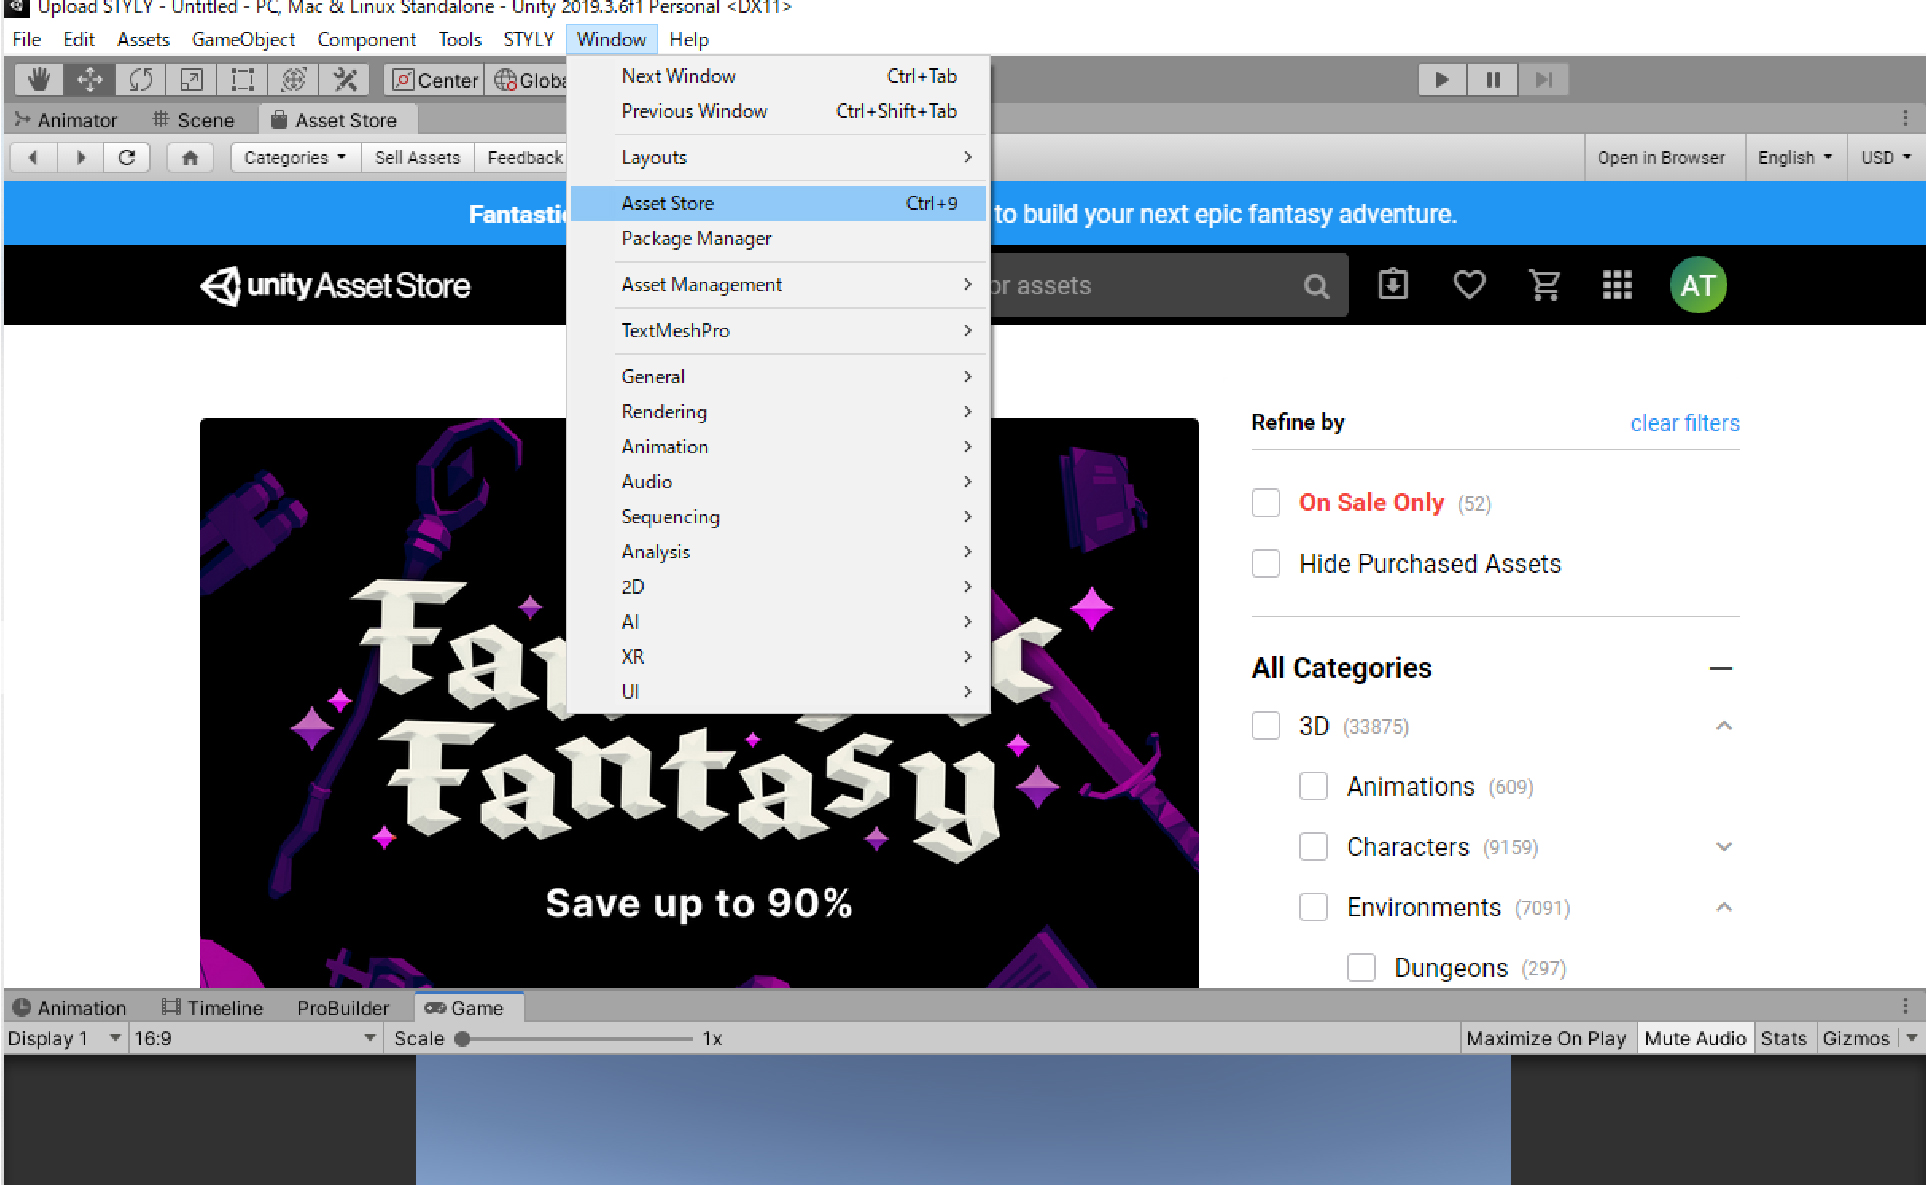
Once the Asset Store is up, go to Search for assets and search for “Real Materials Vol. 0”.
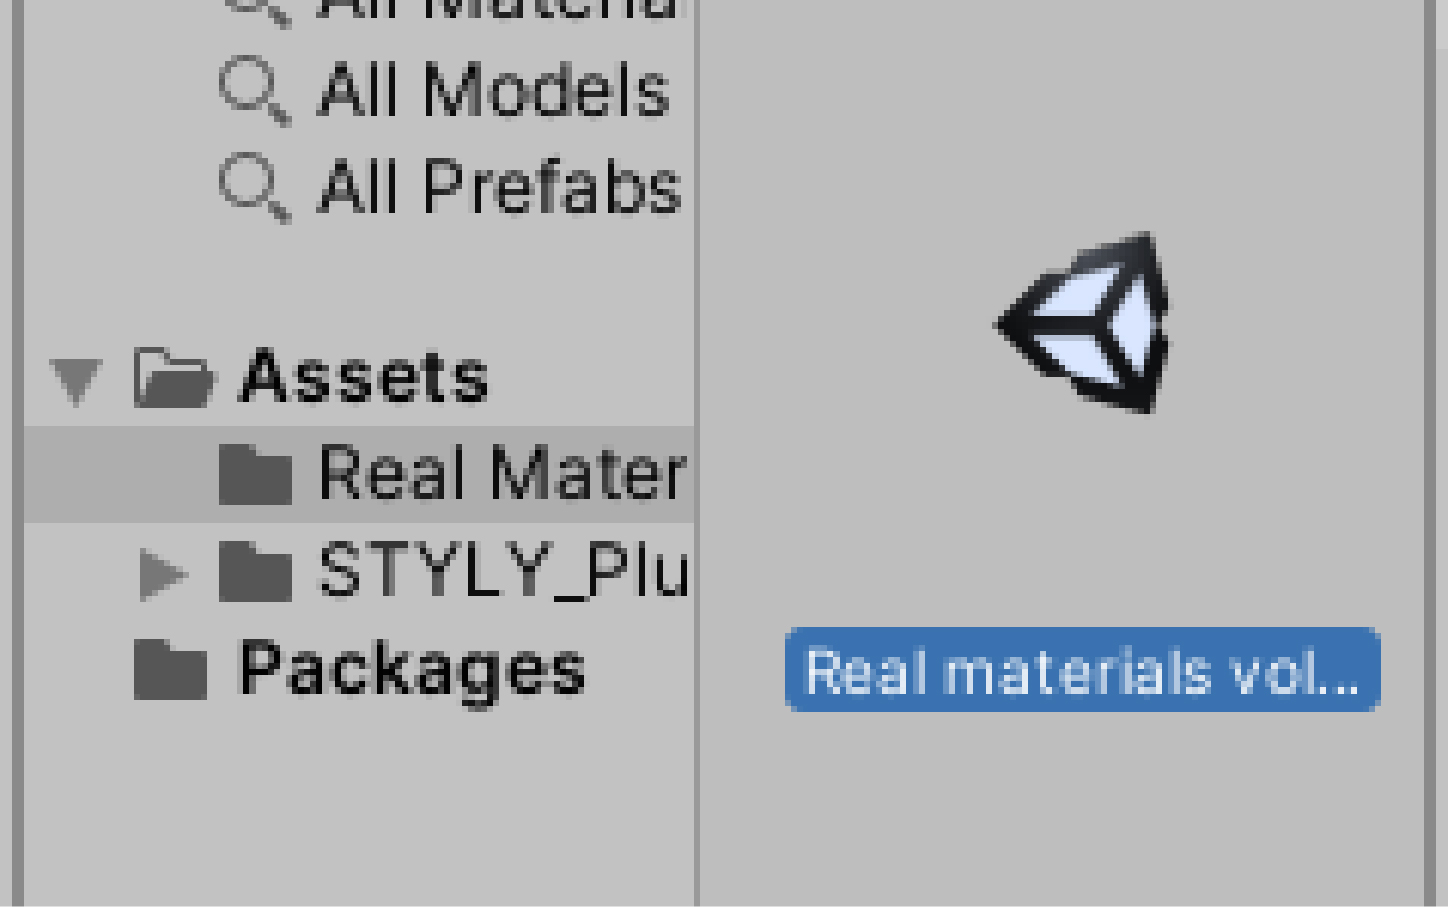
Once you have searched, Real Materials will appear, and you can download & import it.

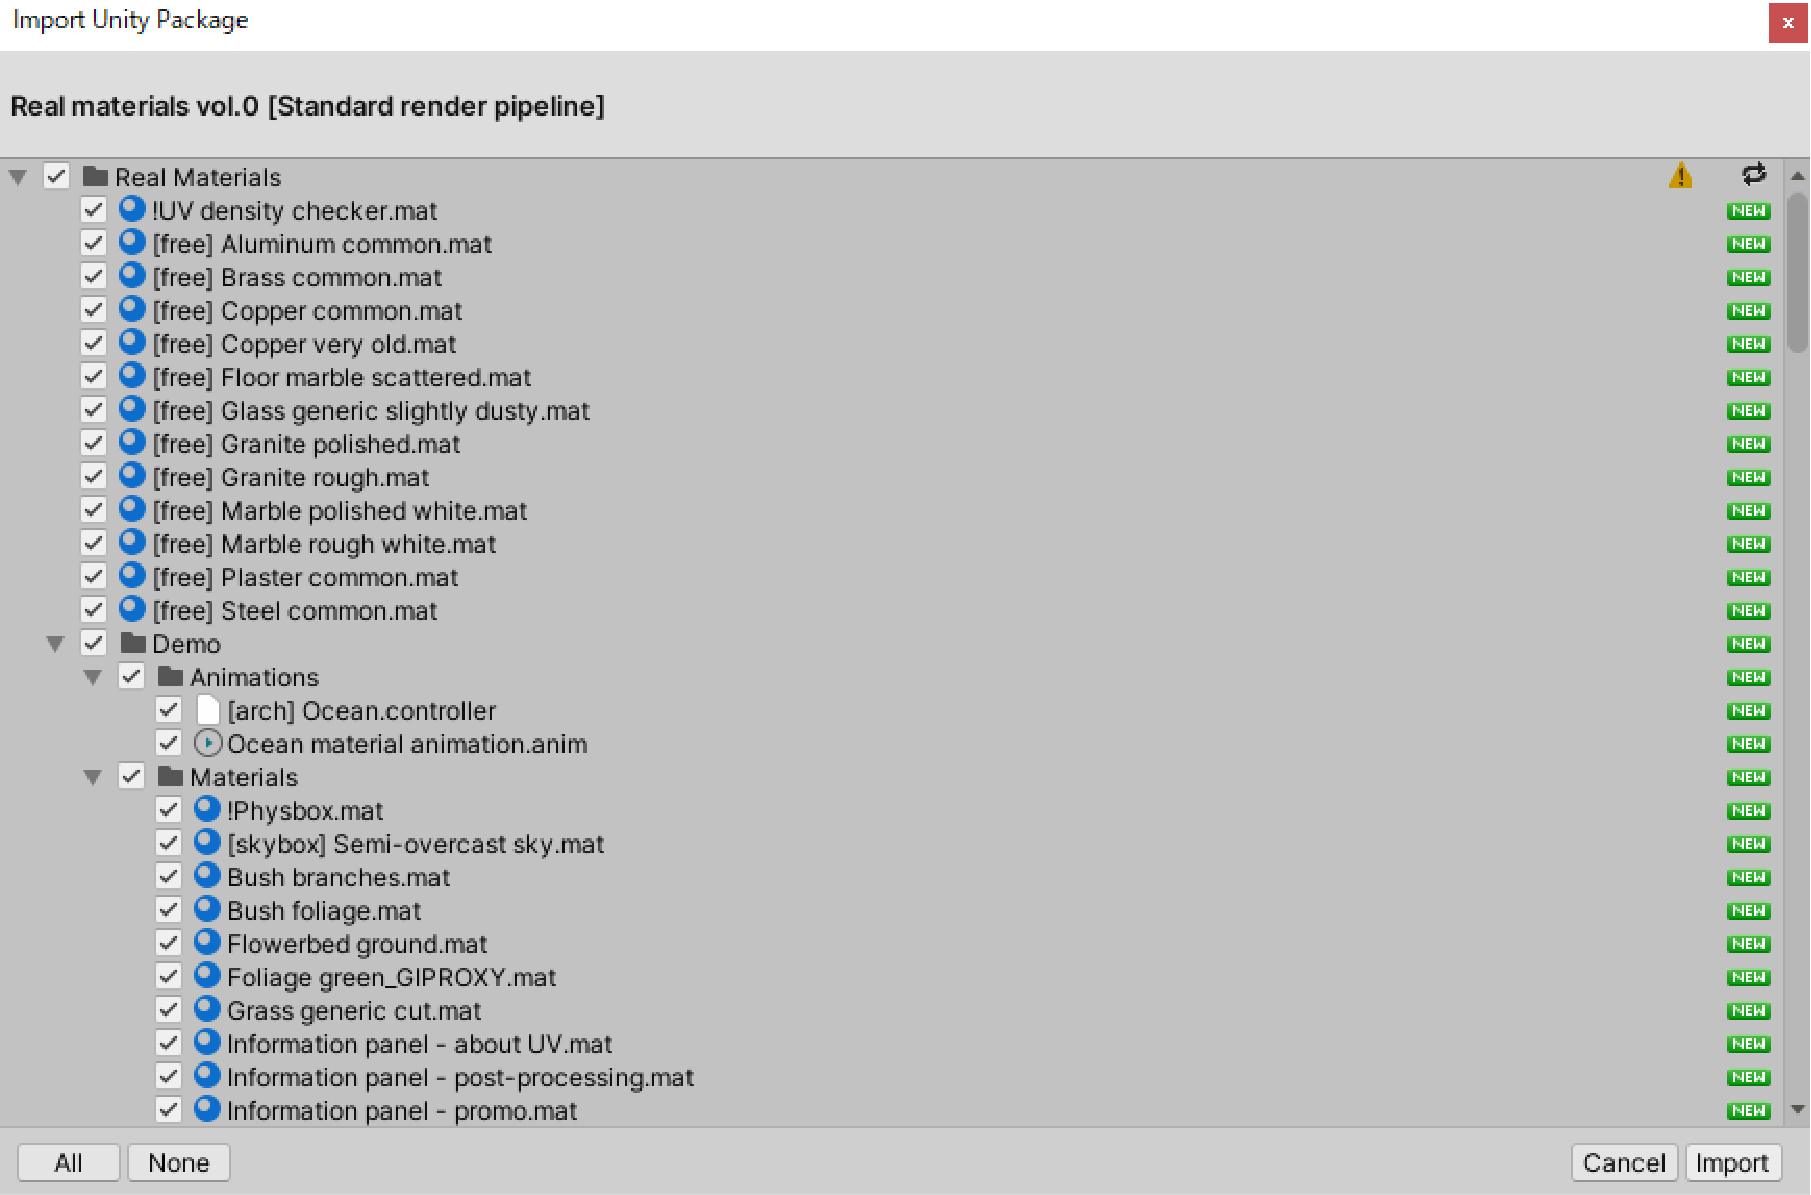
After pressing Import, a confirmation screen will appear for the assets you want to import into your project.
In the Real Material package, the data is imported as a unitypackage.
You will see data from three different unitypackages: [High definition render pipeline], [Standard render pipeline] and [Universal render pipeline].
This is divided by material type, but the standard material [Standard render pipeline] is the one that can be used STYLY.
Uncheck the other two check marks to import the material.

Once the import is complete, the Unitypackage will be saved in your project.
When you click on it, you will see a confirmation window for the asset you are importing.
Don’t make any changes here, let’s just import it.
It may take some time to unpack.
Once the deployment is complete and the materials are displayed, you’re ready to go.
Introducing real materials
Before we get started, let’s see what we can do with it.
Open your demo scene.
Open the scene file “Vol.0 showcase – free stuff” in your DEMO folder.
You will see a demo scene using the materials in the Real Material folder.
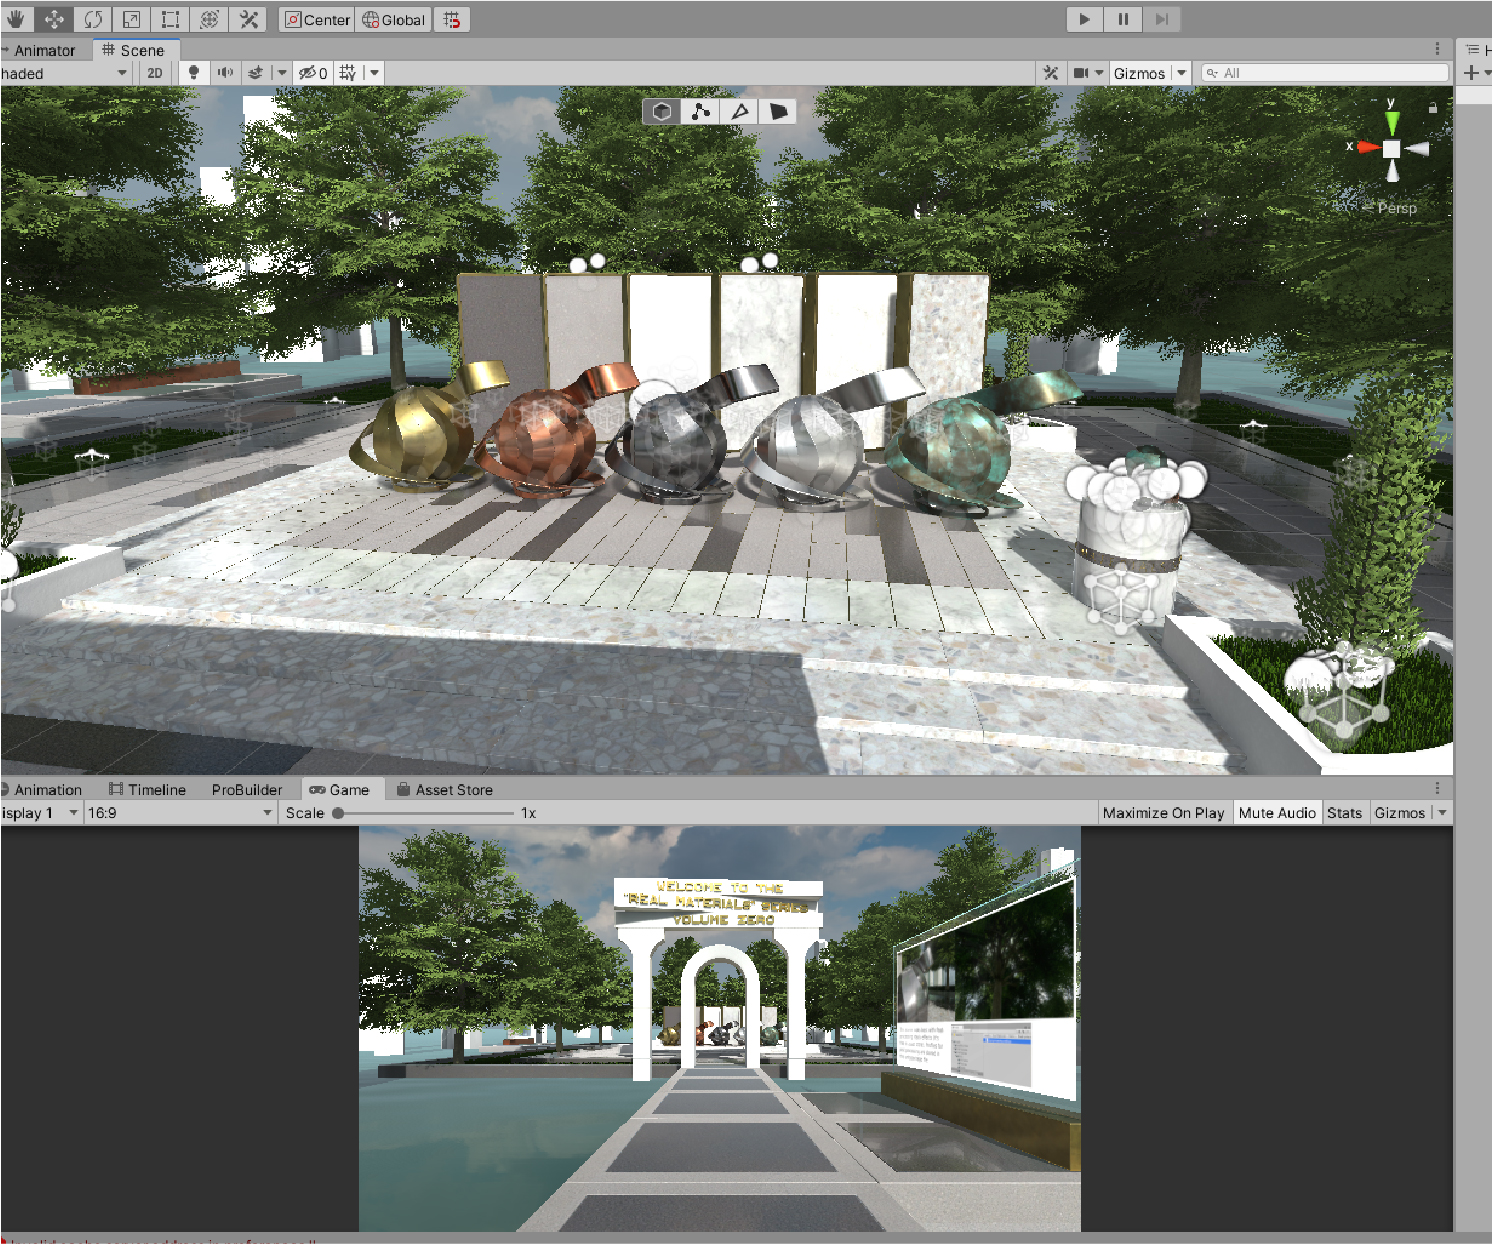
When you play the scene, you will be able to control the camera in the game window.
Look at the different 3D models as you move around.

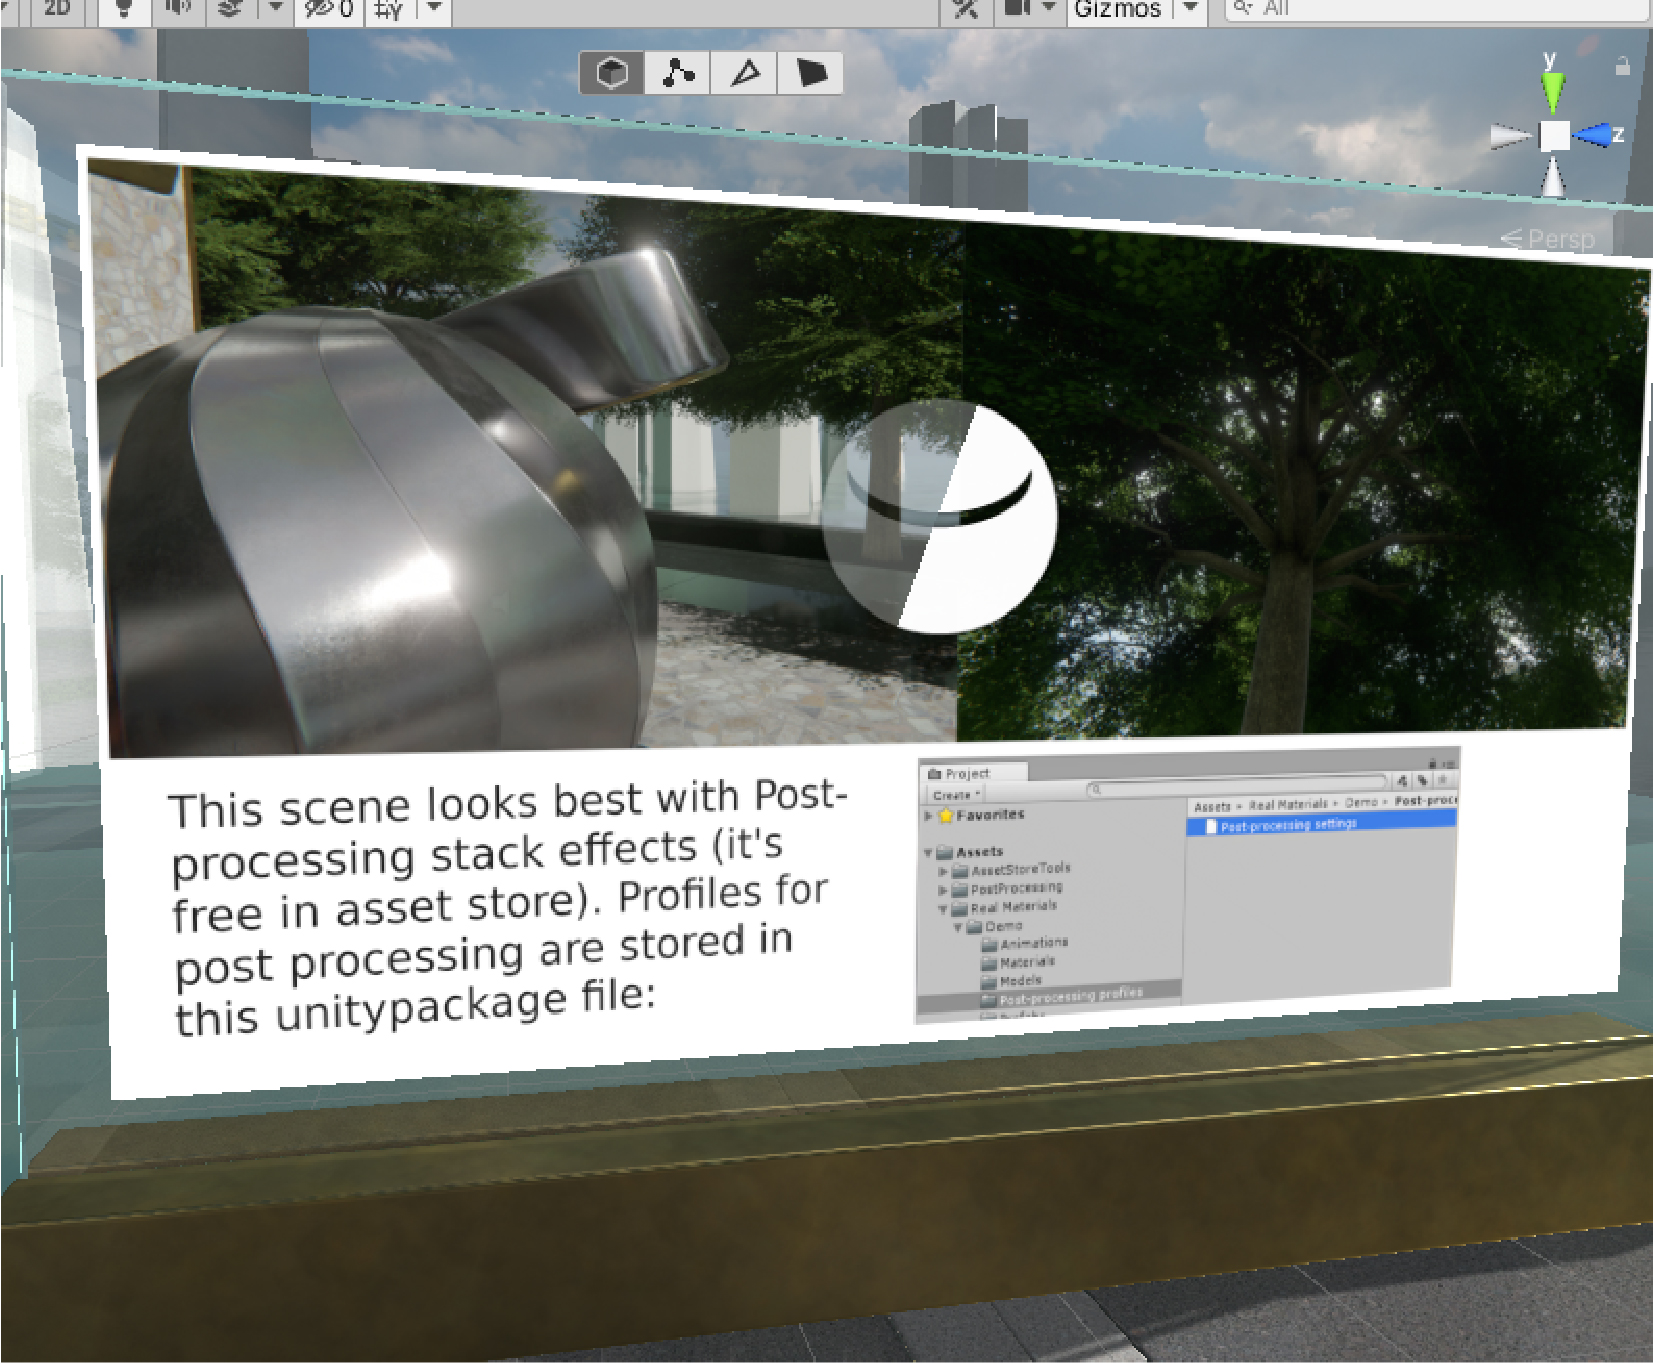
The sign at the entrance says that Post Processing is the best way to get the best view.
Let’s install Post Processing.
For instructions on how to implement Post Processing, see the following article.
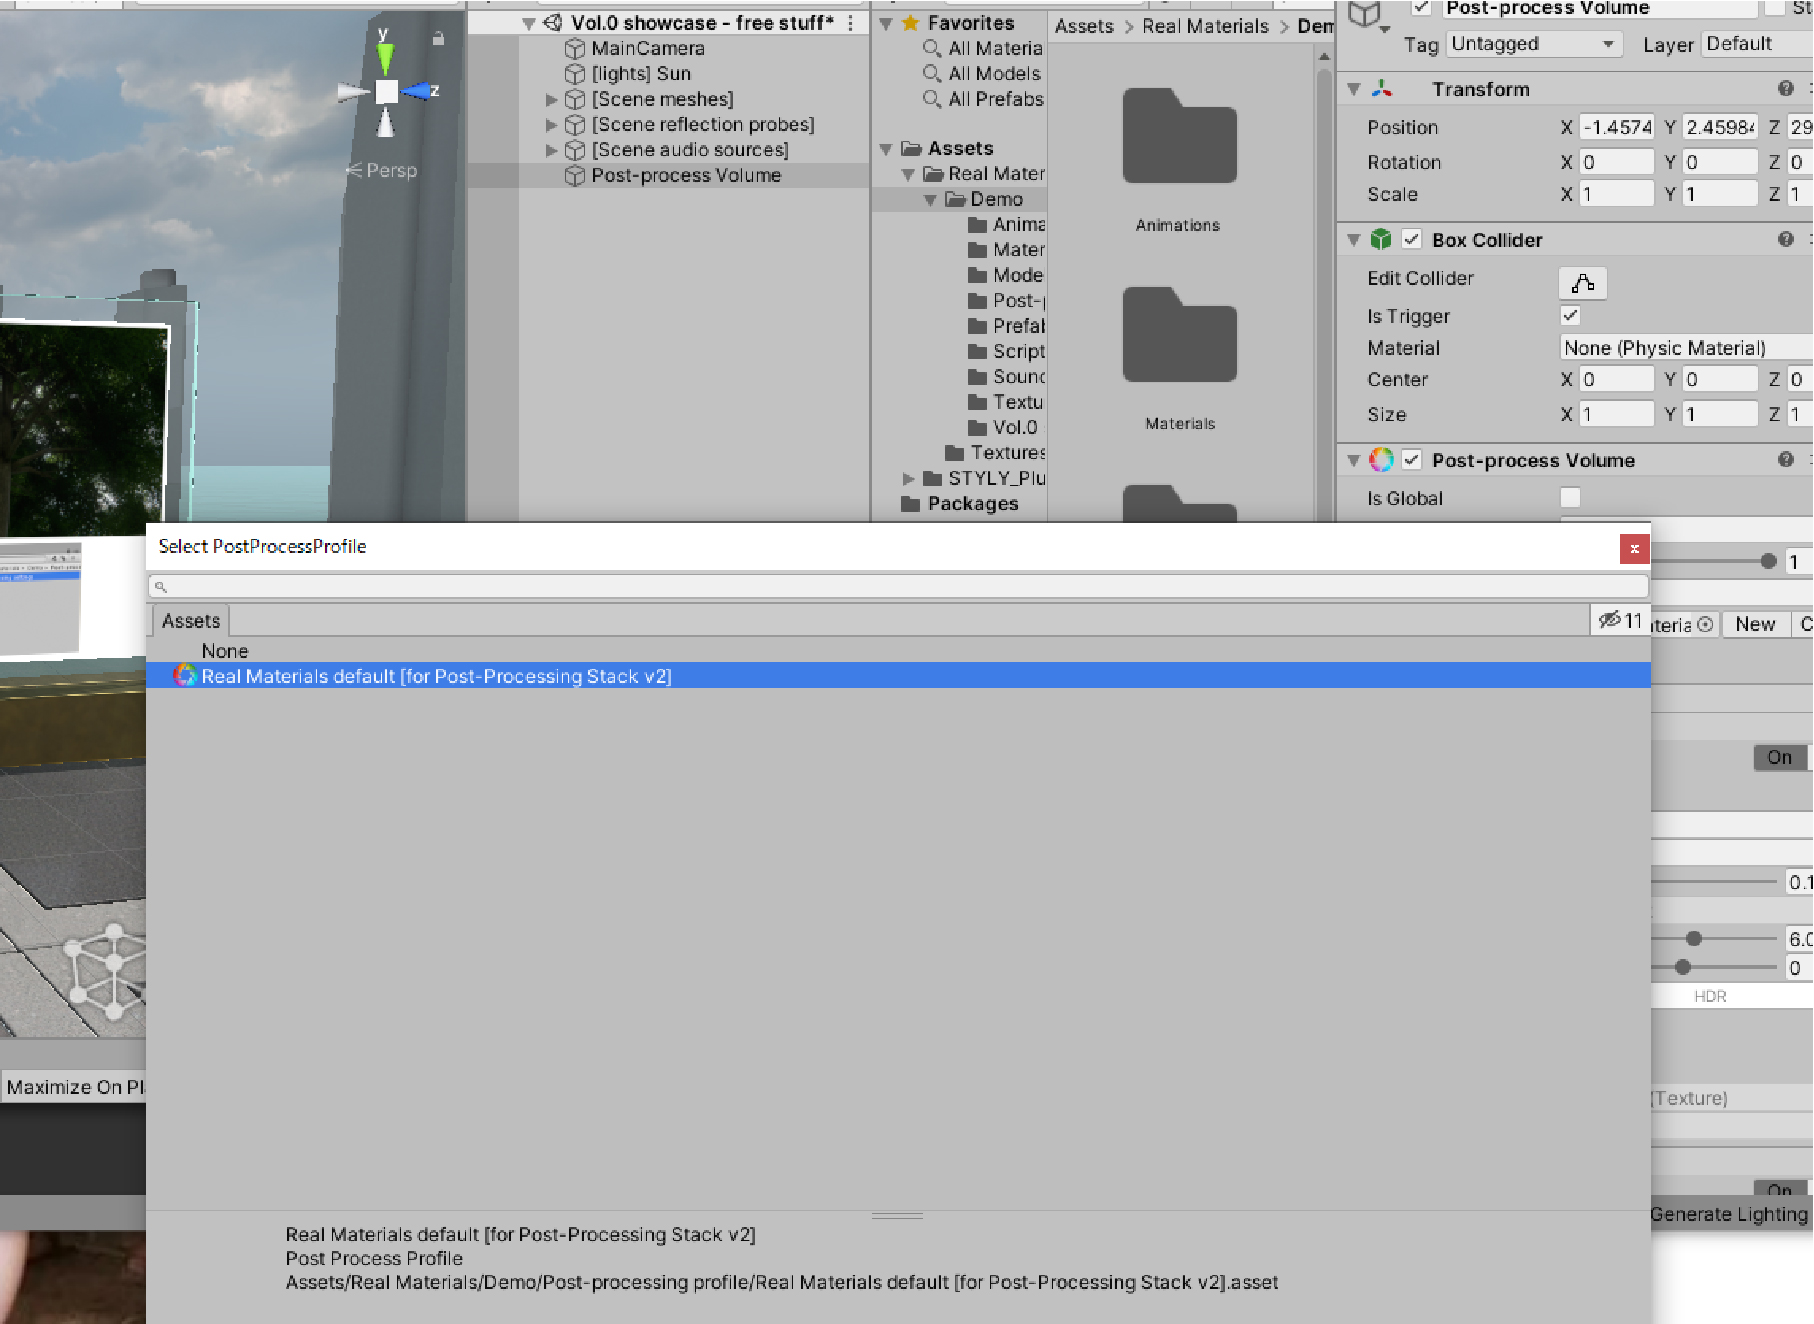
Post Processing was introduced, and Post Processing Volume introduced pre-prepared profiles in the real material.
Post Processing has been introduced to allow deeper rendering.

You can now use real materials to create high quality material representations.
Let’s try using real materials in real life!
Creating Scenes
Let’s create a simple scene using real materials.
Preparing Objects
Start a new scene and prepare the objects in the scene.
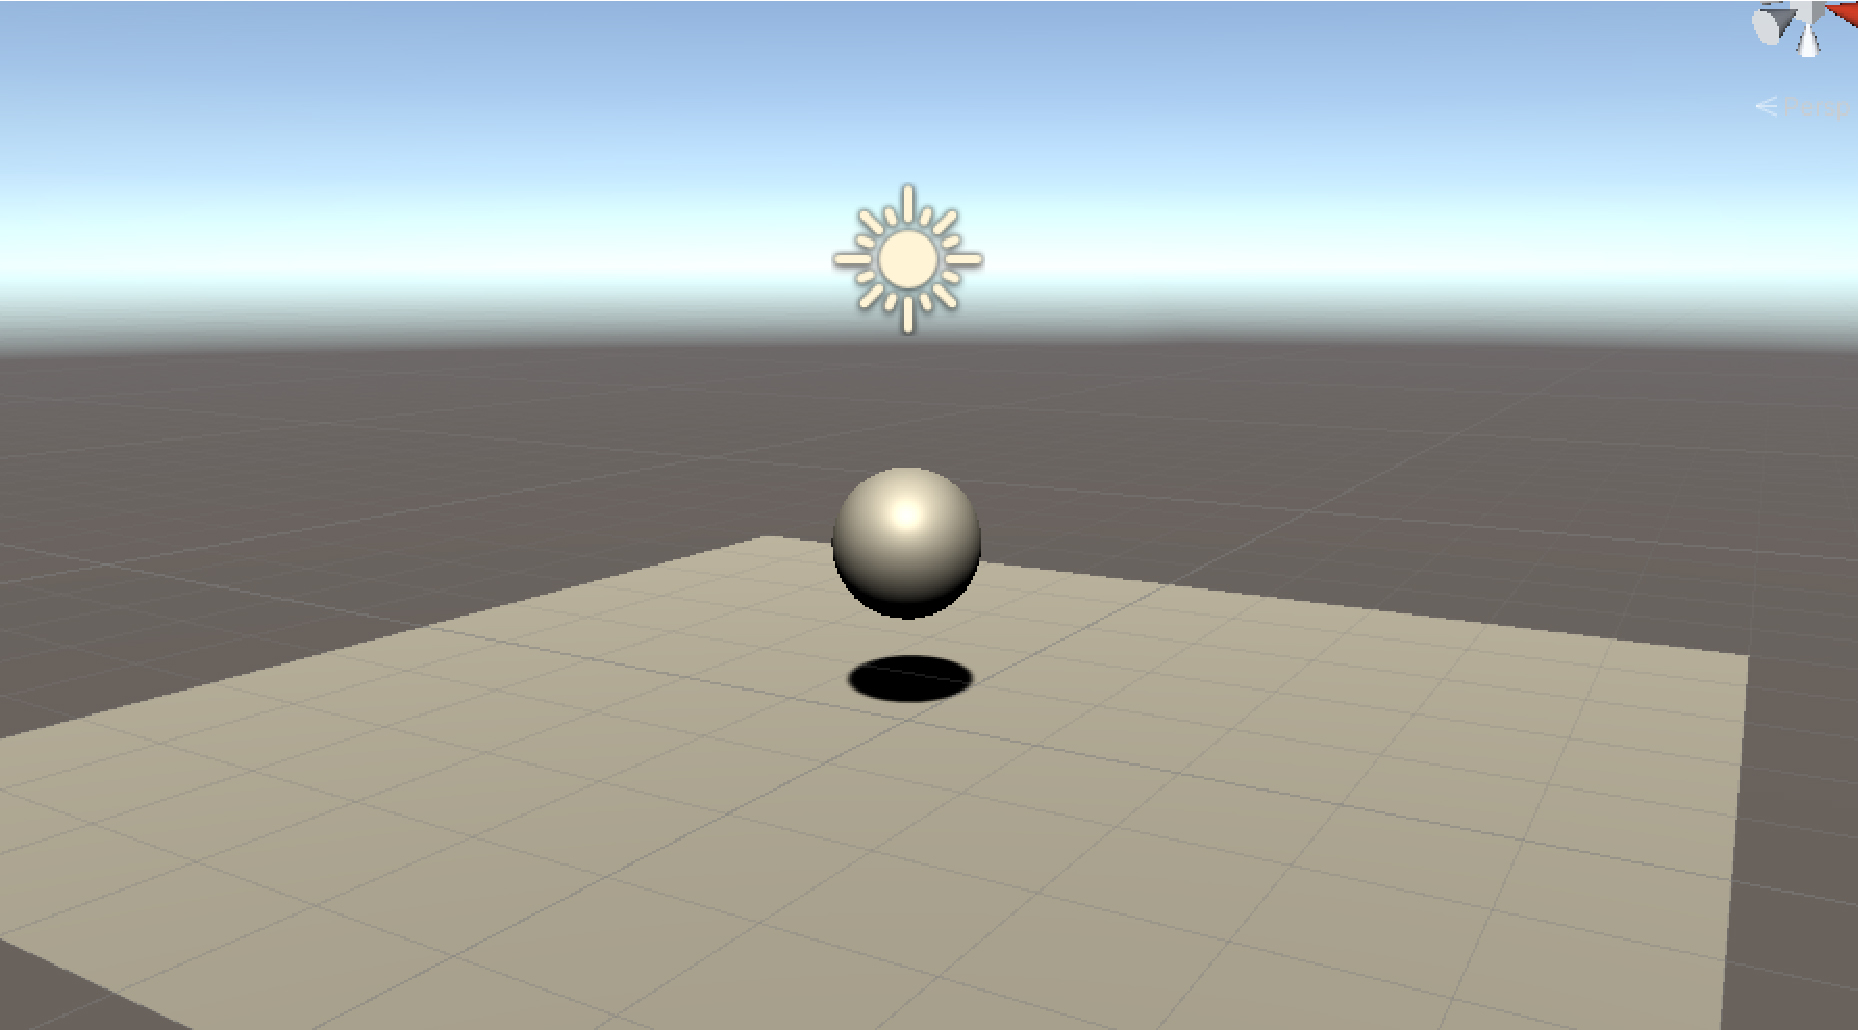
Right click in the Hierarchy window (we will call it “Hierarchy”) and prepare the Plane and Sphere. Place them in the desired location.
Apply a real material. Drag and drop the material and apply it to the object.
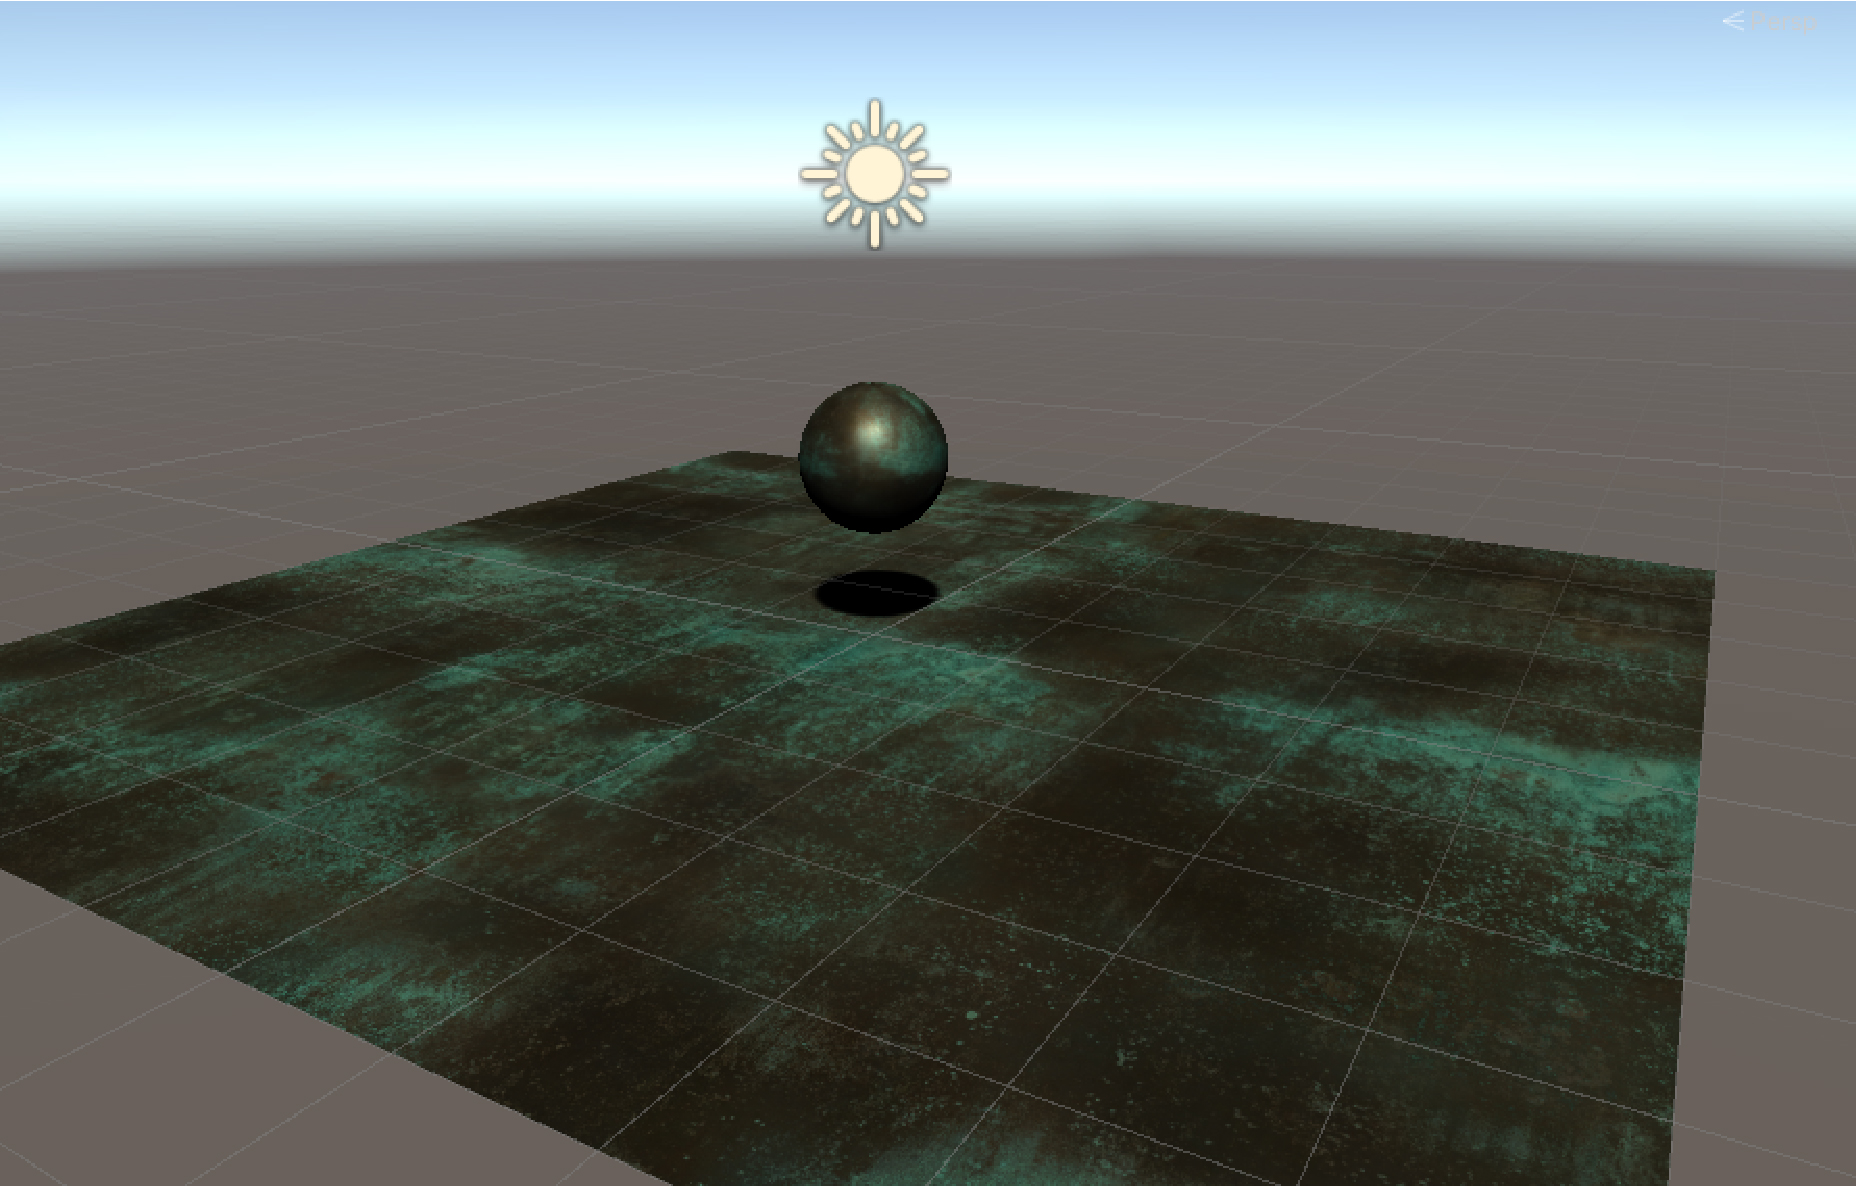
Copper very old (copper with rust)

stone paving
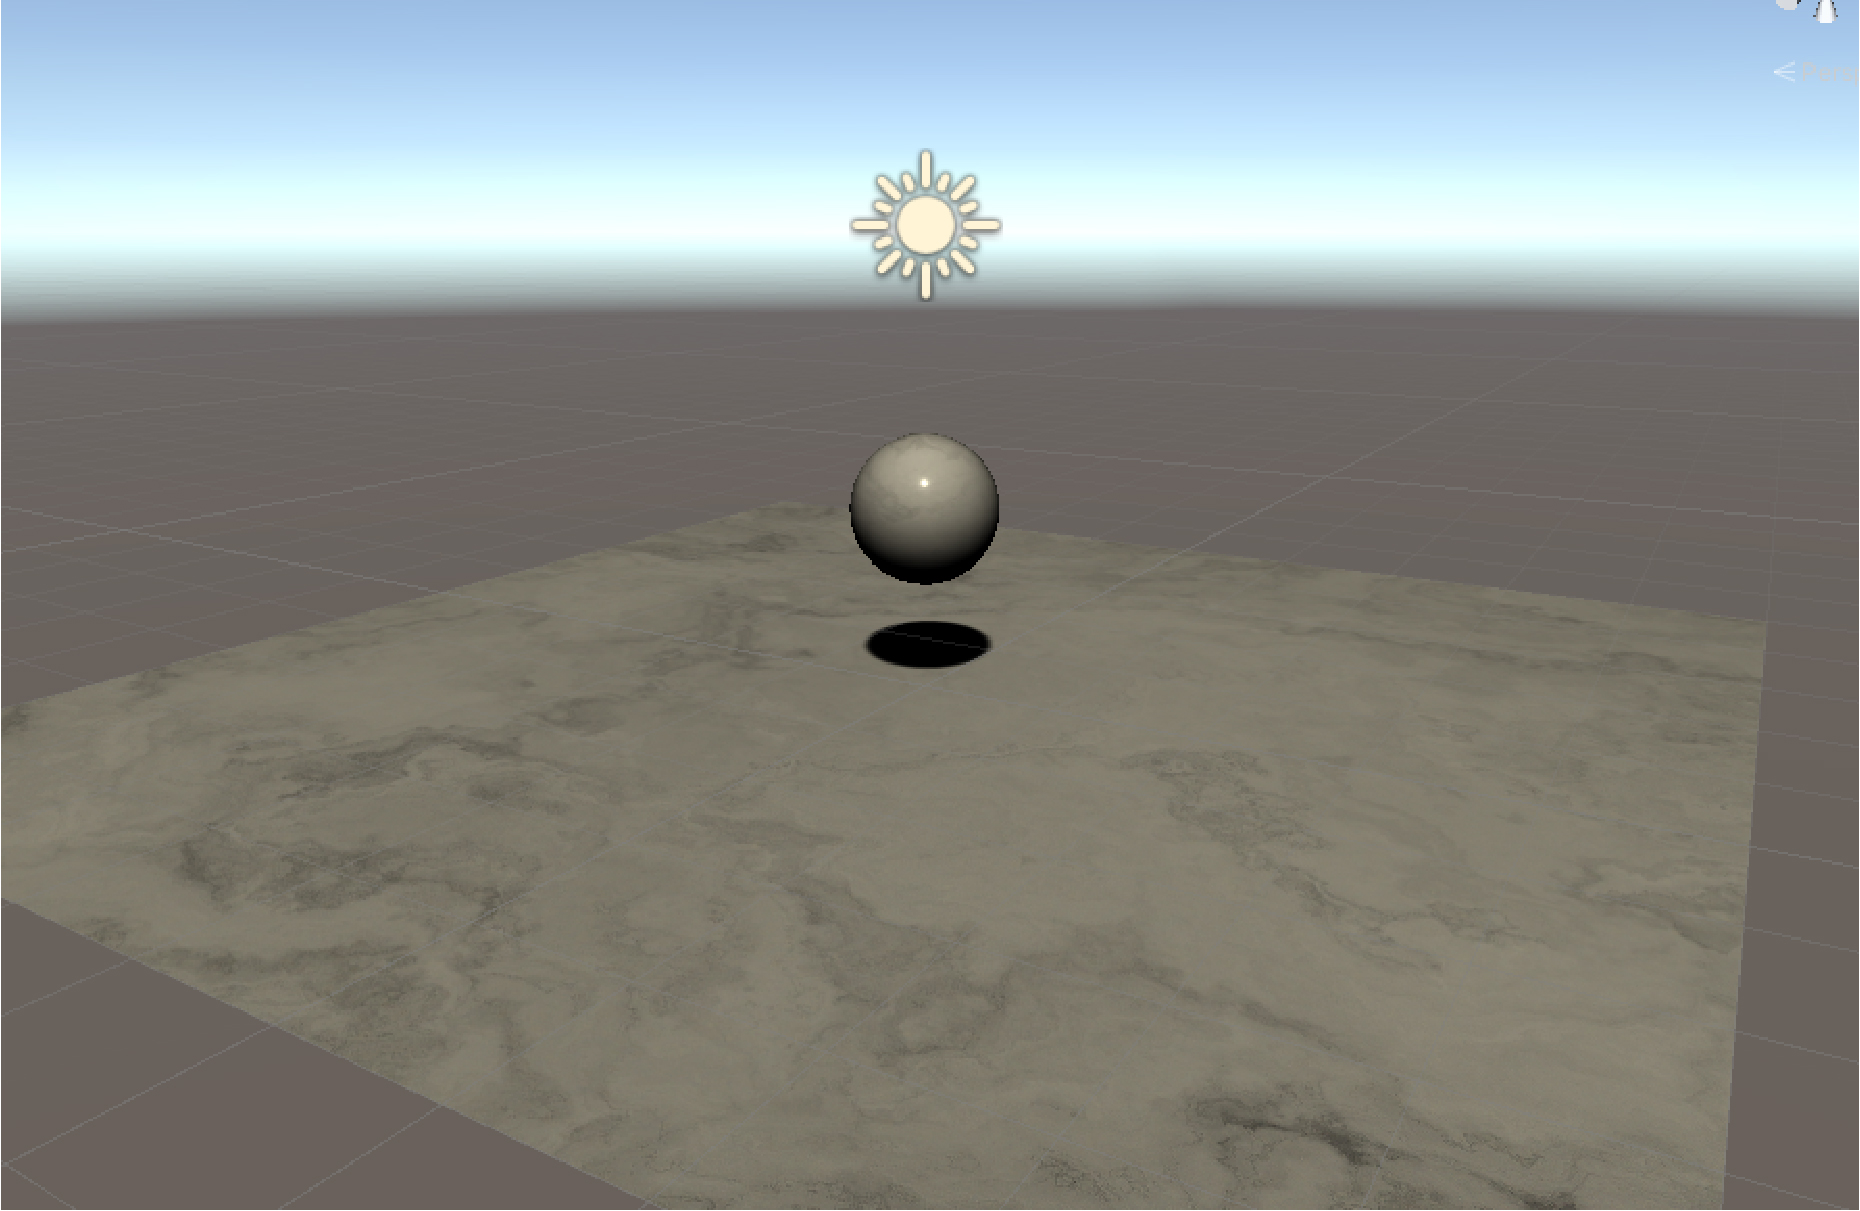
marble
You can easily apply materials like this to get a realistic look.
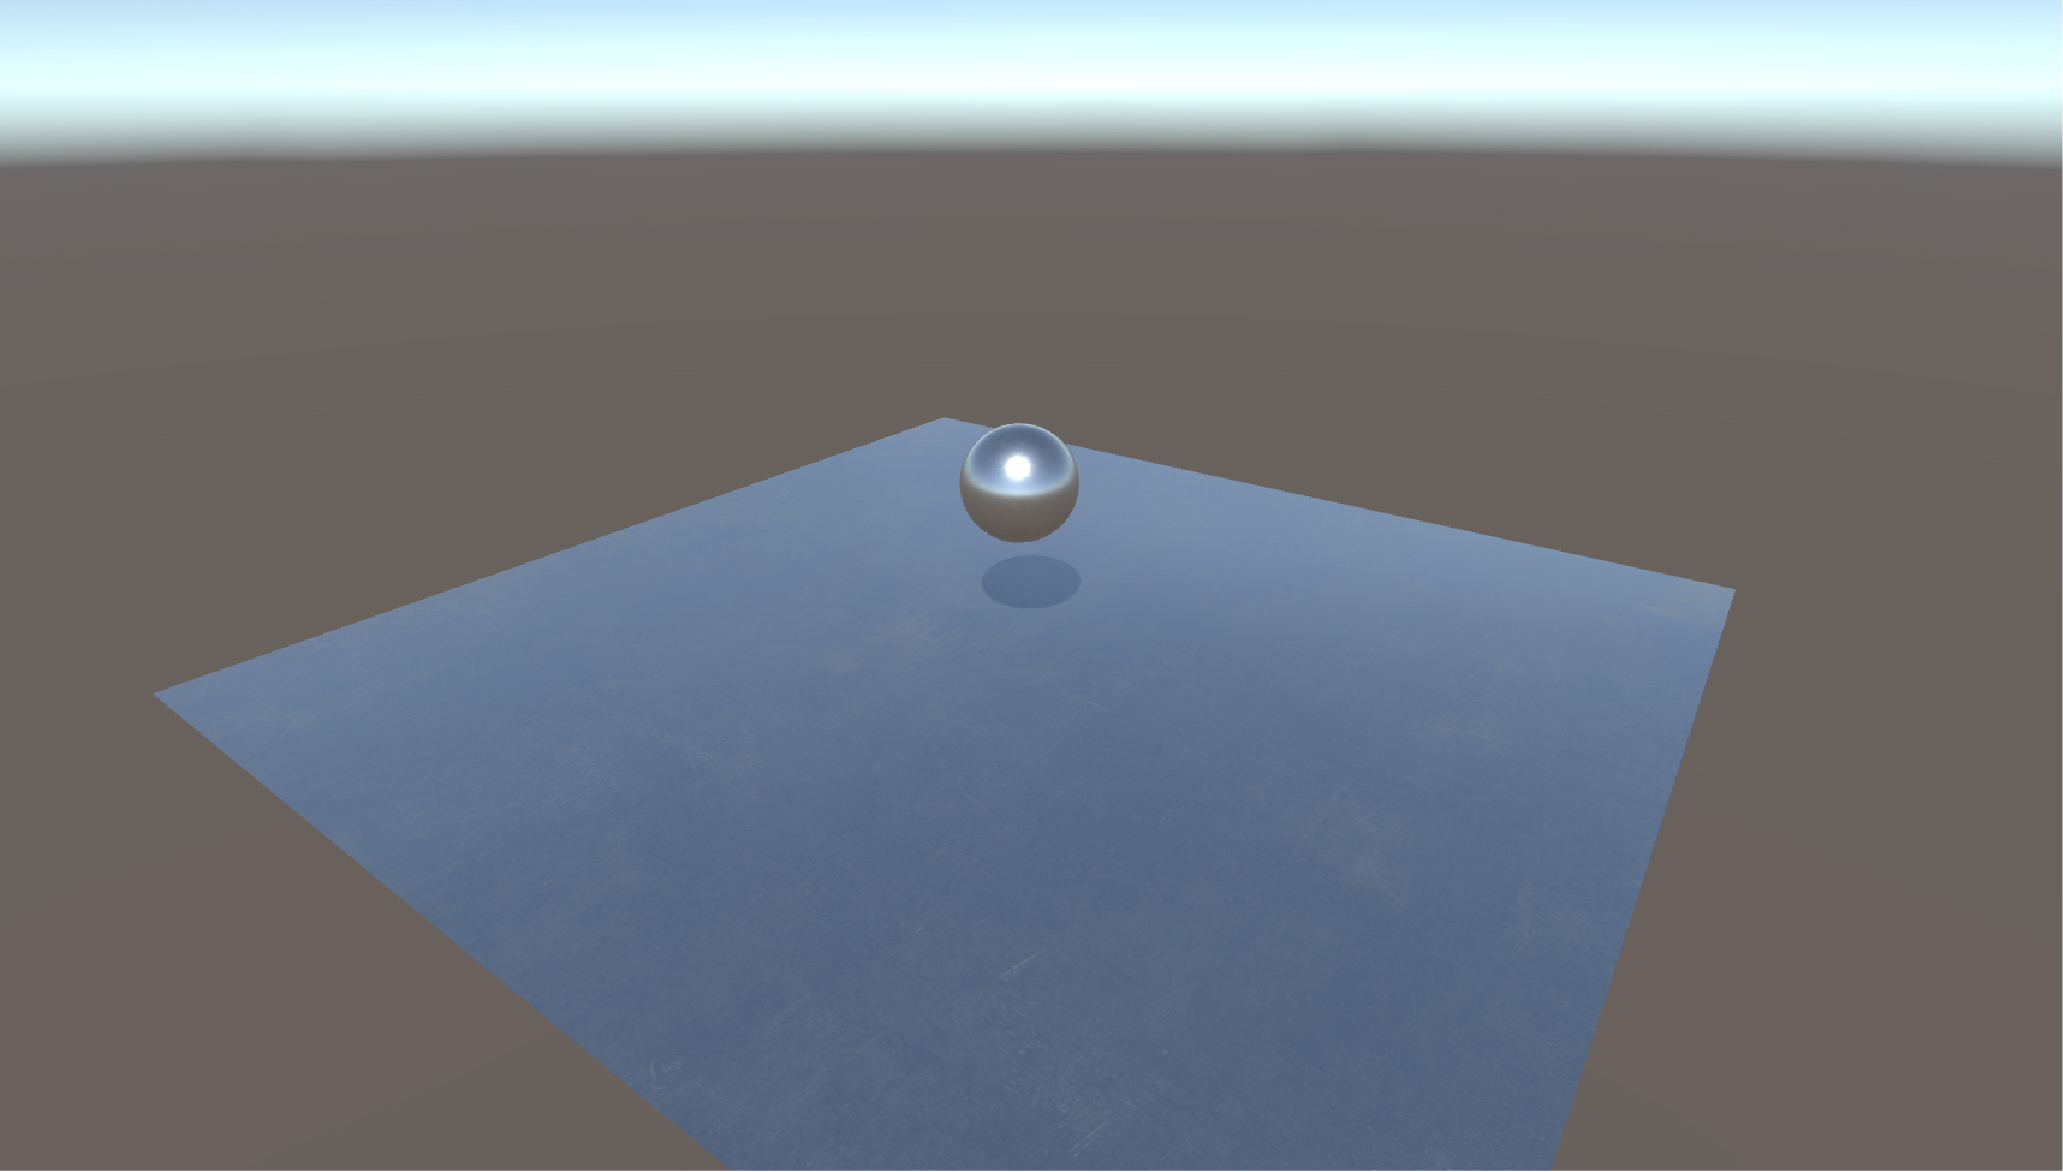
However, if you apply Alminium or Steel, it will be completely black.
If you are using Aluminium or Steel, there is a need to set up a Reflection Probe.
Let’s set up a Reflection Probe with the material applied.
Refer to the following article to set up a Reflection Probe.

When a Reflection Probe is set in a scene, surrounding objects and the Skybox are reflected in the material.
Set up Reflection Probes to enrich your real-life materials.
Place a 3D model in your scene to create a unique scene and upload it STYLY!
Upload to STYLY
Finally, upload to STYLY – if you are using a Reflection Probe, it is recommended that you upload the entire scene when you upload to STYLY.
Also, it is important to note that real material textures are large in size. We recommend reducing the size of the textures when you upload them.
Upload your 3D model to STYLY.
Create a STYLY account
How to create an account

How to upload to STYLY from Unity
