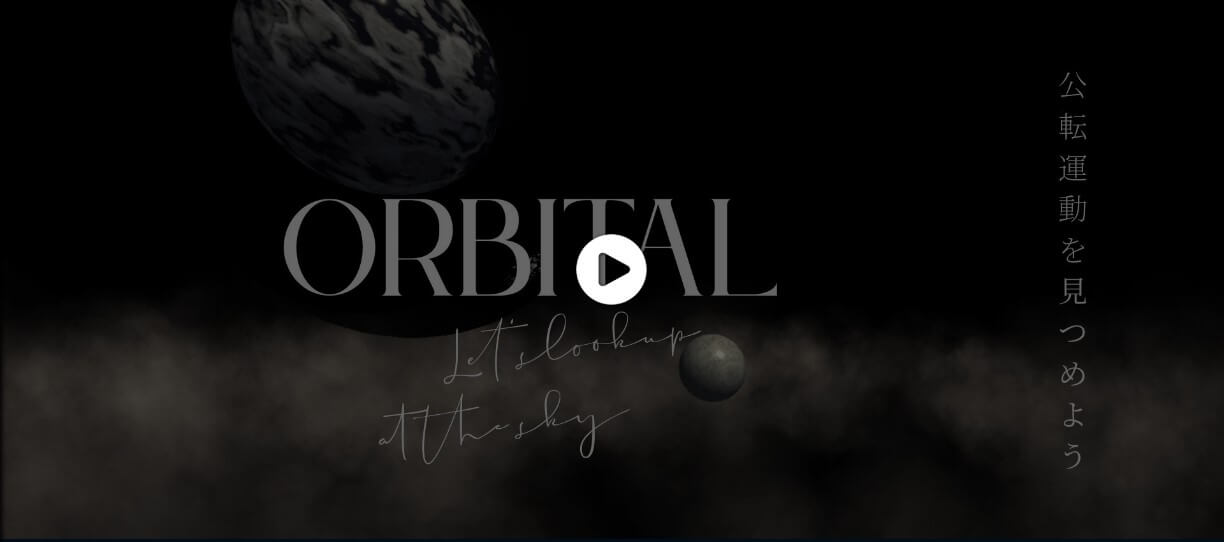
In this article I describe how to take a thumbnail image when publishing a scene in STYLY and how to upload any image as a thumbnail image.
STYLY Gallery
How to take thumbnail images
To publish a scene in STYLY Studio, click the Publish button at the top left of the scene.
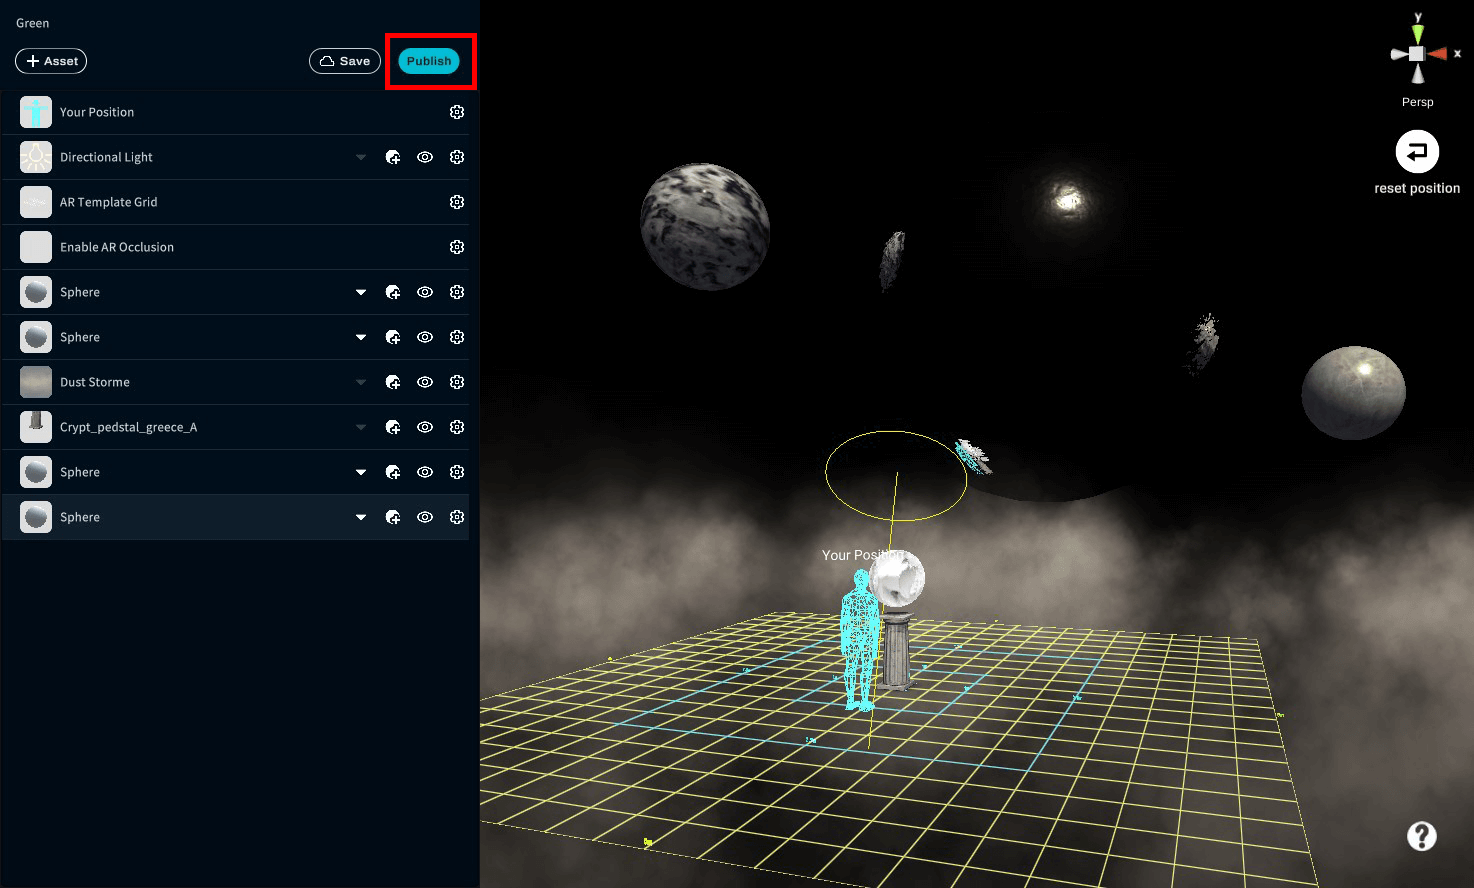
Click the “Publish” button.
The thumbnail image in STYLY Gallery will be what your scene looks like when you click the publish button.
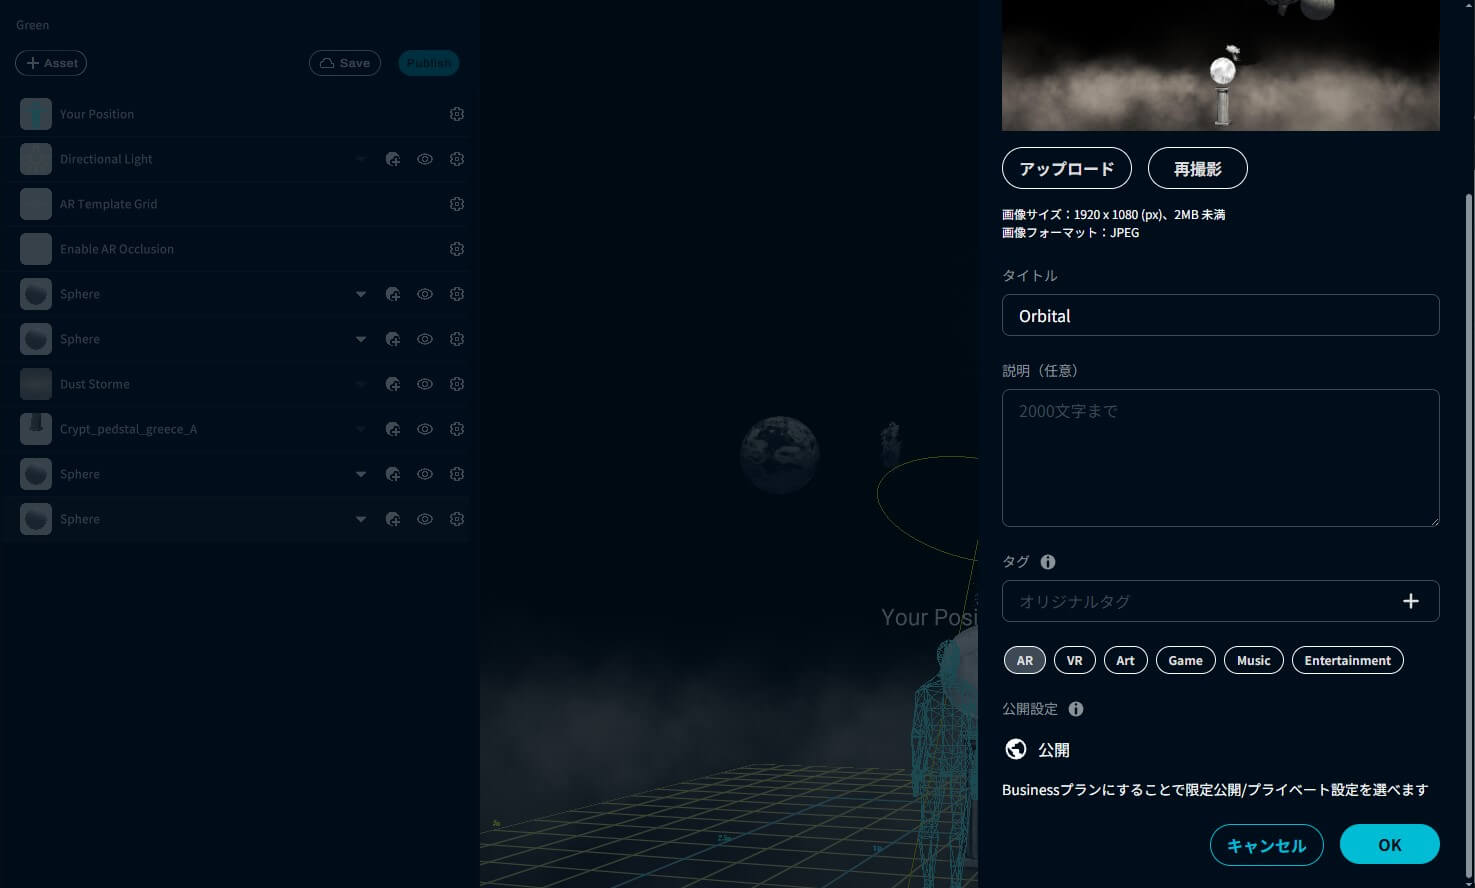
Click the “OK” button.
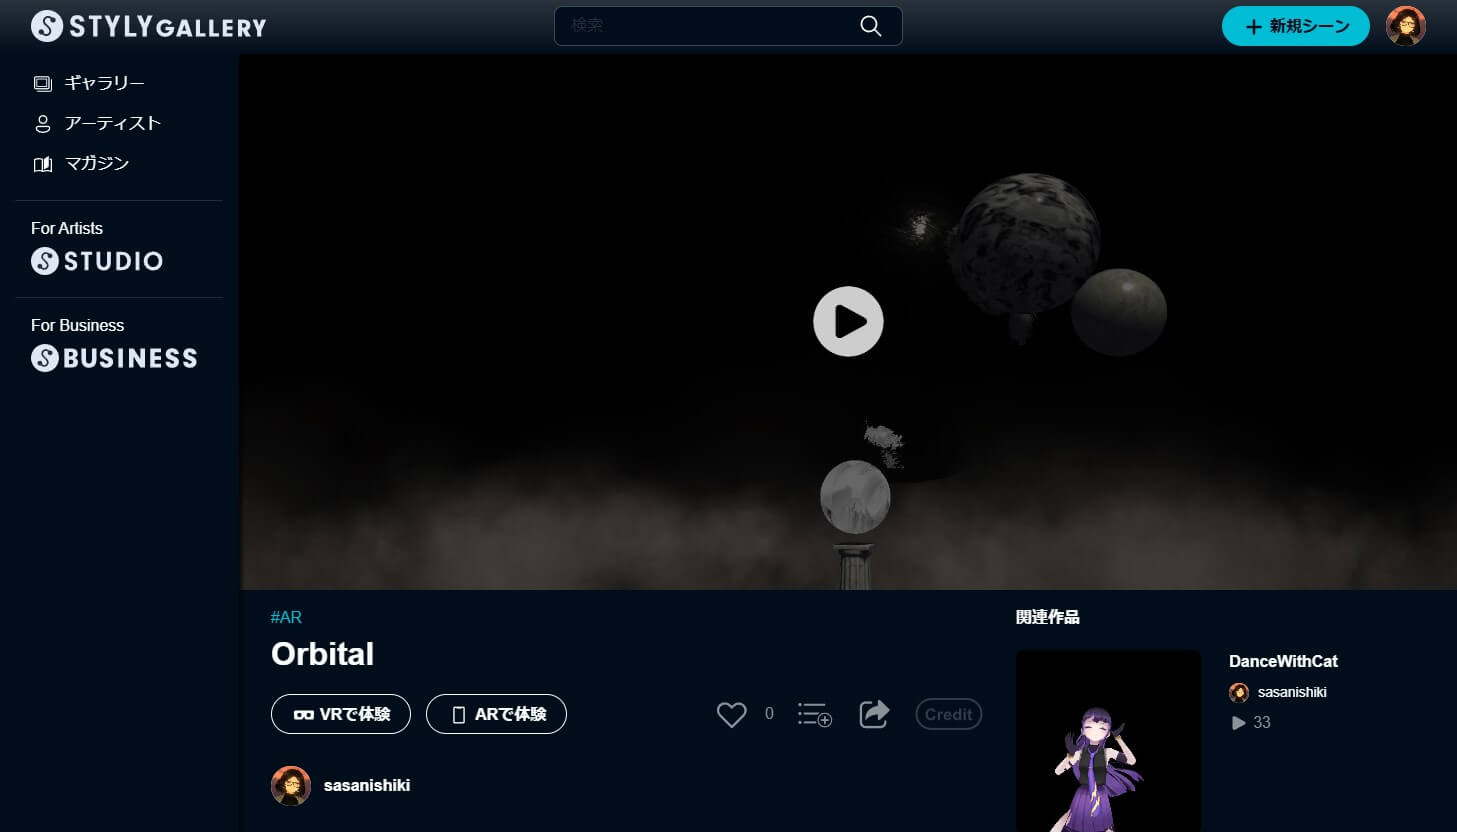
You will then see the thumbnail in STYLY Gallery along with the title and user name.
The image below shows the thumbnail of the scene when it is published in the above state.
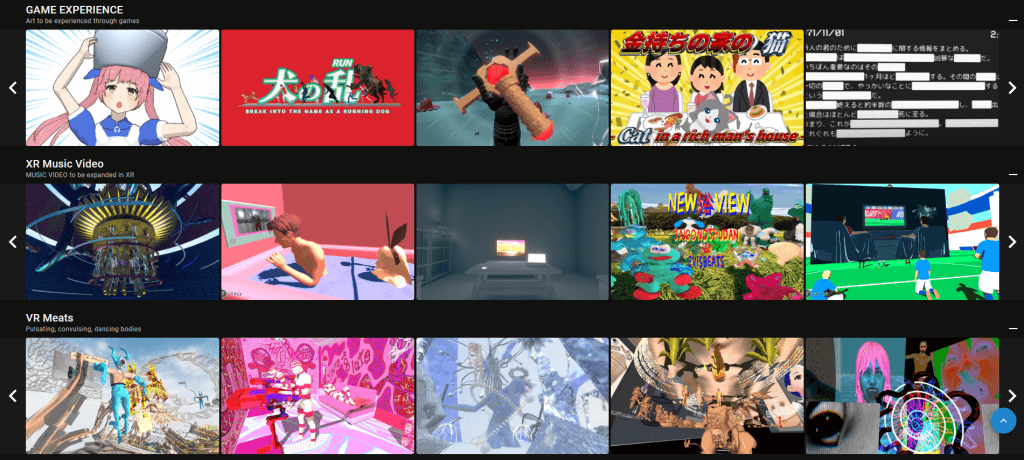
How it looks in STYLY Gallery
You can change the thumbnail to your liking by zooming in and out or moving the scene around.
Here is how some of the thumbnails were changed in the same scene as above.
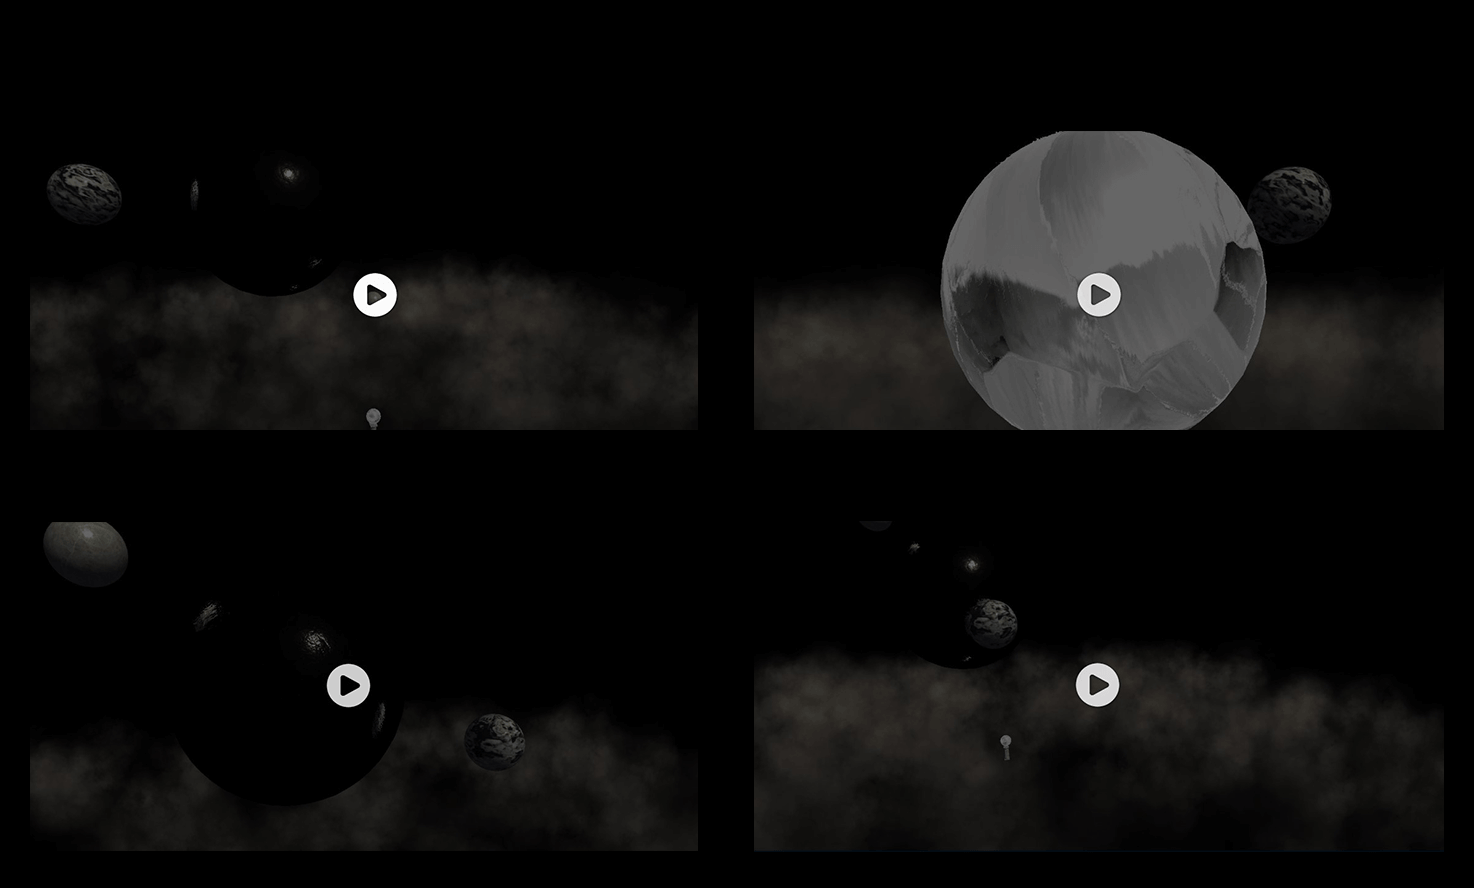
Multiple thumbnail patterns
Even in the same scene, thumbnails can give a very different impression.
Experiment with different angles and scaling to create your own thumbnails!
The next step is to upload any image as a thumbnail image.
Uploading a thumbnail image
Use an image you created yourself as a thumbnail image.
When you open My Scenes in STYLY Studio, you’ll see that published scenes have thumbnail images, while scenes in draft status do not have thumbnail images.
In this case, we will use a free design tool called Canva to create thumbnail images.
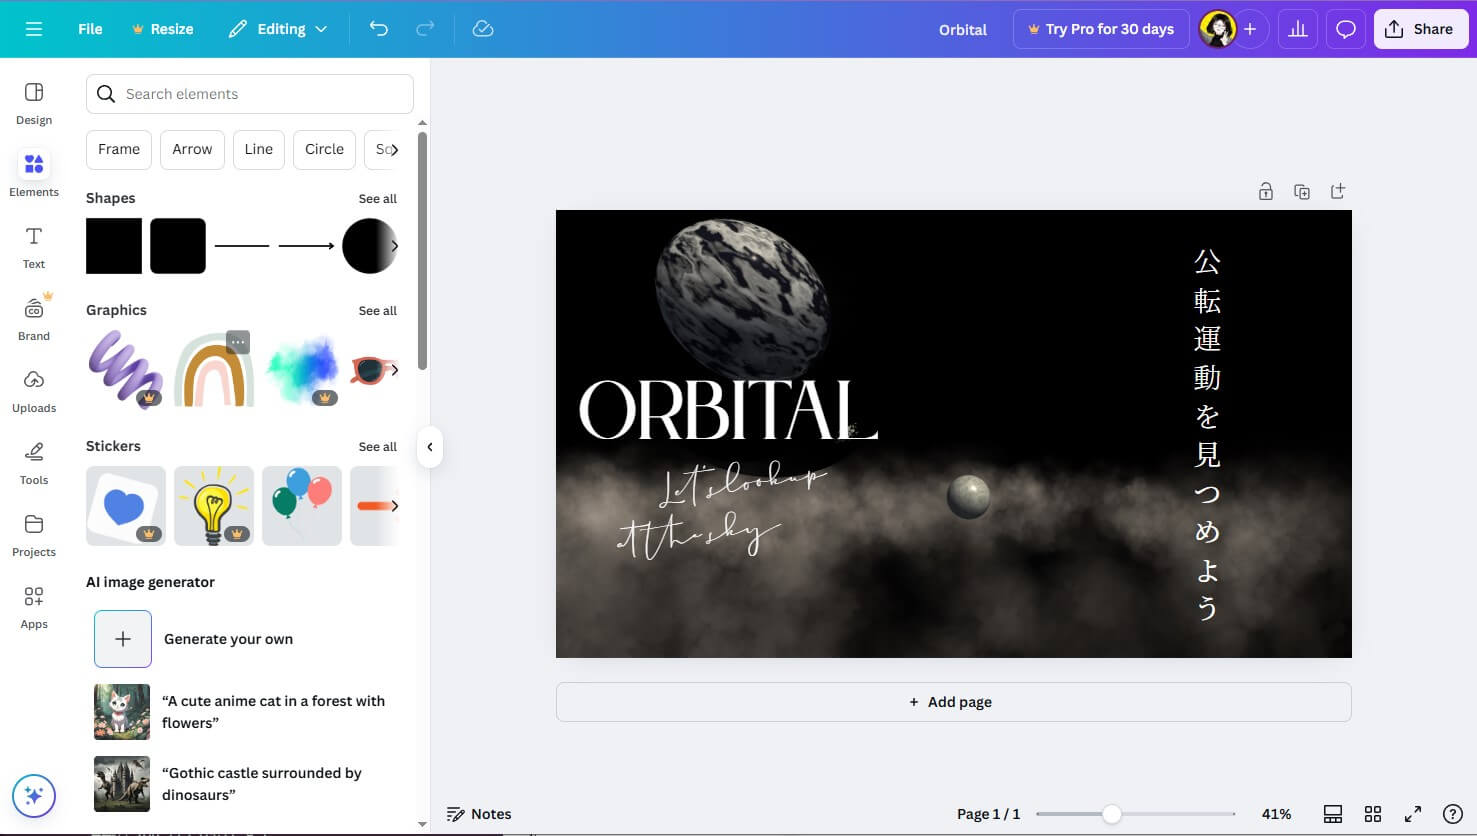
Create thumbnails with Canva
To set a thumbnail image, you need to publish a scene.
Now let’s change the thumbnail image.
Move the cursor over the scene and click “Publish Settings”.

Edit Details
The following points should be noted when using images for thumbnail images.
- The file extension must be .jpg only.
- The recommended image ratio is 1920 x 1080.
- Recommended image size is less than 1MB
If the image you want to use as a thumbnail image has a different extension such as .png, you can use the following extension converter to convert it to .jpg.
URL:https://png2jpg.com/
If the image size is not 1920 x 1080, use an image resizing site like the following to convert it to 1920 x 1080.
URL:https://www.iloveimg.com/resize-image
Click the thumbnail to select a new thumbnail image.
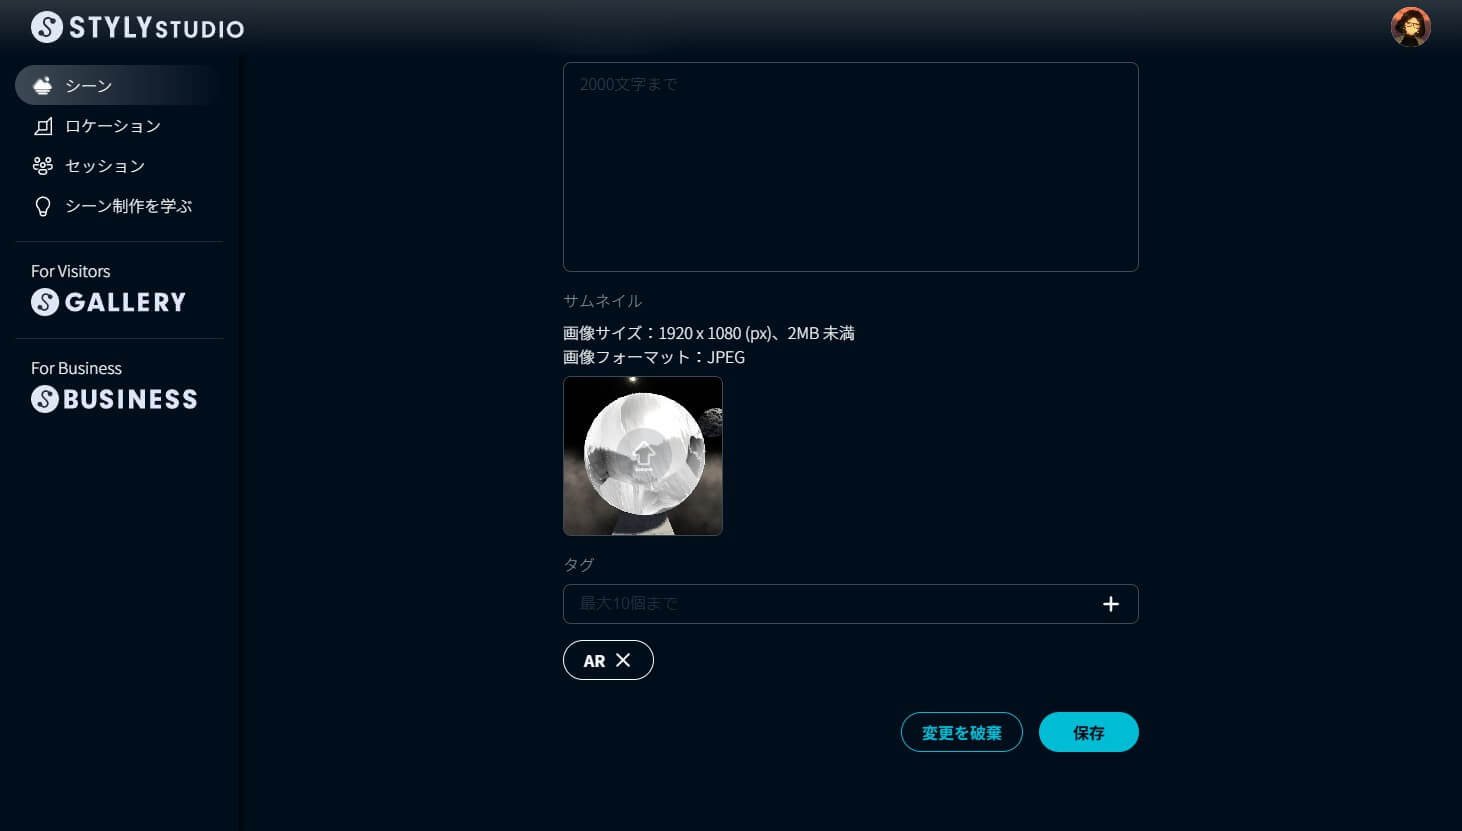
Set thumbnail image
Once you have set a new thumbnail image, click “SAVE” at the bottom right.
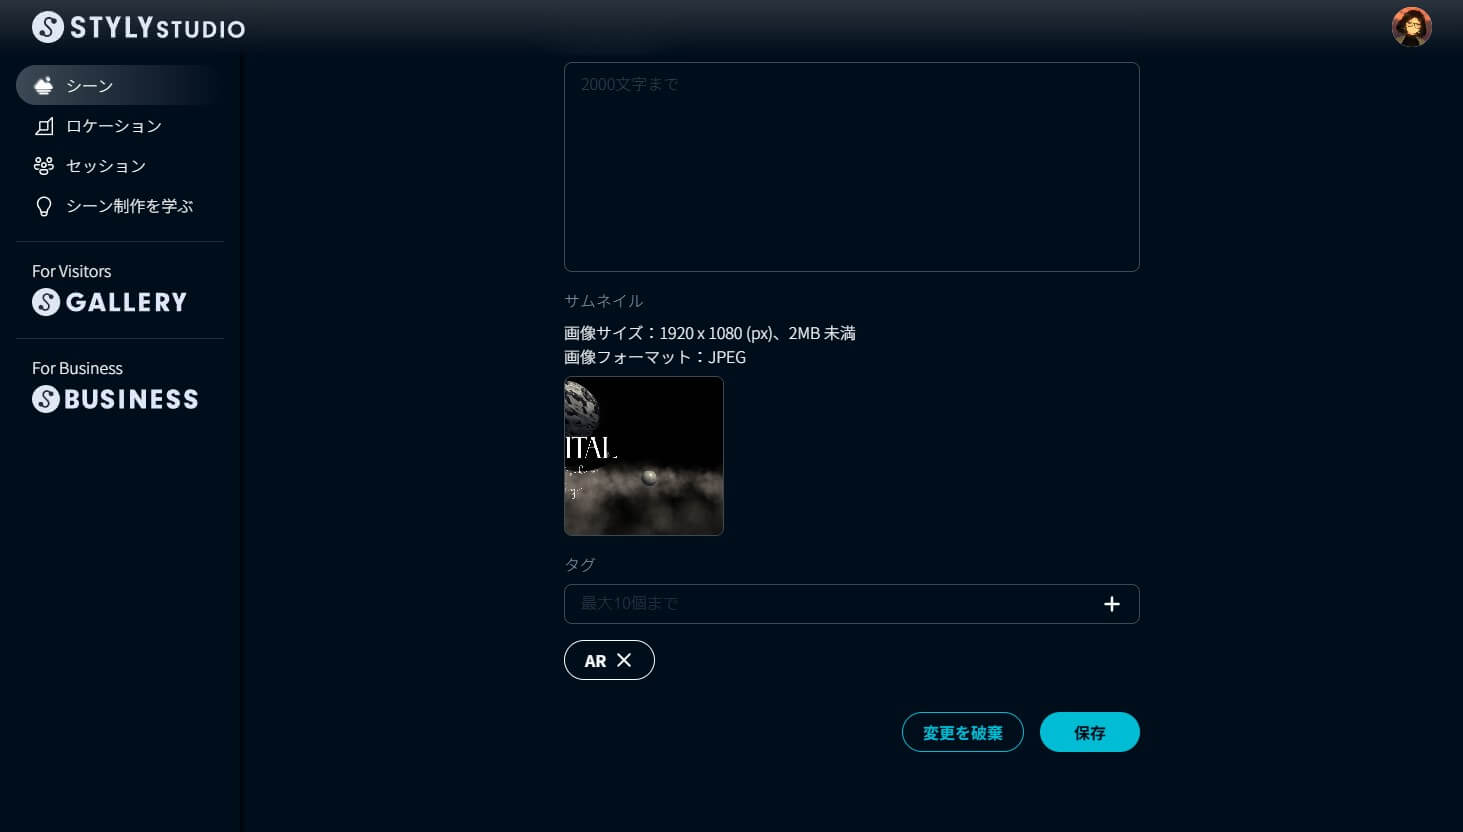
Click the Save button
The thumbnail image has been changed.
Change completed
This concludes the introduction of the two methods.
Thumbnails can make a big difference in the first impression you receive. Please try to create an attractive thumbnail so that more people can experience it!