- 1 Overview of STYLY for Vision Pro
- 2 System Requirements
- 3 Shortcut Links
- 4 Unity Setup Guide for STYLY for Vision Pro
- 5 How to Upload Unity Content to STYLY for Vision Pro
- 6 How to Update / Edit / Delete Uploaded Scenes
- 7 How to View a List of Your Own and Other Creators’ Scenes
- 8 How to Request a Feature on the STYLY for Vision Pro App
- 9 Xcode visionOS Simulator Setup Guide
Overview of STYLY for Vision Pro
STYLY for Vision Pro is an application that allows you to create and distribute MR content on Apple Vision Pro. Content creation is done using Unity. Please note that it is not compatible with other STYLY platforms, so those who have used the existing STYLY should be aware.
- Content created for STYLY for Vision Pro is not compatible with other STYLY platforms. The distribution system differs from STYLY VR and the STYLY Mobile App, and content created for one cannot be experienced on the other.
- Unlike the conventional STYLY, STYLY for Vision Pro does not provide a web-based content creation tool. Please use Unity to create content.
- The content gallery of the STYLY app is now based on a whitelist. Submission and review are required (form under preparation).
- Content uploaded will be publicly available. Do not upload content that you do not wish to make public.
To upload content from Unity to STYLY for Vision Pro, use the STYLY Spatial Layer Plugin for Vision Pro.
System Requirements
・Unity
Please check the compatible versions here.
The STYLY Spatial Layer Plugin for Vision Pro supports both Windows and Mac. However, the created content can only be experienced on Apple Vision Pro or a Mac equipped with Apple silicon.
Shortcut Links
- STYLY for Vision Pro (App Store)
- STYLY Spatial Layer Plugin for Vision Pro
- Website of STYLY for Vision Pro
Unity Setup Guide for STYLY for Vision Pro
Supported / Unsupported Features of STYLY Spatial Layer Plugin for Vision Pro
Supported Features
- Mixed Reality mode: Bounded Volume, UnBounded Volume
- Standard URP shaders: Lit, Simple Lit, Unlit, and some supported Unity package shaders
- Visual scripting
- Basic features such as Timeline, Animator, Animation, and Audio Clips
For more details, refer to the Supported Unity Features and Components page.
Unsupported Features
- Fully immersive VR, windowed apps
- C# scripts
- Custom shaders
- Visual Effect Graph
- Post Processing Stack
How to Install the Recommended Version of Unity
With Unity Hub installed, download the latest Unity version for STYLY Spatial Layer Plugin for Vision Pro.
You can check the latest version from STYLY-Spatial-Layer-Plugin.
If you’re using a Mac with M1, M2, M3, or M4 chip, install the version labeled as Silicon.
If you’re using Windows or an Intel Mac, install the version labeled as Intel.
In the module selection screen, check the following module and click Continue.
・visionOS Build Support
Only visionOS Build Support is needed
Installation will begin.
How to Create a Unity Project for STYLY for Vision Pro
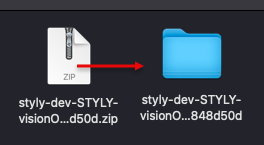
Download the Unity Template Project that includes the STYLY visionOS Plugin.
Unzip the downloaded zip file.
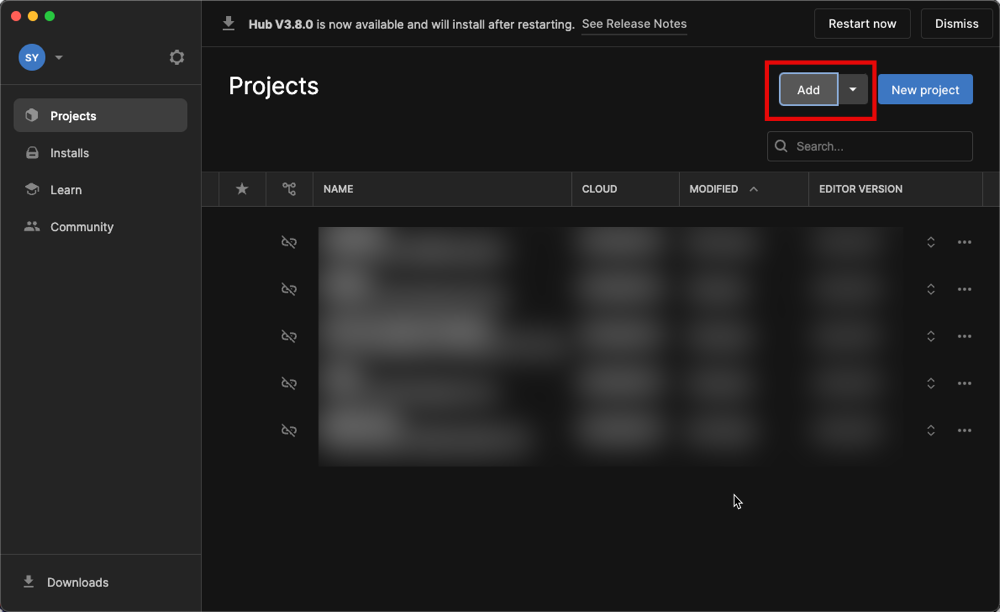
Open Unity Hub and click the Add button on the Projects screen.
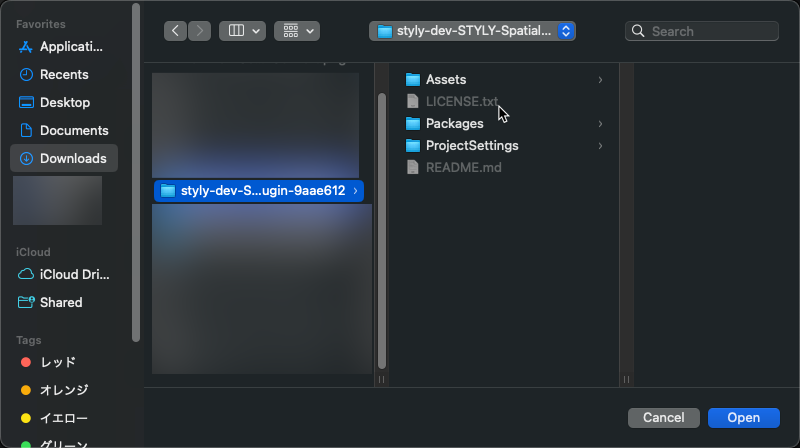
Select the unzipped folder and click the Open button.
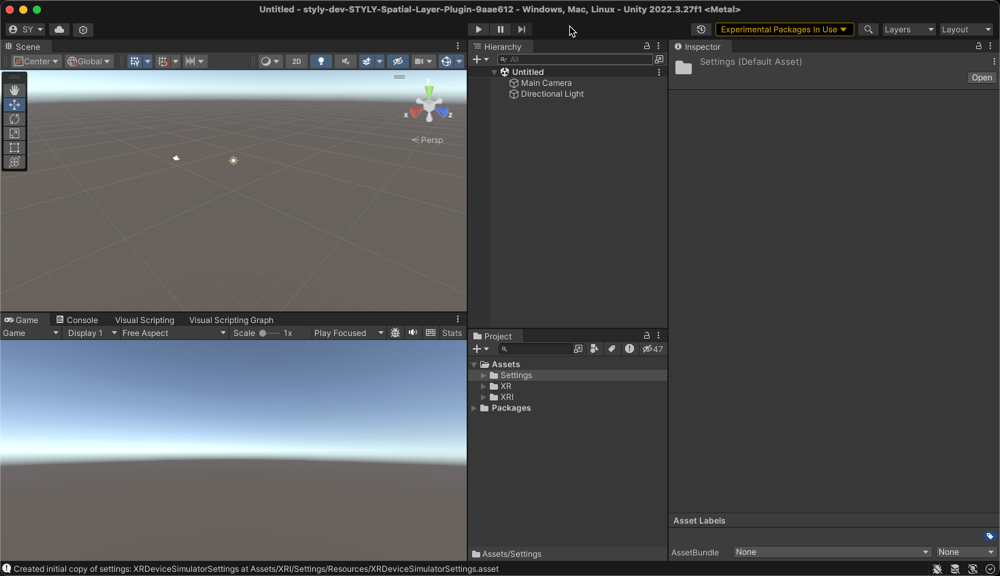
Once Unity launches, you’re all set.
How to Upload Unity Content to STYLY for Vision Pro
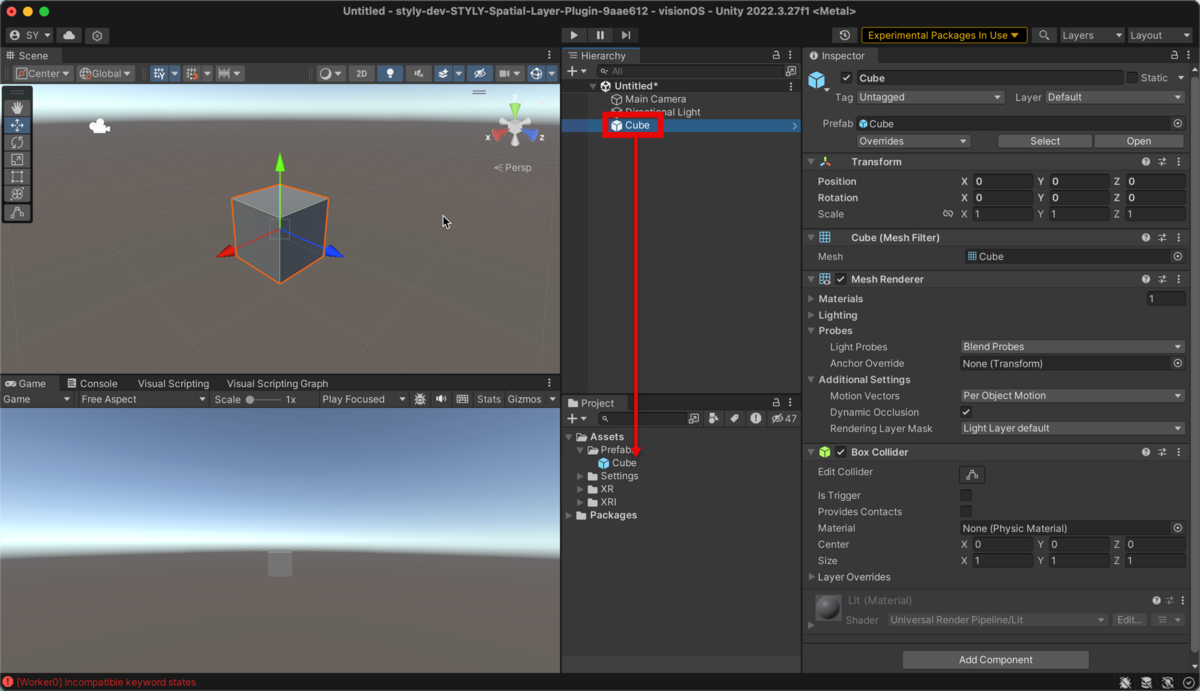
Convert the object you want to upload to STYLY for Vision Pro into a Prefab.
To create a Prefab, drag the GameObject you want to convert from the Hierarchy window into the Project window.
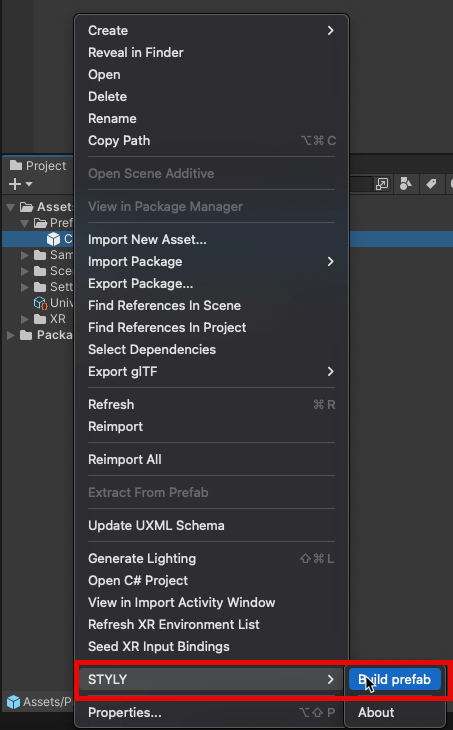
Select the Prefab and click STYLY > Build prefab.
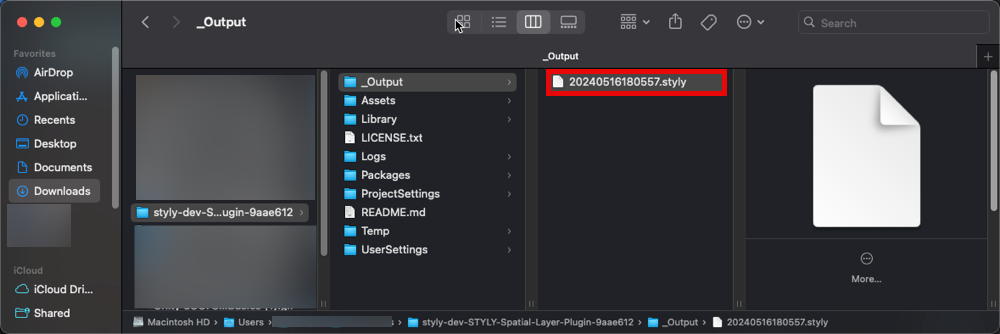
A file named xxxx.styly will be created in the Unity project folder under _Output.
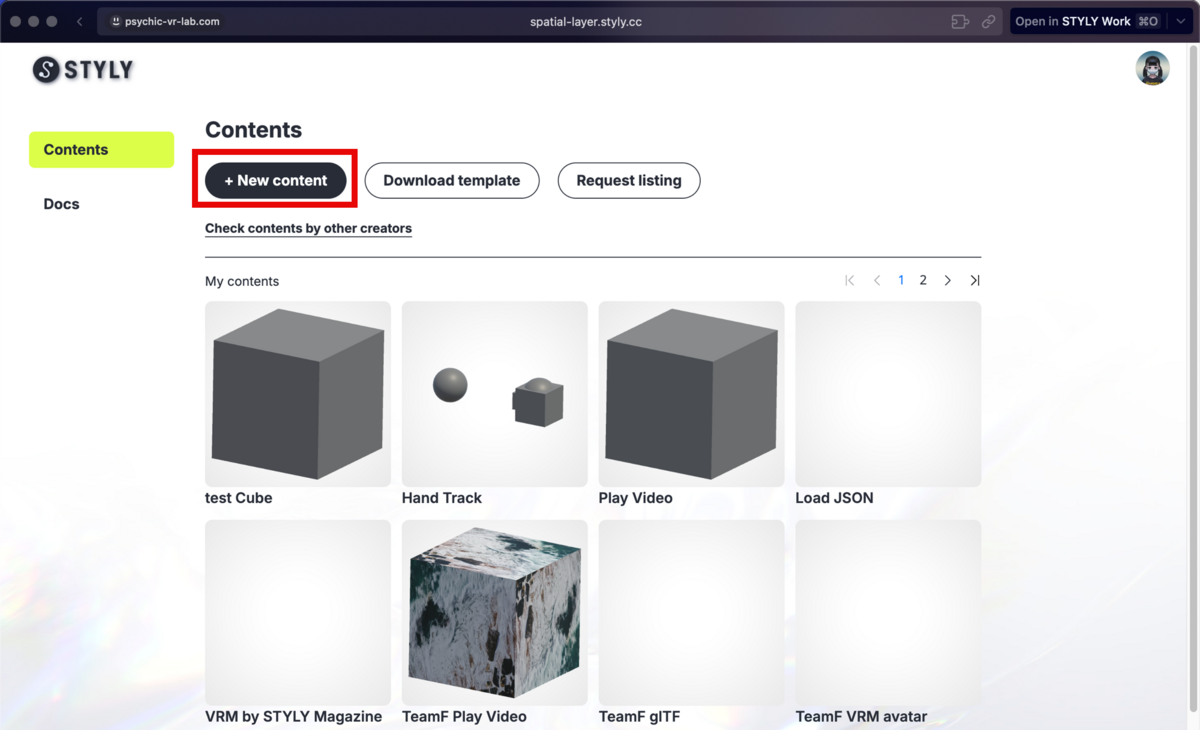
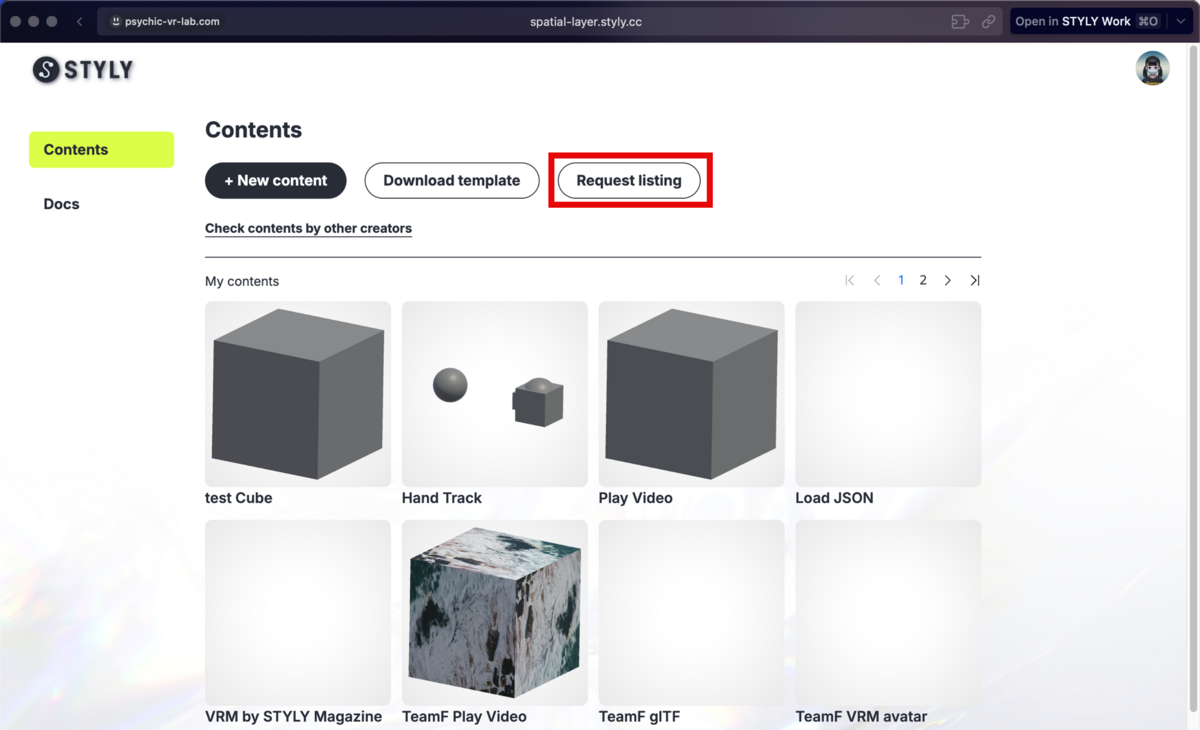
The website will open. Click the Dashboard button.
Click the New content button.
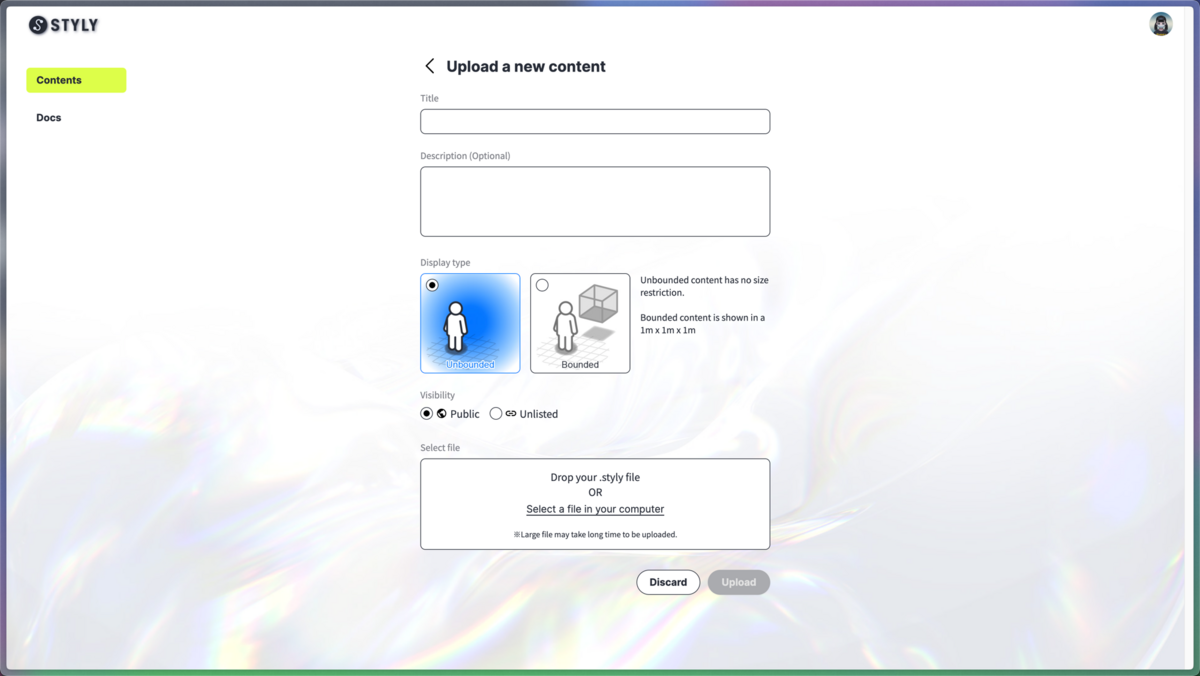
Enter information about the content you are uploading.
- Title: Scene name
- Description: Details and instructions for experiencing the scene
- Display type*1
- Bounded: Content appears in a 1m x 1m x 1m space and can coexist with other apps
- Unbounded: Content uses the entire space and cannot coexist with other apps
- Visibility*2:
- Public: Listed in the catalog
- Unlisted: Not listed in the catalog
Display type*1
Please refer to the explanation of the difference between Bounded and Unbounded on Apple Vision Pro
Visibility*2
For the catalog list, please check the list of scenes created by yourself and other creators
Click the Select a file button.
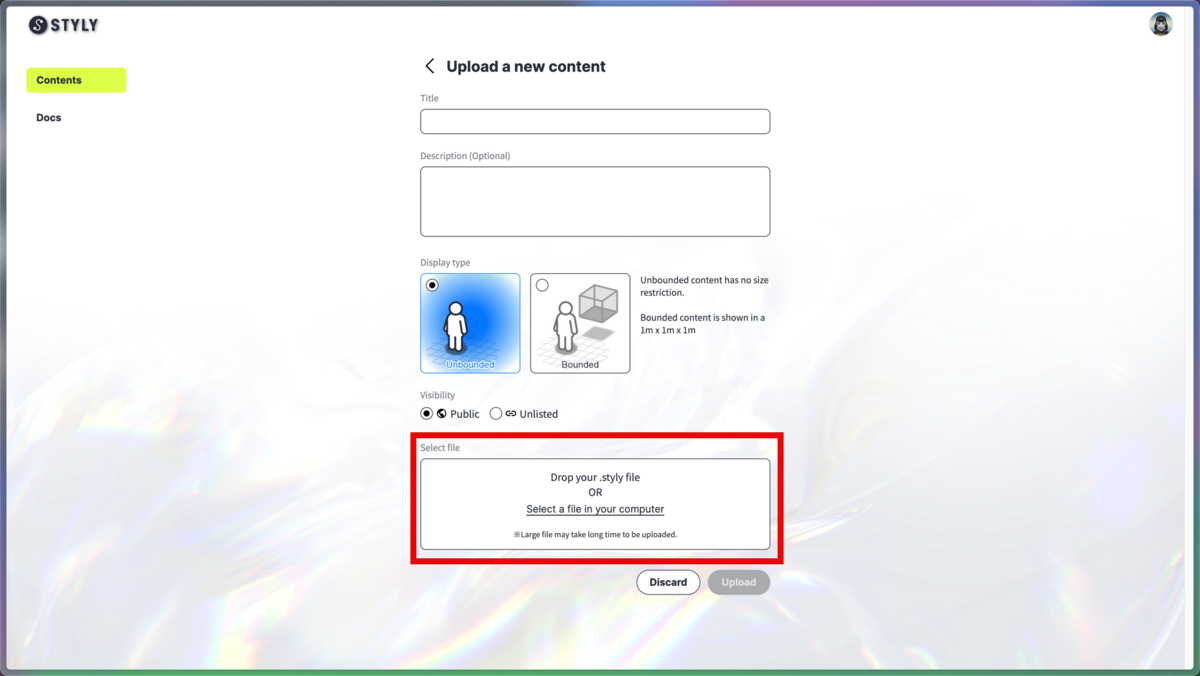
Select the xxxx.styly file.
Click the Upload button.

Upload complete.
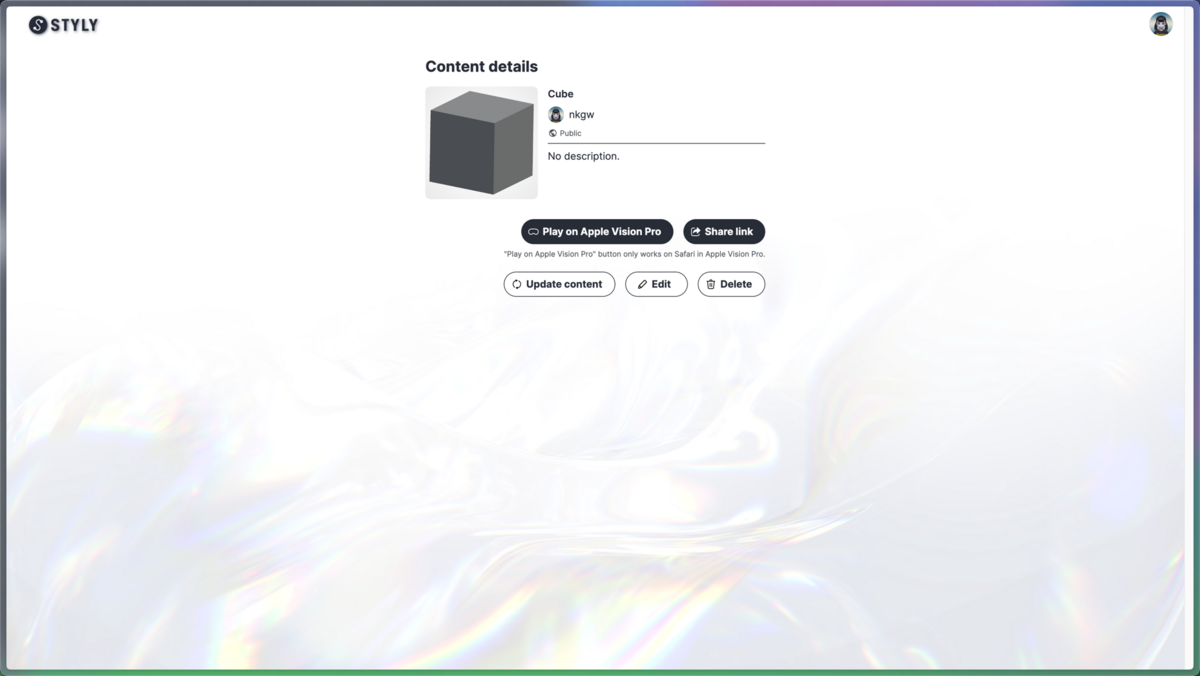
How to Update / Edit / Delete Uploaded Scenes
Select a scene from the Contents page.

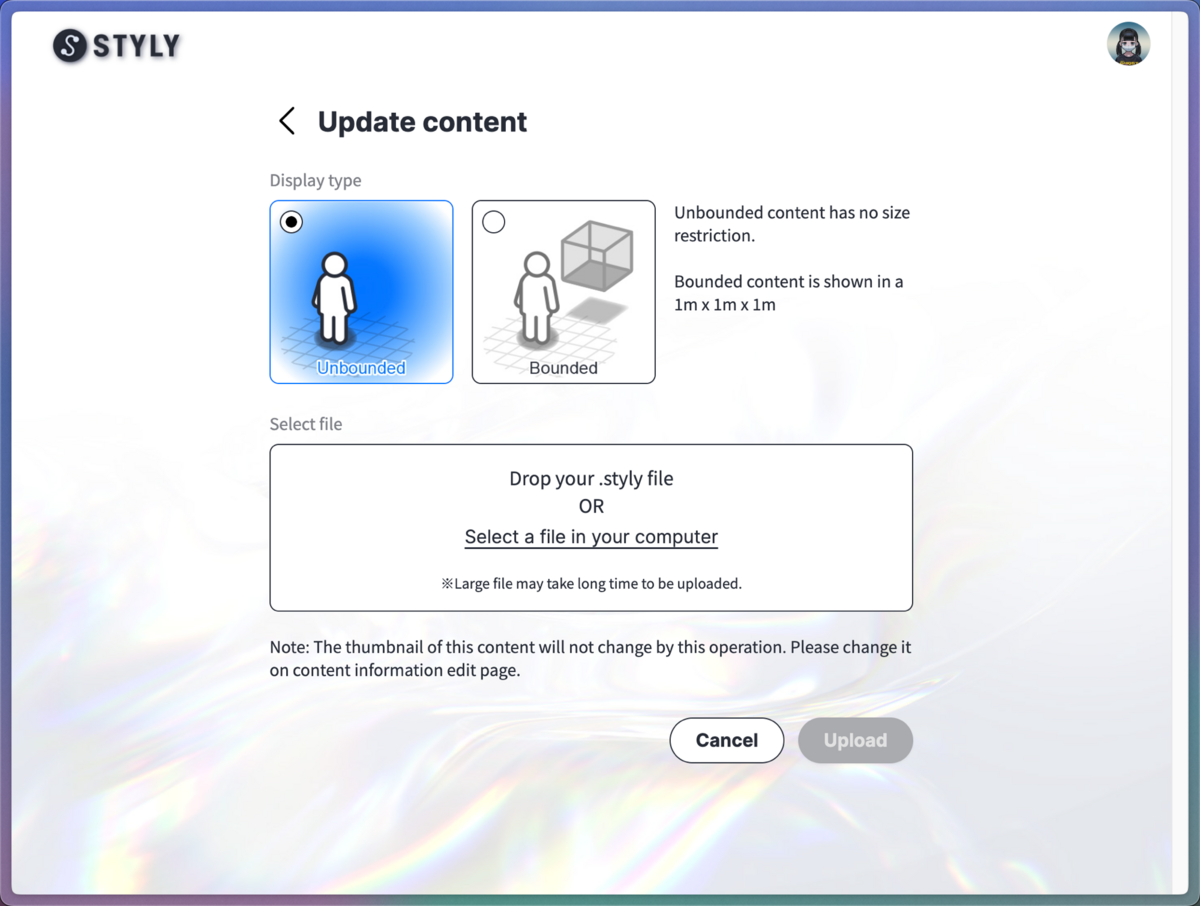
To Update a Scene or Change the Display Type
Click the Update content button.
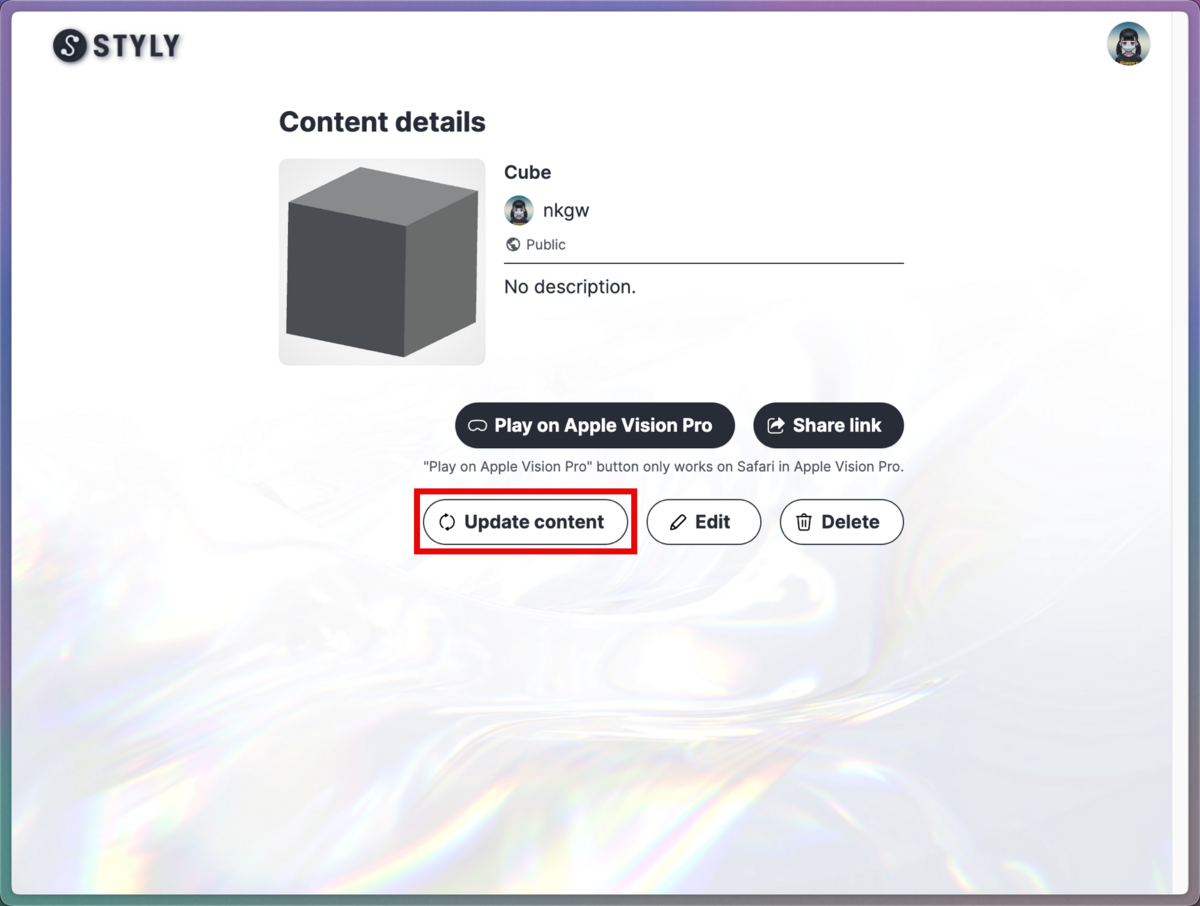
You can update the scene by uploading a new Display type and .styly file.
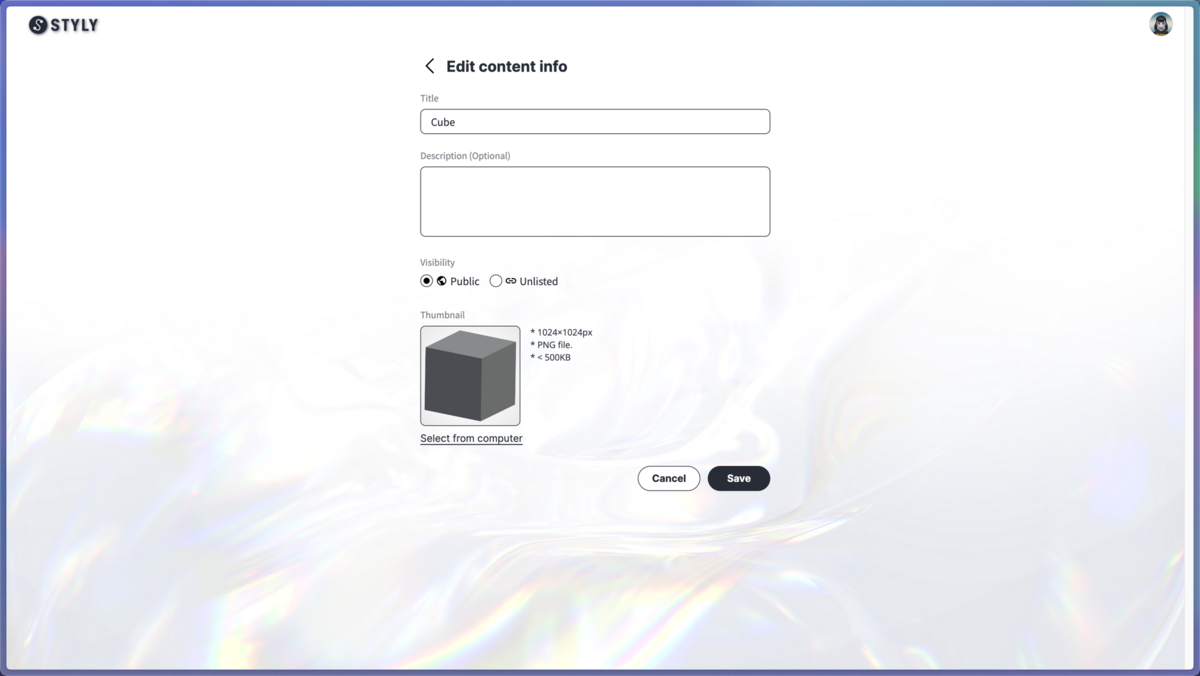
To Edit Title, Description, List Visibility, or Thumbnail
Click the Edit button.

Edit the title, description, list visibility, and thumbnail.
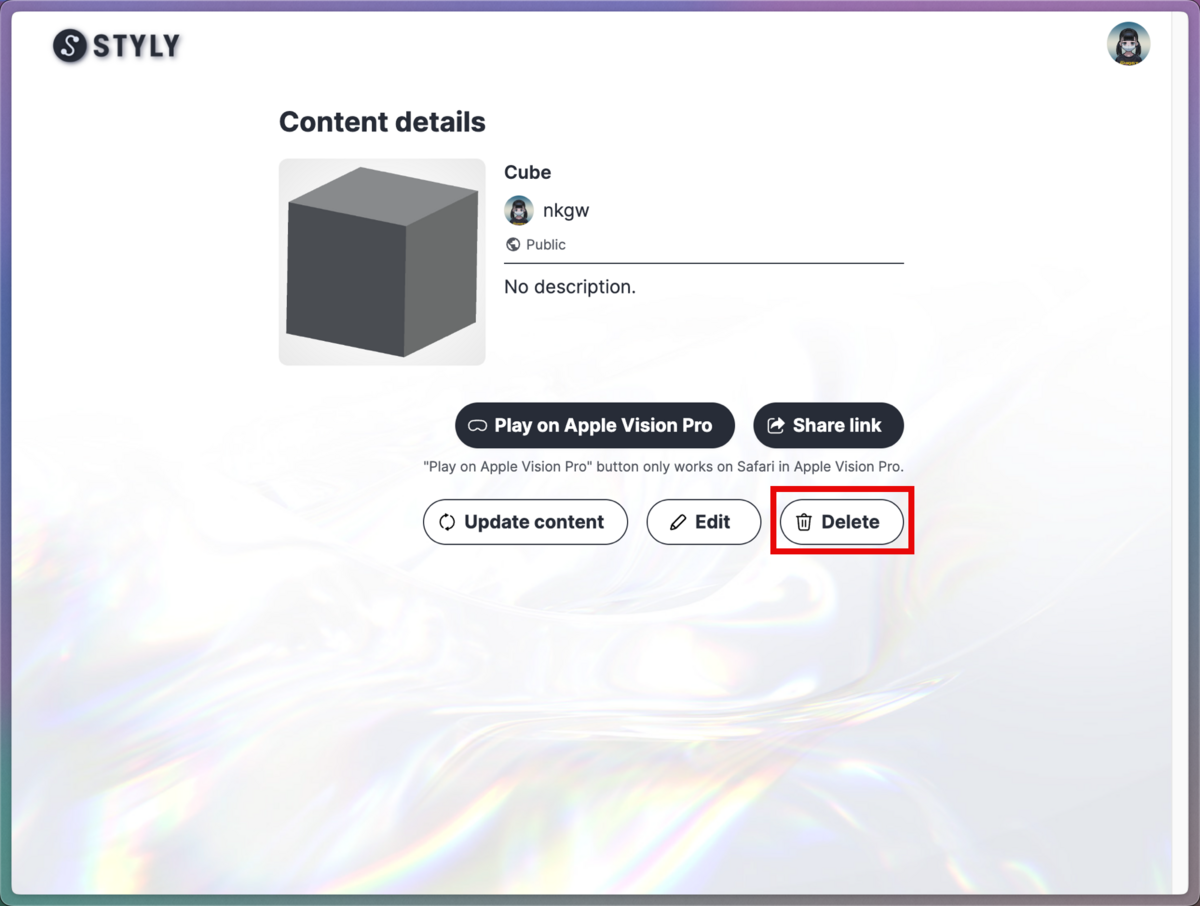
To Delete a Scene
Click the Delete button.
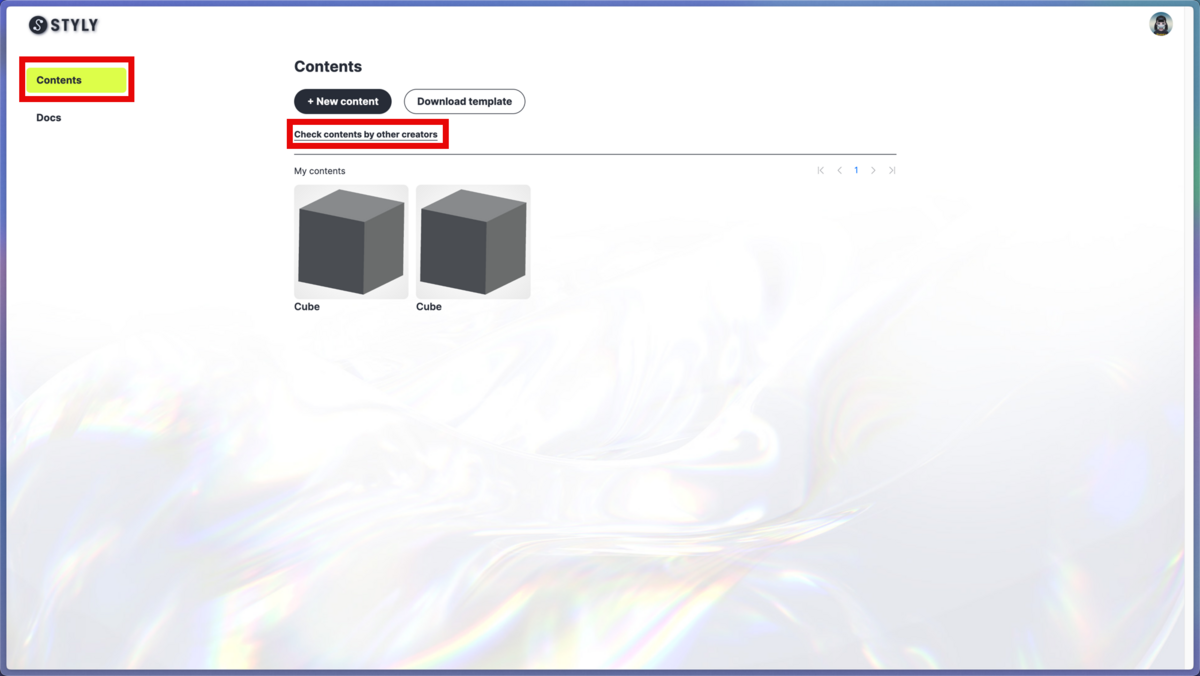
How to View a List of Your Own and Other Creators’ Scenes
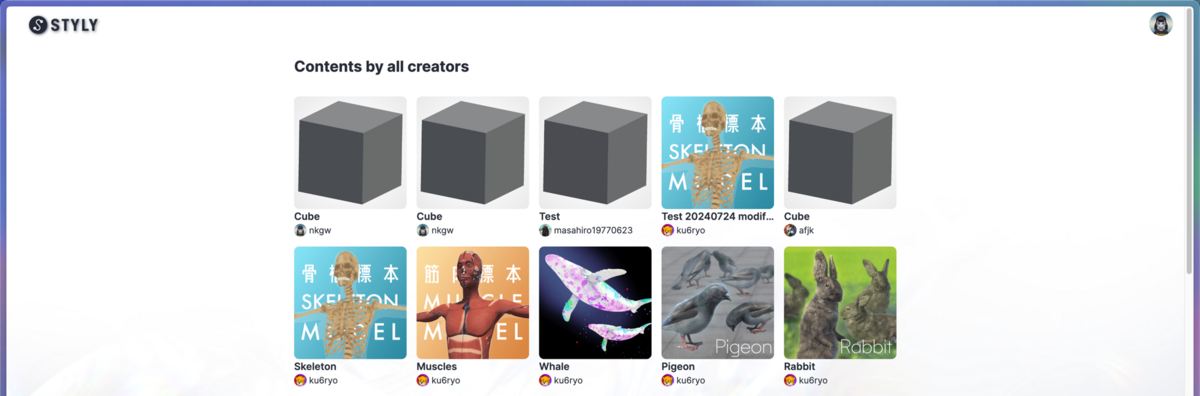
On the Contents page, click the Check contents by other creators link.
This page displays only scenes that have been set to Public in the Visibility setting during upload. Use this when you want to repeatedly check how your scene performs. Other creators can also view your scene here.
How to Request a Feature on the STYLY for Vision Pro App
The Featured section of the STYLY for Vision Pro app showcases selected scenes when the app launches.
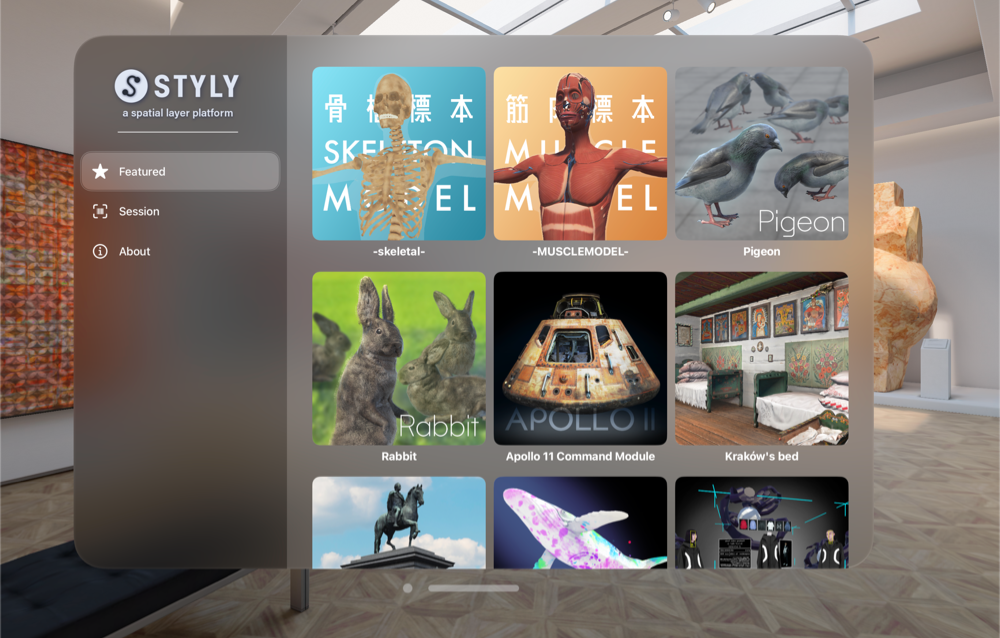
After reviewing the Content Listing Policy, please open the request form using the Request listing button and submit your application.
Xcode visionOS Simulator Setup Guide
If you have a Mac, you can use the visionOS simulator on Xcode to test and experience your content.