Tips for creating VR/AR scenes using video materials.
- 1 Preparation
- 2 AR Template and Principles of AR Scene Creation
- 3 VR/AR] Study 01: Reducing Video Weight
- 4 VR】Tips 01 Uploading and placing video data
- 5 VR】Tips 02/03 Creating an exhibition space by arranging images / Reflecting images on the water surface
- 6 VR】Tips 04: Place images on three surfaces to make it look like projection mapping.
- 7 VR/AR] Tip 05: Chroma-keying the image
- 8 VR】Arrange Idea 01 Pasting the video onto the skybox
- 9 VR】Arrange Idea 02 Placing the video on the floor
Preparation
Log in to STYLY Studio.
https://gallery.styly.cc/?login
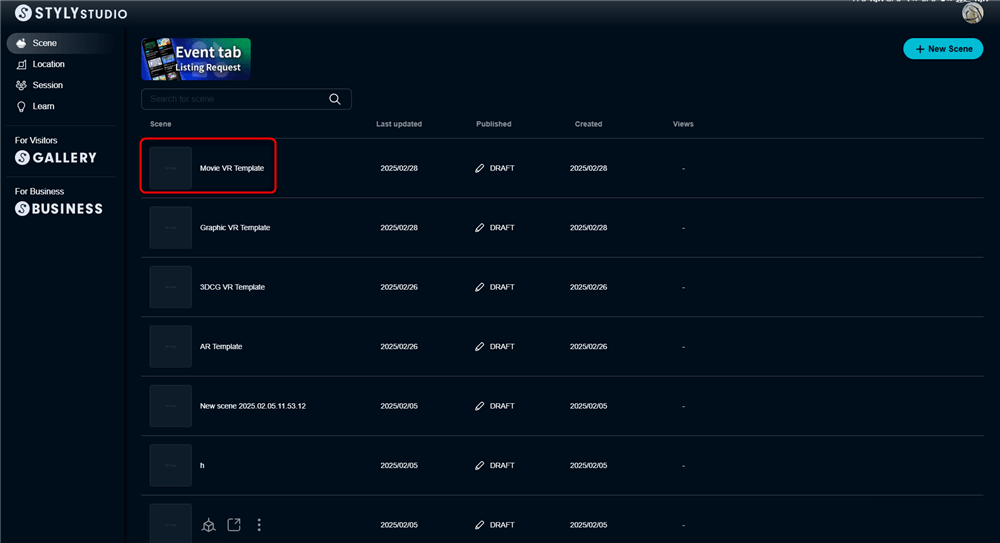
If you want to learn VR, please copy the video VR template.
Click the following URL while logged in STYLY to copy the video template scene for VR.
Please learn Tips and ArrangeIdea while utilizing the template scene.
https://gallery.styly.cc/scene_copy?s=d3af0639-fb7f-40ca-ac41-a35eb8651c58
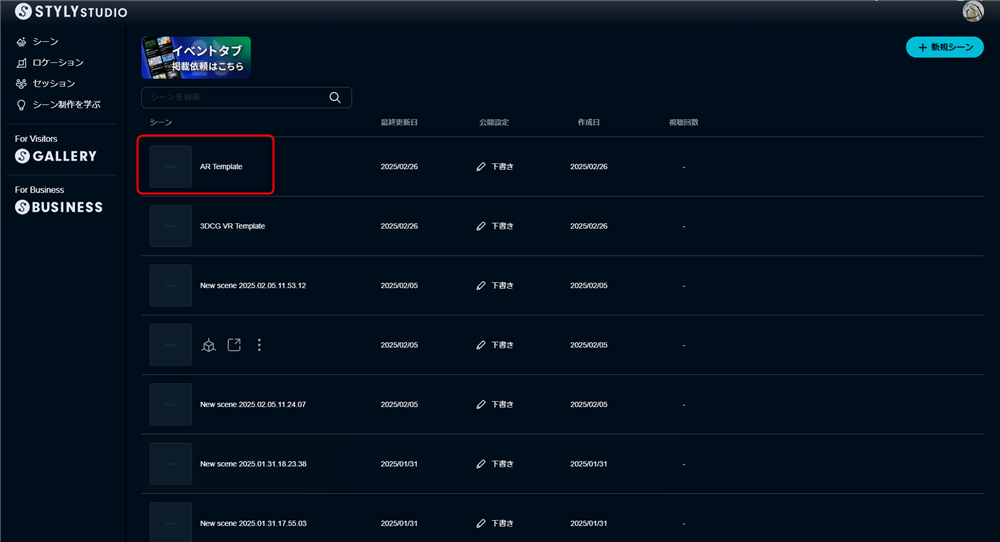
If you want to learn AR, please copy the AR template.
Click the following URL while logged in STYLY, and the template scene for AR will be copied.
Please learn Tips and ArrangeIdea while using the template scene.
https://gallery.styly.cc/scene_copy?s=5c87f60b-3ed2-402c-9ca4-4bb0bfb1e51d
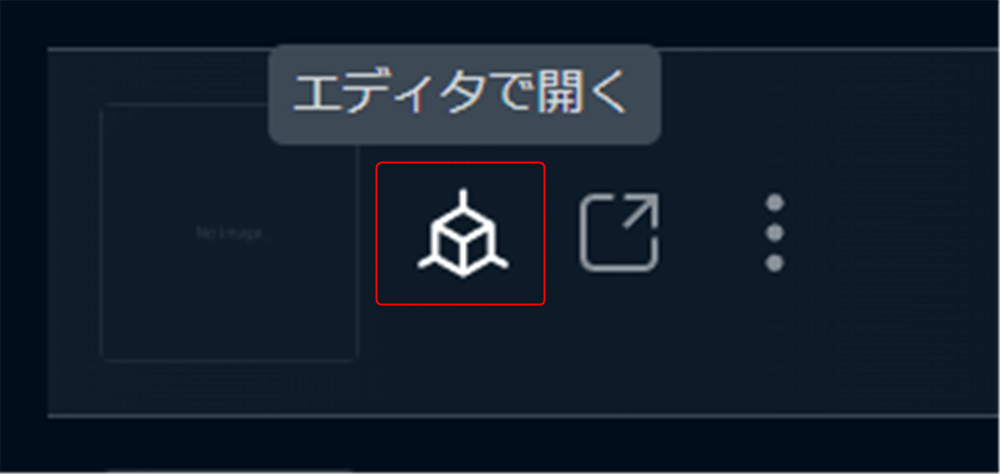
In Studio, click the Edit Scene button.
If you want to create an AR scene, please proceed after learning 1. Principles of AR Template and AR Scene Creation.
VR】・・・・You can learn mainly the contents that can be used in creating VR works.
VR/AR】・・・・You can learn the contents that can be utilized in both VR and AR productions.
Let’s learn the skills you want to acquire by referring to these tags.
AR Template and Principles of AR Scene Creation
Please proceed below only if you are creating AR scenes.
You may skip this section if you are creating VR scenes.
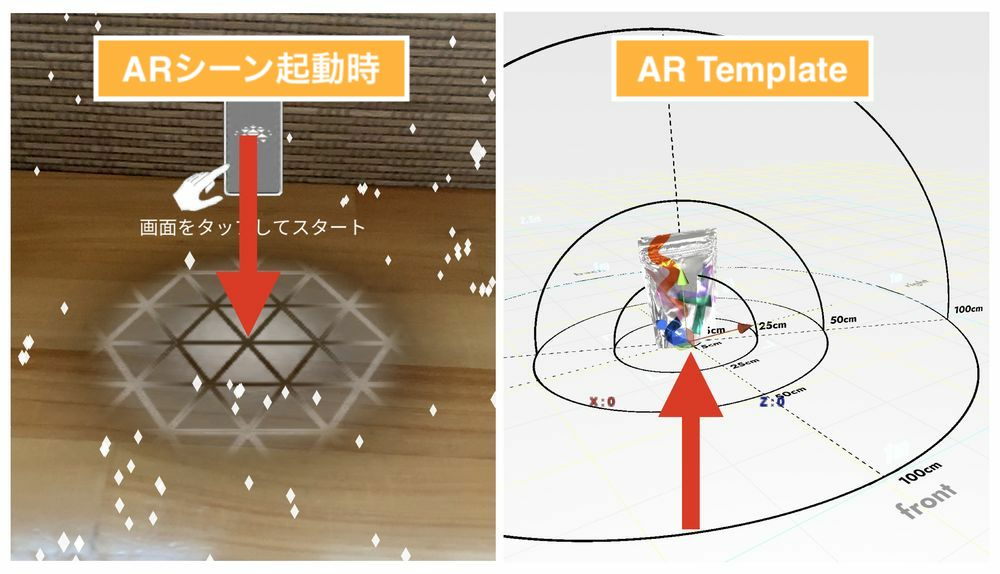
The center of the AR Template is called the origin.
STYLY displays AR contents around the origin.
The origin is the position where the origin mark is displayed after the AR scene starts and plane detection is performed.
Therefore, keep in mind that the center of the AR Template is the same as the position of the origin mark that is displayed when the AR scene is launched in the smartphone version of STYLY.
Your Position is not used (and does not work) in AR.
When creating an AR scene, understand that the assets should be placed in alignment with the origin.
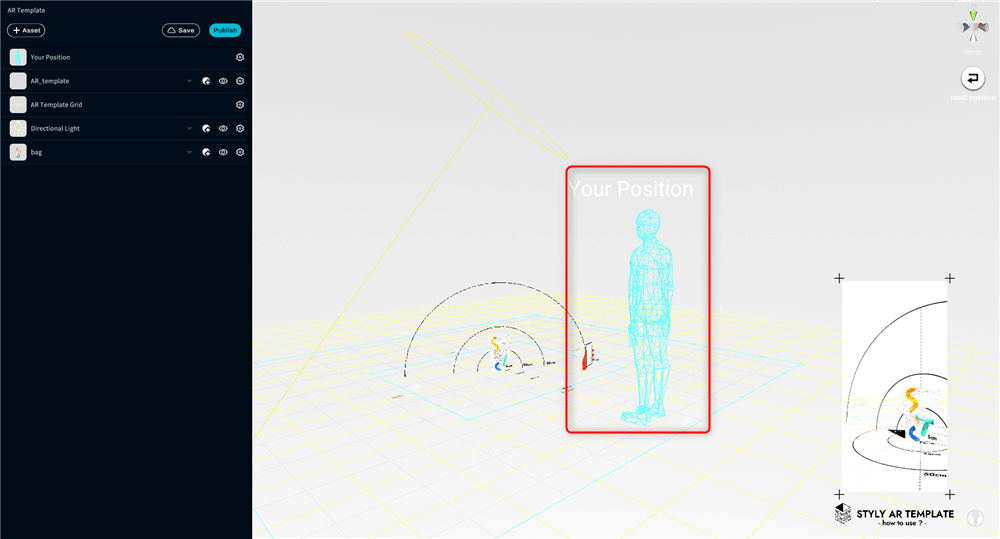
There are items in the AR Template that can help you align with the real world.
The first is the content zone layout (named AR_tempalte in the hierarchy menu).
It allows you to measure the width and height.
The second is the preview screen.
You can see the screen reflecting the hand holding the smartphone in front of you and the scene.
While looking at the preview screen, check the contents of your work to see how the AR scene will look in the real world and whether it matches your image.

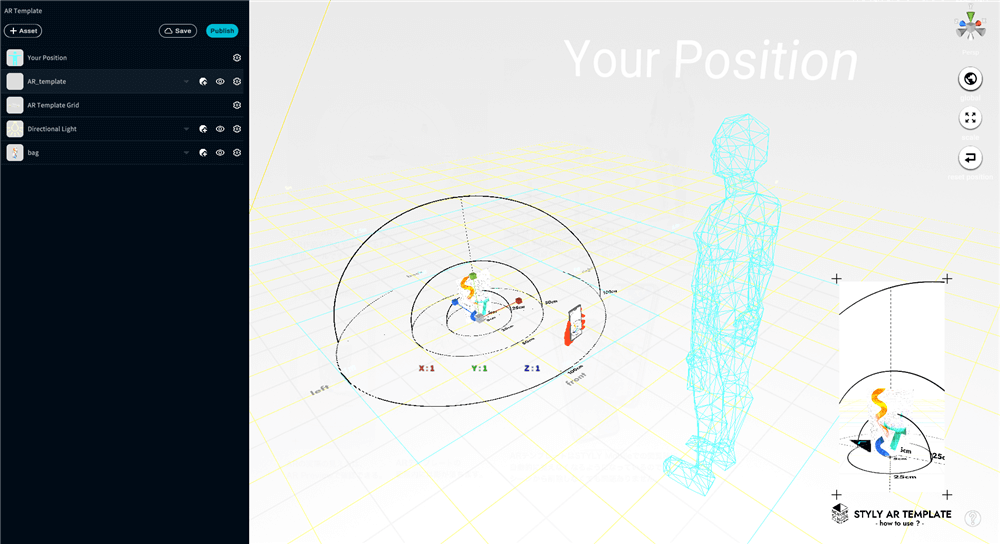
You can expand the range of width and height you can figure out by scaling up or down the content zone layout.
The preview screen also moves to a distant distance in conjunction with the scaling of the content zone layout.
Use this function when creating contents that are large in scale.
To use, with AR_Template selected from the hierarchy menu, press the [R] key and select the center of the gizmo with a left click to zoom in or out.
When creating an AR scene, do not delete the AR Template Grid.
If you delete it by mistake, press [Ctrl] + [z] key (one backward operation) to restore it.

Also, do not use Skybox (celestial) and Ground (ground) as they are not used in AR scenes.
Summary of points to note when creating an AR scene
- The center of the VR Template and the origin mark of the AR scene are the same
- Your Position cannot be used.
- Do not delete the AR Template Grid.
- Do not place Skybox and Ground in the scene. (If Skybox is placed, the scene will be in VR scene mode.)
VR/AR] Study 01: Reducing Video Weight
When uploading video data, make sure that the data is not too large.
If the asset data size is too large, the entire scene will be too large.
Points to keep in mind when uploading videos with STYLY
H.264 (MP4) format is recommended.
If your video is in MOV format, we recommend converting it to MP4.
・10MB is the optimal size.
Use “VideoSmaller” when reducing video size.
https://www.videosmaller.com/jp/
VR】Tips 01 Uploading and placing video data
You can upload video data to STYLY.
Select [My uploads] > [Video] in the asset.
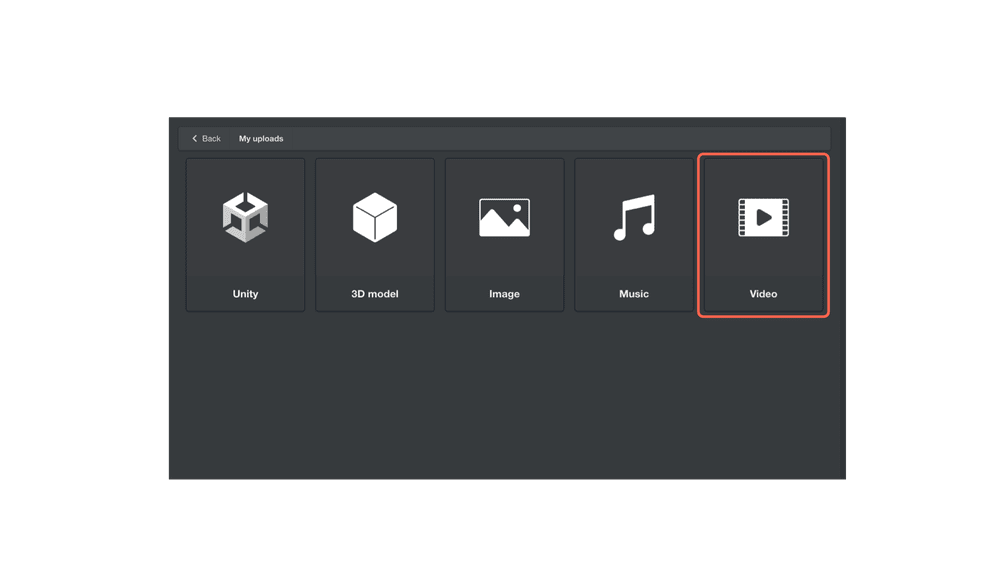
Selecting Video in My uploads will allow you to upload videos of various screen shapes.
In this case, we will select Square Screen for uploading.

You will be redirected to the Video Upload page.
Select “SELECT” to display the Save Folder dialog box.
Select the video data you wish to upload.
When the selection is complete, you will see the following.
Uploading is in progress.
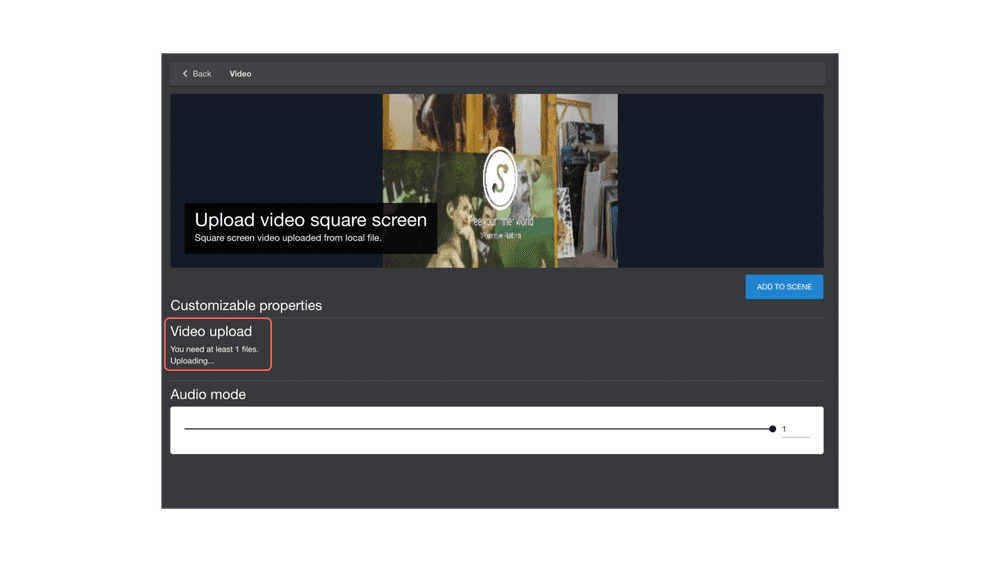
When “mp4” is displayed, the upload is complete.
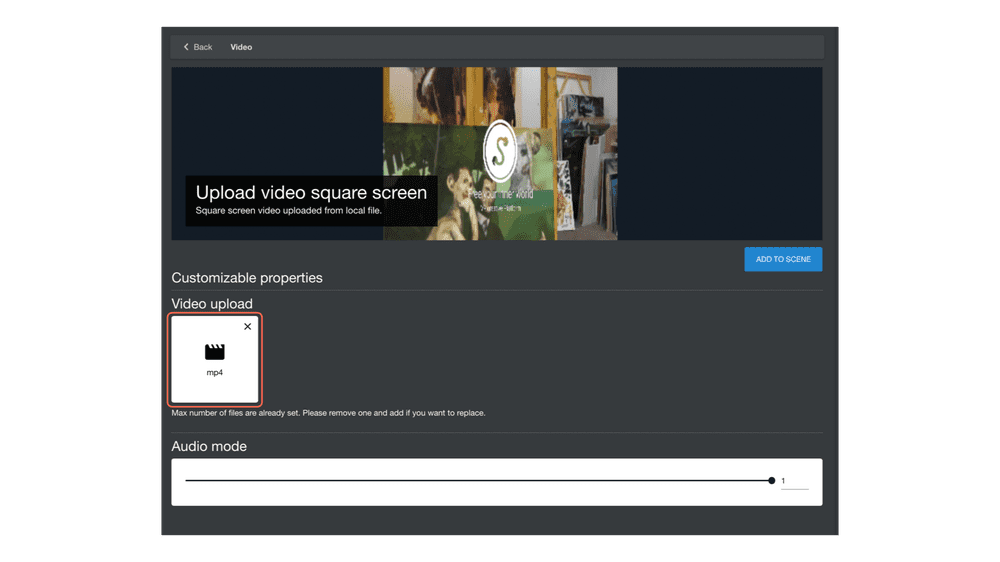
Audio Mode allows you to set whether or not sound will be present.
1→Sound ON
0→Sound OFF
After setting the sound, upload the video.
When the upload is complete, the video assets will be placed.
Place the video assets in the desired locations to show them in a creative way.
Combined with 3DCG, the video can be effectively produced.
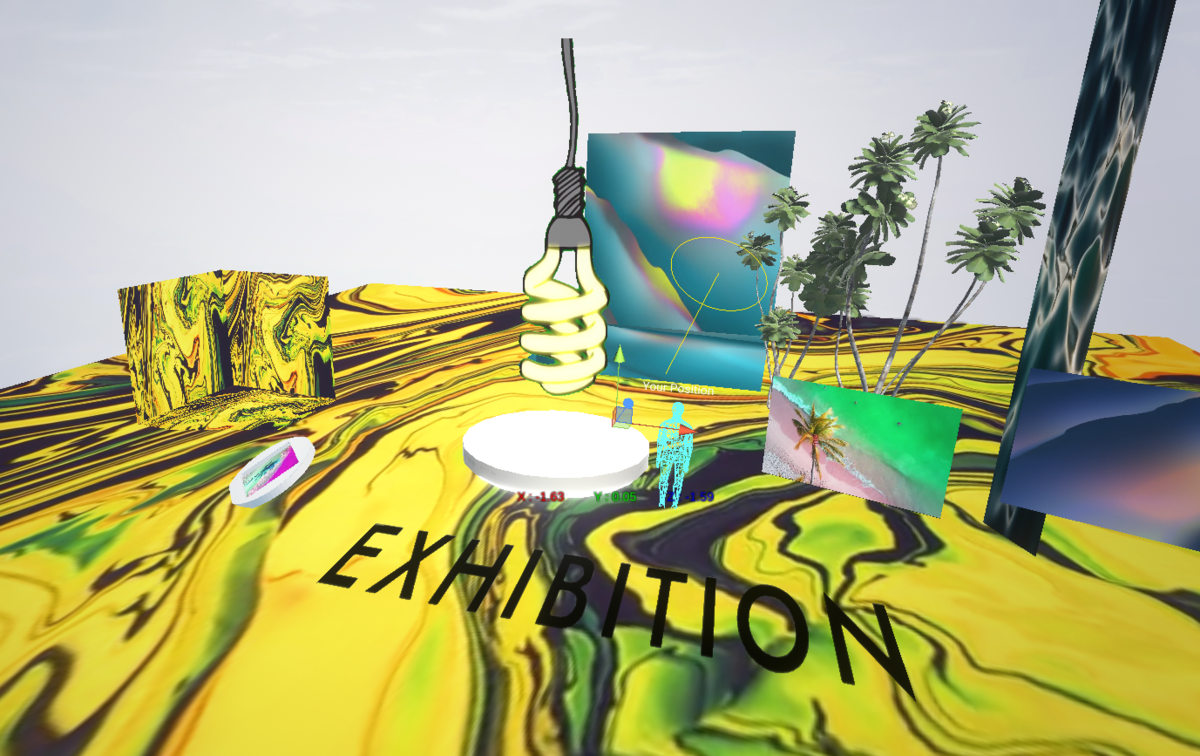
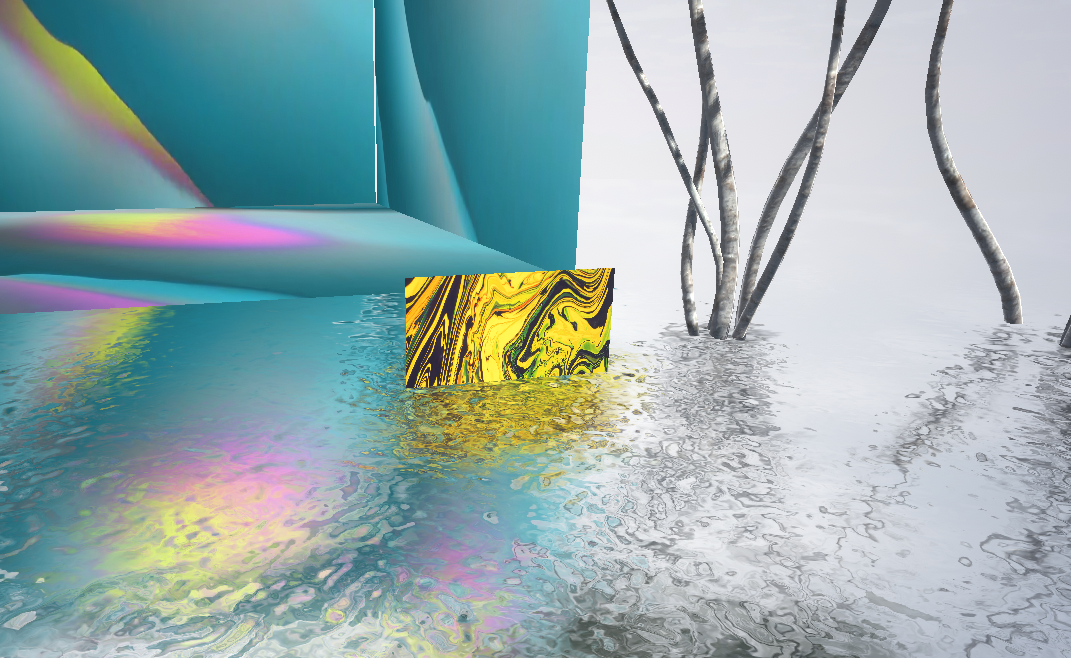
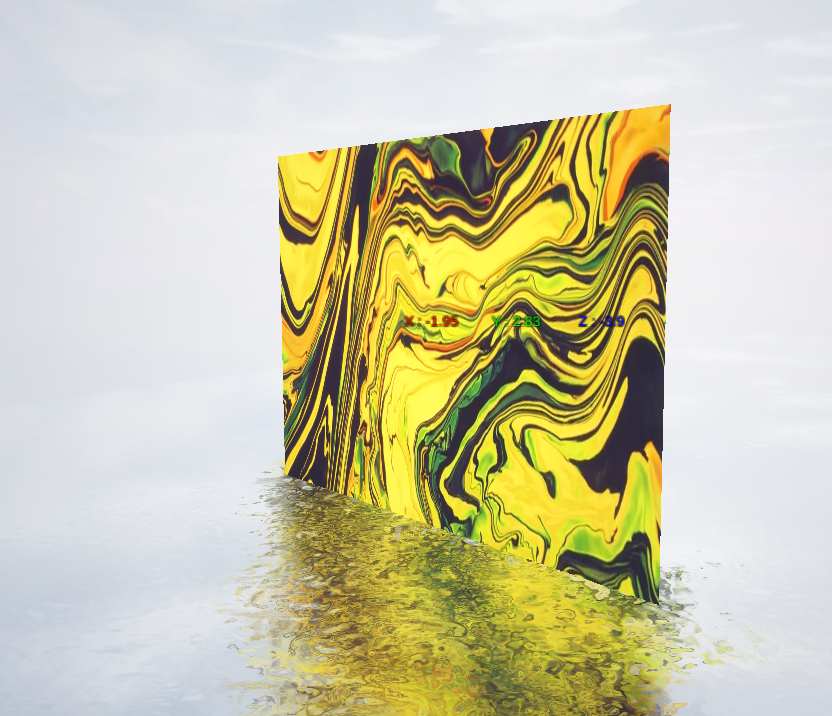
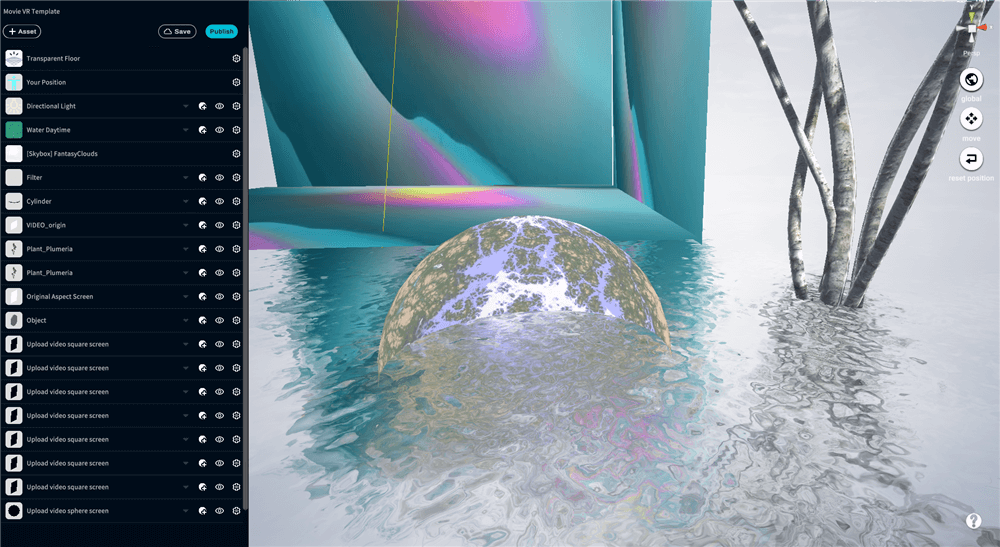
VR】Tips 02/03 Creating an exhibition space by arranging images / Reflecting images on the water surface
By transforming the Transform of the video object, you can express it in various shapes. ( The “Upload to Youtube” mentioned in the image below is discontinued as of 2023/01/20, so please use My uploads>Video.)
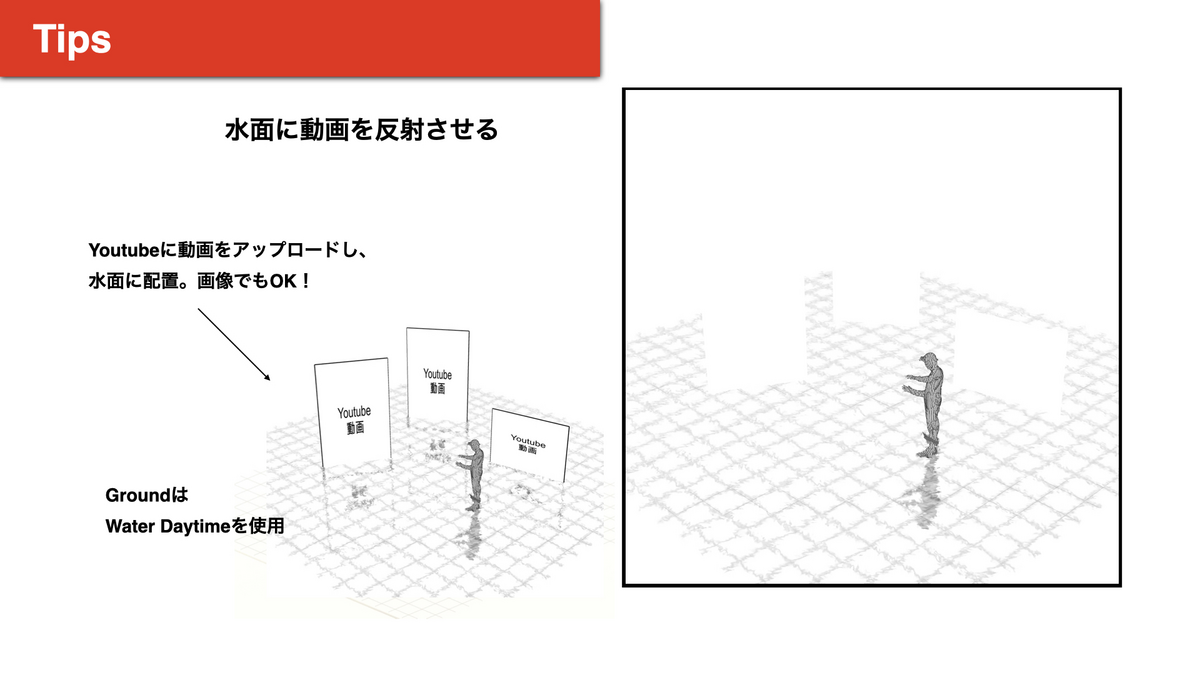
The long vertical video assets placed on the sample have a stretched Y-axis.
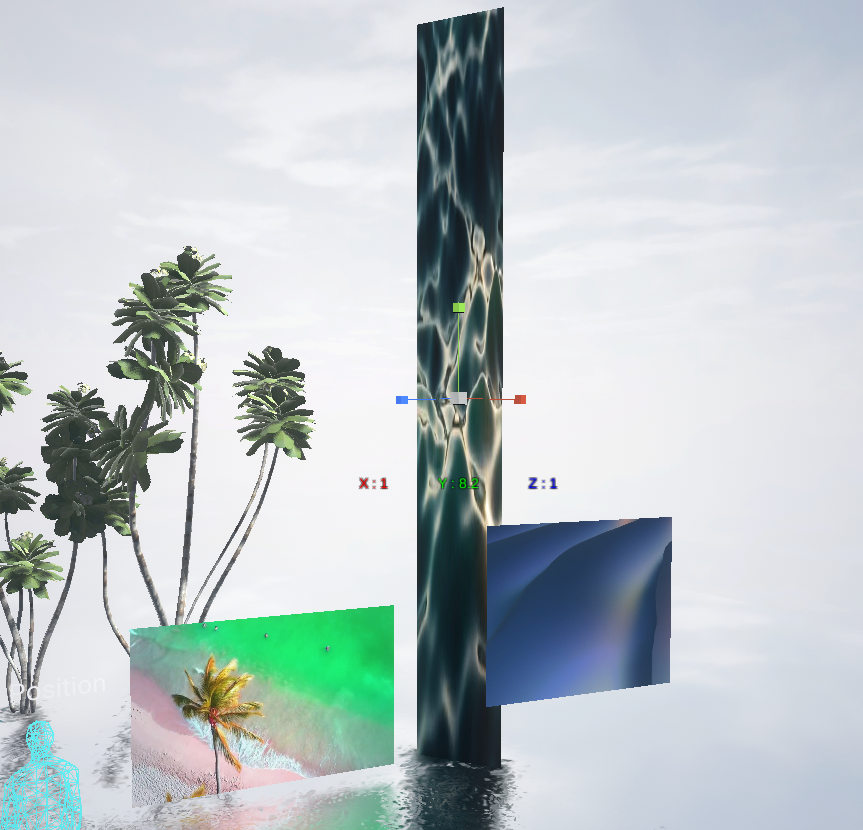
This allows for video expression that would be difficult to achieve in reality.
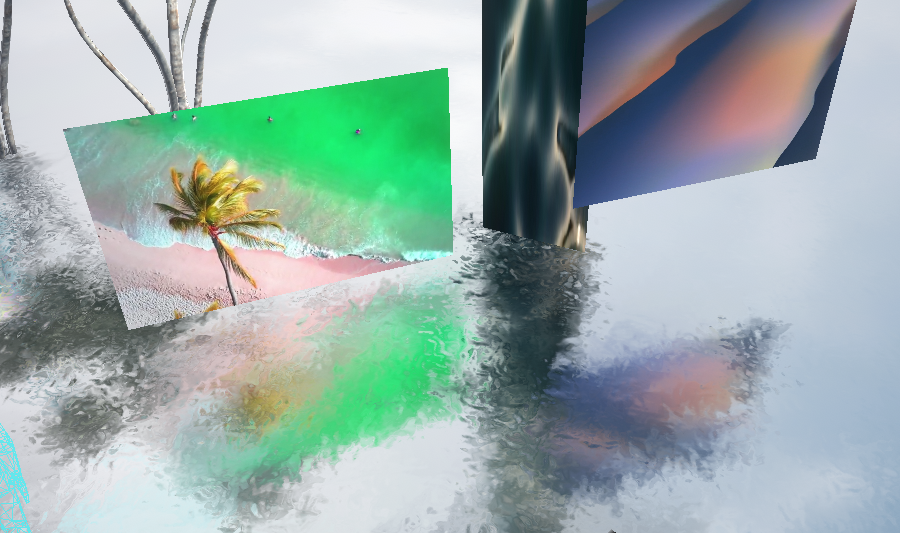
Also, by placing a floor object on the water surface, you can reflect the image on the water surface.
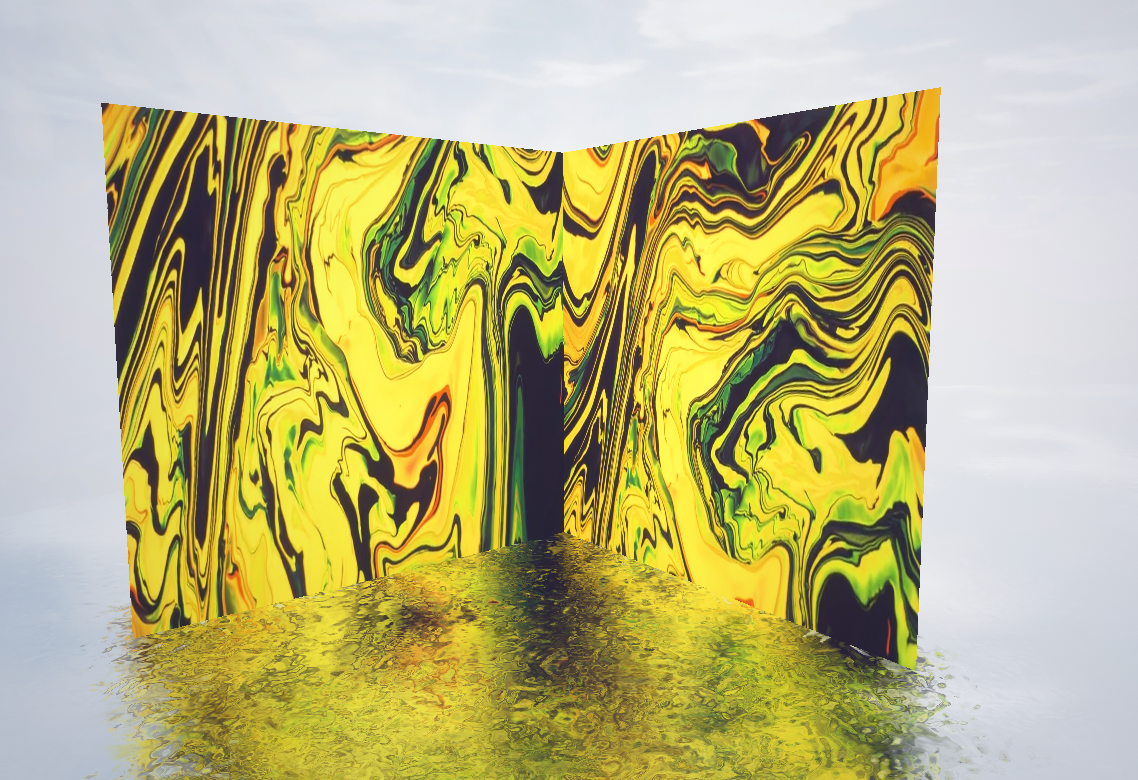
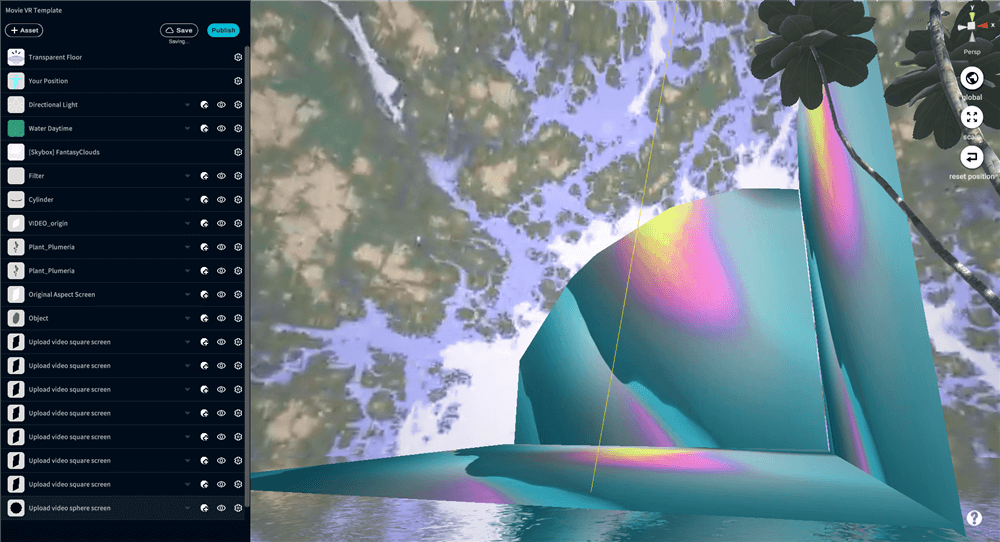
VR】Tips 04: Place images on three surfaces to make it look like projection mapping.
Using video assets, let’s place them as if they were projection mapping. ( The “Upload to Youtube” mentioned in the image below has been discontinued as of 2023/01/20, so please use My uploads>Video.)
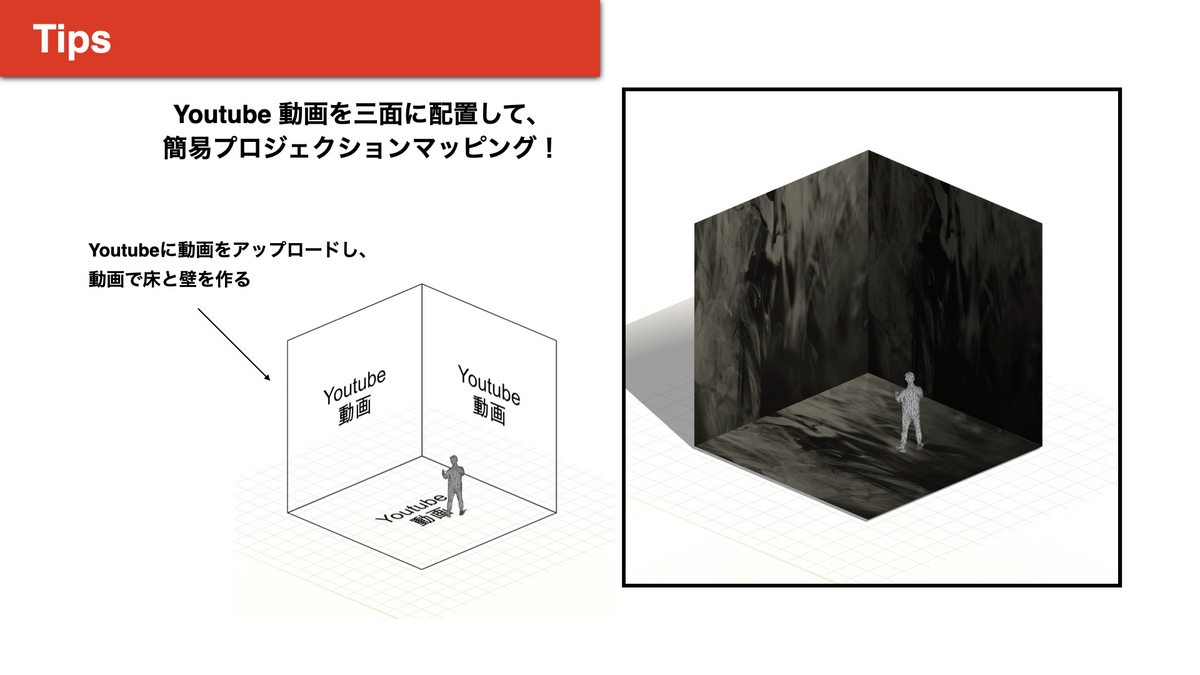
This time we will create a space where the floor and walls will be video.
Create a Square Screen video asset.
Create two video assets perpendicular to the water surface and place the two video assets vertically.
Place an object with the Rotate x-axis at 90 degrees.
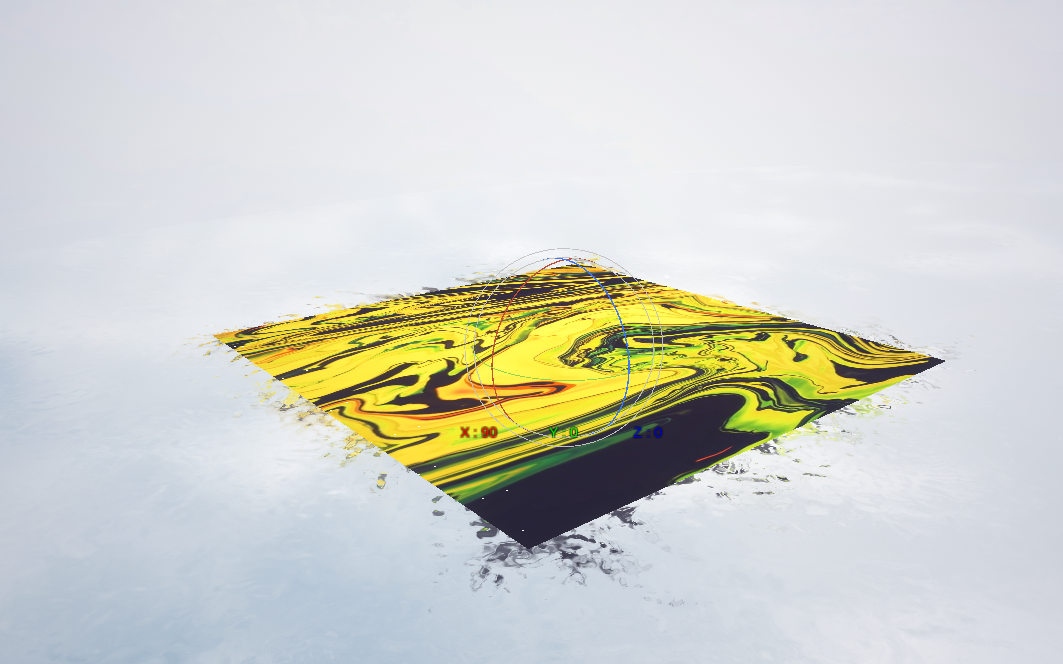
The floor surface is now created.
Place the floor surface in line with the wall object you just placed.
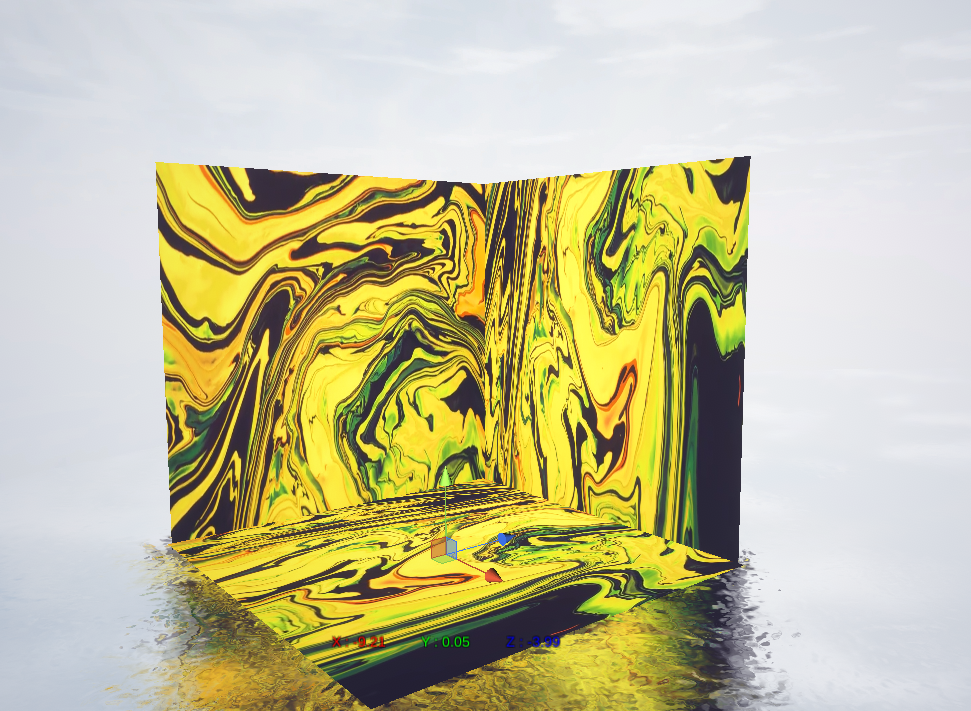
Now you can express the floor/wall surface as if it were a mapping with video.
VR/AR] Tip 05: Chroma-keying the image
On STYLY Studio, from the Assets button, go to [ My uploads ] > [ Video ] and use “Chroma Key Composite Video” to place a chroma-keyed video with a transparent background.
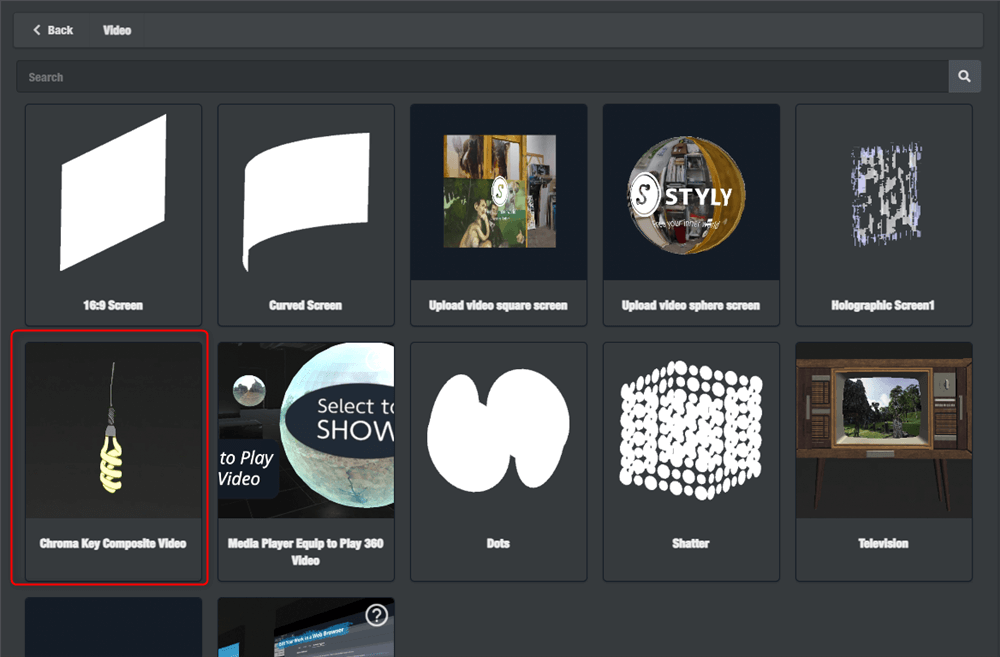
Upload the file you wish to chroma key.
Select the color you want to make transparent in Background color for composition.

The default color setting is green.
After completing the settings, use ADD TO SCENE to place the image in the scene.
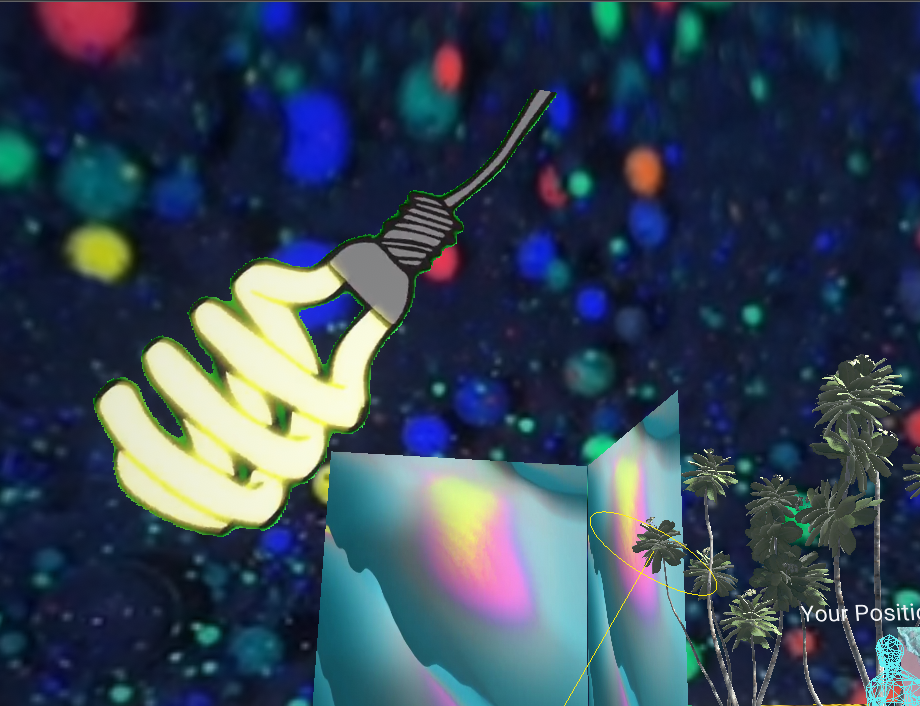
VR】Arrange Idea 01 Pasting the video onto the skybox
Place the video data in the skybox and create a space surrounded by the video.
Select [ My uploads ] > [ Video ] and choose Sphere Screen.
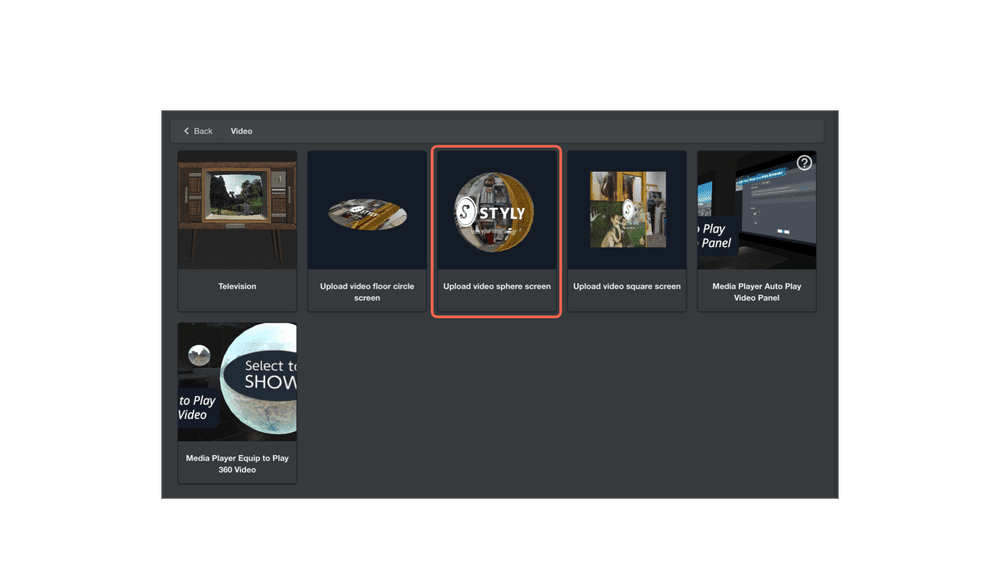
Select the video you wish to place.
Once the selection is complete, use Add to Scene to place it in the space.
When placed, the image will appear small as shown below.
Increase the Scale to cover the entire space.
The image has been placed on the skybox.
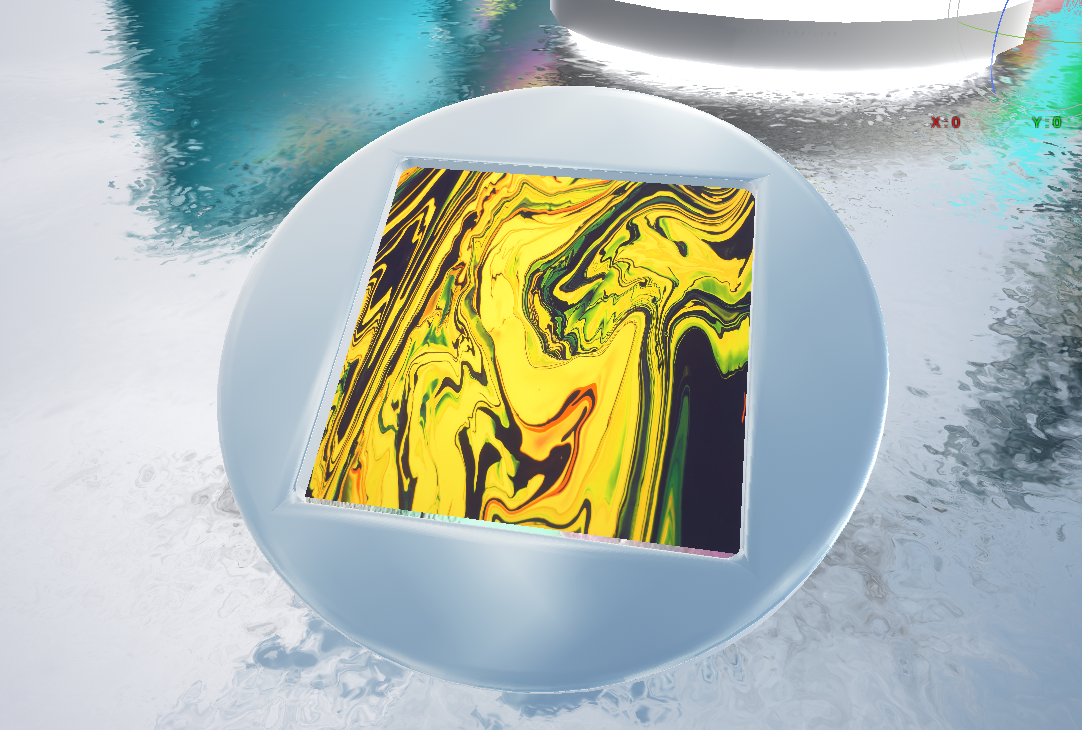
VR】Arrange Idea 02 Placing the video on the floor
This section explains how to use the floor surface as a video asset.
The only way to make the floor surface is to place the Square Screen along the floor surface, transforming its size, in the same way as the image.