This article explains how to use Shader Editor to change the look of your 3D models in Blender.
What is Shader Editor?
In Blender, objects which are created with color, pattern, and texture are called Materials.
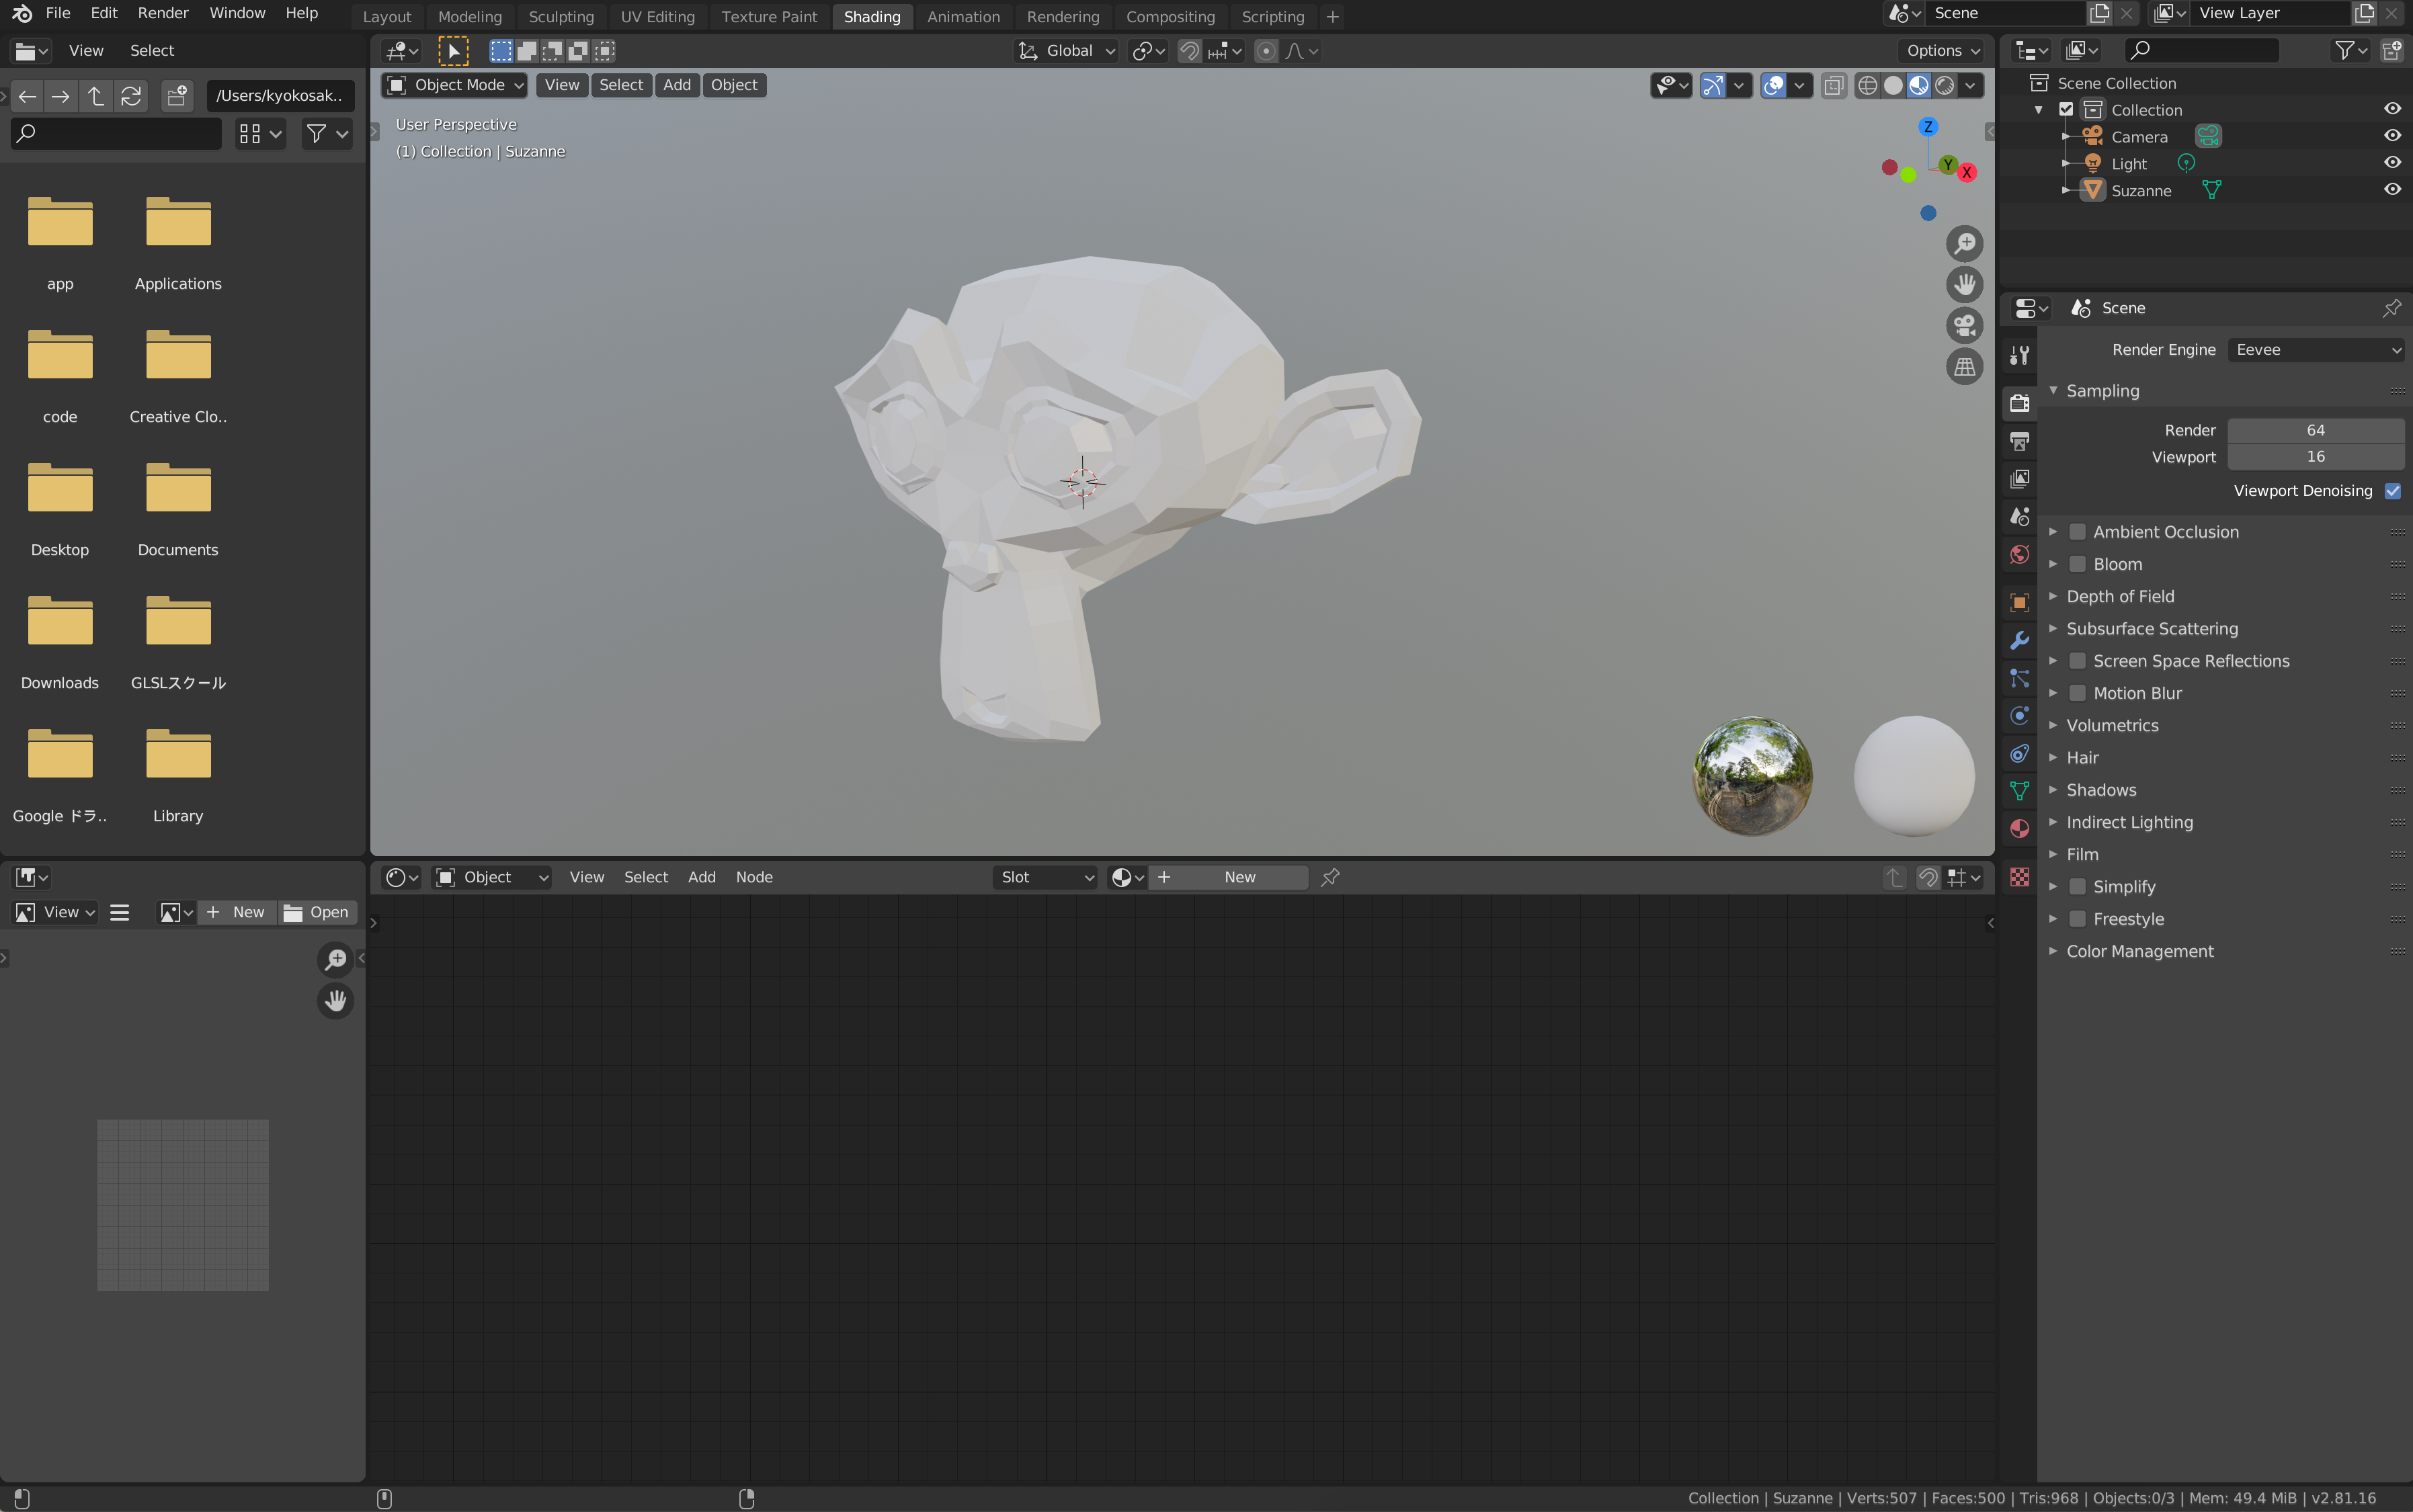
To open Shader Editor, you can choose the Shading tab.
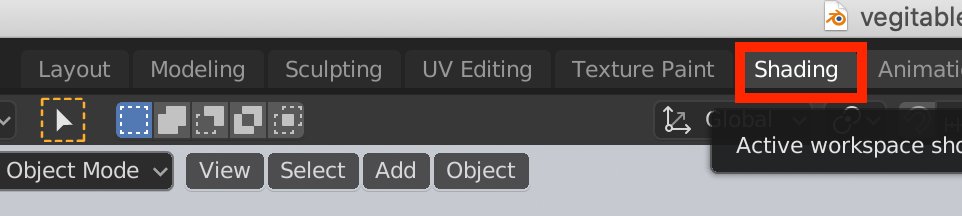
Select the Shading tab
The top screen shows the preview and the Shader Editor is shown on the bottom of the screen.
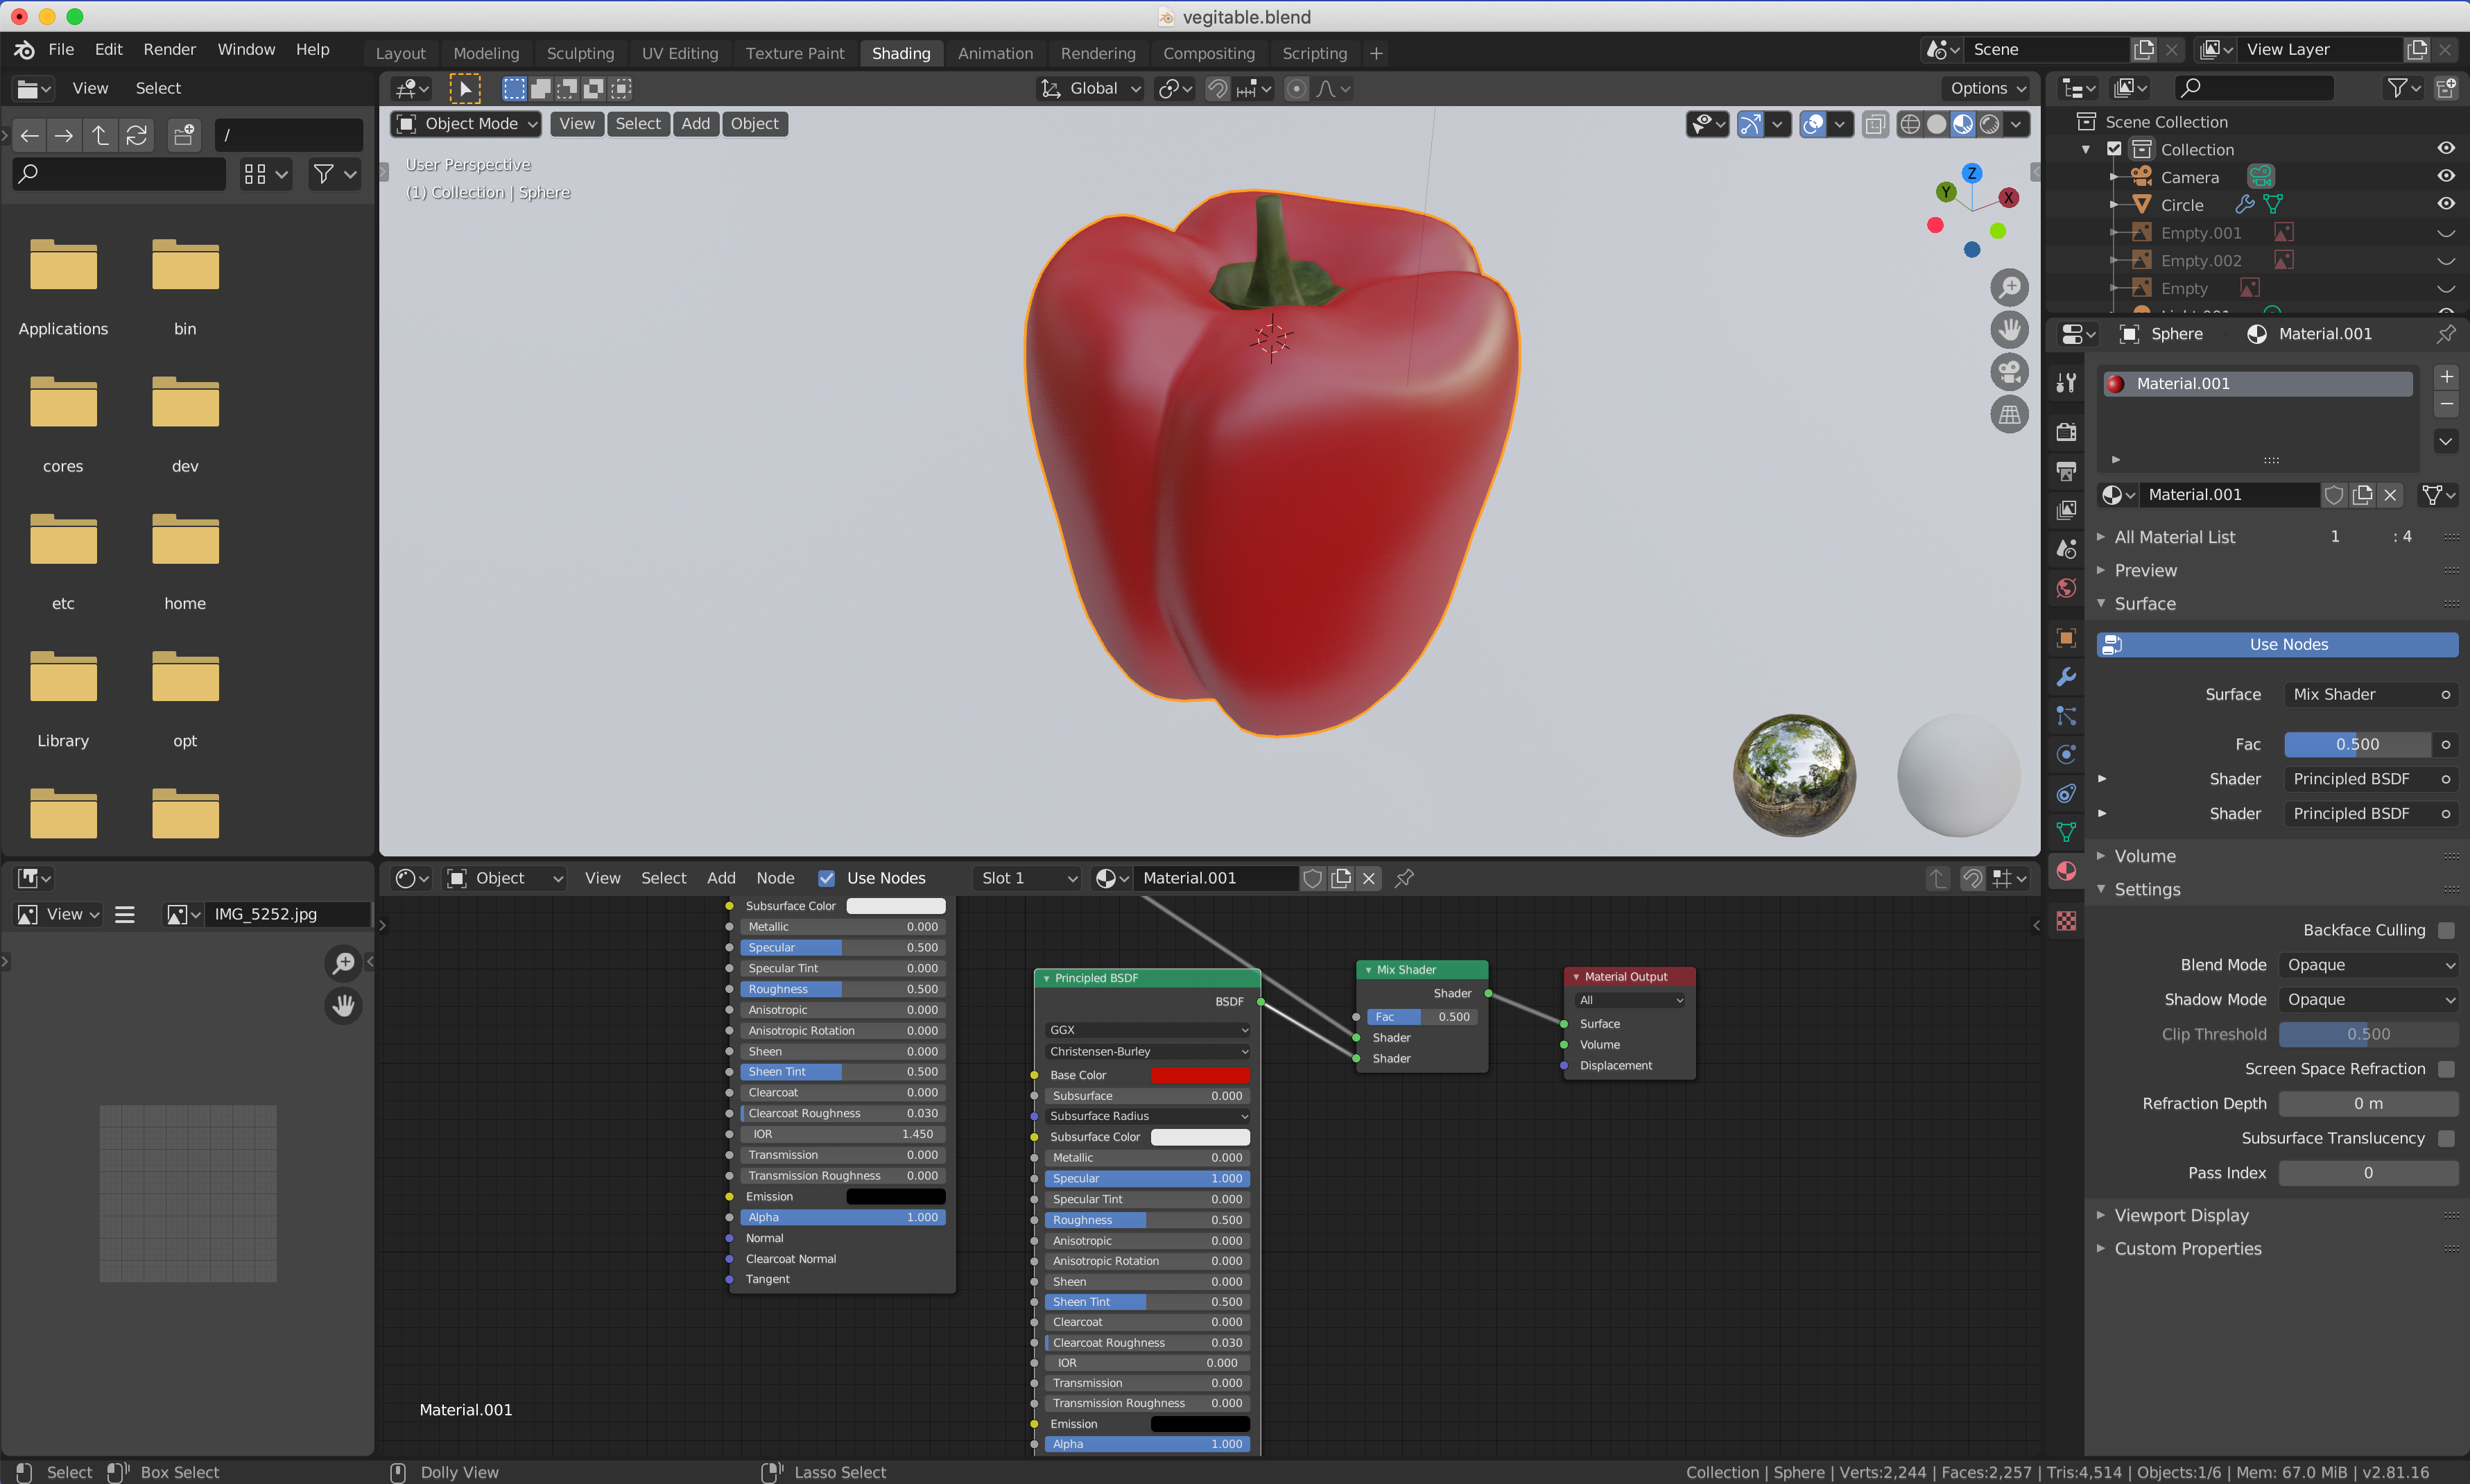
The screen structure of the Shading tab
Alternatively, you can open the Shader Editor from the icon in the upper left corner of the screen.
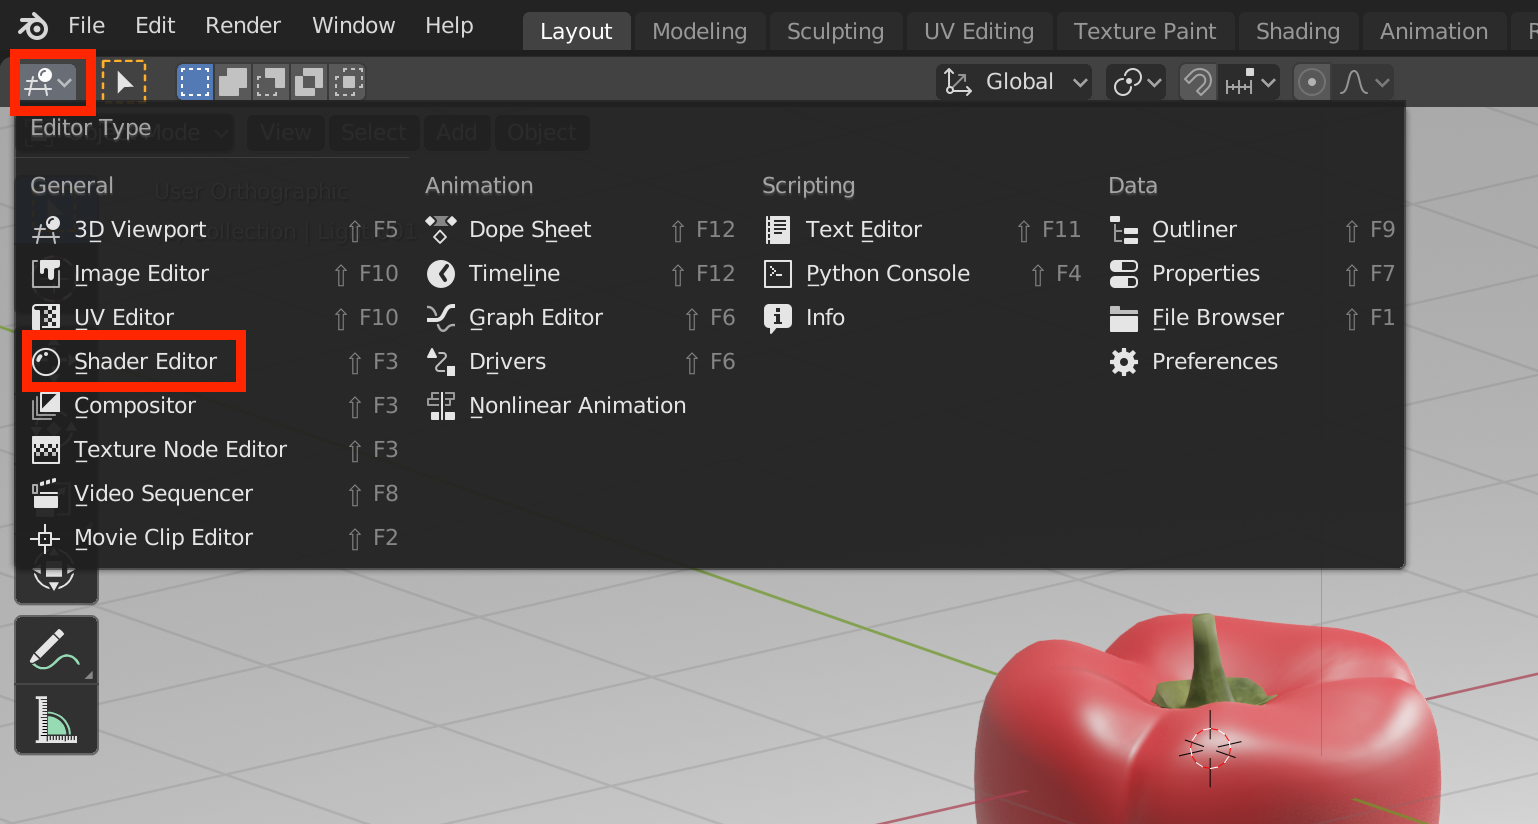
Open the Shader Editor
Before Blender 2.79, it was called Node Editor, but since Blender 2.8 it has been called Shader Editor.
Difference Between Eevee and Cycles
Blender has two rendering engines: Eevee Render and Cycles Render.
You can switch Eevee/Cycles from the Render Engine in the Scene tab.
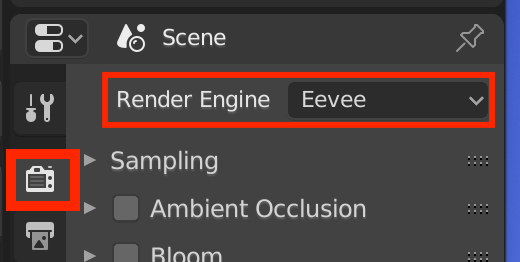
Select Render Engine
Eevee is a physics-based real-time rendering engine new to Blender 2.8 that renders much faster and cleaner.
Cycles is slower and noisier, but it renders physically more accurately.
There are some shaders that make little or no visual difference, which is apparent when you compare them on a 3D model with a shader called Glass BSDF.
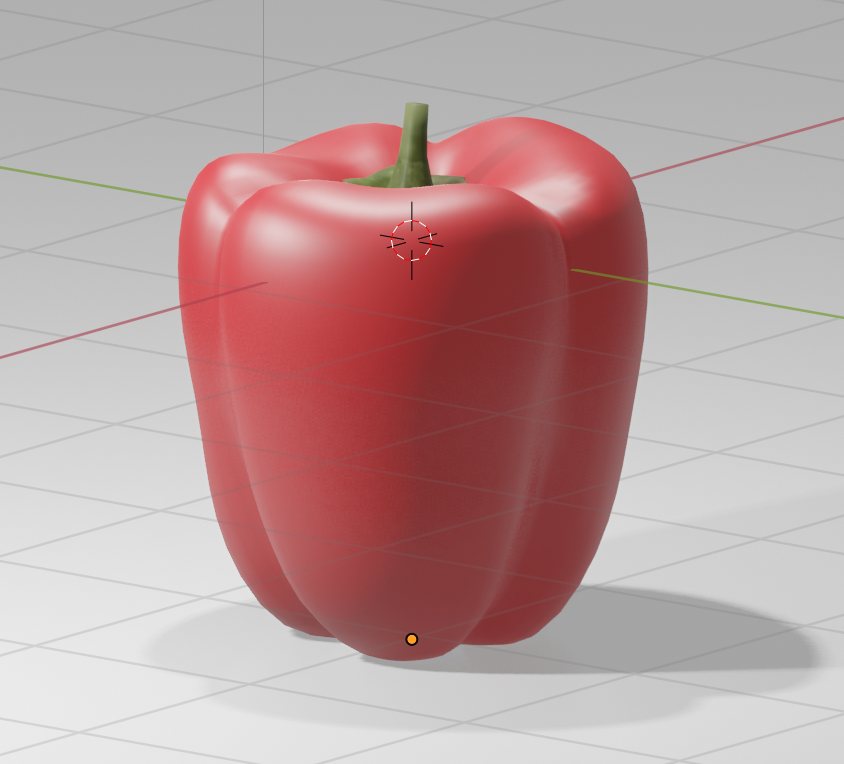
Eevee: Principle BSDF
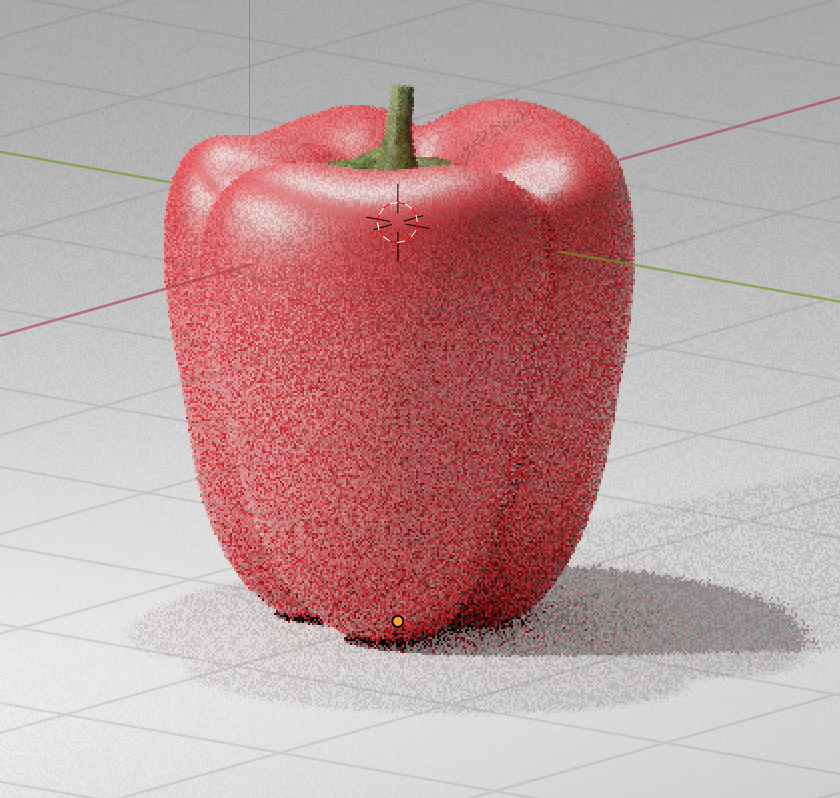
Cycles: Principle BSDF
Eevee: Glass BSDF
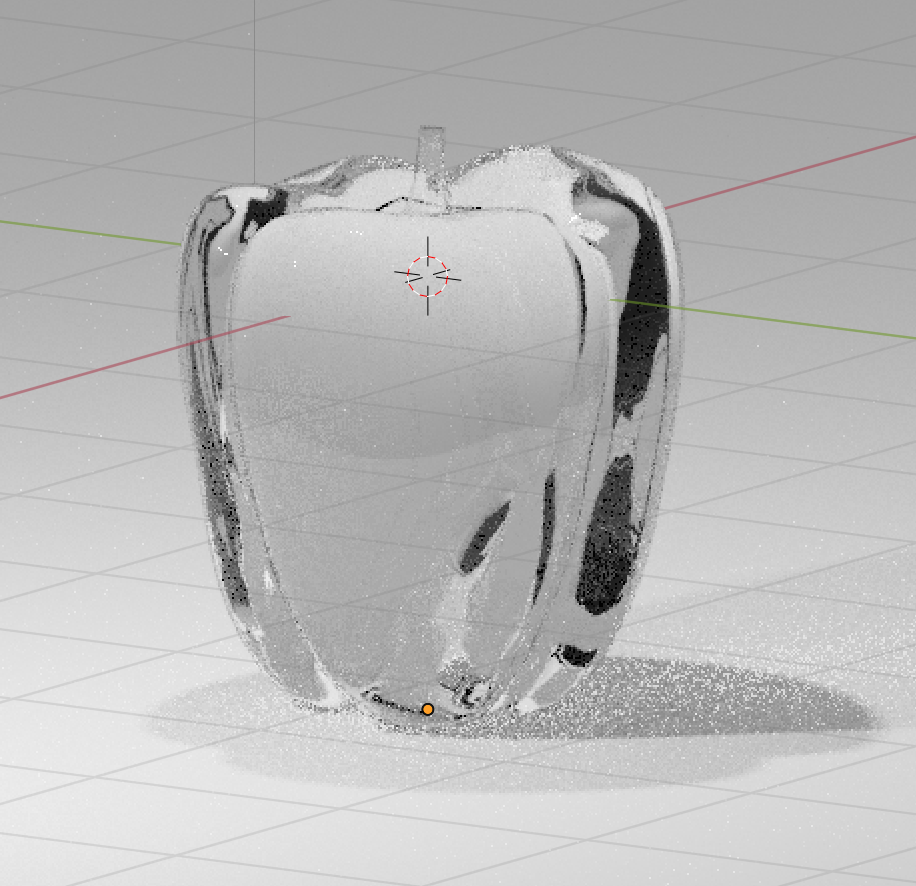
Cycles: Glass BSDF
Eevee and Cycles share the same nodes, but some nodes are not available to Eevee.
For full specifications, please see the following;
https://docs.blender.org/manual/en/latest/render/eevee/materials/nodes_support.html
Try Using the Shader Editor
Select the Shading tab and actually click on the Shader Editor.
Press [Shift]+[A] to add “Mesh” and then “Monkey”.
Add Monkey and go to the Shader tab.
If you select an object and nothing appears at the bottom, the object does not have a Material assigned to it.
If you press the “+ New” button at the top of the bottom screen, a Material is created and a node is inserted automatically.
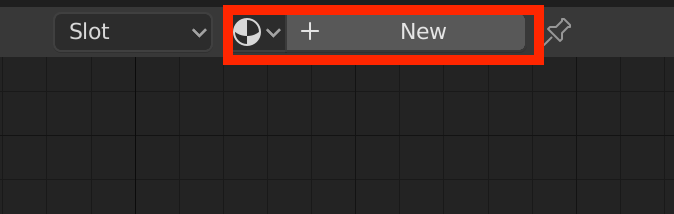
Creating a new material
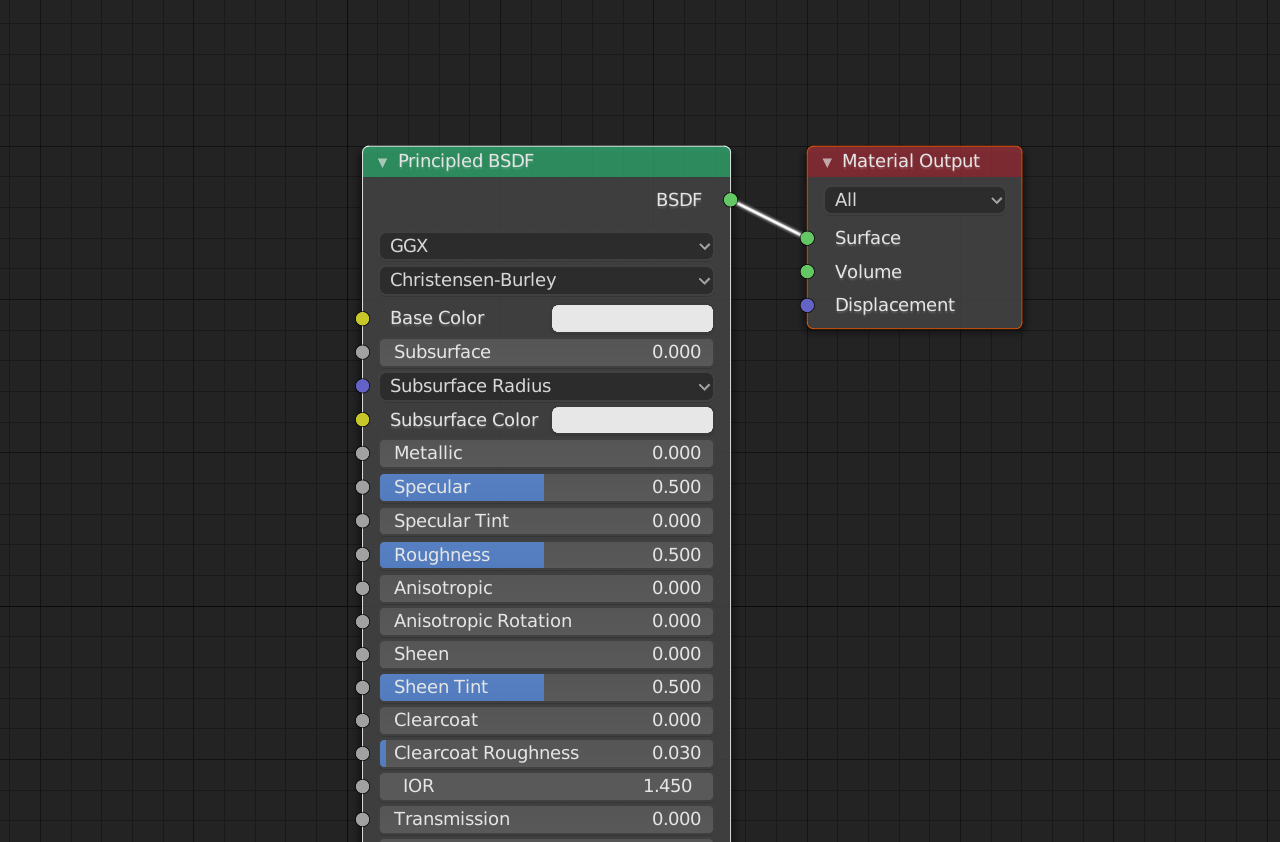
The default node
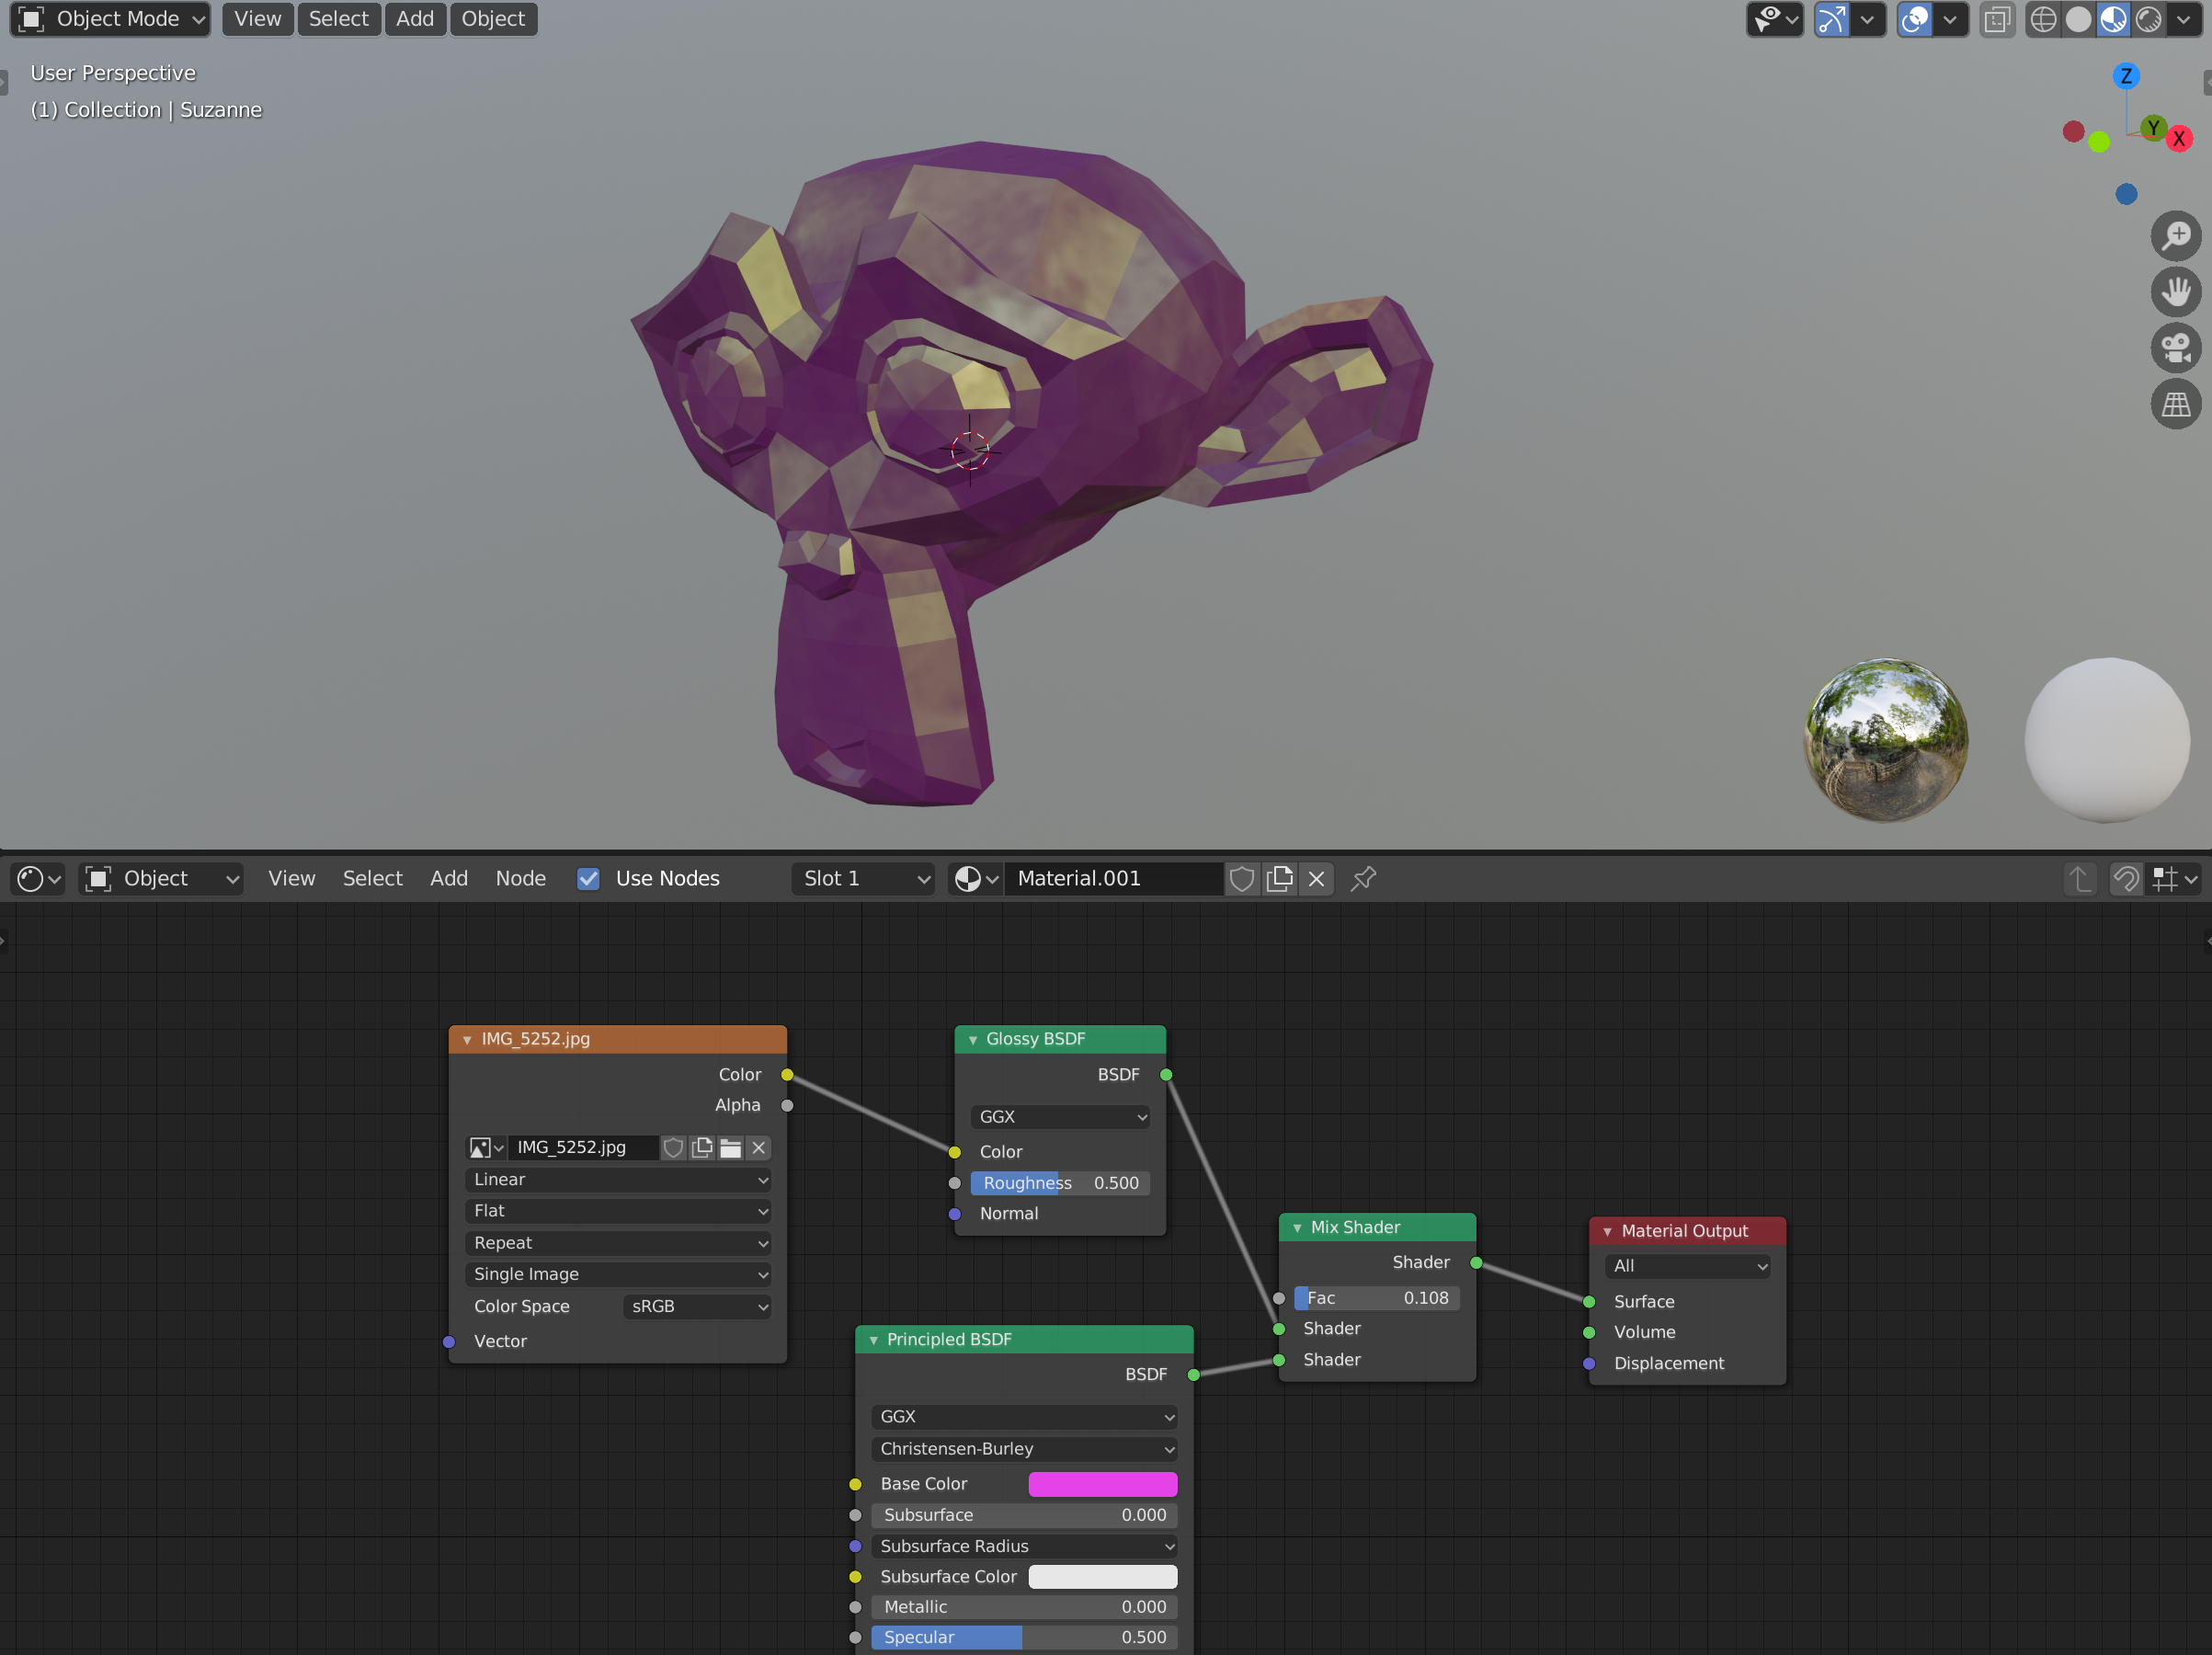
The “Principal BSDF” node is connected to the “Material Output” node.
The Material Output node is the node that must be connected. The nodes connected to this node will be reflected.
Principled BSDF is the default shader; Eevee recommends to use this shader.
Connect Nodes
First, delete Principled BSDF node with the [X] key, which is already connected, while it is selected.

Deleting the Principled BSDF
To add a new node, press [Shift+A] to open the menu.
Select “Glossy BSDF” (Glossy) from the Shader menu.
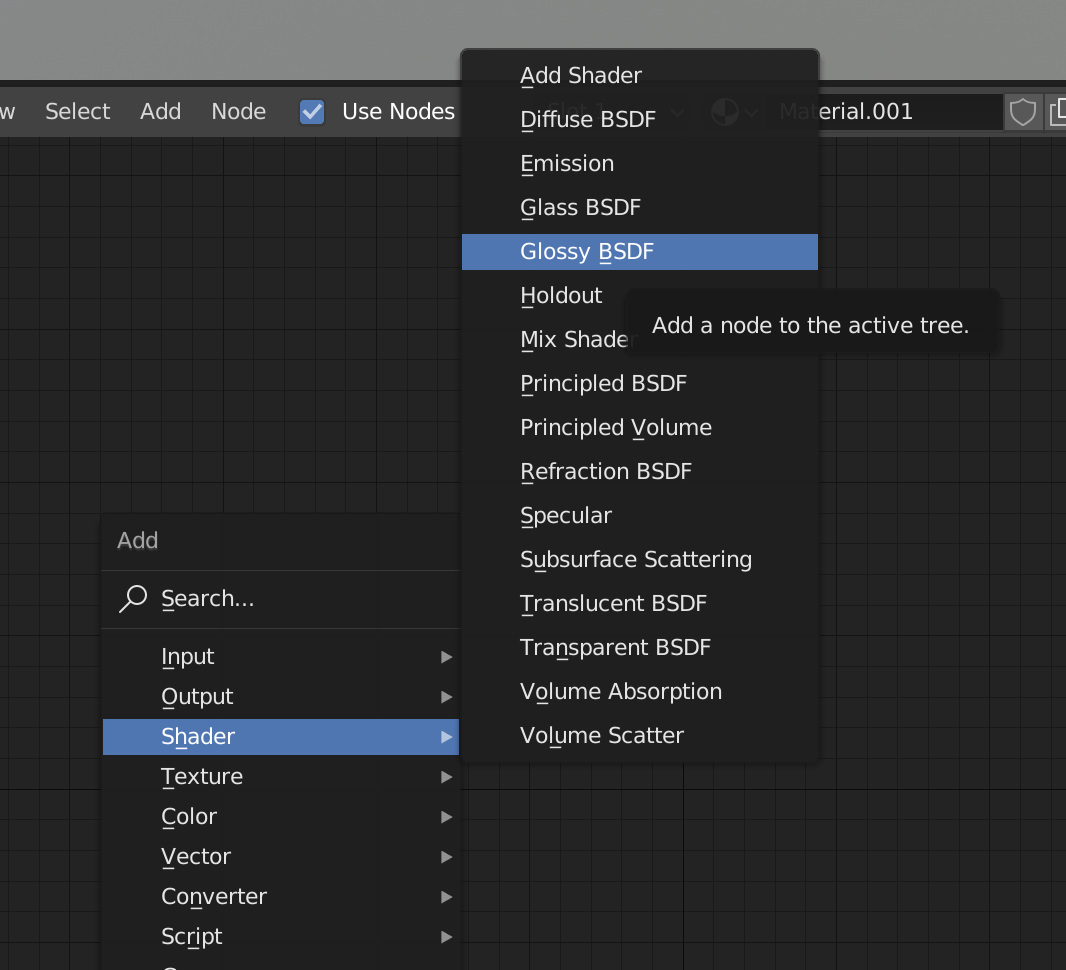
Select Glossy BSDF
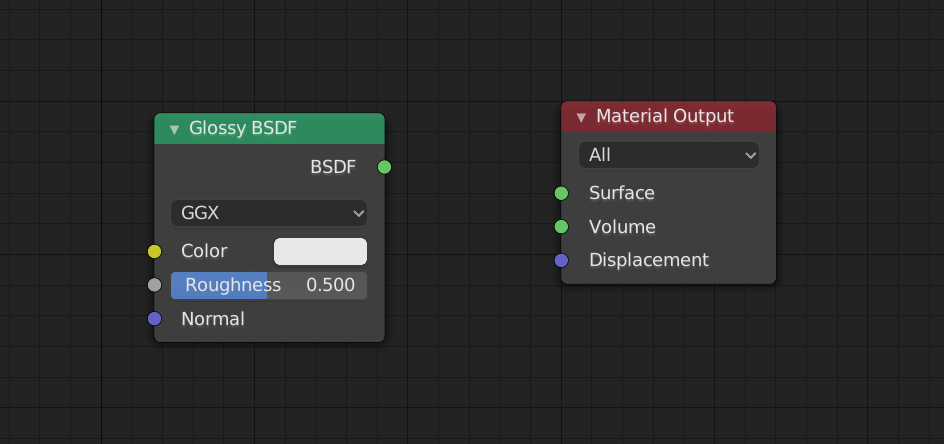
Node is added.
Once the Node is added, drag a line from “BSDF” on the right side of the Glossy BSDF in order to draw a line from “BSDF” to “Surface” in the Material Output.

Connect the nodes to each other.
The nodes are now connected, and the previews reflect that!
Connecting Textures
Shaders alone cannot reflect fine patterns other than textures.
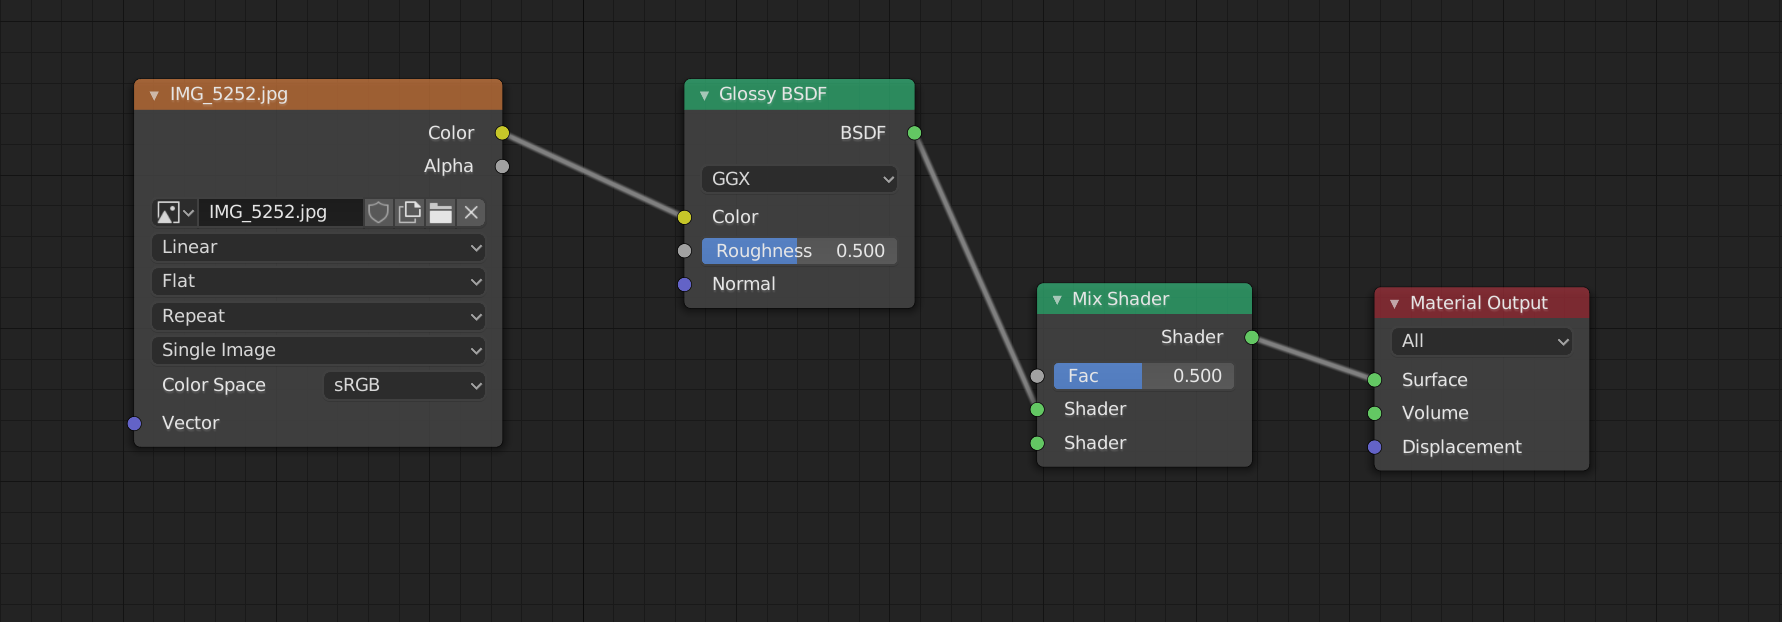
To add an arbitrary pattern, press [Shift]+[A] and select “Image Texture” from the “Texture” menu.

Adding an image texture.
You can select an image from the Image Texture node’s “Open”. In this case, we set up the following texture.
Textures.

The textures are updated.
The textures are now updated. If you want to adjust the position of the textures in detail, you will need to do separately in UV editing process.
Please refer to this article for details.
![[Blender for Beginners] Let’s Start Modeling Part 4 – Creating Textures](https://styly.cc/wp-content/uploads/2018/10/test_.png)
Synthesizing Shaders
It is also possible to combine multiple Shaders.
Add [Shift]+[A], then Shader, then Mix Shader. This is the node that will become a converter for combining Shaders.

Add Mix Shader.
Select the Mix Shader node and drag it between the Glossy BSDF and Material Output.
Place it between the nodes.
It’s now sandwiched between.
Next, we will add another Shader that we want to compose. This time I added the Principled BSDF Shader and set its color to pink.
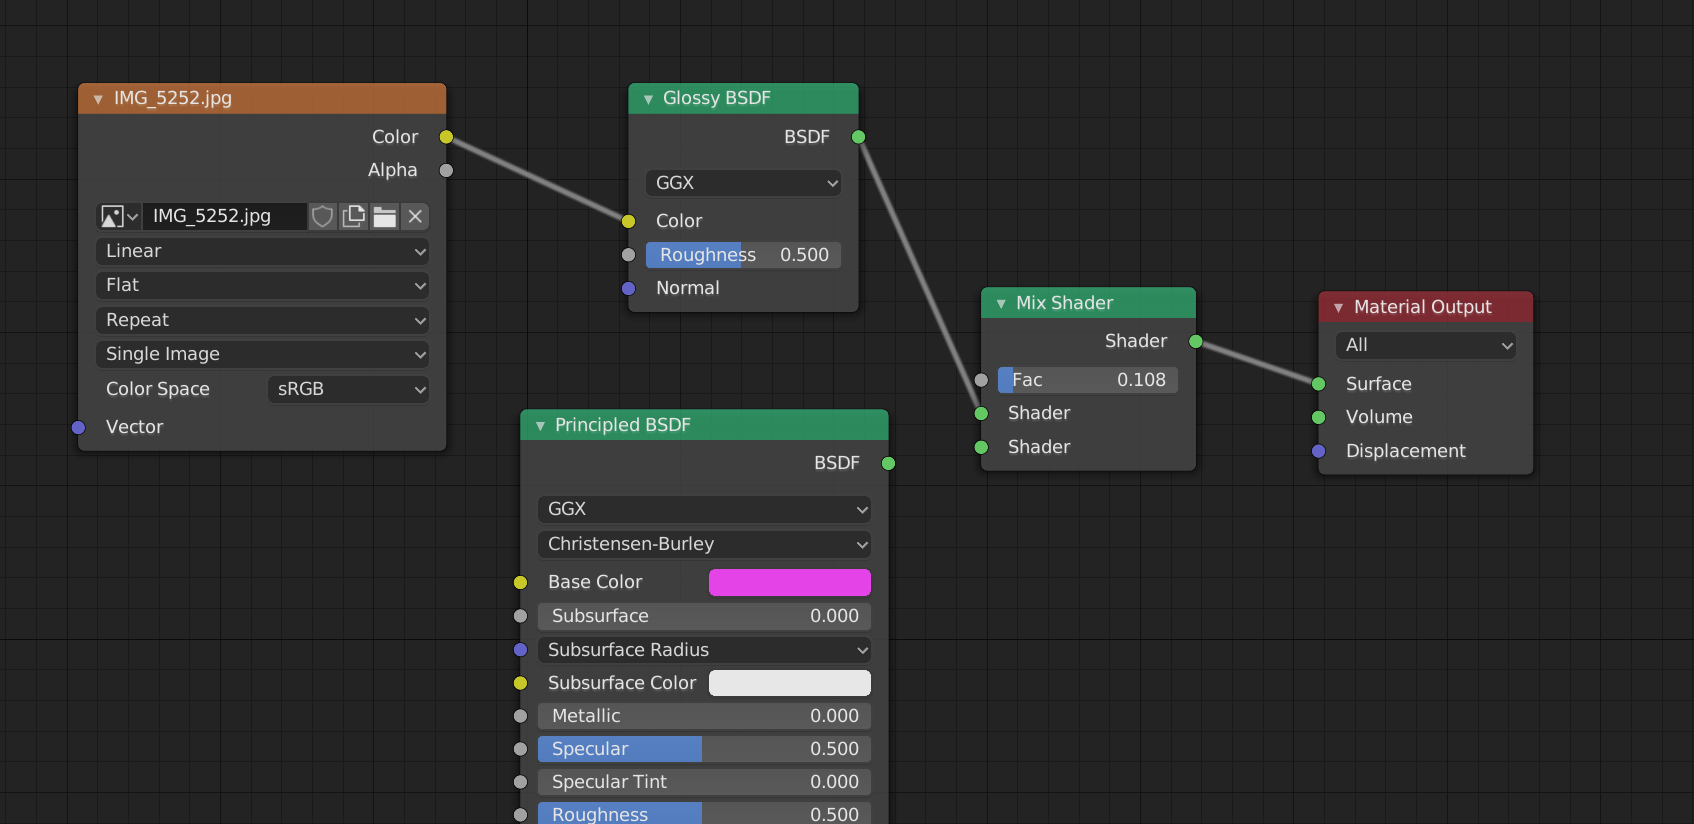
Add a second Shader node.
Connect the BSDF on the right side of the Principled BSDF to the Shader on the left side of the Mix Shader, leaving two Shader nodes connected to the Shader on the left side of the Mix Shader.
Two Shaders are connected to the Mix Shader.
This is now reflected in the preview. You can adjust the “Fac” slider on the Mix Shader node to control which Shader node is reflected and in what proportion.
Using Gradients
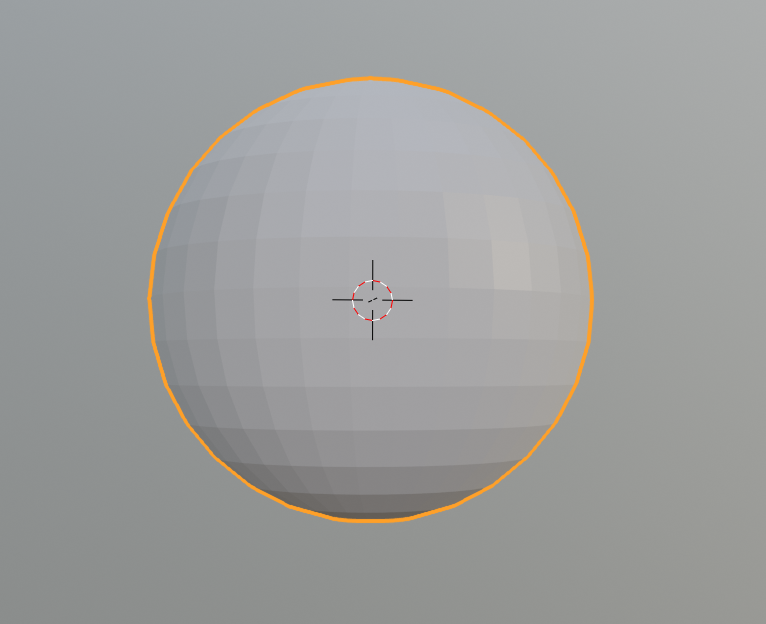
Next, we’ll show you how to apply a gradient. Remove the previous Monkey and add a new UV Sphere.

Adding a UV Sphere.
To create a gradient, first use ColorRamp.
From [Shift+A], add “Converter” -> “ColorRamp” node and connect the Color of the ColorRamp node to the Base Color of the Principled BSDF node.

Connecting ColorRamp.
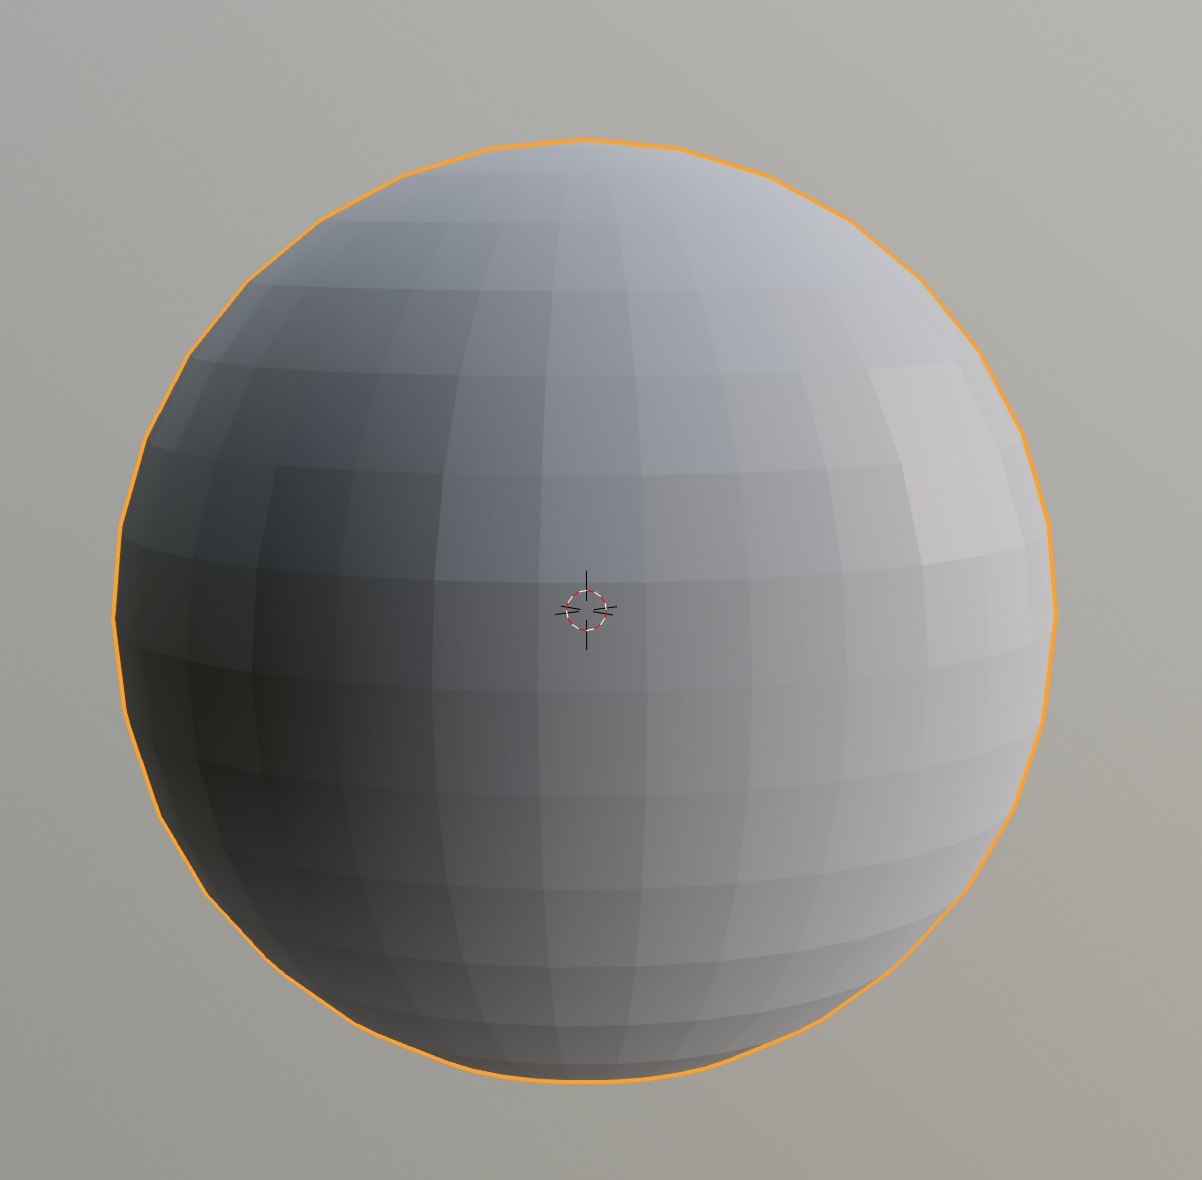
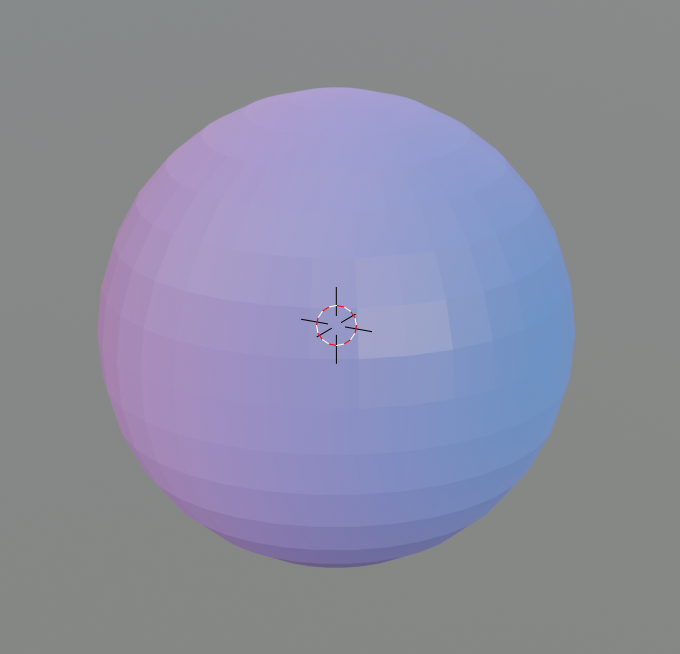
The gradient is not yet shown.
This is not a big change in appearance on its own. In order for the gradient to work well, you need to add and connect a Gradient Texture to Texture.
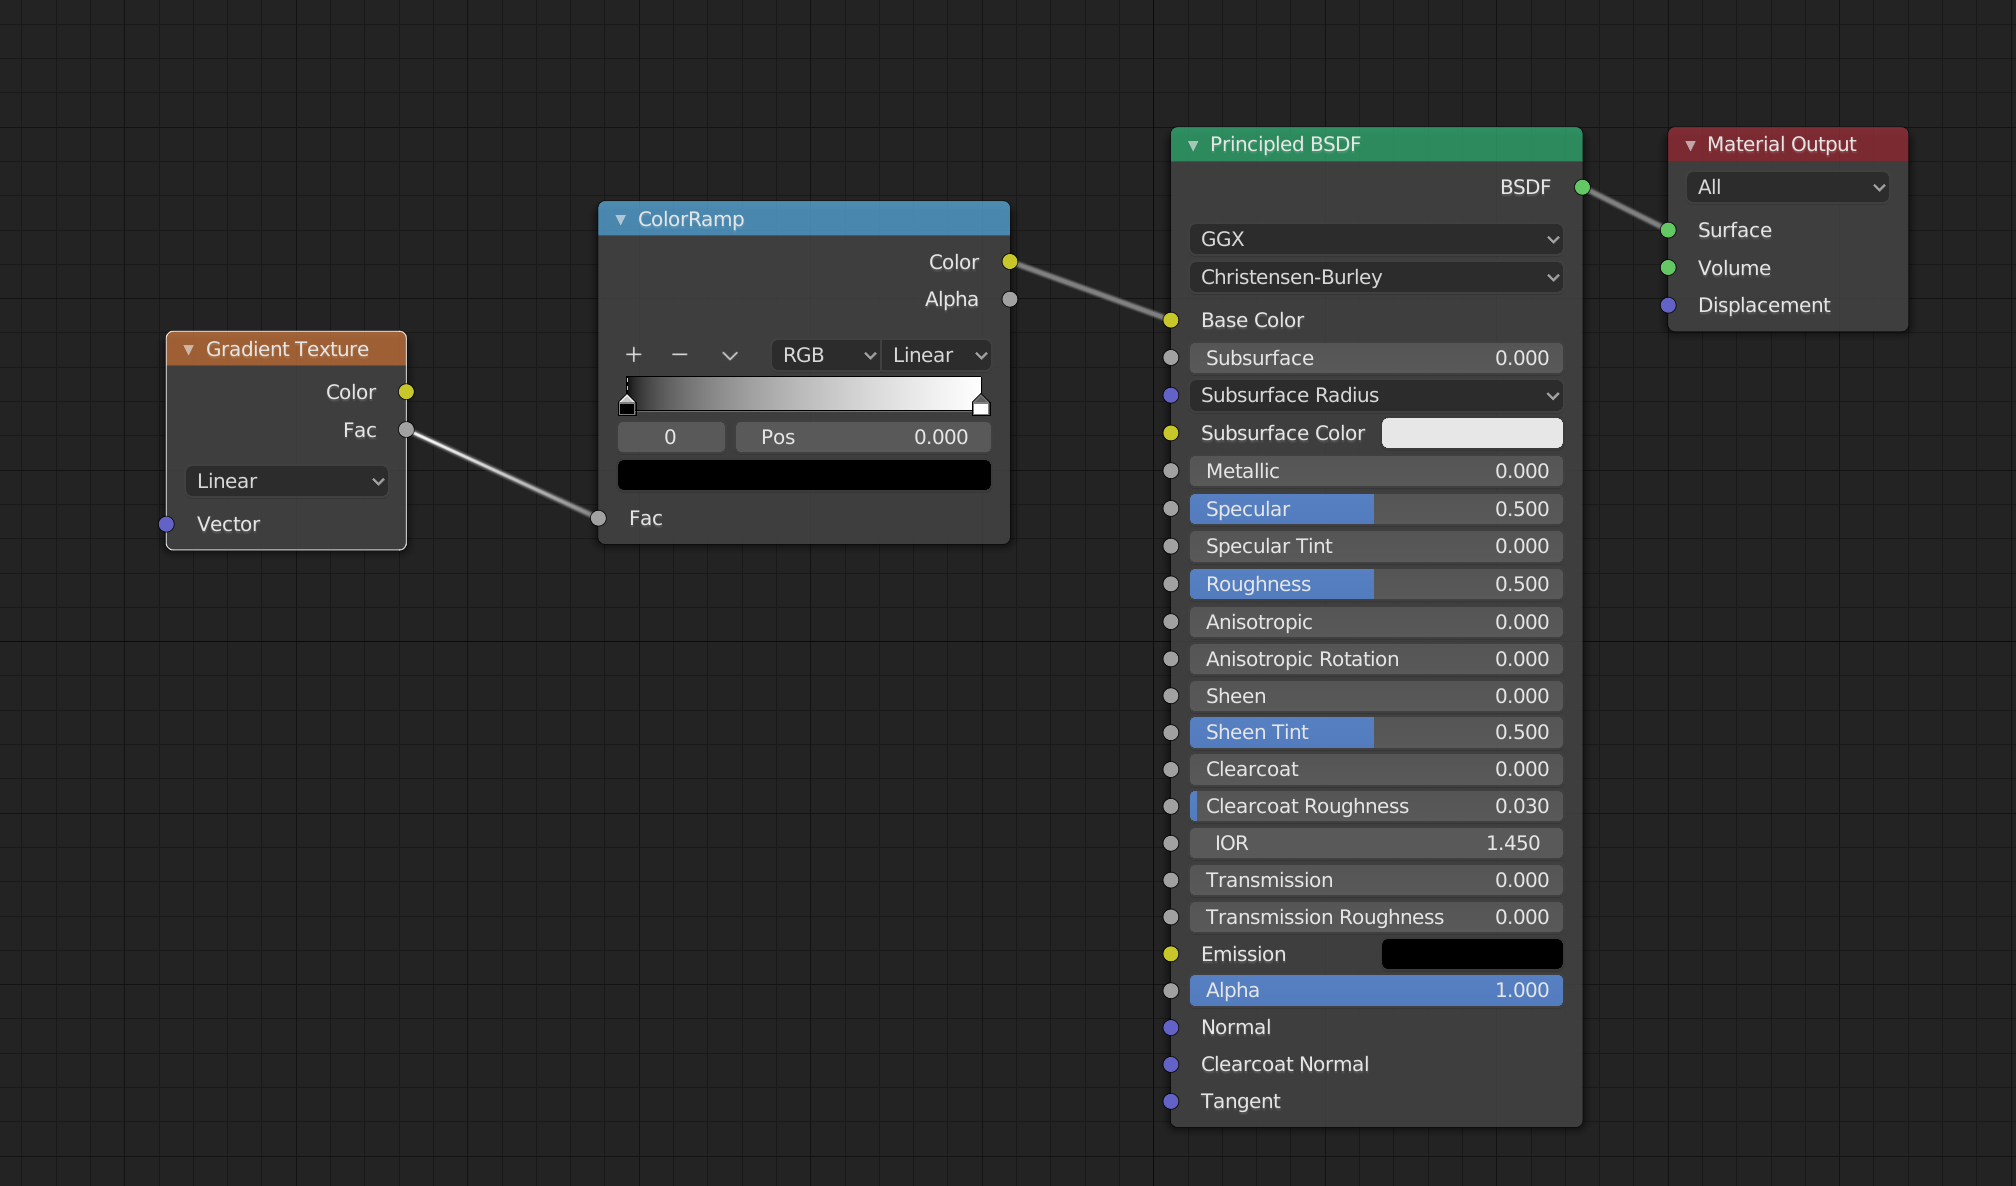
Connect Gradient Texture from left to right with a gradient.
Connect Gradient Texture from left to right with a gradient.
The gradient is now reflected. You can change the color of the gradient by clicking on the ColorRamp node’s knob and then clicking on the color bar.
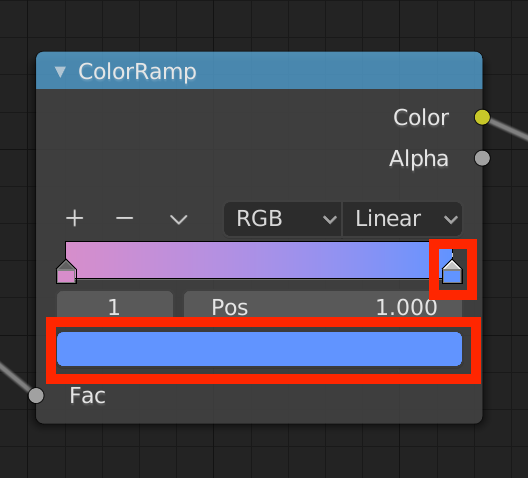
Changing the color of the gradient.
The color of the gradient has been changed.
In addition, if you connect “Vector”->”Mapping” node and “Input”->”UV Map” node as follows, you will be able to adjust the position by moving the value of Mapping.
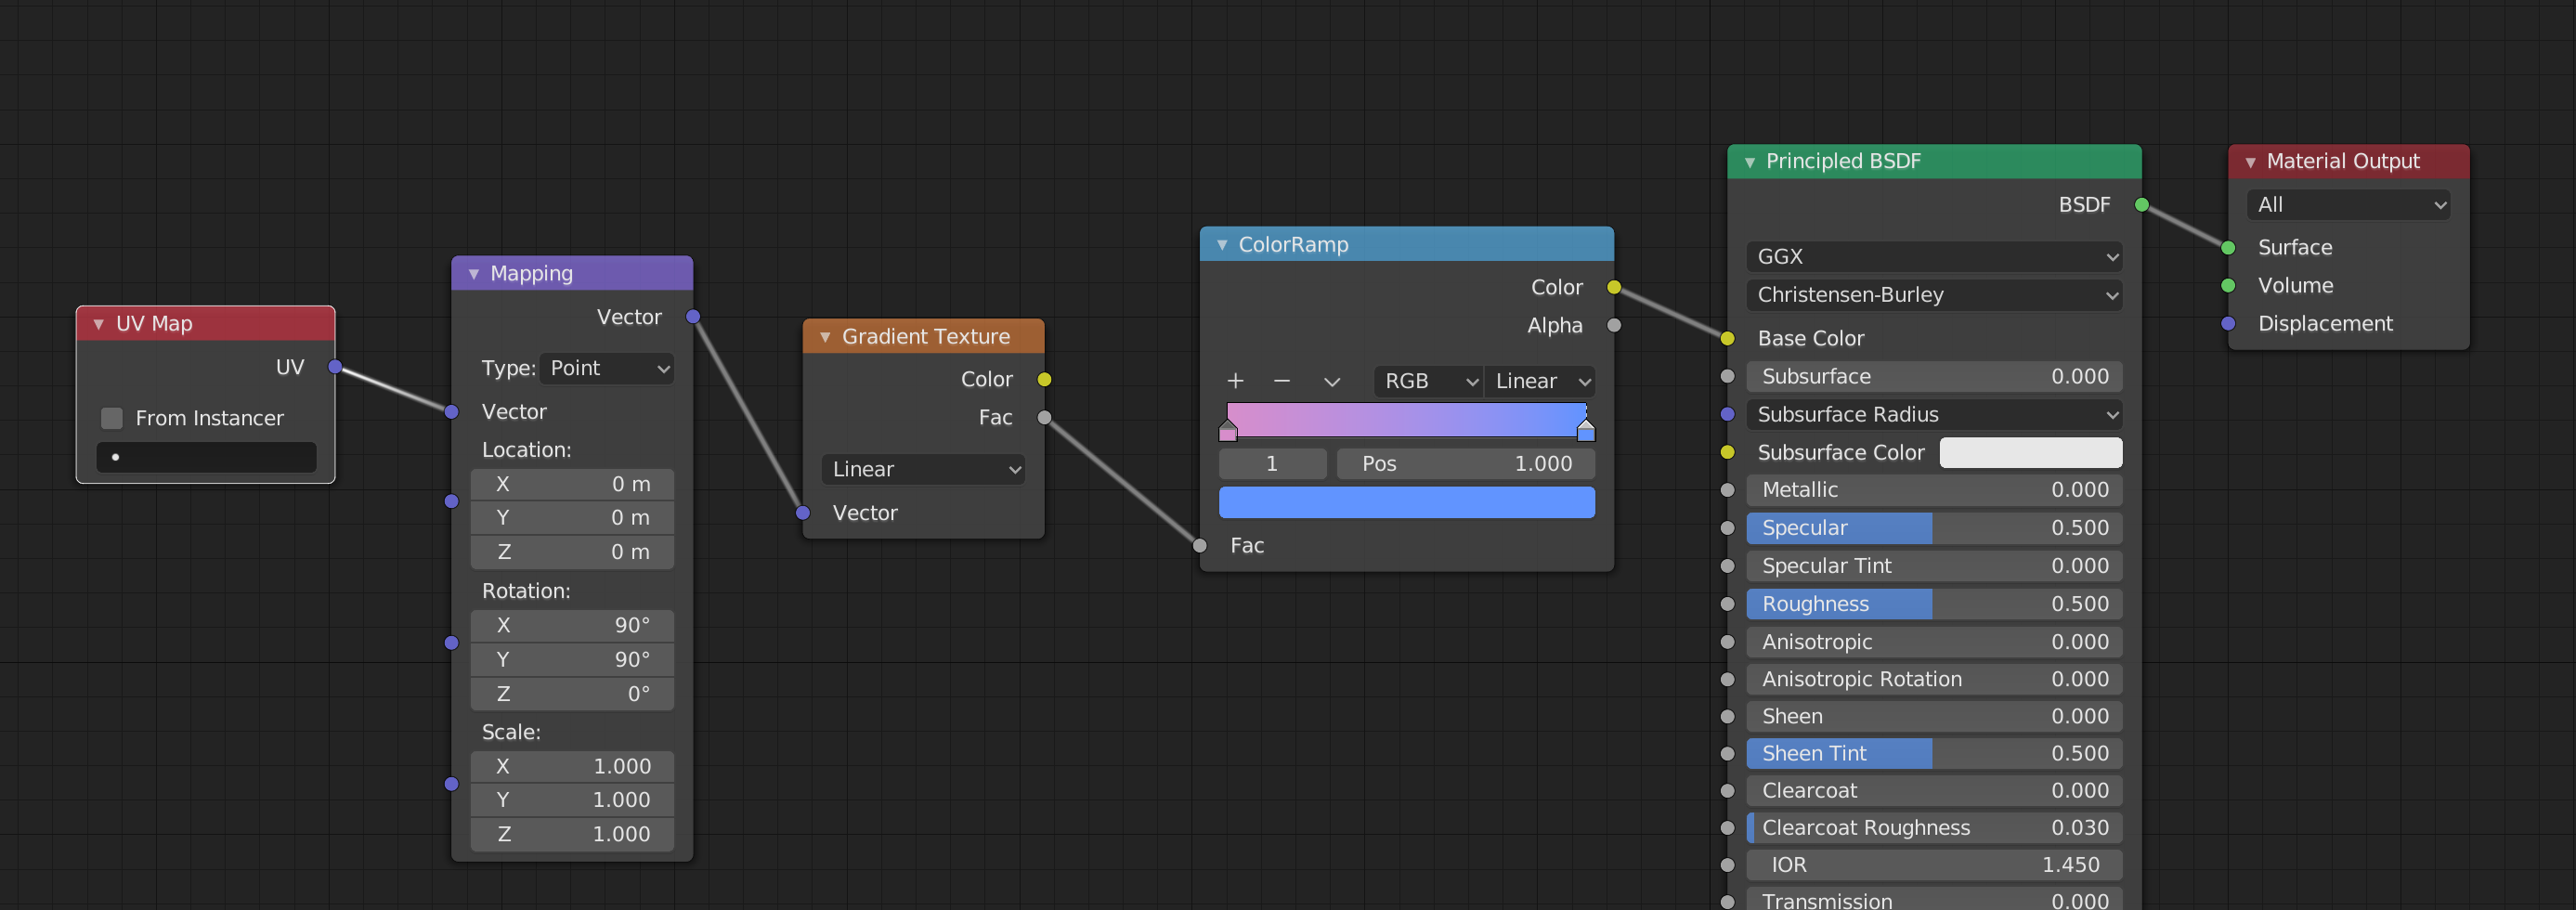
Mapping and UV Map node is added.
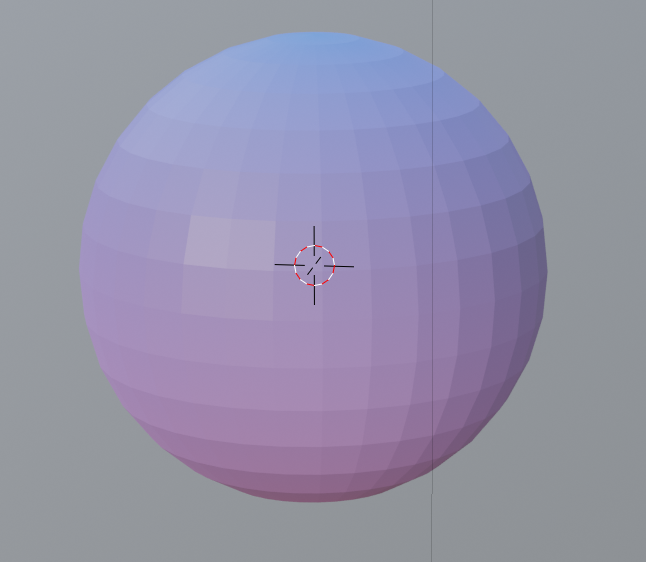
Rotation X and Y to 90 degrees.