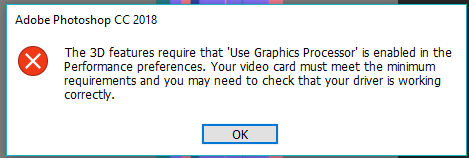
Due to the 3D features in Photoshop being discontinued, the “Generate Normal Map” feature described in this article will no longer be available. Please refer to the following article for more details.

an image of edit normal map normal map with adobe Photoshop and Quixel NDO
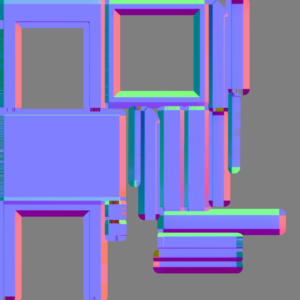
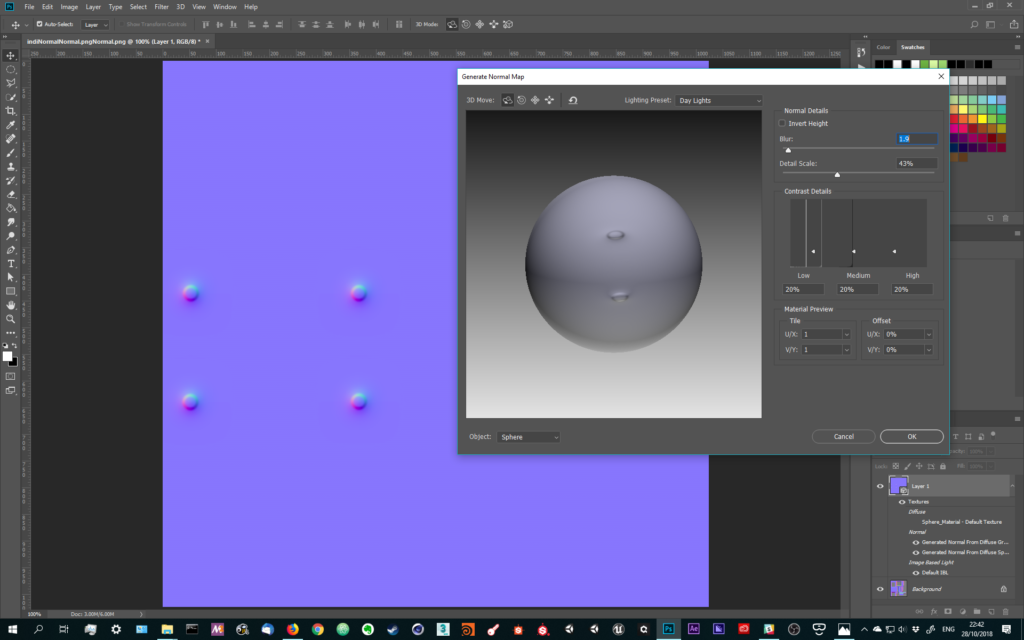
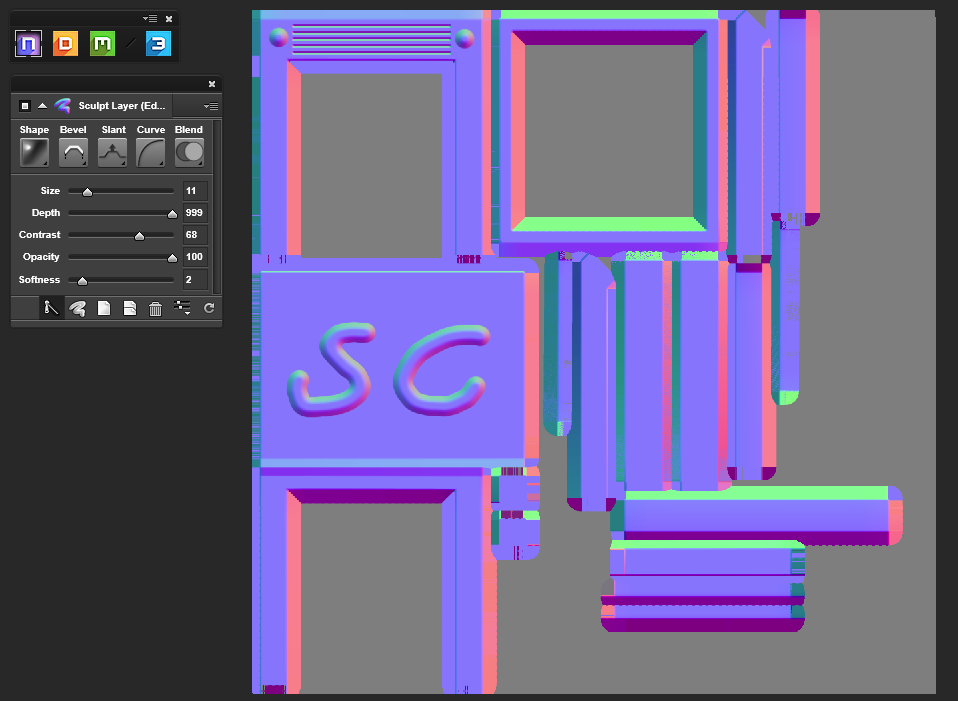
Edit normal map with Photoshop 3D filther
an image of edit normal map normal map with adobe Photoshop and Quixel NDO
an image of edit normal map normal map with adobe Photoshop and Quixel NDO
an image of edit normal map normal map with adobe Photoshop and Quixel NDO
an image of edit normal map normal map with adobe Photoshop and Quixel NDO
an image of edit normal map normal map with adobe Photoshop and Quixel NDO
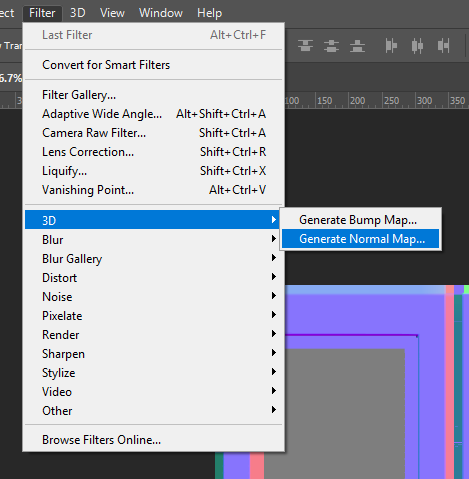
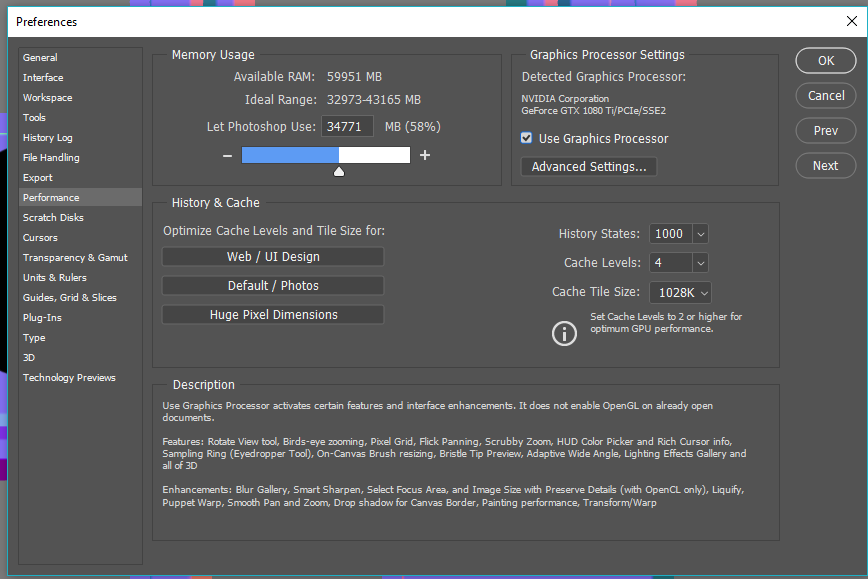
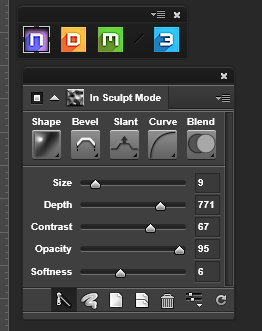
Set Parameter like below and hit OK.
an image of edit normal map normal map with adobe Photoshop and Quixel NDO
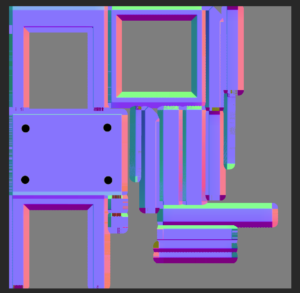
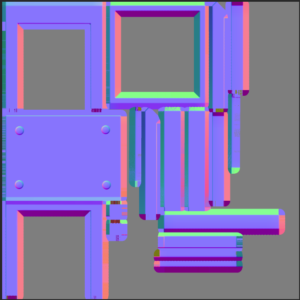
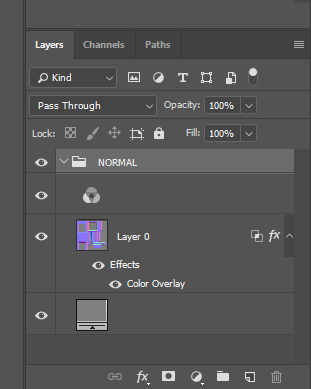
Change Layer mode to normal. Add mask to the circle area. Now, the indicator get details like screw heads.
an image of edit normal map normal map with adobe Photoshop and Quixel NDO
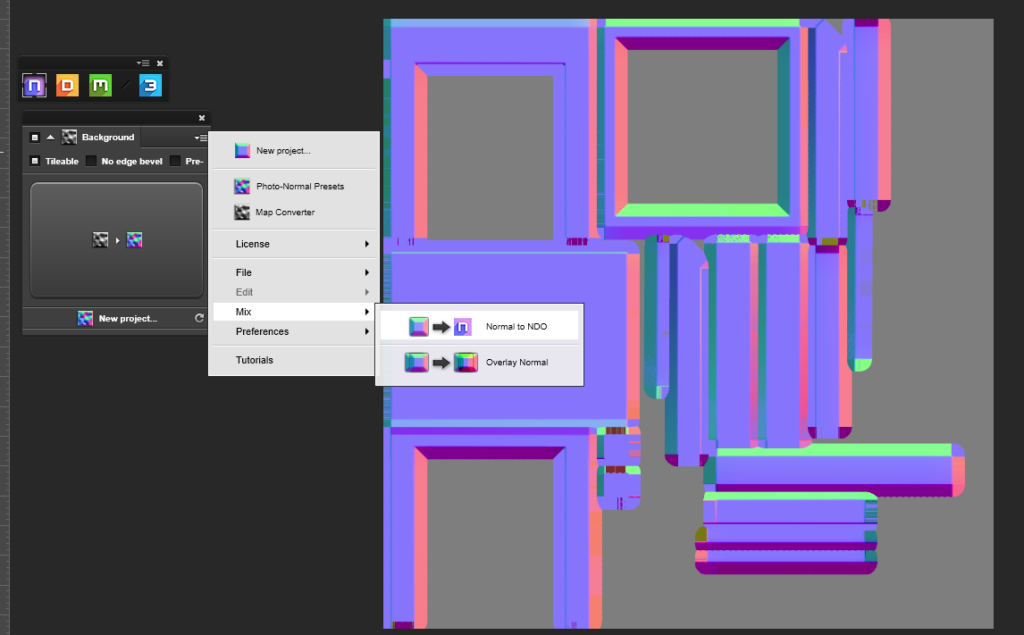
add details to nomal map with Quixel NDO
an image of edit normal map normal map with adobe Photoshop and Quixel NDO
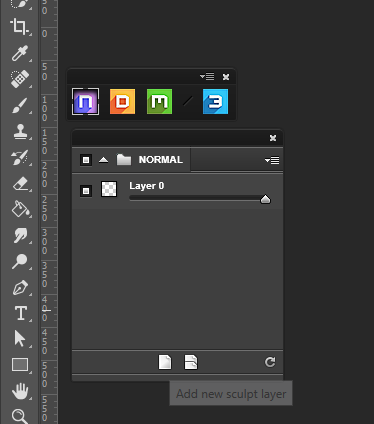
Select Background layer (= the normal map) and click ‘Normal to NDO’.
an image of edit normal map normal map with adobe Photoshop and Quixel NDO
an image of edit normal map normal map with adobe Photoshop and Quixel NDO
an image of edit normal map normal map with adobe Photoshop and Quixel NDO
an image of edit normal map normal map with adobe Photoshop and Quixel NDO
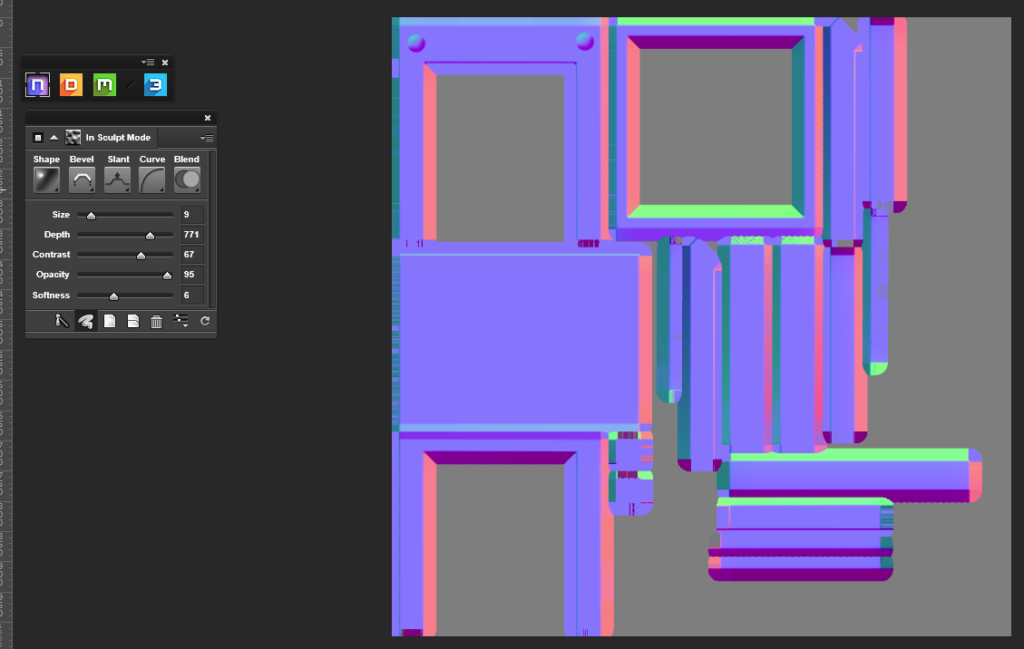
Select blush tool and draw something. this time, The line you drew changes directly. Also easy to adjust the normal map with NDO’s parameters. If finish tweaking, hit ‘Toggle zip mode’. I add more details with other layers.
an image of edit normal map normal map with adobe Photoshop and Quixel NDO

an image of edit normal map normal map with adobe Photoshop and Quixel NDO